Lilac Blossom Almond Scones
I've been aware for some time now that there are quite a few different edible flowers out there; nasturtium, squash blossoms, chive blossoms, lavender, even marigolds and pansies to name just a few. Up until this point however, other than playing around with some lavender (lavender shortbread cookies!) I really haven't done much with these flowers. I decided to change that this spring when I saw the lilac bushes start bursting with their beautiful flowers, perfuming the air when I take walks. It is one of the best smells imaginable.
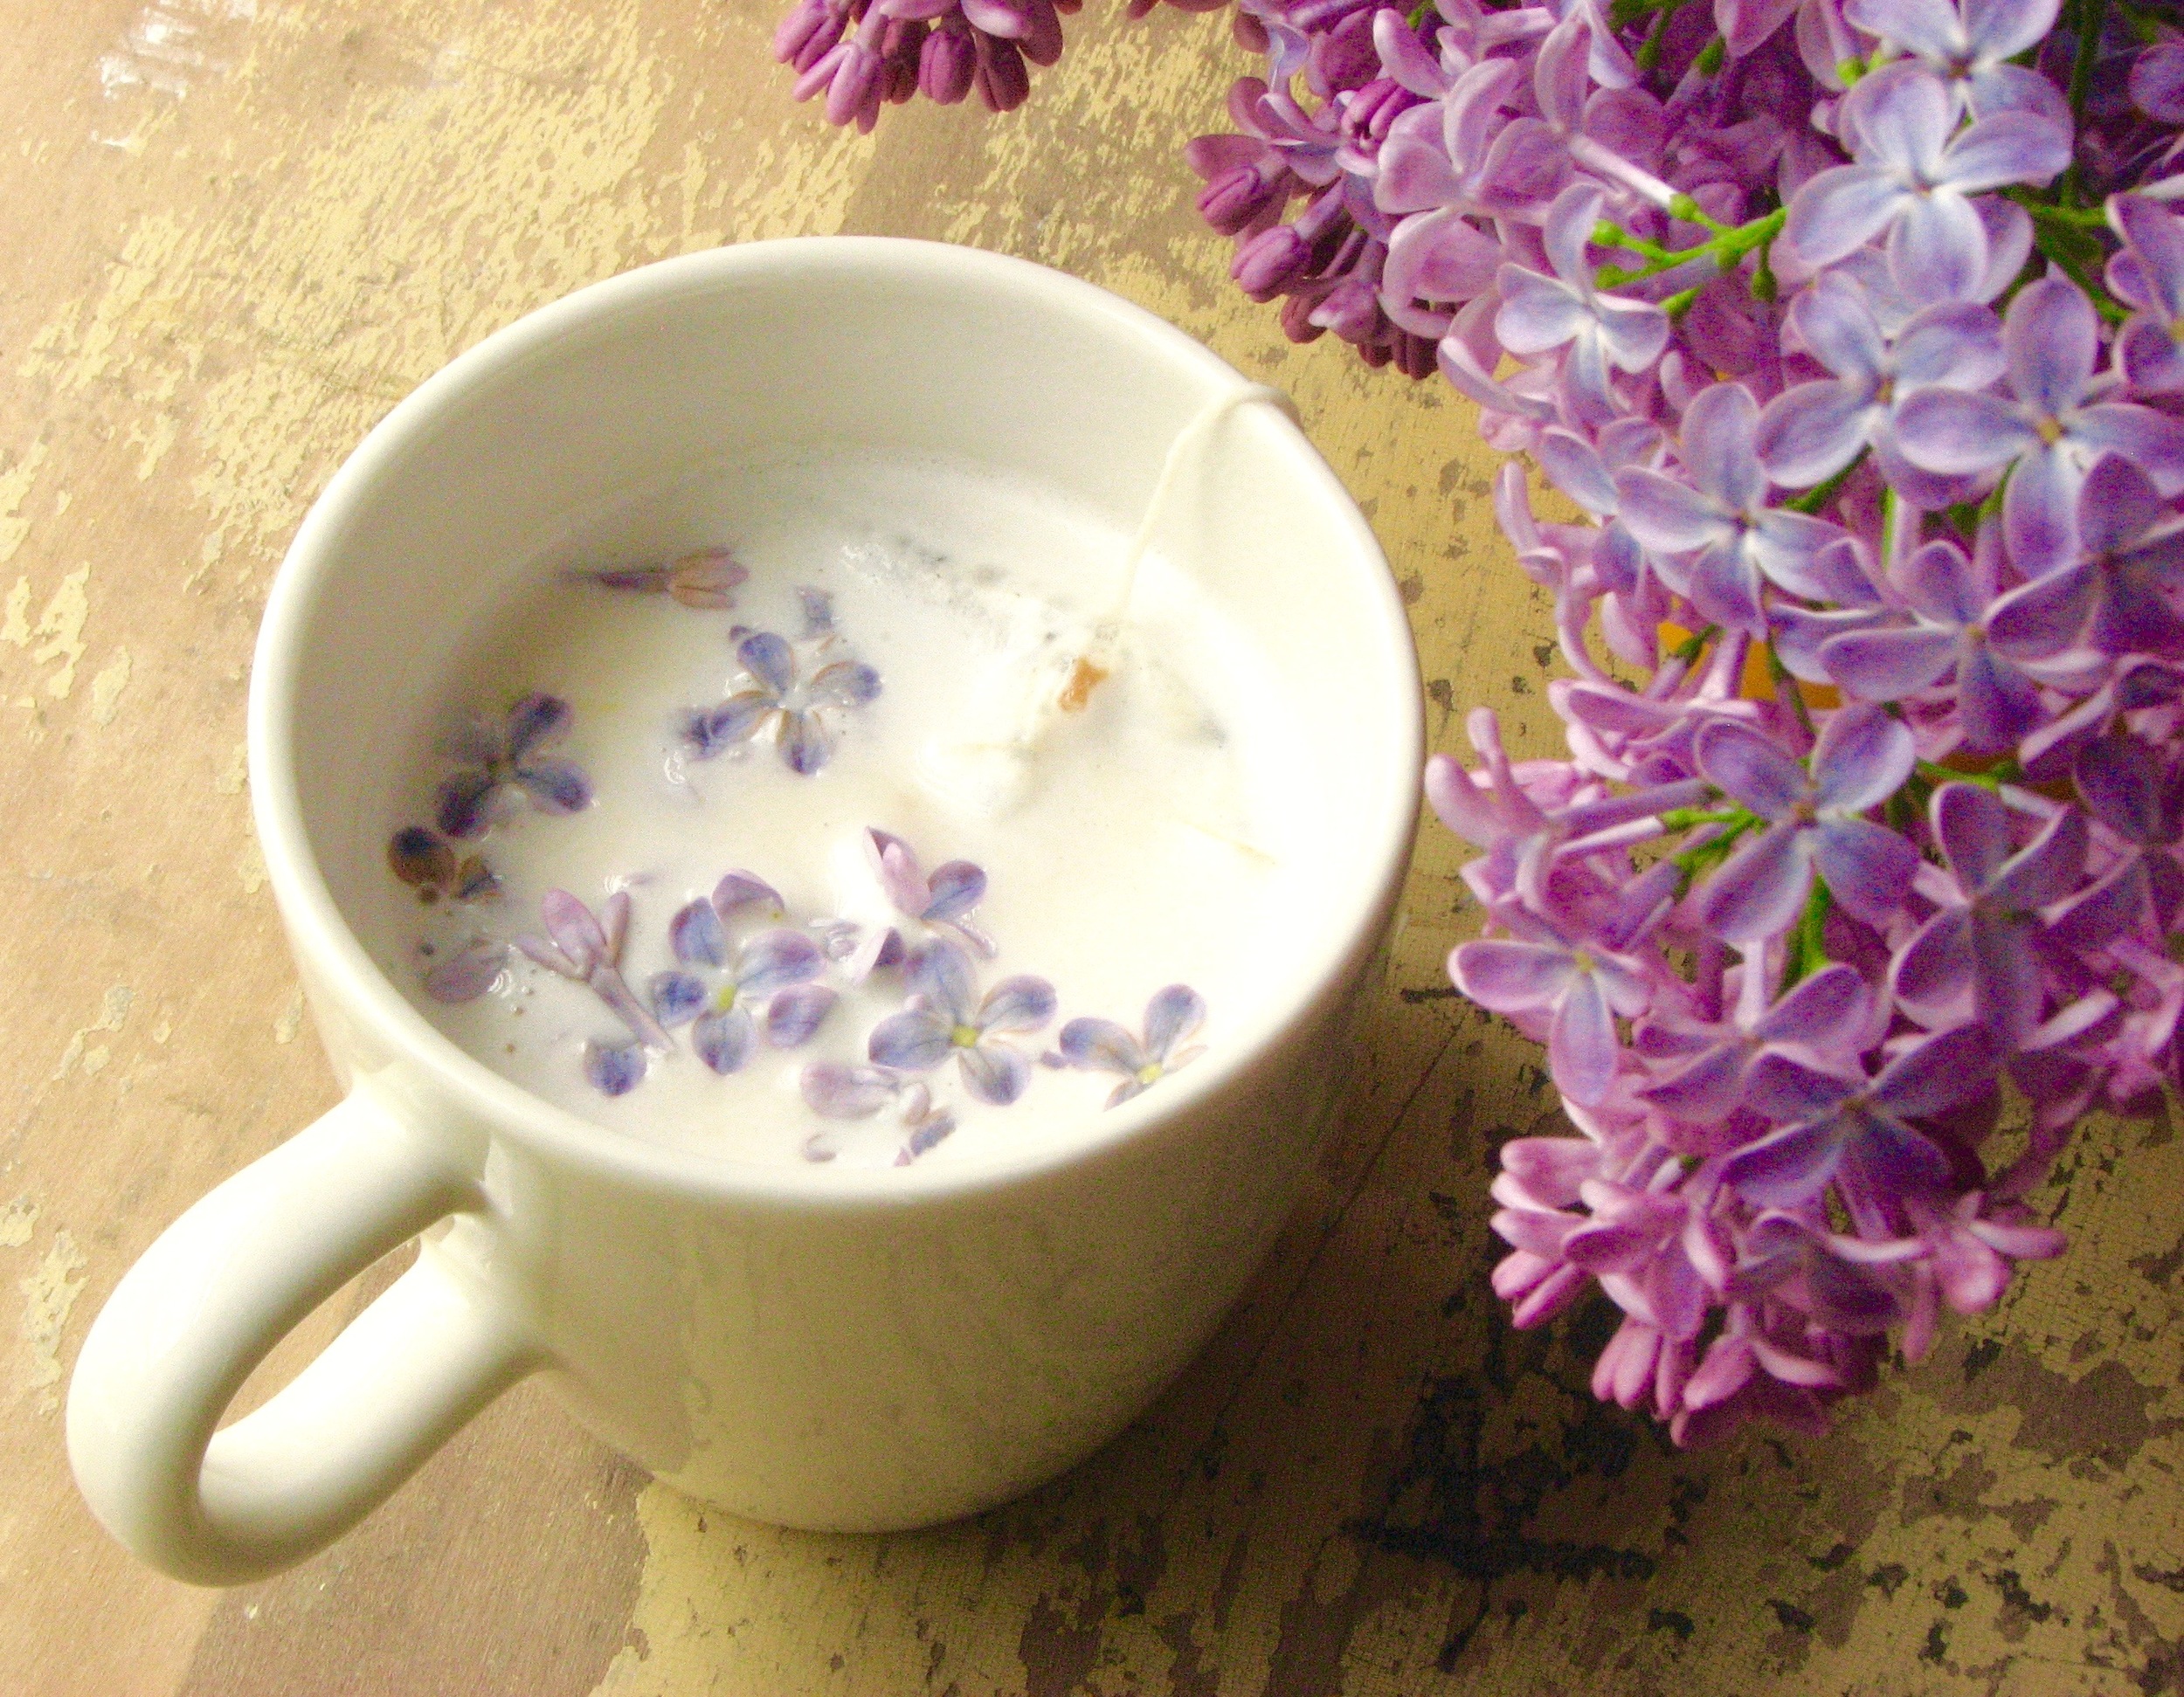
It was a video I saw earlier this spring from Kitchen Vignettes that first peaked my interest in playing around with some lilacs. Then my sister showed me this recipe for lilac blossom scones from Holly and Flora and I knew I had to make them. I did a little urban foraging one morning, coming back home with a bag full of lilac blossoms. Into the scones they went, and I also made a quick lilac blossom simple syrup that I've been using to make vanilla and lilac tea lattes (yum!) all week. So although the lilacs blossoms will soon disappear for another year I will thankfully have the memory of these buttery and delicious scones to hold me through until next spring.

The flavor of lilac blossoms is quite mild, so don't be afraid that these scones will taste like perfume or potpourri. They lend a quiet floral flavor and aroma to the scones without being overpowering. The almonds add a nice crunch and obvious nuttiness that pairs well with the blossoms. I think the addition of a little bit of white chocolate would be a wonderful third component, but I didn't have any on hand at the time so I wasn't able to try it out. Next time!
Some people might be a little intimidated by scones if they've never made them before, but they really are so easy to make. A few things I like to keep in mind: make sure your butter is very cold before starting, don't over-mix the dough once you add the liquid, and don't add too much liquid or your dough will be too soft and the scones may be a little tough. I usually don't add all the liquid right away, just to make sure I don't add too much. You can always add more as needed. You only want as much liquid as necessary to just hold everything together, and not any more.
This is a fairly basic buttermilk scone recipe, with the addition of lilac blossoms and almonds. Wonderfully simple and delicious. I made my scones on the smaller side, halving the original recipe and cutting them half as big as what was originally called for, but if you want bigger, more coffee-shop sized scones, make 4 scones out of the recipe below (or double it and make 8 as in the original recipe).

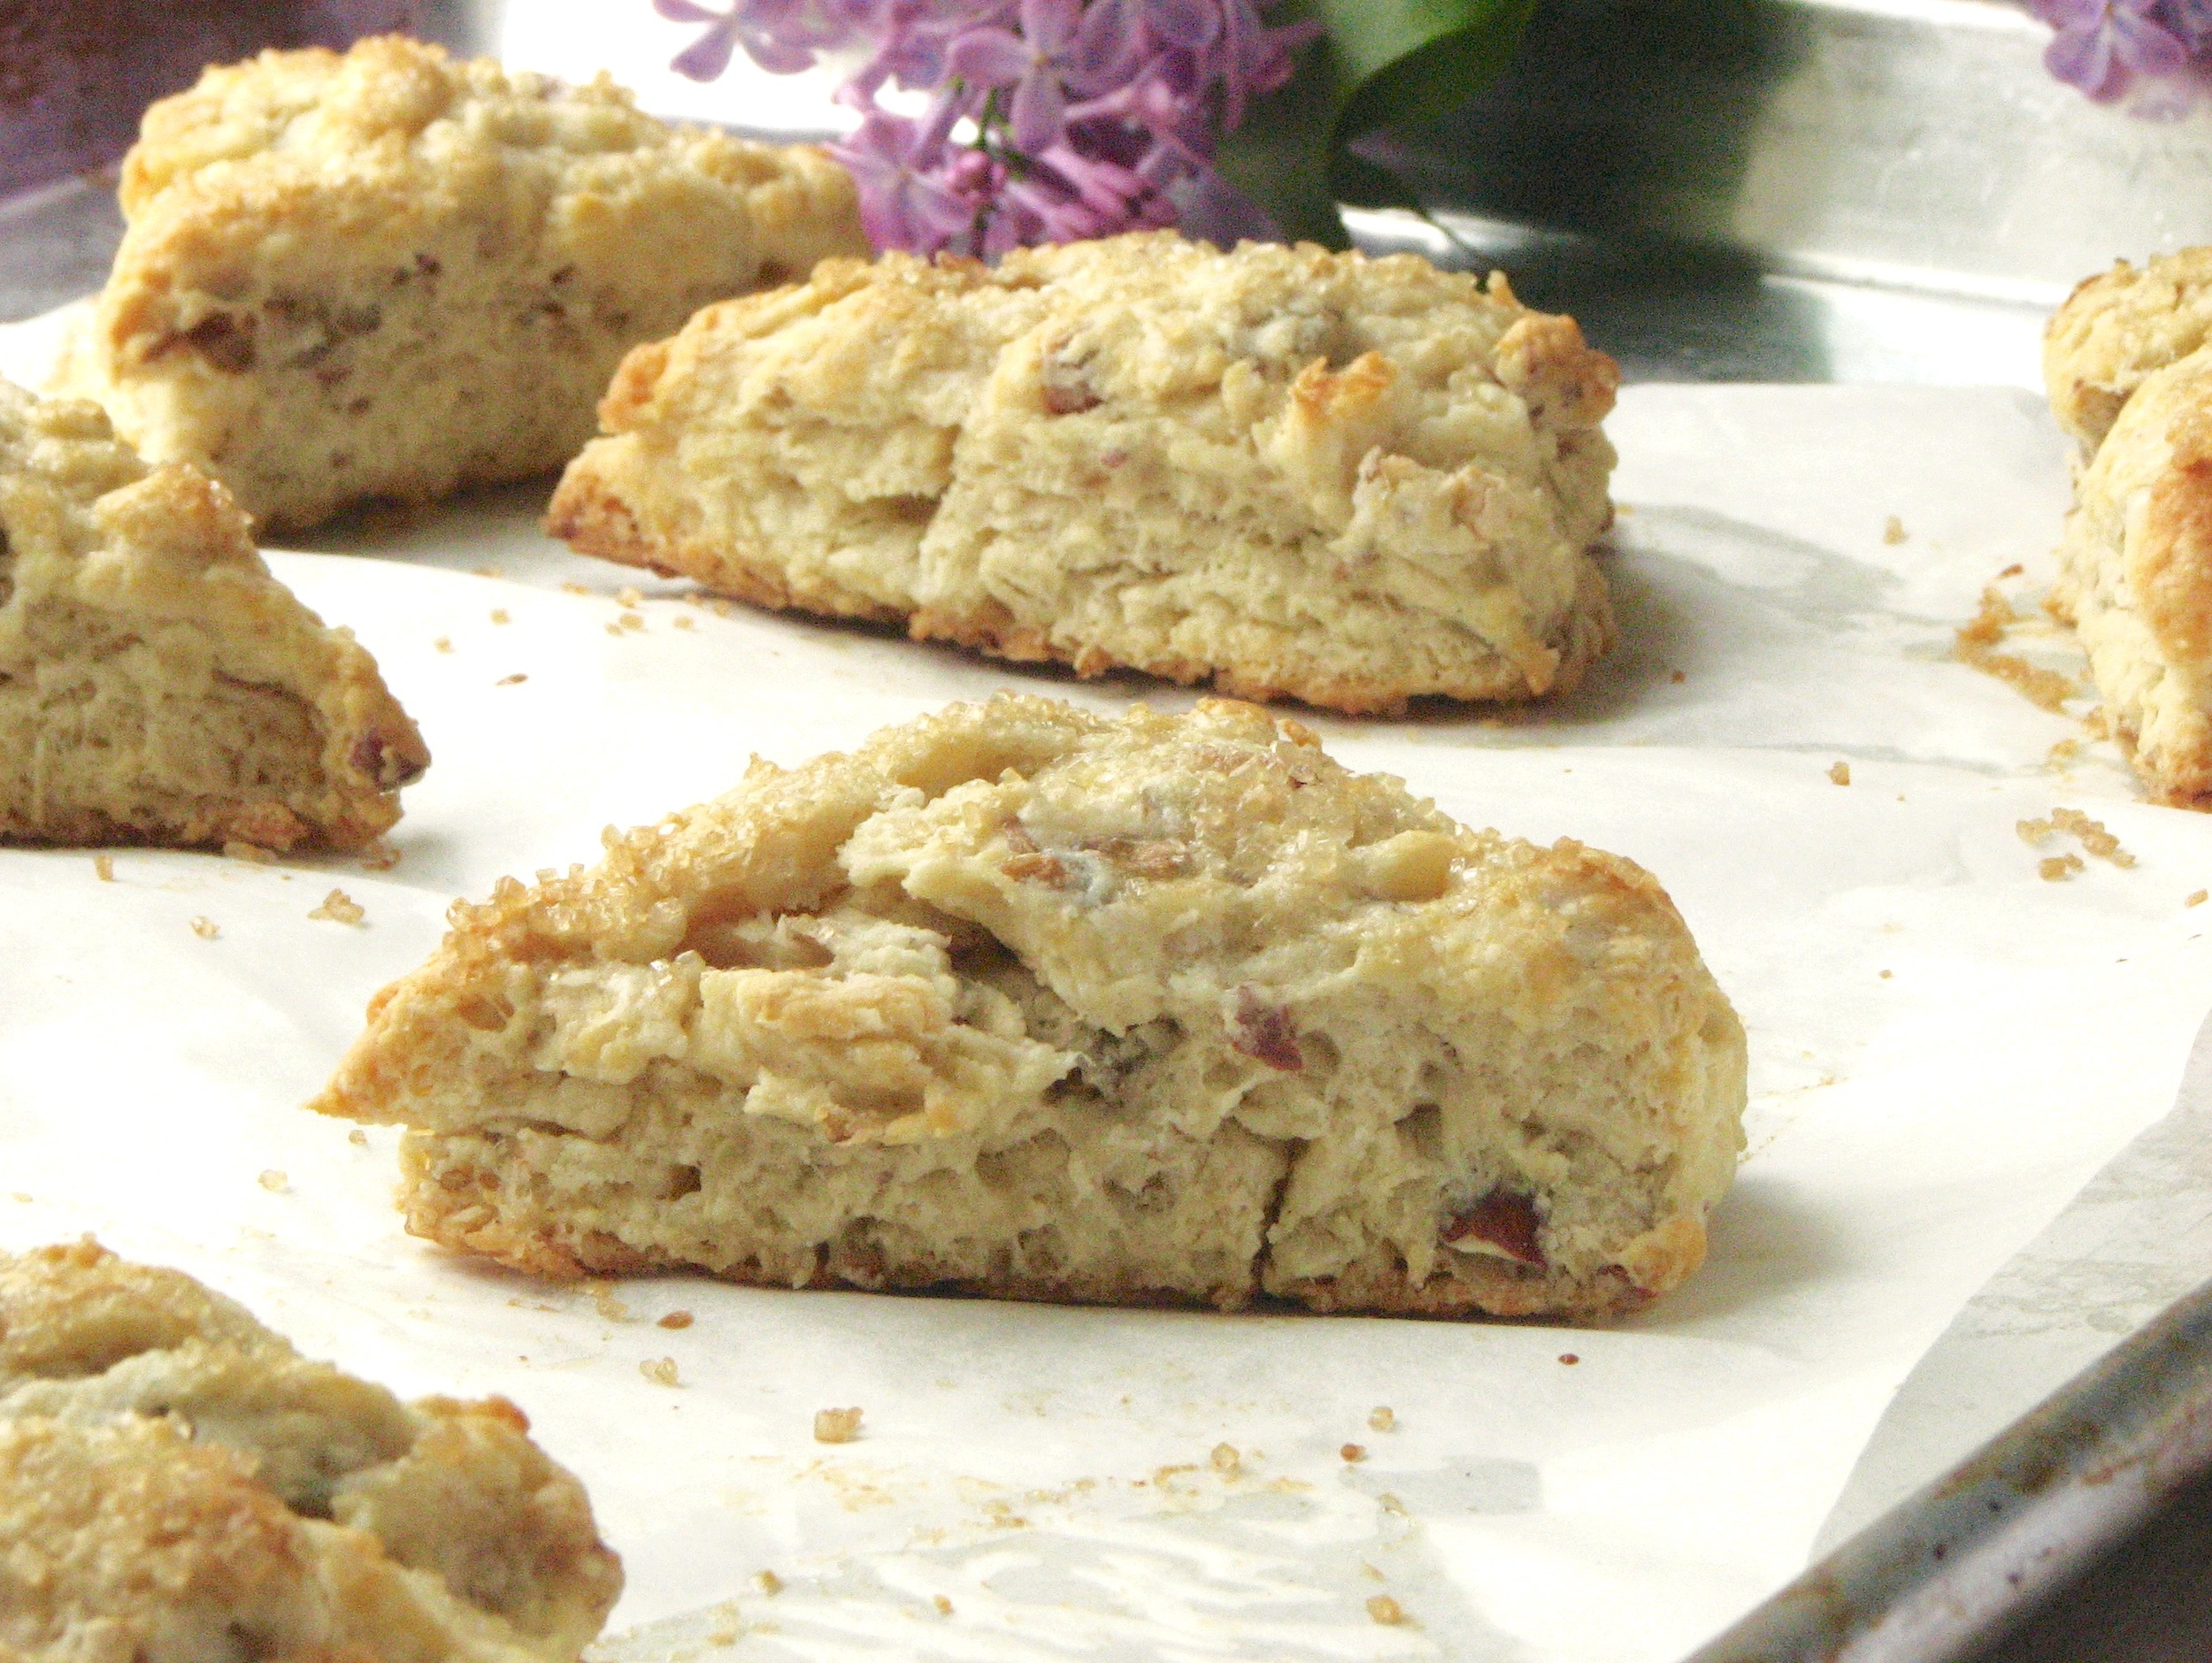


Lilac Blossom Almond Scones
Adapted from Holly and Flora
Ingredients
- 1 1/2 cups (6.75 ounces) flour, all-purpose
- 1 1/2 tablespoons (3/4 ounce) granulated sugar
- 1 1/4 teaspoons baking powder
- 1/4 teaspoon baking soda
- 1/2 teaspoon salt
- 6 tablespoons (3 ounces) unsalted butter, chilled
- 1/4 cup (1 ounce) toasted, chopped almonds
- 3/4-1 cup lilac flowers
- 1/2 cup buttermilk, shaken well (I actually used a mixture of liquid whey and half-and-half because that's what I had and it work wonderfully)
- 1/2 teaspoon vanilla extract
- Turbinado sugar, for sprinkling on top
Directions
Pre-heat the oven to 425 degrees. In a large mixing bowl, combine the flour, sugar, baking powder, baking soda, and salt. Whisk the ingredients together. Cut the chilled butter into small cubes and toss into the dry mixture. Using a pastry blender or your fingers, work the butter into the flour mixture, until pea-sized lumps of butter are present.
Add the almonds, lilac blossoms, vanilla and buttermilk (a little at a time) and fold together in the bowl with your hands just until the all the flour is moistened and the dough holds together. Make sure to not over-work. Lightly flour the ball of dough and flatten it out on the counter, by hand, into a 1/2 -3/4 inch thick disk. Cut the dough into triangles and place onto a parchment lined baking sheet. Lightly dust with turbinado sugar. (At this point I usually place my scones in the freezer for at least 30-60 minutes to firm up. This step is not absolutely necessary, but I find that scones bake up taller and more beautiful when they chill a little first. You can actually freeze the scones entirely, transfer them to a plastic bag and store them in the freezer. Then bake directly from the freezer when needed, adding a few more minutes to the baking time if needed. This is a great time saver on mornings when you want a fresh batch of scones, but don't want the hassle of making them that morning.)
Bake 12 to 16 minutes, rotating the baking sheet halfway through, until turning golden brown on the edges. Serve warm, plain, or with a little butter and your favorite jam.
Yields: 4 large or 8 small scones