Dutch Oven Sourdough
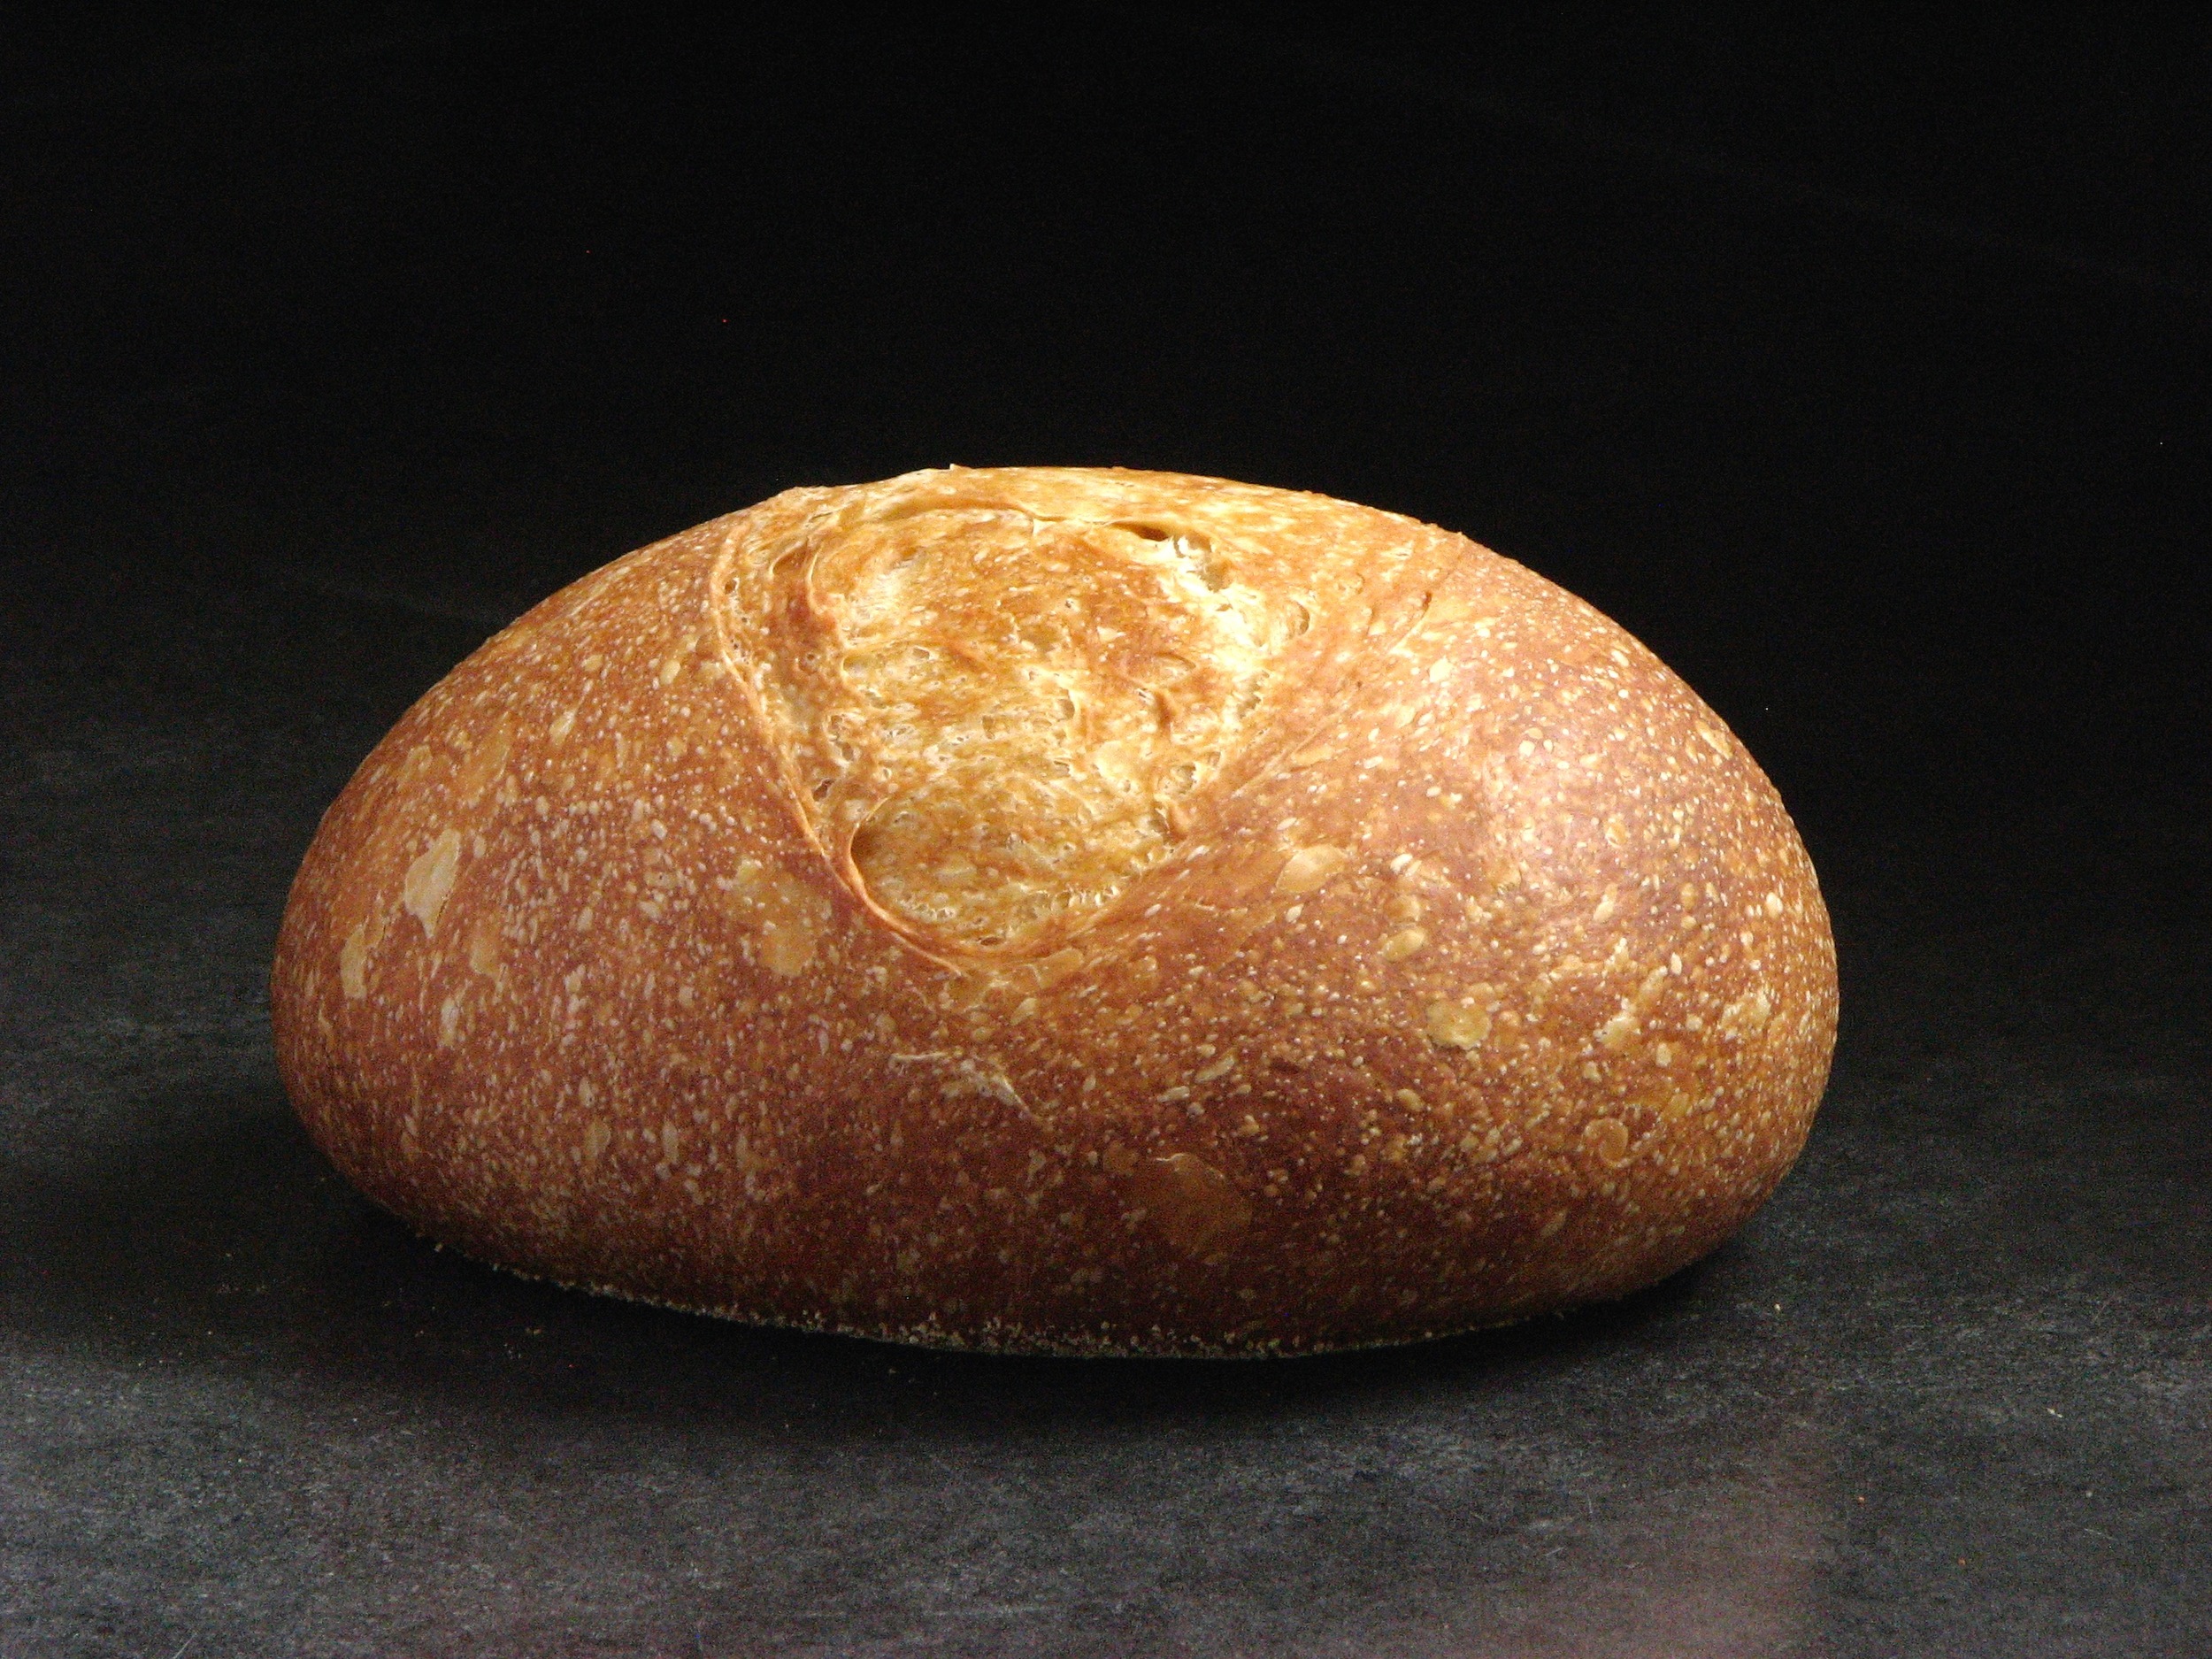
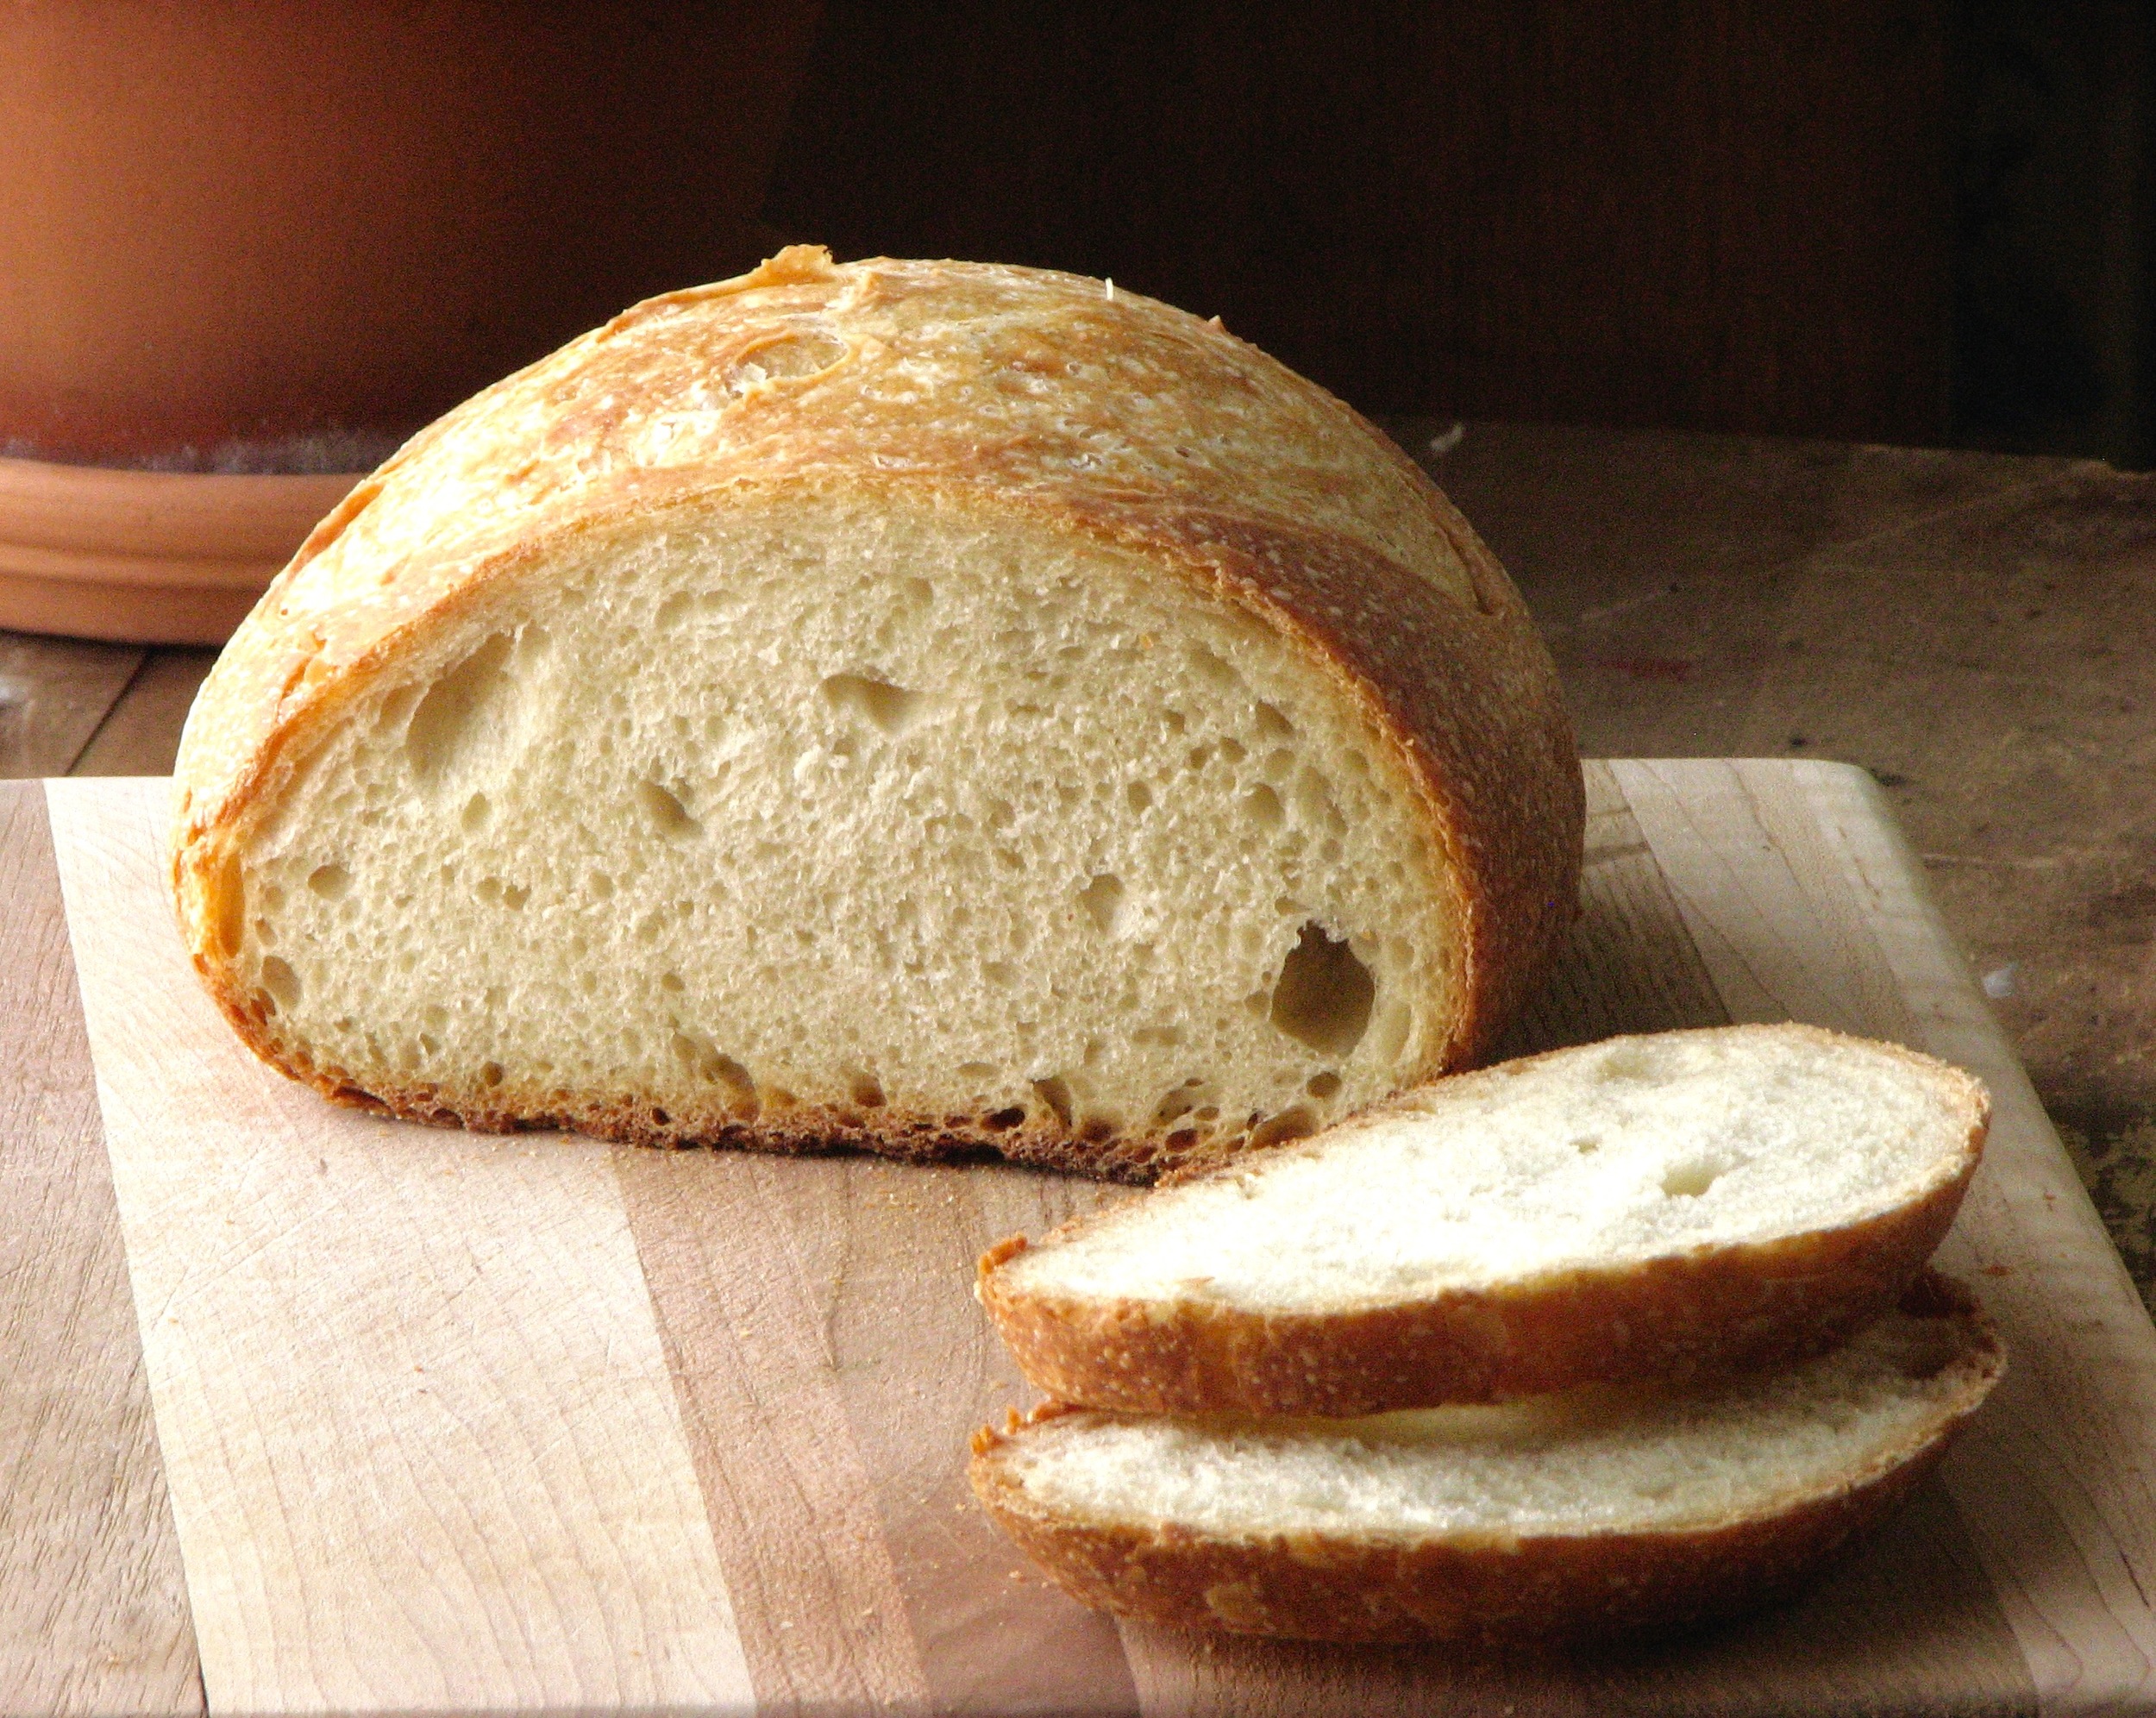
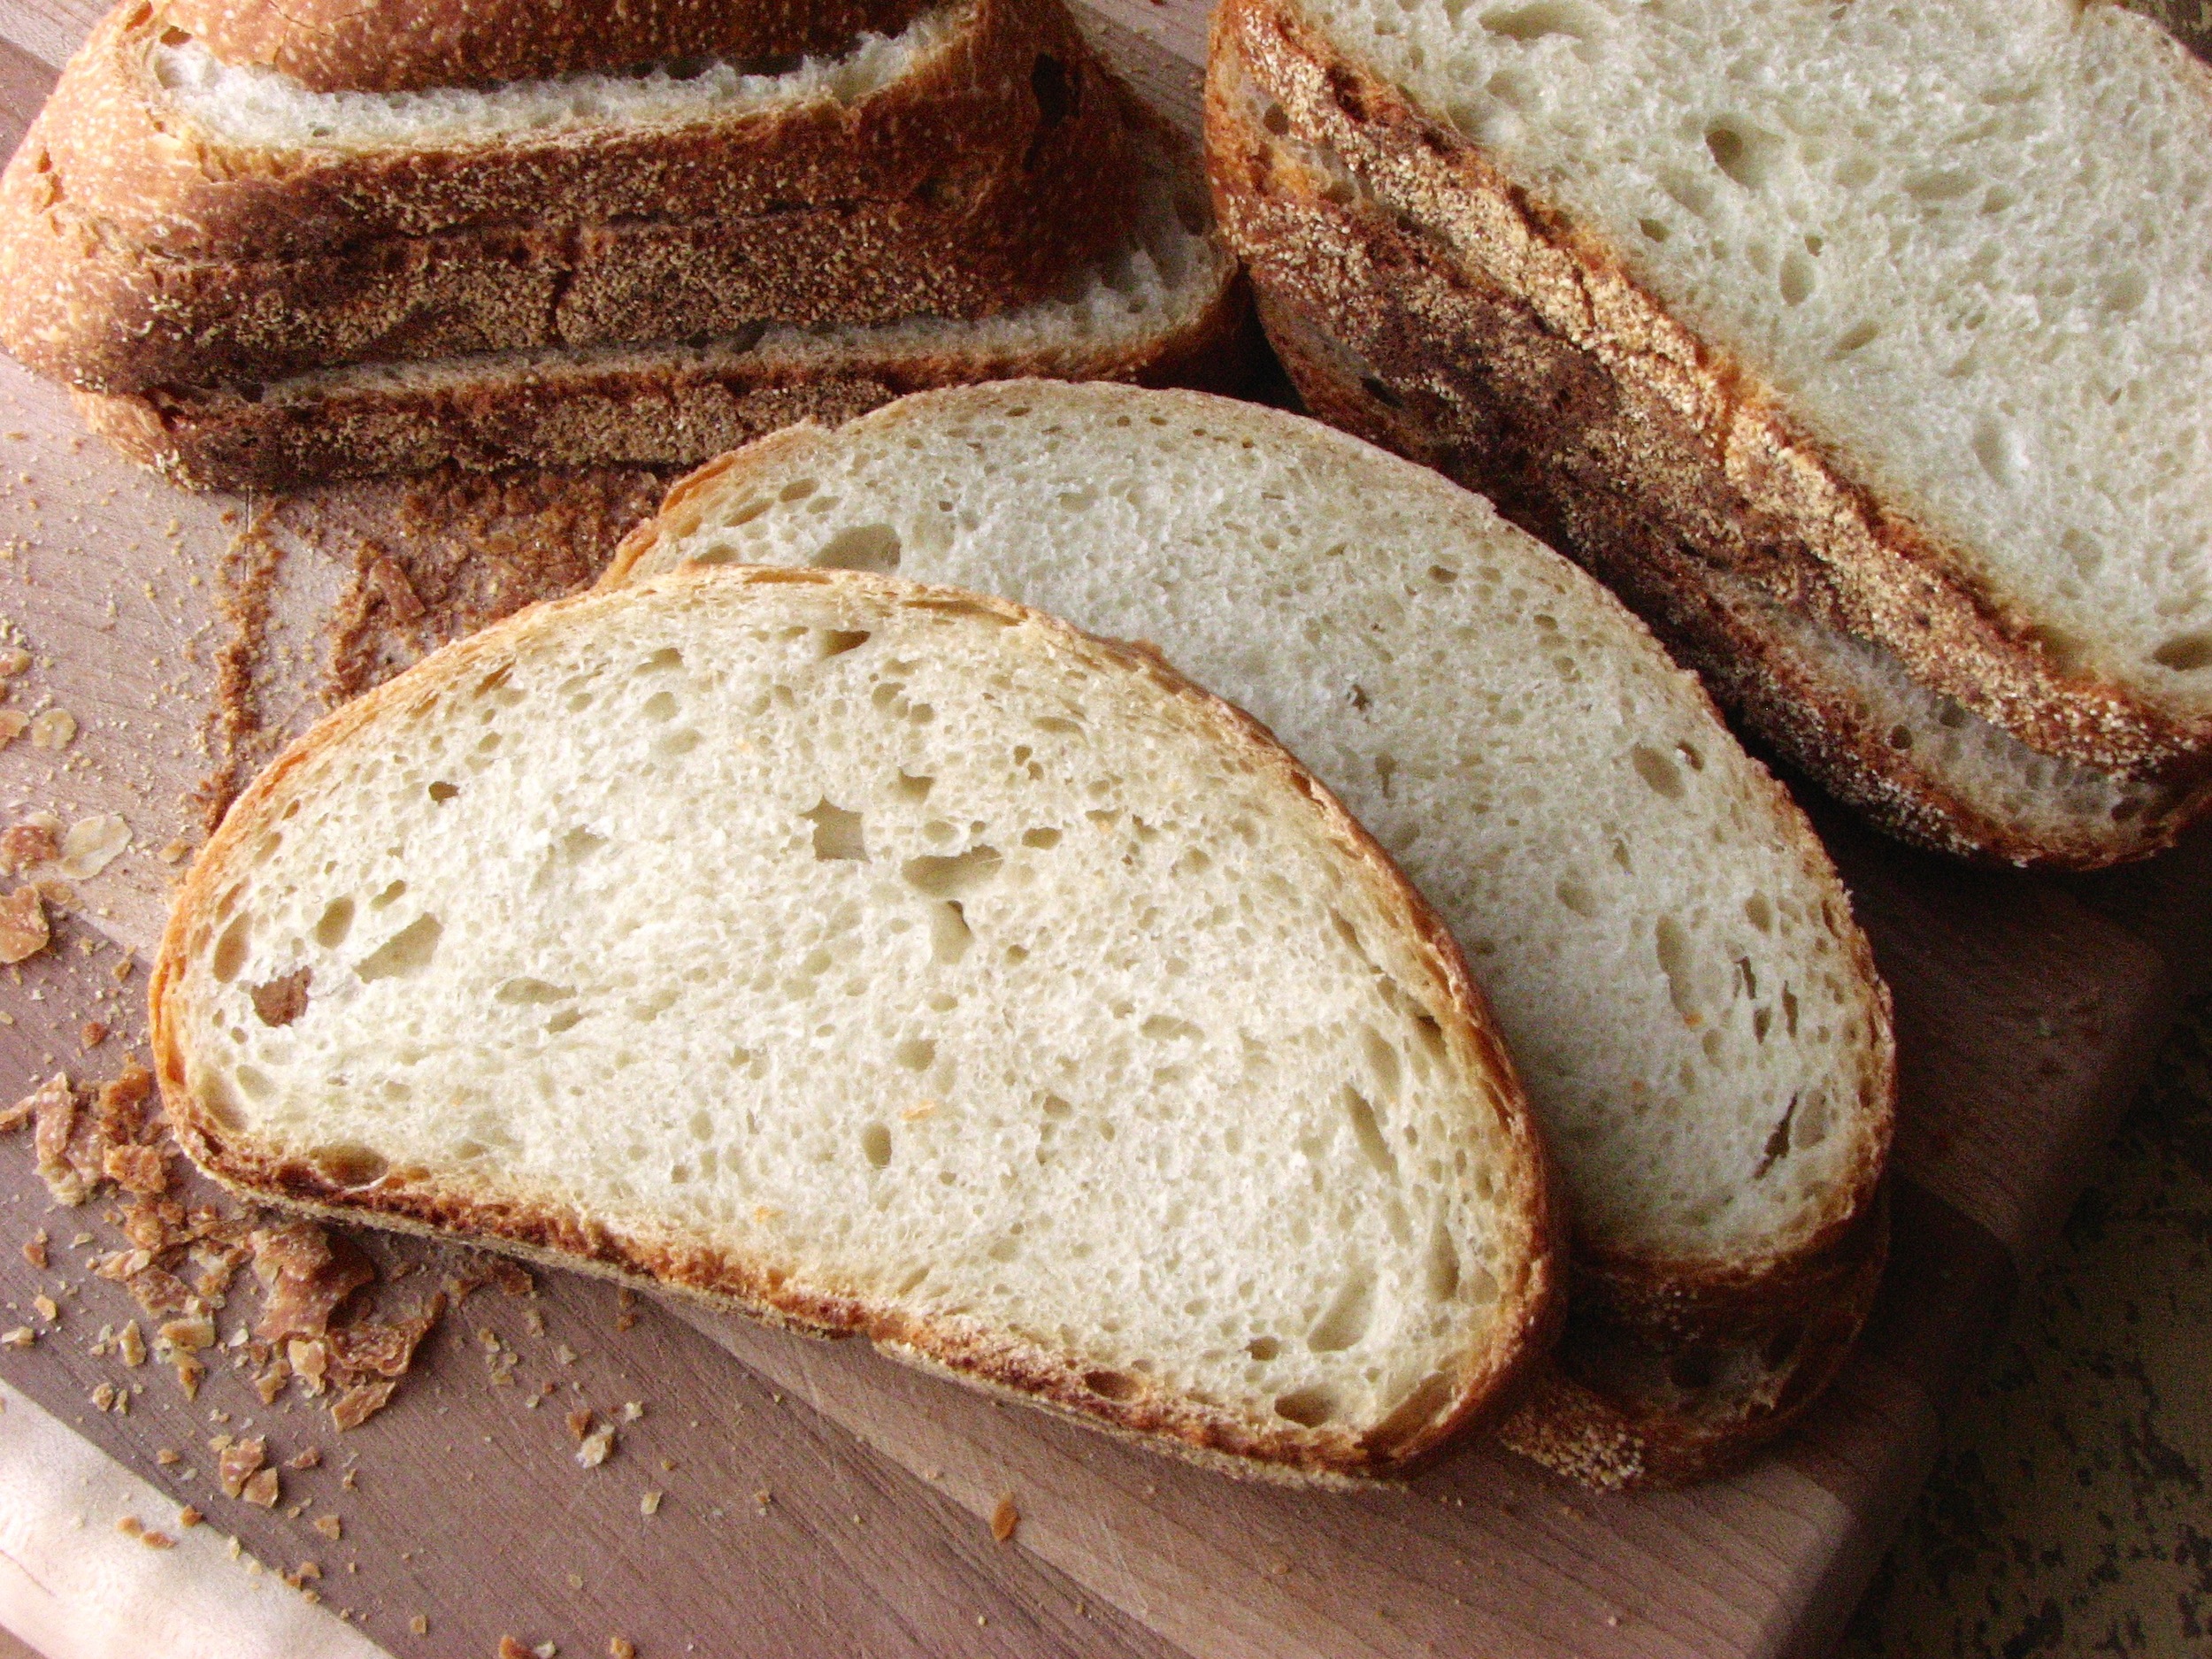
I have been making bread for years now, and am now consistently happy for the most part with the loaves I turn out. While I'm no pro, I can bake up some pretty tasty loaves and rolls whenever I feel like it. One thing had been eluding me however, an artisan-type loaf with a deeply golden, crackling crust, one that shatters into millions of shards when cutting in. I've tried so many different recipes in the past, but they invariably turn out pale, anemic looking loaves with a soft, uninspiring crust. Well, no more! I finally did it, out of my own home oven I pulled this gorgeous, crusty loaf. I may have heard angels singing...
This is a beautiful and simple recipe, there is mixing involved but no real kneading. It takes a bit of time to rise, seeing as there is not commercial yeast involved, as well as the fact that my apartment is sometimes a bit chilly, but there is very little hands on time at all.
I have seen plenty of recipes in the past that call for baking bread in a Dutch oven and how well this can mimic a commercial steam-injection oven, but for whatever reason I never got around to trying it before. When I came across this recipe on The Clever Carrot however, and saw her beautiful finished loaves I decided that it was finally time to try it for myself. I can now say that it worked! I was able to pull out of my very own oven, a blistered, deeply golden brown boule of sourdough bread. As it cooled on the counter I was even able to hear the crust "cracking" as it cooled, music to my ears and such a happy sound.
I know the instructions below are quite long, but it truly is not a difficult recipe. It looks more intense than it actually is, in reality it's actually quite a simple recipe. Check out The Clever Carrot for if you'd like some great photos to go along with the instructions below. Happy Baking!

Dutch Oven Sourdough
From The Clever Carrot
Ingredients
- 5.35 oz / 150g active, fed starter
- 8.80 oz / 250g water, preferably filtered
- .90 oz / 25g olive oil
- 17.65 oz / 500g bread flour (not all purpose)
- .35 oz / 10g fine sea salt
- fine ground cornmeal, for dusting
Directions
To make the dough: In a large bowl, combine the starter, water, olive oil and bread flour. Squish everything together with your hands until all of the flour is absorbed. It will be a fairly firm dough. Cover and rest (autolyse) for 30 minutes.
Add the salt + ½ tsp. of water (to help it dissolve). Lift and fold the dough over itself several times, and squish with your hands to incorporate. The dough will tear slightly as you fold, and the salt will not fully dissolve. Don't worry- this is normal. Work the dough as best you can until it comes back together into a rough ball. At this point, you shouldn't feel any grains of salt beneath your hands.
Bulk fermentation: Cover your bowl with plastic wrap and leave it in a warm spot to rise. Your dough is ready when it no longer looks dense, and has increased in volume about 1½- 2x its original size. This can take anywhere from 3-12 hours depending on the temperature of your ingredients, the potency of your starter and surrounding environment. (Check out The Clever Carrot for her Winter Weekend Baking schedule if interested in a more detailed schedule).
Stretch & folds: During bulk fermentation, you have the option to perform a series of 'stretch & folds' to strengthen the dough. Simply gather a portion of the dough, stretch it upwards and then fold it over itself. Rotate the bowl ¼ turn and repeat this process until you have come full circle. Do every 30 minutes for 2 hours. Although this step is not mandatory, it will increase the total volume of your bread.
Cutting & shaping: To cut and shape the dough, divide your work surface in half; lightly flour one side (for cutting) and leave the other half clean (for shaping).
Remove the dough from the bowl, and place onto the floured section so that it does not stick. You do not need to 'punch down' the dough; it will gently deflate as you fold and shape it.
Cut the dough in half to make 2 loaves, or leave it whole for a single loaf.
To shape, use a bench scraper to move your dough to the non-floured section (if there is any flour present, it will be difficult to shape- brush away any excess). Gather the dough, one side at a time, and fold it into the center. Flip the dough over and place it seam side down. Using your hands, gently cup the sides of the dough and rotate it, using quarter turns in a circular motion. You can also pull it towards you to even out the shape. Repeat this process until you are happy with its appearance. *See note below.
Second rise: Coat the bottom of your Dutch oven with cornmeal. Place the dough inside for a second shorter rise, about 1 hour. It is ready when the dough is slightly puffy, try not to over-rise the dough at this point or it will lose some of its strength, and will not get the boost it needs to produce a nice, round loaf.
Preparing the oven: About half an hour before you're ready to bake, preheat your oven to 450 F.
Slashing the dough: Right before your bread goes into the oven, make a shallow slash about 2 inches long in the center of the dough. Use a bread lame, a sharp pairing or serrated knife.
Place your bread into the oven (lid on) and bake for 10 minutes, then reduce the oven temperature to 400 degrees and continue baking with the lid on for 10 more minutes. Remove the lid, and continue to bake (uncovered) for an additional 40 minutes or until deep, golden brown, rotating the pot halfway through. Keep in mind that all ovens are different; you might have to make minimal adjustments to these temperatures.
During the last 10 minutes of baking, crack open the oven door. This allows the moisture to escape, leaving your bread with a crisp crust. You can also take the internal temperature of your bread to double check that it is done. For sourdough, it should read about 205 F.
Cooling: Remove the bread from the oven, and cool on a wire rack for at least an hour before slicing. Don't cut too soon or else the inside will have a gummy texture!
NOTES
*When shaping, the idea is for the dough to catch enough surface tension on a non-floured area in order to create a tight ball. If there is flour present, it will slide around...and drive you nuts.