Lime Cornmeal Cookies

I first made these cornmeal cookies 5 years ago when I was living in Dearborn. So much has happened since that time, but one thing that has not changed is how delicious these cookies are. That first batch was back in the early years of this blog and the photos on that first post were not so hot (if you're interested in taking a look you can see it here). I thoughts it was time to revisit this recipe and give it the photos it deserves. 

It had been a little while since I'd made a batch of these cookies, but I was having some friends over for a Bible study and the food I was making was full of Mexican flavors so I thought these cookies would be the perfect dessert to finish off the night with. They are buttery and tart with a wonderful crunchy texture from the cornmeal. The lime glaze on top really finishes them off nicely. All around a great cookie that's just a little bit different than the usual. Everyone I served them to loved them, so I'm sure anyone you serve them to will love them too! 

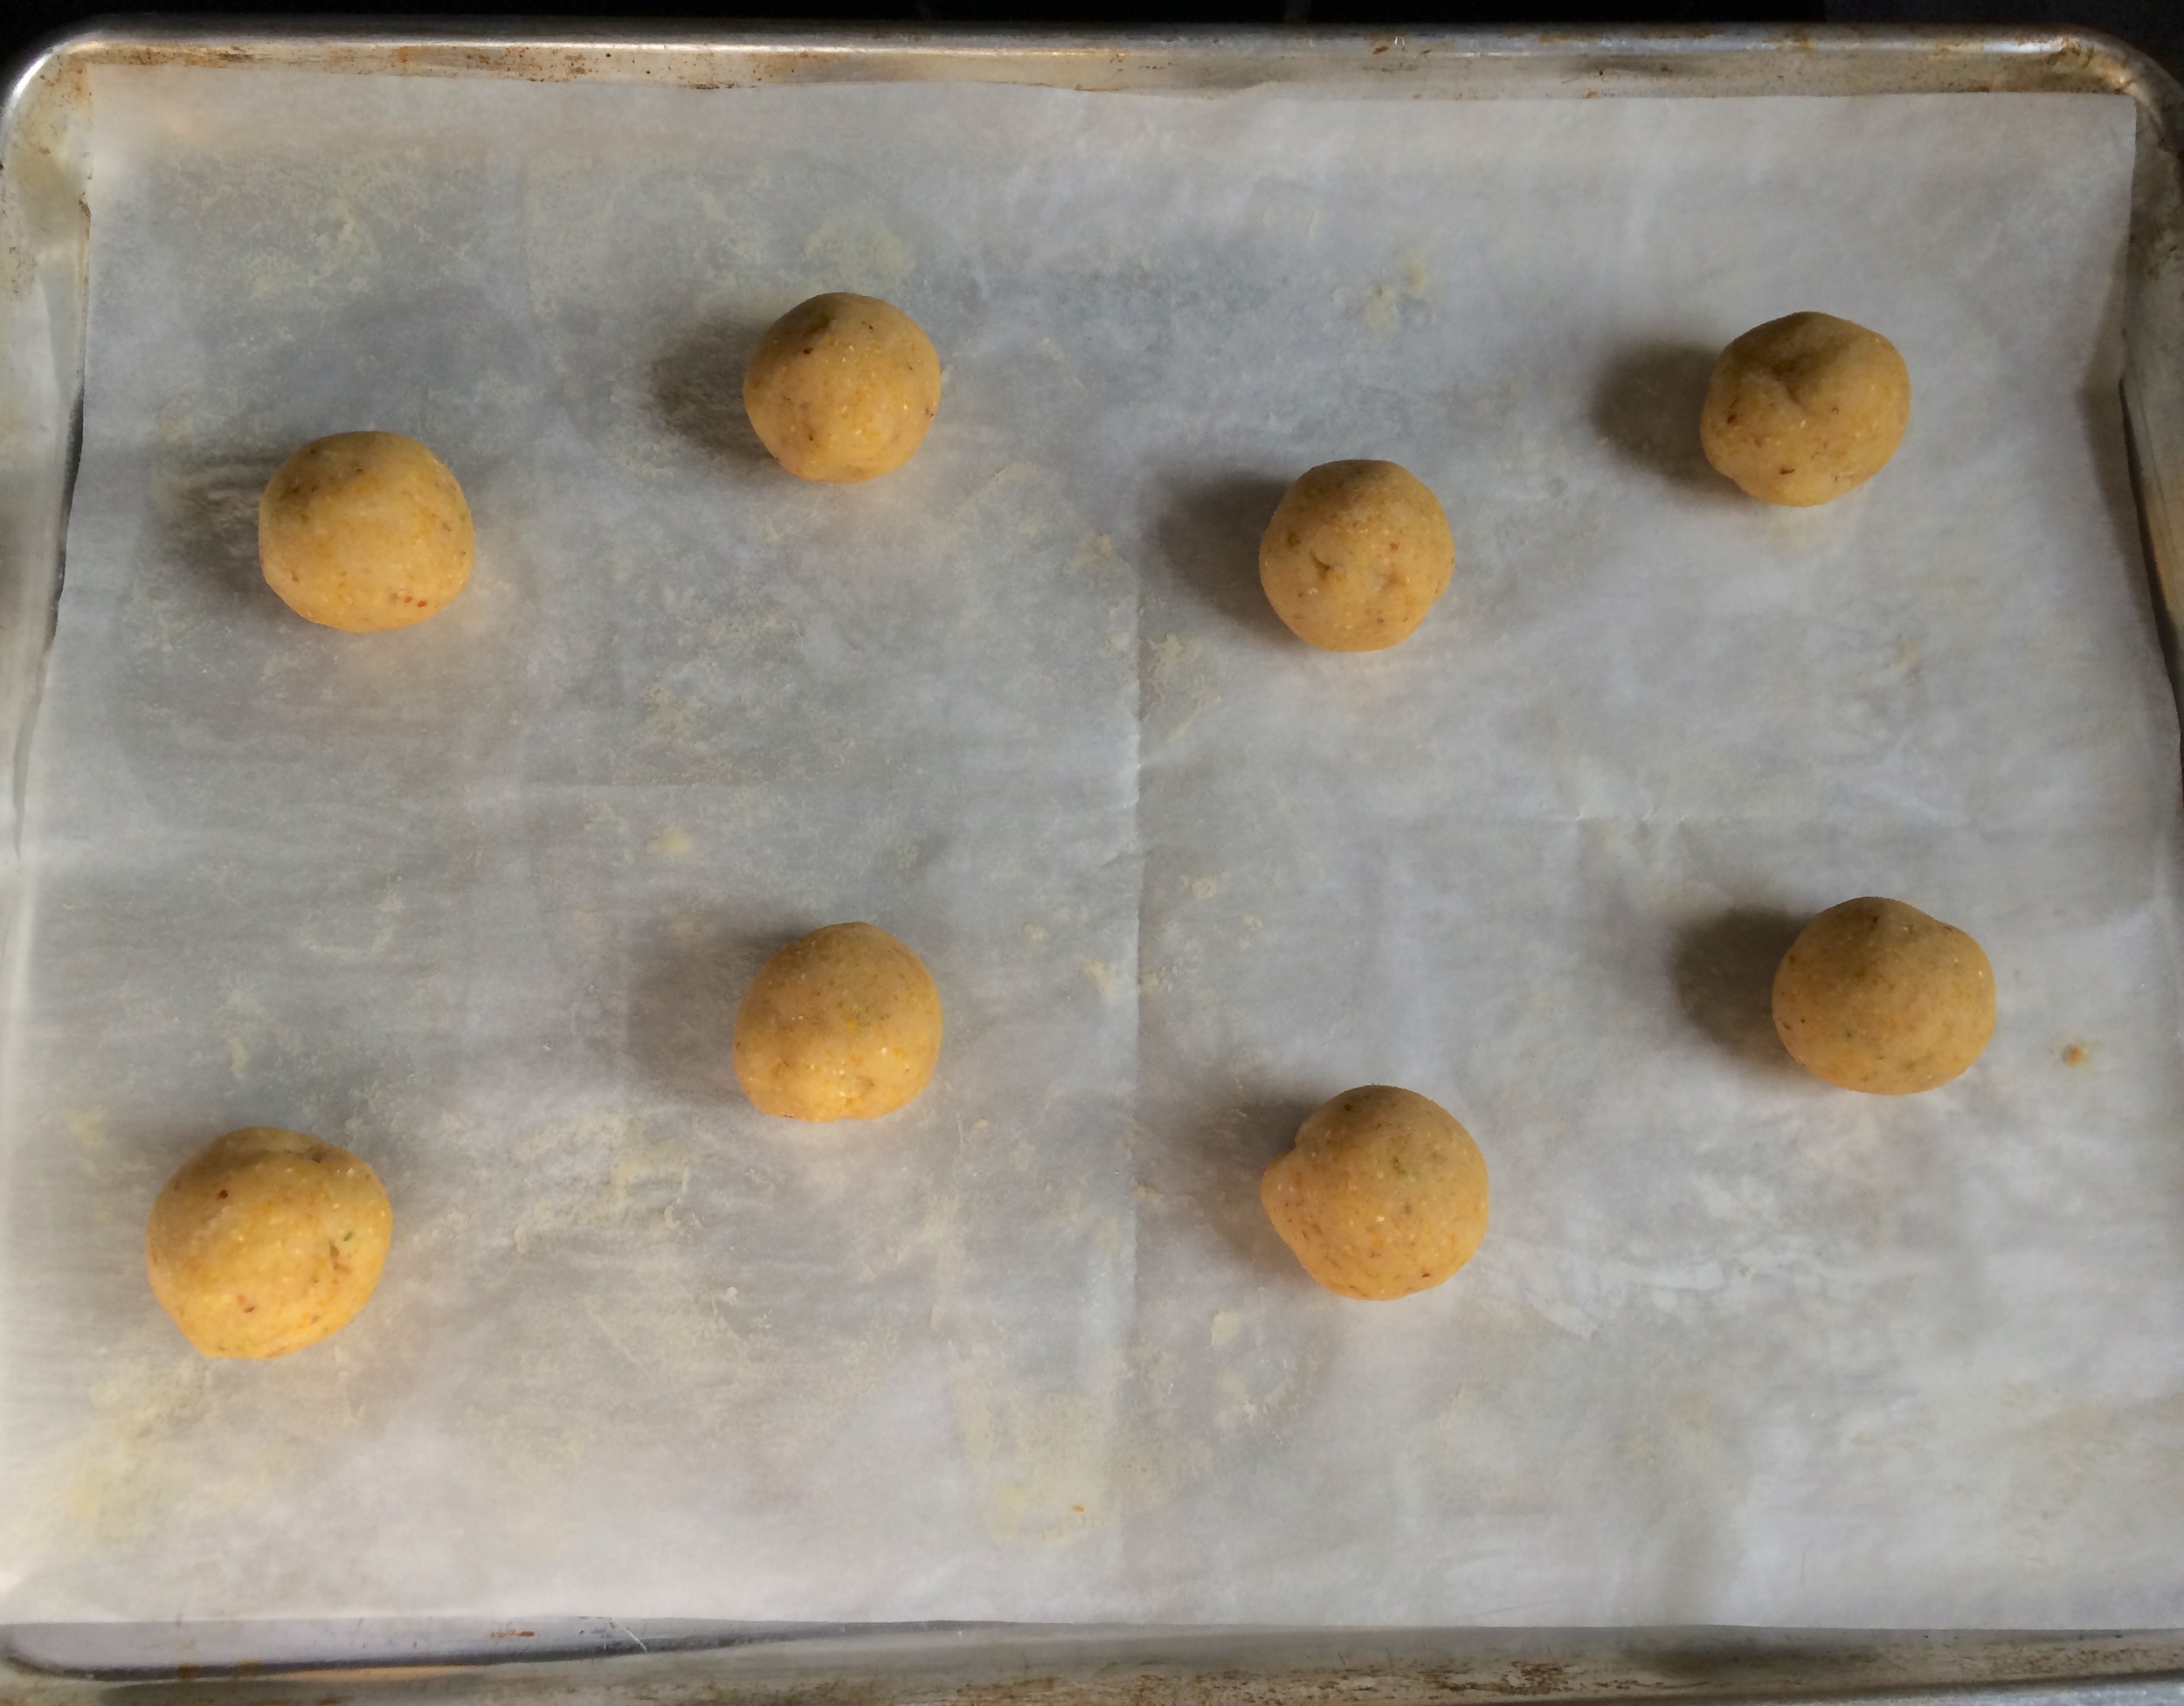
I halved the original recipe this time, the full batch makes quite a few cookies and I didn't need that many on this occasion. When shaping them I used my scale and made each cookie 30 grams, this yielded 17 cookies that were the perfect size in my opinion. The recipe calls for 90 grams cookies but that is just massive. I'm sure they'd be awesome, but I didn't feel the need to make mine this big. I ended up chilling the dough overnight before baking which is not called for in the original recipe, but the dough was fairly soft, and I had the time to throw it in the fridge before I needed to bake. The cookies might spread a little more if you don't chill the dough, but I haven't tested this. They did spread a bit regardless of the chilling, so just make sure there is enough space between each ball of dough before putting in the oven. And if you're feeling tempted to skip the lime glaze as I was...don't! It really finishes off the cookies perfectly - the sweet and tart glaze complements the crunchy and buttery cookie and brings them up a notch. Plus, it just looks so cute! 


Lime Cornmeal Cookies
Adapted from The Sweeter Side of Amy's Bread by Toy Kim Dupree and Amy Scherber

  • 3/4 cup (3 1/2 ounces) all purpose flour
  • 1/2 cup (3 ounces) coarse cornmeal or fine grits
  • Scant 1/2 cup (2 ounces) bread flour
  • 7/8 teaspoon kosher salt
  • 1/2 teaspoon baking soda
  • 1/2 cup plus 2 tablespoons (4 3/8 ounces) granulated sugar
  • 1/2 cup (4 ounces) butter, slightly softened
  • 3/4 ime zest, finely minced
  • 1 egg
  • 1 egg yolk
  • 1 cup powdered sugar
  • 1 1/2 tablesppons lime juice

Directions
Preheat the oven to 350 degrees. Line a cookie sheet with parchment paper.

In a bowl, add the all-purpose flour, cornmeal, bread flour, salt and baking soda and whisk together. Set aside. 

In another bowl, using an electric mixer with a paddle attachment, cream the sugar, butter and lime zest together on medium speed for 2 minutes, or until light and fluffy, scraping the sides and bottom of the bowl frequently. Add the egg and egg yolk, mixing until every thing is well combined.

With the mixer on medium-low speed, add the dry ingredients in stages. Mix only until everything is well combined, scraping the sides and bottom of the bowl frequently. There should not be any pockets of dry flour left in the dough. At this point, you can refrigerate the dough overnight, or move on immediately to the next step. 

Portion the dough into individual balls, rolling them between your hands to make them uniform. Place them on the cookie sheet with an inch or two between each cookie. They will spread during baking. (The original recipe calls for you to make giant cookies, 90 grams/3.2 ounces of dough each, which is huge and wonderful. However, I made my balls of dough a little more reasonably sized at 30 grams, 1-2 tablespoons, each.) This dough will be soft, so don't flatten the dough balls at all before baking. Bake the cookies for 16-18 minutes, rotating the cookie sheet halfway through the baking time. The cookies should be lightly browned on the edges and baked all the way into the center. They should be soft, but be careful not to underbake them or the centers will collapse and be doughy.

Cool the cookies on the sheets for 5 minutes, then move them to a rack and cool completely before glazing.

Whisk together the confectioner's sugar and the lime juice to make a loose glaze. Use a 2 inch pastry brush to frost the top of each cookie, leaving an unfrosted 1/4 inch border around the edge. Let the glaze dry completely before storing the cookies in an airtight container.

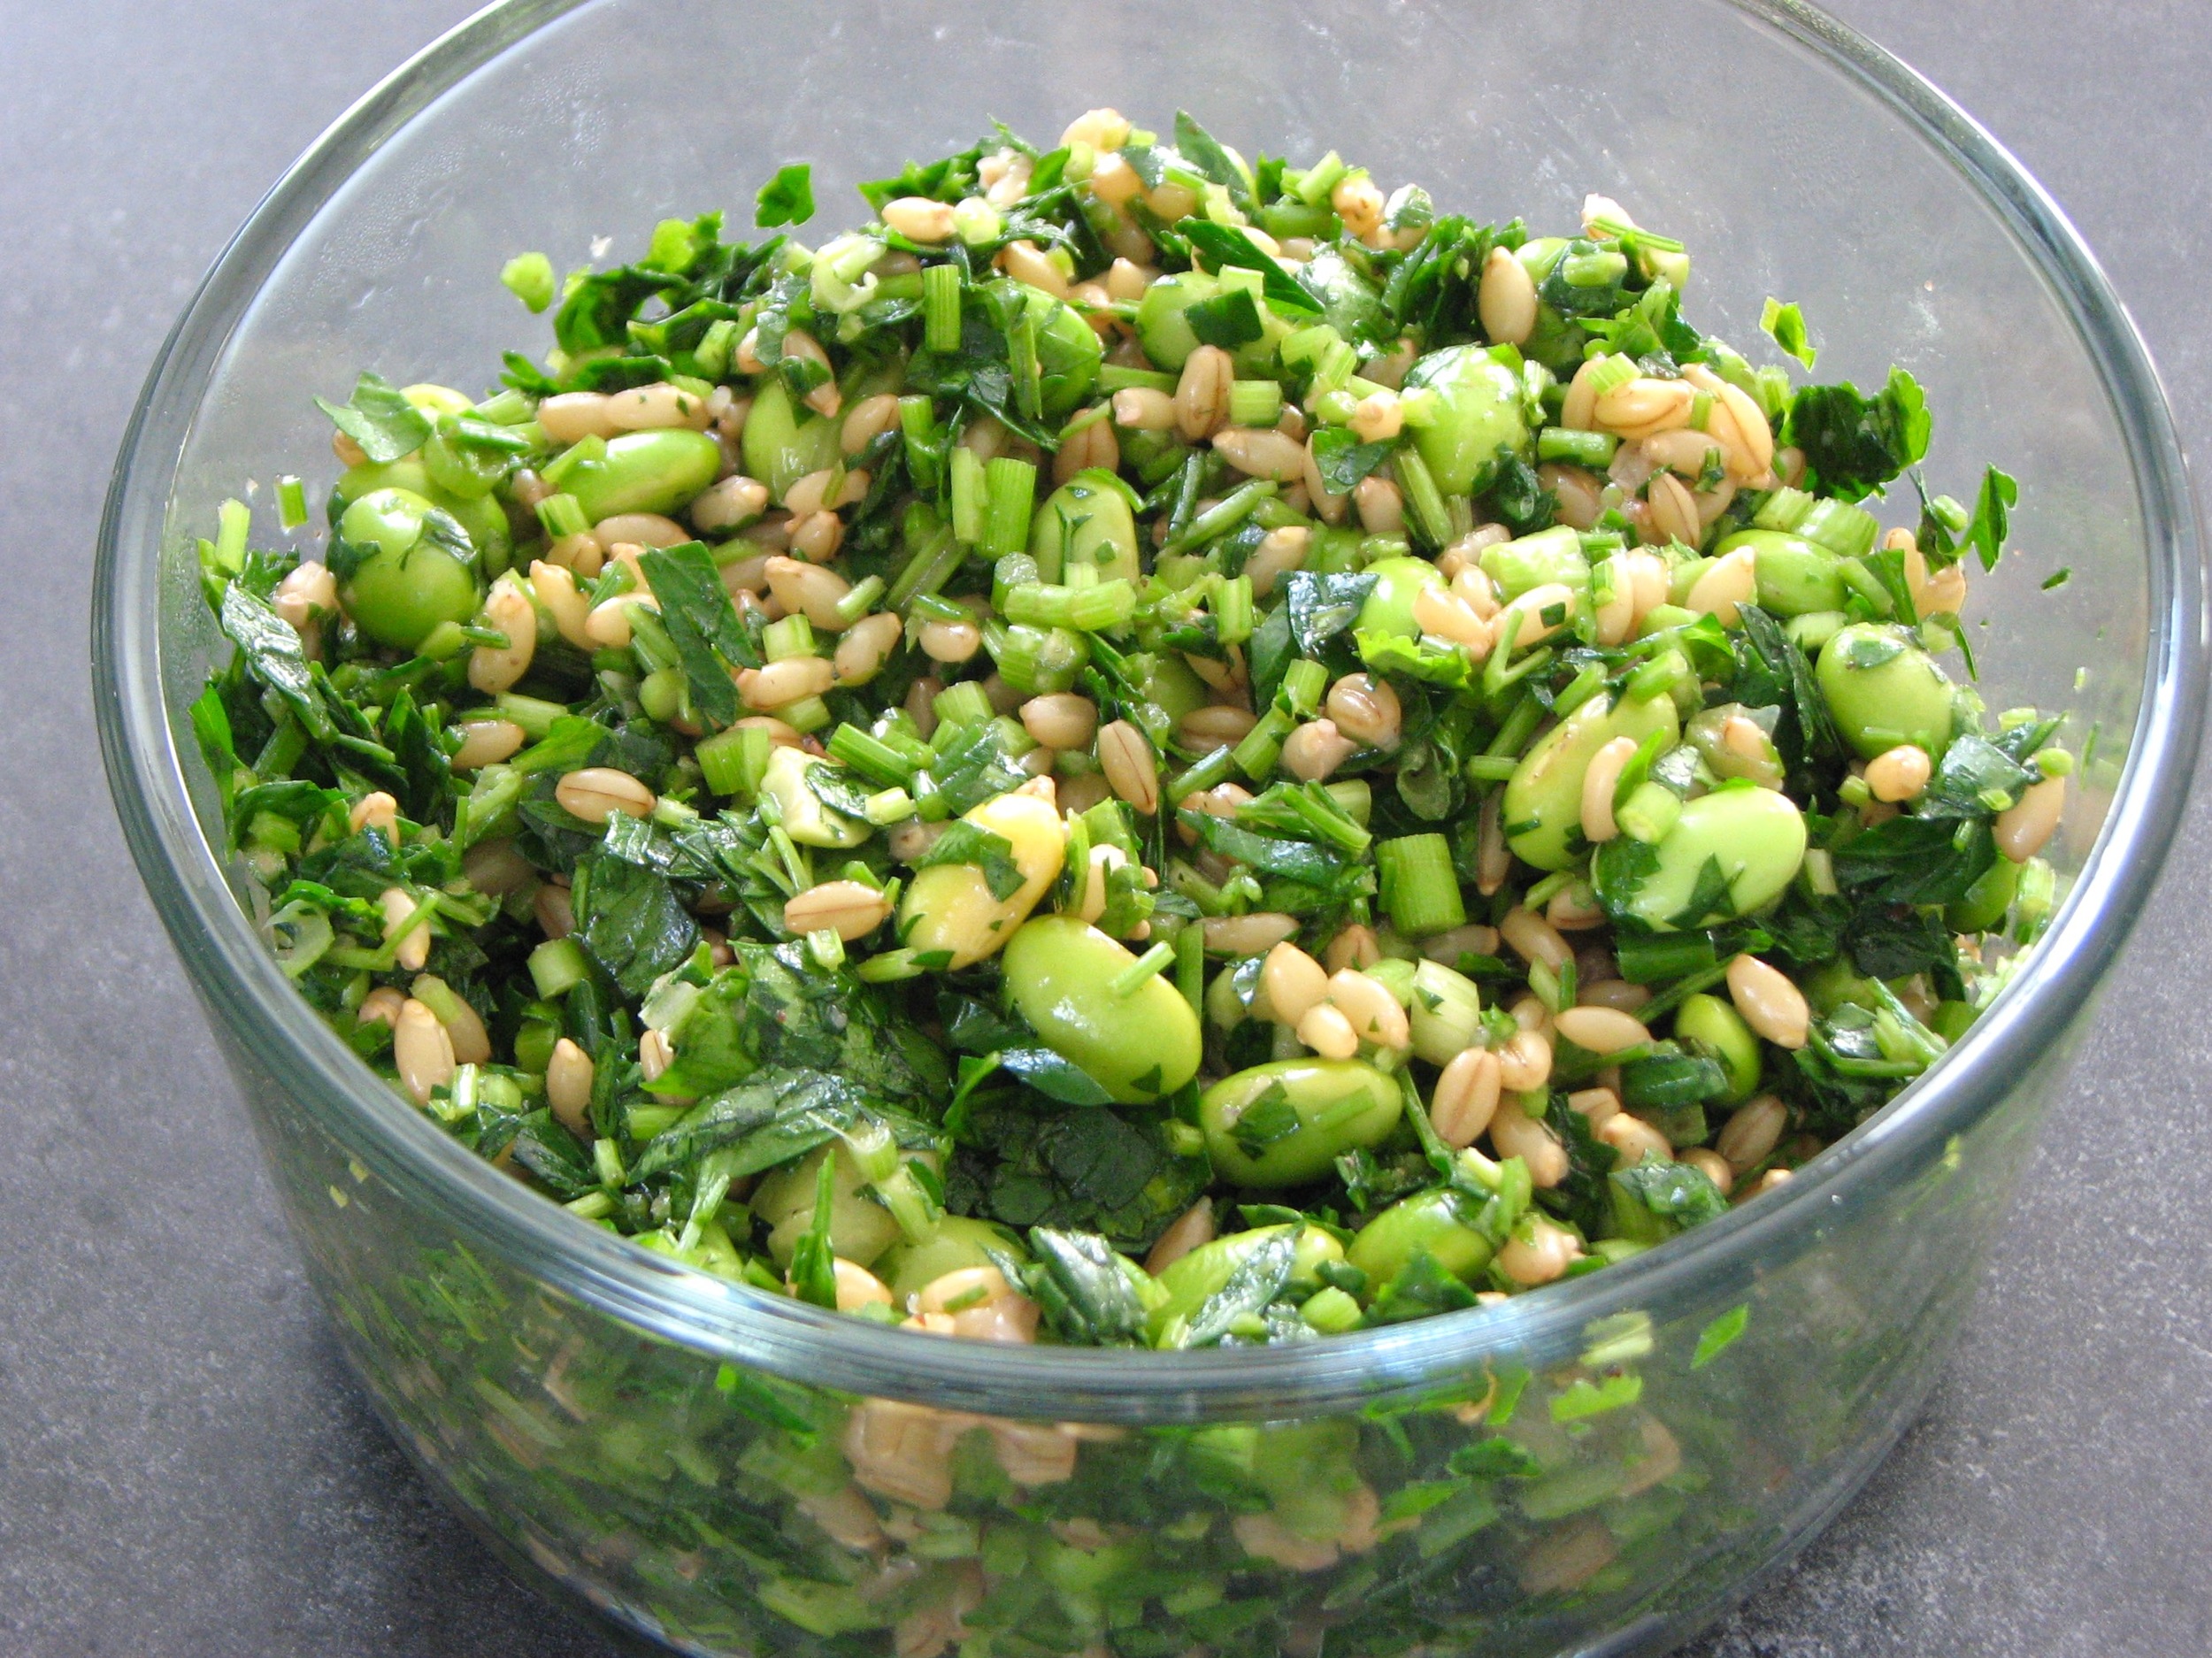
Herb Salad with Edamame and Barley

I don't know about you, but every so often I end up with a ton of herbs in my fridge that I keep meaning to use but for whatever reason I haven't been able to get too. This is especially a problem if I'm also going out of town for a little while and need to use these herbs up before leaving. I absolutely hate throwing herbs away, so I usually come up with some way to use up a big chunk of them all at once.  Some of my favorite quick options for preserving herbs include making pesto with whichever herb(s) I have and then freezing it for later, or even just chopping them up finely, placing them in ice cube trays, covering with water and freezing. Not as good as fresh herbs, but great in a pinch! 

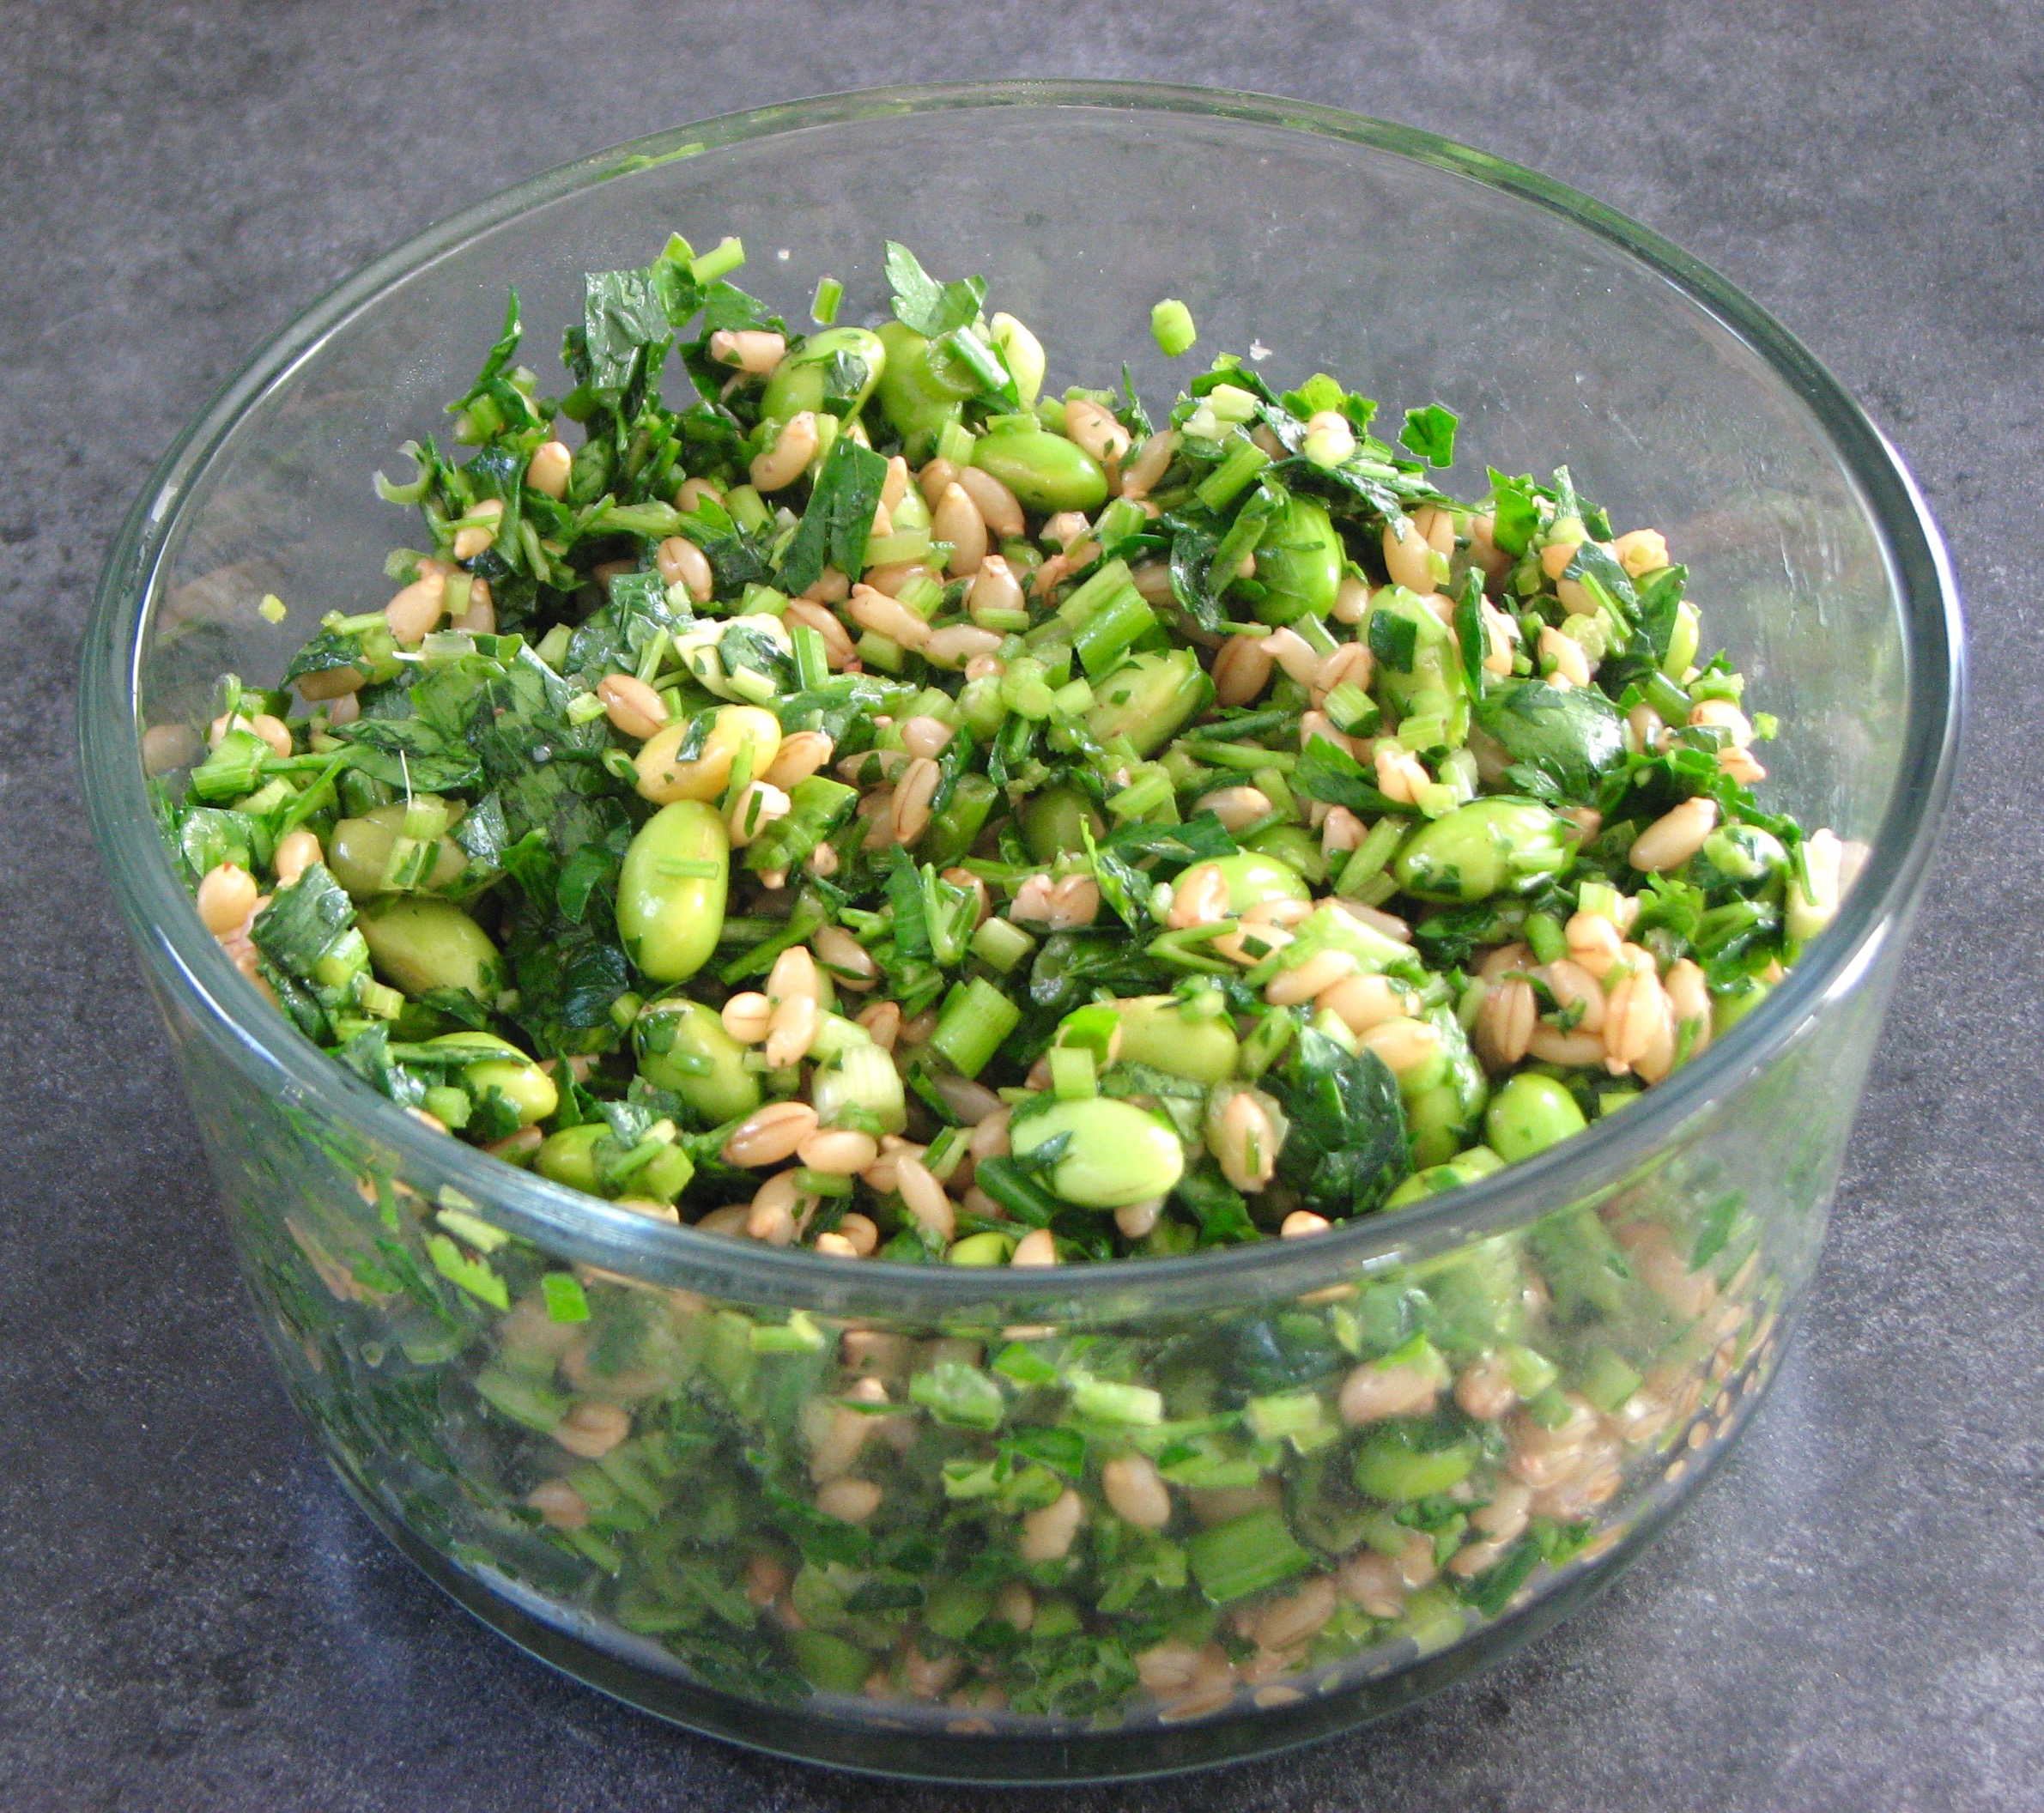
Recently however I was headed out of town and wanted to use up my herbs quickly without having to freeze them, my freezer was a little full and I didn't want to add to it. I decided to make an herb salad, my own little spin on tabbouleh I guess you could say. I kind of eye-balled everything, there is no need to be exact in these situations. Below is my approximate measure of what I used, but you can scale up or down depending on what you have and what you need to use up. Let your imagination go wild!

For the grain in this salad I used hull-less barley from Bob's Red Mill, but you can use whatever whole grain you like; quinoa, brown rice, or wheat berries would all be wonderful. I like the chewiness of the hull-less barley which is very similar to wheat berries, but any whole grain will do. I also added in some shelled edamame that had been floating around my freezer for a while. I figured I mind as well clean something out of the freezer as well as long as I was at it! The edamame was perfect with the fresh herbs and hearty barley. Regardless of the herbs and grain you use you're sure to end up with a fresh and healthy salad that can really clean out that fridge when need be!


Herb Salad with Edamame and Barley
From Delectably Mine
Ingredients

  • 1/4 cup hull-less barley
  • 1 bunch parsley, chopped fine
  • 1/2 bunch cilantro, chopped fine
  • 3-4 green onions, sliced thin
  • 1 cup shelled edamame
  • Your favorite vinaigrette 

Directions
Place barley in a small stockpot. Add water to cover and a pinch of salt. Bring pot to boil, reduce heat to simmer and let cook until barley is tender, 30-40 minutes. 

Meanwhile, chop up your parsley, cilantro and green onions and add to a medium sized bowl. Defrost edamame and add to the bowl of herbs. 

When barley is cooked, drain excess water and add the barley to the bowl as well. Add vinaigrette, a few spoonfuls at a time, tossing between each addition, until the salad is dressed to your liking. Add additional salt or pepper if needed. Eat immediately or let sit for a few hours for the flavors to meld. 
 

Buckwheat Scones

Earlier last month I went on my last trip before residency started. The last hurrah to normal life for a while. Lara and I took a quick trip to Chicago to visit our cousin who lives in Bucktown. We had been talking for a while about us visiting Chicago to see her and her place, and explore her neighborhood. We finally got it done just in the nick of time. We only went for a short weekend, but we had a marvelous time while there. Did a lot of walking, exploring, shopping and of course, eating! I had my first real ramen eating experience which was awesome, visited a great local coffee shop, and perhaps most importantly, grabbed a quick breakfast at a nearby bakery before church on Sunday morning. 

Since Lara and I are earlier risers than most, we got up before anyone else on Sunday and decided to grab some coffee and pastries while everyone else in the house slept. Just a couple miles down the road was Floriole Bakery. I'd been here the last time I visited Chicago and loved it, knew it was a place I would go back to. I was right, it was just as wonderful on this visit. It was very difficult to decide what to get, everything looks amazing, but I ended up ordering a delicious cup of coffee and a buckwheat scone which sounded interesting to me. It was the perfect choice. I absolutely loved the scone. The combination of the buckwheat combined with a little cardamom and some citrus notes was just perfect. A little sandy and course in texture, but not too crumbly. I instantly wanted to recreate this at home. 

When I got back to Michigan I did a little online searching and wouldn't you know it, I found a recipe for buckwheat scones from Floriole Bakery on the Chicago Tribune's website. Perfect!! I quickly ran to the store for some buckwheat and whipped a batch of these beauties together. The verdict? The flavor is spot on, but the texture is slightly different, not as sandy. Their scones almost seemed like they had cornmeal in them, giving them a coarser texture which my scones did not have. When I look on the bakery's website online they describe the buckwheat scones as flourless while this recipe calls for 1/3 cup of flour. So there are definitely some differences, not surprising, but in the end it's not a big deal. This recipe is definitely similar to the original and most certainly a keeper! It is unique, easy to make and delicious. I will definitely make these over and over again!
I made a few changes to the recipe as it was printed online. I replaced the orange zest with lemon zest because I didn't have any oranges. I was bummed about this because I love adding orange to baked goods, but they still turned out great. I  also didn't use cream as stated, but instead used a mix of whole milk and liquid whey (2 ounces whole milk, 1 ounce whey) to make my own "buttermilk" and it worked just fine. I did only needed to use 6 tablespoons of liquid though, as opposed to the 1/2 cup of cream called for. So be careful when added the liquid, start with less than 1/2 cup because you may not need it all. 

Because there is not a lot of gluten in these scones (buckwheat is actually not wheat and is therefore gluten free) they are a little more delicate than traditional scones, but they aren't so delicate as to fall apart with a glance. As with the original scones, this recipe calls for you to make a thumbprint in the scones before baking and fill this with raspberry jam. I didn't have raspberry jam, or any other jam, so I skipped it this time and they were just fine without it. But for a little extra oomph of flavor I would definitely add this in on another go around. So if you're looking for something a little different for breakfast, or have been wanted to play around with some buckwheat flour, give these scones a go, you won't be disappointed!


Buckwheat Scones
Adapted from The Chicago Tribune
Ingredients

  • 3/4 cup (60 grams) old fashioned oats
  • 1/4 cup (50 grams) sugar
  • 3/4 cup (90 grams) buckwheat flour
  • 1/3 cup (40 grams) all purpose flour
  • 1/4 teaspoon lemon zest
  • 1 teaspoon baking powder
  • 1/2 teaspoon baking soda
  • 3/4 teaspoon cinnamon
  • 1/8 teaspoon cardamom
  • 1/4 teaspoon salt
  • 6 tablespoons (85 grams) butter, cut into cubes and chilled
  • 4-6 tablespoons buttermilk

Directions
Measure 6 tablespoons of the oats (30 grams) and the sugar into the food processor. Buzz, reducing oats to flour. Transfer oat/sugar mixture to a large bowl. Add the buckwheat flour, all-purpose flour, lemon zest, baking powder, baking soda, cinnamon, cardamom, and salt. Stir to combine. 

Add the butter. Using a pastry blender, cut in butter, stopping when the largest butter bits are about the size of peas. Mix in remaining 6 tablespoons rolled oats. Drizzle in the buttermilk slowly. The dough will come together in large clumps that stick together readily when pressed. You may not need to add all the liquid. Add only as much buttermilk as needed for the dough to hold together. 

Shape the dough into 10 equal sized balls and set on a baking sheet that has been lined with parchment paper. Sprinkle with a little coarse sugar if desired.

Slide baking sheet into a 350-degree oven and bake until just set, 18-20 minutes. Eat warm, or at room temperature. 


Lavender Cupcakes with Blueberry Jam and Lemon Buttercream

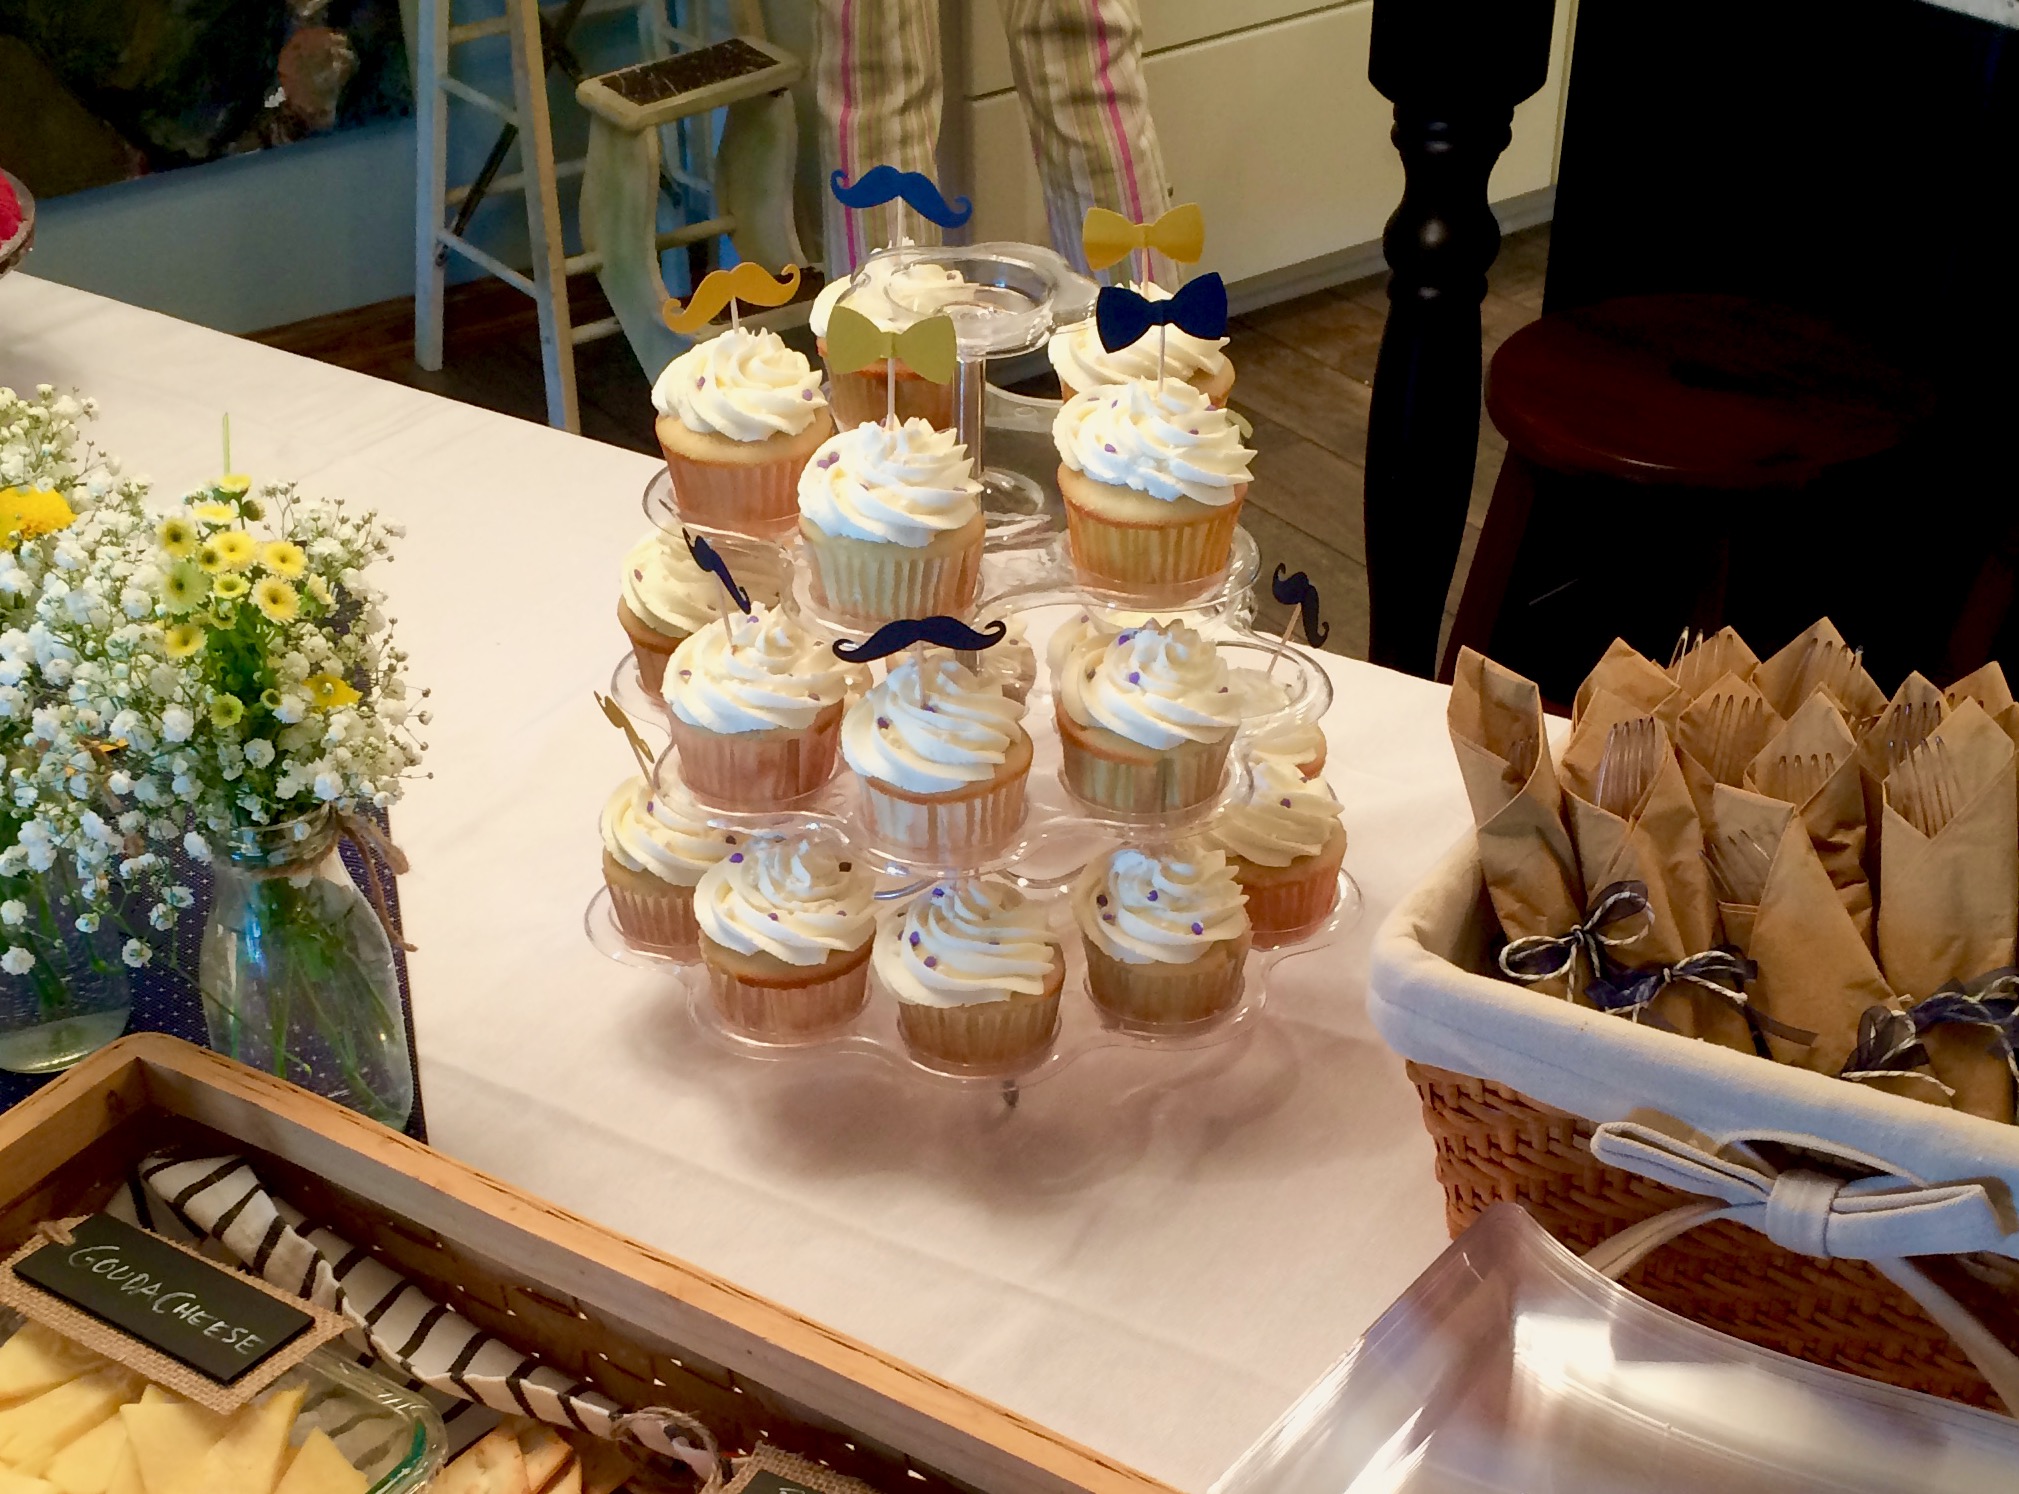
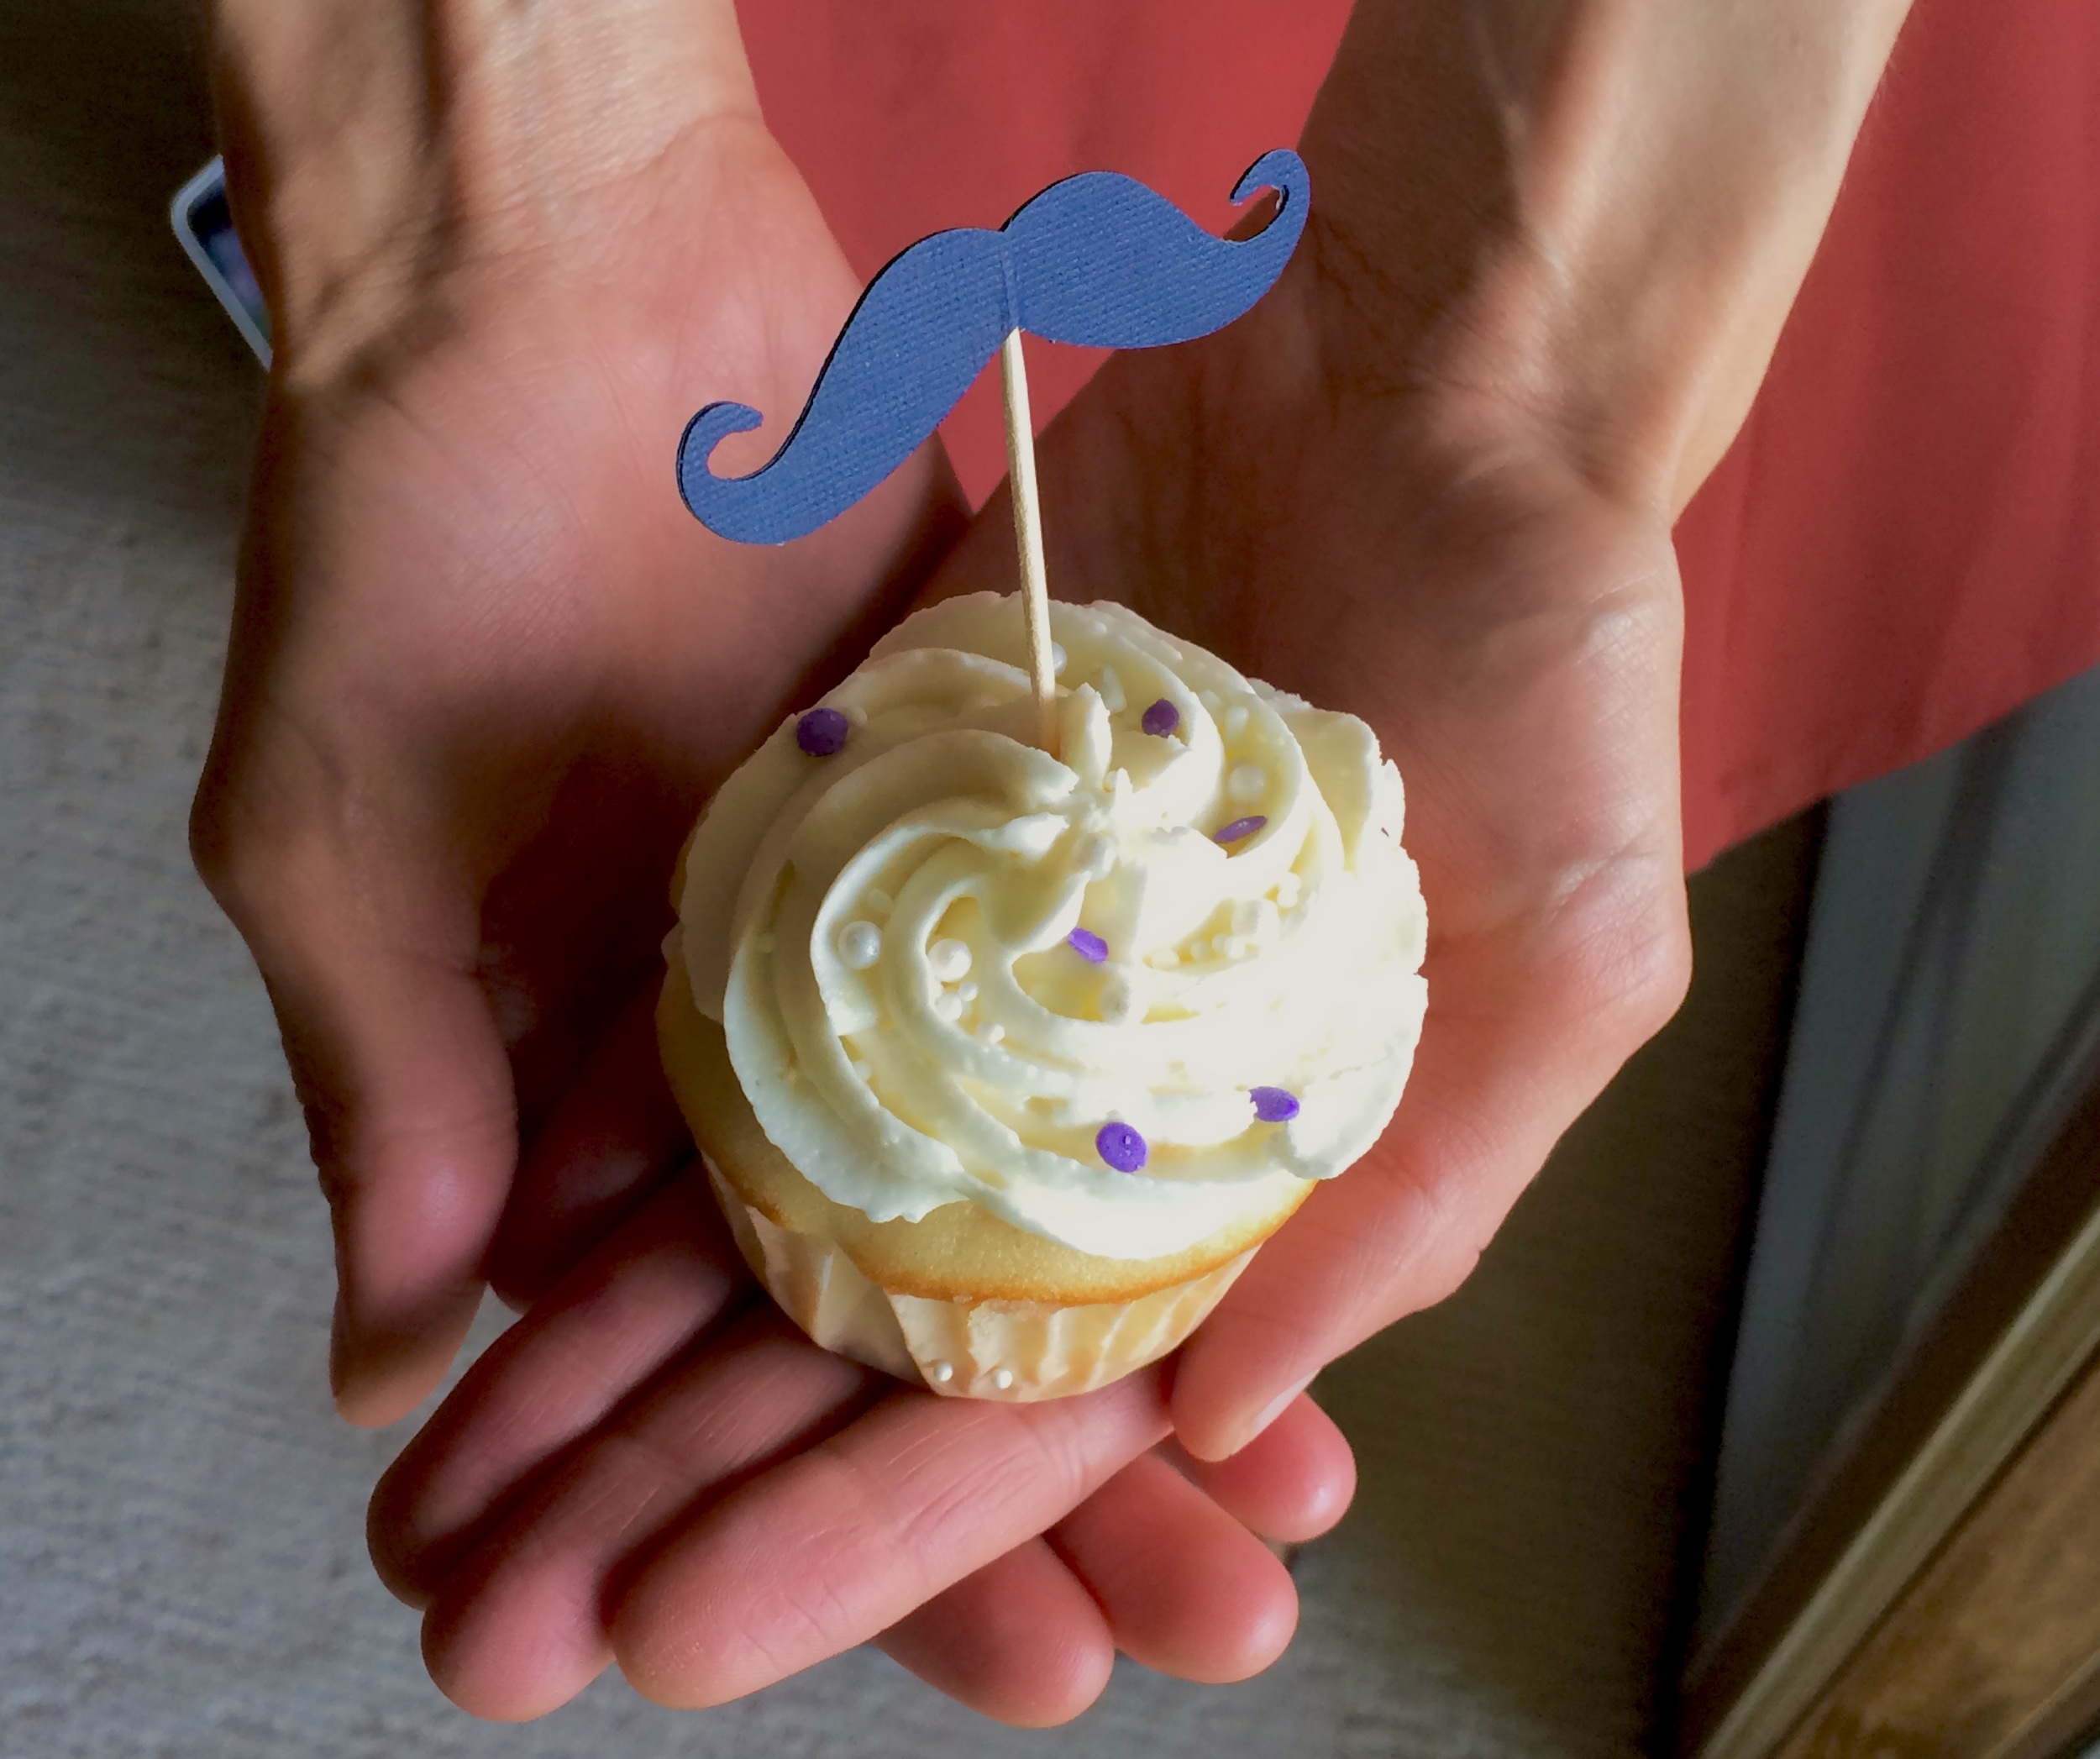
Last week one of my cousins had a baby shower, and for this event I was asked if I would be willing to make cupcakes as one of the desserts. Always one of my favorite things to make, of course I said yes! I was so excited to have a reason to make cake, and also excited when I found out that creative liberties were being handed to me. The mother-to-be's sister, another one of my cousins, said that she didn't care what kind of cupcakes they were. All she wanted to be able to do was finish them off with some mustache cupcake toppers to match the shower theme, easy enough!

After brainstorming some ideas with Lara we came up with a game plan. I wanted to do lavender cupcakes because the lavender just popped out the last few weeks and I'm loving it! Delicious and seasonal. We thought lemon sounded like a nice combination with the lavender so lemon buttercream was decided for the frosting, and to finish them off with something a little extra special we decided to fill them with a little blackberry jam. Lavender, lemon and blackberry, how could it be bad? 

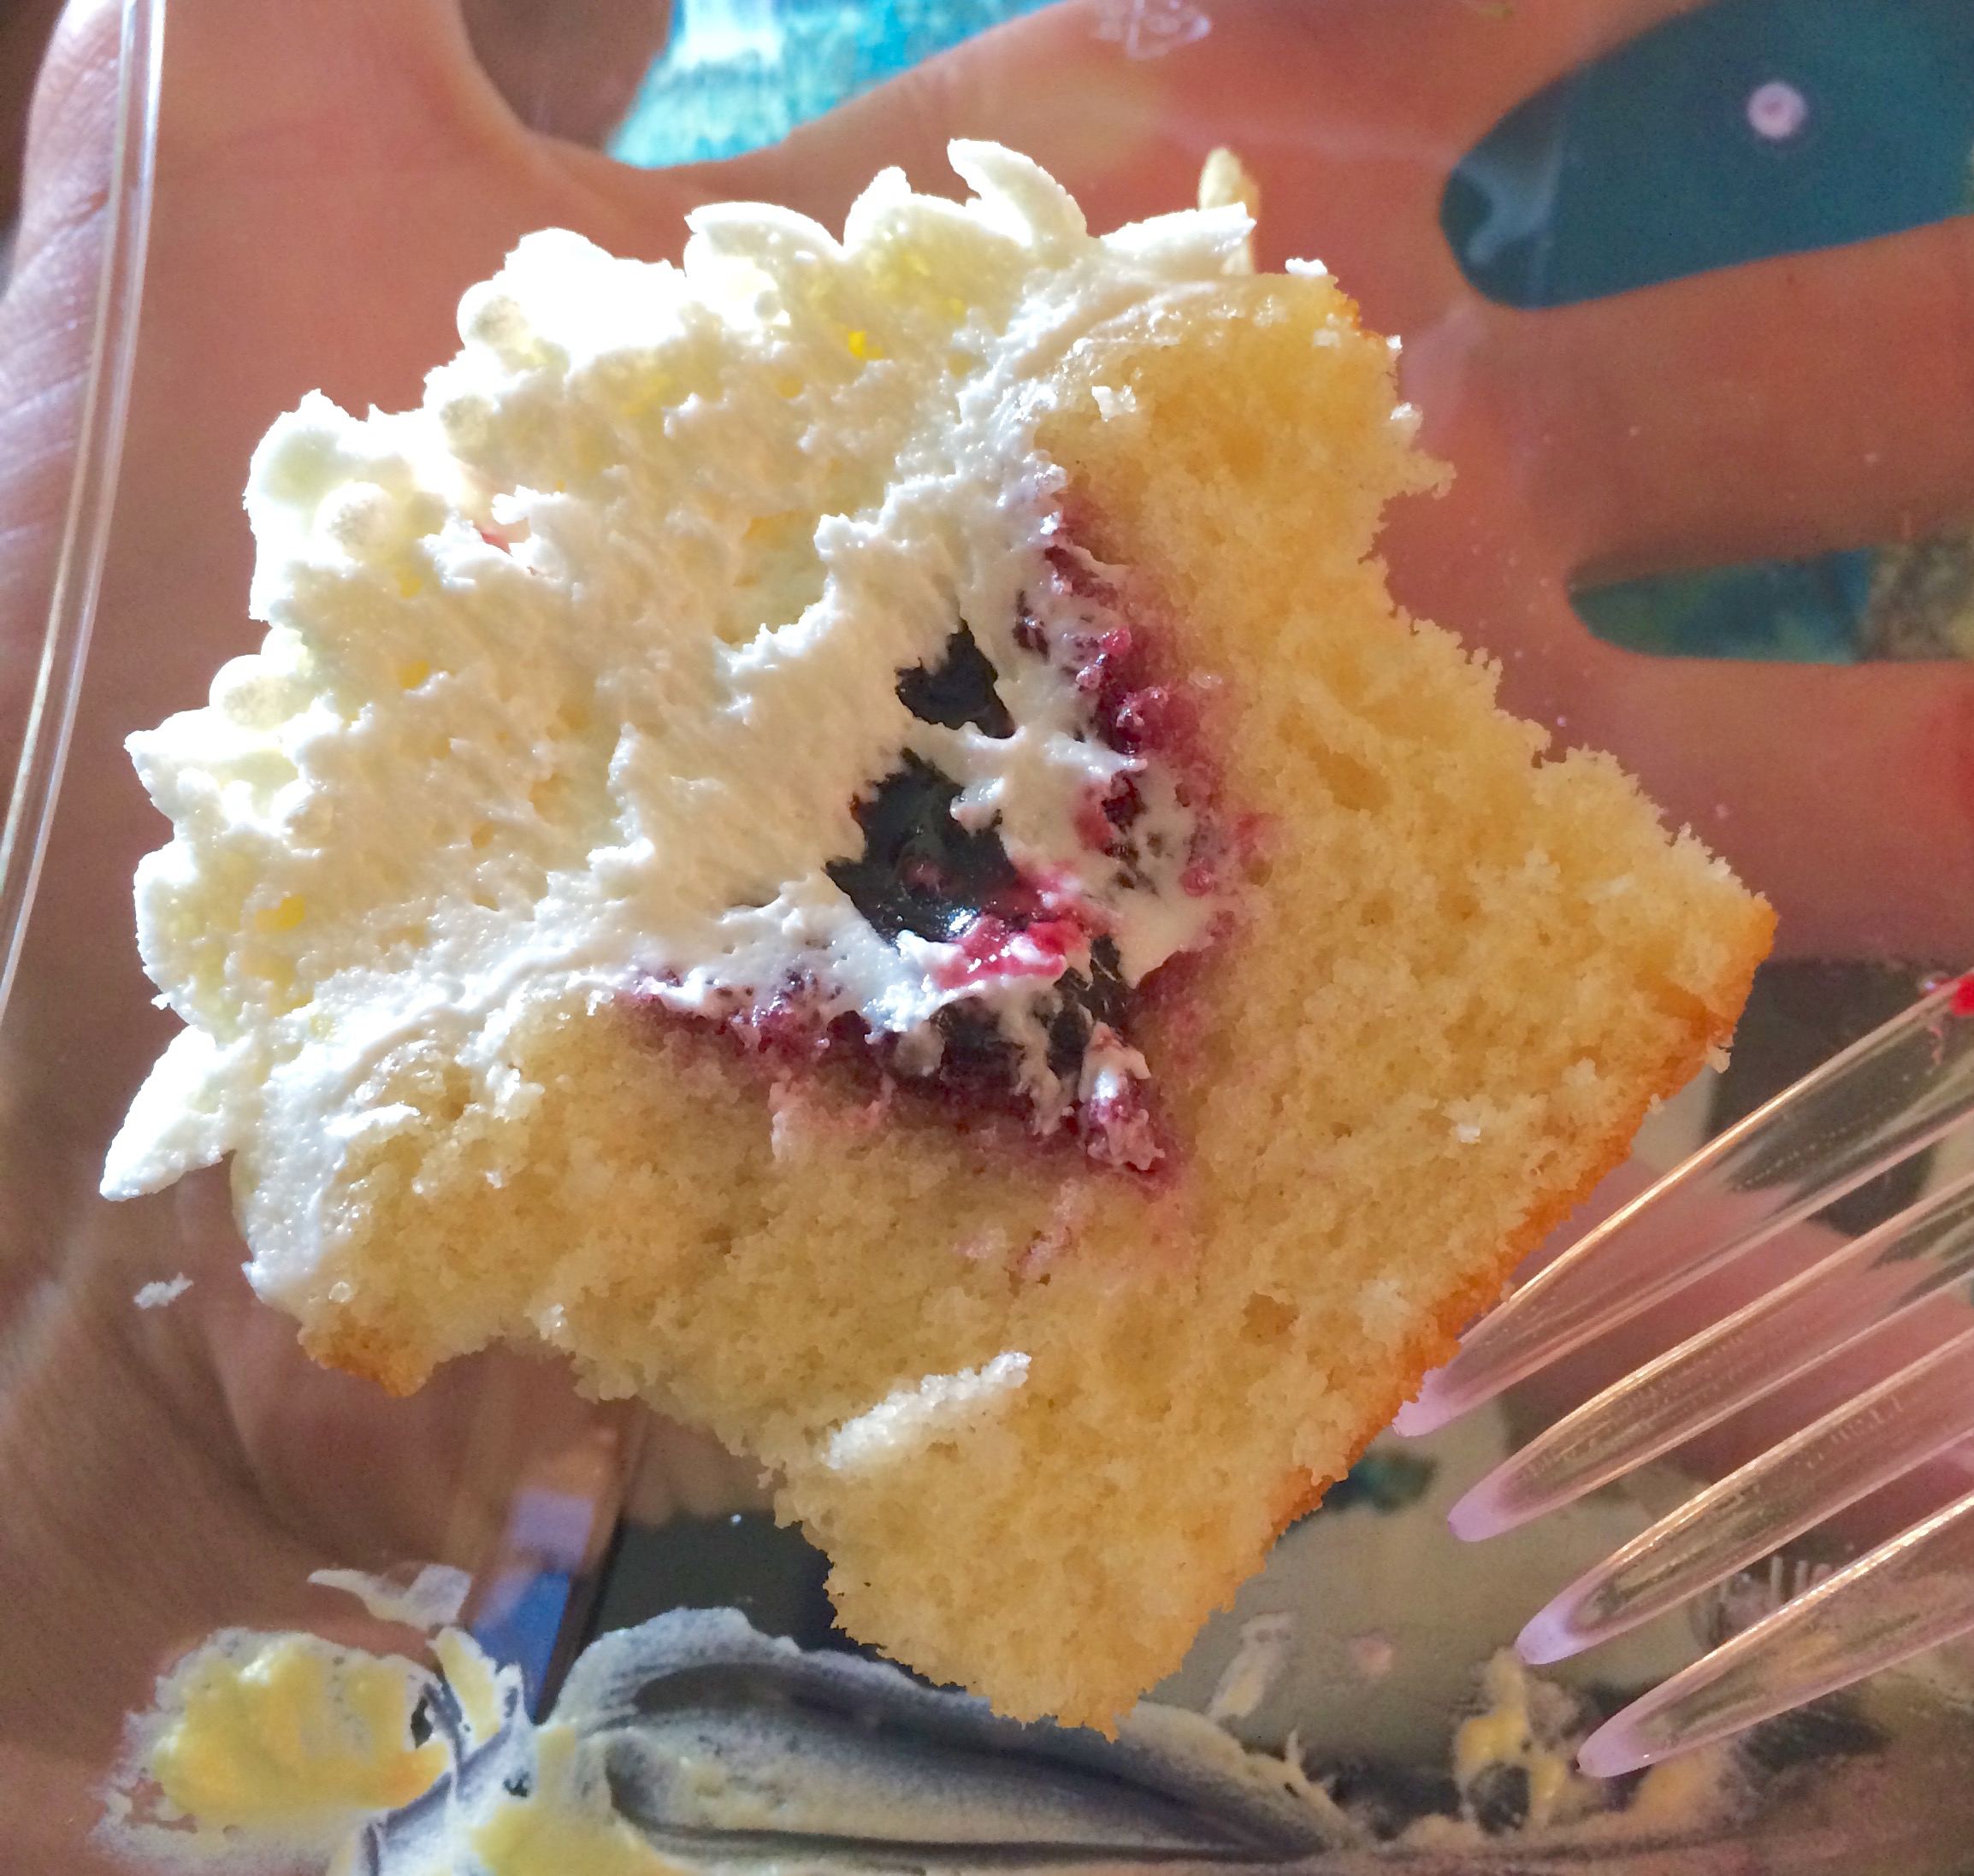
To answer the above question; it couldn't be bad, and it wasn't! If fact, this may be my favorite cupcake flavor combination yet. They turned out fabulously, the lavender flavor came through very mildly which is what I wanted - I didn't want a cupcake that smelled or tasted like perfume or potpourri. The buttercream was perfectly tart and sweet from the lemon, and the blueberry filling really put it all over the top. Could you skip it, sure, but I don't think they'll be as good!! :) 


Lavender Cupcakes with Blueberry Jam
From Delectably Mine
Ingredients

  • 3/4 cup (6 ounces) milk
  • 1-2 tablespoons fresh lavender flowers
  • 2 1/4 cups (10 1/2 ounces) all purpose flour
  • 1 1/3 cups (9 ounces) granulated sugar
  • 1 7/8 teaspoons baking powder
  • 3/4 teaspoon kosher salt
  • 3/4 cup (1 1/2 sticks) butter, softened, cut into small cubes
  • 3 eggs
  • 1 teaspoon vanilla extract
  • Blueberry jam, for filling

Directions
Preheat the oven to 350 degrees F and line cupcake pan(s) with liners.

Place the milk in a microwave safe bowl and microwave for 1-2 minutes until simmering. Remove from microwave and add the lavender flowers to the milk, stirring to combine. Let milk sit and cool for about 45 minutes. 

Meanwhile, place the flour, sugar, baking powder, and salt in a mixing bowl and stir to combine.

Add the butter and mix on low speed, until mixture resembles coarse crumbs (2-3 minutes). Add the eggs, one at a time, followed by the vanilla, and scrape the bottom of the bowl to make sure all the ingredients are well-combined. 

Once the milk has cooled to around room temperature, use a fine mesh strainer to remove the flowers. Add half of the strained milk and beat on medium speed for 1½ minutes, scrape the bottom and sides of the bowl, then add the remaining milk, and beat for another 30 seconds.

Fill prepared muffin pans ⅔ full with batter, and bake for 18-20 minutes, or until a tester inserted in the center of the cupcake comes out with a few moist crumbs. Let cool in pans for a couple of minutes, than transfer cupcakes to a wire rack to cool.

Once cool, take a sharp knife and cut out a cone shaped wedge of cake from the top of each cupcake forming a little well. Place a spoonful of blueberry jam into each well. Frost with lemon buttercream (recipe below). 

Yields: 18 cupcakes

Lemon Buttercream
From Delectably Mine
Ingredients

  • 2 1/4 sticks (10 ounces) unsalted butter, at room temperature
  • 5 cups (20 ounces) powdered sugar
  • pinch salt
  • 1/2 lemon, zested
  • 2 tablespoons fresh lemon juice

Directions
Place the butter in the bowl of an electric mixer fitted with the paddle attachment. Beat on medium-high speed until smooth, about 1 minute. Add the confectioners’ sugar, salt and lemon zest to the bowl and mix on medium-low speed just until incorporated. Continue to beat on medium-high speed until smooth, about 1-2 minutes. Mix in the lemon juice on low speed just until incorporated. Increase the mixer speed and whip on high speed until light and fluffy, scraping down the bowl as needed, about 4-5 minutes. 

* Note: I wanted a little more stable frosting since it was hot out. After a quick internet search, seemed like a lot of people use a 1:2 ratio of fat to sugar so that's what we did. Worked great, a nice stiff frosting that held up well. The final frosting is very sweet this way, so if it's not as hot I would probably not use this high of a ratio of sugar to butter, but it definitely worked great for this situation!

Asparagus Vichyssoise

When the asparagus starts showing up at the farmer's market every year I know I have made it. Spring has (un)officially arrived and warmer weather is on the way. Now it's the middle of June and I've been buying asparagus almost every week at the farmer's market. It's been great!! This past week I decided to try something new with my asparagus, something I've never done before - making a vichyssoise. Of course I was familiar with the name vichyssoise, and I had a vague sense of what this soup was, but until this past week I couldn't have really defined it exactly. Well now I know!

I was excited to try this asparagus vichyssoise first of all because I love asparagus, and second of all because it gave me another opportunity to use my new favorite kitchen toy, a new Vitamix blender! I used some graduation money to splurge on a Vitamix a few weeks ago and have been loving it! It was the perfect tool to make this smooth and creamy soup. So, what I now know about vichyssoise is that it is traditionally a creamy potato leek leak soup that is eaten cold. This was basically that with the wonderful addition of asparagus. There is just a tiny bit of cream and a little Greek yogurt to help make it really nice and creamy with just a bit of tang from the yogurt. A wonderfully healthy and light soup for a hot spring day. 

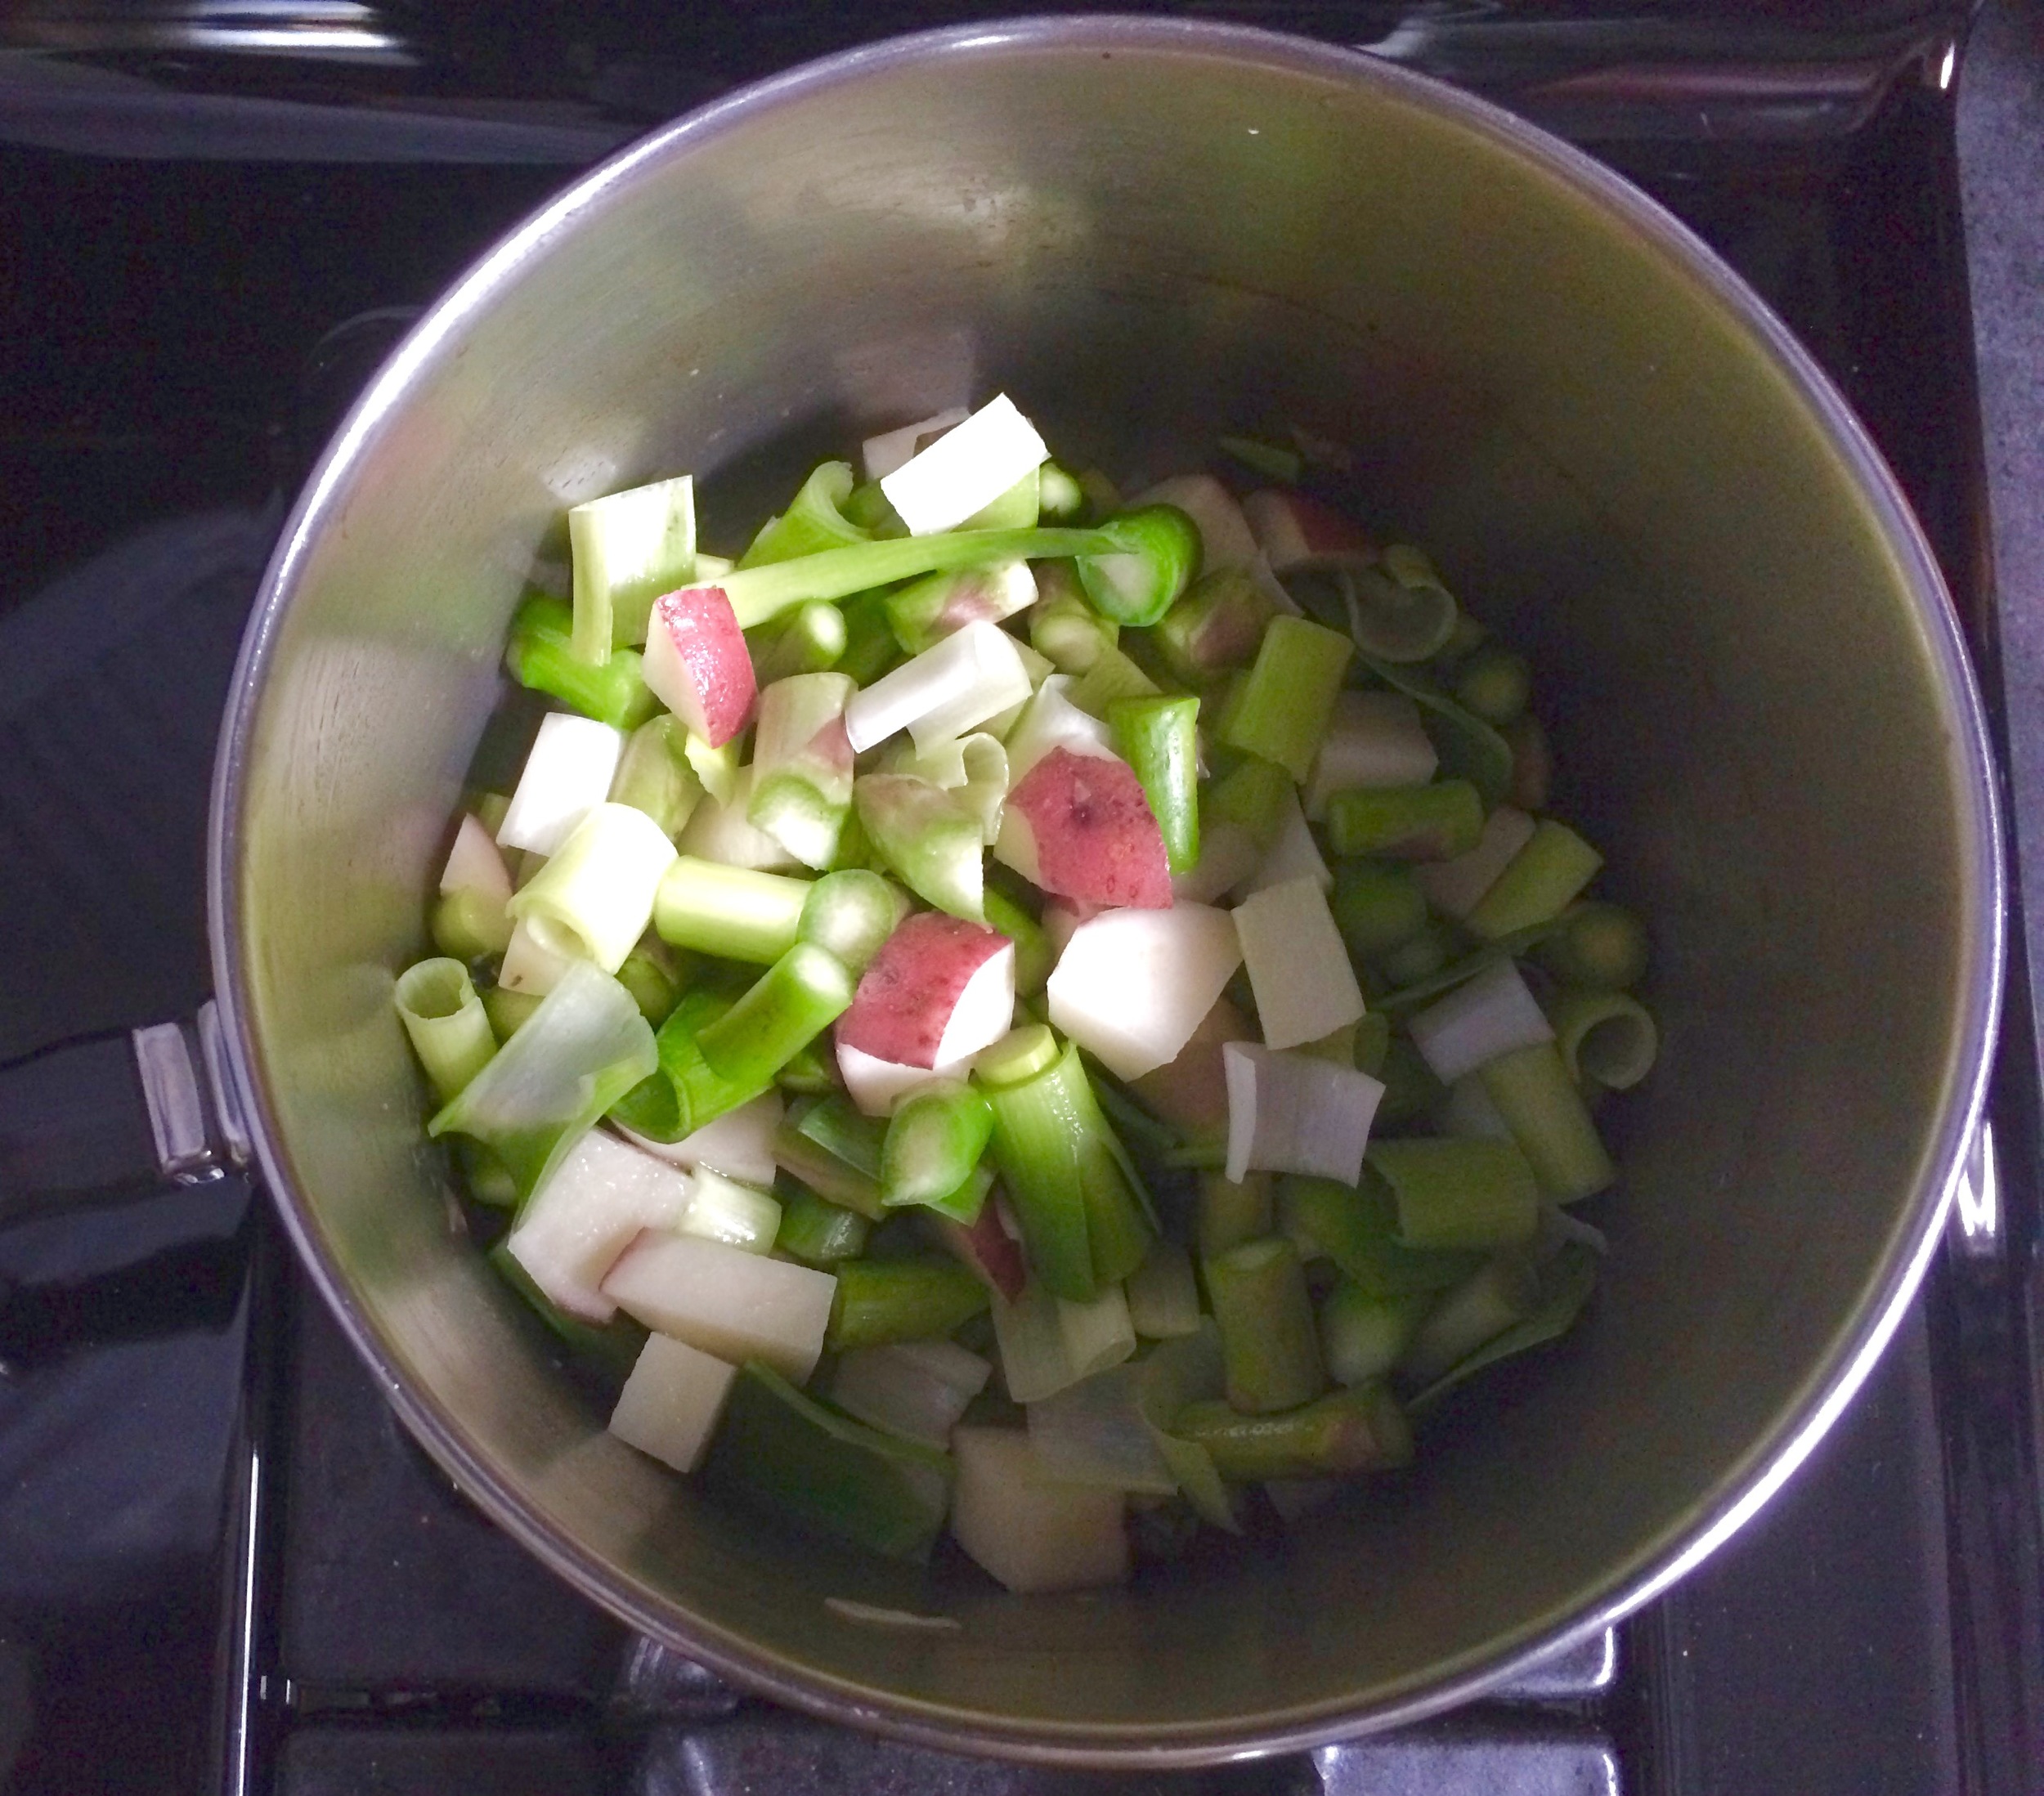
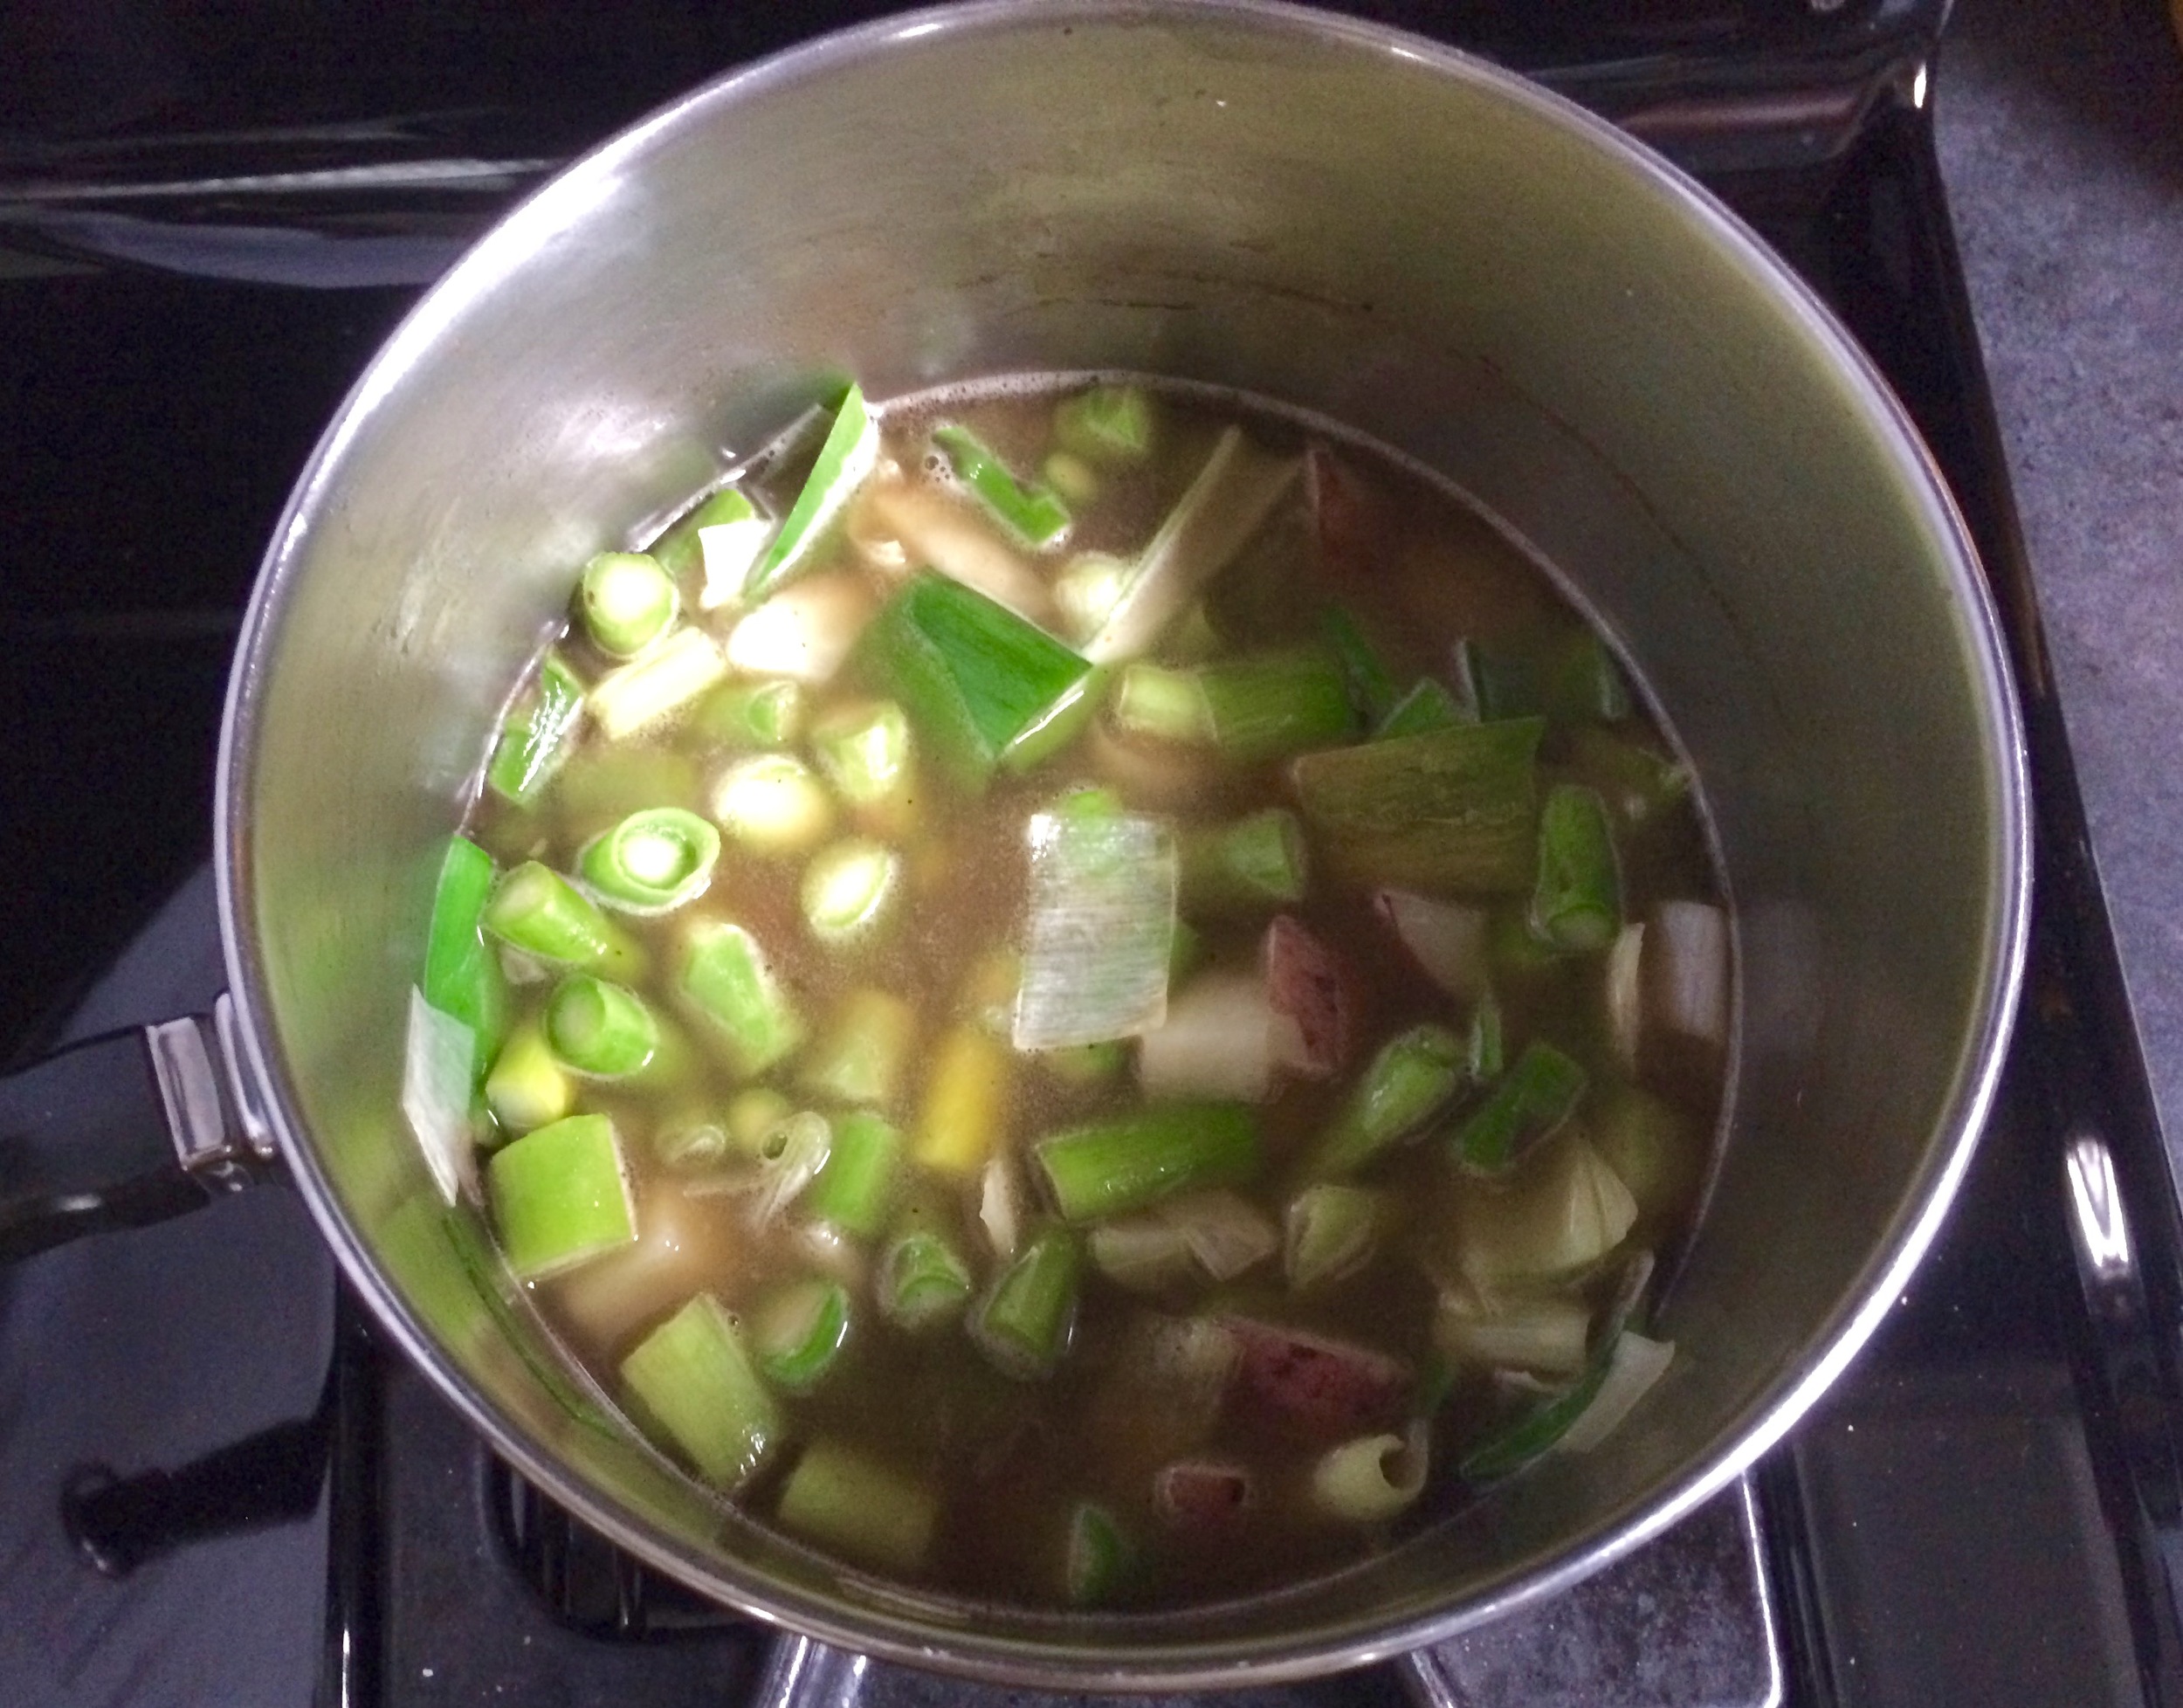
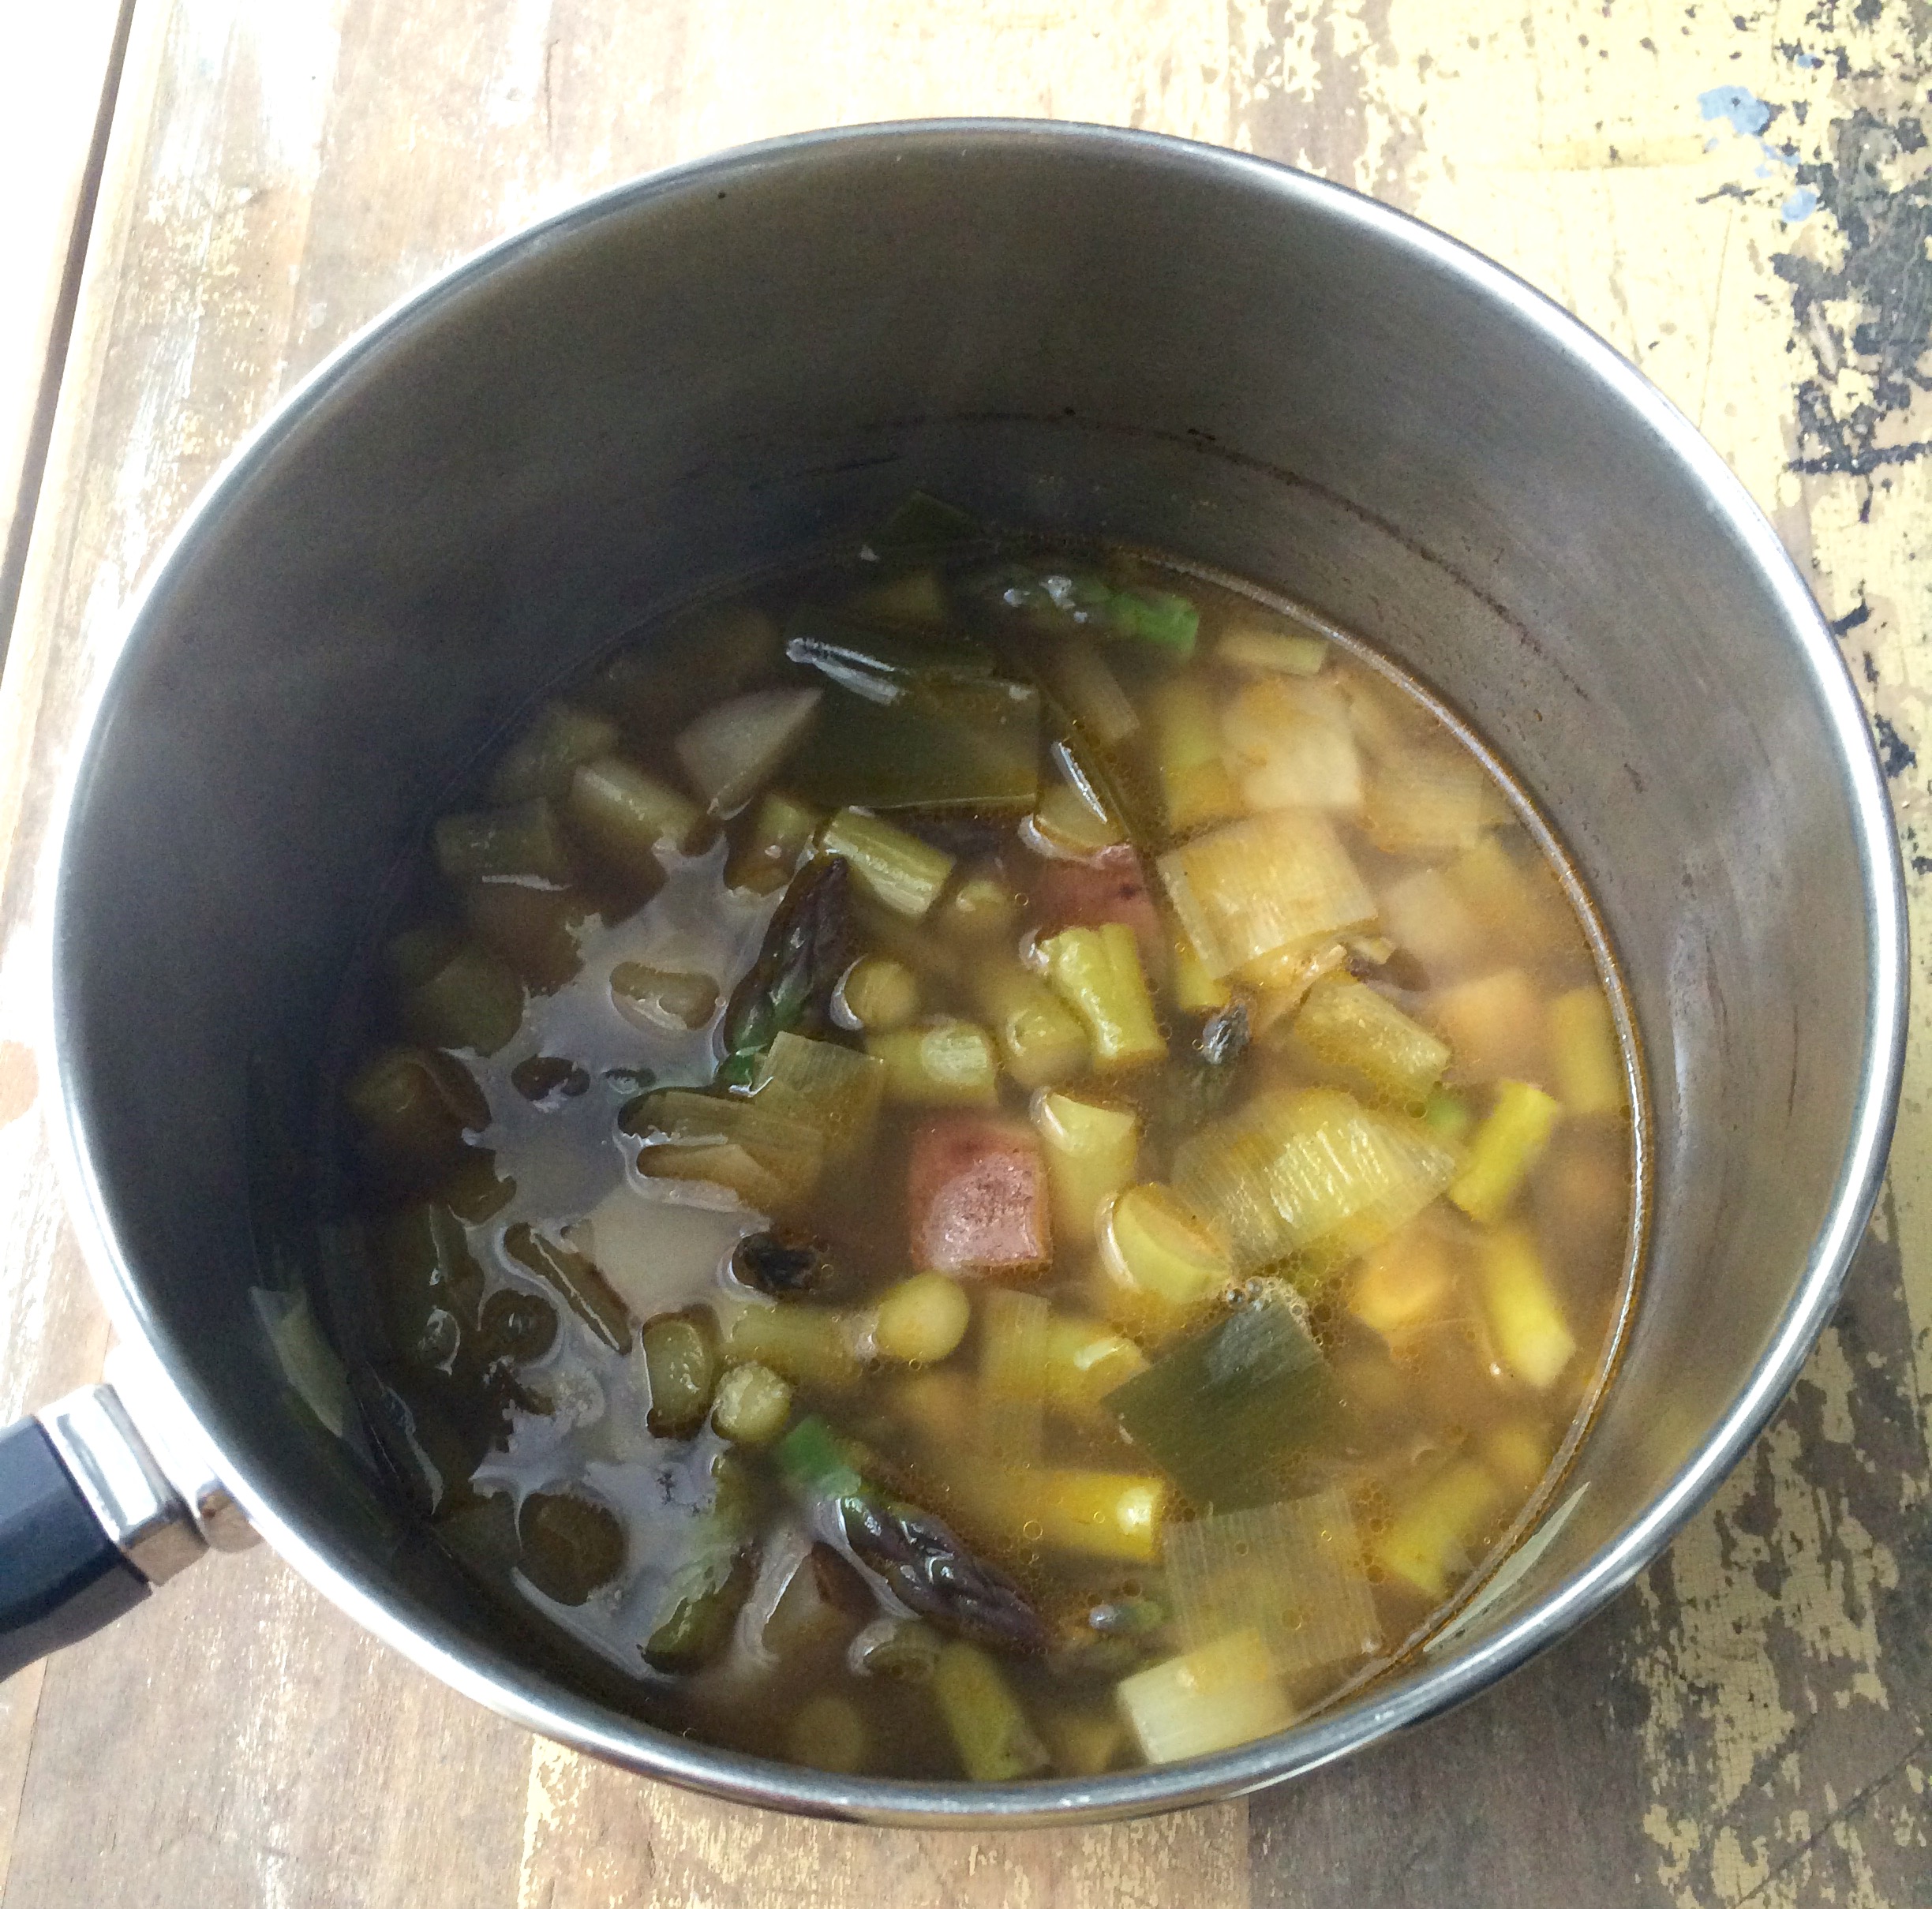
This is a very simple recipe that does not require a lot of hands on time. All you really need to do is cut up a few veggies, throw them in a pot with some stock and let them cook for a good 40-50 minutes. Then blend away until very smooth with some cream and yogurt and move to the fridge to get nice and chilled. You can garnish with some extra shaved asparagus or a little dollop of cream or yogurt, or a drizzle of olive oil, whatever sounds good to you. I have no doubt you will enjoy this delicious and refreshing spring soup.  


Asparagus Vichyssoise
Adapted from Plenty by Yotam Ottolenghi
Ingredients

  • 1 leek
  • 1/2 pound asparagus
  • 1 small potato, peeled and diced
  • 1 1/2 tablespoons
  • 1 1/2 cups vegetable stock
  • 1/2 teaspoon sugar
  • 1 1/2 tablespoons cream
  • 3 tablespoons Greek yogurt
  • 40g samphire
  • Grated zest of ½ lemon

Directions
Peel the potato and dice roughly. Chop off and discard the tough green ends of the leeks. Cut through the pale center, then wash well and slice roughly. Trim off and discard the woody base of the asparagus. Cut all but two of the spears into 3/4-inch pieces, keeping the tips separate. Reserve whole spears.

Place the vegetables, except for the asparagus tips and reserved whole spears, with the butter in a medium saucepan and sauté on medium heat for about 4 minutes; make sure they don’t take on any color. Cover the vegetables with the stock and add the sugar and some salt and white pepper. Bring to a boil, then simmer, covered, for 40 minutes. At the end of this time add the asparagus tips and continue cooking for 10 minutes.

Once done, blitz the soup well in a blender until very smooth. Gently fold in the cream and half the yogurt. Allow the soup to come to room temperature, then chill.

While the soup is cooling down, bring a pan of water to the boil and blanch the reserved asparagus for 2 minutes; drain and refresh under plenty of cold water. Shred.

Pour the chilled soup into bowls and serve with a dollop of yogurt swirled in and topped with the shredded asparagus and lemon zest if desired. 

Greek Yogurt Tart with Sunflower Seed Crust

Well, June is here and after a chilly start to the week, it finally feels like it has actually arrived here in Michigan. June is a wonderful month, but for all it's greatness I think my favorite thing about June may be strawberries!! We wait so long for such a short season, but I try to enjoy every minute of it. This Greek yogurt tart is the perfect way to showcase this fruit in all of its splendor. I actually made this tart a few weeks back for a Memorial Day brunch I attended, but now that local strawberries are just beginning to arrive at the Farmer's market it's the perfect opportunity to give this recipe a try. Of course, as the summer goes on and other fruits come into season this tart can be adapted to pretty much whatever fruit you have on hand in a given moment. 

I was looking for something fresh, light and delicious to make for my brunch and my mind kept focusing on some kind of fresh tart. I didn't want it to have a traditional crust, but wanted something a little different. While browsing recipes I came across a savory sunflower seed crust over at Natural Girl Modern World and was intrigued. I decided to try adapting it a bit to work for me in a sweet application. With a few tweaks it came out great! More like a giant cookie crust as opposed to a traditional tart crust, exactly what I was looking for. It was perfect topped with some yogurt and fruit, kind of twist on the more traditional fruit and yogurt parfait - delicious. 

For the filling of this tart I wanted to go very simple. I took my homemade yogurt and strained it for several days until very thick and incredibly creamy. Store-bought yogurt would work just fine too, just make sure to buy plain yogurt to strain, not the flavored stuff, you can add sugar and flavorings yourself.  To the very thick yogurt I gently added a little honey, a little brown sugar, and some lemon zest. Not a lot of sugar, but just enough to add a touch of sweetness. Just taste and adjust until the flavors are to your liking. I spooned this sweetened yogurt into the crust and topped with the sliced berries. Done! Fresh and light, exactly what I was hoping for. 


Sunflower Seed Tart Crust
Adapted from Natural Girl Modern World
Ingredients

  • 1 cup (80 grams) oats 
  • 1/2 cup (60 grams) flour
  • 3/4 cup (105 grams) sunflower seeds 
  • 3/4 tsp salt
  • 4 1/2 tablespoons (63 grams) butter, chilled
  • 3  tablespoons (63 grams) honey 
  • 1/2 teaspoon cinnamon
  • 1/8 teaspoon cardamom

Directions
In a food processor, blend oats until the texture of coarse sand. Add sunflower seeds and salt and blend until the seeds are also a crumb-like texture. This should only take 30 seconds to 1 minute. Over-blend and you'll start to make nut butter. Add the flour and pulse a few times to combine. Add the chilled butter and pulse a couple of times, until starting to come together. Add the honey and continue to pulse until a ball of dough forms. It will be sticky. Wrap dough in plastic wrap and place into the back of your freezer for about 15 minutes, or refrigerate for a couple of hours or overnight. 

While the dough chills, preheat oven to 350 degrees. 

Remove dough from freezer and press it into prepared greased 9 inch tart pan with a removable bottom. Aim for an even distribution of dough throughout the pan, pressing the dough together firmly to create a solid base. Using a fork, prick the bottom of the crust thoroughly to allow air to escape when baking. Bake for 20-25 minutes. Keep an eye on it towards the end of baking to ensure the edges don't over-brown. Set aside to cool before filling. 

Europe Trip 2016: France

It took me a while to finally make it through all of my France pictures but I finally did it. Enjoy!

This is the 3rd and final installment in my Europe Trip 2016 series (if you want to see the first two post check them out here and here). After a full week in the Netherlands Lara and I were so excited to be headed to France, Paris in particular. It was sad to leave the Netherlands, but we had a full week there and felt like we got a good feel for the country. 

We arrive via train in Paris and had a driver all scheduled to pick us up to bring us to our hotel. This is definitely the way to go, no stress about finding a taxi, or figuring out public transit. He drove us to our hotel, giving us a mini tour on the way, pointing out different attractions along the way and asking us if we had any questions. We made it to our hotel, The Hotel Louison, with no problem and were checked in by Pierre (!) and headed up to our small but lovely room with a gorgeous view. 

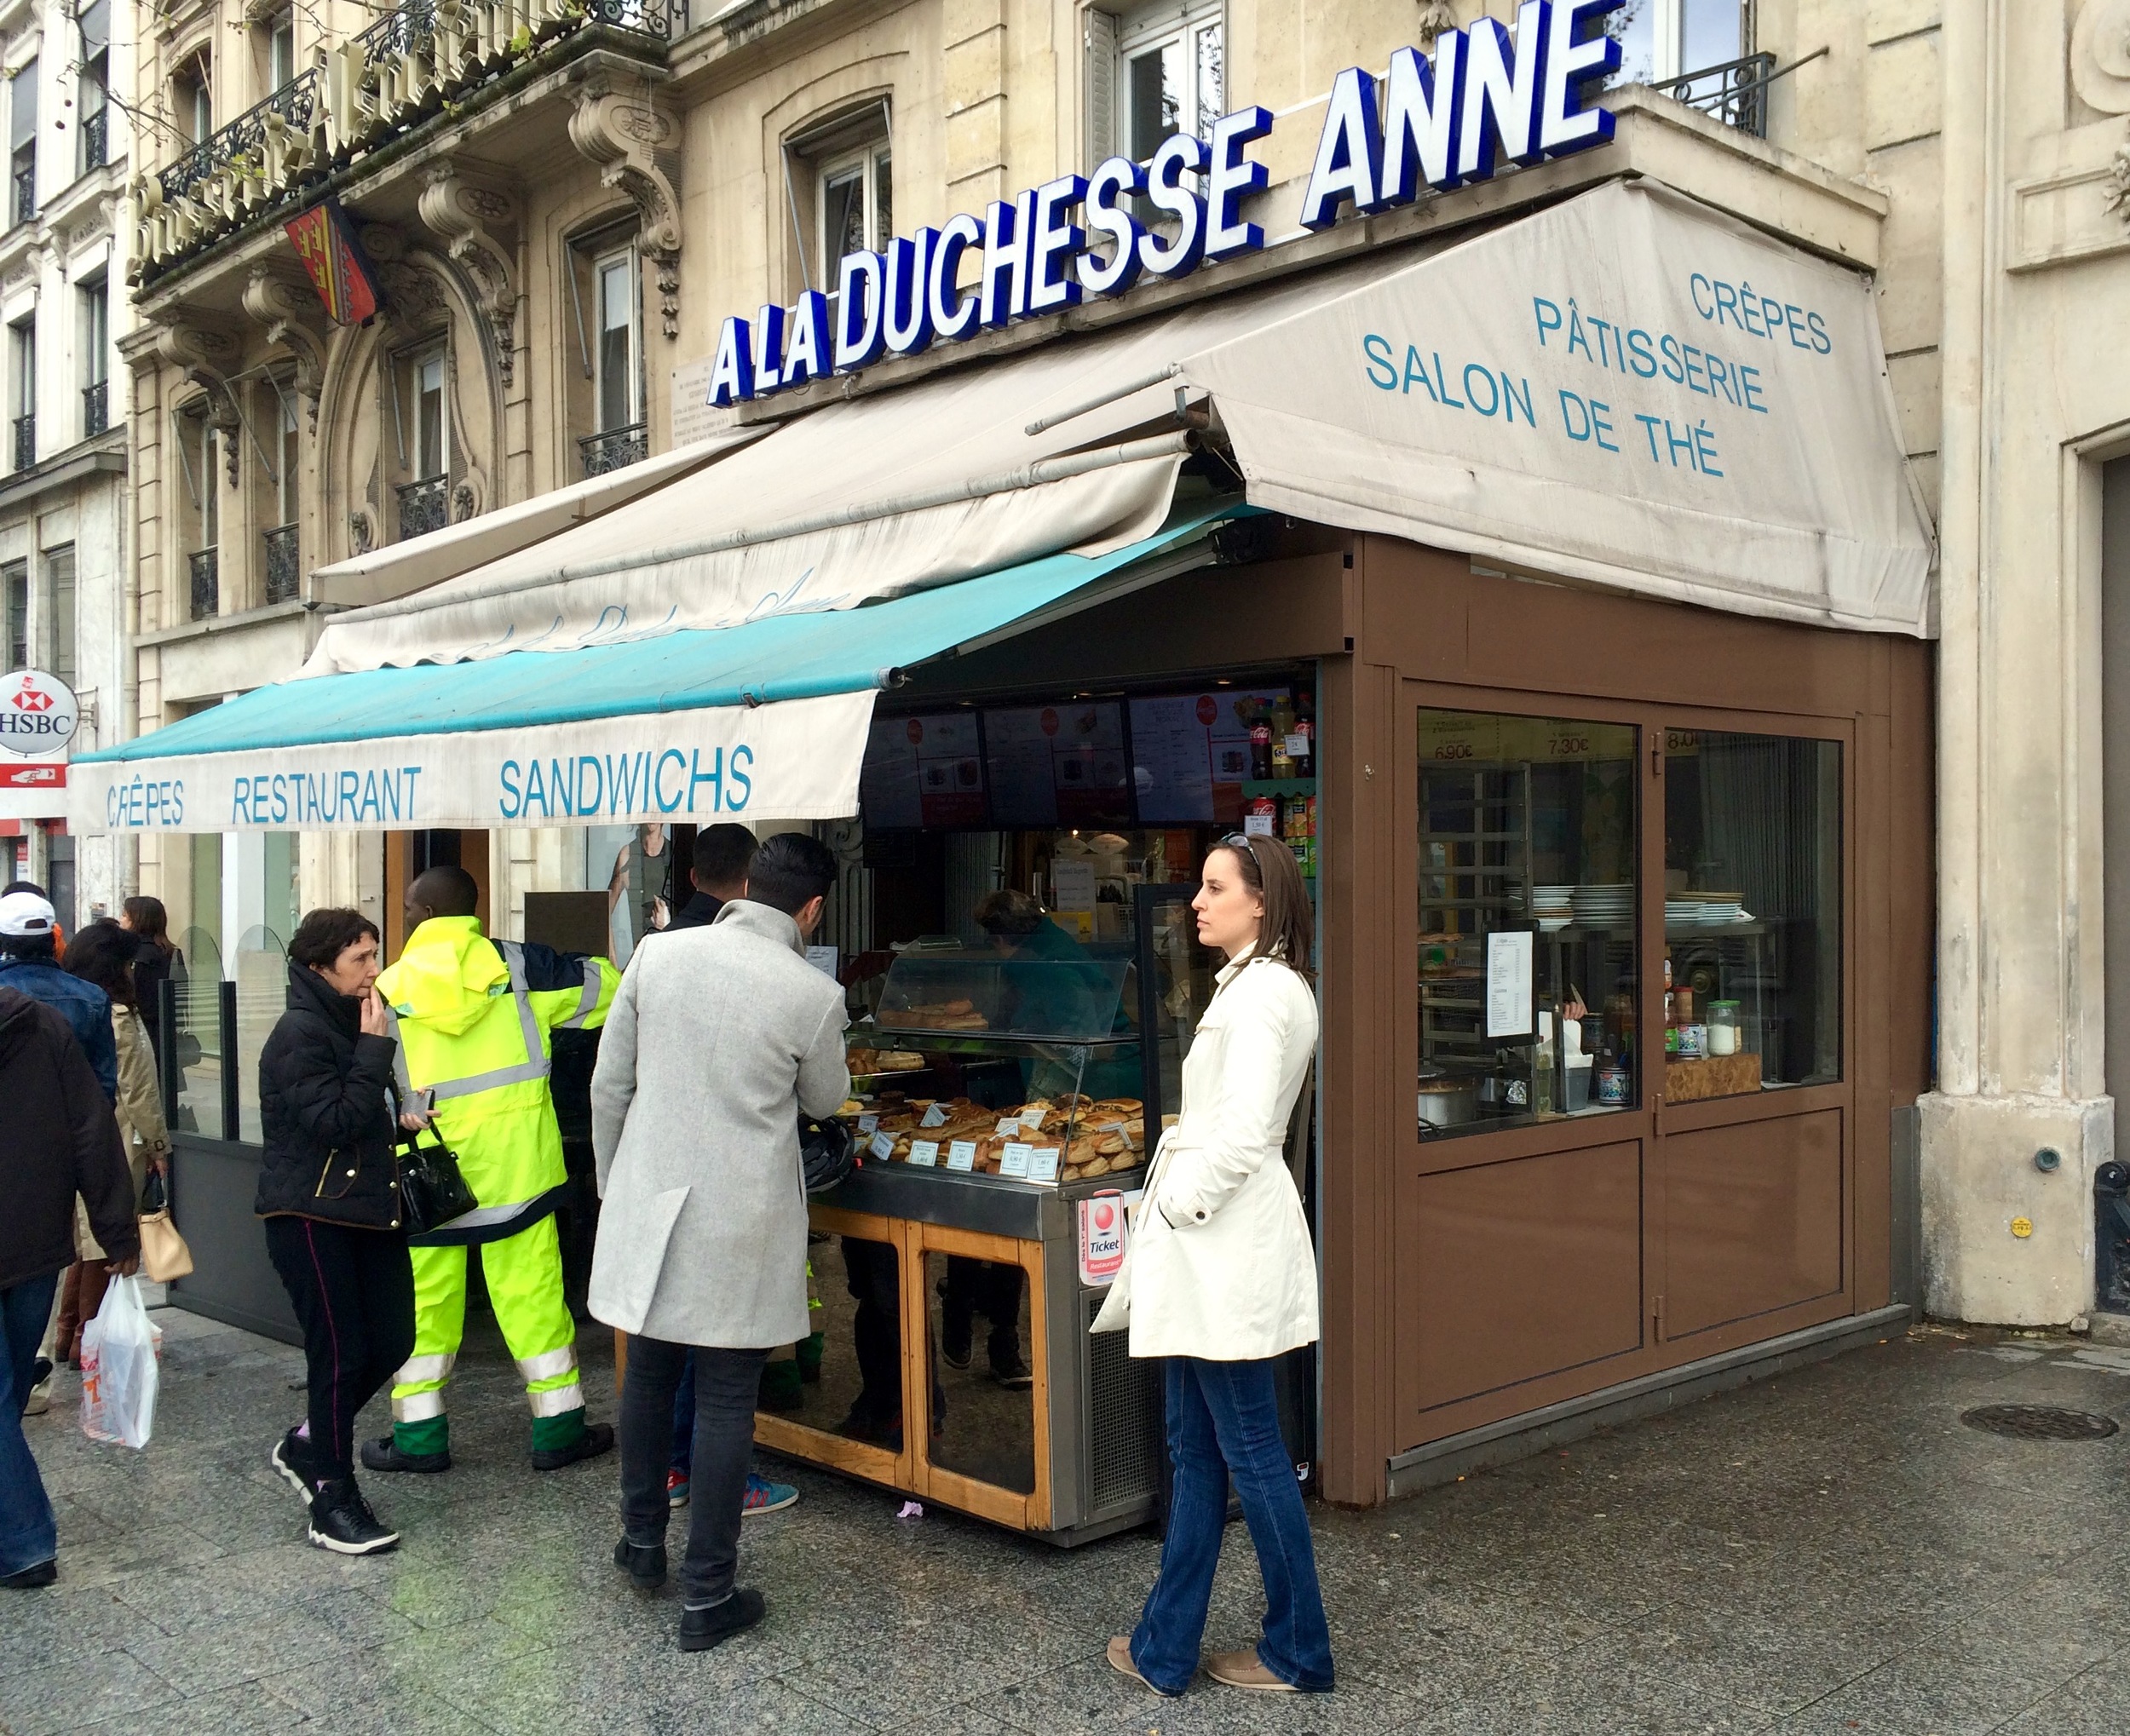
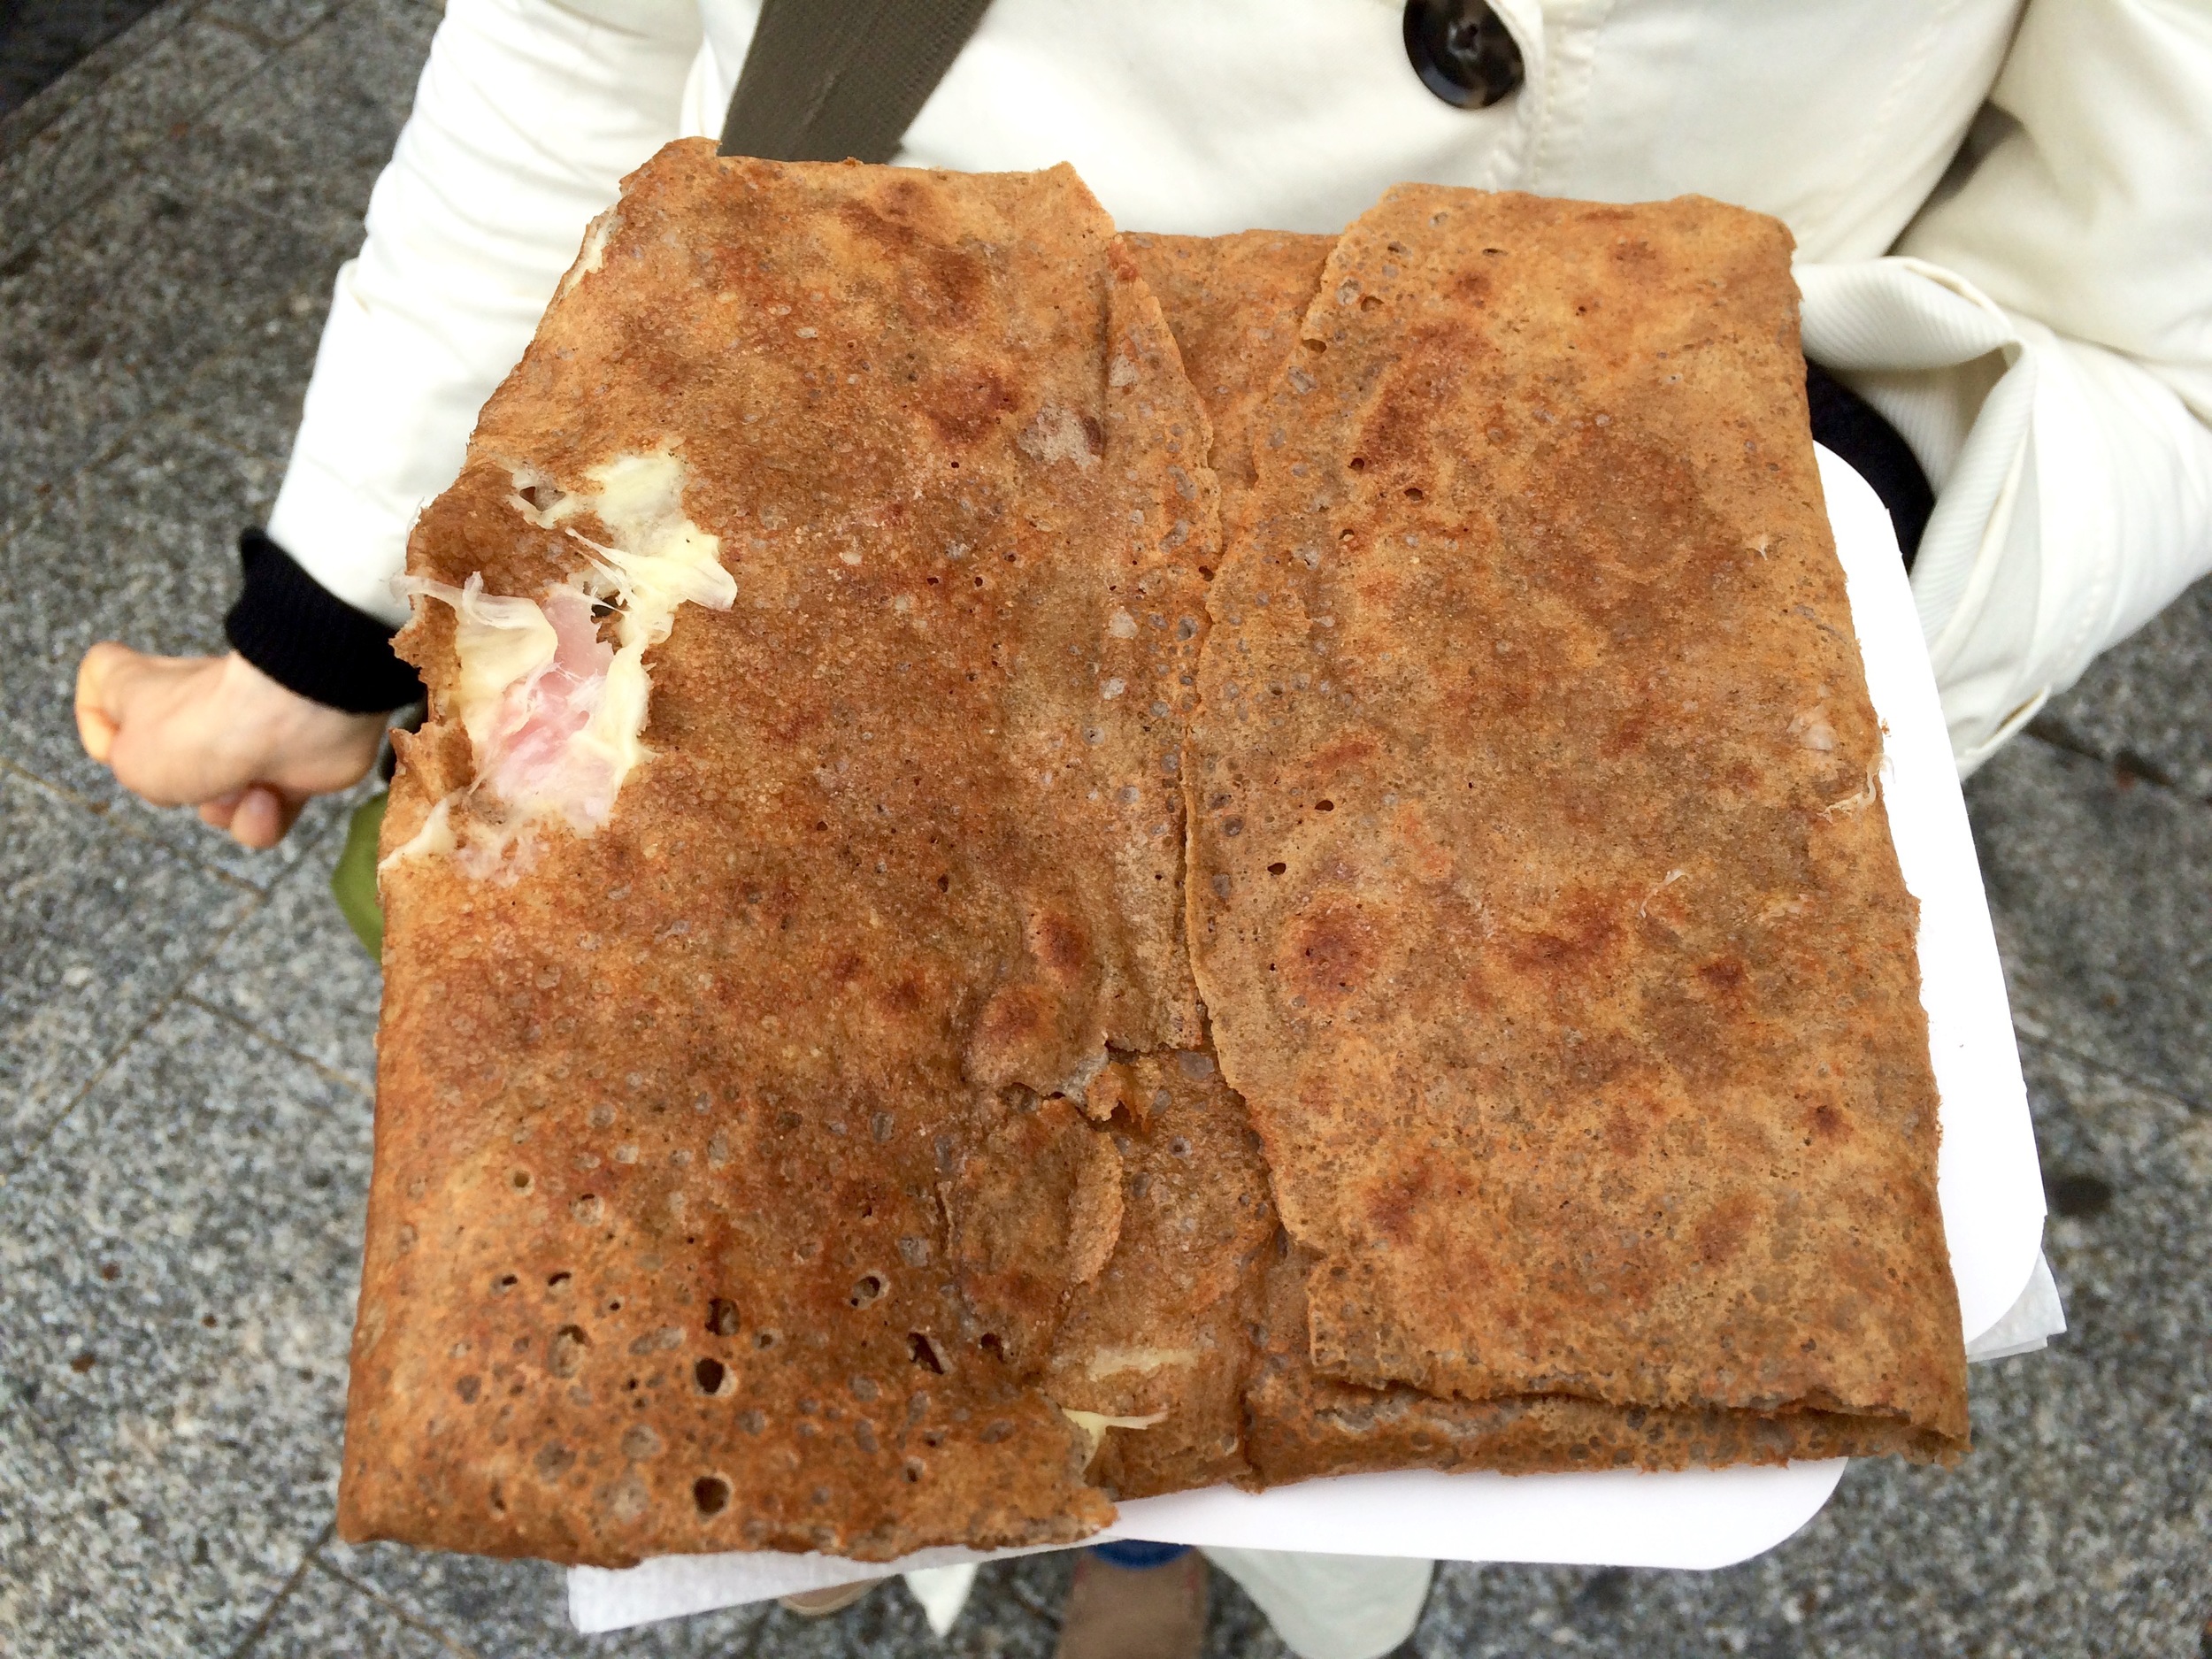
We quickly dropped our stuff off at the hotel and headed out to explore the city. First things first, a stop at the first crepe stand we saw to check one "must eat" off the list. Lara and I split a ham and cheese galette (the crepes savory sibling) which was hot and cheesy and so delicious. 

Yum!

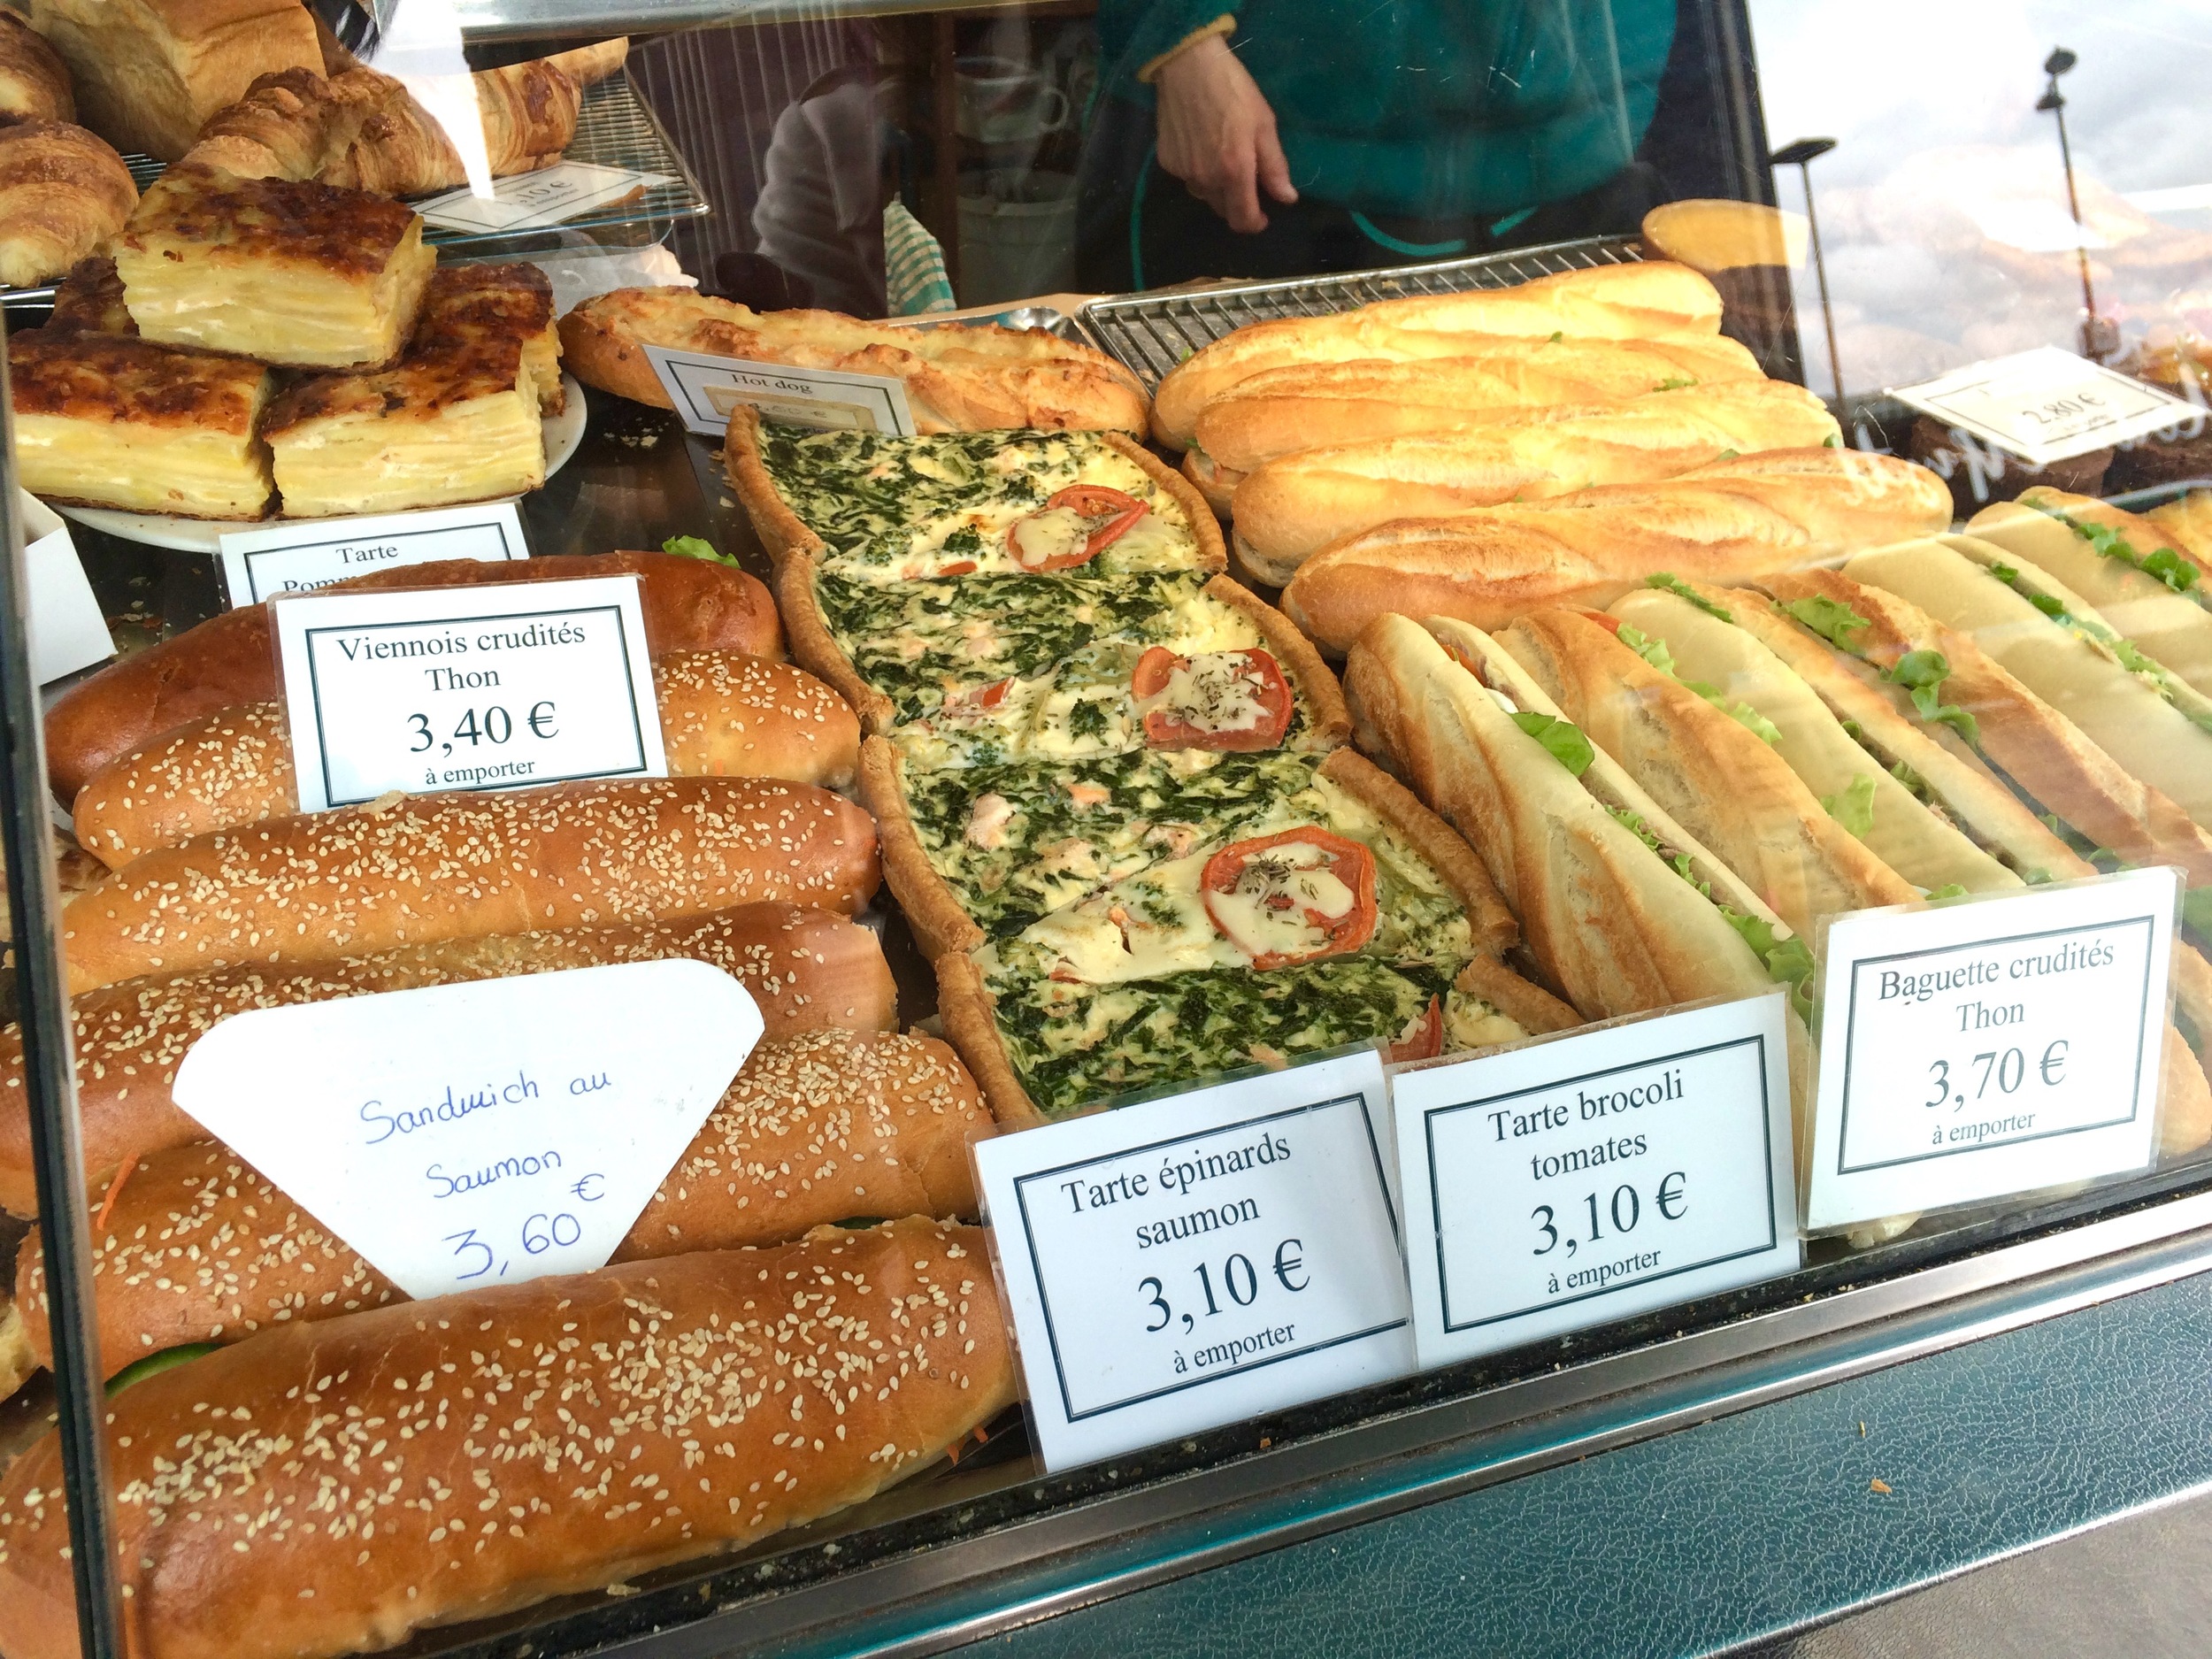
These are a few of the other treats that were for sale at the crepe stand. I wanted to try them all. 

I also "needed" to try a Parisian croissant, so on our walk to the Luxemberg Gardens we stopped off at a corner bakery for a quick bite. 

Spent some time walking through the Luxembourg Garden which was absolutely beautiful. Unfortunately, it started raining a bit while we were there, but it wasn't too bad. 


From the Luxembourg Garden we made our way to Notre Dame, one of the few "must sees" on my list for this trip. It was very impressive. I know nothing about architecture, but seeing this building up close was unbelievable. What a building, inside and out!


Just strolling along the Seine!

Made it to the Louve. Didn't feel the need to go in, but I had no idea how big the place is! Wow!


Although we were trying to save money, and be smart about what we spent on the whole trip, Lara and I knew that we wanted to have one really nice meal while in Paris. Since there are a million restaurants in the city we weren't sure how to go about narrowing down the choices. So we decided to ask Pierre at our hotel if he had any suggestions. He was very happy to assist. After asking us what kind of place we were thinking, he immediately picked up the phone, called a nearby restaurant and made us a reservation. It turned out to be a lovely little place called L'Epi Dupin. We could only get a reservation out front, outside the restaurant. Although it was a little chilly, it was still a pretty nice day so we were okay with this. 

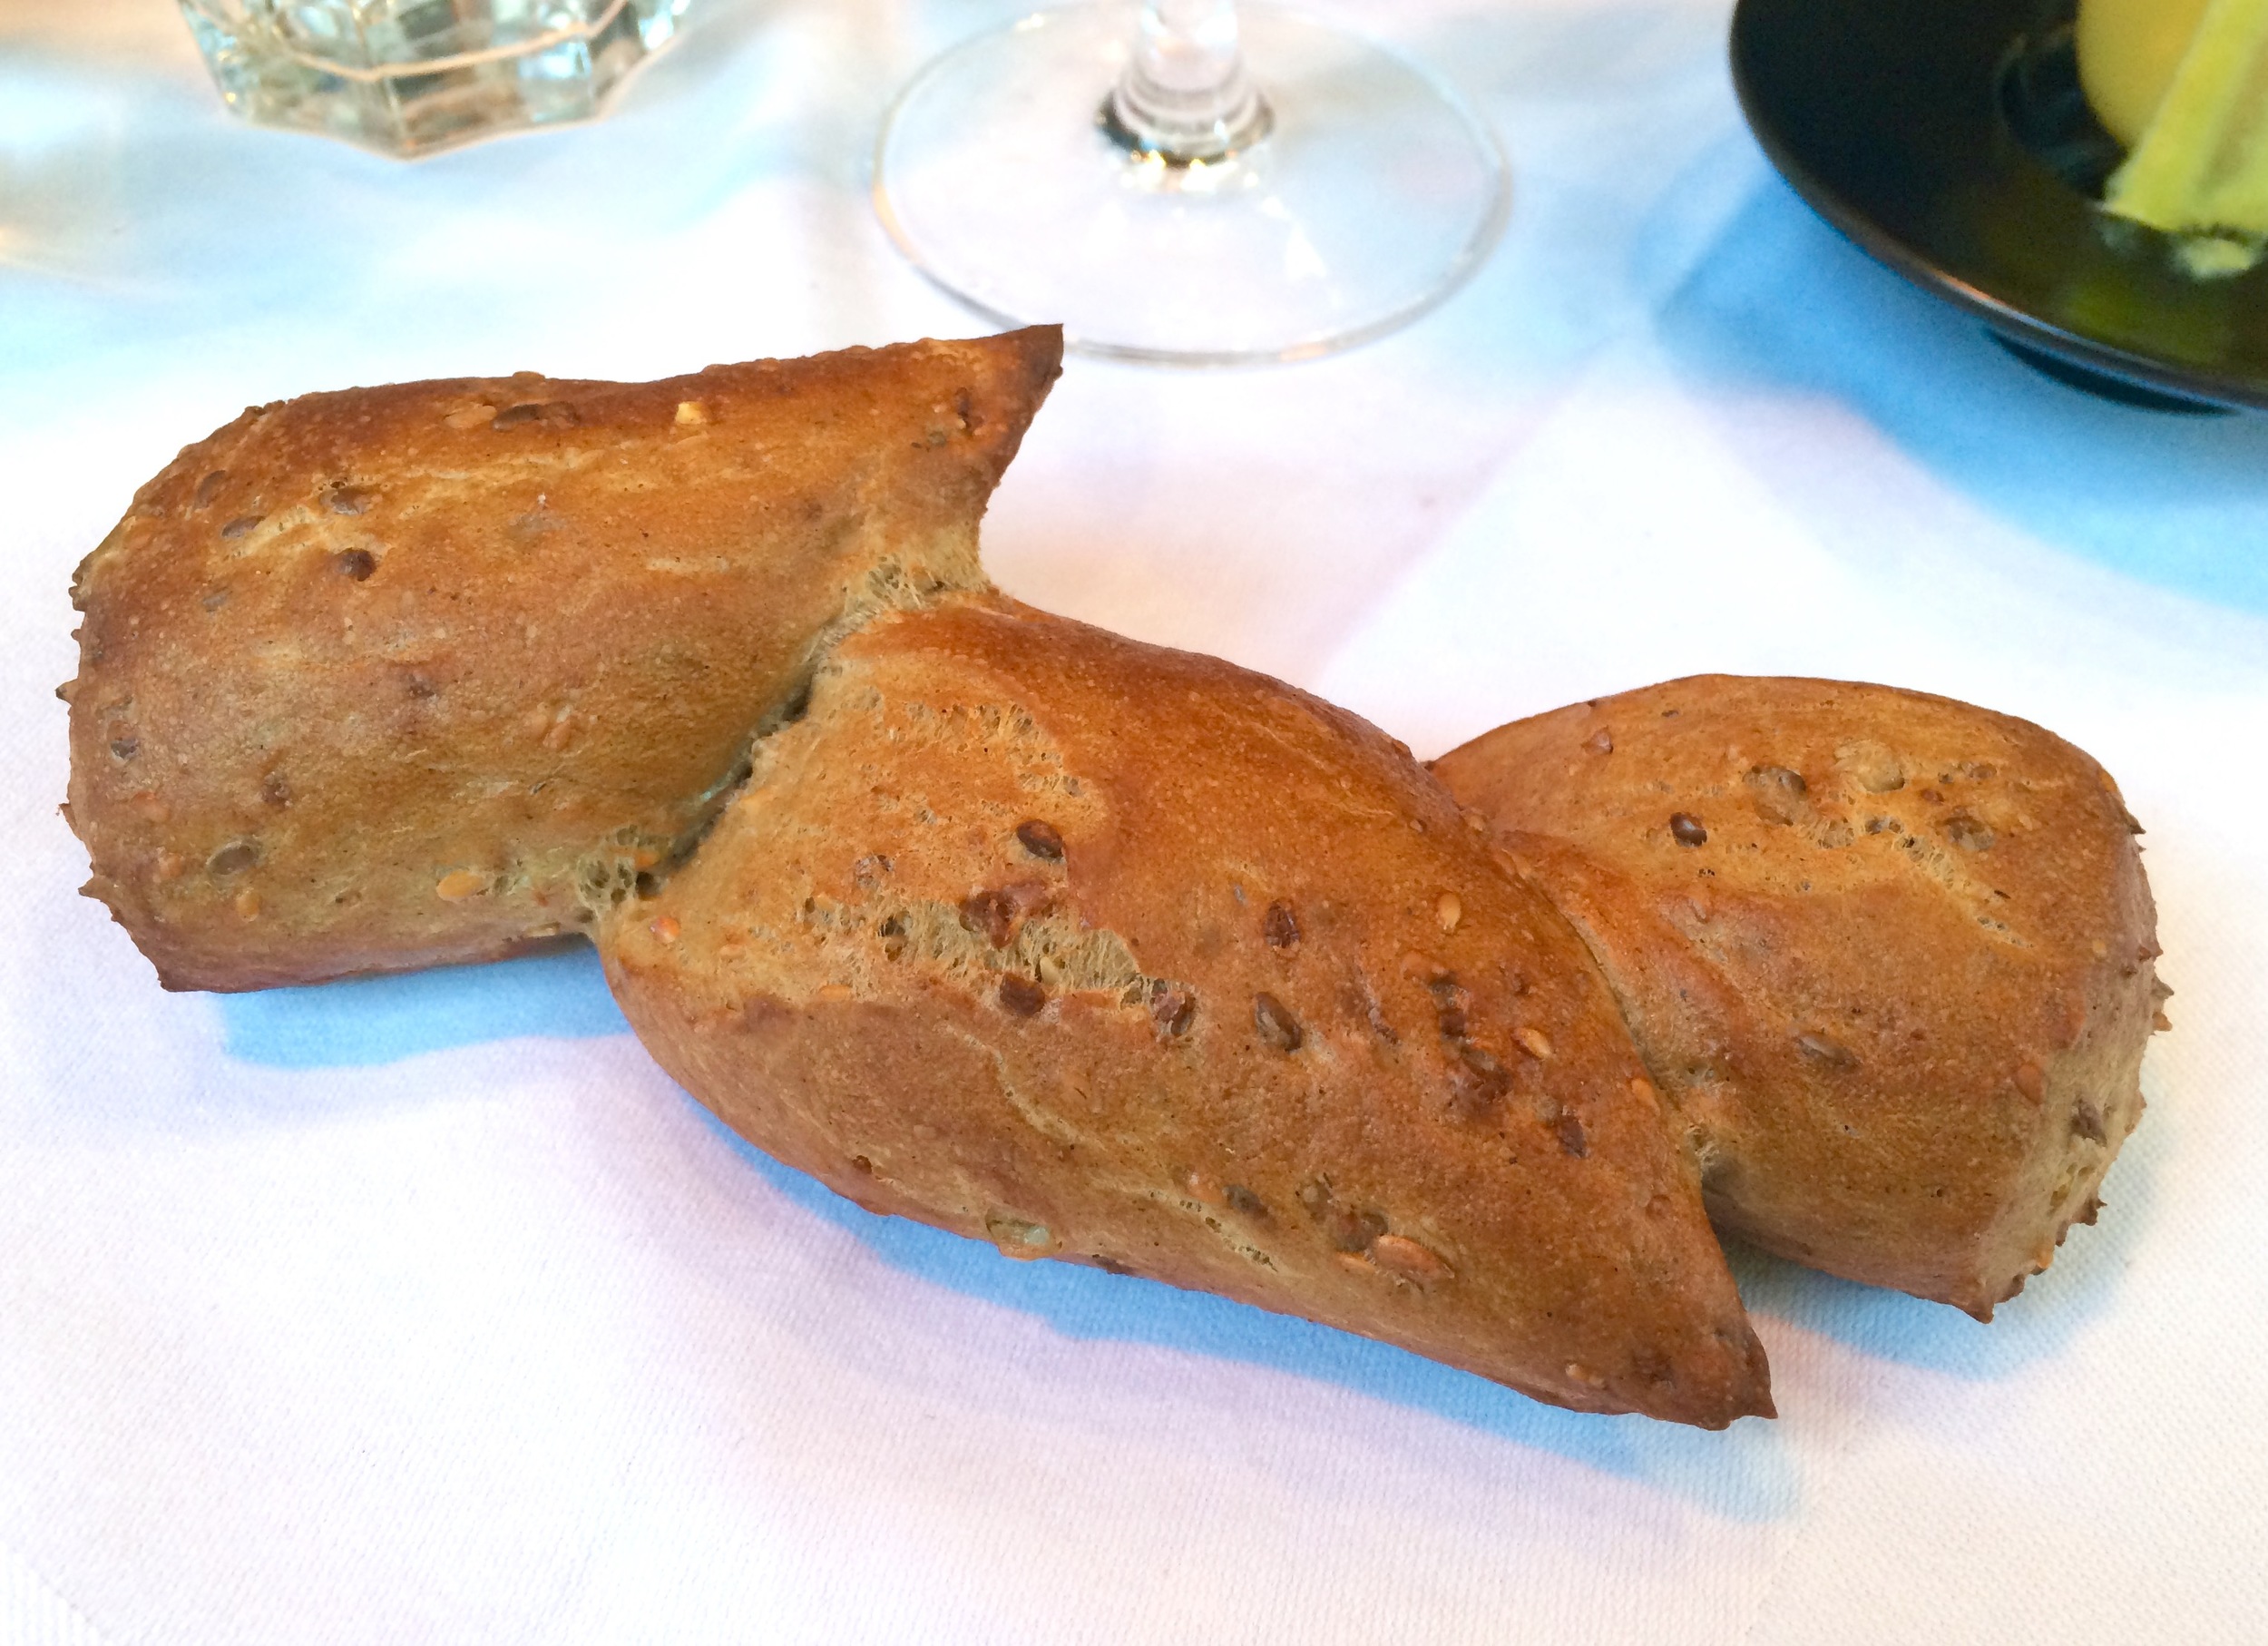
We each order a three course meal and a glass of wine. The meal also came with bread and an amuse-bouche. Everything was so delicious, and the atmosphere was wonderful. It was the perfect night. 

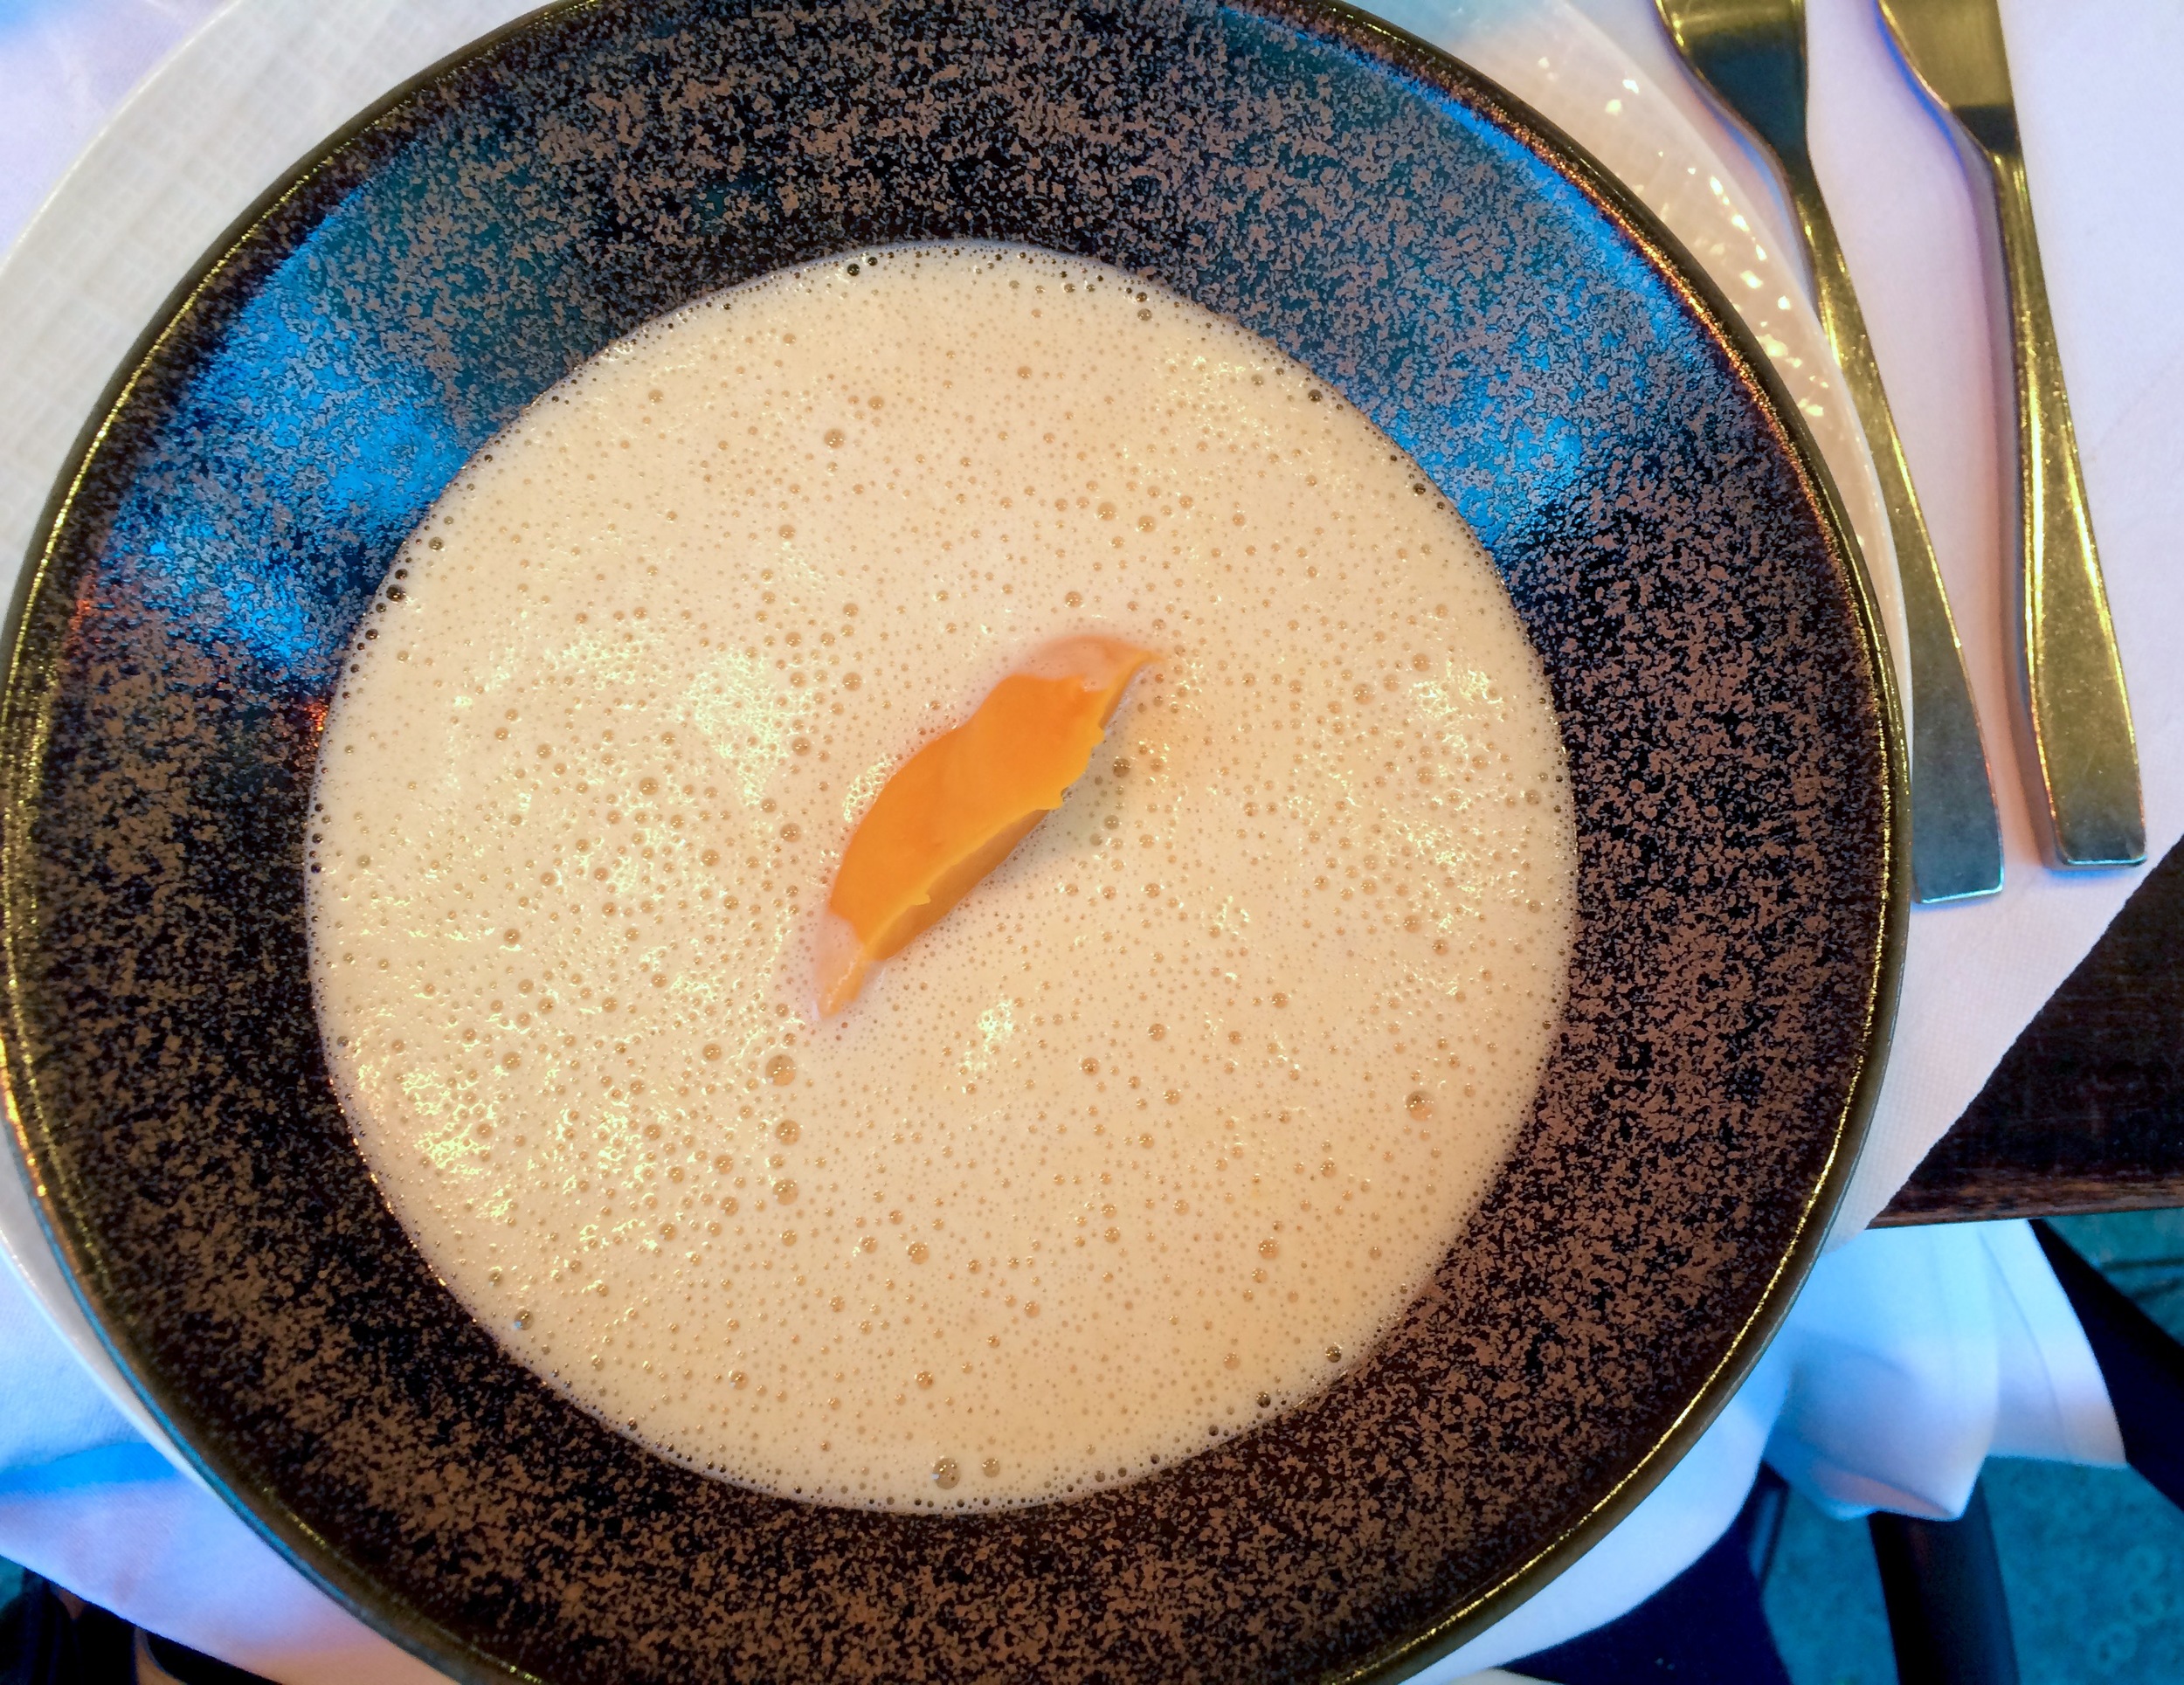
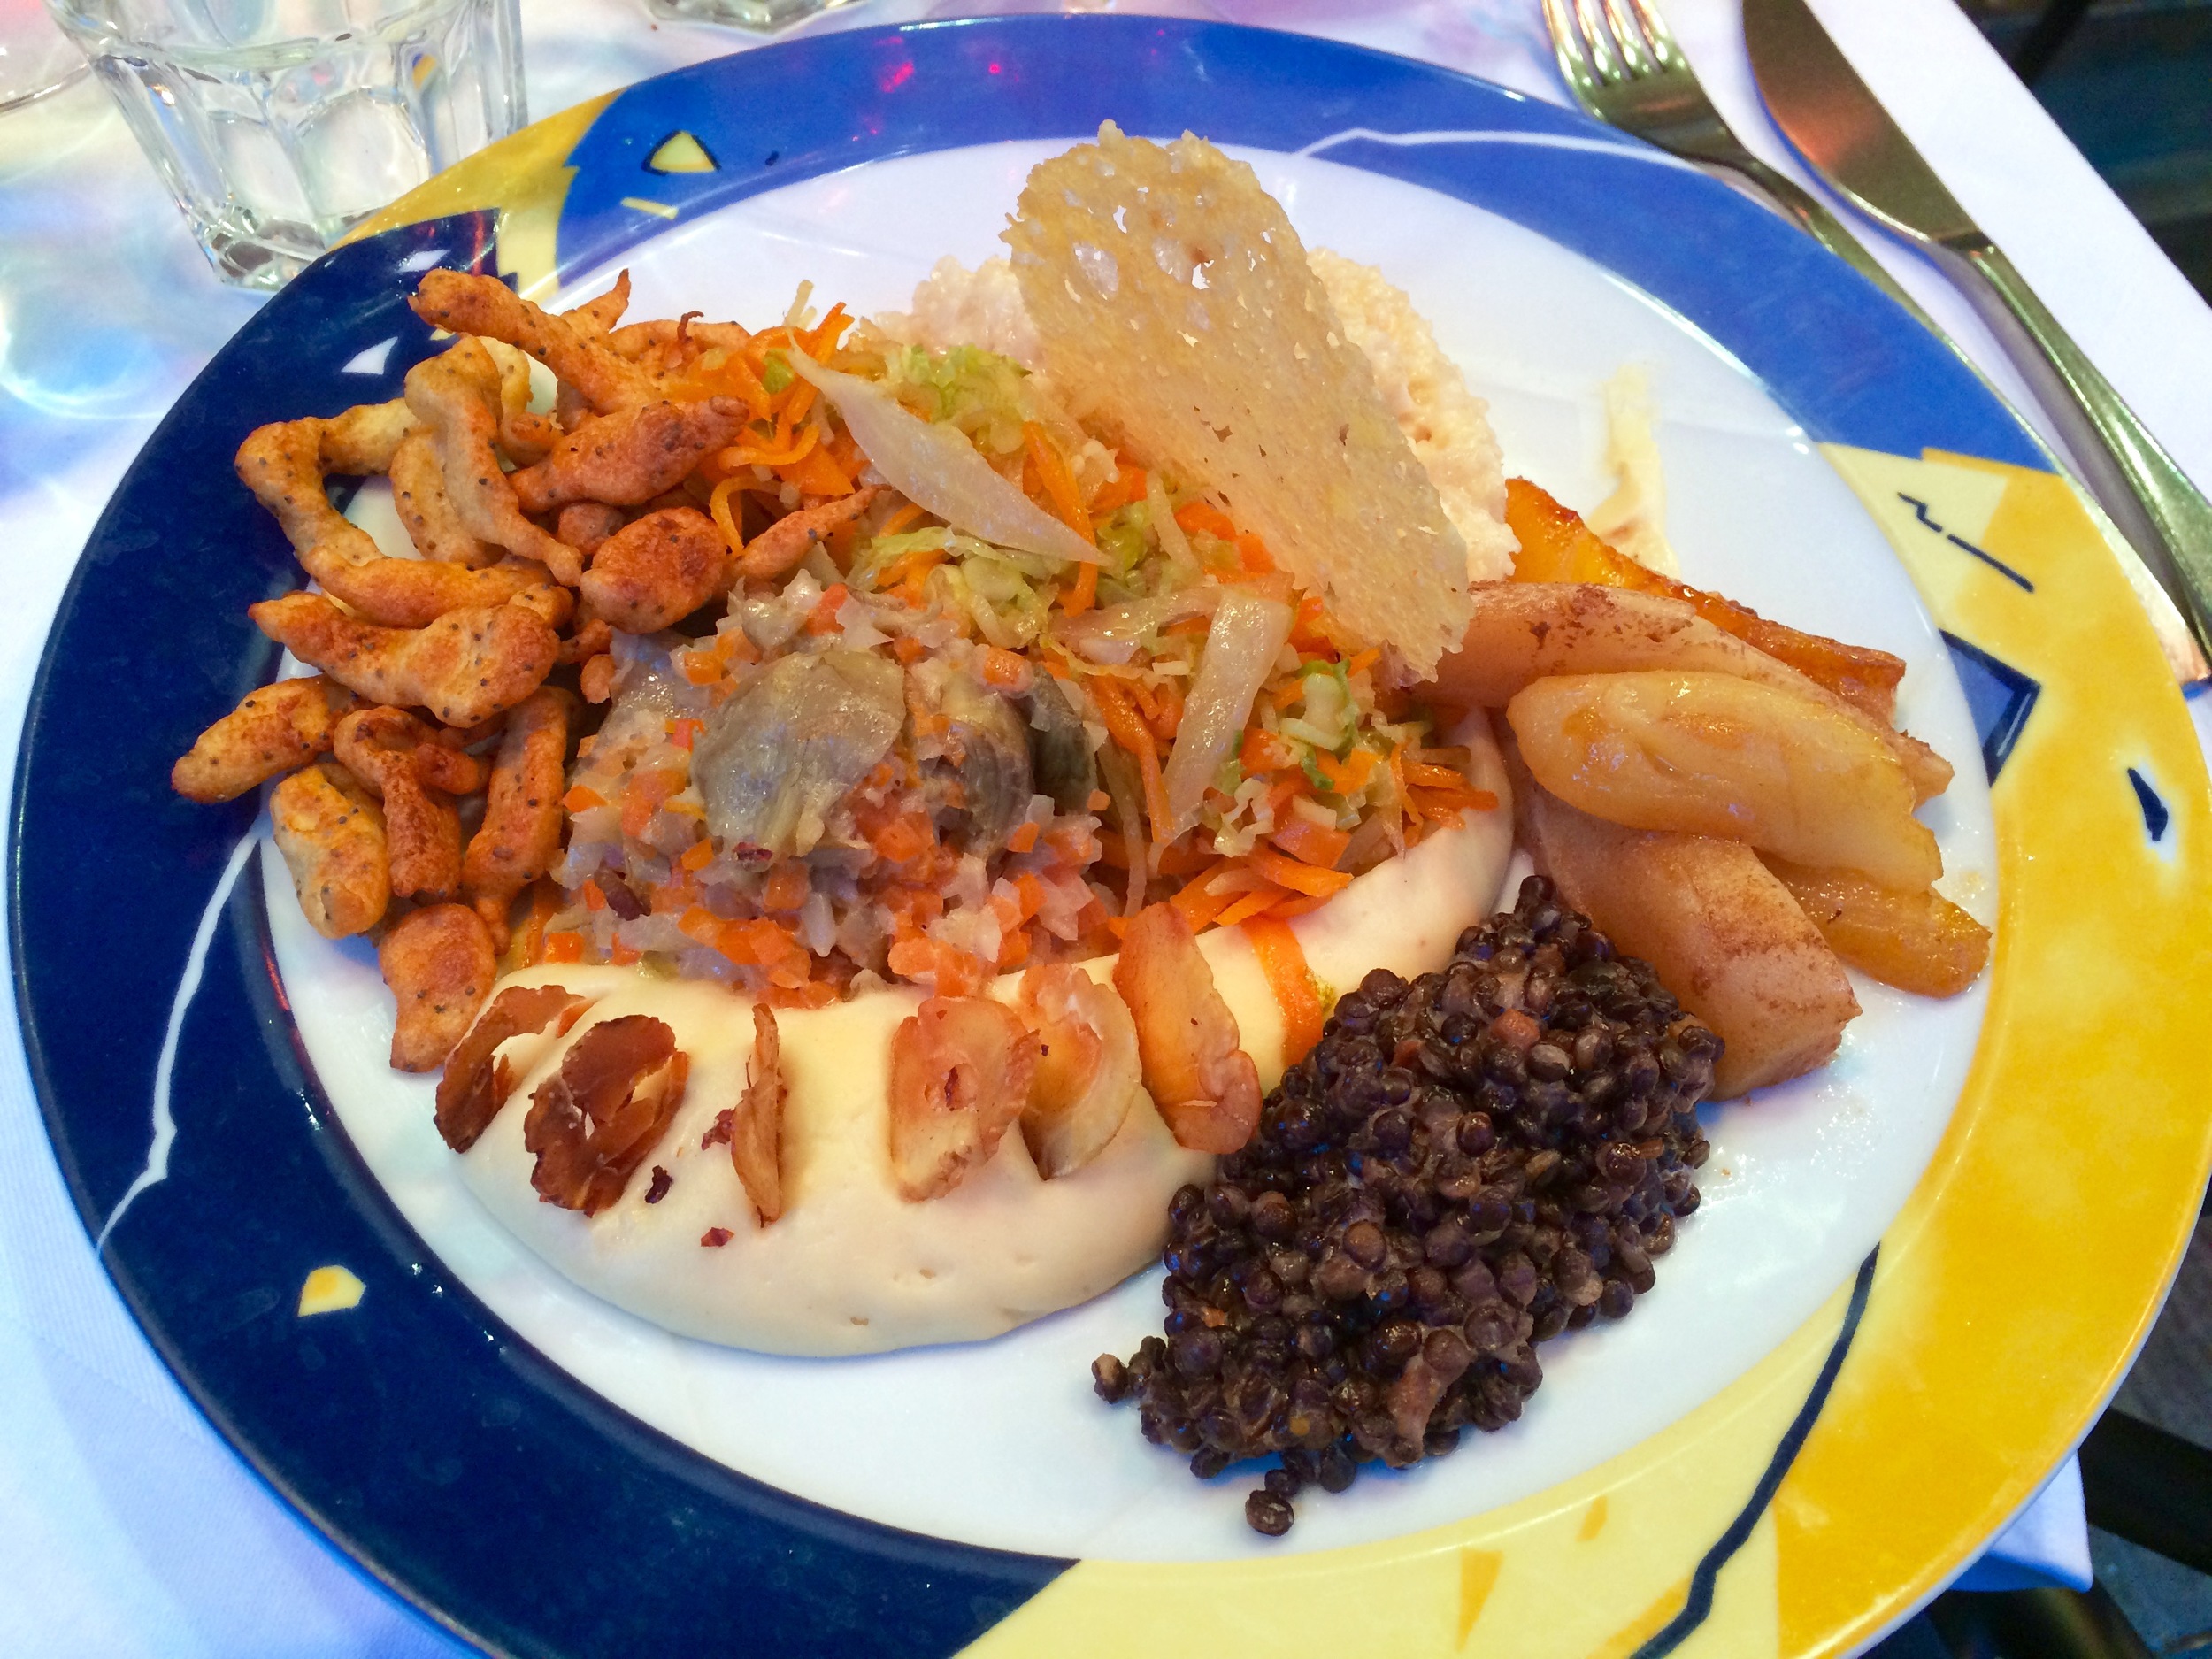
I tried to remember what we ordered, but I don't know if I got it all right. I had to guess on what some of it was since it wasn't written down anywhere, at least not in English! The amuse-bouche was a chilled carrot ginger soup with parsley cream and a radish. Then you can see my three courses down the left side of the collage below: scallop soup with either sweet potato or squash puree (I can't remember which) - very light and delicious, followed by the vegetarian main which was an assortment of several things, an Asian cabbage slaw, quinoa, parsnip puree with what looked like fried bananas, cheesy celery root mash, an artichoke carrot salad, sauteed pears, and some sort of crunchy crackery thing, and I finished things off with a speculaas cookie with poached apples, caramel and vanilla ice cream. 

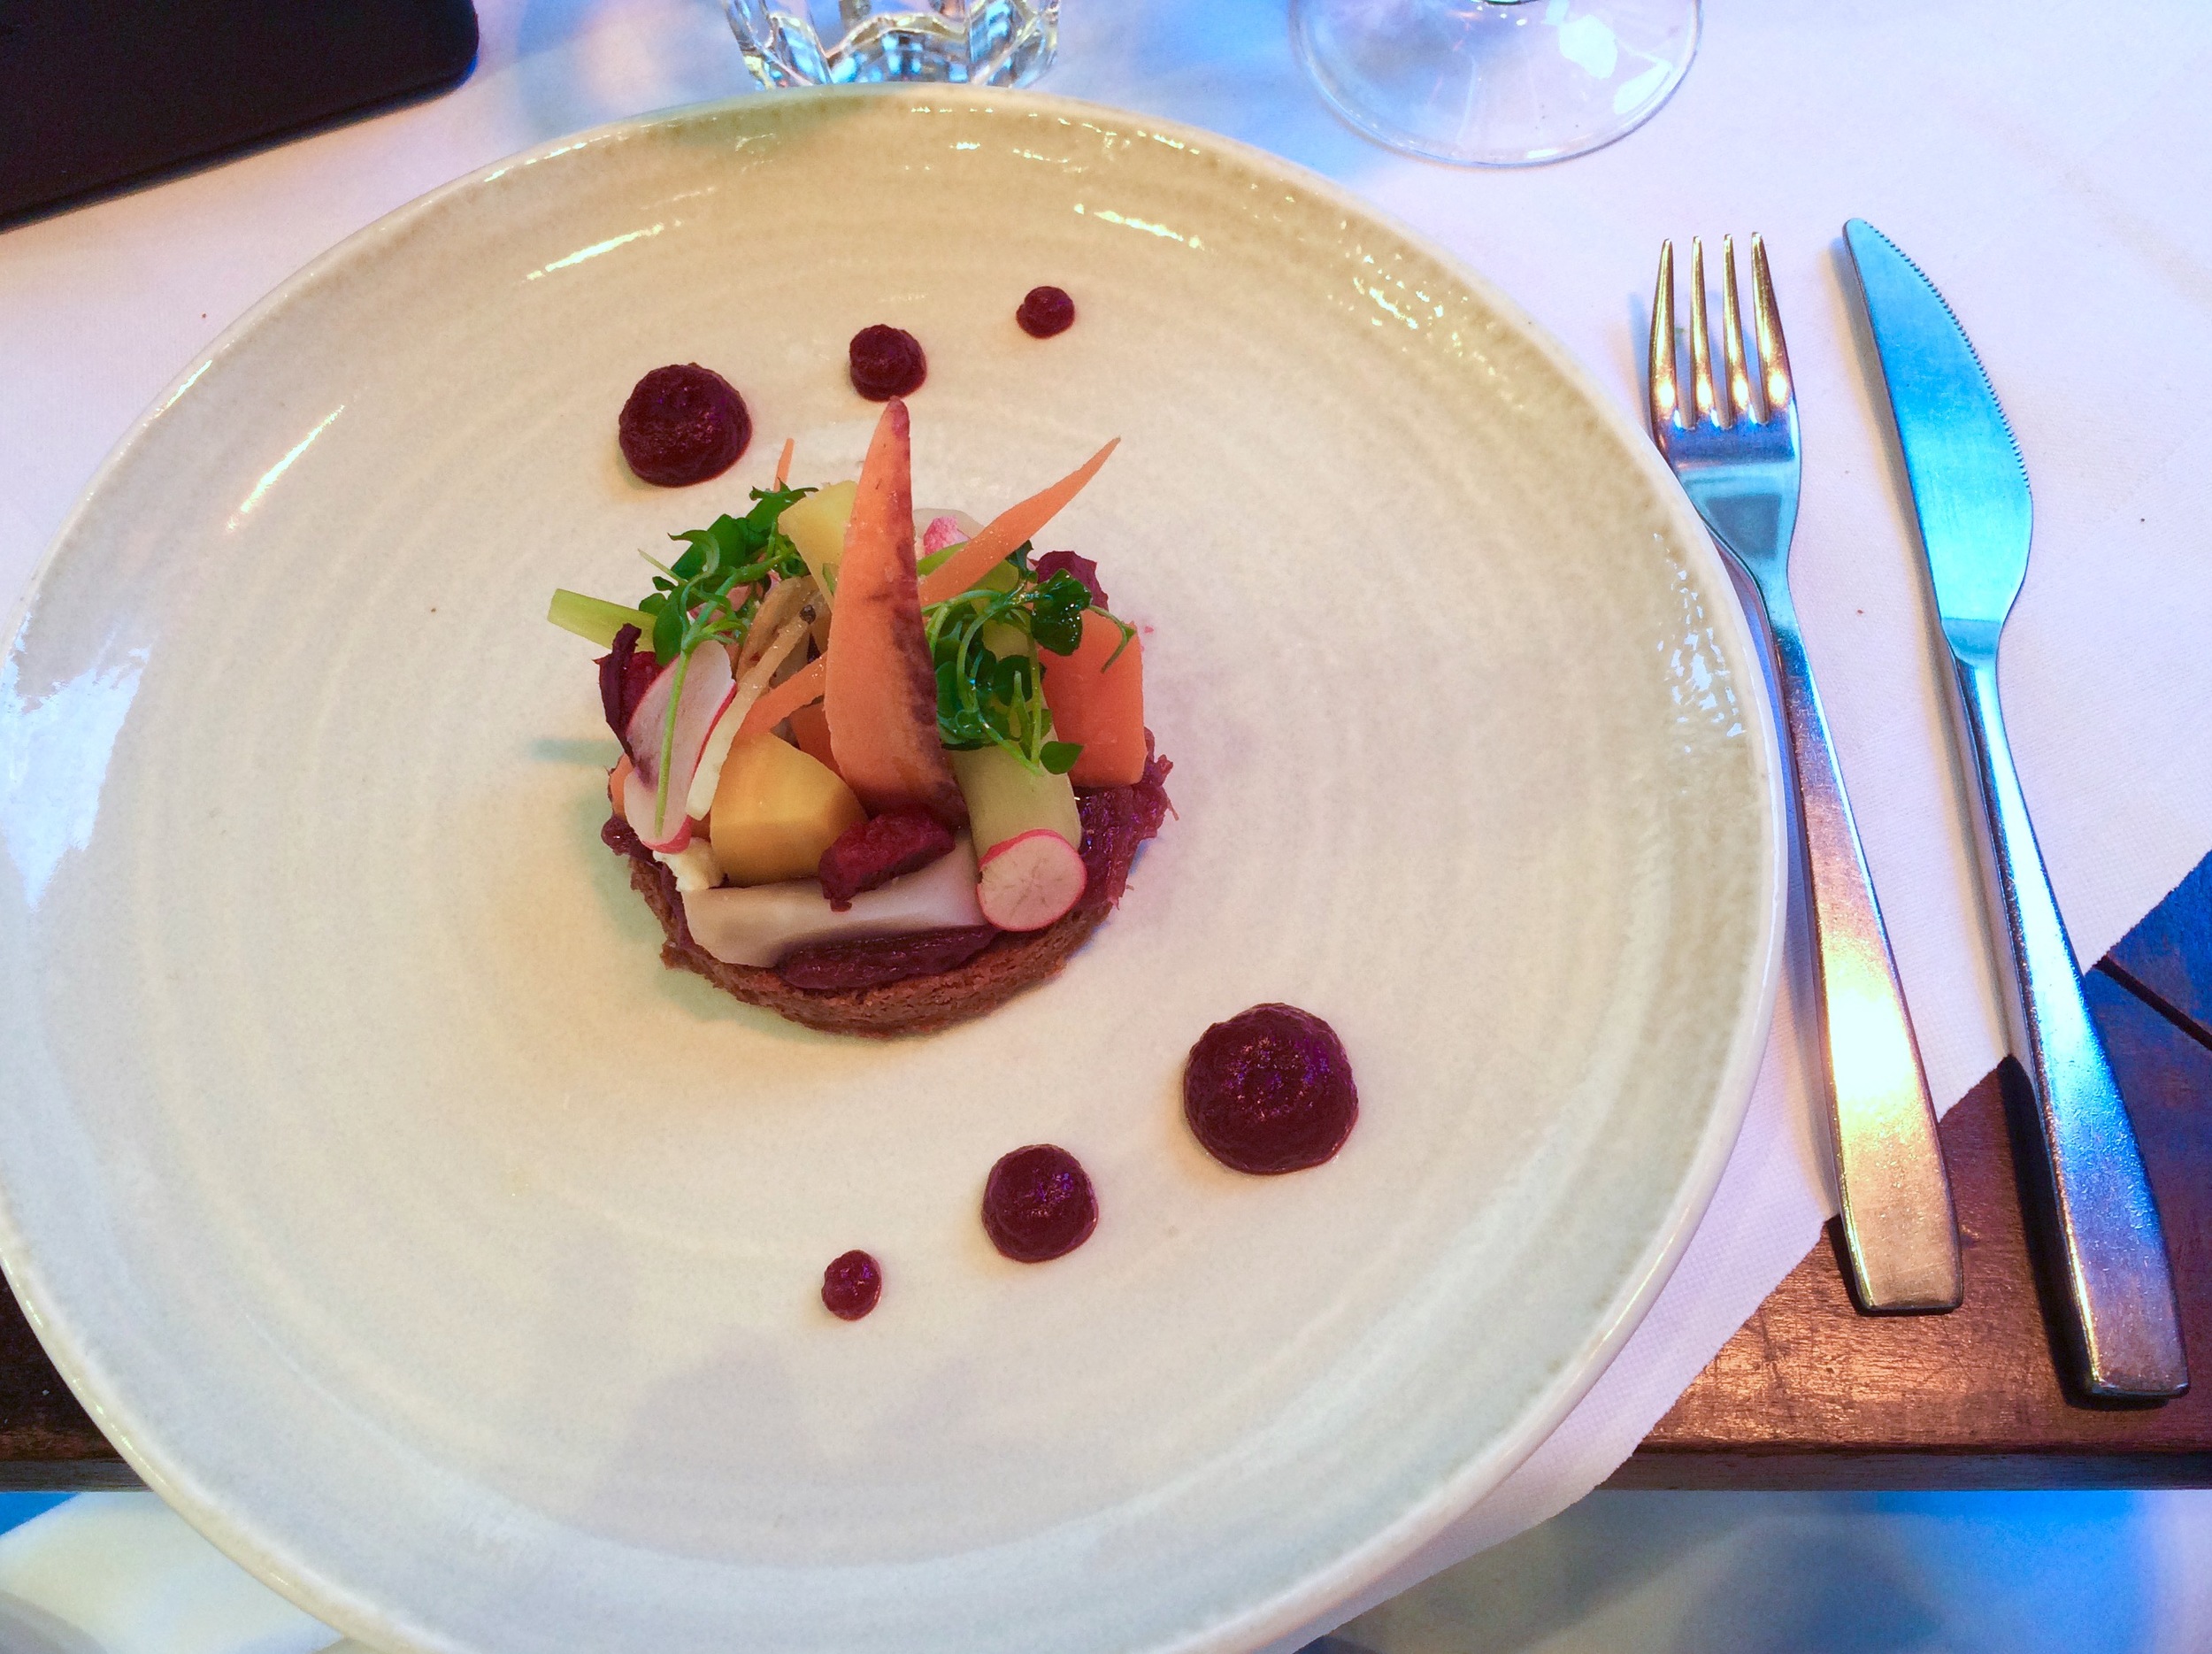
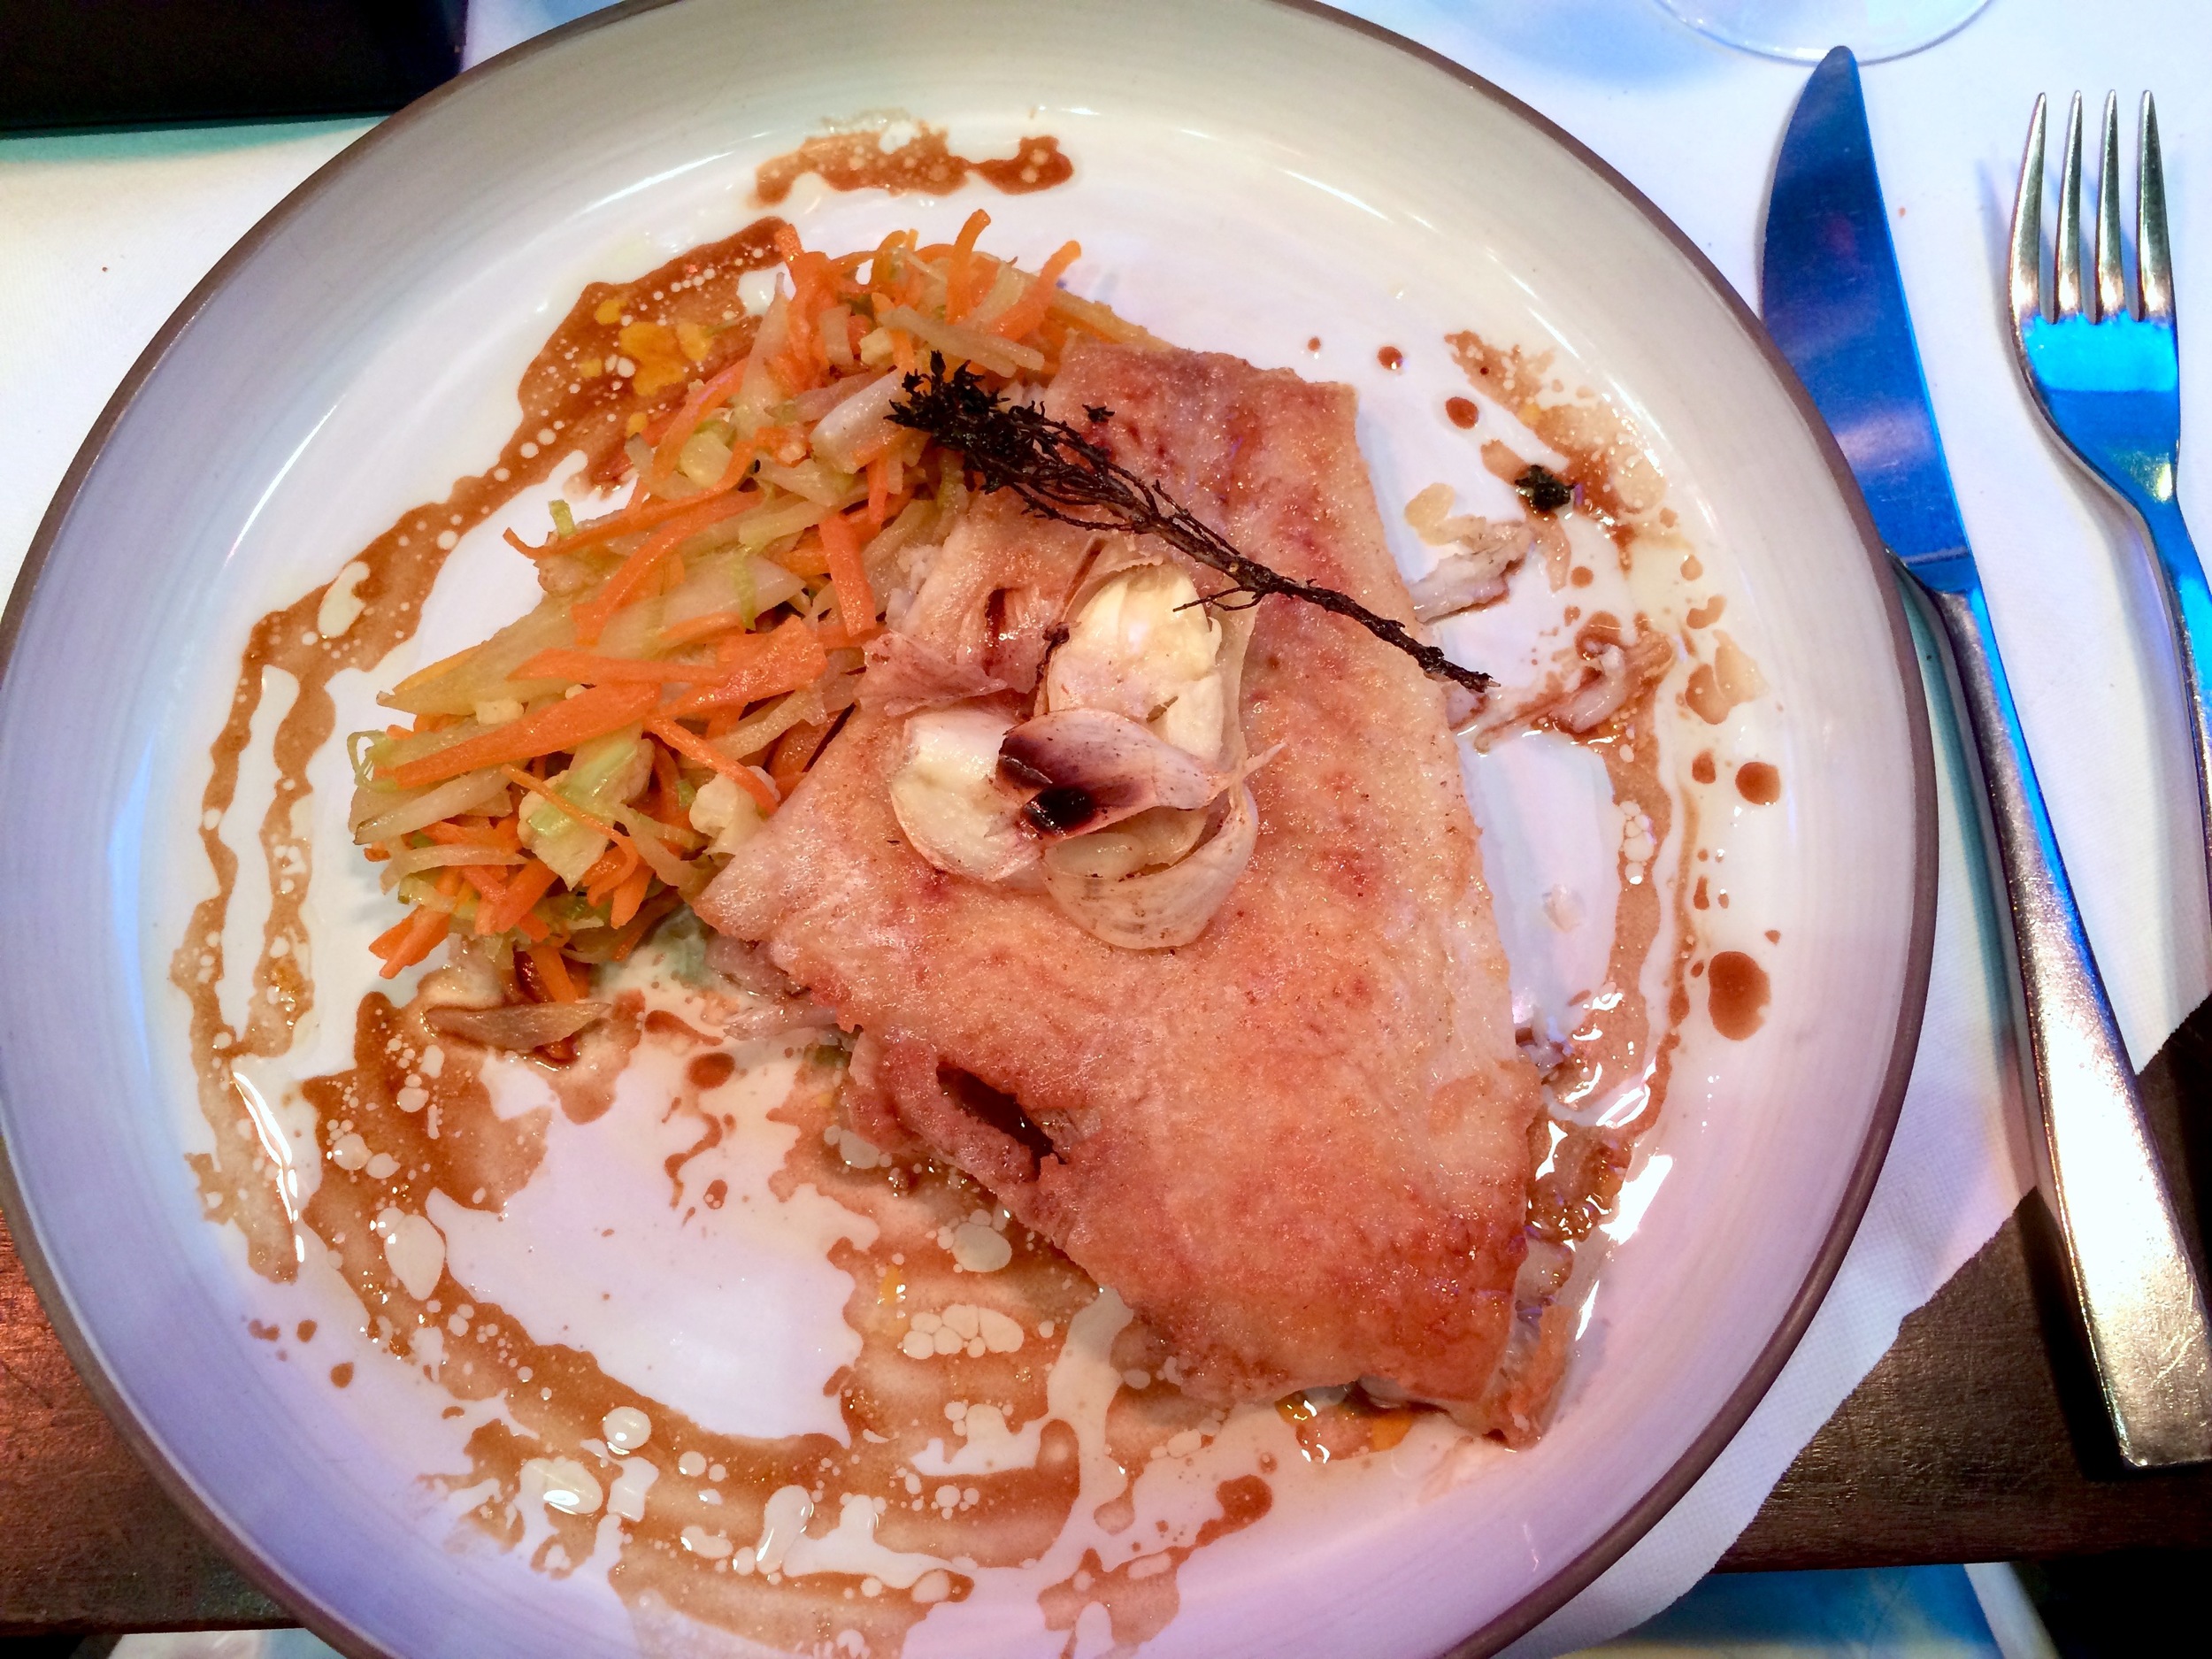
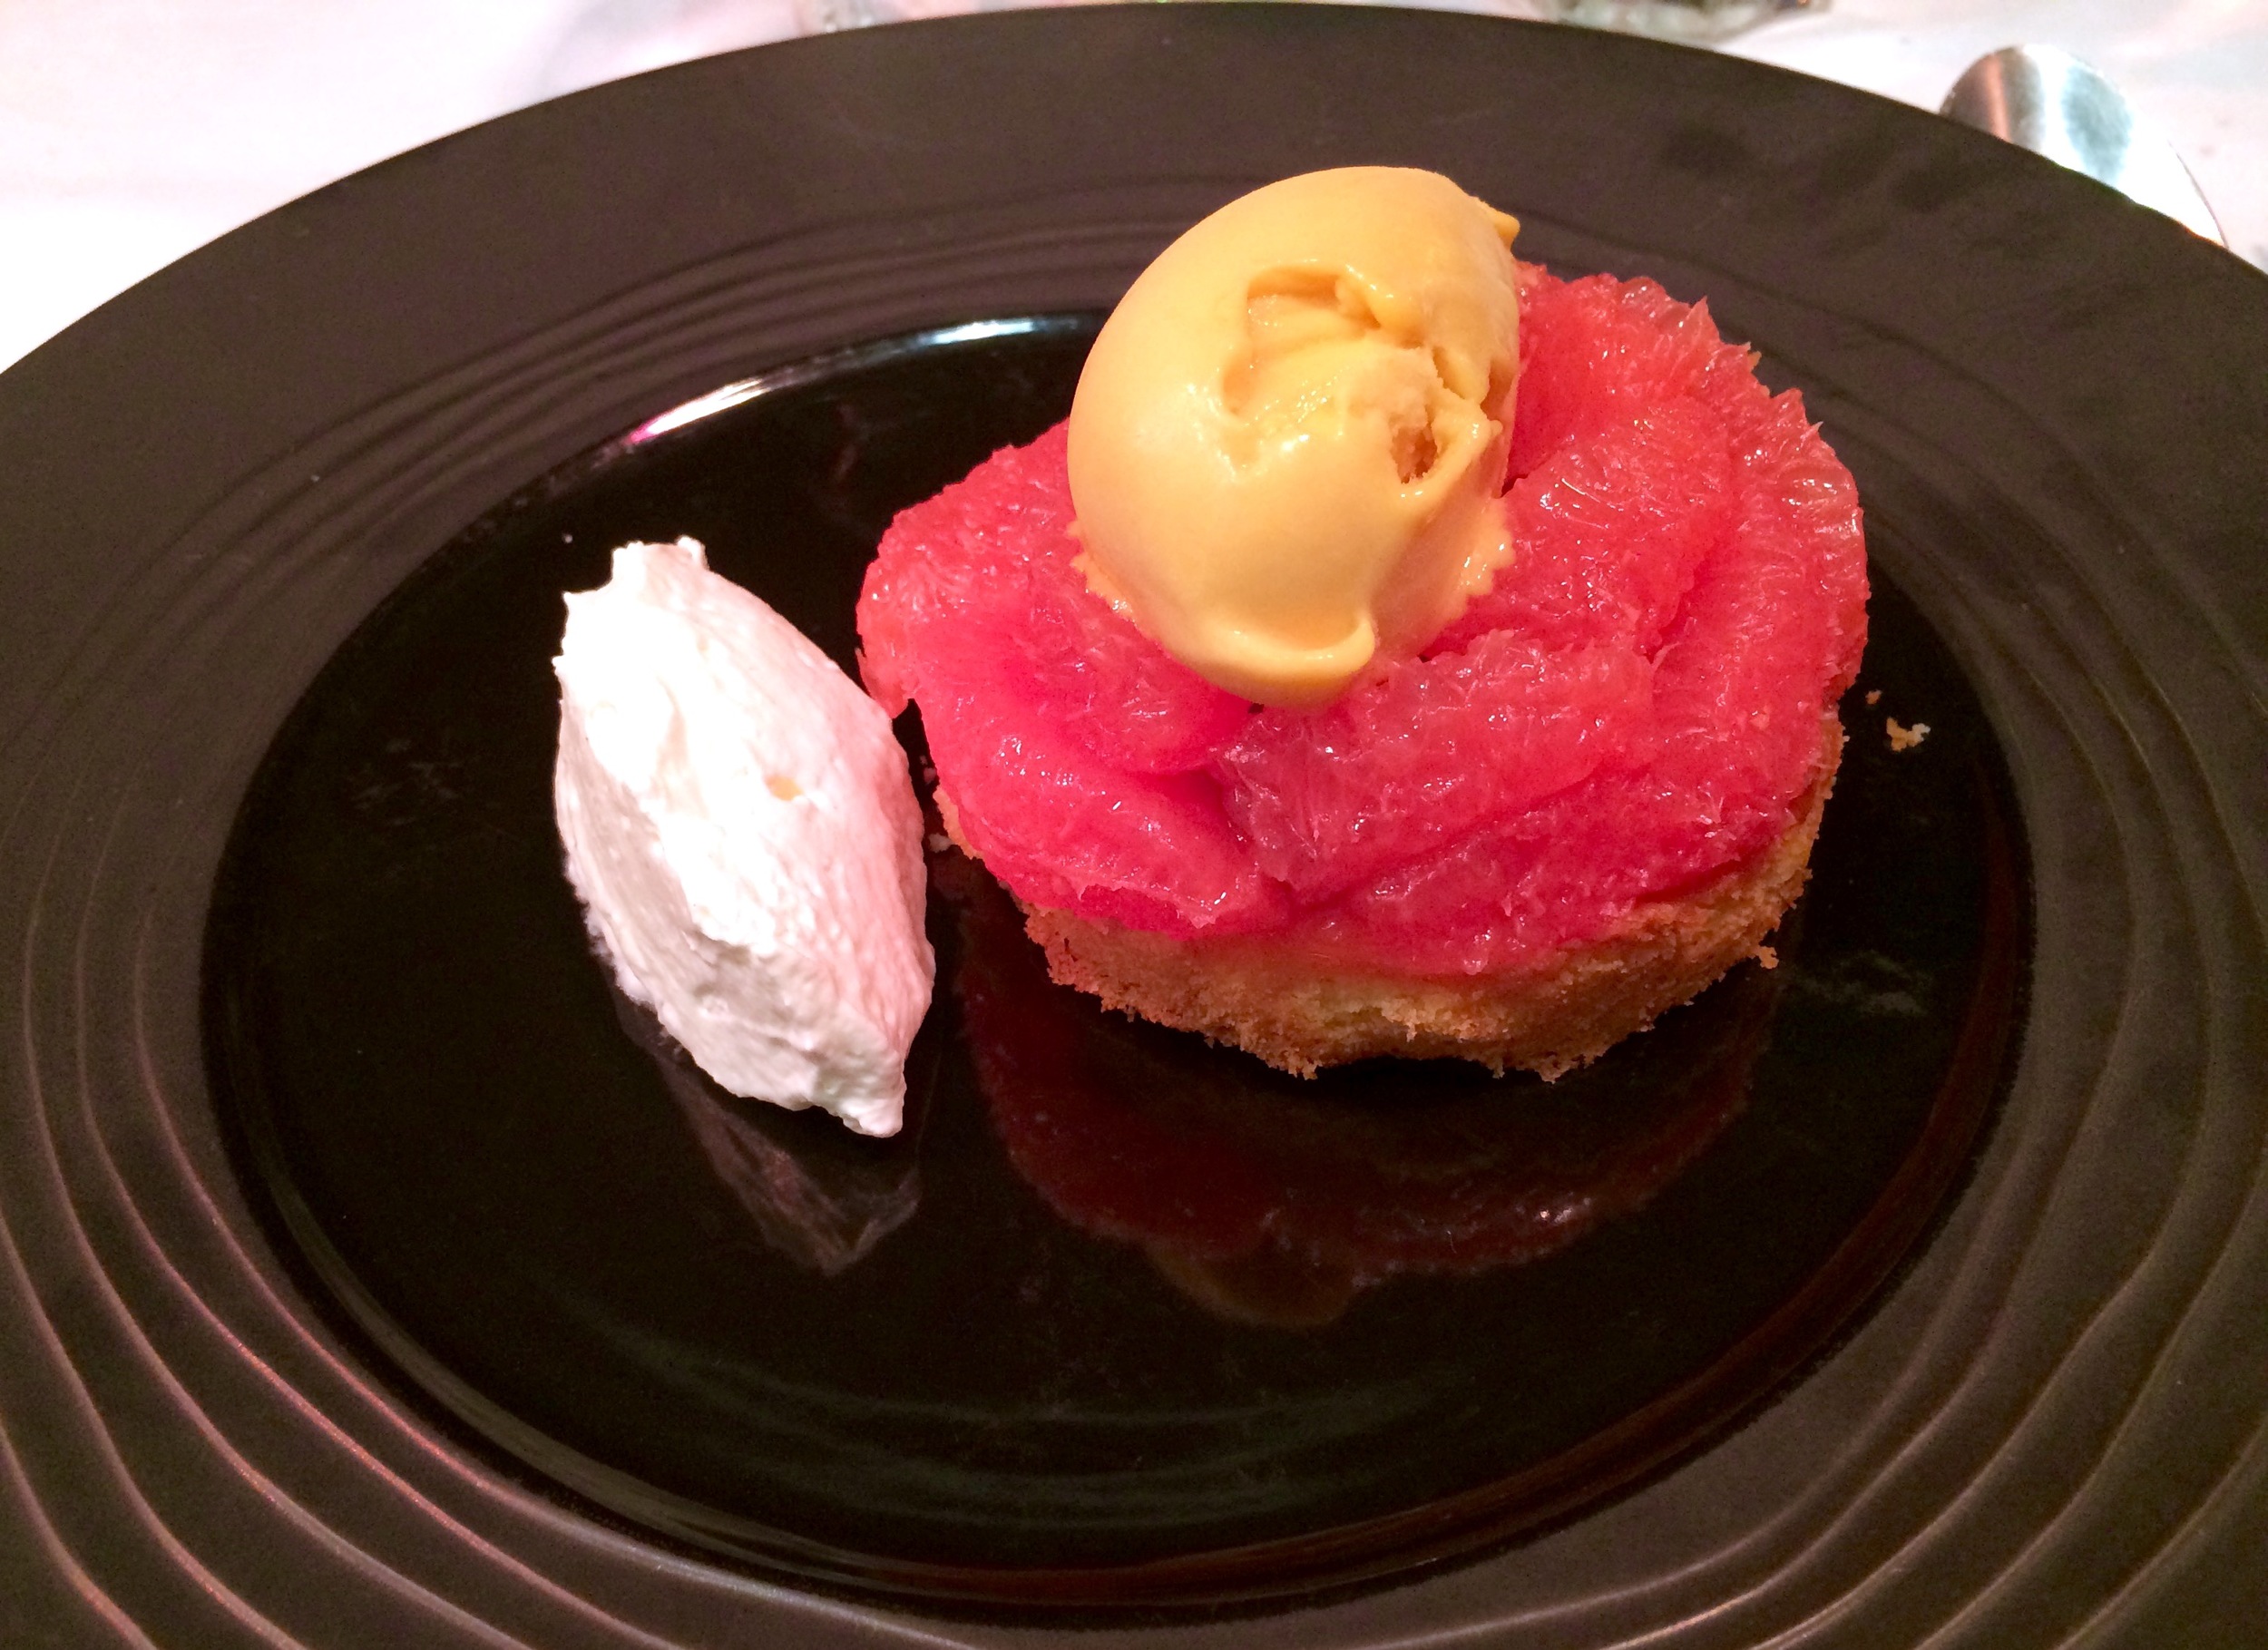
Lara's three courses are down the right side below; she had a raw vegetable first course with beet sauce, some kind of fish for her second course, and grapefruit dessert with mango sorbet. 


Enjoying the City of Lights after our wonderful meal!


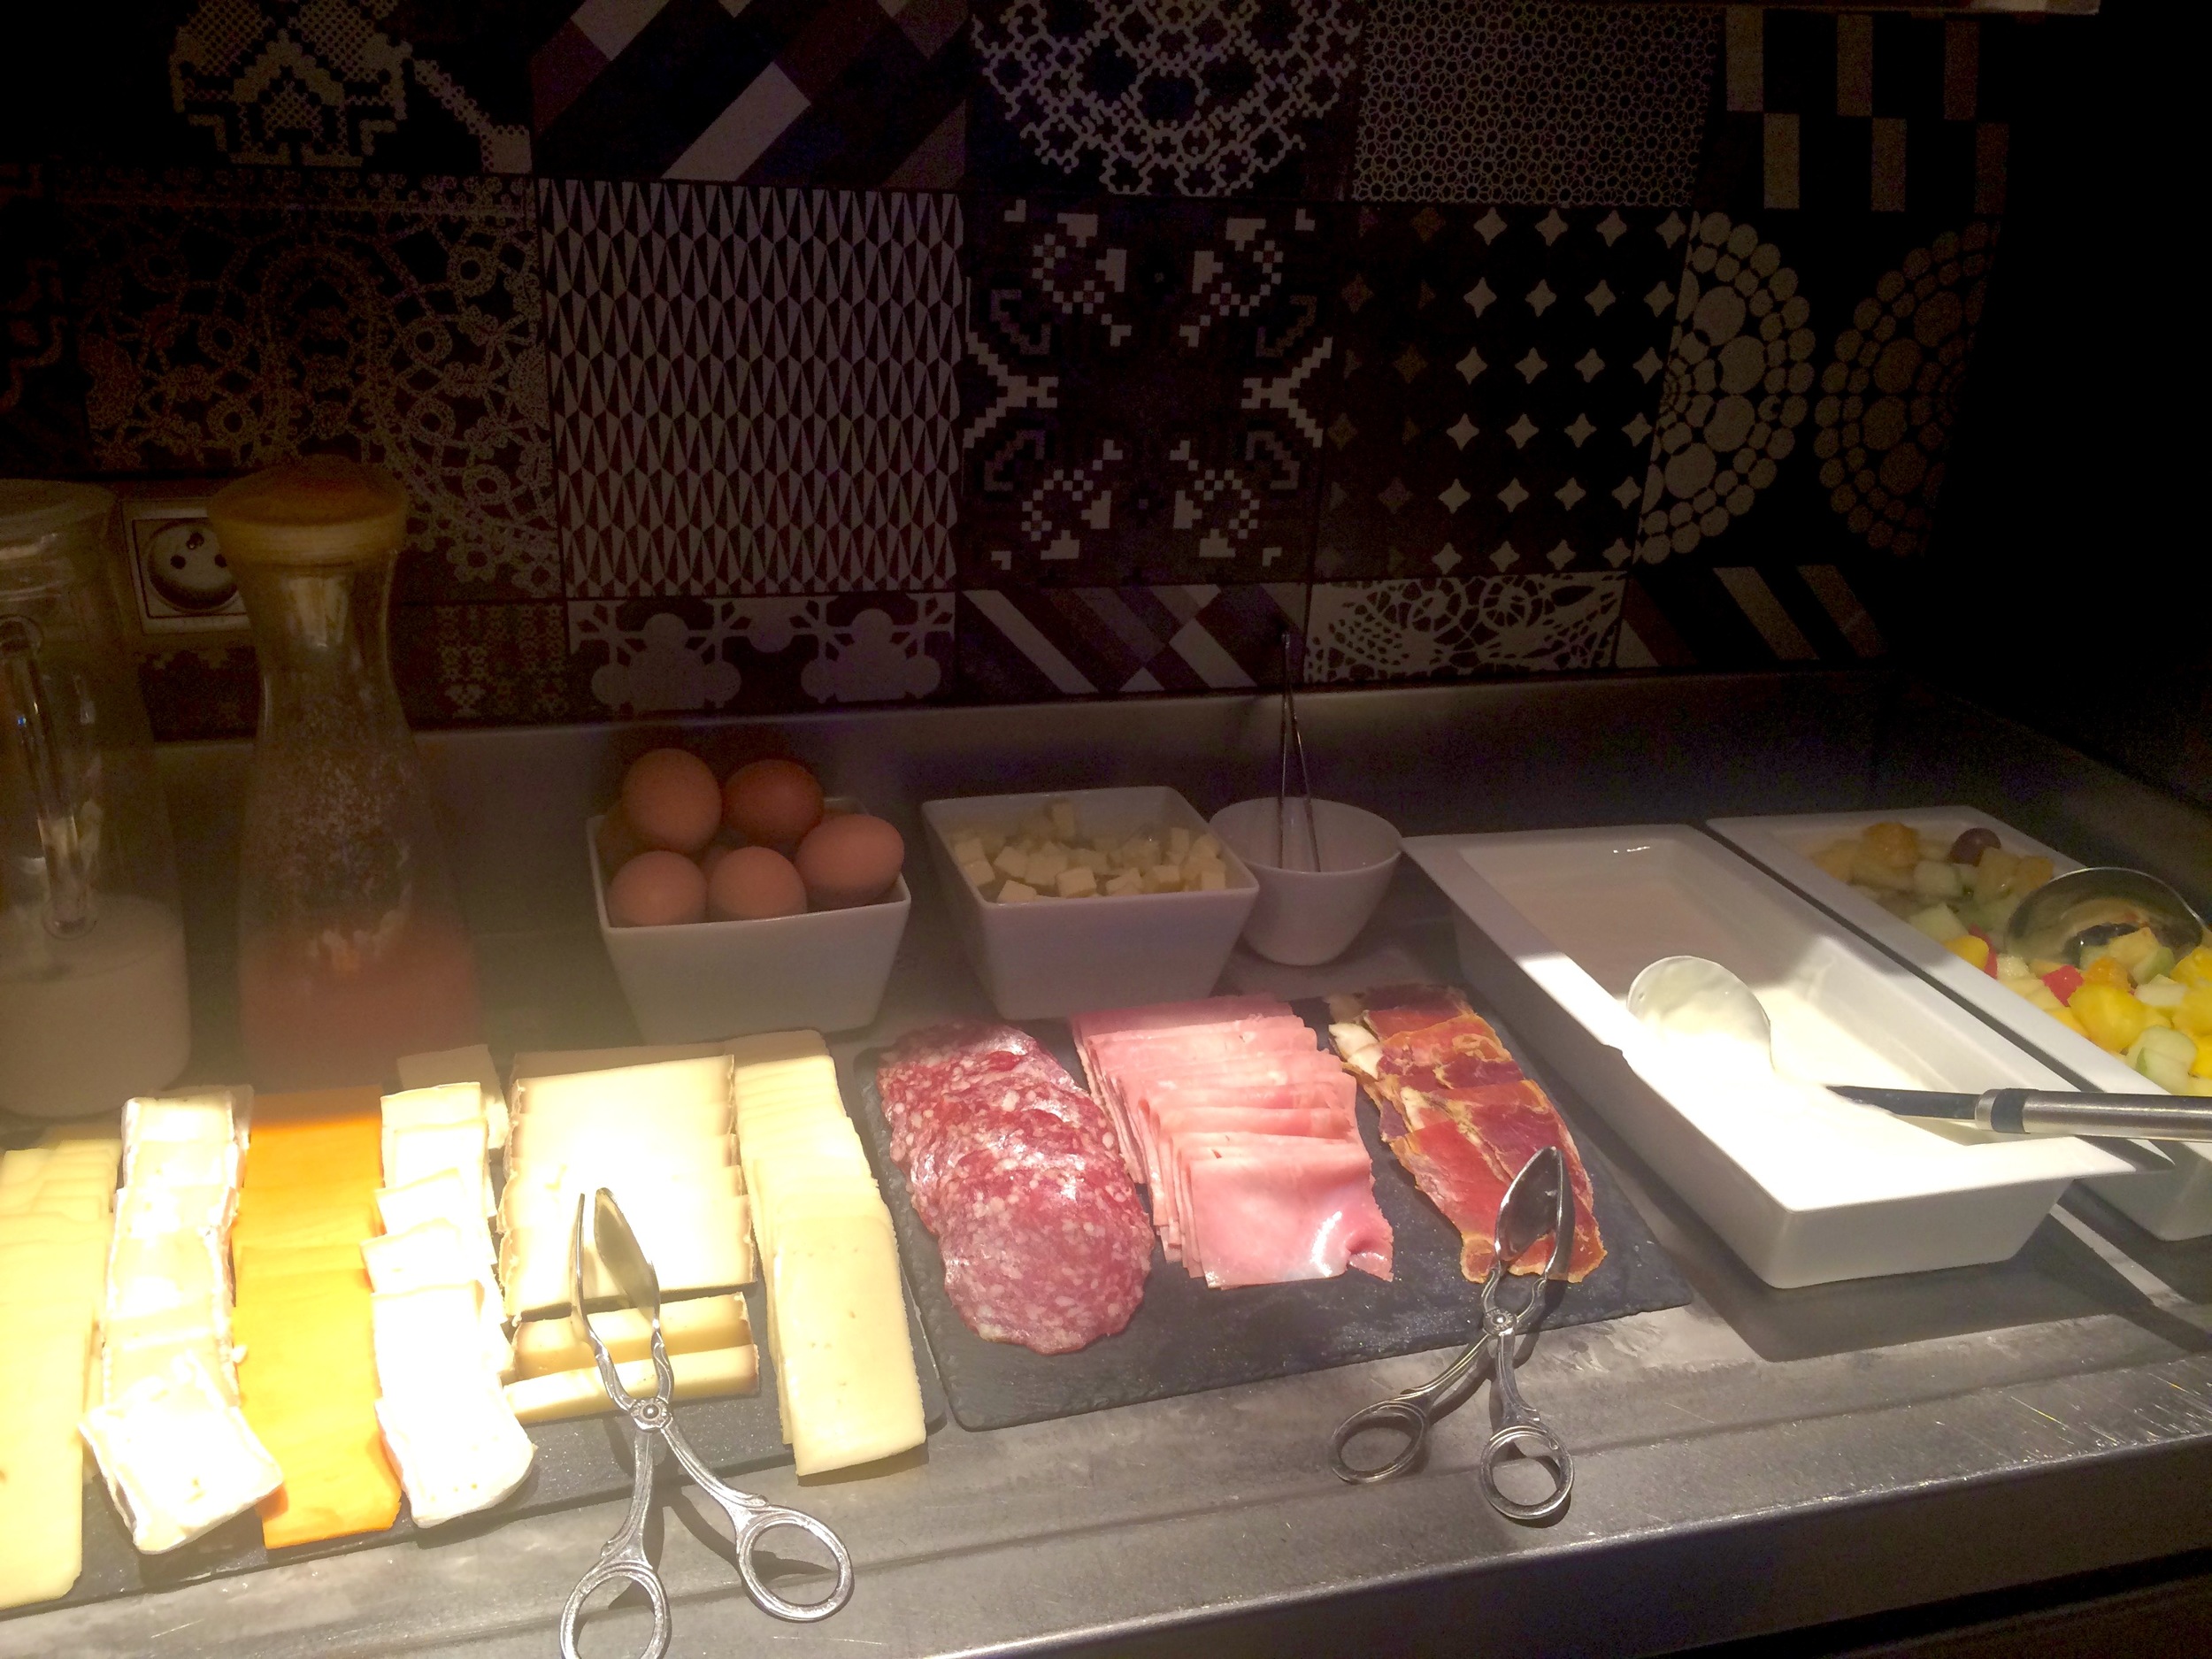
Breakfast was absolutely perfect the next two mornings at the hotel. The food and the selection was fabulous. Meet and cheese, boiled eggs, several types of bread and pastries, yogurt, fruit, fresh juice and coffee. I had to make a real effort not to gorge myself!!


Right after breakfast I grabbed an umbrella and we headed out the door on a long but lovely walk to the Eiffel Tower, a second item on my "must-see" list of the city. Although I was a little worried about rain, the morning turned out to be perfect for walking. And the Eiffel Tower was certainly worth the walk! Again, I was impressed, it was much larger than I was expecting, and amazing to look at. 


We decided to go up the Eiffel Tower and I'm so glad we did. I think it was worth it. The view was great, and it was a really fun experience. 


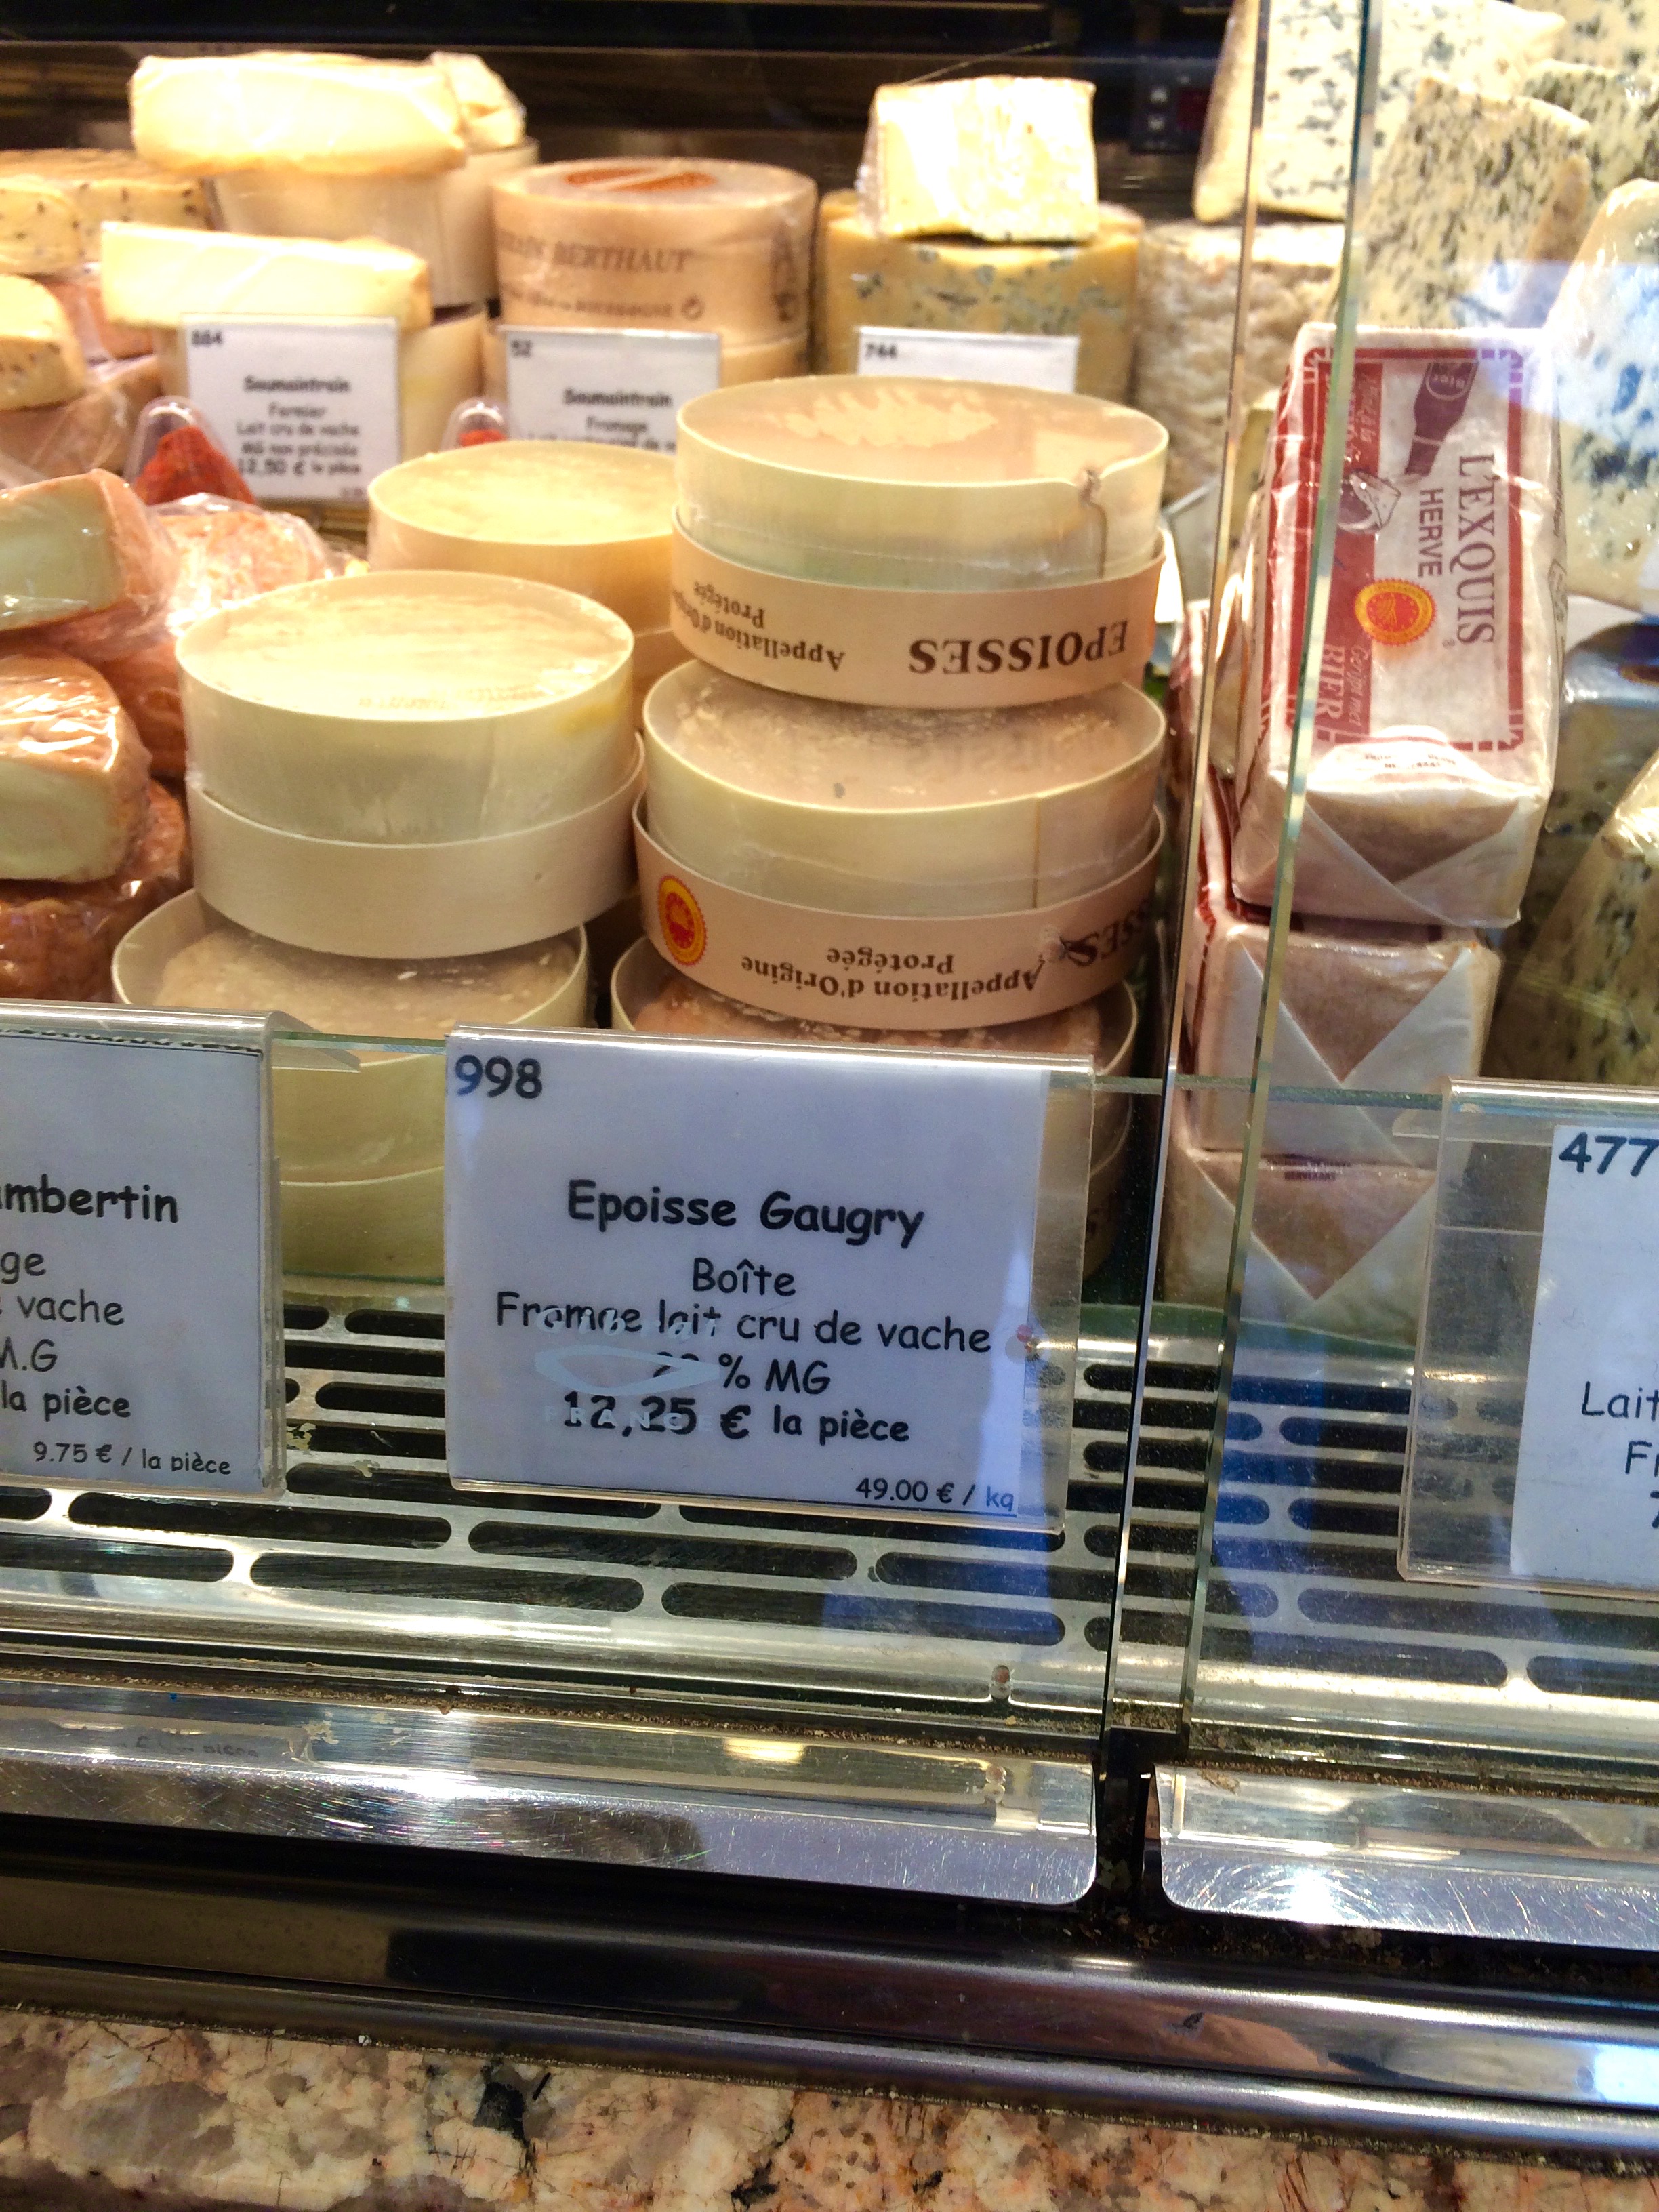
After the Eiffel Tower we did a lot of walking around and looking at whatever we could find. Thankfully we found a wonderful cheese shop where someone spoke a little English and we picked up a couple cheese to try! Oh how I wish we could find cheese shops like these in the States!

We picked up 2 different cheese from the HUGE selection. I wanted to try them all but we had to be realistic. We decided on the Epoisse Gaugry and a wonderful Roquefort. They were both amazing, and we ate them for several meals in a row!

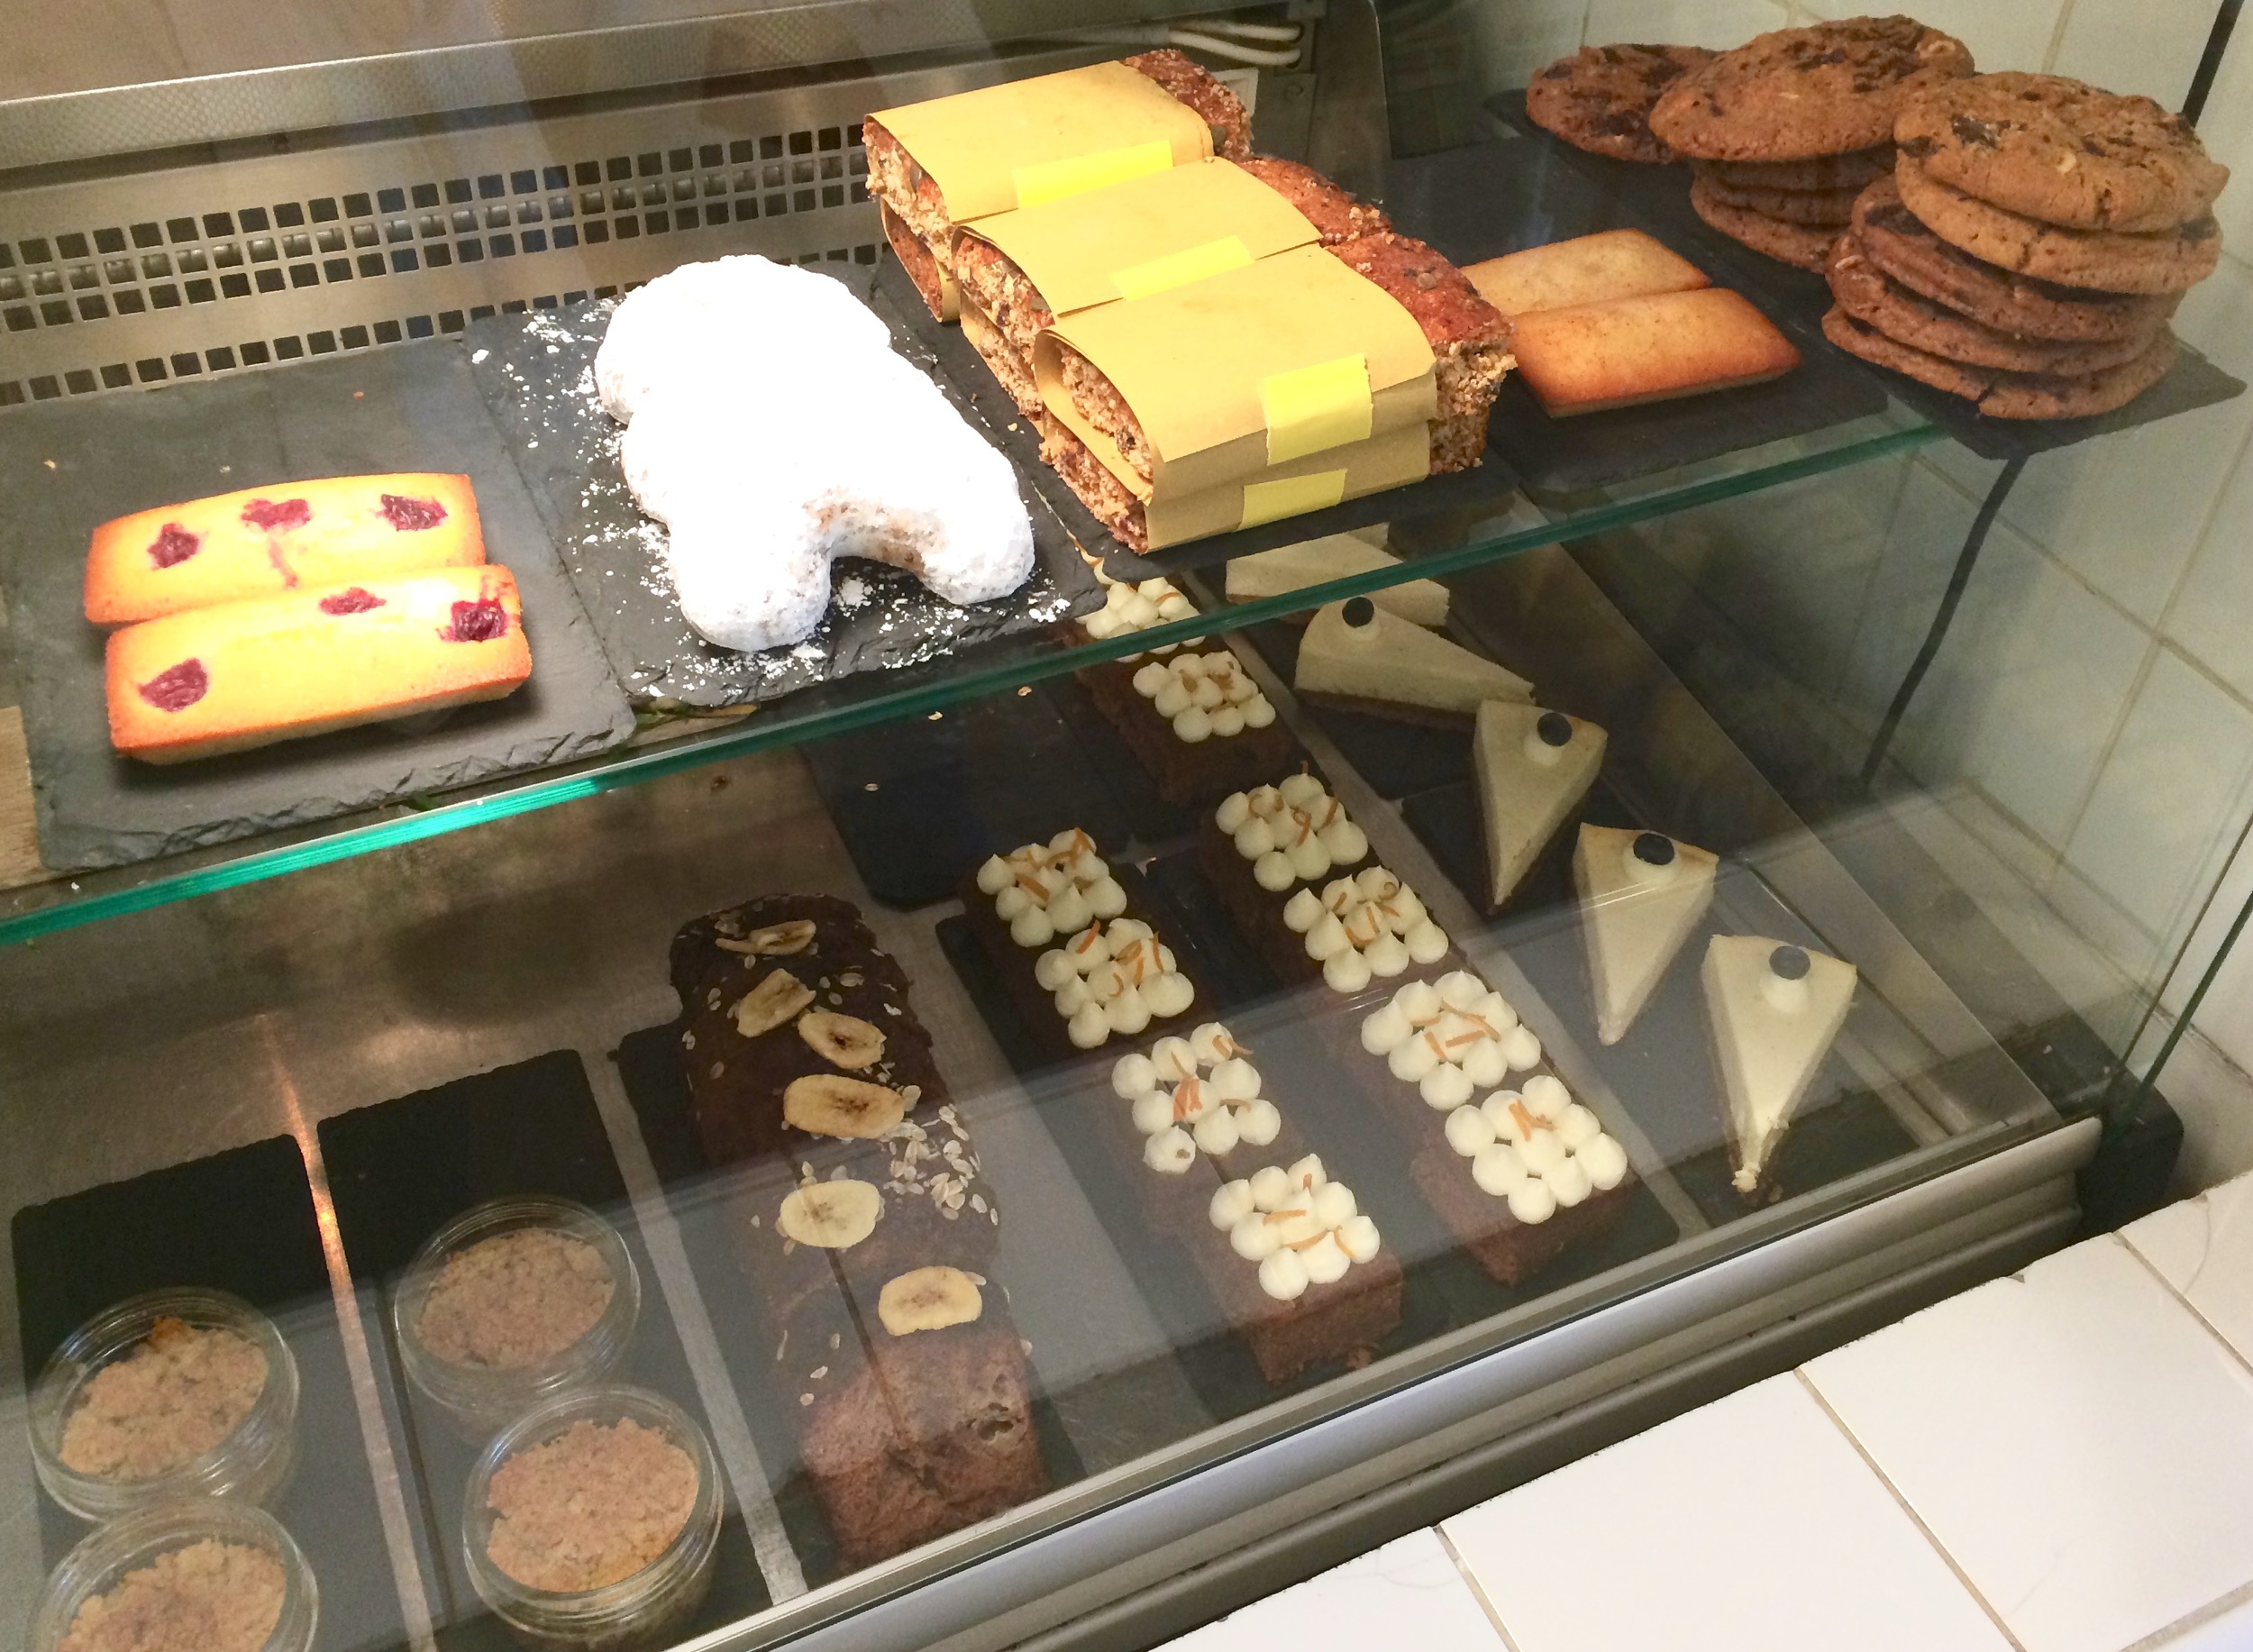
And after even more walking Lara and I found a wonderful and unassuming little coffee shop. Up until this point in our trip the coffee has been good, but it had all been automatic, no hand crafted beverages in site. But finally at Cafe Fines we were able to sip on a couple of handmade cappuccinos, as well as a financier. The sweets case at this wonderful coffee shop was wonderful, I wanted to try them all. 

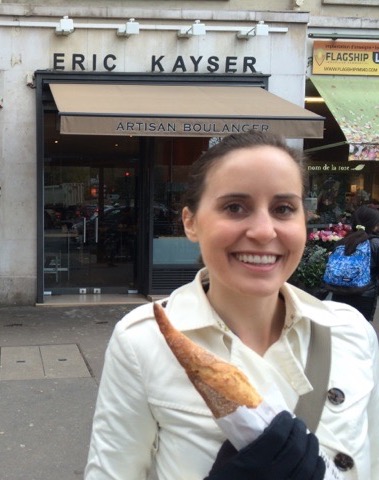
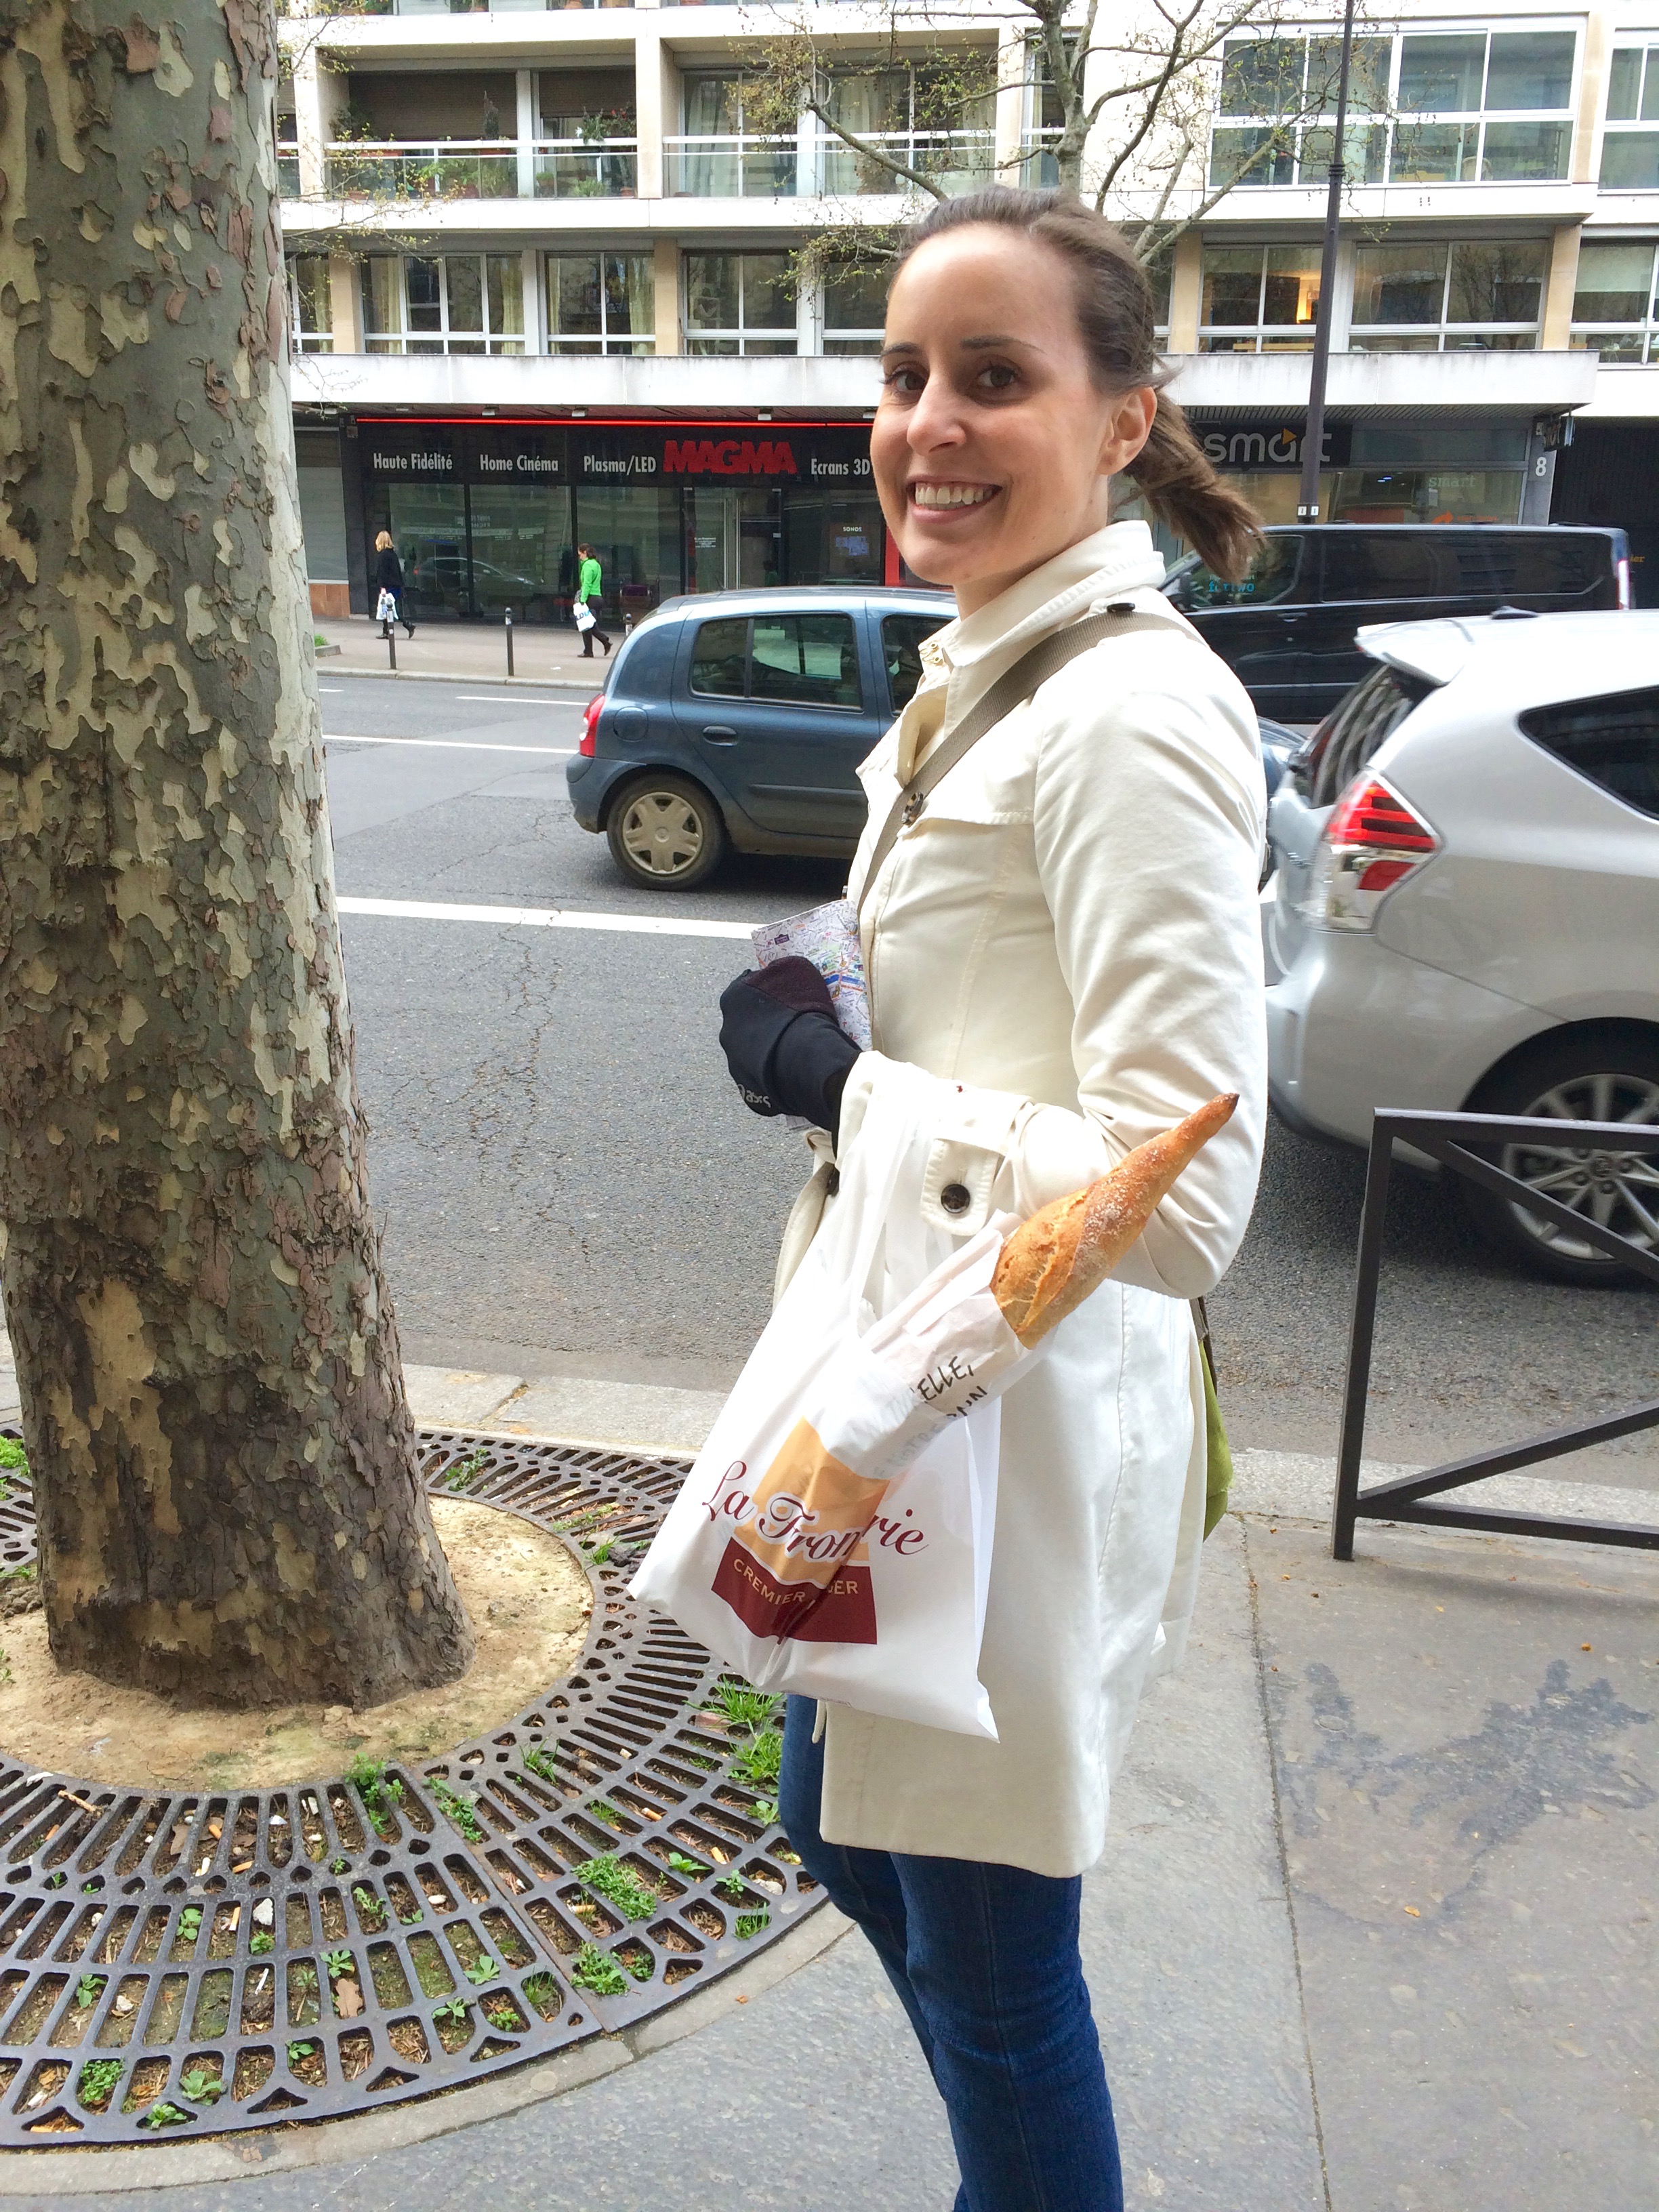
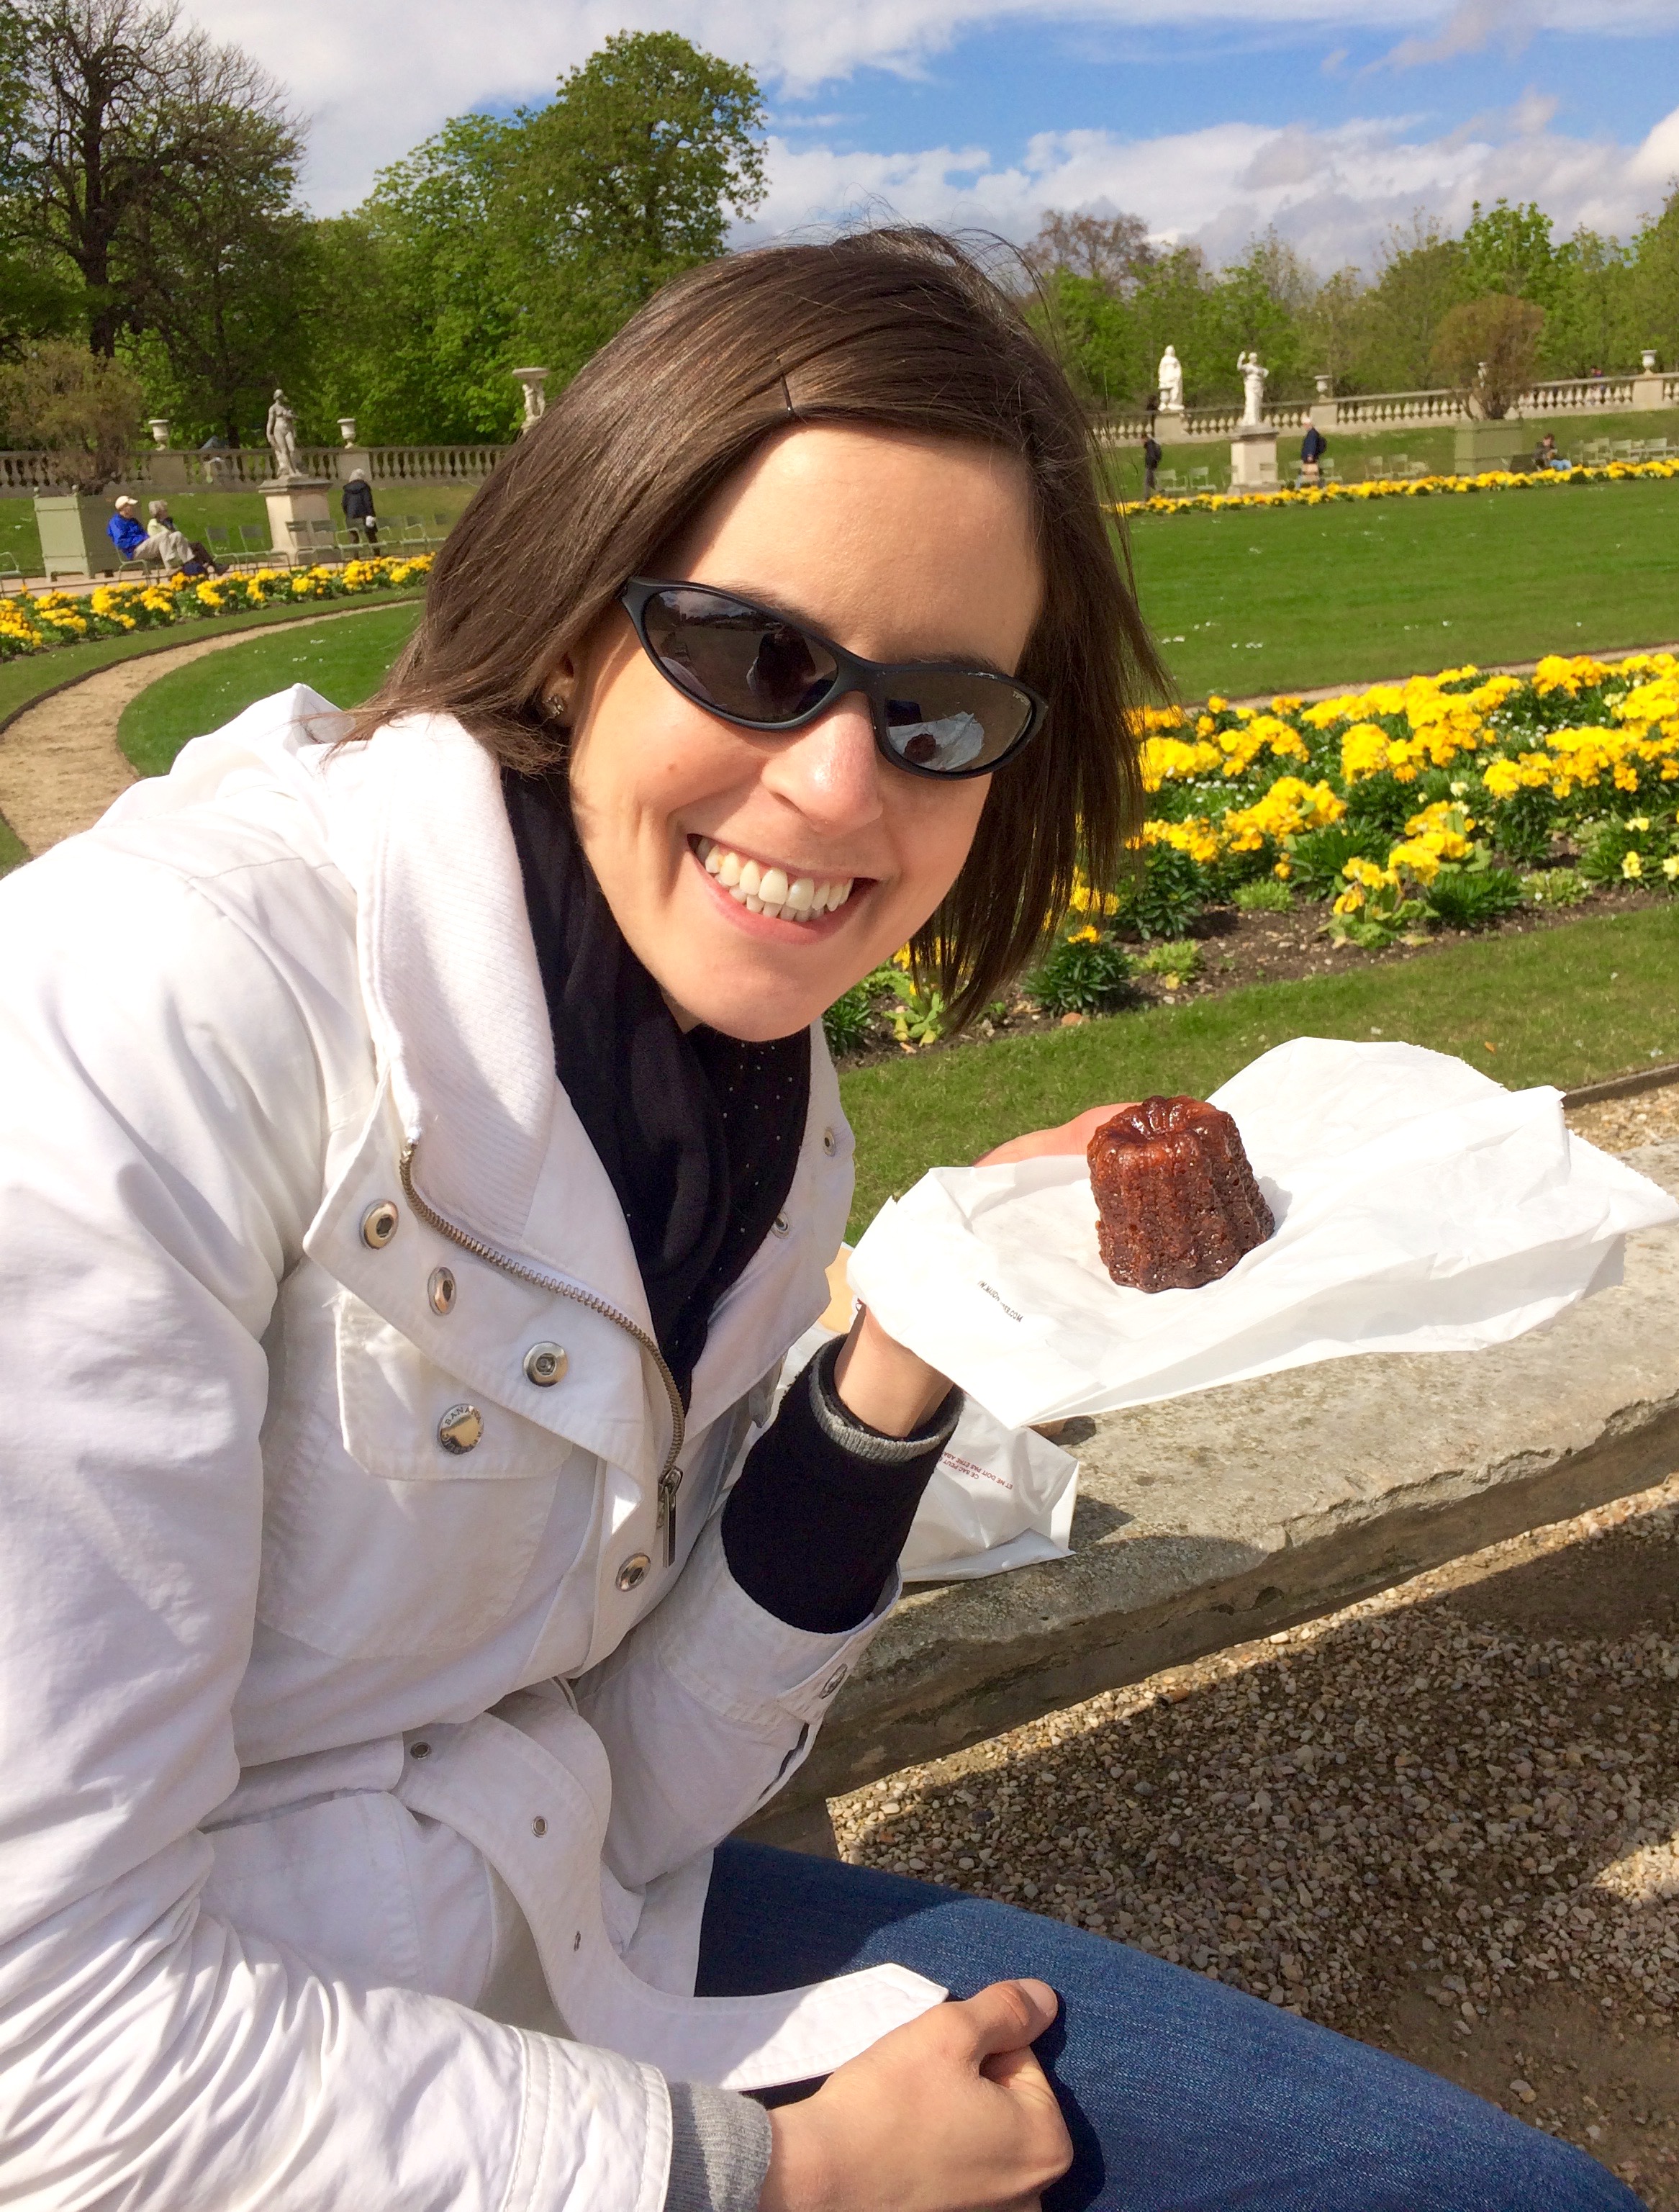
For lunch we went for the next of our "must-have" foods, a baguette! This was probably what I had been looking forward to the most. I love love love good bread. And I can say that baguettes will never be the same again. this was the best baguette I have ever had. The flavor, the texture, the chew, it truly was amazing. I can't even begin to explain why it was so good (I'm sure the location had something to do with it), it just was. We went back to the Luxembourg Gardens to eat lunch and it was just beautiful. The weather was cooperating, the sun was shining and the food was amazing. 

We did a little reading in the park after lunch to rest our feet, and then we were off with some more walking. This walking included some snacks of course! We had to get a canelé because Lara had never tried one (I'd only had one once before). They are just so good. Custardy and almost chewy and gummy inside (it really is good, I promise!) with the delicious flavor of rum shining through and a deep, dark and caramel-y exterior. I also couldn't resist the giant palmier. It was so crispy, sugary and light. A wonderful snack for that mid-afternoon slump. 


After a long day of lots and lots of walking, we made it back to our hotel. It was nice to just sit and relax for a little while after putting many miles on our feet in one day. 

On our last full day in Europe, Lara and I went on a tour of Normandy. It was a wonderful tour. Our tour guide was excellent and really knew the history and the area. The weather was absolutely perfect for our tour. I could not have asked for a better day. 

It was a fairly lengthy drive from Paris to Normandy, but it was easy and the countryside that we drove through was beautiful. Our first big stop was Omaha beach. I just can't imagine what it looked like on that June day so many years ago. On this day the sun was shining, the English channel was blue, and the beach looked pristine. 


We visited the Normandy American Cemetery and Memorial. A beautiful but solemn place. The crosses help put into perspective the loss that occurred during the invasion. 


Many, many names. 


And many, many crosses. 


After visiting Omaha beach we kept driving up the coast toward Point du Hoc. This is the highest point between Omaha and Utah beaches. There are still many old bunkers scattering the cliffs, and lots of craters that indicate where bombs landed. I was surprised that it was still so obvious after so many years. 


There was still one bunker there that was intact that we could walk through and get an idea of what it may have been like. I really didn't truly understand how a bunker was set up until I walked through this one. Very interesting. 

Here we are, overlooking the beaches. On the left we are looking down toward Omaha beach. On the left is a memorial that is at the tip of Point du Hoc, right on the edge overlooking the cliffs. I can't imagine what it was like for those American Rangers who climbed up these cliffs while under fire. 

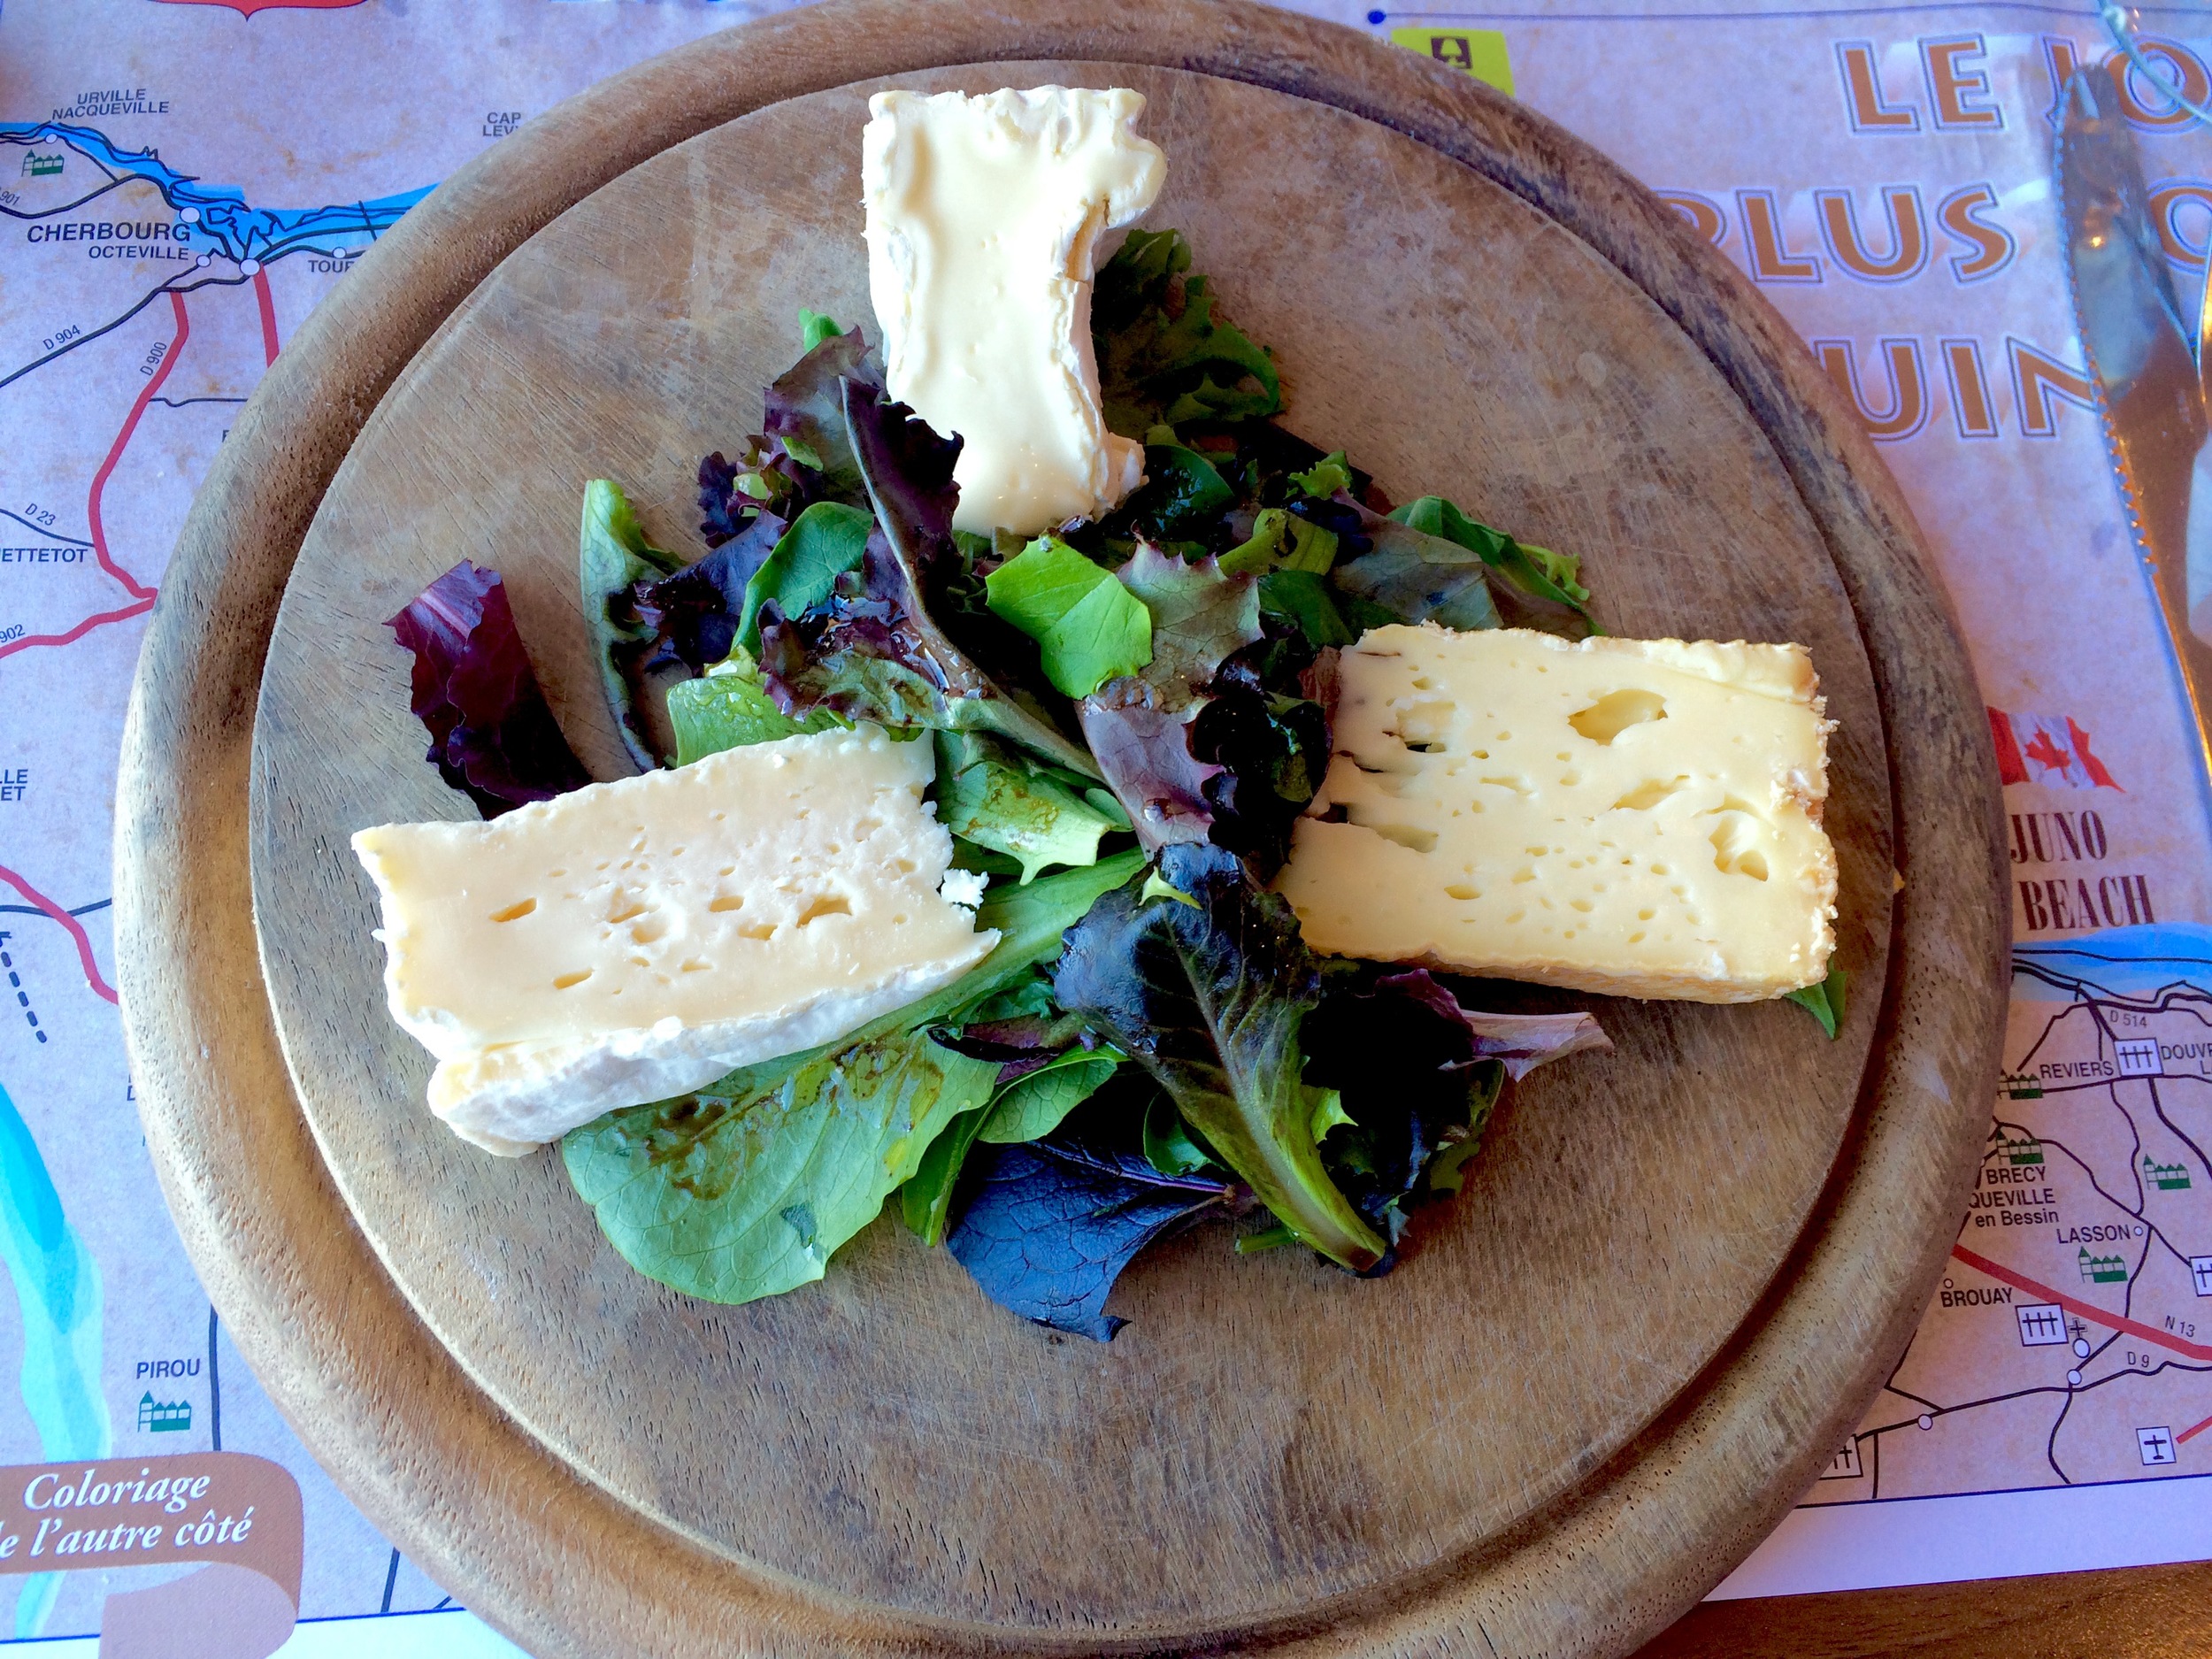
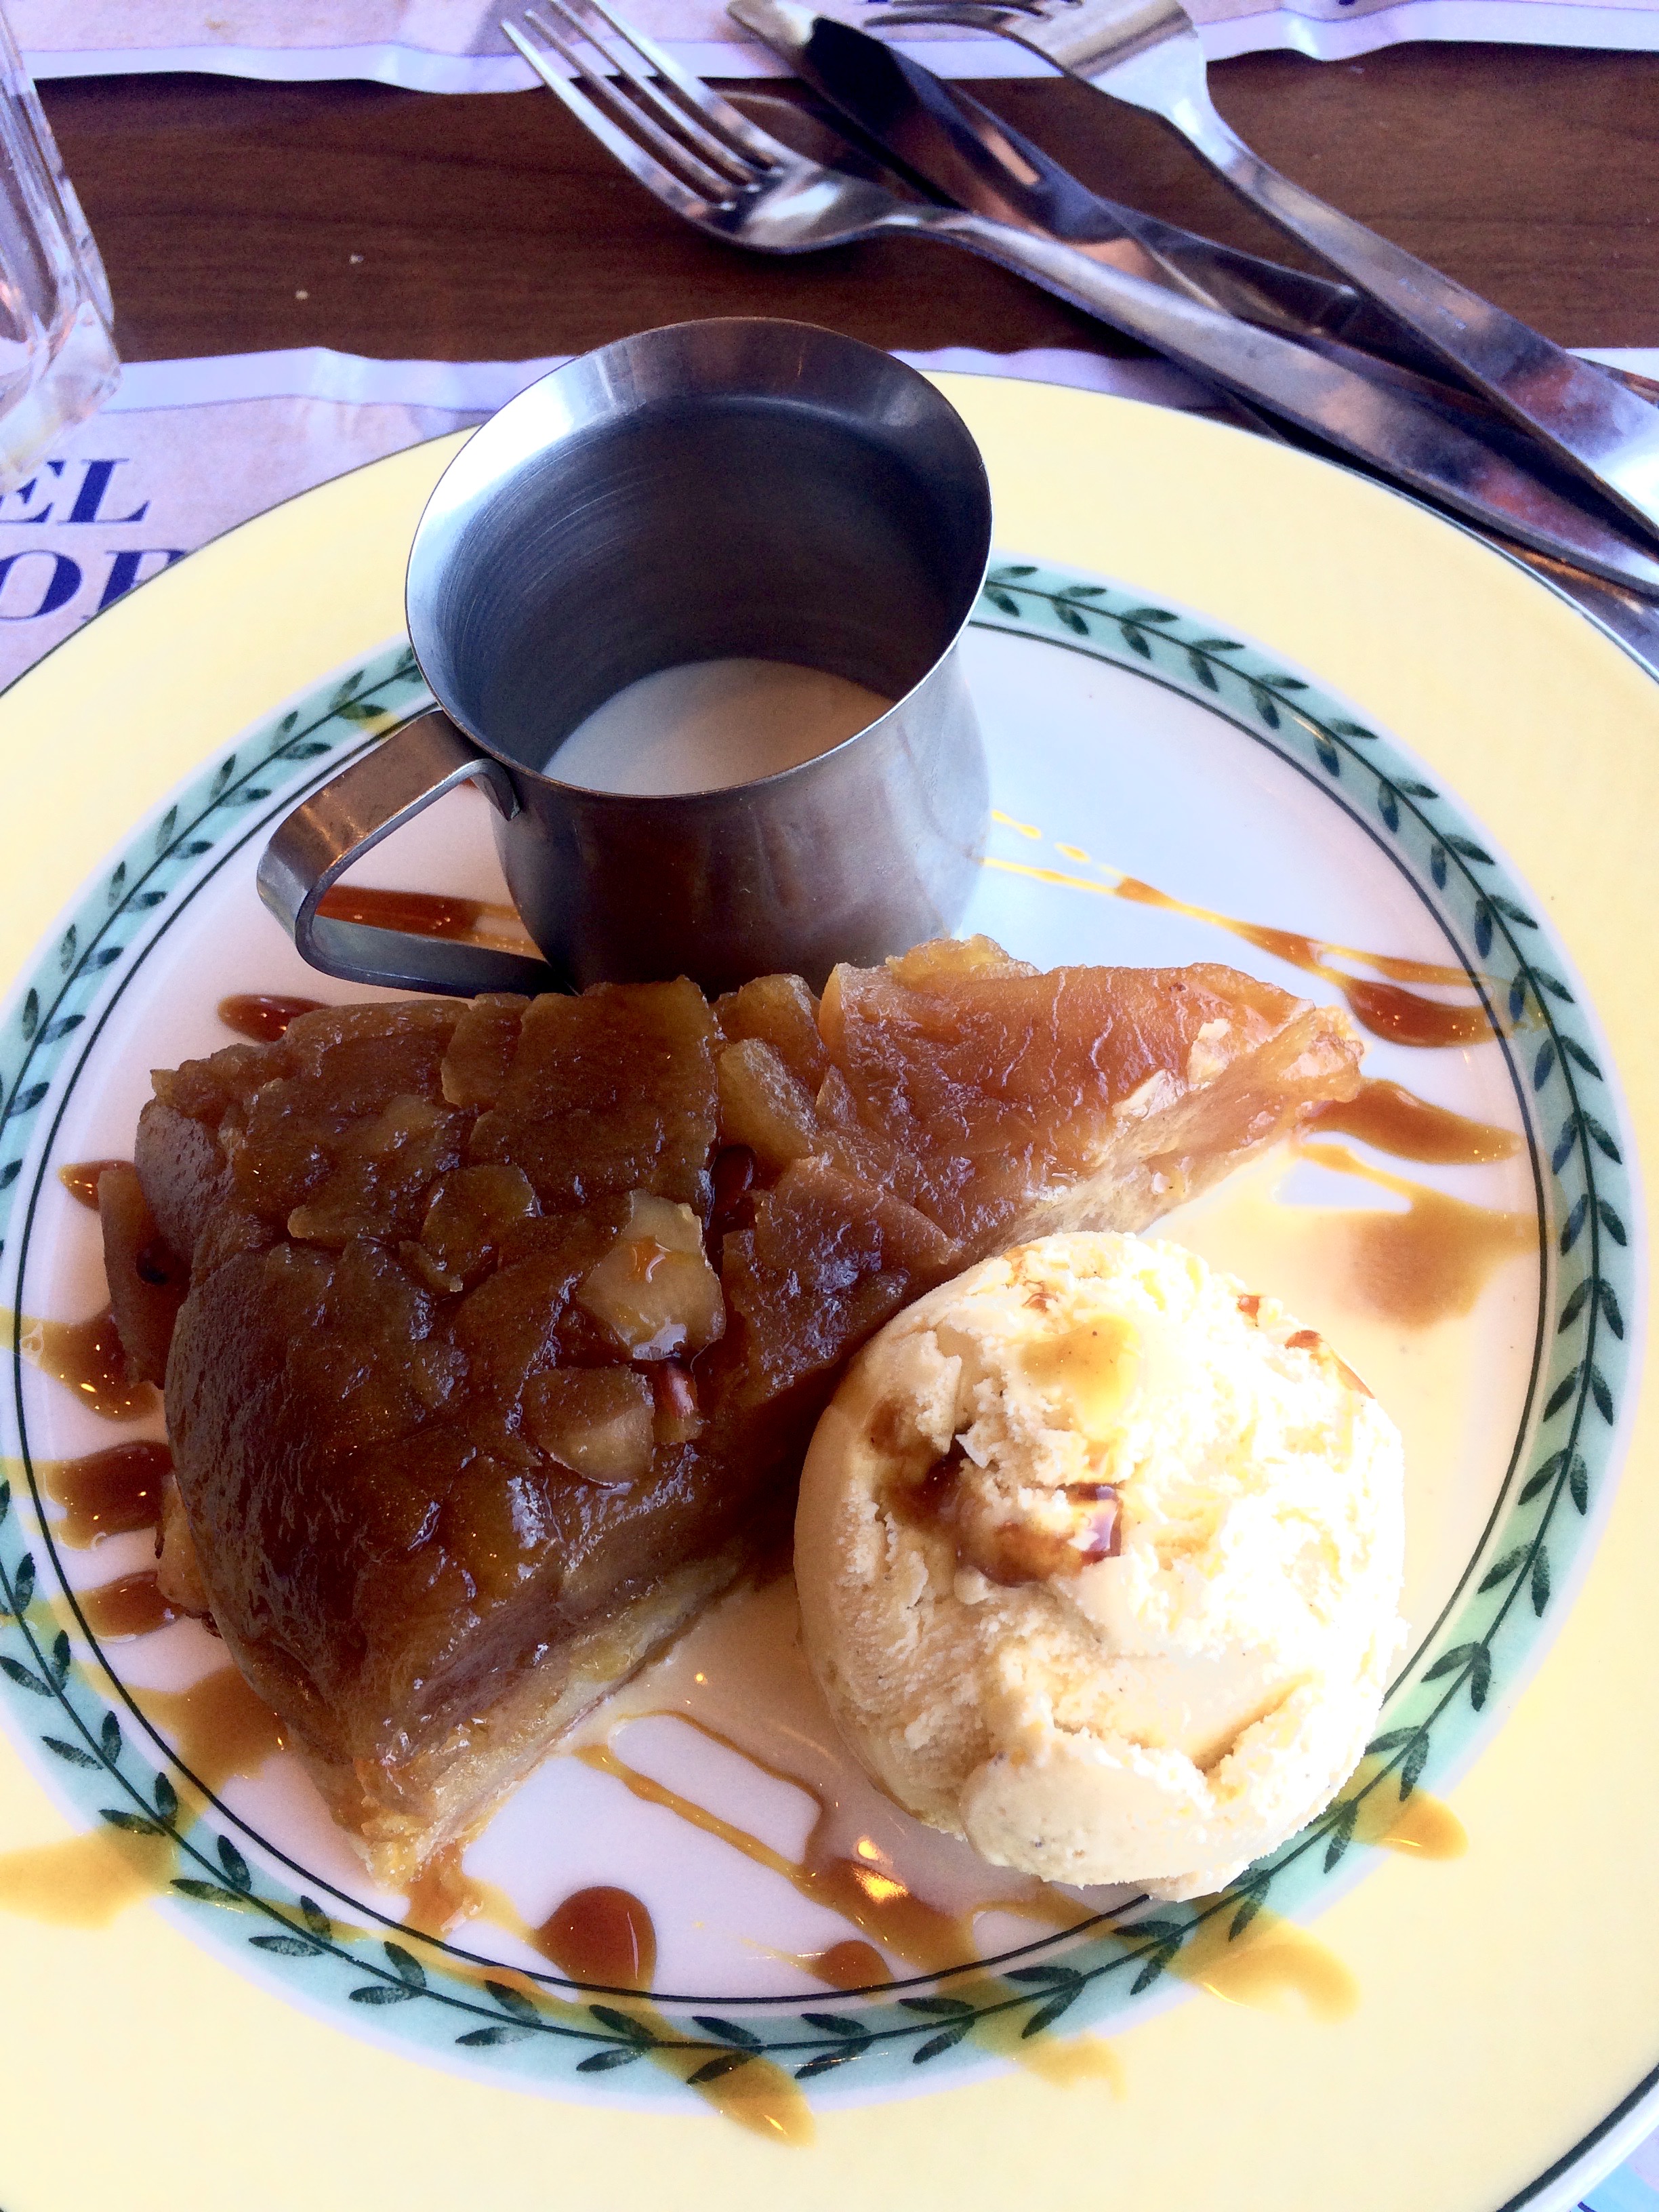
After this it was time for lunch!! I had been looking forward to this because I was excited to try some of the Normandy specialties; cidre, camembert, seafood, and apple cake. The restaurant we stopped at delivered it all! We stopped in Arromanches at a place called Hotel de Normandie and feasted on all of these delicacies. I couldn't have asked for a better lunch. 

There is really no way to express how beautiful the countryside was. The views were stunning. 

After the long drive back to Paris it was time for one more quick meal. I wanted more crepes so we found a little creperie within walking distance of our hotel and settled in for a few more crepes and one last glass of cidre. 

We decided on one sweet and one savory. For the sweet one we had to try the crepe Suzette (homemade orange marmalade, flambeed with Grand Marnier). Lighting food on fire is always fun! As for the savory crepe, I kept it simple with sausage, onion jam and a mixed green salad on top. A great way to end the trip. 

Unfortunately, our shuttle to the airport arrived so early the next morning we missed breakfast at the hotel. I was bummed about this. But we managed to fit in one last French meal at the airport. The last of our French pastries. 


It was time to go home. But have no fear, I will be back!!


Black Bean Burgers

I still have one more post to put up with pictures from my trip to Europe, but first a little detour back into recipe-land. Since it is Memorial Day weekend and the unofficial start of summer I thought a burger recipe was fitting. While it's not a real burger, this still a great meal idea to keep in your back pocket for days when meat is not on the menu. I saw this recipe recently while watching an episode of America's Test Kitchen online and I knew I had to make it soon. 

I really like a good veggie/bean burger and so was very happy to see that this recipe was actually quite simple and used ingredients that I almost always have on hand.  So often it seems that veggie burgers have a million ingredients, several of which I don't usually keep at home so I was happy about this.  All I had to do was soak a pot of beans and make a quick stop to the store to pick up some cilantro and I was all set to whip up a batch of these delicious and versatile black bean burgers. If you're looking for a simple recipe to cure that (veggie) burger craving give this one a try. It's sure to be a winner, it certainly was in my house. 

These burgers have good flavor and a good texture. They did not turn out "mushy" like so many veggie burgers, but were nice and firm and held together well. I also made a little chipotle yogurt sauce using canned chipotles in adobo mixed with a little Greek yogurt. You can always use mayo instead of the yogurt, that is what they did on the show. I topped the burgers with this sauce and a few slices of avocado and it was delicious. I think a  nice slice of cheddar cheese would also be wonderful. 

These burgers are great to make ahead for a quick meal when you don't have a lot of time to cook. Full of spices and aromatics, the prep work is done so you don't need to spend time chopping and adding flavor on a busy night. Just grab a pre-made patty and you're set. Great as a burger, but also in a wrap, on a tortilla, broken into chunks and mixed with a little yogurt or sour cream as a black bean version of chicken salad, or used to top a pizza. These little guys are versatile and delicious, if you've never made a black bean burger before, this is the place to start. 


Black Bean Burgers
Adapted from America's Test Kitchen
Ingredients

  • 1 can black beans, or 4 1/2 ounces dried black beans boiled until tender (about 1 1/2 cups total, cooked)
  • 1 egg
  • 1 tablespoon flour
  • 2 scallions, sliced thinly
  • 1 1/2 tablespoons cilantro, chopped finely
  • 1 clove garlic, minced
  • 1/2 tsp cumin
  • 1/4 tsp coriander
  • 1/8 teaspoon cayenne (optional)
  • 1/8 teaspoon salt
  • 1/8 teaspoon pepper
  • 3 tablespoons bread crumbs
  • 1 tablespoon coarse cornmeal
  • Cheese, avocado, sprouts for topping (optional)

Directions
Line a baking sheet with a couple of layers of paper towels. Drain and rinse black beans lay in an even layer on the paper towels. Set aside to dry for 15 minutes. 

Meanwhile, in a medium sized bowl, whisk the egg. Add the flour and whisk until no more lumps are visible.  Add the scallions, cilantro, garlic, cumin, coriander, cayenne, salt and pepper and whisk to combine. Set aside. 

Place the bread crumbs, cornmeal, and beans in a food processor. Pulse 5-6 times until a coarse mixture forms. It should be fairly dry. Add the bean mixture to the bowl with the egg mixture. Stir to combine everything evenly. It will be fairly wet. 

Place bean mixture in the fridge for at least 1 hour, up to 24 hours, to firm up. When ready to form patties, shape mixture into 4 uniform size round patties of even thickness. 

Heat a large frying pan over medium to medium-high heat. Add a tablespoon or two of olive oil. Place the patties in the frying pan and cook on one side until golden brown, 6-8 minutes. Flip patties with a spatula and cook on second side for another 6-8 minutes or until well browned. Remove from pan. Serve with your favorite toppings.