Vanilla Sheet Cake

A co-worker at work asked if I could make a farewell cake for another one of our co-workers. I was honored to be ale to do this. I can’t remember the last time I’ve made a sheet cake, and honestly don’t know if I’ve ever made one from scratch! I like making layer cakes, but for this occasion a sheet cake was the perfect choice!

I found a good looking recipe on Sally’s Baking Addiction. I trust her recipes quite a lot so I figured it was a good choice. I liked that the recipe uses the reverse creaming method (I’ve had good success with this in the past) and included sour cream which is always nice in a cake. It was a pretty basic recipe I through together while the HVAC guys were at my house. Such a joy.

IMG_1982.jpeg

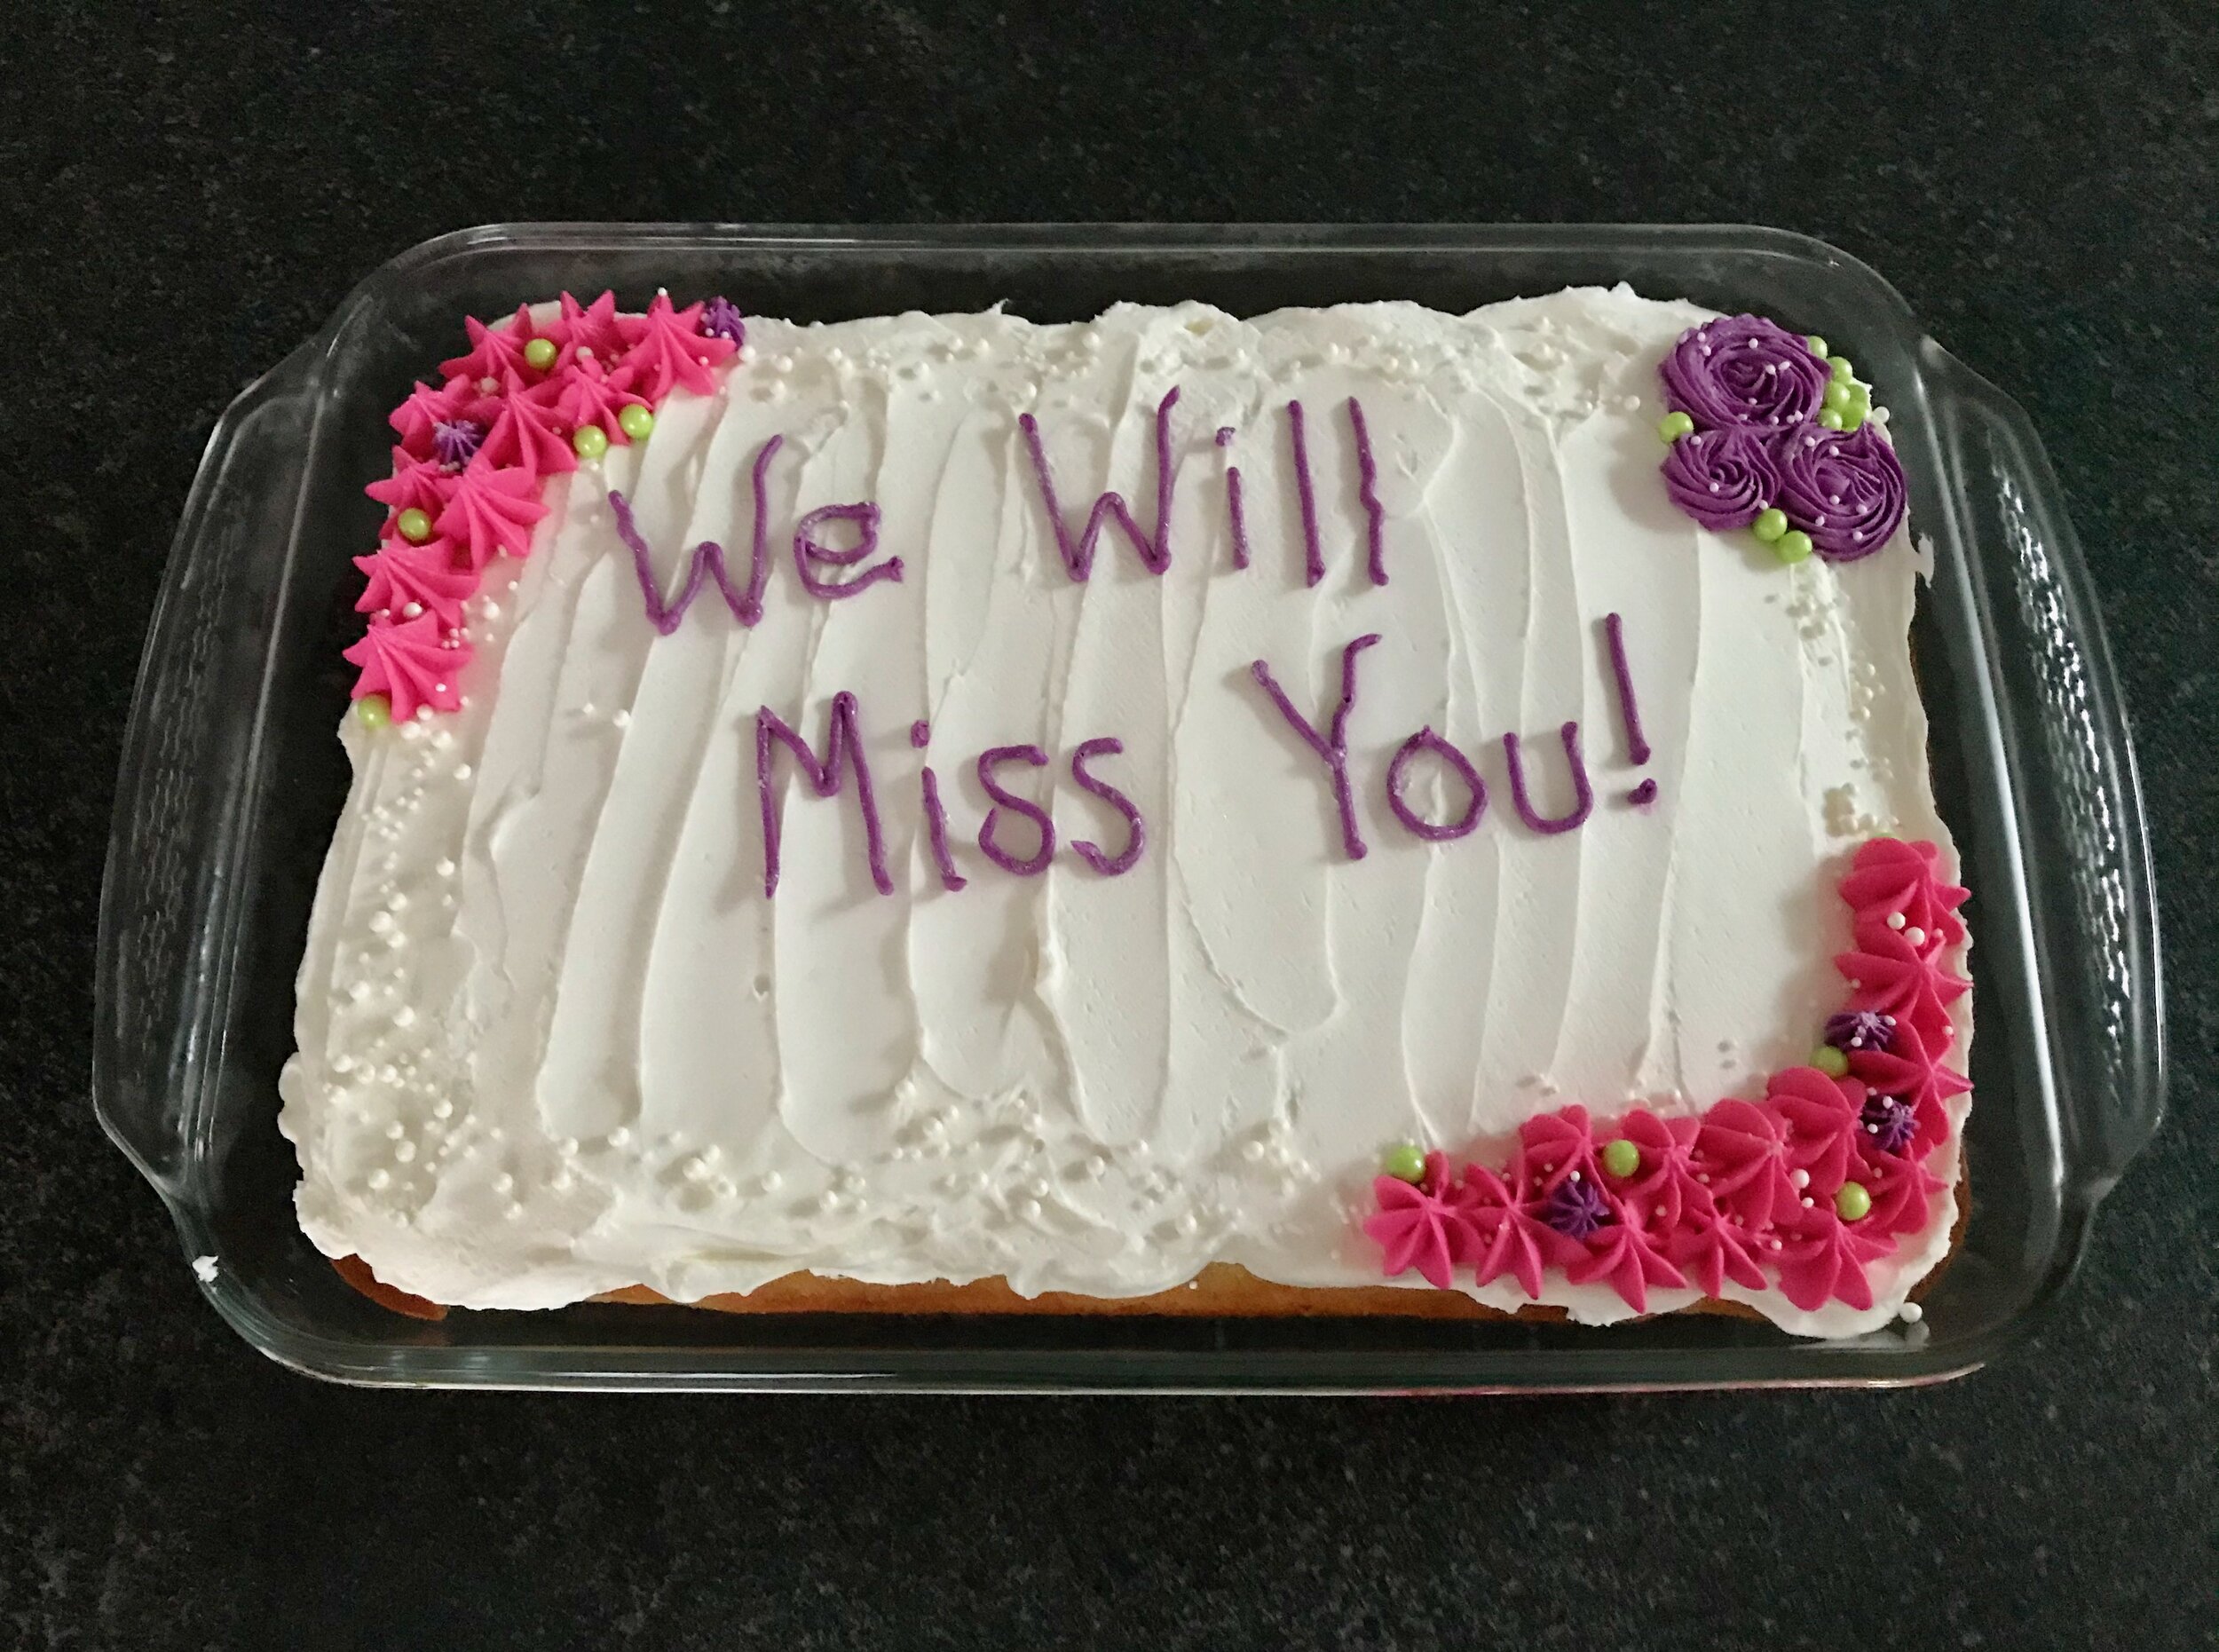
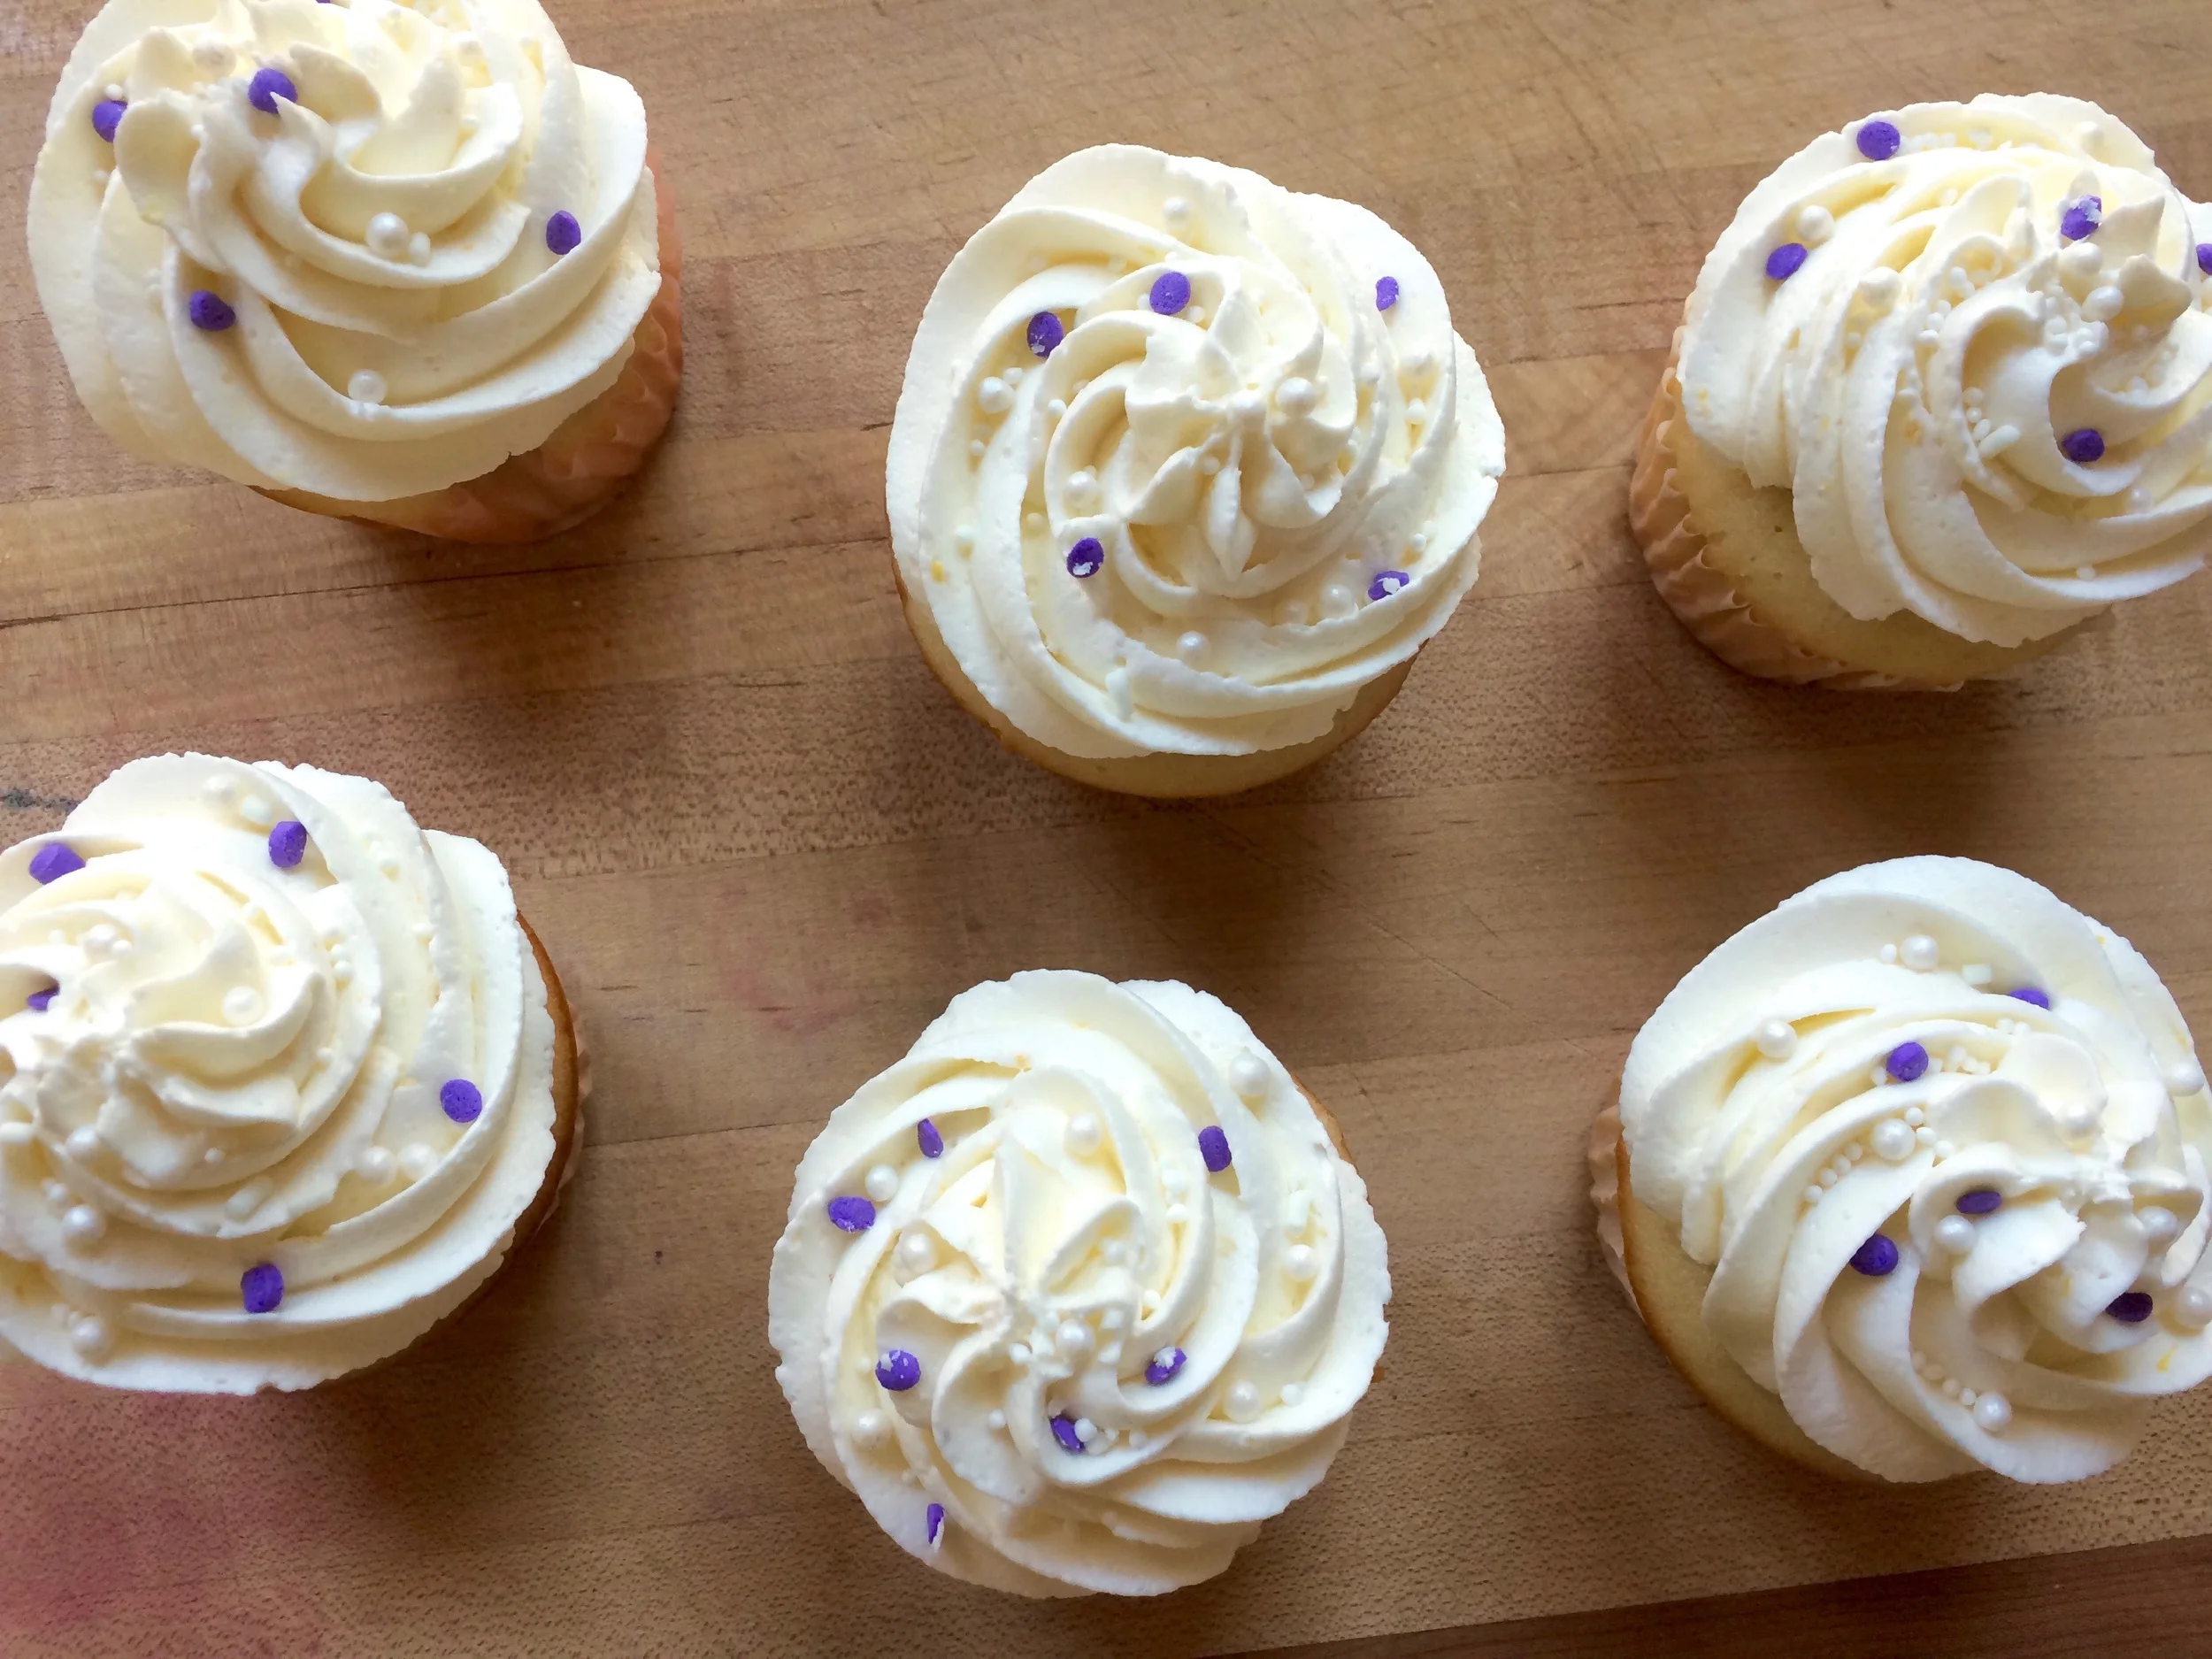
The frosting is a pretty standard buttercream. I always like adding a little cream to my American buttercream which is also what this recipe calls for so that was nice. It came together without issue and was easy to use to decorate.

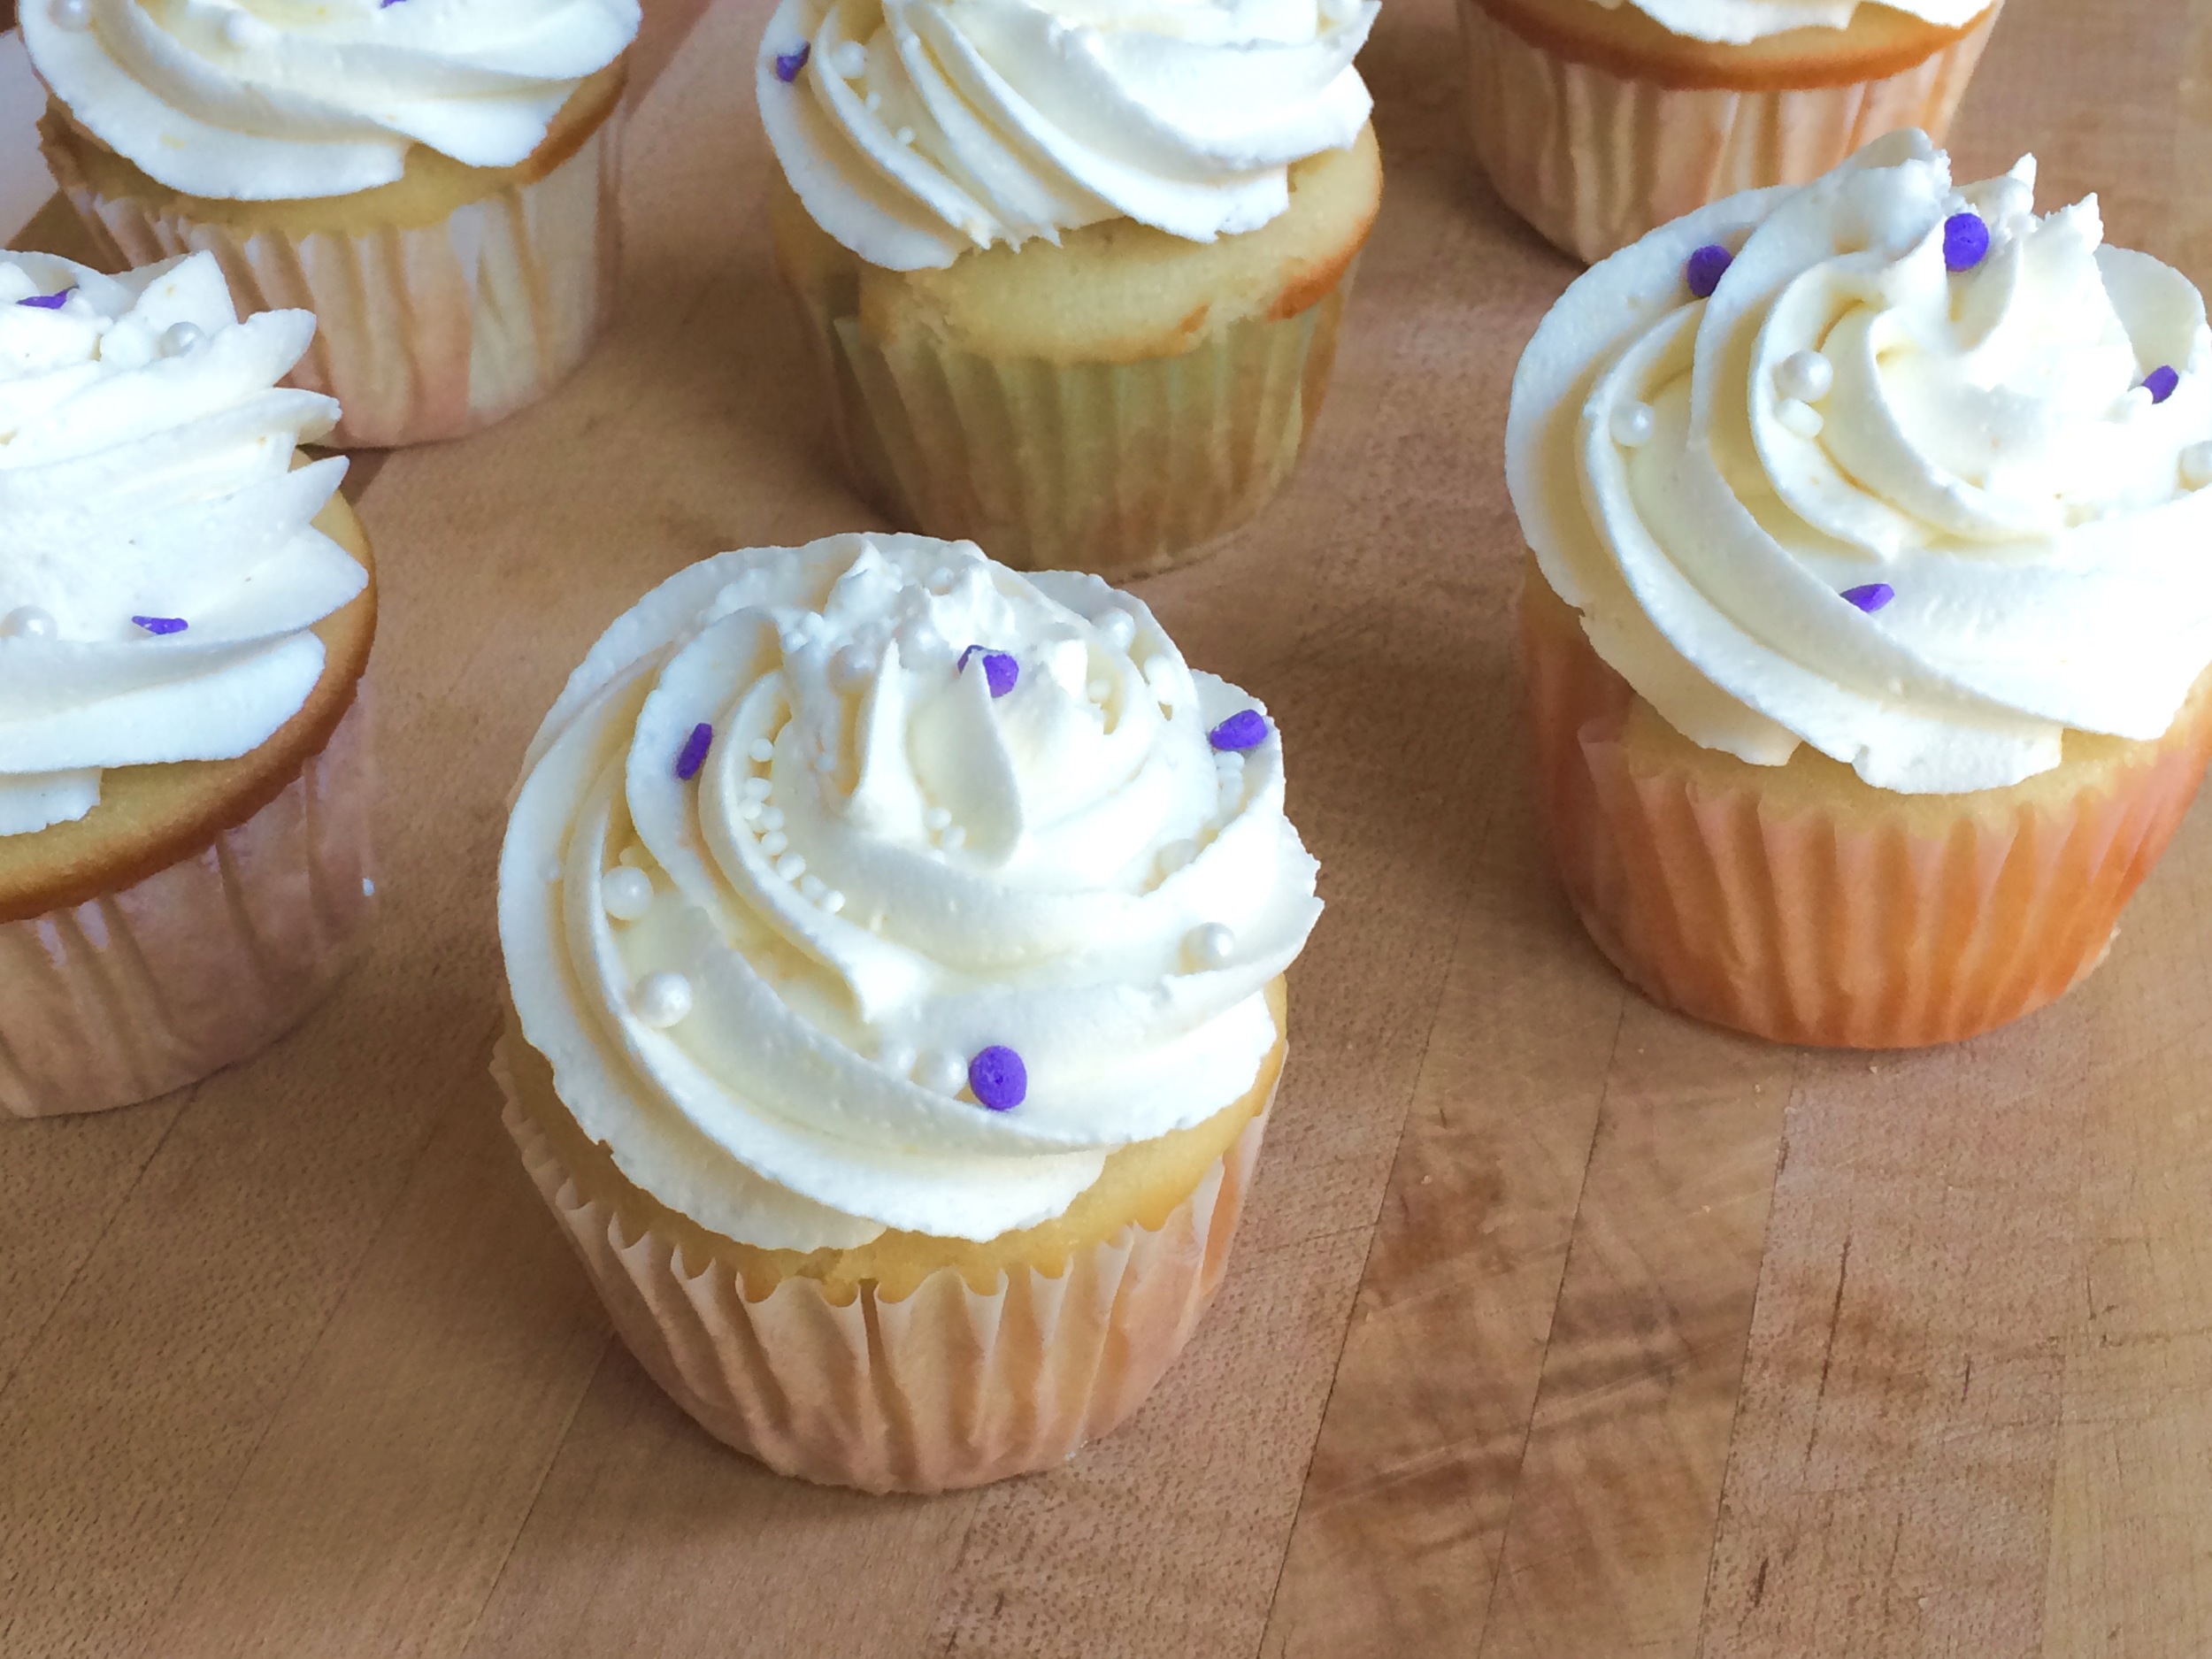
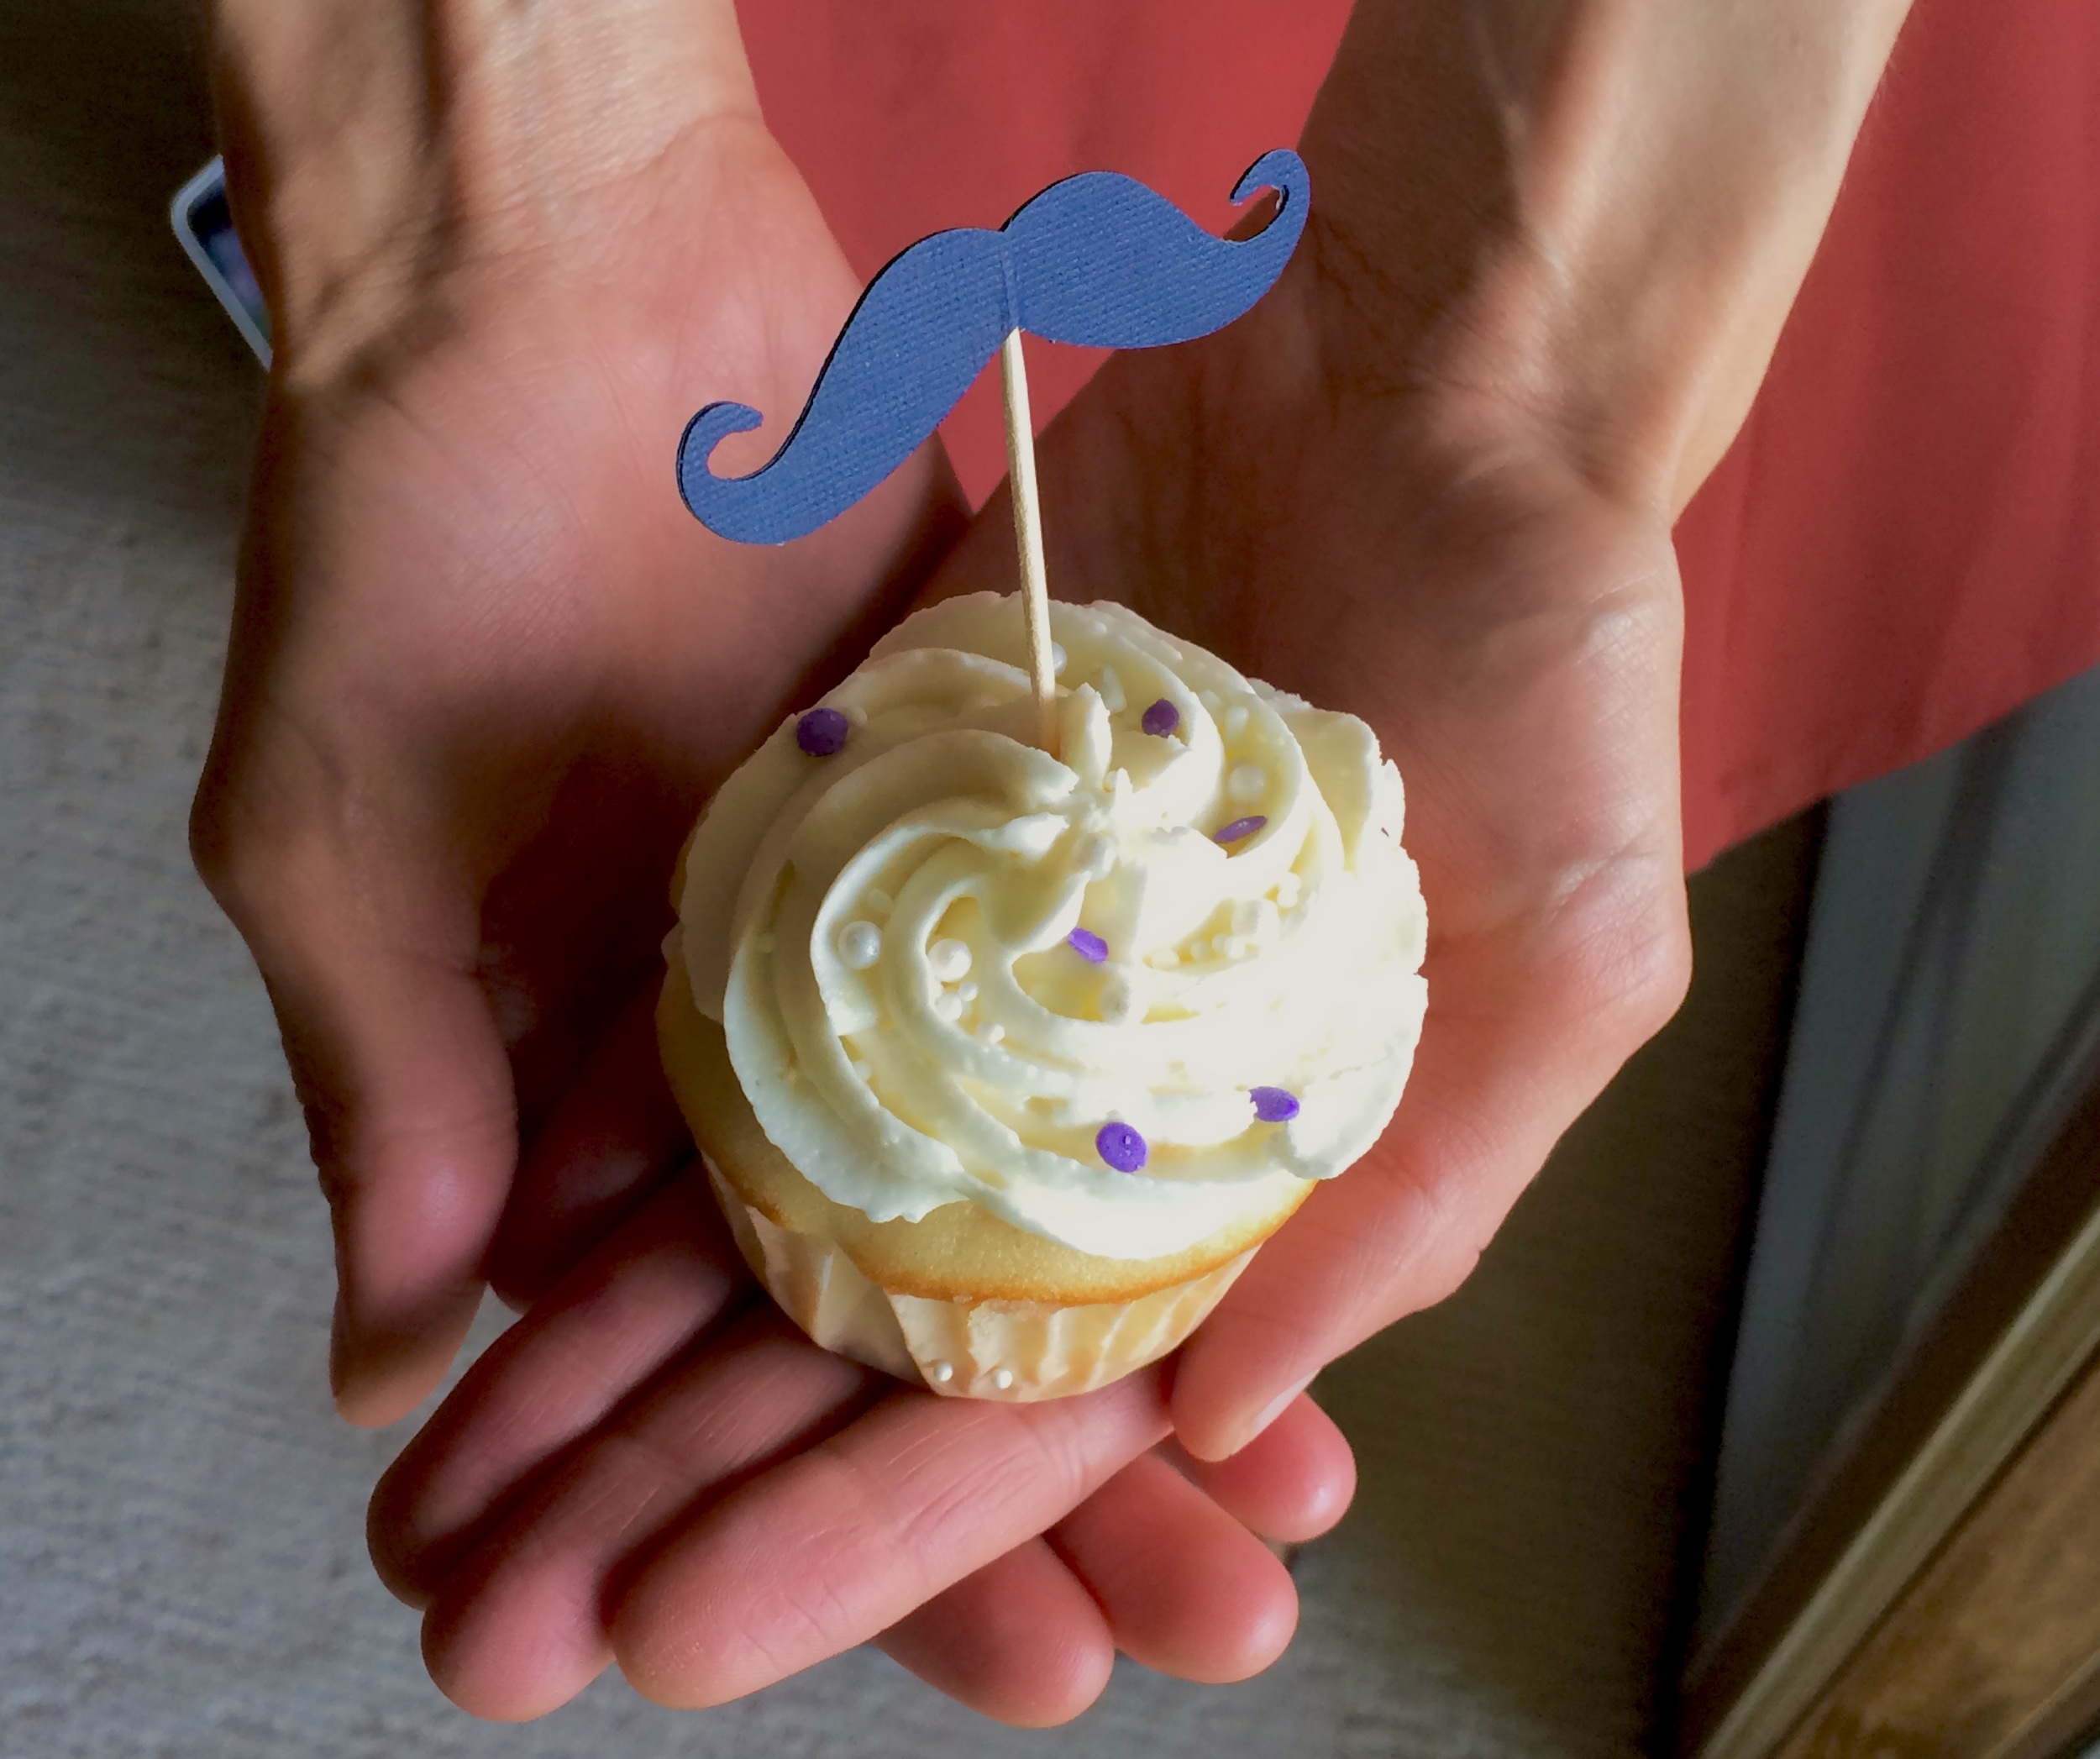
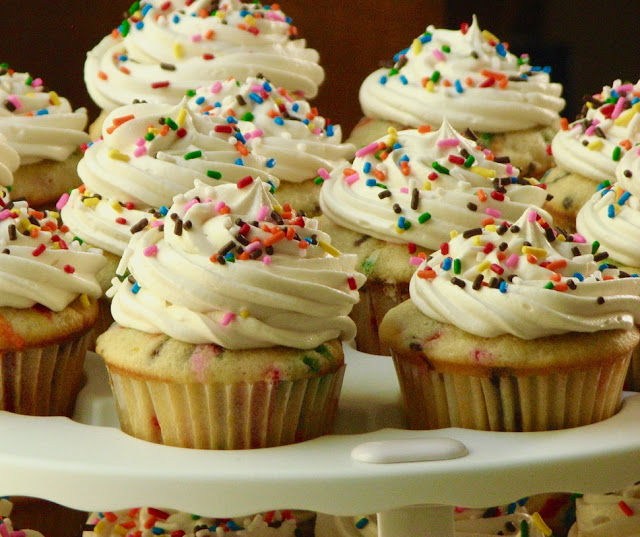
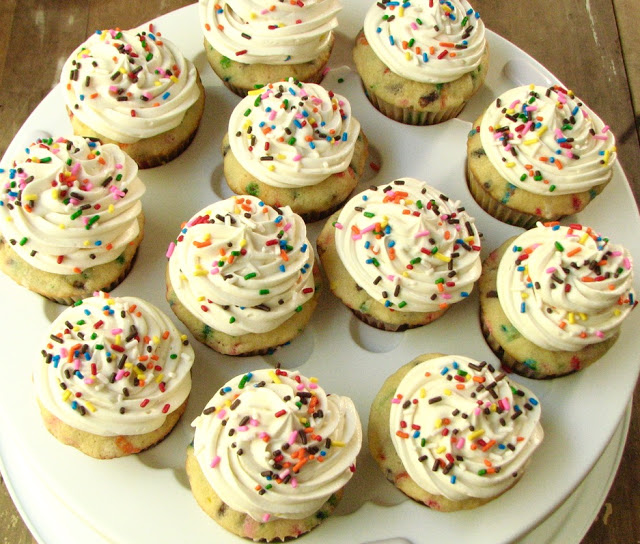
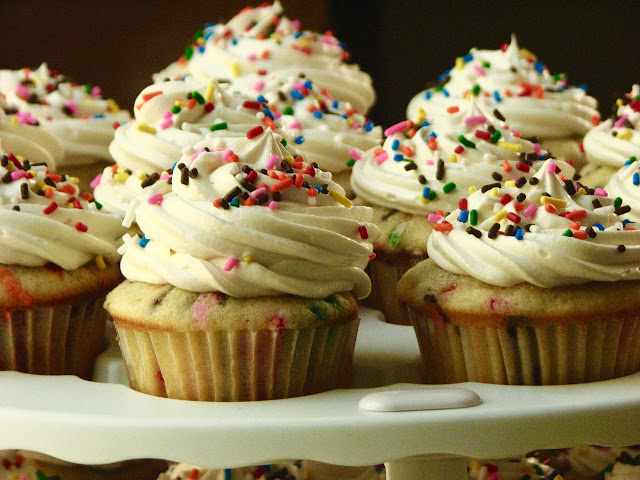
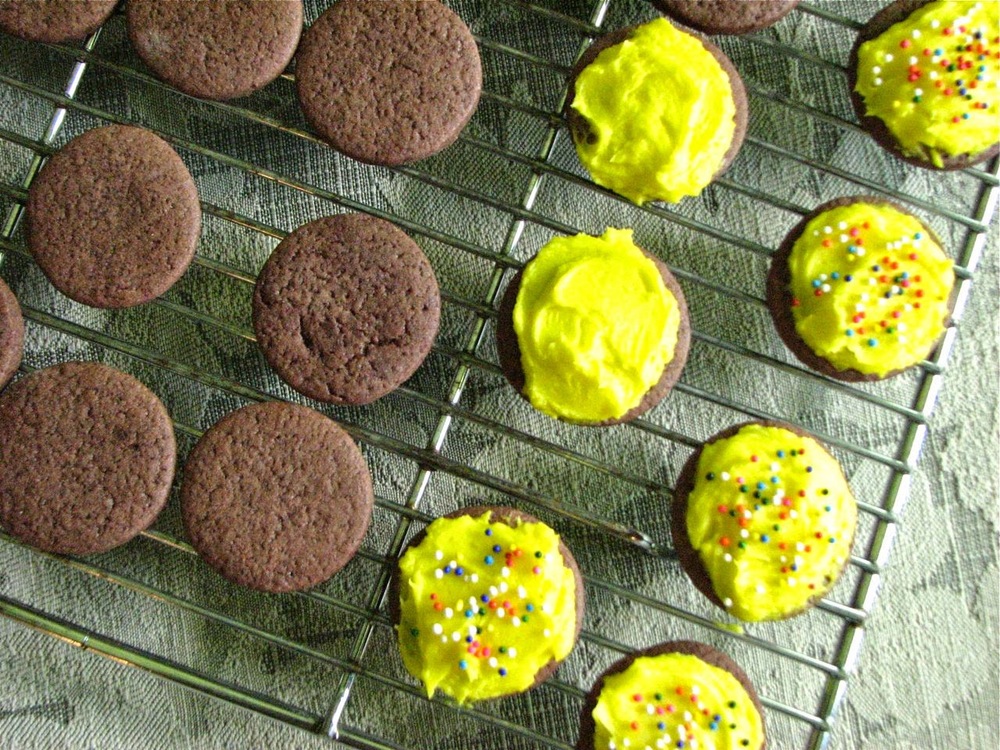
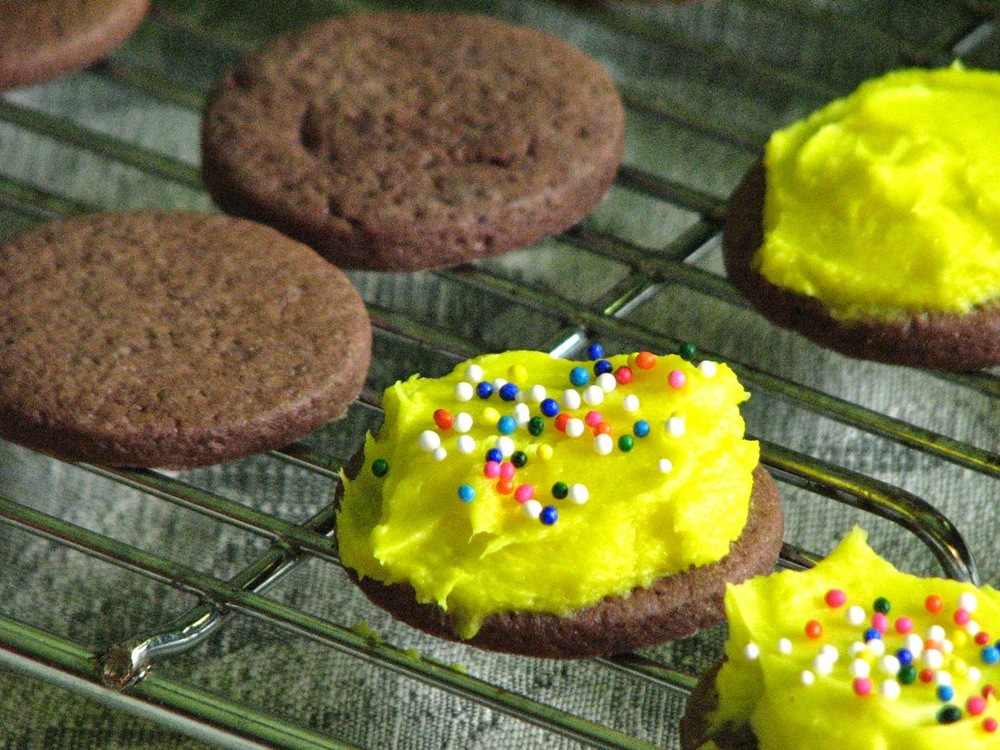
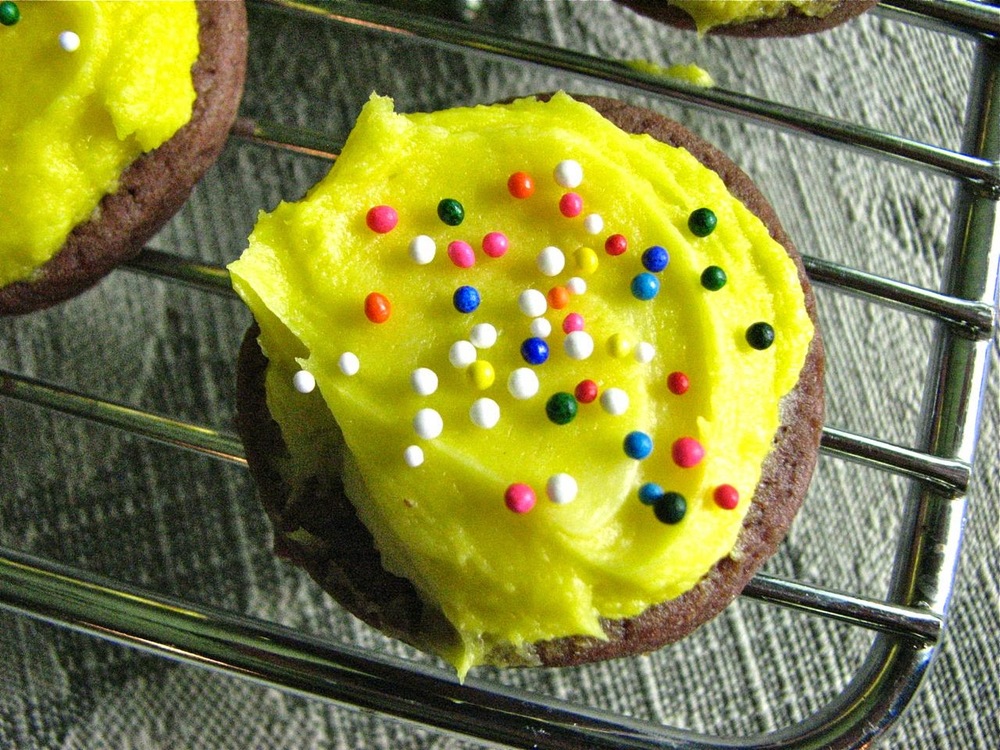
I have never actually decorated a sheet cake so this was my first go at it. I was aiming for some pale spring colors with the frosting but apparently added way too much food coloring (it was only a few drops! That stuff is potent!) so it ended up being very bright. Not quite the look I was going for, but that is ok.
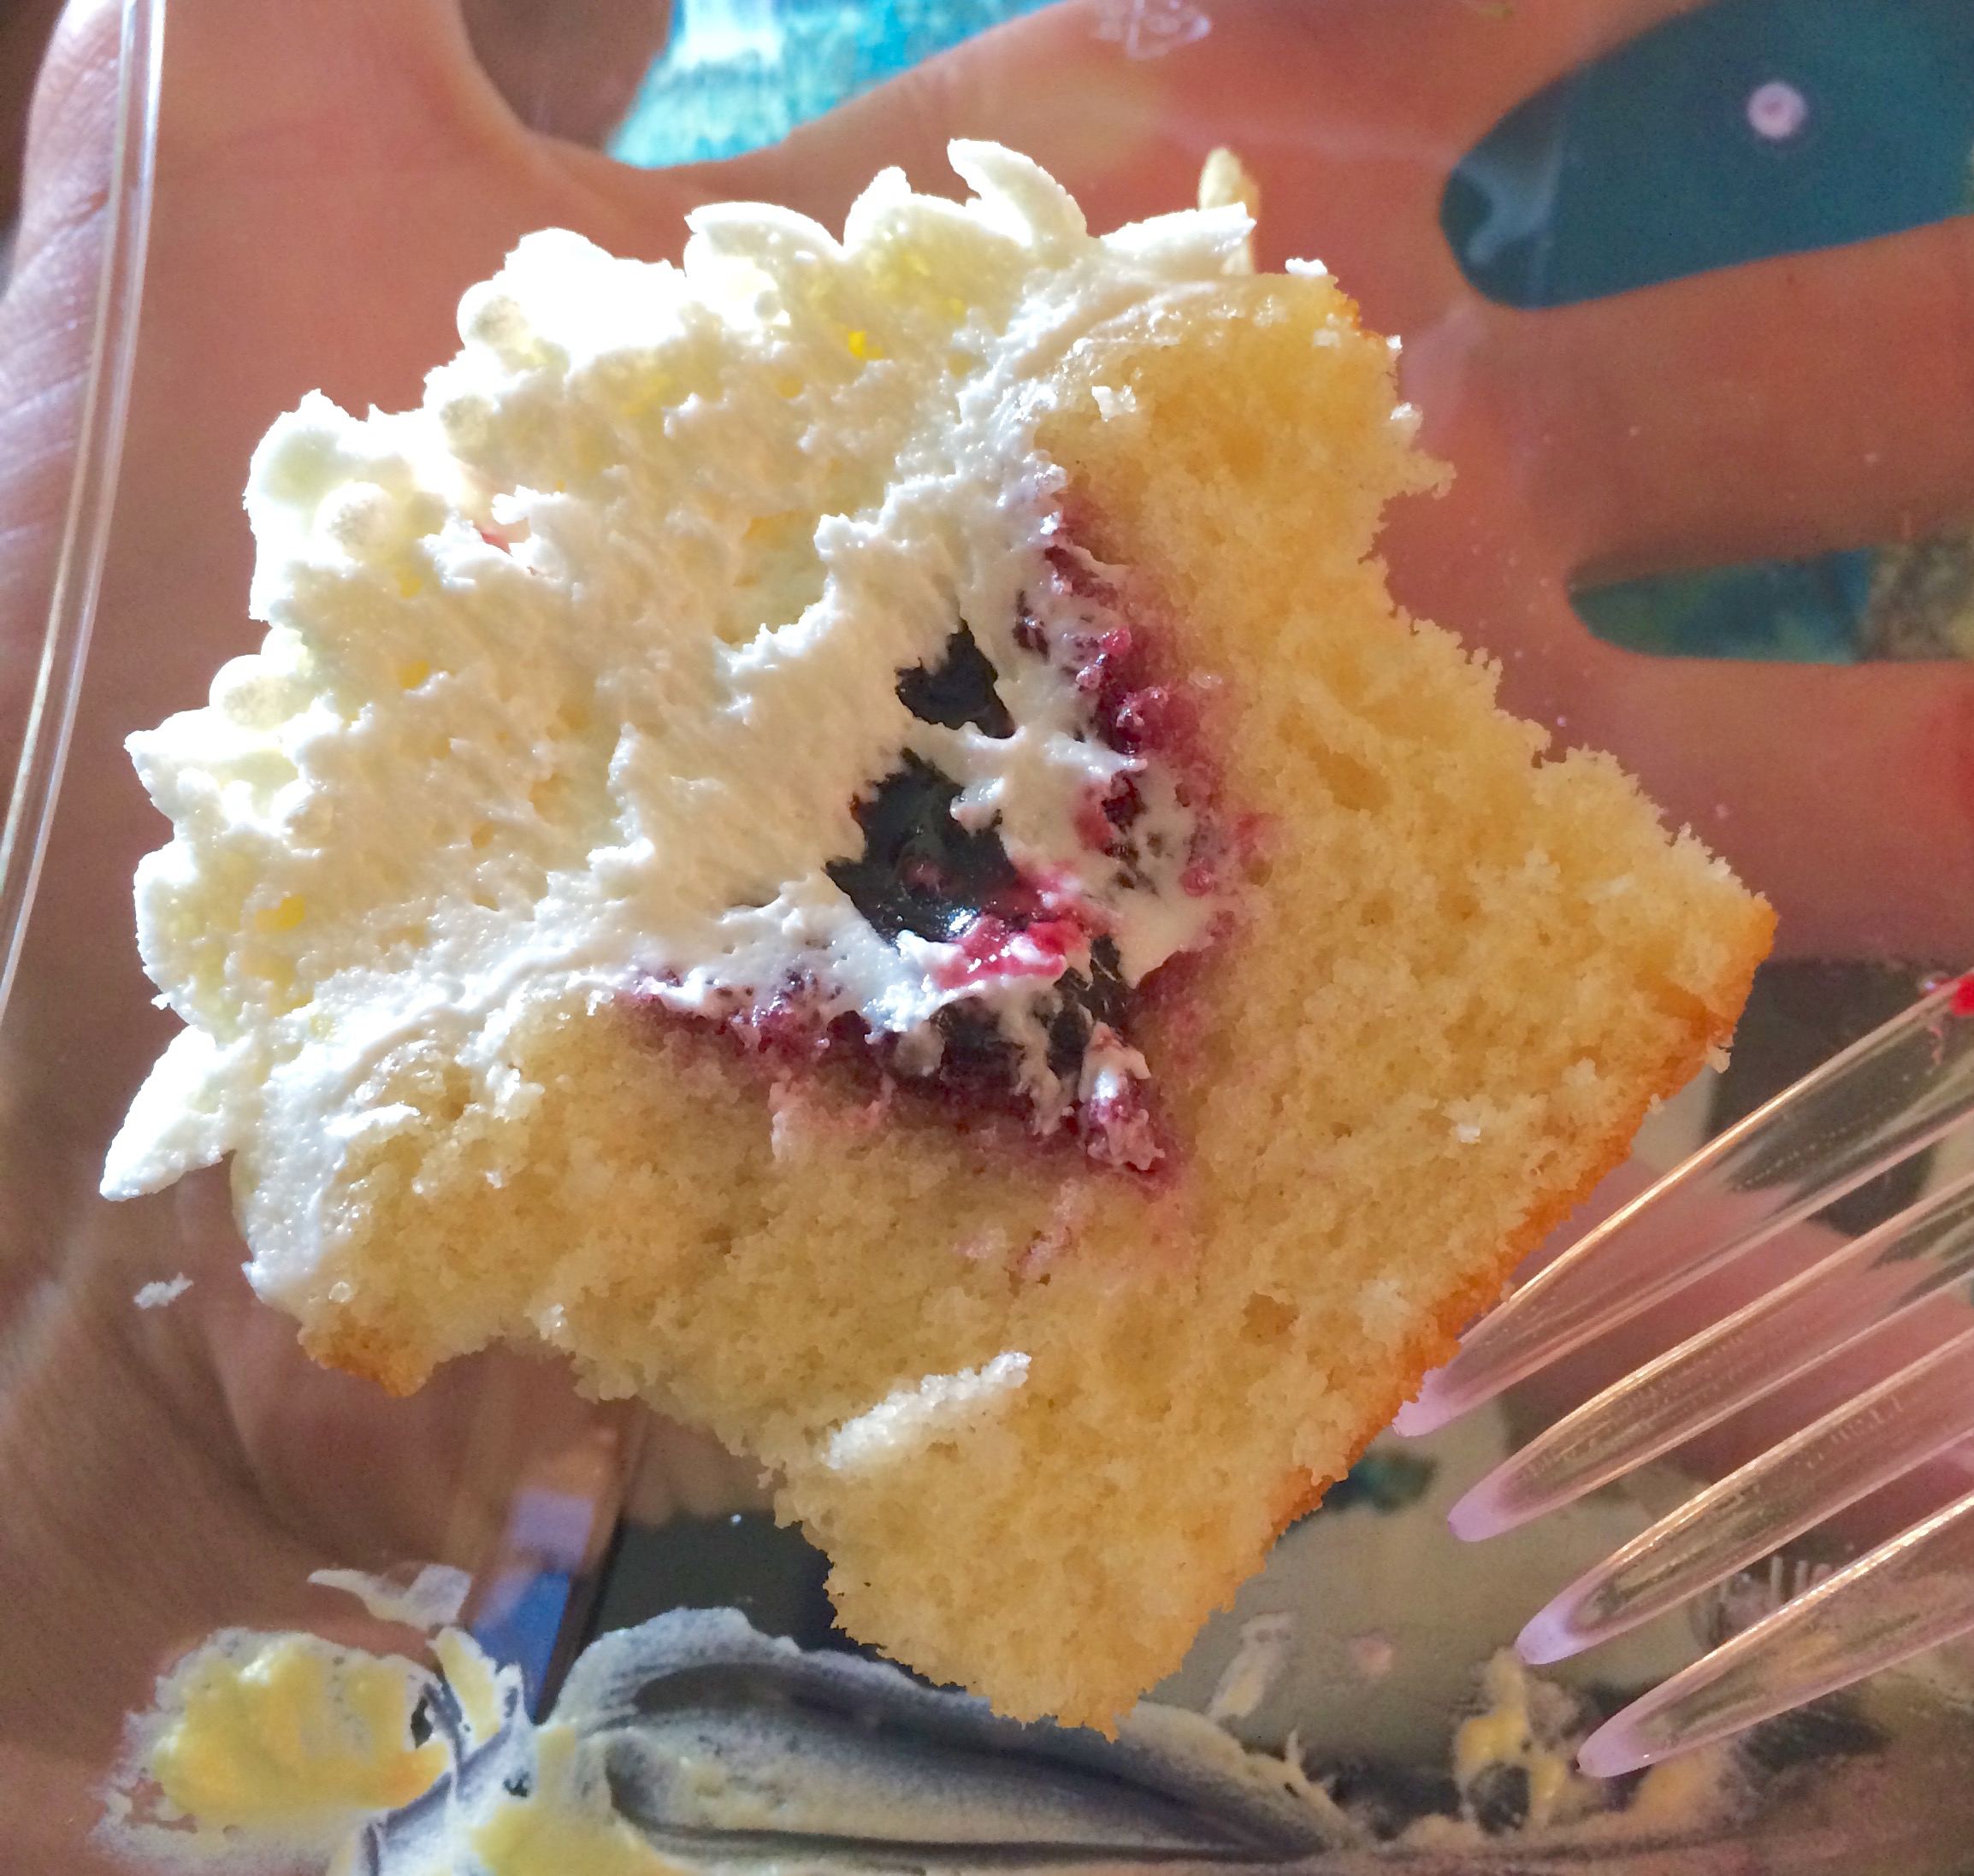
All I got!

All I got!

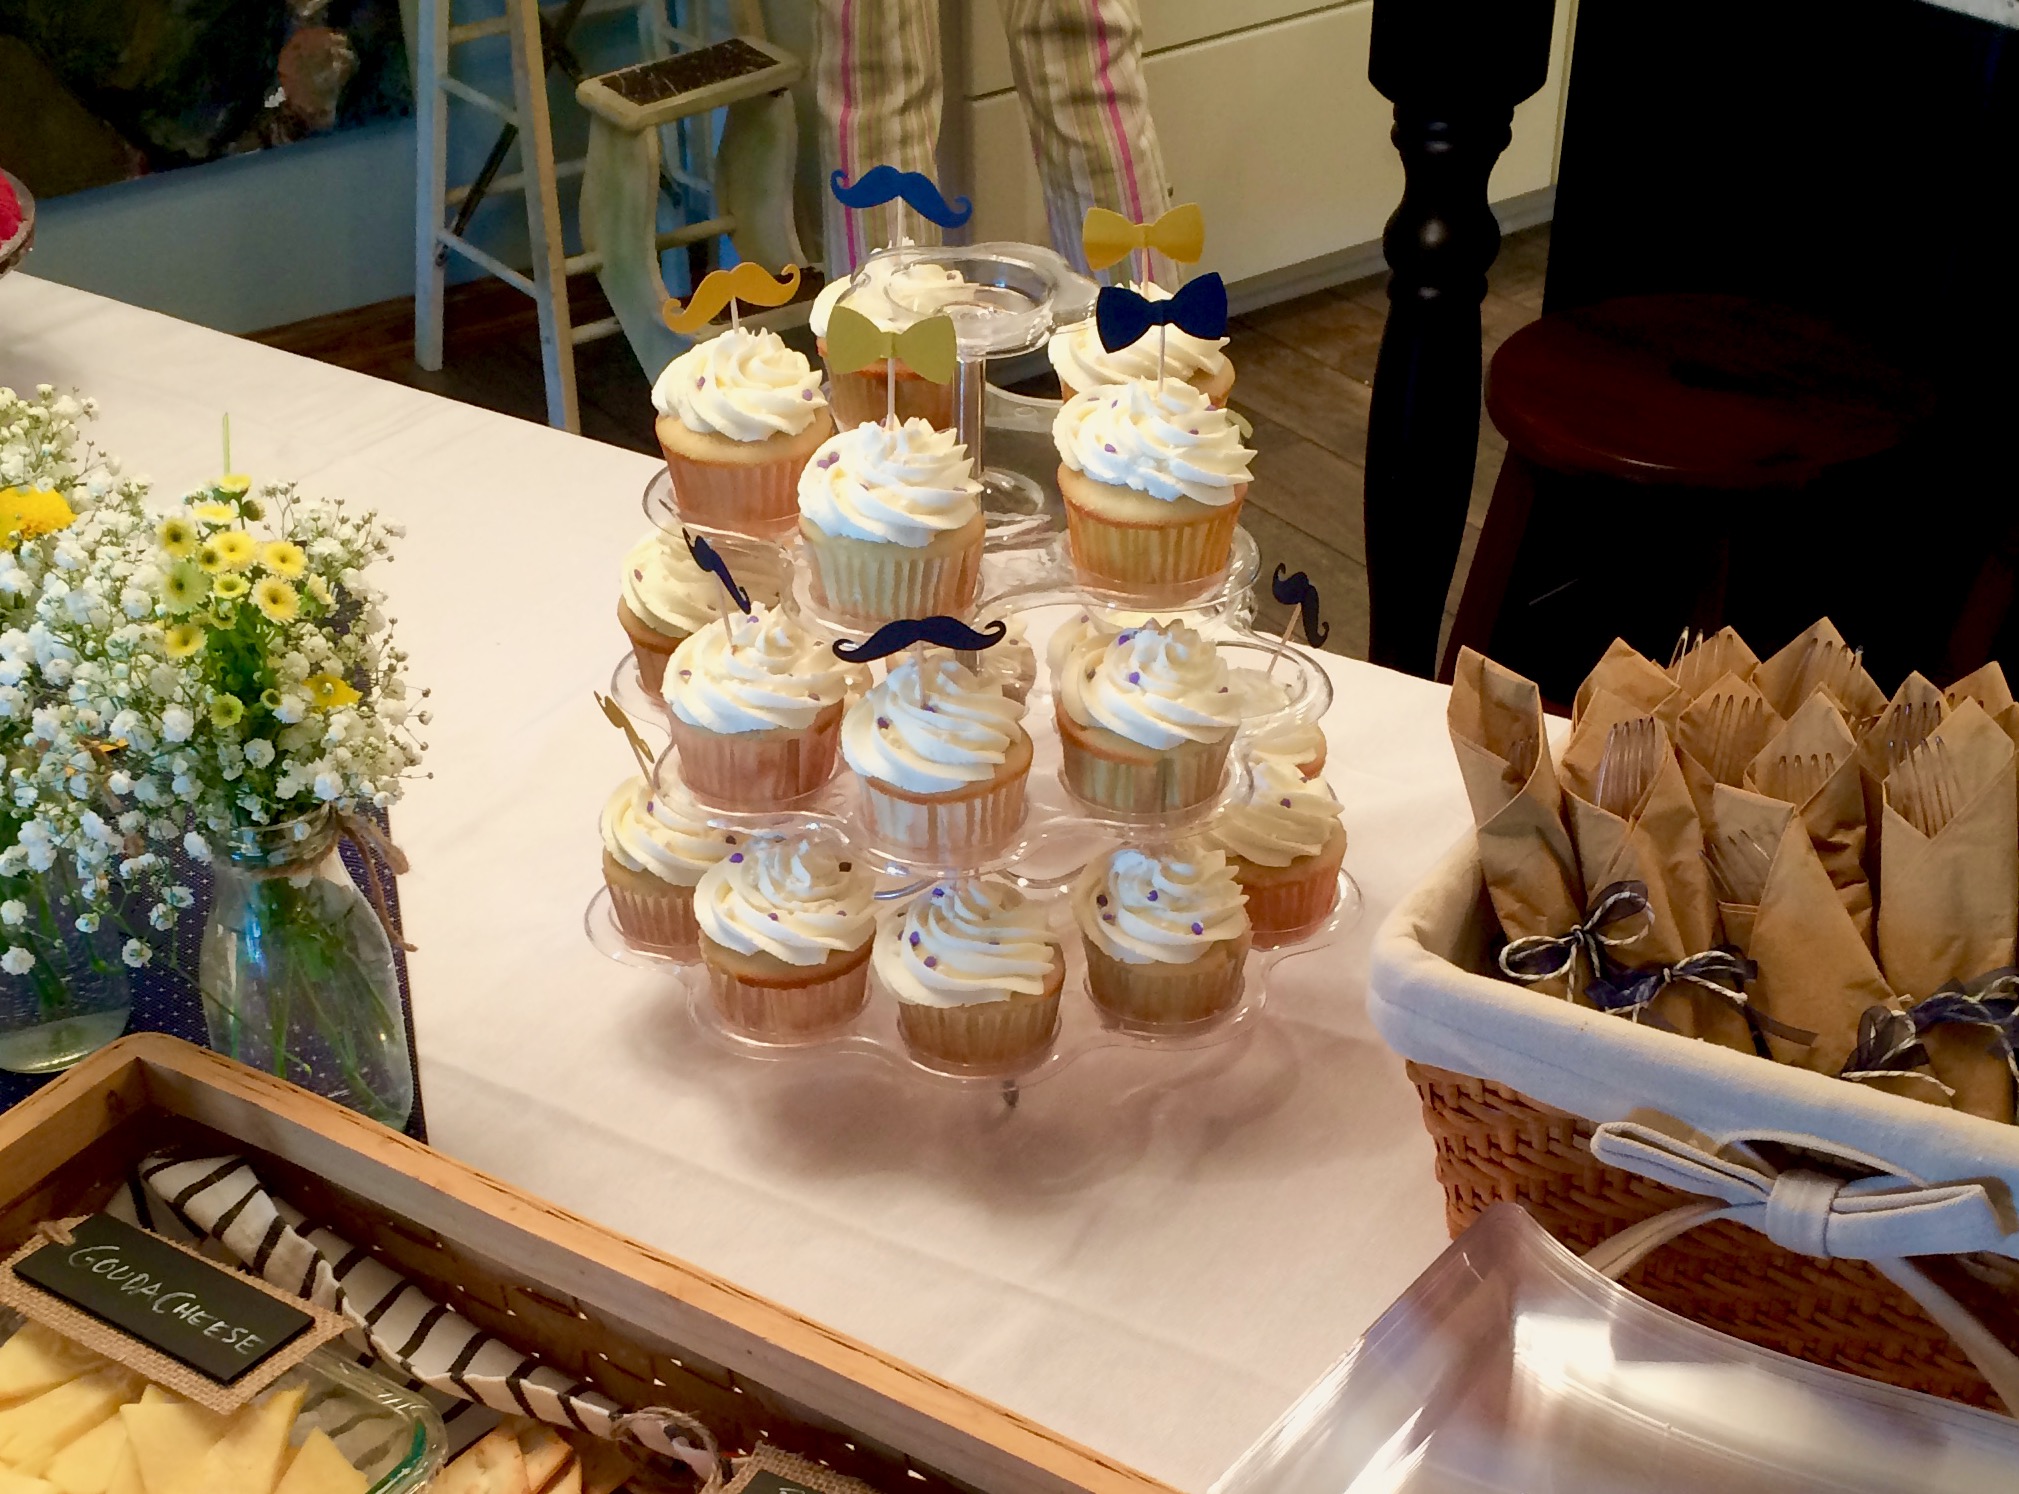
For the piping, I really didn’t know where to start and so just went for it without a plan. I think it turned out okay. I would probably add more rosettes and stars next time, but I didn’t want to go overboard and guild the lily. I was afraid I would add too much and not be able to go back so I just stopped at the point you see in the pictures. The added dragees really helped finish off the decorating. It definitely did not look at all finished utnil I added those so I recommend the combo of frosting and sprinkles/dragess for decorating if you’re like me and don’t know how to finish off the decorating with frosting.

Final Verdict: I would for sure make this recipe again if looking for a simple vanilla/butter cake for a crowd. A good one to keep in the recipe box!

Baked up well. I started checking at 28 minutes and definitely wasn’t done yet. I believe it ended up going 34 minutes total, I kept checking every 2 minutes until done.


Vanilla Sheet Cake with American Buttercream
From Sally’s Baking Addiction
Ingredients

  • 3 cups (354g) cake flour (spoon & leveled)

    • You can “make” your own cake flour if you don’t have any on hand. I rarely do. For this recipe, whisk together 327 grams all purpose flour with 48 grams of corn starch and use that in place of the 354 grams cake flour that is listed above

  • 1 and 1/2 cups (300g) granulated sugar

  • 1 teaspoon baking powder

  • 1/2 teaspoon baking soda

  • 1/2 teaspoon salt

  • 1 cup (2 sticks; 230g) unsalted butter, cubed and softened to room temperature

  • 1 Tablespoon pure vanilla extract

  • 1 cup (240ml) whole milk, at room temperature and divided

  • 1/3 cup (80g) sour cream, at room temperature

  • 3 large eggs, at room temperature

Whipped Vanilla Buttercream

  • 1 cup (230g) unsalted butter, softened to room temperature

  • 4 and 1/2 cups (540g) confectioners’ sugar

  • 1/3 cup (80ml) heavy cream

  • 2 teaspoons pure vanilla extract

  • salt, to taste

  • optional: sprinkles for garnish

Instructions
Make the cake: Preheat the oven to 350°F (177°C). Generously grease a 9×13 inch cake pan.

Sift the cake flour, sugar, baking powder, baking soda, and salt in the bowl of a stand mixer. (Or if using a handheld mixer, any large mixing bowl.) With the paddle attachment, beat the ingredients together on low speed for a few seconds to gently combine. Add the butter, vanilla, and 1/2 cup of milk. Mix on medium speed until the dry ingredients are moistened, about 1 minute. Stop the mixer and scrape down the sides and up the bottom of the bowl. The mixture will resemble a thick dough.

Whisk the remaining milk, the sour cream, and eggs together in a medium bowl. With the mixer running on medium speed, add the egg mixture in 3 additions, mixing for about 15 seconds after each addition. Stop the mixer and scrape down the sides and up the bottom of the bowl, then mix for about 15 more seconds until batter is completely combined. Avoid over-mixing. Some small lumps are OK.

Pour and spread batter evenly into prepared pan. Bake for around 32-35 minutes or until the cake is baked through. Begin checking doneness at 28 minutes. To test for doneness, insert a toothpick into the center of the cake. If it comes out clean, it’s done. Allow cake to cool completely in the pan set on a wire rack. The cake must be completely cool before frosting.

Make the buttercream: With a handheld or stand mixer fitted with a paddle attachment, beat the butter on medium speed until creamy, about 2 minutes. Add confectioners’ sugar, heavy cream, and vanilla extract. Beat on low speed for 30 seconds, then increase to medium-high speed and beat for 4 full minutes. Add up to 1/4 cup more confectioners’ sugar if frosting is too thin or another Tablespoon of cream if frosting is too thick. Add a pinch of salt if frosting is too sweet. (I add 1/8 teaspoon salt.) Frosting should be extra fluffy.

Spread frosting in a thick layer on cooled cake. I use and recommend an offset spatula. If desired, use a piping tip to pipe some frosting and/or garnish with sprinkles. Slice and serve.

Cover leftover cake tightly and store in the refrigerator for up to 5 days.


My Notes: Baked up well. I started checking at 28 minutes and definitely wasn’t done yet. I believe it ended up going 34 minutes total, I kept checking every 2 minutes until done. End result was good. Baked through and moist. No raw parts or dry pieces.

Pistachio Cake with Roasted Plum Buttercream

Last week was big. It was a milestone. It felt a little weird. It was my 30th birthday. I am no longer a 20 year old. I have told myself that I am never going to start dreading my birthday. I'm going to enjoy it, use it as an excuse to go out for dinner, celebrate, and most importantly - eat cake. (And go on vacation! Took a few days off to head up north for some fun, more in a later post!) When I was younger I wasn't always a huge fan of sharing my birthday every single year. However, now I think it's pretty much the best thing ever. I always have someone to celebrate with, someone who is just as excited as me, and someone to help bake a cake with! 

For our 30th birthday we wanted to do something we hadn't tried before, flavor wise. Lara had recently seen a recipe for a pistachio with roasted plum frosting and when she mentioned it to me I thought it sounded wonderful. Not only is it a unique combination, it is also plum season, and I happened to have picked up a pint of black plums at the farmers market the week before and had a few left. It was meant to be!

It was the absolute right decision. The cake turned out amazingly! It was so delicious and fun to share with family and friends. Last year we came up with the idea of decorating our birthday cake with real flowers instead of spending a lot of time trying to decorate with frosting and then not liking the results. Since our birthday coincides with dahlia season, I have a feeling that dahlias are going to be making a fairly regular appearance on our birthday. They are absolutely gorgeous and come in every size and color. Why waste your time decorating a cake when God has already perfected these beautiful flowers. Win-win!

IMG_1513.jpg

For this cake I had to make a special purchase of pistachio paste. Something I have never actually seen. I found a source online (thankfully I had been looking at birthday cakes the week before my birthday, so I had time to have them ship it to me). In the original recipe, the author gives a recipe for homemade pistachio paste, but I just didn't have any desire to do that, so I "splurged" and bought it online. I was expecting it to be a lot like almond paste which I have used quite a bit and is thick and solid, you can cut it into "slices" if desired. The pistachio paste was very runny, very much like natural almond butter than you might have. It really seemed more like pistachio butter than pistachio paste, but it was sweetened. 

Other than that one ingredient, the cake was a pretty standard butter cake with a little citrus zest (I went with orange) for brightness, and yogurt for moisture. I'm sure you could do sour cream instead if desired. The original recipe called for an Italian Meringue buttercream, but I didn't feel like doing that this year so I just went with a standard American buttercream which is also very delicious. My frosting did not get as purple, or "plum" colored, as the original. Perhaps due to the change in frosting, or maybe because I peeled my plums, which was a little disappointing. I liked the pale purple of the original. But in the end it still turned out wonderful and delicious. 

I decided to try a "naked" cake look this year. Wasn't sure how I would like it, but actually found it really easy. It was nice to not have to worry about crumbs on the side of the cake, and to not have to be a perfectionist trying to get the edges perfectly smooth. A great technique for the lazy cake froster! A few flowers on top and some crushed pistachios and I was done! Another year, another successful birthday cake!

IMG_1551.jpg
IMG_1548.jpg
IMG_1546.jpg
IMG_1542.jpg

Being goofy!

IMG_1540.jpg
 
IMG_1507.jpg

Went out for dinner the night before our birthday and got to watch the sunset over the lake on an absolutely gorgeous night, followed by ice cream obviously!

IMG_1511.jpg

Birthday brunch at our favorite place! Croissants and lattes - what more could one want!

IMG_1537.jpg

So excited to finally dig in!

IMG_1534.jpg

A beautiful triple layer cake, with a subtle tinge of green. It was dense and buttery and moist and absolutely delicious, just how I like it!


Pistachio Cake with Roasted Plum Buttercream
Adapted from A Cozy Kitchen
Ingredients
Pistachio Cake:

  • 2 1/2 cups cake flour, sifted
  • 1 tablespoon baking powder
  • 1 teaspoon salt
  • 1 cup unsalted butter, room temperature
  • 1 1/2 cups white granulated sugar
  • 1/2 teaspoon lemon or orange zest (from about 1/2 orange)
  • 4 large eggs
  • 1 1/2 teaspoons pure vanilla extract
  • 1 cup plain Greek yogurt
  • 1/2 cup pistachio paste (I used this product)

Pistachio Buttercream

  • 2 black plums
  • 1/4 cup white granulated sugar
  • 1 teaspoon balsamic vinegar
  • 3 tablespoons water
  • Pinch of salt
  • 3 sticks butter
  • 5-6 cups powdered sugar (575-690grams)
  • 1 tablespoon vanilla extract

Directions
To roast the plums: Preheat your oven to 400 degrees. In a small baking dish, toss together the sliced plums, sugar, balsamic vinegar, salt and water. Roast for 15 minutes, or until the plums are super juicy and a syrup has formed. Set aside to cool slightly, about 5 minutes. Add the plums and its juices to a blender and pulse until completely pureed. Pour through a strainer, into a small bowl. You should end up with about 1/3 of a cup puree. Set aside to cool completely, ideally in the fridge. If it is warm at all when added to the frosting it may melt the butter. 

To make the frosting: In the bowl of a stand-up mixer with the paddle attachment, add the butter Beat for 30-60 seconds, until nice and creamy. Add the powdered sugar and beat for 2-3 minutes until well combined. Add the cooled plum puree and vanilla and beat until well combined. 

To bake the cake: Preheat oven to 350 degrees F. Butter and flour three 8x2-inch cake pans. Line the bottoms with a round of parchment. Set aside.

In a medium bowl, whisk together the flour, baking powder and salt. In the bowl of a stand-up mixer add the butter and sugar; cream together until light and fluffy, about 2 minutes. Add the zest and then crack in one egg at a time, adding the next egg only when the one before it has combined. Almost lastly, add in the vanilla extract. Turn the mixer down to low speed and add the yogurt and flour mixture in a few batches, alternating between the two. Lastly, add the pistachio paste and mix until properly combined.

Divide the cake batter amongst pans, smoothing out the top with a spatula (the batter will be a little thick so it'll need some help smoothing out). Transfer to the oven and bake for 30 to 35 minutes, or until a a skewer inserted into the center comes out clean. Cool the cakes in their pan for 10 minutes before removing them to cool completely on a wire rack.

To assemble: place the first layer of cake on a cake board or a cake stand. Add about 1/4 cup of frosting the top of the cake layer and smooth it out, pushing it out to the sides. Add the second layer on top and then add a second 1/4 cup to the top of that. Smooth out the top and add a nice thin layer all the way around the sides of the cake. Transfer to the freezer to chill for about 5 to 7 minutes. This is the crumb coat. Add a second even layer on the outside. Transfer to the cake to a baking sheet and decorate however you would like! Slice and serve!

Lavender Cupcakes with Blueberry Jam and Lemon Buttercream

Last week one of my cousins had a baby shower, and for this event I was asked if I would be willing to make cupcakes as one of the desserts. Always one of my favorite things to make, of course I said yes! I was so excited to have a reason to make cake, and also excited when I found out that creative liberties were being handed to me. The mother-to-be's sister, another one of my cousins, said that she didn't care what kind of cupcakes they were. All she wanted to be able to do was finish them off with some mustache cupcake toppers to match the shower theme, easy enough!

After brainstorming some ideas with Lara we came up with a game plan. I wanted to do lavender cupcakes because the lavender just popped out the last few weeks and I'm loving it! Delicious and seasonal. We thought lemon sounded like a nice combination with the lavender so lemon buttercream was decided for the frosting, and to finish them off with something a little extra special we decided to fill them with a little blackberry jam. Lavender, lemon and blackberry, how could it be bad? 

To answer the above question; it couldn't be bad, and it wasn't! If fact, this may be my favorite cupcake flavor combination yet. They turned out fabulously, the lavender flavor came through very mildly which is what I wanted - I didn't want a cupcake that smelled or tasted like perfume or potpourri. The buttercream was perfectly tart and sweet from the lemon, and the blueberry filling really put it all over the top. Could you skip it, sure, but I don't think they'll be as good!! :) 


Lavender Cupcakes with Blueberry Jam
From Delectably Mine
Ingredients

  • 3/4 cup (6 ounces) milk
  • 1-2 tablespoons fresh lavender flowers
  • 2 1/4 cups (10 1/2 ounces) all purpose flour
  • 1 1/3 cups (9 ounces) granulated sugar
  • 1 7/8 teaspoons baking powder
  • 3/4 teaspoon kosher salt
  • 3/4 cup (1 1/2 sticks) butter, softened, cut into small cubes
  • 3 eggs
  • 1 teaspoon vanilla extract
  • Blueberry jam, for filling

Directions
Preheat the oven to 350 degrees F and line cupcake pan(s) with liners.

Place the milk in a microwave safe bowl and microwave for 1-2 minutes until simmering. Remove from microwave and add the lavender flowers to the milk, stirring to combine. Let milk sit and cool for about 45 minutes. 

Meanwhile, place the flour, sugar, baking powder, and salt in a mixing bowl and stir to combine.

Add the butter and mix on low speed, until mixture resembles coarse crumbs (2-3 minutes). Add the eggs, one at a time, followed by the vanilla, and scrape the bottom of the bowl to make sure all the ingredients are well-combined. 

Once the milk has cooled to around room temperature, use a fine mesh strainer to remove the flowers. Add half of the strained milk and beat on medium speed for 1½ minutes, scrape the bottom and sides of the bowl, then add the remaining milk, and beat for another 30 seconds.

Fill prepared muffin pans ⅔ full with batter, and bake for 18-20 minutes, or until a tester inserted in the center of the cupcake comes out with a few moist crumbs. Let cool in pans for a couple of minutes, than transfer cupcakes to a wire rack to cool.

Once cool, take a sharp knife and cut out a cone shaped wedge of cake from the top of each cupcake forming a little well. Place a spoonful of blueberry jam into each well. Frost with lemon buttercream (recipe below). 

Yields: 18 cupcakes

Lemon Buttercream
From Delectably Mine
Ingredients

  • 2 1/4 sticks (10 ounces) unsalted butter, at room temperature
  • 5 cups (20 ounces) powdered sugar
  • pinch salt
  • 1/2 lemon, zested
  • 2 tablespoons fresh lemon juice

Directions
Place the butter in the bowl of an electric mixer fitted with the paddle attachment. Beat on medium-high speed until smooth, about 1 minute. Add the confectioners’ sugar, salt and lemon zest to the bowl and mix on medium-low speed just until incorporated. Continue to beat on medium-high speed until smooth, about 1-2 minutes. Mix in the lemon juice on low speed just until incorporated. Increase the mixer speed and whip on high speed until light and fluffy, scraping down the bowl as needed, about 4-5 minutes. 

* Note: I wanted a little more stable frosting since it was hot out. After a quick internet search, seemed like a lot of people use a 1:2 ratio of fat to sugar so that's what we did. Worked great, a nice stiff frosting that held up well. The final frosting is very sweet this way, so if it's not as hot I would probably not use this high of a ratio of sugar to butter, but it definitely worked great for this situation!

Funfetti Cucpakes

Last month, one of my good friends threw a golden birthday party for her husband. I offered a helping hand, and so was asked if I could make some cupcakes for the party. Funfetti was the request which got me excited, I had never made a funfetti cupcake before, but have always been a big fan of sprinkles! I used my trusty go-to butter cupcake recipe and threw in a half a cup of sprinkles. Voila, funfetti cupcakes! Super easy and super fun! I frosted them with a basic American buttercream that is always a hit. As far as cupcakes go, it doesn't get much simpler than this. So if you're looking for a fun and easy way to add homemade cakey goodness to your next party, look no further. 

I believe this is the third time I've used this cupcake recipe this fall now, and all three times it has turned out wonderfully! It's a great recipe that turns out 24 perfect cupcakes. And although I love a pure white cake, sometimes I just don't want to deal with separating egg whites and yolks and then whipping the eggs whites. This recipe just used 4 whole eggs that go straight into the batter, no separating, no whipping, nice and easy. 

Funfetti Cupcakes
Ingredients

  • 3 cups (14 ounces) all purpose flour
  • 1¾ cups (12.25 ounces) granulated sugar
  • 2½ teaspoons baking powder
  • 1 teaspoon kosher salt
  • 1 cup (2 sticks) butter, softened, cut into small cubes
  • 4 eggs
  • 1 cup (8 ounces) milk
  • 2 teaspoons vanilla extract
  • 1/2 cup colored sprinkles, plus more for decorating

Directions
Preheat the oven to 350 degrees F. Place the flour, sugar, baking powder, and salt in a mixing bowl and stir to combine.

Add the butter and mix on low speed, until mixture resembles coarse crumbs (2-3 minutes). Add the eggs, one at a time, and scrape the bottom of the bowl to make sure all the ingredients are well-combined.

Combine the milk, and vanilla extract in a measuring cup. Beat half this mixture into the flour/butter/eggs. Beat on medium speed for 1½ minutes, scrape the bottom and sides of the bowl, add the remaining milk mixture, and beat for another 30 seconds. Add the sprinkles and gently mix into the batter until well combined.

Fill paper liners ⅔ full with batter, and bake for 18-20 minutes, or until a tester inserted in the center of the cupcake comes out clean.

Cool completely before topping with buttercream frosting (recipe follows) and sprinkles. 

Yields: 24 cupcakes

Whipped Vanilla Buttercream
Ingredients

  • 1½ cups (3 sticks) butter, at room temperature
  • 3 cups confectioners’ sugar, sifted
  • Pinch of salt
  • 2 tablespoons heavy cream (or 1-2 tablespoons of milk if you don't keep cream on hand, I've done this many time)
  • 2 teaspoons vanilla extract

Directions
Place the butter in the bowl of an electric mixer fitted with the whisk attachment. Whip on medium-high speed until smooth, about 1 minute. Add the confectioners’ sugar and salt to the bowl and mix on medium-low speed just until incorporated. Continue to beat on medium-high speed until smooth, about 1-2 minutes. Mix in the heavy cream (or milk) and vanilla on low speed just until incorporated. Increase the mixer speed and whip on high speed until light and fluffy, scraping down the bowl as needed, about 4-5 minutes.

Frosted Brownie Roll Out Cookies

Need a chocolate fix? These simple yet delicious brownie roll out cookies are super easy to whip together when you need a basic chocolate cookie. They are easy and use ingredients that you are sure to have on hand. I've made them with both natural and Dutched cocoa and both turn out great. If you use the Dutched cocoa the cookies take on more of a oreo-ish look with that deep, almost black appearance, but they are definitely not Oreo texture. 

These cookies are soft and tender, a brownie in cookie form, perfect for any number of uses. They are good just plain, straight out of the oven, or frosted with your favorite frosting. This time I used a bright yellow and summery buttercream, but peanut butter frosting, or a chocolate ganache frosting would also be fantastic. Keep the cookies open faced, or spread the frosting between two cookies for a fun dessert sandwich. I have also scooped ice cream between two cookies for a super delicious ice cream sandwich. The cookies stay nice and soft, even in the freezer, making the perfect ice cream sandwich, easy to bite into and devour. A great recipe to have in your recipe box for any occasion! 

Other than the hour or so chilling time required for these cookies, they come tother very quickly. Mix, chill, cut and bake. Give these cookies a try the next time you want a cookie, but feel like doing something other than the good old standby - chocolate chip cookies. It's a refreshing change of pace. 

Brownie Roll-Out Cookies

Recipe from

Smitten Kitchen

Ingredients

  • 3 cups (375 grams) all-purpose flour
  • 1/2 teaspoon salt
  • 1/2 teaspoon baking powder
  • 1 cup (225 grams) butter, softened 
  • 1 1/2 (300 grams) cups sugar
  • 2 large eggs
  • 1 teaspoon (5 ml) vanilla extract
  • 2/3 cup unsweetened cocoa (approximately 60 grams — weights can vary a bit depending on brand)

Directions

Preheat oven at 350 degrees. Whisk dry flour, salt and baking powder in bowl and set aside. Mix butter, sugar, eggs, vanilla and cocoa in mixer. Gradually add flour mixture, and mix until smooth. Wrap in plastic and chill for at least one hour.

Roll out cookie dough on floured counter. Cut into desired shapes, brushing extra deposits of flour off the top. (It does disappear once baked, though, so don’t overly fret if they go into the oven looking white.) Bake on a parchment-lined baking sheet for 8 to 11 minutes (the former for 1/8-inch thick cookies, the latter for 1/4-inch cookies) until the edges are firm and the centers are slightly soft and puffed.

Transfer to a wire rack to cool.