Lime Cornmeal Cookies

I first made these cornmeal cookies 5 years ago when I was living in Dearborn. So much has happened since that time, but one thing that has not changed is how delicious these cookies are. That first batch was back in the early years of this blog and the photos on that first post were not so hot (if you're interested in taking a look you can see it here). I thoughts it was time to revisit this recipe and give it the photos it deserves. 

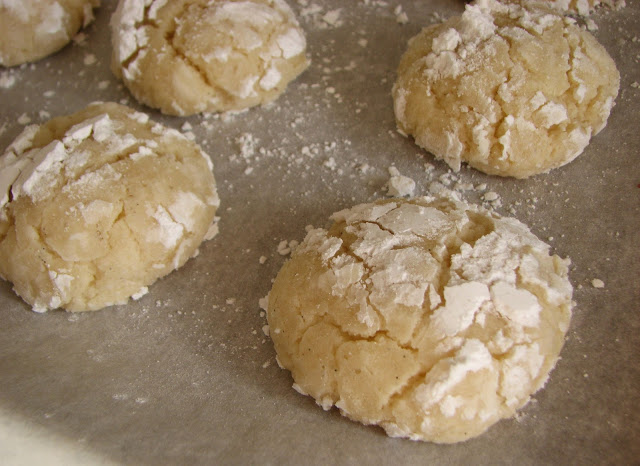
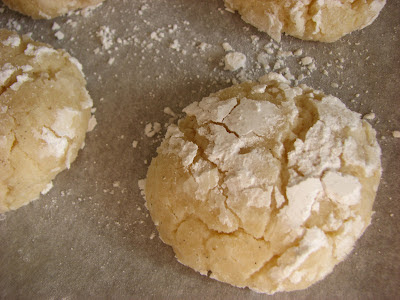
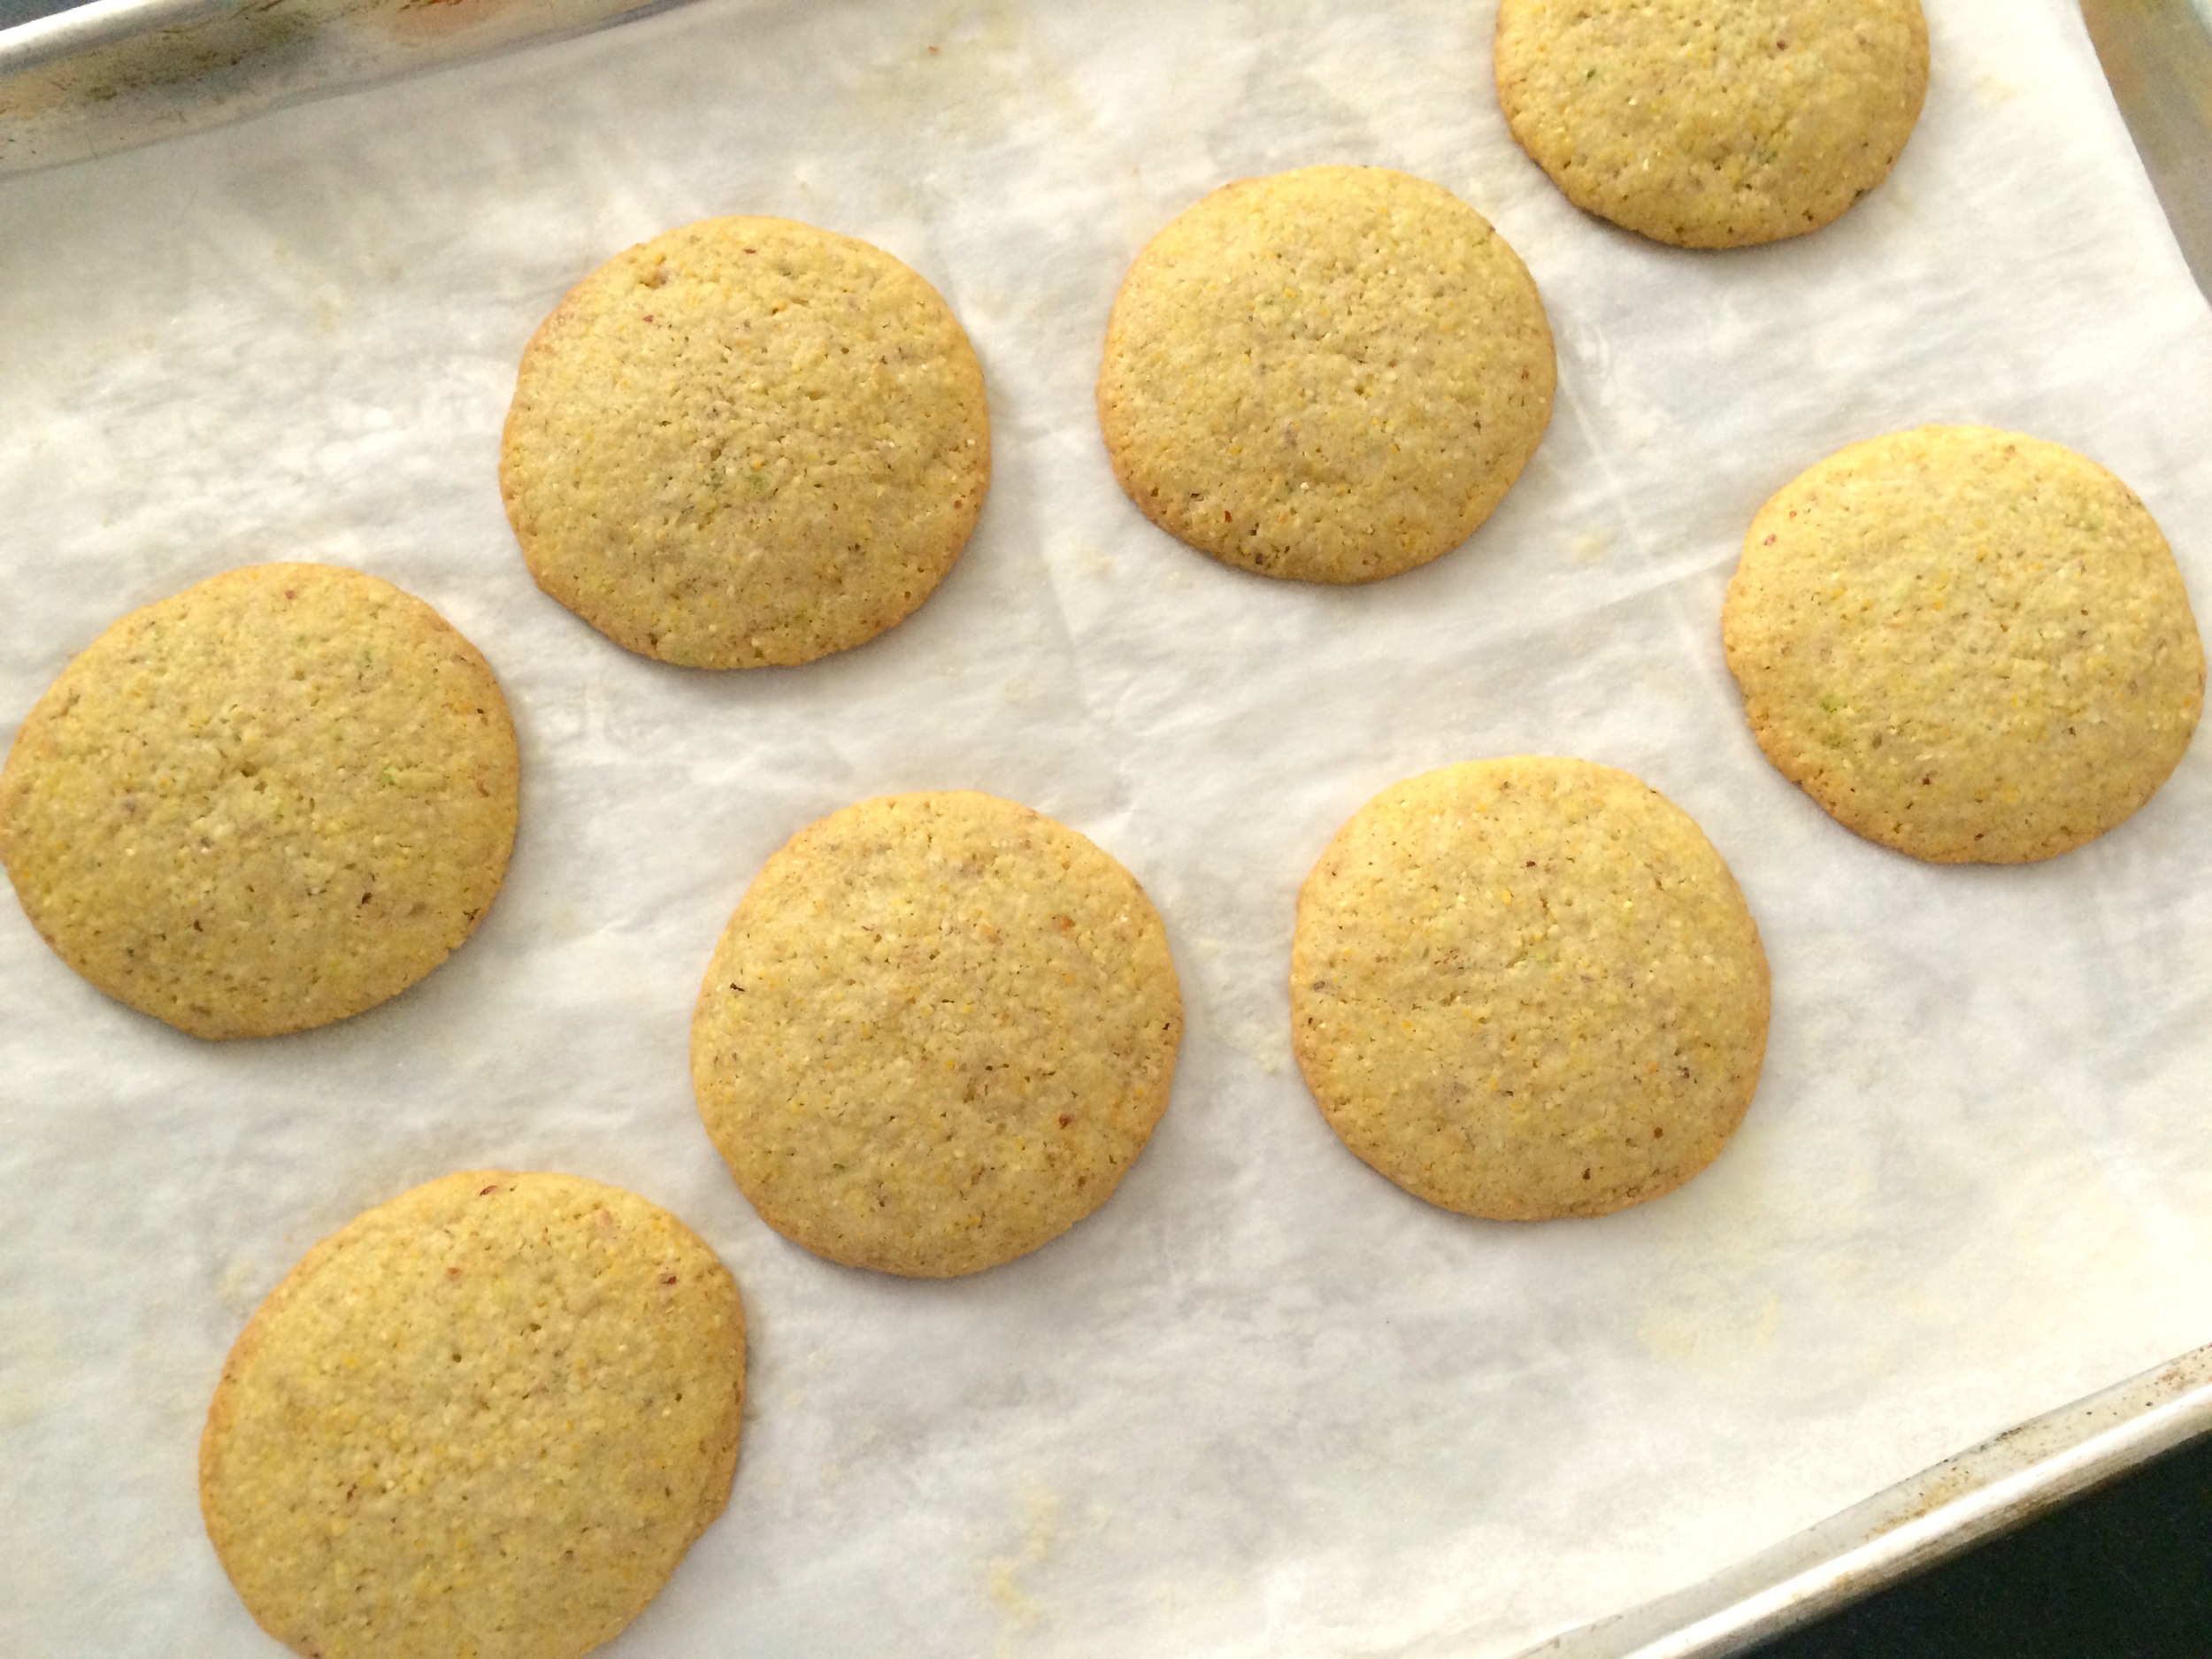
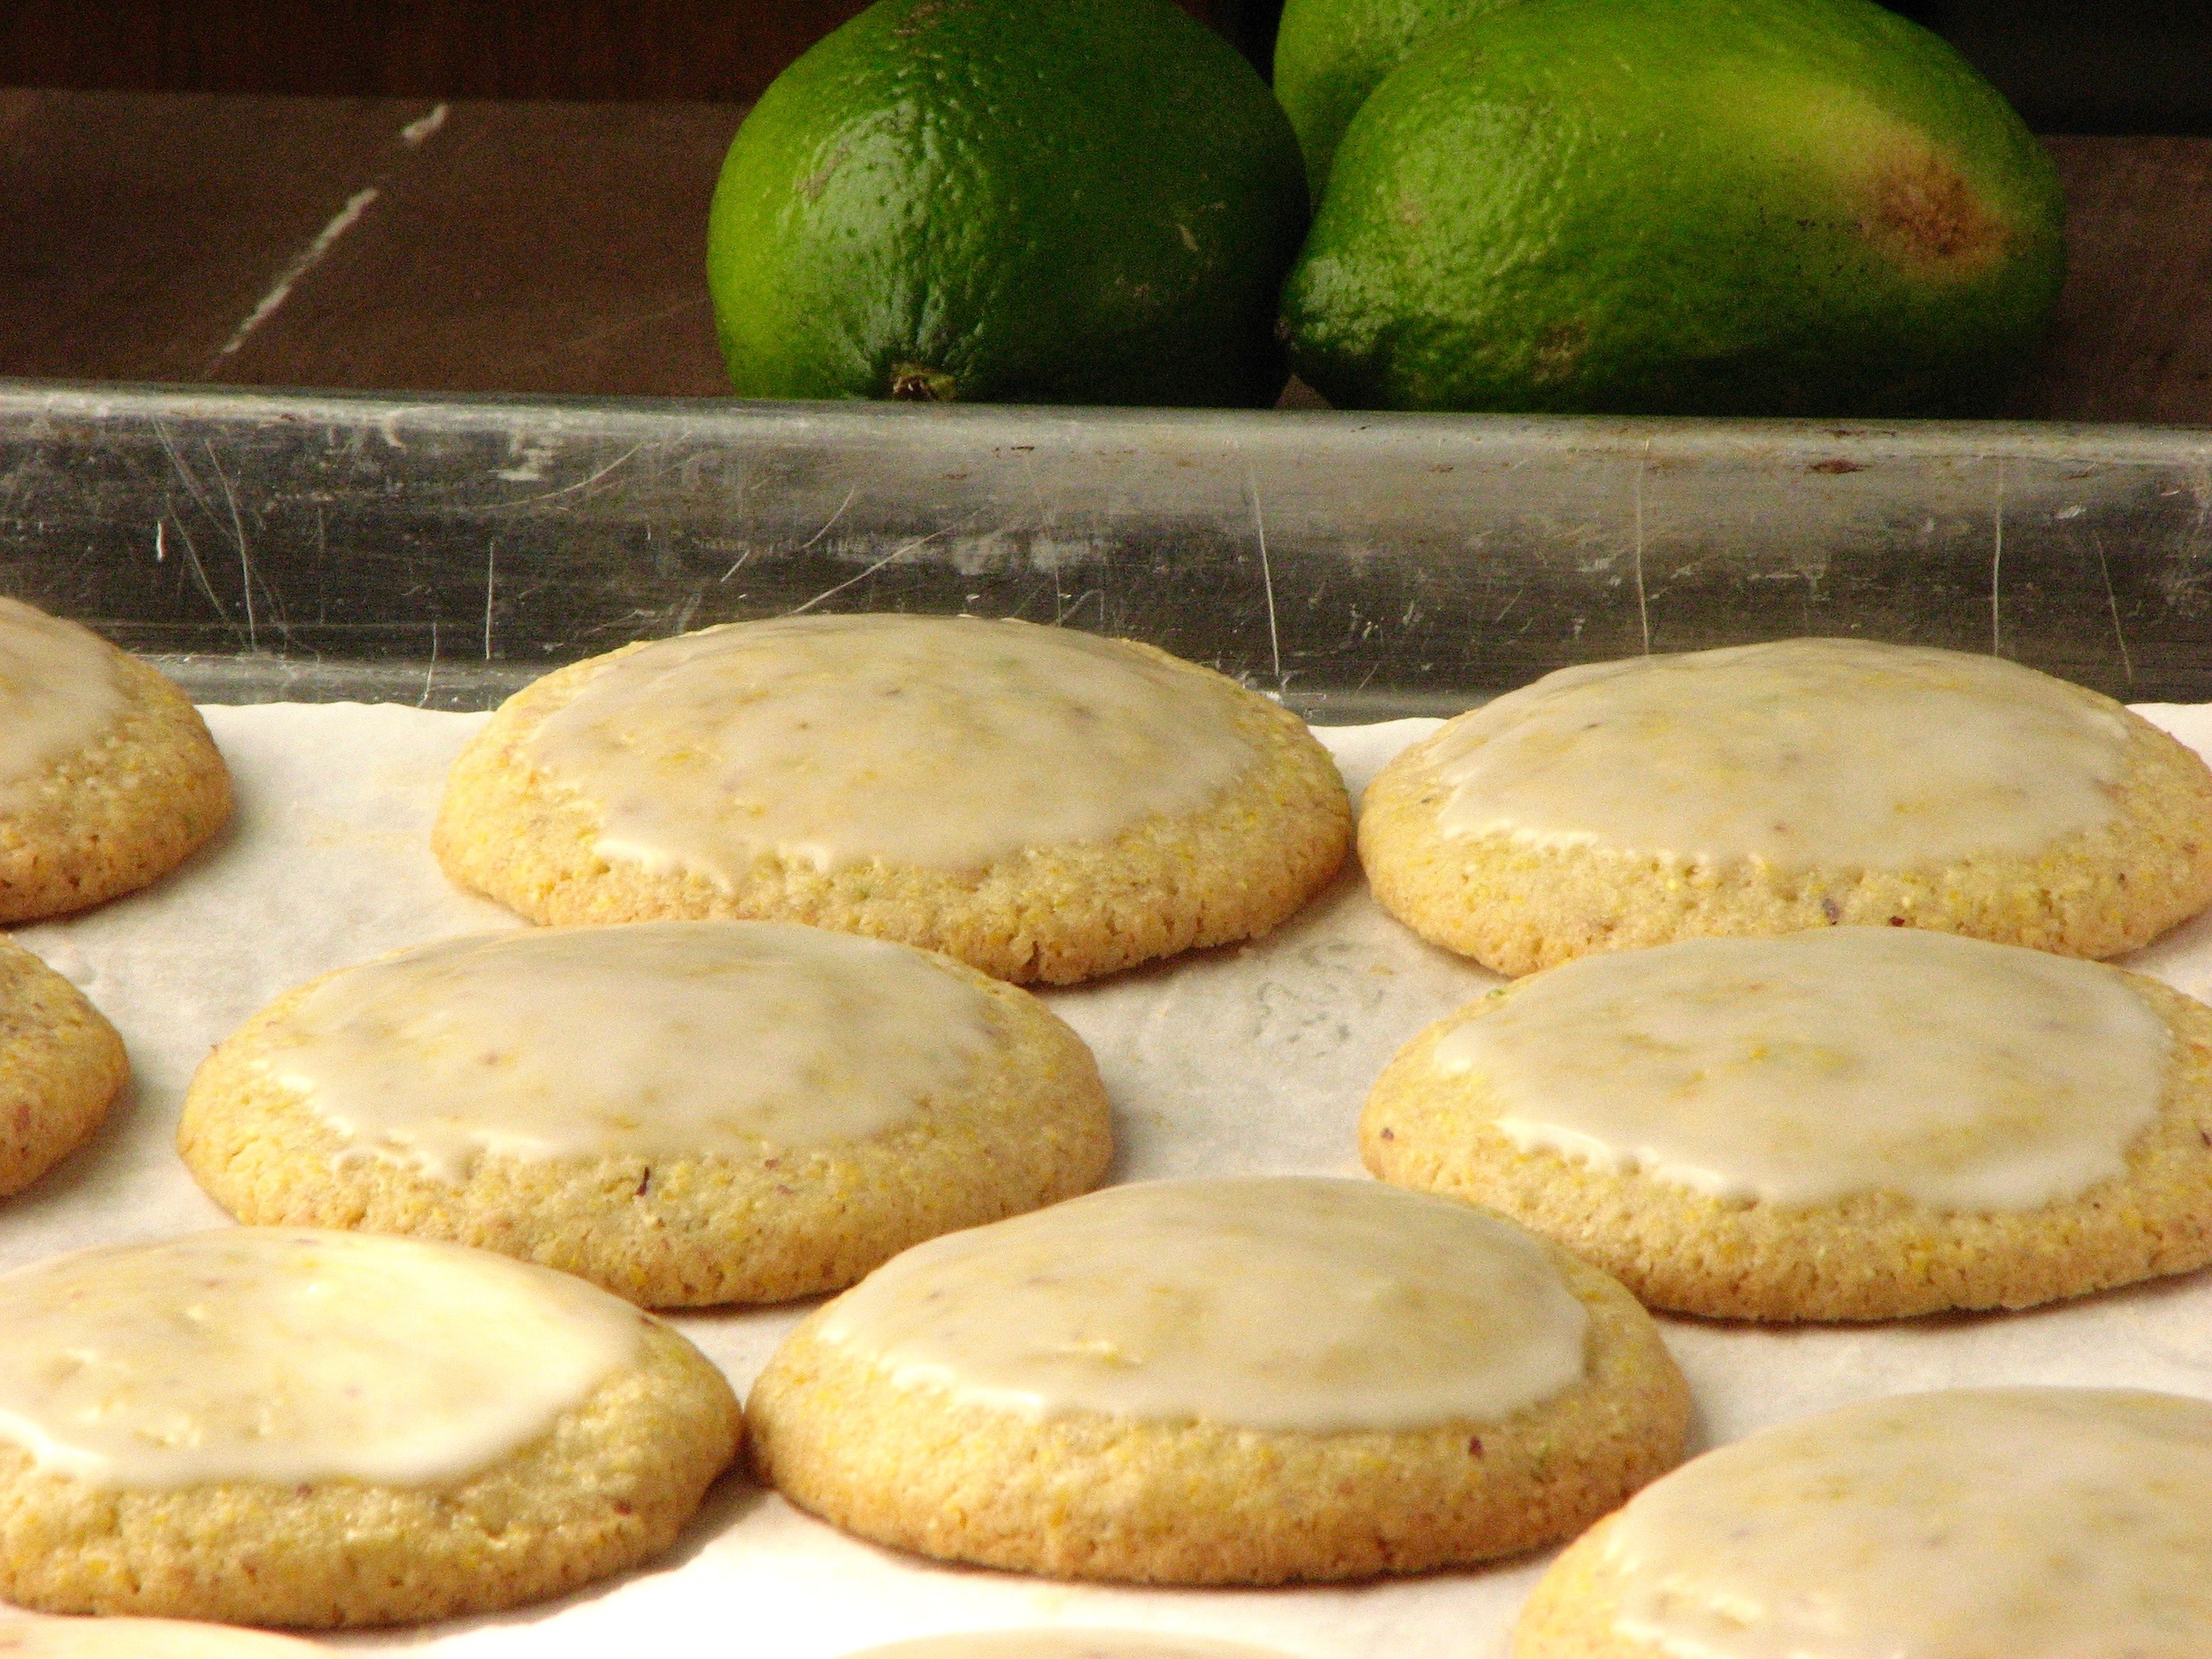
It had been a little while since I'd made a batch of these cookies, but I was having some friends over for a Bible study and the food I was making was full of Mexican flavors so I thought these cookies would be the perfect dessert to finish off the night with. They are buttery and tart with a wonderful crunchy texture from the cornmeal. The lime glaze on top really finishes them off nicely. All around a great cookie that's just a little bit different than the usual. Everyone I served them to loved them, so I'm sure anyone you serve them to will love them too! 

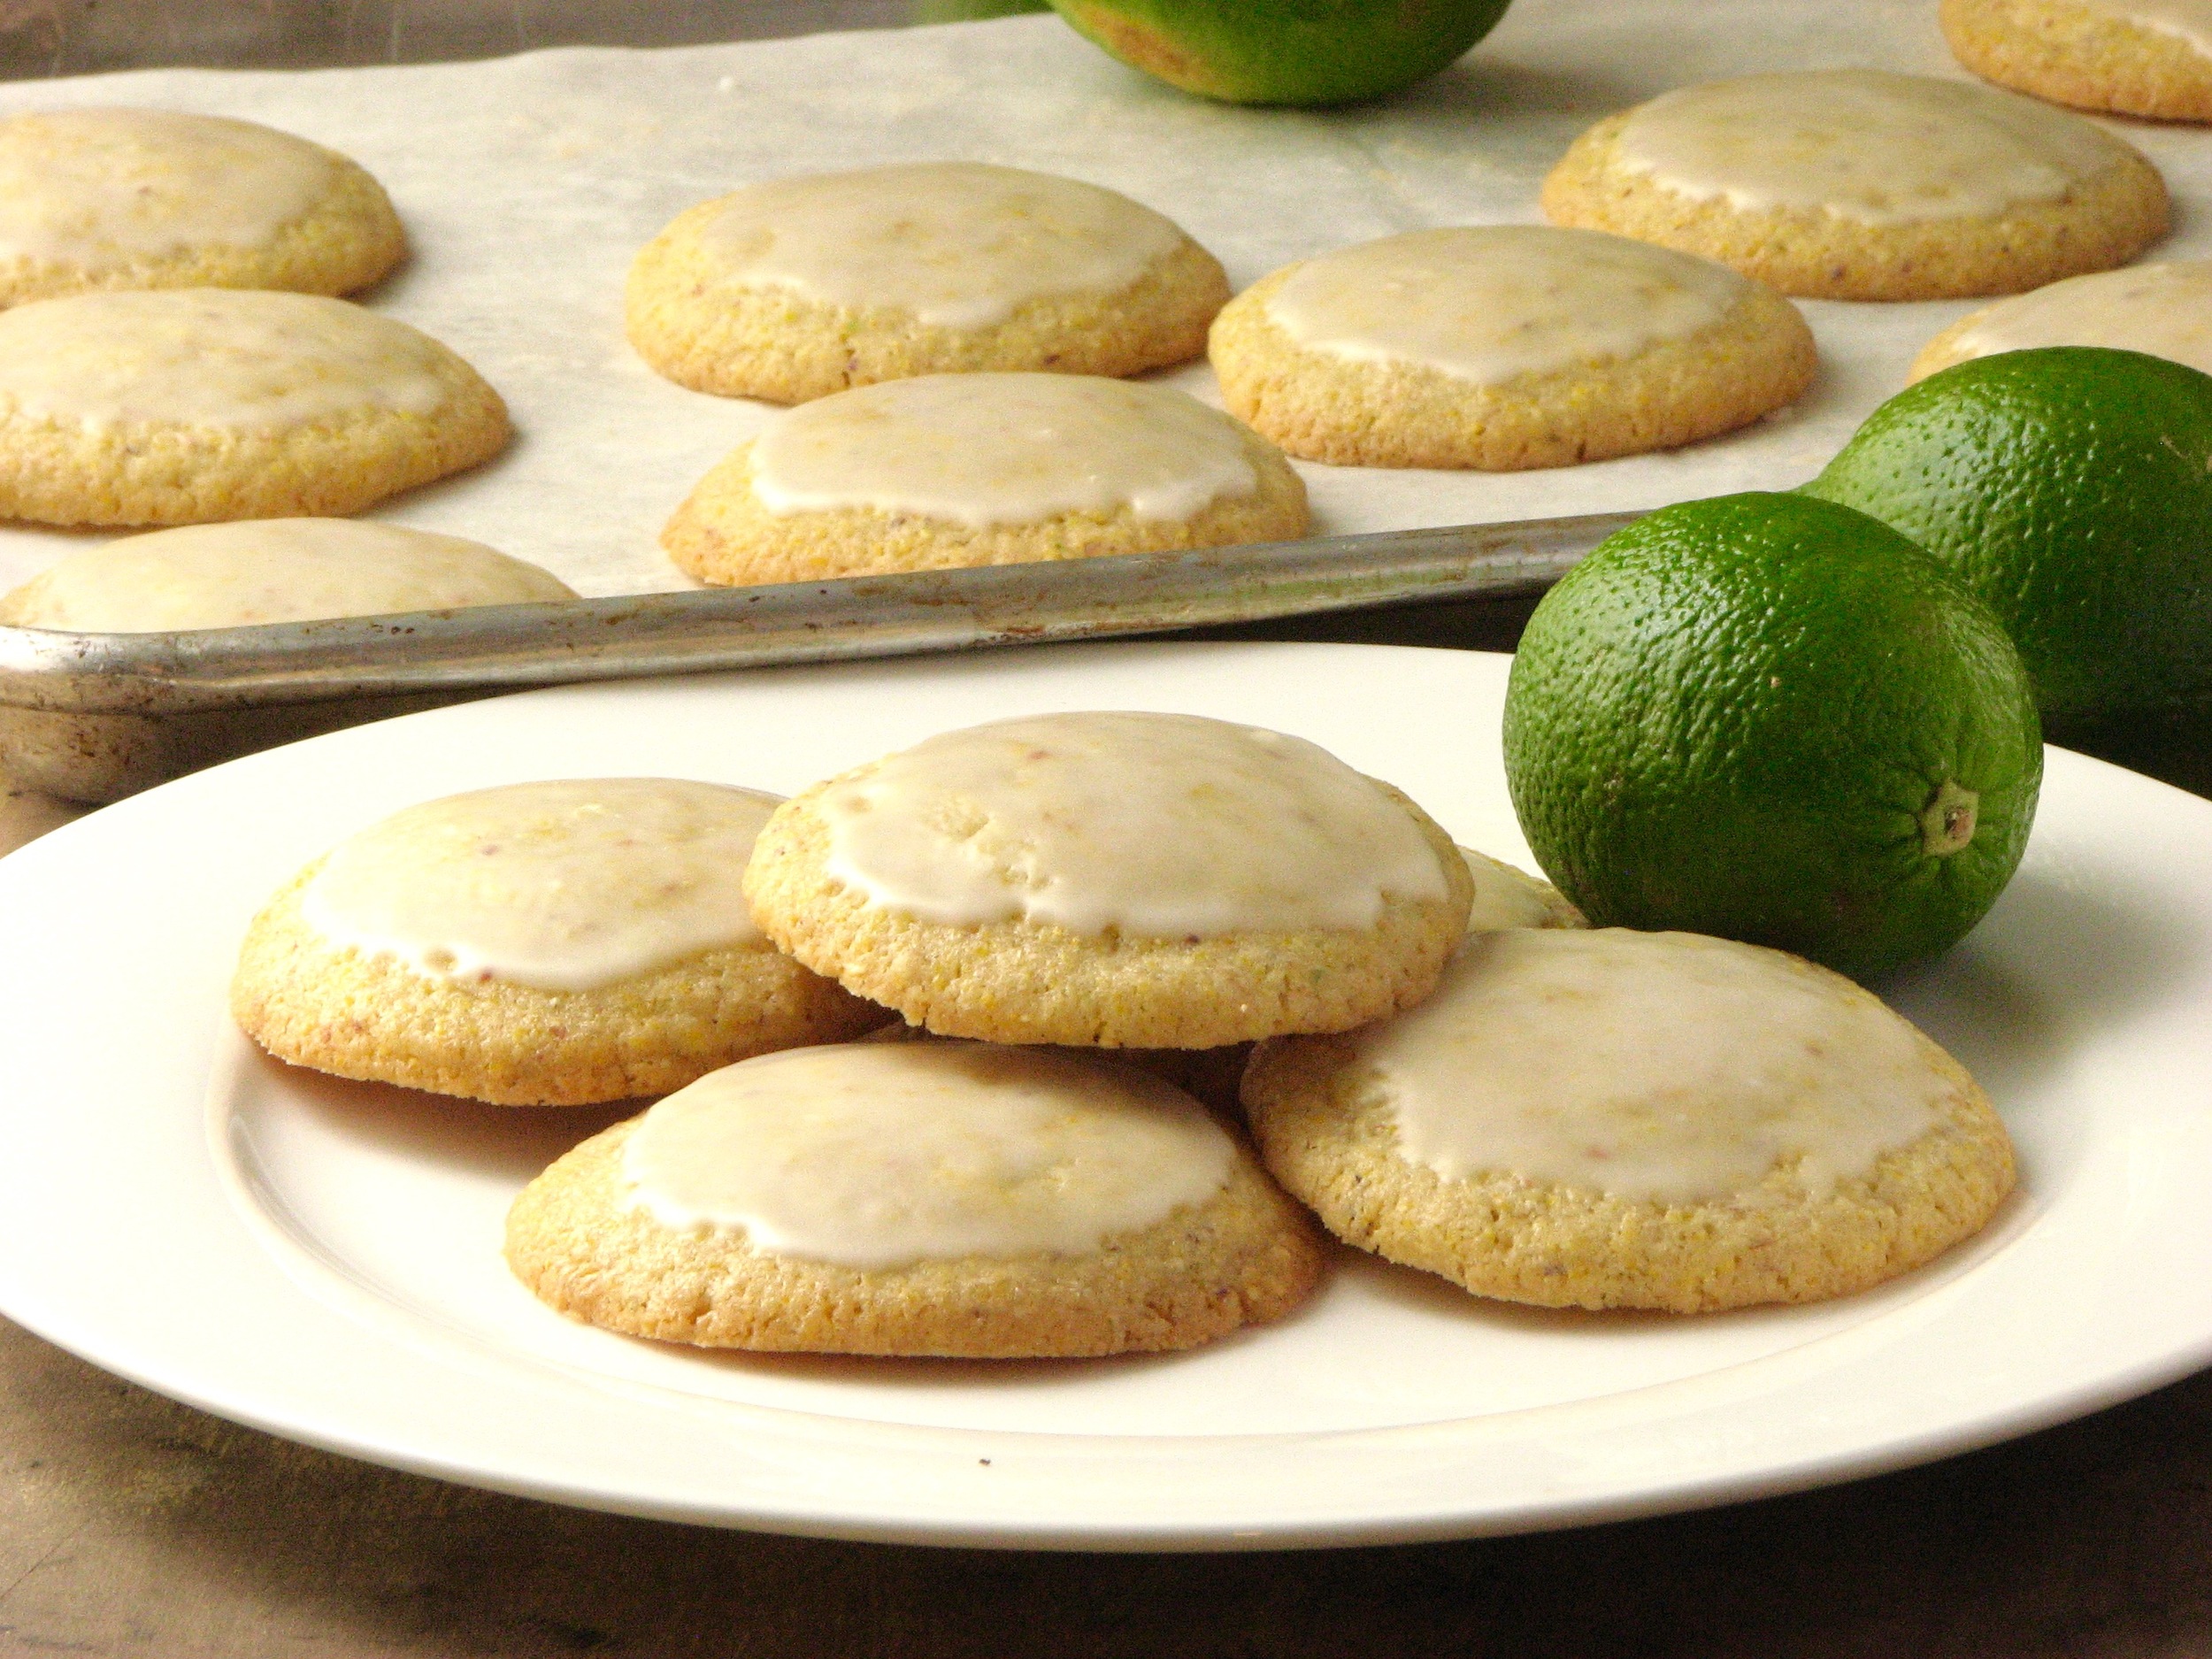
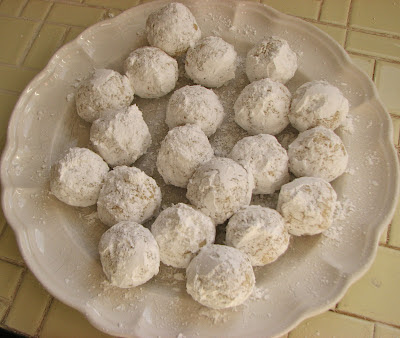
I halved the original recipe this time, the full batch makes quite a few cookies and I didn't need that many on this occasion. When shaping them I used my scale and made each cookie 30 grams, this yielded 17 cookies that were the perfect size in my opinion. The recipe calls for 90 grams cookies but that is just massive. I'm sure they'd be awesome, but I didn't feel the need to make mine this big. I ended up chilling the dough overnight before baking which is not called for in the original recipe, but the dough was fairly soft, and I had the time to throw it in the fridge before I needed to bake. The cookies might spread a little more if you don't chill the dough, but I haven't tested this. They did spread a bit regardless of the chilling, so just make sure there is enough space between each ball of dough before putting in the oven. And if you're feeling tempted to skip the lime glaze as I was...don't! It really finishes off the cookies perfectly - the sweet and tart glaze complements the crunchy and buttery cookie and brings them up a notch. Plus, it just looks so cute! 


Lime Cornmeal Cookies
Adapted from The Sweeter Side of Amy's Bread by Toy Kim Dupree and Amy Scherber

  • 3/4 cup (3 1/2 ounces) all purpose flour
  • 1/2 cup (3 ounces) coarse cornmeal or fine grits
  • Scant 1/2 cup (2 ounces) bread flour
  • 7/8 teaspoon kosher salt
  • 1/2 teaspoon baking soda
  • 1/2 cup plus 2 tablespoons (4 3/8 ounces) granulated sugar
  • 1/2 cup (4 ounces) butter, slightly softened
  • 3/4 ime zest, finely minced
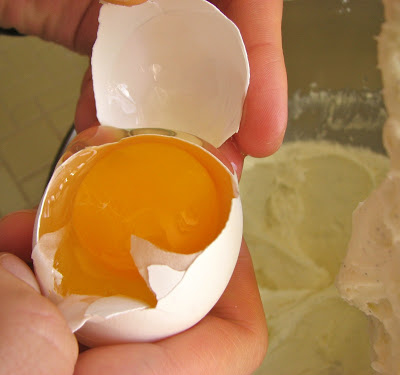
  • 1 egg
  • 1 egg yolk
  • 1 cup powdered sugar
  • 1 1/2 tablesppons lime juice

Directions
Preheat the oven to 350 degrees. Line a cookie sheet with parchment paper.

In a bowl, add the all-purpose flour, cornmeal, bread flour, salt and baking soda and whisk together. Set aside. 

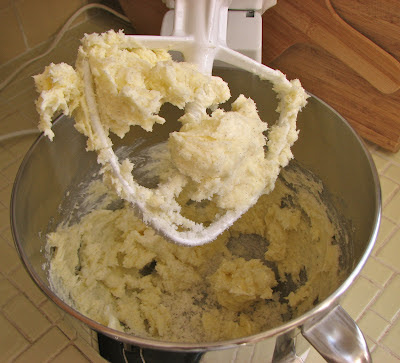
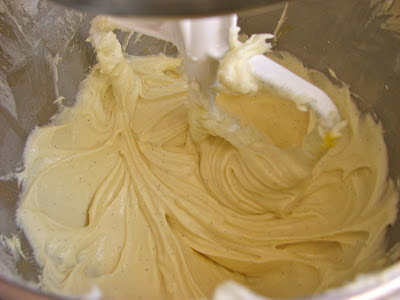
In another bowl, using an electric mixer with a paddle attachment, cream the sugar, butter and lime zest together on medium speed for 2 minutes, or until light and fluffy, scraping the sides and bottom of the bowl frequently. Add the egg and egg yolk, mixing until every thing is well combined.

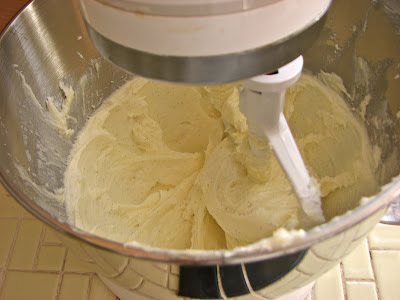
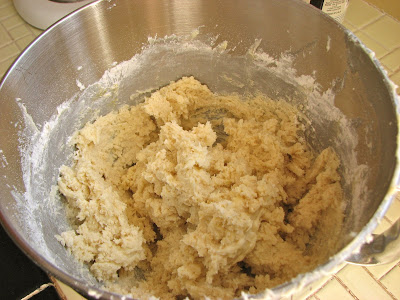
With the mixer on medium-low speed, add the dry ingredients in stages. Mix only until everything is well combined, scraping the sides and bottom of the bowl frequently. There should not be any pockets of dry flour left in the dough. At this point, you can refrigerate the dough overnight, or move on immediately to the next step. 

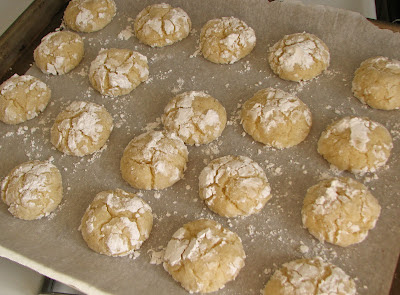
Portion the dough into individual balls, rolling them between your hands to make them uniform. Place them on the cookie sheet with an inch or two between each cookie. They will spread during baking. (The original recipe calls for you to make giant cookies, 90 grams/3.2 ounces of dough each, which is huge and wonderful. However, I made my balls of dough a little more reasonably sized at 30 grams, 1-2 tablespoons, each.) This dough will be soft, so don't flatten the dough balls at all before baking. Bake the cookies for 16-18 minutes, rotating the cookie sheet halfway through the baking time. The cookies should be lightly browned on the edges and baked all the way into the center. They should be soft, but be careful not to underbake them or the centers will collapse and be doughy.

Cool the cookies on the sheets for 5 minutes, then move them to a rack and cool completely before glazing.

Whisk together the confectioner's sugar and the lime juice to make a loose glaze. Use a 2 inch pastry brush to frost the top of each cookie, leaving an unfrosted 1/4 inch border around the edge. Let the glaze dry completely before storing the cookies in an airtight container.

Gooey Cream Cheese Butter Cookies

When I heard these cookies described as being somewhat like baked cream cheese frosting I was sold. A cookie dough lover's cookie at its finest? Yes please, now please. Since I also happened to have a block of cream cheese sitting in the back of my fridge, just begging me to do something with it, I knew it was meant to be. It's funny how there are some recipes you come across that you just cannot pass up. They must be made and they must be made soon, today if possible. This was one of those recipes.

These cookies lived up to their name and description. They were pillows of buttery, cream cheesy goodness, super soft and full of vanilla goodness. They were as light as air, almost seeming under baked in the center, reminiscent of cream cheese frosting. The cream cheese flavor really came through, so if you aren't a big fan these probably aren't for you, but since that isn't a problem for me I thought they were fantastic. I like pretty much everything under baked; cookies, cinnamon rolls, brownies, hey, I even like my steak as rare as possible, so this recipe was perfect for me, it's meant to at least seem like it is under baked.

The recipe was a simple one, all you need are the basics along with cream cheese. It calls for a vanilla bean but if you don't have one I'm sure they will still turn out amazing. The next time I make these I think I will try the addition of some mini chocolate chips, chocolate makes everything better, right?

Butter, sugar, cream cheese and vanilla bean

Beat until nice and fluffy

Add the egg

Mmm...creamy

After adding the flour mixture

Shaped, covered in powdered sugar and ready to bake

The finished product

Try to let them cool at least a little before eating, if you can handle it that is

Gooey Cream Cheese Butter Cookies
From  See You In The Morning
Ingredients

  • 2 1/4 cups flour
  • 2 teaspoon baking powder
  • 3/4 teaspoon salt
  • 1 8-ounce package cream cheese, softened
  • 1 stick butter
  • 1/4 - 1/2 vanilla bean, seeds scraped (optional but wonderful!)
  • 1 1/4 cups sugar
  • 1 egg
  • 1/2 teaspoon vanilla extract
  • powdered sugar for rolling and dusting

Directions
Stir together the flour, baking powder, and salt, set aside. In the bowl of an electric mixer fitted with the paddle attachment, cream the cream cheese, butter, vanilla bean seeds, and sugar together until fluffy. Add the eggs and vanilla extract, beating until combined. Add in the flour mixture, stirring until just combined. Chill the dough for at least 30 minutes.

Preheat the oven to 325. Shape the dough into roughly 1 ounce balls and toss in the confectioner's sugar, rolling around to coat. Place on a baking sheet lined with parchment paper, and bake until they spread and puff slightly, about 12-16 minutes. They will be really soft in the center. If they start to brown, they've gone too far. Cool to room temperature.

*refrigerate and serve cookies cold out of the refrigerator...these cookies are said to taste much better cold than warm.

Classic White Bread

While I love baking anything and everything, there will always be a special place in my heart for a simple loaf of soft white bread. There is almost nothing better than a slice of fresh from the oven, still warm, homemade bread slathered in salted butter. The yeasty flavor mixes with the heavenly aroma still emanating from the oven to produce the bliss that is freshly baked bread. I've made several different white bread recipes over the past few years and while I don't vividly remember them all, I know this one is right up there at the top of the list. Buttery, light and tender, this bread is ready for anything: sandwiches, toast, or a simple afternoon snack with some almond butter, really whatever you can think of, it's up to you.

This recipe was straightforward without any unusual ingredients. The basic cast of flour, salt and yeast along with some milk, some butter, an egg, and a hint of sweetness via the addition of a little sugar. That's how I like my bread, simple but with a little enrichment to really take it over the top. To finish it all off I brushed the loaves with melted butter when they came out of the oven (instead of the egg wash suggested) to produce a soft and buttery crust, yum!

I didn't have the size bread pans the recipe calls for (something I've since remedied) but it didn't seem to matter one bit. The loaves didn't get as tall as they would have in a slightly smaller pan but they still turned out beautifully. I've been eating this bread daily in the days since making it and I absolutely love it. Last night it made the best Texas toast, and this morning it was perfect slathered in homemade jam. I can't wait to find out what it will be good for next; whatever that is I know it will be delicious.

Start mixing it all together

 When smooth and supple, place in an 

oiled bowl to rise

 Doubled and ready to shape

 Cut the dough in half

 Shape into two nice loaves

 Nicely risen and ready to hit the oven

 Straight from the oven, golden and beautiful

 Pull out of the loaf pans and let cool on wire racks

 Slice it up, making sure you have a nice snack

along the way

Ready for anything

Classic White Bread
From The Bread Baker's Apprentice by Peter Reinhart
Ingredients

  • 4¼ cups (19 ounces) unbleached bread flour
  • 1½ teaspoons (.38 ounces) salt
  • 3 tablespoons (1.5 ounces) sugar
  • 2 teaspoons (.22 ounce) instant yeast
  • 1 large (1.65 ounces) egg, slightly beaten, at room temperature
  • ¼ cup (2 ounces) butter, margarine, or shortening, at room temperature, or vegetable oil
  • 1½ cups (12 ounces) buttermilk or whole milk, at room temperature
  • 1 egg, whisked with 1 teaspoon water until frothy, for egg wash (optional)
  • sesame or poppy seeds for garnish (optional)

Directions
Mix together the flour, salt, sugar, and yeast in a 4-quart bowl (or in the bowl of an electric mixer). Pour in the egg, butter, and milk and mix with a large metal spoon (or on low speed of the electric mixer with the paddle attachment) until all the flour is absorbed and the dough forms a ball. If the dough seems very stiff and dry, trickle in more milk until the dough is soft and supple.

Sprinkle flour on the counter, transfer the dough to the counter, and begin kneading (or mix on medium speed with the dough hook), adding more flour, if necessary, to create a dough that is soft, supple, and tacky but not sticky. Continue kneading (or mixing) for 6 to 8 minutes. (In the electric mixer, the dough should clear the sides of the bowl but stick ever to slightly to the bottom.) The dough should pass the windowpane test and register 80° F. Lightly oil a large bowl and transfer the dough to the bowl, rolling it to coat it with oil. Cover the bowl with plastic wrap.

Ferment at room temperature for 1½ to 2 hours, or until the dough doubles in size (the length of time will depend on the room temperature).

Remove the fermented dough from the bowl and divide it in half for sandwich loaves, into eighteen 2-ounce pieces for dinner rolls, or twelve 3-ounce pieces for burger or hot dog buns. Shape the pieces into boules for loaves or tight rounds for dinner rolls or buns. Mist the dough lightly with spray oil and cover with a towel or plastic wrap. Allow to rest for about 20 minutes.

For loaves, shape as shown on page 81. Lightly oil two 8½ by 4½-inch loaf pans and place the loaves in the pans. For rolls and buns, line 2 sheet pans with baking parchment. Rolls require no further shaping. For hamburger buns, gently press down on the rolls to form the desired shape. For hot dog buns, shape as shown on page 80, although without tapering the ends. Transfer the rolls or buns to the sheet pans.

Mist the tops of the dough with spray oil and loosely cover with plastic wrap or a towel. Proof the dough at room temperature for 60 to 90 minutes, or until it nearly doubles in size.

Preheat the oven to 350° F for loaves or 400° F for roll and buns. Brush the rolls or buns with the egg wash and garnish with poppy or sesame seeds. Sandwich loaves also may be washed and garnished, or score them down the center and rub a little vegetable oil in the slit.

Bake the rolls or buns for approximately 15 minutes, or until they are golden brown and register just above 180° F in the center. Bake loaves for 35 to 45 minutes, rotating 180 degrees halfway through for even baking, if needed. The tops should be golden brown and the sides, when removed from the pan, should also be golden. The internal temperature of the loaves should be close to 190° F, and the loaves should sound hollow when thumped on the bottom.

When the loaves have finished baking, remove them immediately from the pans and cool on a wire rack for at least 1 hour before slicing or serving. Rolls should cool for at least 15 minutes on a rack before serving.