Chocolate Sugar Cookies

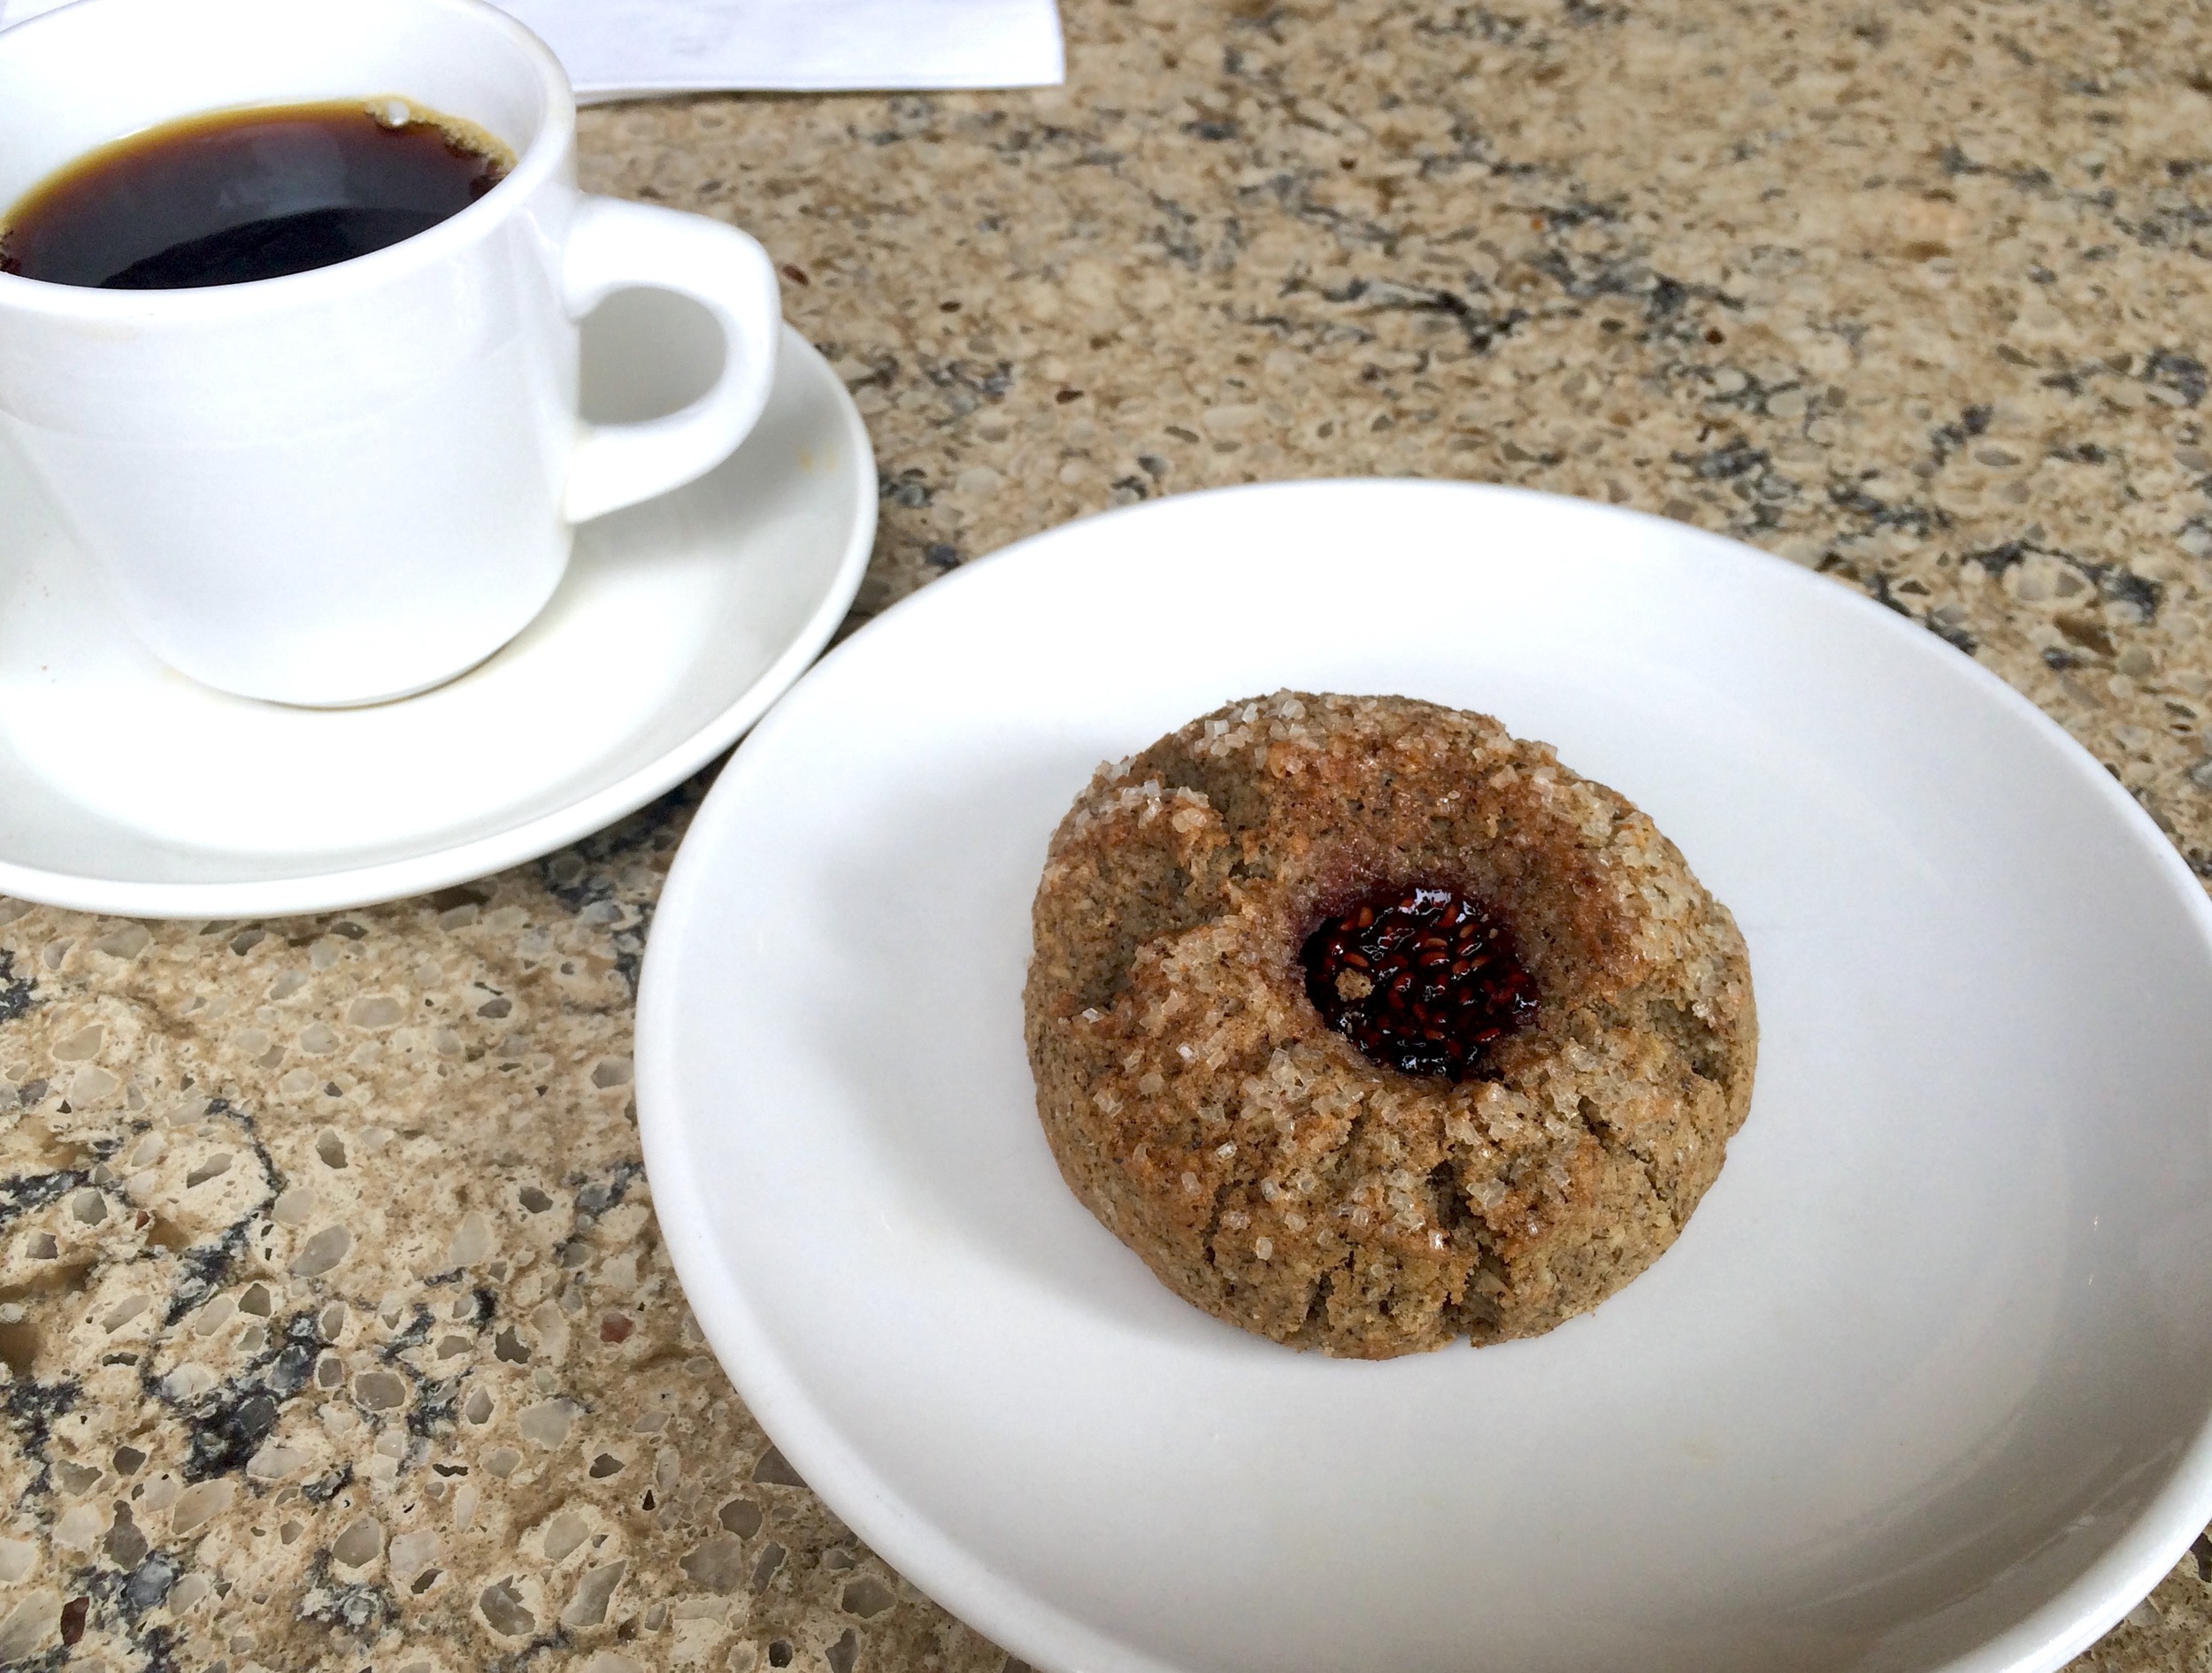
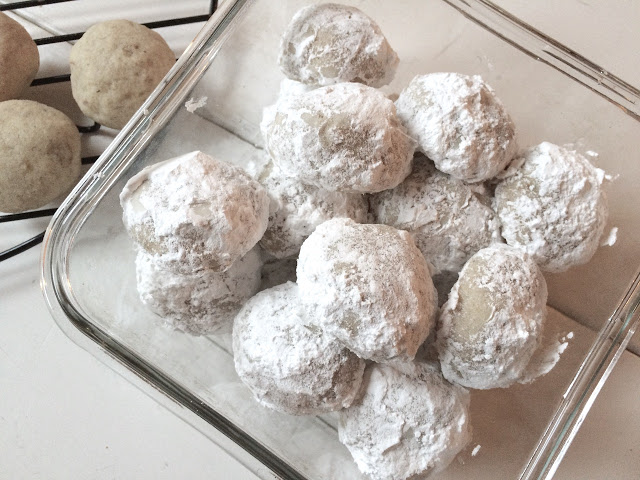
Last week a friend of mine sent me a box of cookies from a bakery she knows and loves that is located in Boston. I’ve never been to this restaurant, or to Boston for that matter, but I have their cookbook and love it so my friend wanted to share some of it’s goodness with me. It was such a kind gift, and so delicious! It was full of fairly basic cookies, but several that came with a twist. There was a snickerdoodle with saffron, as well as a chocolate cookie with cardamom, and potentially some other spices, but I really honed in on the cardamom. There was also a lovely snowball cookie, nice and buttery, a thin glazed oat cookie, a delicous sable that may have had tahini in it, and a nutty pistachio sesame cookie. They were all so good, and such fun to try a little sampling of the restaurant’s baked goods.

IMG_2378.jpeg
This was the inspiration box!

This was the inspiration box!

I was inspired after this, to do some cookie baking of my own. I was really drawn to the chocolate cardamom combo so decided to try and come up with something similar. A recipe for a chocolate sugar cookie came across my Instagram feed about this time which looked like a perfect place to start.

IMG_2380.jpeg

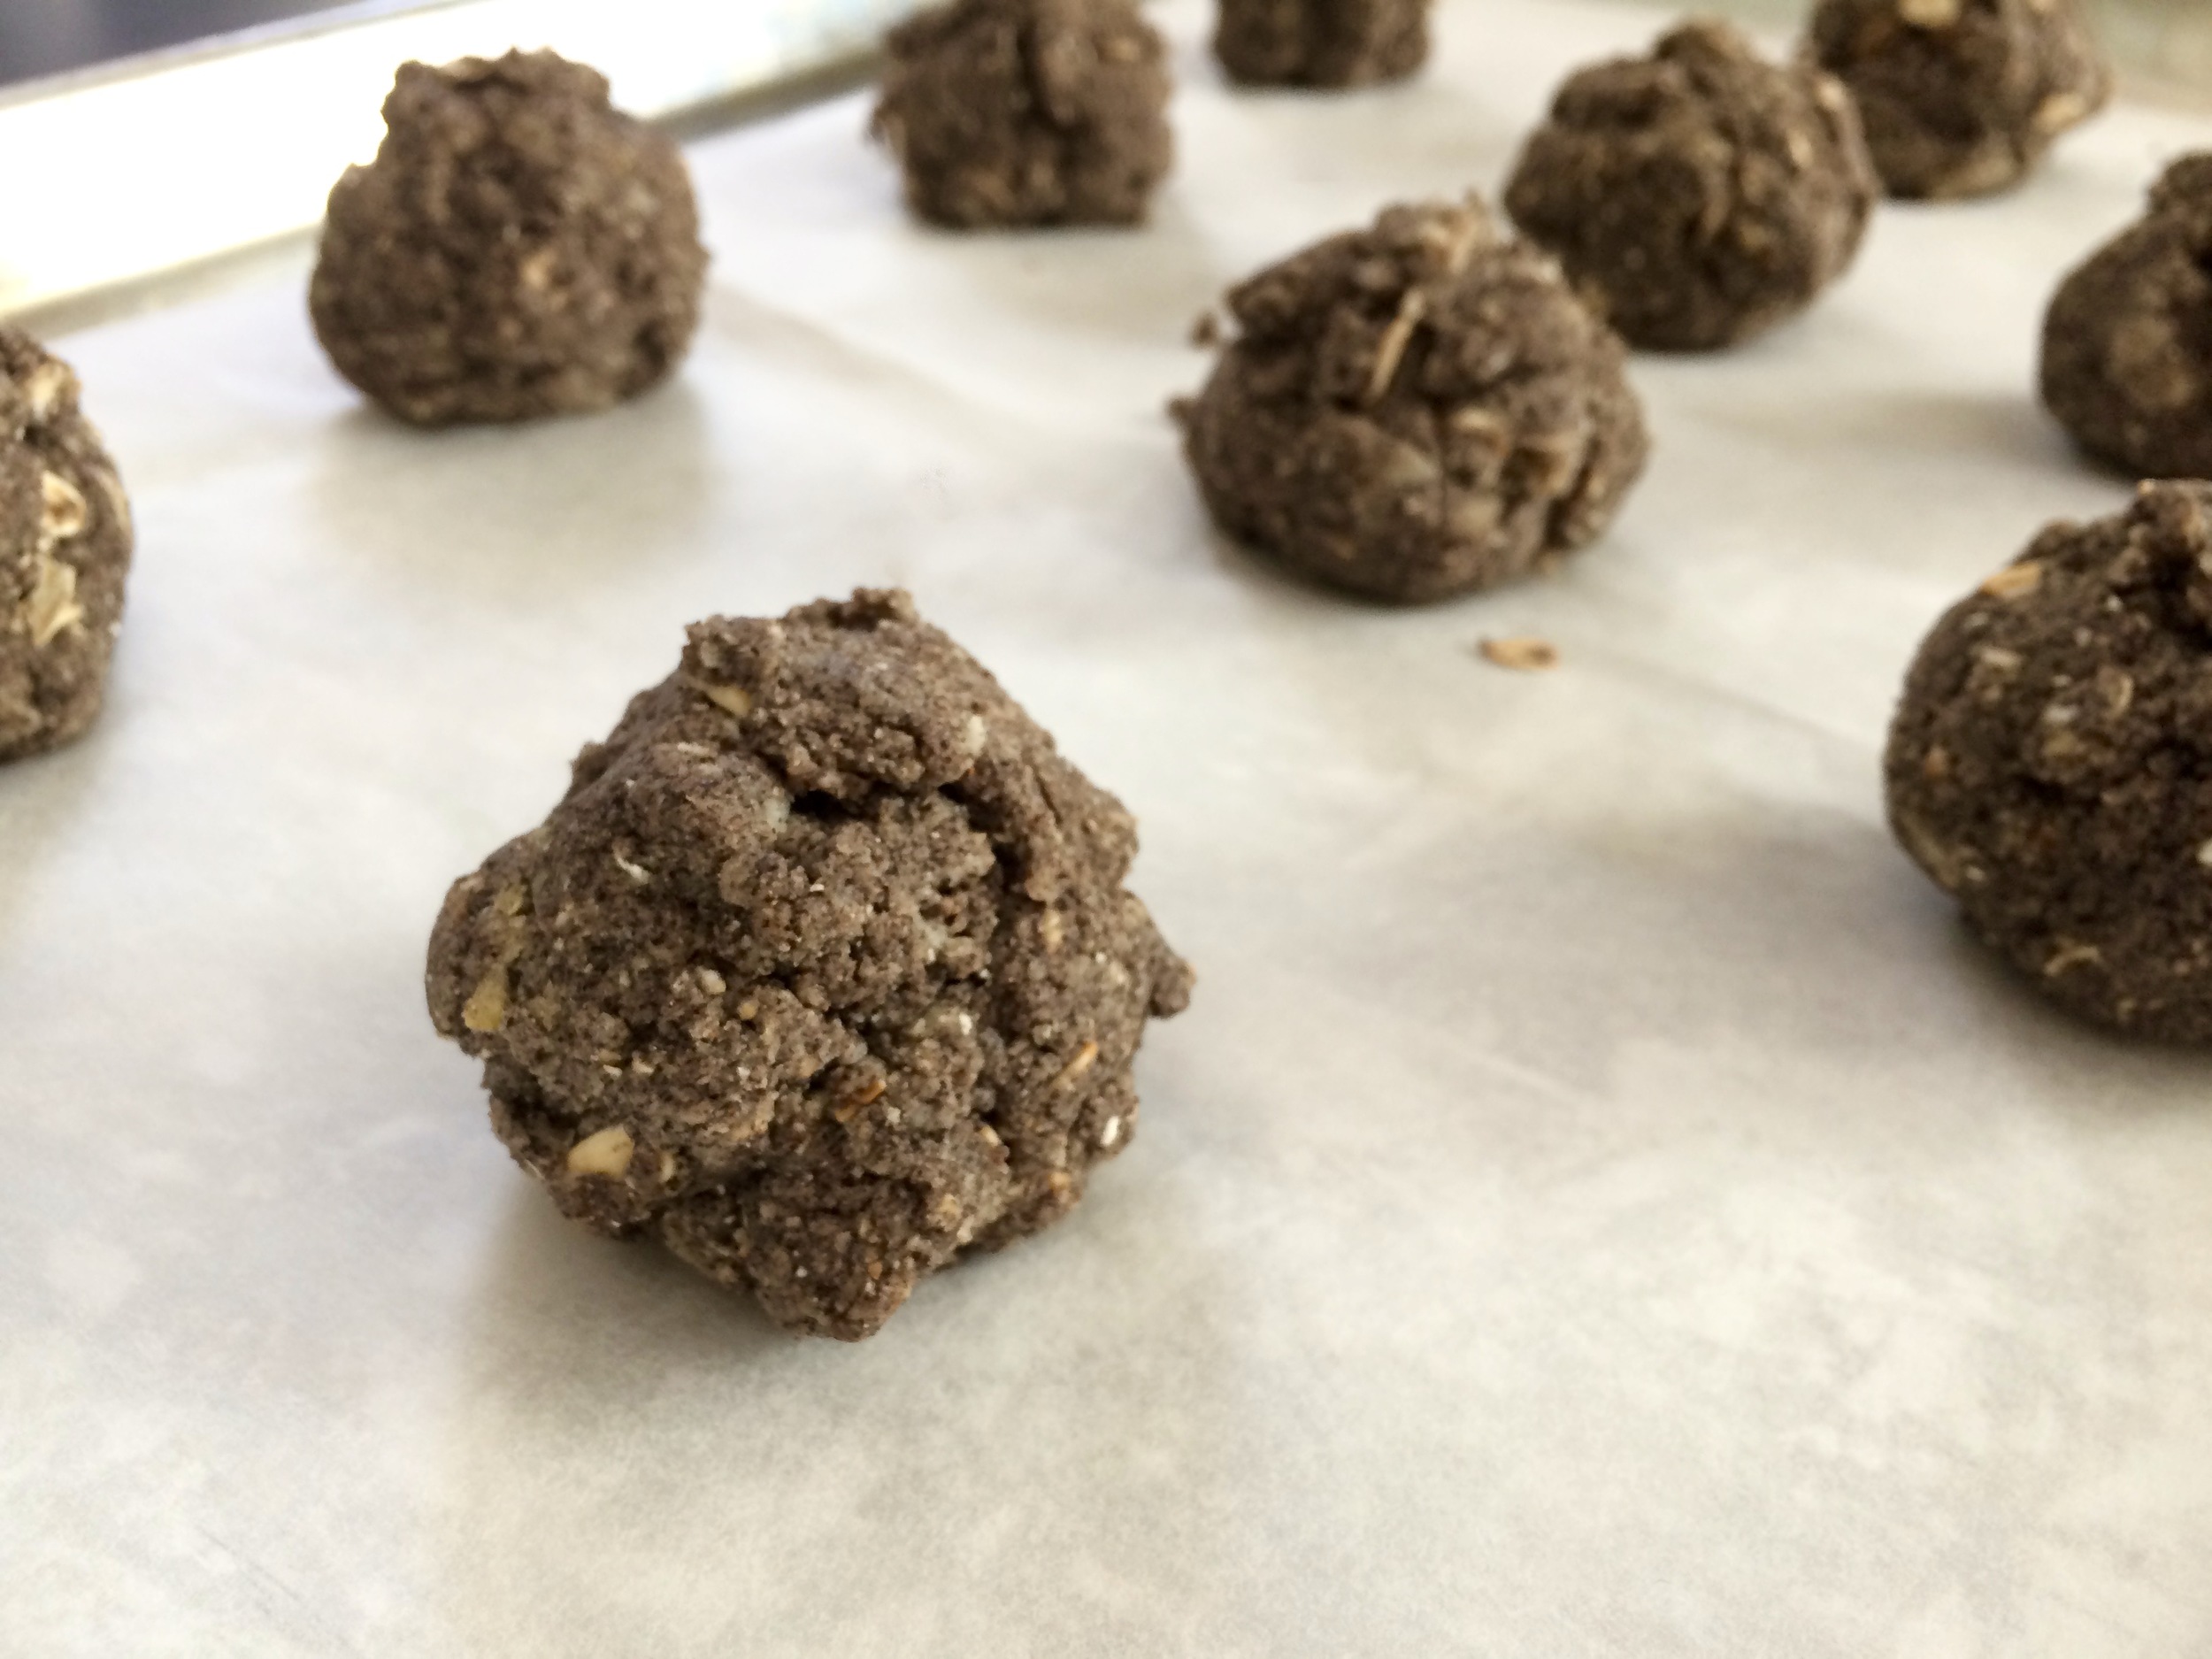
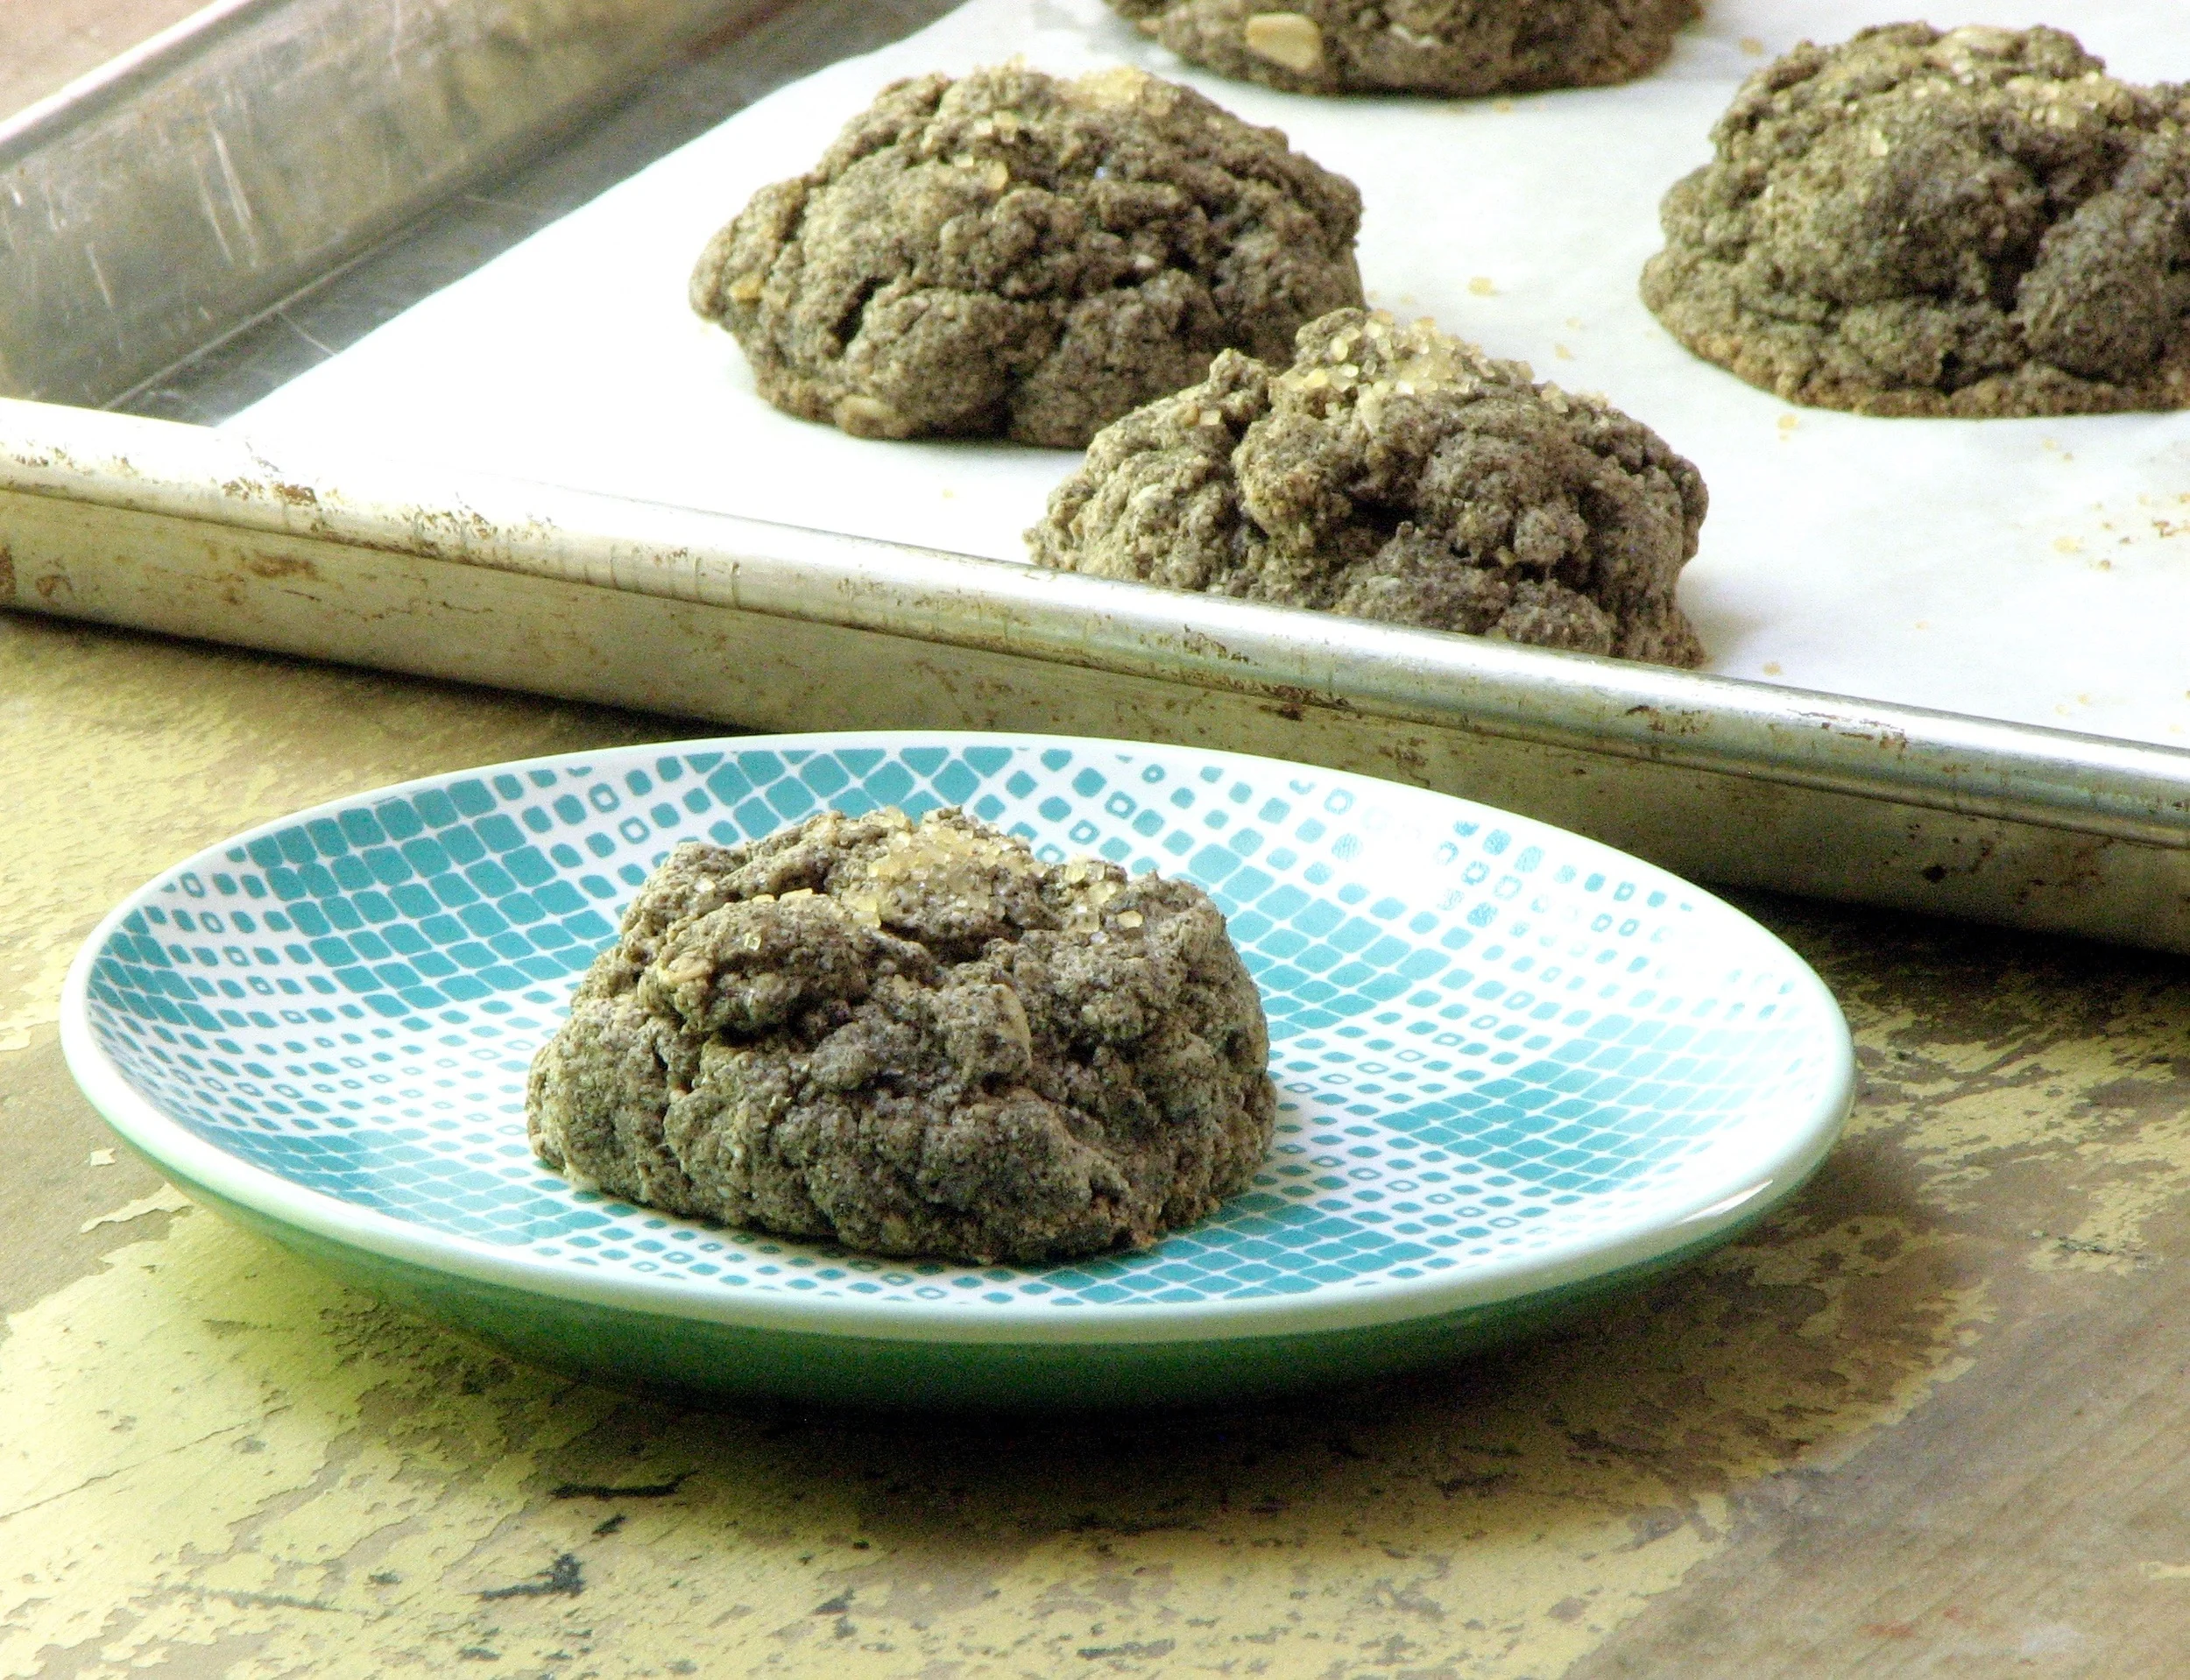
I followed the recipe but changed up the flavorings. I added cinnamon and some speculaas spice to the cookie base (I was going to add a little cardamom at this step as well but forgot, silly me). I then mixed cardamom into the granulated sugar that the cookies were rolled in prior to baking. The end result was a lightly spiced chocolate cookie, tender in the center and crispy on the edges. Perfect! I would amp up the spices next time to really highlight these flavors, but I didn’t want to go too bold initially. I didn’t want it to be overpowering. I would also remember to add some cardamom to the dough itself next time and really make a cardamom cookie through and through!

I would highly recommend this sugar cookie whether you want to spice it up, or keep it classic. Super easy, and baked up great! It would be really nice with some peppermint extract at Christmas. I bet it would make a really nice sandwich cookie, or ice-cream sandwich cookie. I even wonder about added some chocolate chips or chunks to the dough and making it a double chocolate cookie. We’ll see! Stay tuned…

Some of my Notes:
- Definitely use 1 tsp salt (double the amount called for in the original recipe). The blogger that I took the recipe from said she likes salt and so doubled the original 1/2 tsp salt. I wholeheartedly agree. It was great.
- First batch: shaped dough into 50 gram balls, baked exactly 12 min which was perfect! Resulted in a 3.5 inch cookie that spread nicely without being too flat.
- Second batch: shaped dough into 25 gram balls, baked exactly 10 min, which was good for this size cookie. So you can go a little bigger and make a 50 gram cookie, or smaller and get a 25 gram cookie, either one turned out great.
- Added 1/2 tsp cinnamon and a little specula as spice (too lazy to get out the individual spices!). Forgot the cardamom in the cookie like I wanted so first added 1/2 tsp cardamom (I think it was 1/2, not 1/4) to 50 grams of sugar to roll.
- This recipe will yield 34 25-gram cookies or 17 50-gram cookies (if you don’t eat dough that is!)

Chocolate Sugar Cookies
From Alexandra Cooks
Ingredients

  • 2 cups (240 g) all-purpose flour

  • 1/2 cup (43 g) Dutch processed cocoa powder

  • 1 teaspoon baking soda

  • 1 teaspoon salt

  • 16 tablespoons (226 g) softened butter

  • 1 1/2 cups (300 g) dark brown sugar

  • 1 egg (50 g)

  • 1 teaspoon vanilla extract

  • Granulated sugar for rolling, 1/4 to 1/2 cup (50 to 100 g)

Directions
Heat the oven to 350ºF. Line a baking sheet with parchment paper.

Place the flour, cocoa powder, baking soda, and salt in a medium bowl and whisk to combine the ingredients. Set aside.

Put the butter and brown sugar in the bowl of a stand mixer. Fit the mixer with the paddle attachment and beat on medium speed for 2 to 3 minutes, stopping to scrape down the mixer once or twice, until the mixture is light and fluffy.

Turn off the mixer, add the egg and vanilla, and beat until the egg is thoroughly incorporated, 1 to 2 minutes.

Add the dry ingredients and mix on low speed until no flour is visible, stopping to scrape down the mixer once during the process.

Pour the granulated sugar into a small bowl. Portion out the dough using a 2-tablespoon scoop or measure or a scale — each portion should weigh 50 grams. You should have about 16 to 18 balls total. Roll each portion between your hands to form a ball; then roll in the sugar — coat each ball as generously as you are able to in the sugar. Transfer 6 balls to the prepared sheet. Bake for 12 minutes; remove from heat and allow cookies to cool completely on the sheet pan. Repeat this process, baking 6 cookies at a time.

Cardamom Cake

I saw this recipe pop up on Instagram last week, and independently Lara heard the Food52 Genius Recipe podcast about it as well. We both thought it sounded perfect. Simple, elegant, easy. So on my day off (a cool, blustery, kind of wet spring day) I decided to give it a go, and I am very happy that I did! It is super easy, and uses just a few simple ingredients. The final product is gorgeous as well as delicious! The buttery spice from the cardamom (and cinnamon in my version, see changes below) was perfectly balanced. The crunchy topping is a game changer. Don’t skip it.

IMG_2122 2.jpeg
IMG_2120 2.jpeg

A nice recipe to keep in the repertoire when you want something elegant, but easy and fast!

IMG_2135 2.jpeg

I used a 9-inch springform pan as the recipe called for. The instant I put it in the oven the butter started dripping through onto the bottom of the oven. Ended up smelling nice and toasty, but a bit smoky and messy. So although I can’t say it would work well, next time I would probably just use a 9-inch cake pan lined with parchment (I would probably not skip the parchment if going this route. I wouldn’t skip it in the springform pan either to be honest) and see how it goes. The final cake did not stick to the sides of the pan too badly so I think a cake pan would work just fine.

IMG_2105.jpeg

My notes: I substituted 1/4 tsp ground cardamom + 1/8 tsp cinnamon for the cardamom seeds. Measured out the salt and used 1/4 tsp (wasn’t too salty). Added 1/4 tsp almond extract in with the butter because I love almond flavor. I use approximately 2.5 Tbs sugar for the pan. You could certainly do a little more or a little less. I would lean on the heavy side myself… I also used about 3-4 Tbs ground almonds in addition to the sugar to line the pan. I’m not sure how much of a difference this made, since I didn’t have anything to compare it to. Since the almond flour is so fine it may have just melted into the batter, but who knows. Without the almond flour it may have been a little less crunchy. I certainly would like to try sliced almonds next time (for texture, flavor, and for the look) but I didn’t have any. You certainly could just skip them altogether.

This cake has plenty of fat and sugar so it will last on the counter for several days without any issues! Enjoy!


Cardamom Cake
From Food52
Ingredients

  • 1 1/3 cups (264 grams) granulated sugar, plus more for the pan

  • 3/4 cup (65 grams) sliced unblanched almonds, for topping (optional)

  • 4 large eggs

  • 1 1/3 sticks (150 grams) unsalted butter

  • 1 tablespoon (9 grams) cardamom seeds [I didn’t have any so I used 1/4 tsp ground cardamom + 1/8 tsp cinnamon instead]

  • 1 1/3 cups (160 grams) all-purpose flour

  • 2 pinches salt [I used 1/4 tsp and it definitely wasn’t too salty]

  • [I also added in 1/4 tsp almond extract which wasn’t in the original recipe. I thought this was a lovely addition for those who really want some more almond flavor. So really nice, but not necessary.]

Directions
Heat the oven to 350°F. Prepare a 9-inch springform pan: Use parchment paper to line the bottom of the pan. Then butter the pan liberally and sprinkle in 2 to 3 tablespoons of sugar, and shake and tap the pan until the bottom and sides are coated with sugar. Don’t worry about extra sugar on the bottom. Cover the bottom with sliced almonds if you want a particularly crunchy topping—or, as an alternative you can also use ground almonds or bread crumbs. [I didn’t have sliced almonds so I used some almond flour. The almond flour may have been too fine to add a lot to the crunchy topping. I’d love to try sliced almonds next time.]

Using a stand mixer, cream the eggs and sugar until thick and pale and tripled in volume, about 5 minutes. Meanwhile, melt the butter. Bruise the cardamom seeds in a mortar. With a rubber spatula, quickly fold the flour and salt into the egg and sugar mixture, followed by the butter and the cardamom. Give the batter a thorough stir before tipping it into the prepared pan. Thump the pan on the counter to settle the batter.

Bake the cake until the top feels dry to the touch and springs back when lightly pressed, and a skewer or knife inserted into the center comes out dry, 30 to 35 minutes [Mine took exactly 35 minutes and was perfectly cooked.]. Remove from the oven and leave in the pan for about 5 minutes. Run a knife around the sides of the pan before inverting the cake onto a rack to cool. Remove the bottom of the pan carefully while the cake is still very warm. Let cool before serving.

Zucchini Cardamom Bread

Every year when I see the mounds of zucchini at the farmers market I have good intentions about using it in plenty of baked goods over the weeks. I've found in the past however, I end up just roasting it all up and eating it before it makes its way into anything sweet. This year I told myself that I had to do some baking. And then when I was at the zucchini stall I picked up how much zucchini I thought I would want for the week, and then I bought twice as much! No going back, no choice but to bake!

One of the first things I set out to make was a nice zucchini bread. When I saw a recipe for cardamom zucchini bread (with chocolate!) it sounded like a delightful twist on a traditional bread so I went for it. The cardamom adds a lovely floral note to the bread. The 1 teaspoon called for in this recipe is definitely a hefty amount of cardamom, so if you're not a huge cardamom fan, or you're not sure if you like cardamom, you can always add half the amount to start and see how it goes. But I recommend giving it a try. The cardamom mixed with the dark chocolate chunks is a wonderful combination!

This recipe has a good 1.5-2 cups zucchini (doesn't have to be exact), and is sweetened with a touch of honey. I'm always looking to cut back on the amount of sugar in my diet, so I halved the amount of honey in this recipe and thought it turned out just fine. I didn't find it compromised the quality of the finished product, but if you're not sure if the 1/4 cup of honey will be enough, go ahead and use 1/2 cup honey.

I also swapped out 1/2 cup of the flour for 1/2 cup oat flour because I love oats in my bread, and love how healthy they are. If you don't have any oat flour you can use all wheat flour. Finally, I replaced some of the oil in the original recipe with Greek yogurt. I always have Greek yogurt on hand, and I love baking with it. You can use sour cream instead, or you can just use the full 1/2 cup of oil instead and skip the yogurt. I made all these little changes for myself based on what I like, but you can certainly make it your own based on what you like. It may change the final product slightly, but in the end I'm sure whatever you come up with will be perfectly edible! 


Zucchini Cardamom Bread
Adapted from Dishing up the Dirt
Ingredients

  • 1/4 cup (50 grams) olive oil
  • 1/4 cup plain Greek yogurt
  • 1/4 cup (85 grams) honey
  • 2 eggs, lightly beaten
  • 1 teaspoon pure vanilla extract
  • 1 1/2 cups coarsely grated zucchini (about 1 medium-sized zucchini, or 1/2 of a large zucchini)
  • 1/2 cup (60 grams) all purpose flour
  • 1/2 cup (60 grams) whole wheat flour
  • 1/2 cup (60 grams) oat flour
  • 1/2 teaspoon baking powder
  • 1/2 teaspoon baking soda
  • 1 teaspoon ground cardamom
  • 1/2 teaspoon fine sea salt
  • 1/4-1/2 cup dark chocolate (I used 40 grams)
  • A few hefty pinches of turbinado sugar for topping

Directions
Place an oven rack in the middle position of your oven and pre-heat the oven to 350 degrees.
In a large bowl, whisk together the oil, yogurt, honey eggs and vanilla, Stir in the zucchini. Mix until well combined.

In a separate bowl, whisk together the flours, baking powder, baking soda, cardamom, and salt. Stir the dry ingredients into the wet ingredients (being careful to not over-mix) adding in the chocolate partway through the mixing. 

Pour the batter into a lightly greased 8 1/2-by-4 1/2-inch loaf pan. Sprinkle the top of the loaf with the turbinado sugar. Bake until a toothpick inserted in the center of the bread comes out clean, 40-45 minutes. Cool the zucchini bread in the pan for about 15 minutes, then transfer it to a wire rack to cool completely.

Yields: 1 loaf

Spiced Oat Cookies with Chocolate and Fruit

Cookies are the best. They're always a hit, they're easy to make, the options are endless, and did I mention, they're delicious! I'm always on the lookout for a new cookie to try even though I have plenty of good recipes in the archives. You never know when you'll stumble upon the best recipe ever. Recently I came across this recipe for Cardamom-Spice Oat Cookies from King Arthur Flour and they looked just different enough and tasty enough to try. 

Don't ask me how, but I managed to completely forget to add the cardamom to the cardamom-spice cookies so they became just plain "spiced" cookies, but that didn't seem to matter too much in the end. The final cookie was fantastic! Visually beautiful with a wonderful texture, slightly crisp on the edges yet nice and chewy in the center. I've had some trouble with oatmeal cookies in the past always being too soft for my liking but these were perfect. They baked up well, spread perfectly, not too flat, not too round, a smashing success. 

When I started to make these cookies I realized that my brown sugar was as hard as a rock and I didn't feel like dealing with trying to soften it up, so I just replaced it with white sugar and it was fine. I threw in some chocolate and dried fruit, prunes were what I had so in they went! Any dried fruit would do, I'm partial to chocolate cherry myself, but really anything will work. 

I halved the original recipe and didn't want to halve an egg so I just skipped it and added a little 1/2 and 1/2 for fat and liquid. Necessary? Probably not, but they turned out great, so whatever! I ended up getting 8 nice sized cookies out of this recipe, each cookie was about 50-55 grams of dough. I thought they were a perfect size in the end, not too big and not too small. All around delicious!


Spiced Oat Cookies with Chocolate and Fruit
Adapted from King Arthur Flour
Ingredients

  • 5/8 cup (75 grams) all purpose flour
  • 3/4 cup (60 grams) old fashioned oats
  • 1/4 teaspoon baking soda
  • 3/8 teaspoon salt
  • 1/2 teaspoon cinnamon
  • 1/8 teaspoon ginger
  • 1/8 teaspoon allspice
  • 1/4 cup (70 grams) butter
  • 1/3 cup (70 grams) granulated sugar
  • 1 tablespoon (20 grams) maple syrup
  • 1/4 teaspoon vanilla
  • 1 tablespoon (15 grams) half and half
  • 1/4 cup (28 grams) chocolate chips
  • 1/4 cup (28 grams) prunes, chopped into bite-sized pieces

Directions
Line a baking sheets with parchment paper. In a medium bowl, whisk together the flour, oats, baking soda, salt, and spices. Set aside.

In a large mixing bowl, beat the butter, sugar, and syrup together on medium-high speed until light and fluffy. Scrape down the sides and bottom of the bowl. Add the vanilla and half and half and beat at medium speed until smooth. Scrape the bowl once again.

Add the dry mixture and mix at low speed until just combined. Scrape the bowl and mix once more for 30 seconds. Add the chocolate and fruit and mix until well blended.

Place the dough and refrigerate at least a couple of hours, or overnight. When ready to bake, scoop out pin pong-sized balls of dough (I did 50 grams of dough each), and place on parchment-lined baking sheets. Place in a preheated 350°F oven and bake for 18-20 minutes, until just golden at the edges and have set in the center. Remove from the oven and cool on the pan for 5-10 minutes before transferring cookies to a wire rack to cool completely. 

Yields: approximately 8 large cookies
Nutrition: approximately 180 calories per cookie

Buckwheat Scones

Earlier last month I went on my last trip before residency started. The last hurrah to normal life for a while. Lara and I took a quick trip to Chicago to visit our cousin who lives in Bucktown. We had been talking for a while about us visiting Chicago to see her and her place, and explore her neighborhood. We finally got it done just in the nick of time. We only went for a short weekend, but we had a marvelous time while there. Did a lot of walking, exploring, shopping and of course, eating! I had my first real ramen eating experience which was awesome, visited a great local coffee shop, and perhaps most importantly, grabbed a quick breakfast at a nearby bakery before church on Sunday morning. 

Since Lara and I are earlier risers than most, we got up before anyone else on Sunday and decided to grab some coffee and pastries while everyone else in the house slept. Just a couple miles down the road was Floriole Bakery. I'd been here the last time I visited Chicago and loved it, knew it was a place I would go back to. I was right, it was just as wonderful on this visit. It was very difficult to decide what to get, everything looks amazing, but I ended up ordering a delicious cup of coffee and a buckwheat scone which sounded interesting to me. It was the perfect choice. I absolutely loved the scone. The combination of the buckwheat combined with a little cardamom and some citrus notes was just perfect. A little sandy and course in texture, but not too crumbly. I instantly wanted to recreate this at home. 

When I got back to Michigan I did a little online searching and wouldn't you know it, I found a recipe for buckwheat scones from Floriole Bakery on the Chicago Tribune's website. Perfect!! I quickly ran to the store for some buckwheat and whipped a batch of these beauties together. The verdict? The flavor is spot on, but the texture is slightly different, not as sandy. Their scones almost seemed like they had cornmeal in them, giving them a coarser texture which my scones did not have. When I look on the bakery's website online they describe the buckwheat scones as flourless while this recipe calls for 1/3 cup of flour. So there are definitely some differences, not surprising, but in the end it's not a big deal. This recipe is definitely similar to the original and most certainly a keeper! It is unique, easy to make and delicious. I will definitely make these over and over again!

I made a few changes to the recipe as it was printed online. I replaced the orange zest with lemon zest because I didn't have any oranges. I was bummed about this because I love adding orange to baked goods, but they still turned out great. I  also didn't use cream as stated, but instead used a mix of whole milk and liquid whey (2 ounces whole milk, 1 ounce whey) to make my own "buttermilk" and it worked just fine. I did only needed to use 6 tablespoons of liquid though, as opposed to the 1/2 cup of cream called for. So be careful when added the liquid, start with less than 1/2 cup because you may not need it all. 

Because there is not a lot of gluten in these scones (buckwheat is actually not wheat and is therefore gluten free) they are a little more delicate than traditional scones, but they aren't so delicate as to fall apart with a glance. As with the original scones, this recipe calls for you to make a thumbprint in the scones before baking and fill this with raspberry jam. I didn't have raspberry jam, or any other jam, so I skipped it this time and they were just fine without it. But for a little extra oomph of flavor I would definitely add this in on another go around. So if you're looking for something a little different for breakfast, or have been wanted to play around with some buckwheat flour, give these scones a go, you won't be disappointed!


Buckwheat Scones
Adapted from The Chicago Tribune
Ingredients

  • 3/4 cup (60 grams) old fashioned oats
  • 1/4 cup (50 grams) sugar
  • 3/4 cup (90 grams) buckwheat flour
  • 1/3 cup (40 grams) all purpose flour
  • 1/4 teaspoon lemon zest
  • 1 teaspoon baking powder
  • 1/2 teaspoon baking soda
  • 3/4 teaspoon cinnamon
  • 1/8 teaspoon cardamom
  • 1/4 teaspoon salt
  • 6 tablespoons (85 grams) butter, cut into cubes and chilled
  • 4-6 tablespoons buttermilk

Directions
Measure 6 tablespoons of the oats (30 grams) and the sugar into the food processor. Buzz, reducing oats to flour. Transfer oat/sugar mixture to a large bowl. Add the buckwheat flour, all-purpose flour, lemon zest, baking powder, baking soda, cinnamon, cardamom, and salt. Stir to combine. 

Add the butter. Using a pastry blender, cut in butter, stopping when the largest butter bits are about the size of peas. Mix in remaining 6 tablespoons rolled oats. Drizzle in the buttermilk slowly. The dough will come together in large clumps that stick together readily when pressed. You may not need to add all the liquid. Add only as much buttermilk as needed for the dough to hold together. 

Shape the dough into 10 equal sized balls and set on a baking sheet that has been lined with parchment paper. Sprinkle with a little coarse sugar if desired.

Slide baking sheet into a 350-degree oven and bake until just set, 18-20 minutes. Eat warm, or at room temperature. 


Cardamom Walnut Snowballs

It's Christmas week and I'm on break! I've been taking advantage of my free time by doing one of my favorite things - baking Christmas cookies! Since I have so much to share and only a few more days to do that yet, I'm going to post a couple additional recipes this week. Today I'm sharing these festive cardamom walnut snowballs. They are really quick and easy to make, and they are absolutely delicious, plus, they're just so darn cute! And since there's not even a hint of snow on the ground (it's going to be 60 today!! What??) these cookies are the only way we're going to have a white Christmas this year! 

These little butter cookies are melt-in-your-mouth tender, buttery and nutty, and not overly sweet. It's a perfect combination. I love the mild walnut flavor combined with the somewhat citrusy, herbal character of the cardamom. If you don't have any cardamom you can skip it, but I highly recommend getting some and giving it a try if you haven't tried it before. All-in-all, a wonderful addition to your Christmas cookie platter!

Other than grinding up some walnuts, this is a super basic recipe. Cream some butter and sugar, add in the dry ingredients, mix it up and you're good to go. There's not even any eggs. Once the cookies are cool you just roll them in some powdered sugar and you're done. You can roll them a second time in the sugar to get an extra heavy dusting, or just leave them after the first time. They're cute and delicious either way!

Cardamom Walnut Snowballs
Adapted from American Heritage Cooking
Ingredients

  • 1 cups all-purpose flour
  • 1 cups finely chopped walnuts, divided
  • 1 teaspoons ground cardamom
  • 3/8 teaspoon salt
  • 1 stick butter
  • 1/4 cup granulated sugar
  • 3/4 teaspoons vanilla extract
  • 3/4 cups powdered sugar, for coating

Directions
Preheat oven to 325°. Line two baking sheets with parchment paper. 

In a food processor pulse half of the walnuts until they are finely chopped; remove and set aside. Add the remaining nuts to the food processor and pulse until medium grind (no big chunks remain).

In a medium bowl combine the flour, walnuts, cardamom and salt; whisk to combine. Set aside. 

In a stand mixer, cream the butter and sugar together until light and fluffy, scraping the sides of the bowl as needed. Beat in the vanilla until well combined. Add all the flour mixture and mix on low speed until the dough just comes together.

Use a tablespoon cookie scoop to scoop the dough and then roll into balls.

Bake until the bottoms are golden and the tops are beginning to brown, 15-18 minutes. Be careful not to over-bake them or they will be dry and crumbly.

Cool the cookies 2 minutes on the baking sheet before transferring to wire racks to cool completely. Place powdered sugar in a large plastic bag. Working with two cookies at a time. Toss gently to coat and place back on the wire rack.

Allow the cookies to sit at least an hour, up to overnight, and then repeat the tossing in powdered sugar.

Yields: 24 cookies

Chicken Biryani

I love trying new foods and new cuisines and so am always on the lookout for something new and delicious to experiment with. However, I admit that a lot of the time I find something I want to try, but then never get around to making it. Most of the time it is because I don't have a lot of the ingredients on hand and I don't feel like going out and searching for them, and spending more money than I (as a poor graduate student) want to. Recently though, my sister Lara came across this recipe for Chicken Biryani and decided that we were just going to try it. We decided to go out and buy what we needed, regardless of what that was.

Putting this dish together, I had no idea what to expect. The combination of spices and the cooking method was unique to me. It isn't a difficult recipe, but it does have multiple steps and took a good couple of hours to complete. The end result however was totally worth it. The combination of flavors and textures was completely delicious, I couldn't get enough. A wonderful mixture of warm spices coats the chicken which is layered with a sweet and spicy caramelized onions and serrano chiles mixture, seasoned again with some of the same spices as is on the chicken. Layers of seasoned rice complete the dish along with fresh cilantro and mint.

I've posted the original recipe below, but I had to make a few changes when I made it. I used ground cardamom and cinnamon because that's what I had, and I added it directly to the rice after cooking. Maybe not authentic, but still delicious. I also didn't have a tall pot, so I used my cast iron skillet and it worked just fine. I absolutely loved how this recipe turned out and will definitely make it again!

Onions chopped, and spice paste made

My first time using serrano chiles

Chop them up

And some cilantro

Paste for the chicken, yum!

Rub it all over the chicken

Start cooking that chicken

A beautiful brown crust

Ready for the rest of the dish

Take out the chicken and throw the onions into the skillet

Cook them until they are nice and caramelized

Add the chiles

Then it's time for the spices

Remove the onion mixture and start layering; Layer #1: Rice

Add some cilantro and mint (I didn't splurge for the saffron)

Next is the onion mixture

Time for the chicken

Followed by more onions

Then the rest of the rice

Finally, the last of the cilantro and mint. Cover and cook until the rice and chicken are finished.

This picture doesn't do it justice so just trust me, it's delicious!

Chicken Biryani
From No Recipes
Ingredients
Chicken

  • 4-5 bone-in skin-on chicken thighs 
  • 2 cloves of garlic minced 
  • 1 teaspoon salt 
  • 1/2 teaspoon ginger powder (or 1 teaspoon grated ginger) 
  • 1/2 teaspoon garam masala 
  • 1/2 teaspoon ground black pepper 
  • 1 teaspoon oil
  • 3 quarts water 

Rice

  • 1 teaspoon salt 
  • 10 green cardamom pods, crushed 
  • 1 cinnamon stick 
  • 1 teaspoon cumin seeds 
  • 1 bay leaf 
  • 2 cups basmati rice

Onions

  • 2 medium onions sliced thin 
  • 2 serrano chiles minced (remove the seeds and membranes if you want it less spicy) 
  • 1 clove garlic minced 
  • 1 teaspoon garam masala 
  • 1/2 teaspoon ginger powder 
  • 1/4 teaspoon salt 

For Assembly

  • 1 cup + 3 tablespoons water the rice was boiled in 
  • 1/2 teaspoon salt 
  • 2 tablespoons cilantro minced 
  • 2 tablespoons mint minced 
  • 1/2 teaspoon saffron (optional) 

Directions
Wash the chicken, pat dry and trim any excess fat or skin off the chicken. Mash together the garlic, salt, ginger, garam masala, black pepper and oil to make a paste. Coat all the pieces of chicken rubbing into all the crevices.

In a tall deep pot, add the water, salt, cardamom, cinnamon, cumin and bay leaf, cover then bring to a simmer on medium low heat.

Meanwhile, heat a large heavy bottomed frying pan over medium high heat until hot. Add a small splash of oil coating the bottom of the pan then add the chicken skin side down. Fry undisturbed until the chicken is nice and brown on that side (about 3 minutes). Flip the chicken then brown on the other side.

Transfer the chicken to a plate, turn down the heat to medium low then add the onions to the pan. Fry the onions, scrapping up the browned bits on the bottom of the pan until the onions are fully caramelized (about 20 minutes). Add the chiles, garlic, garam masala, ginger, and salt and continue to cook until the garlic and spices are fragrant. Remove from heat and set aside.

Turn the heat on the water up and bring to a boil. Add the rice, cover, then turn the heat back down to medium low. Cook for 5 minutes. Drain the rice reserving 1 C + 3 Tbs of liquid.

To assemble the biryani, put half the rice back into the tall pot. Sprinkle half the saffron over the rice followed by half the cilantro and mint. Spread half the onion mixture over this then lay the chicken pieces on top. Cover with the rest of the onions then the rest of the rice. Top with the rest of the saffron, cilantro and mint. Pour the reserved liquid from the rice into the pan you fried the onions in scraping up any residual browned bits of onion then dump this on top of the rice.

Cover then cook the biryani over medium low heat for 20-30 minutes or until most of the water has evaporated and the chicken is cooked.