Europe Trip 2016: The Netherlands, Part 2

If you haven't seen Part 1 of my trip to the Netherlands check it out here. Now, continuing with pics from the trip. We still had lots of exploring to do in the Netherlands and our next adventure was a trip to Gouda. Lara had a contact, the family of a friend from church, so we decided to go visit and also get to check out the town where one of my favorite cheeses is from! 

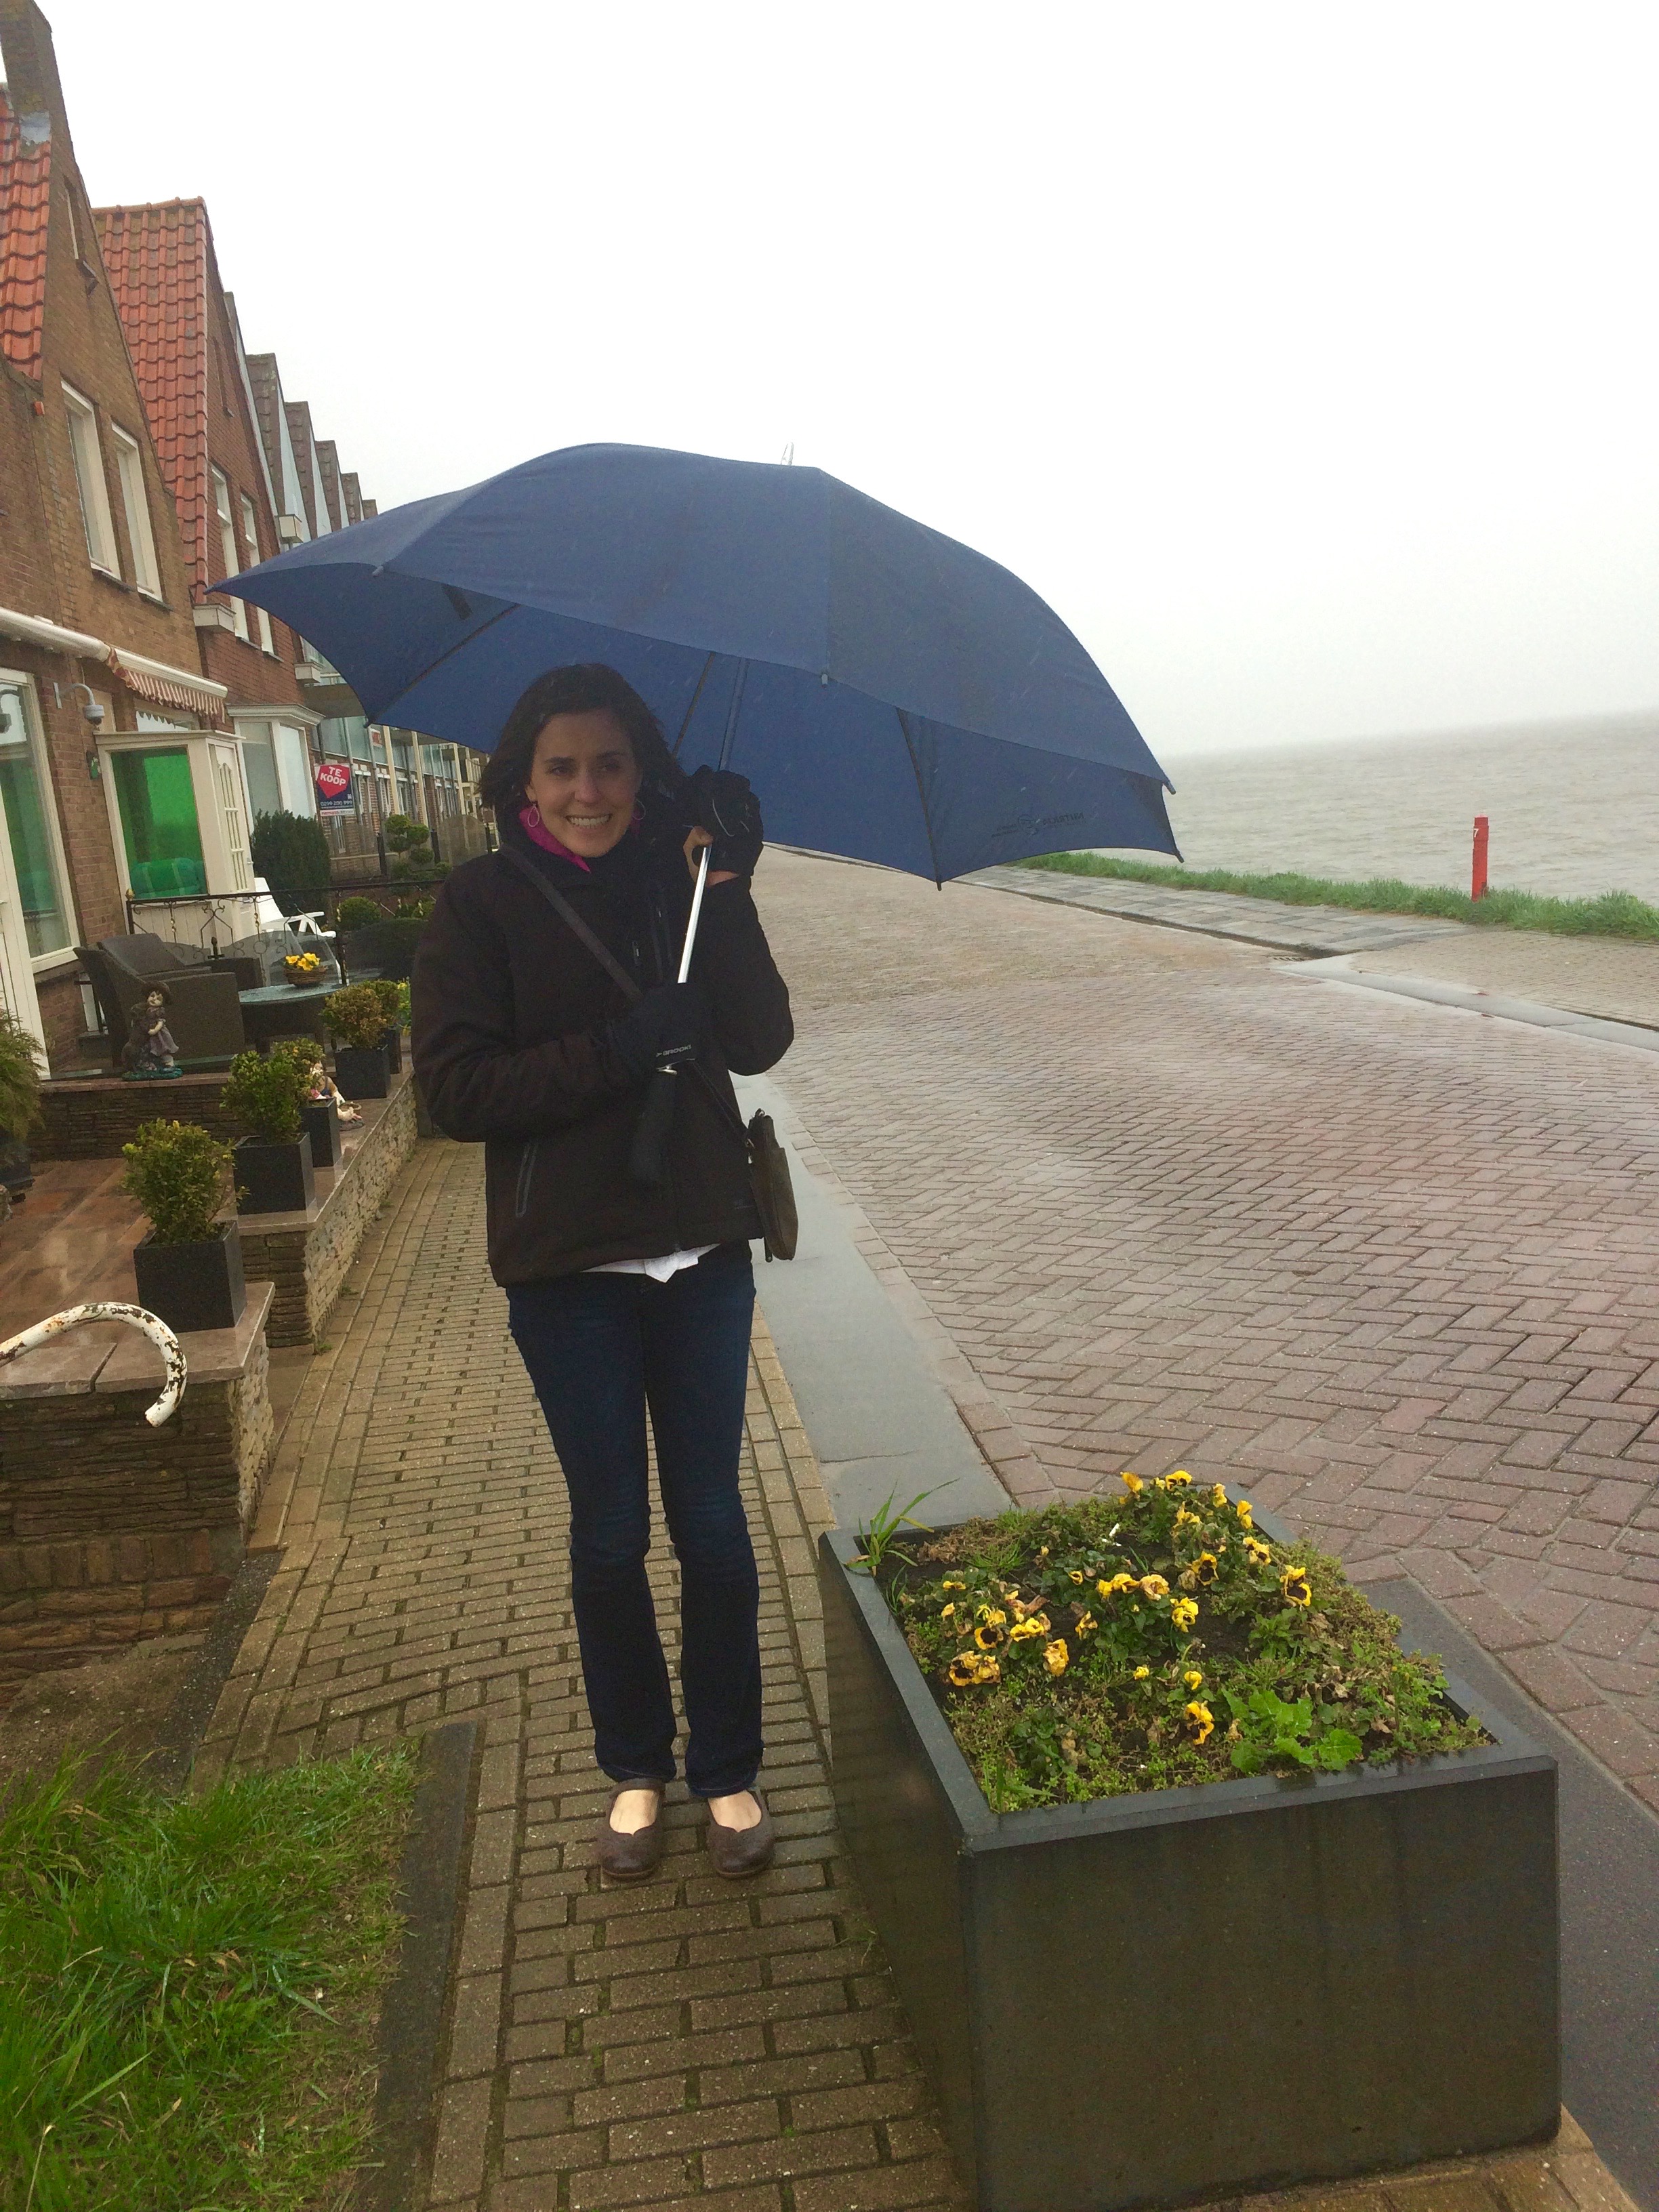
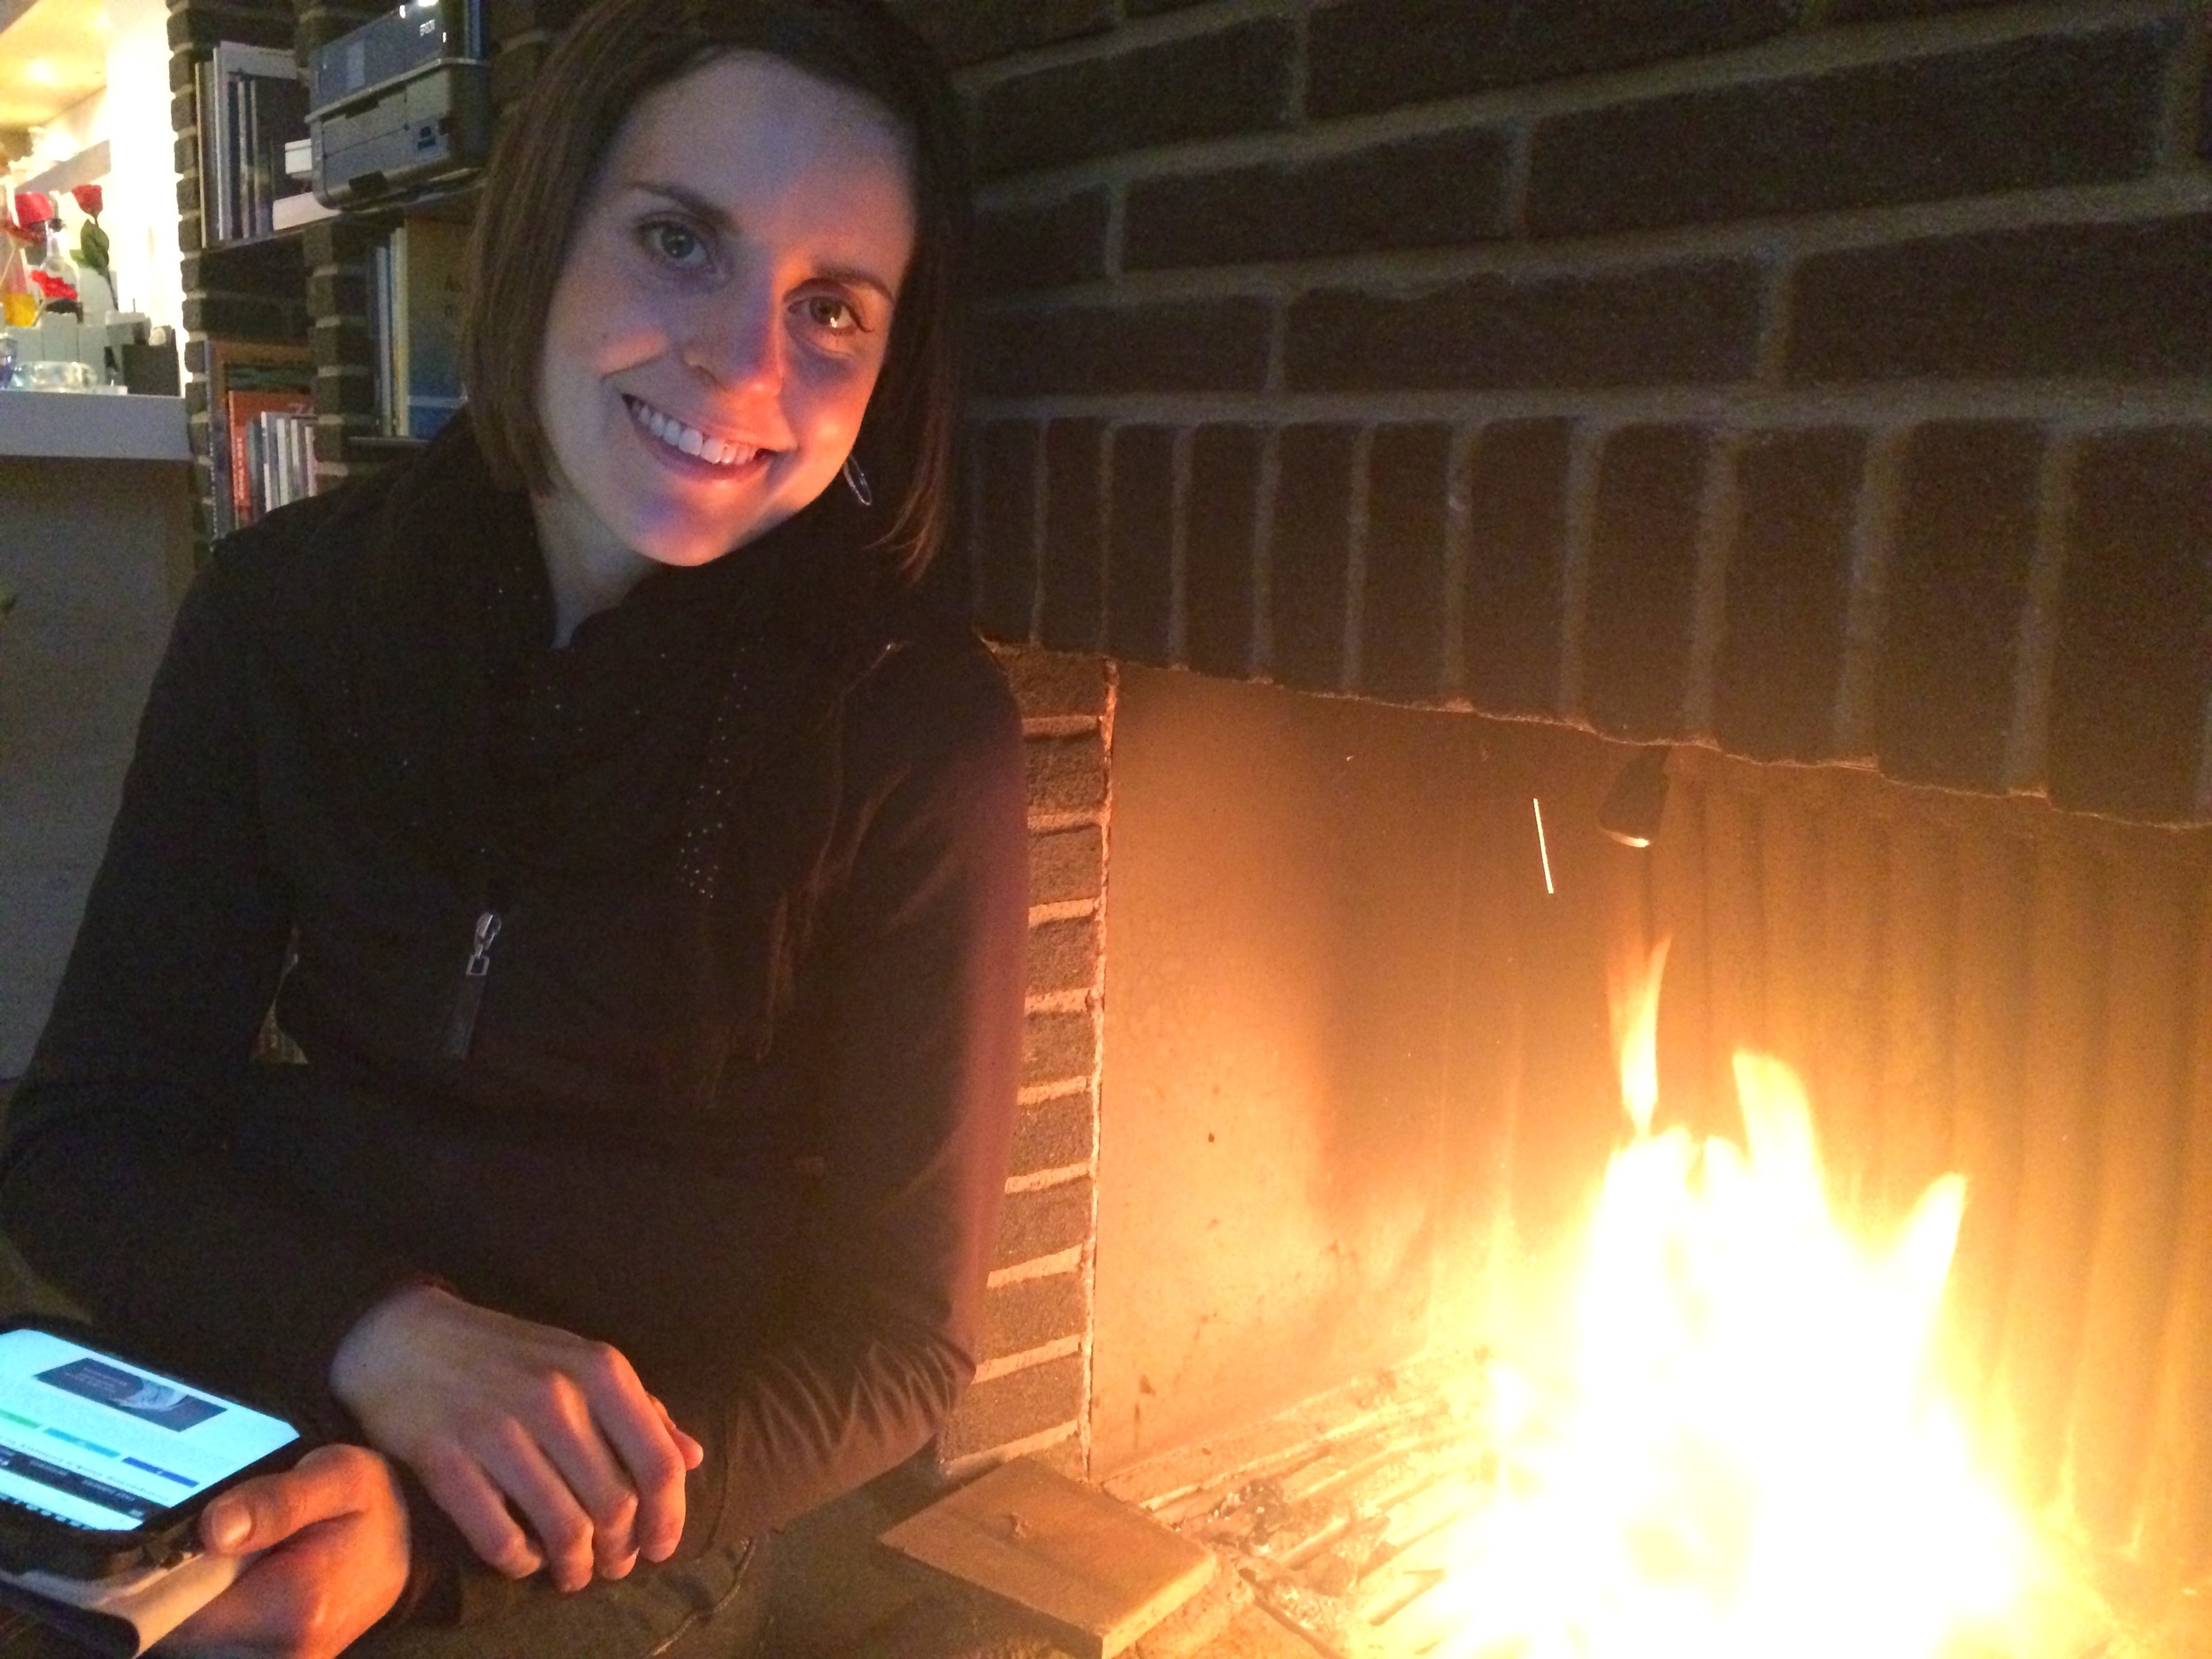
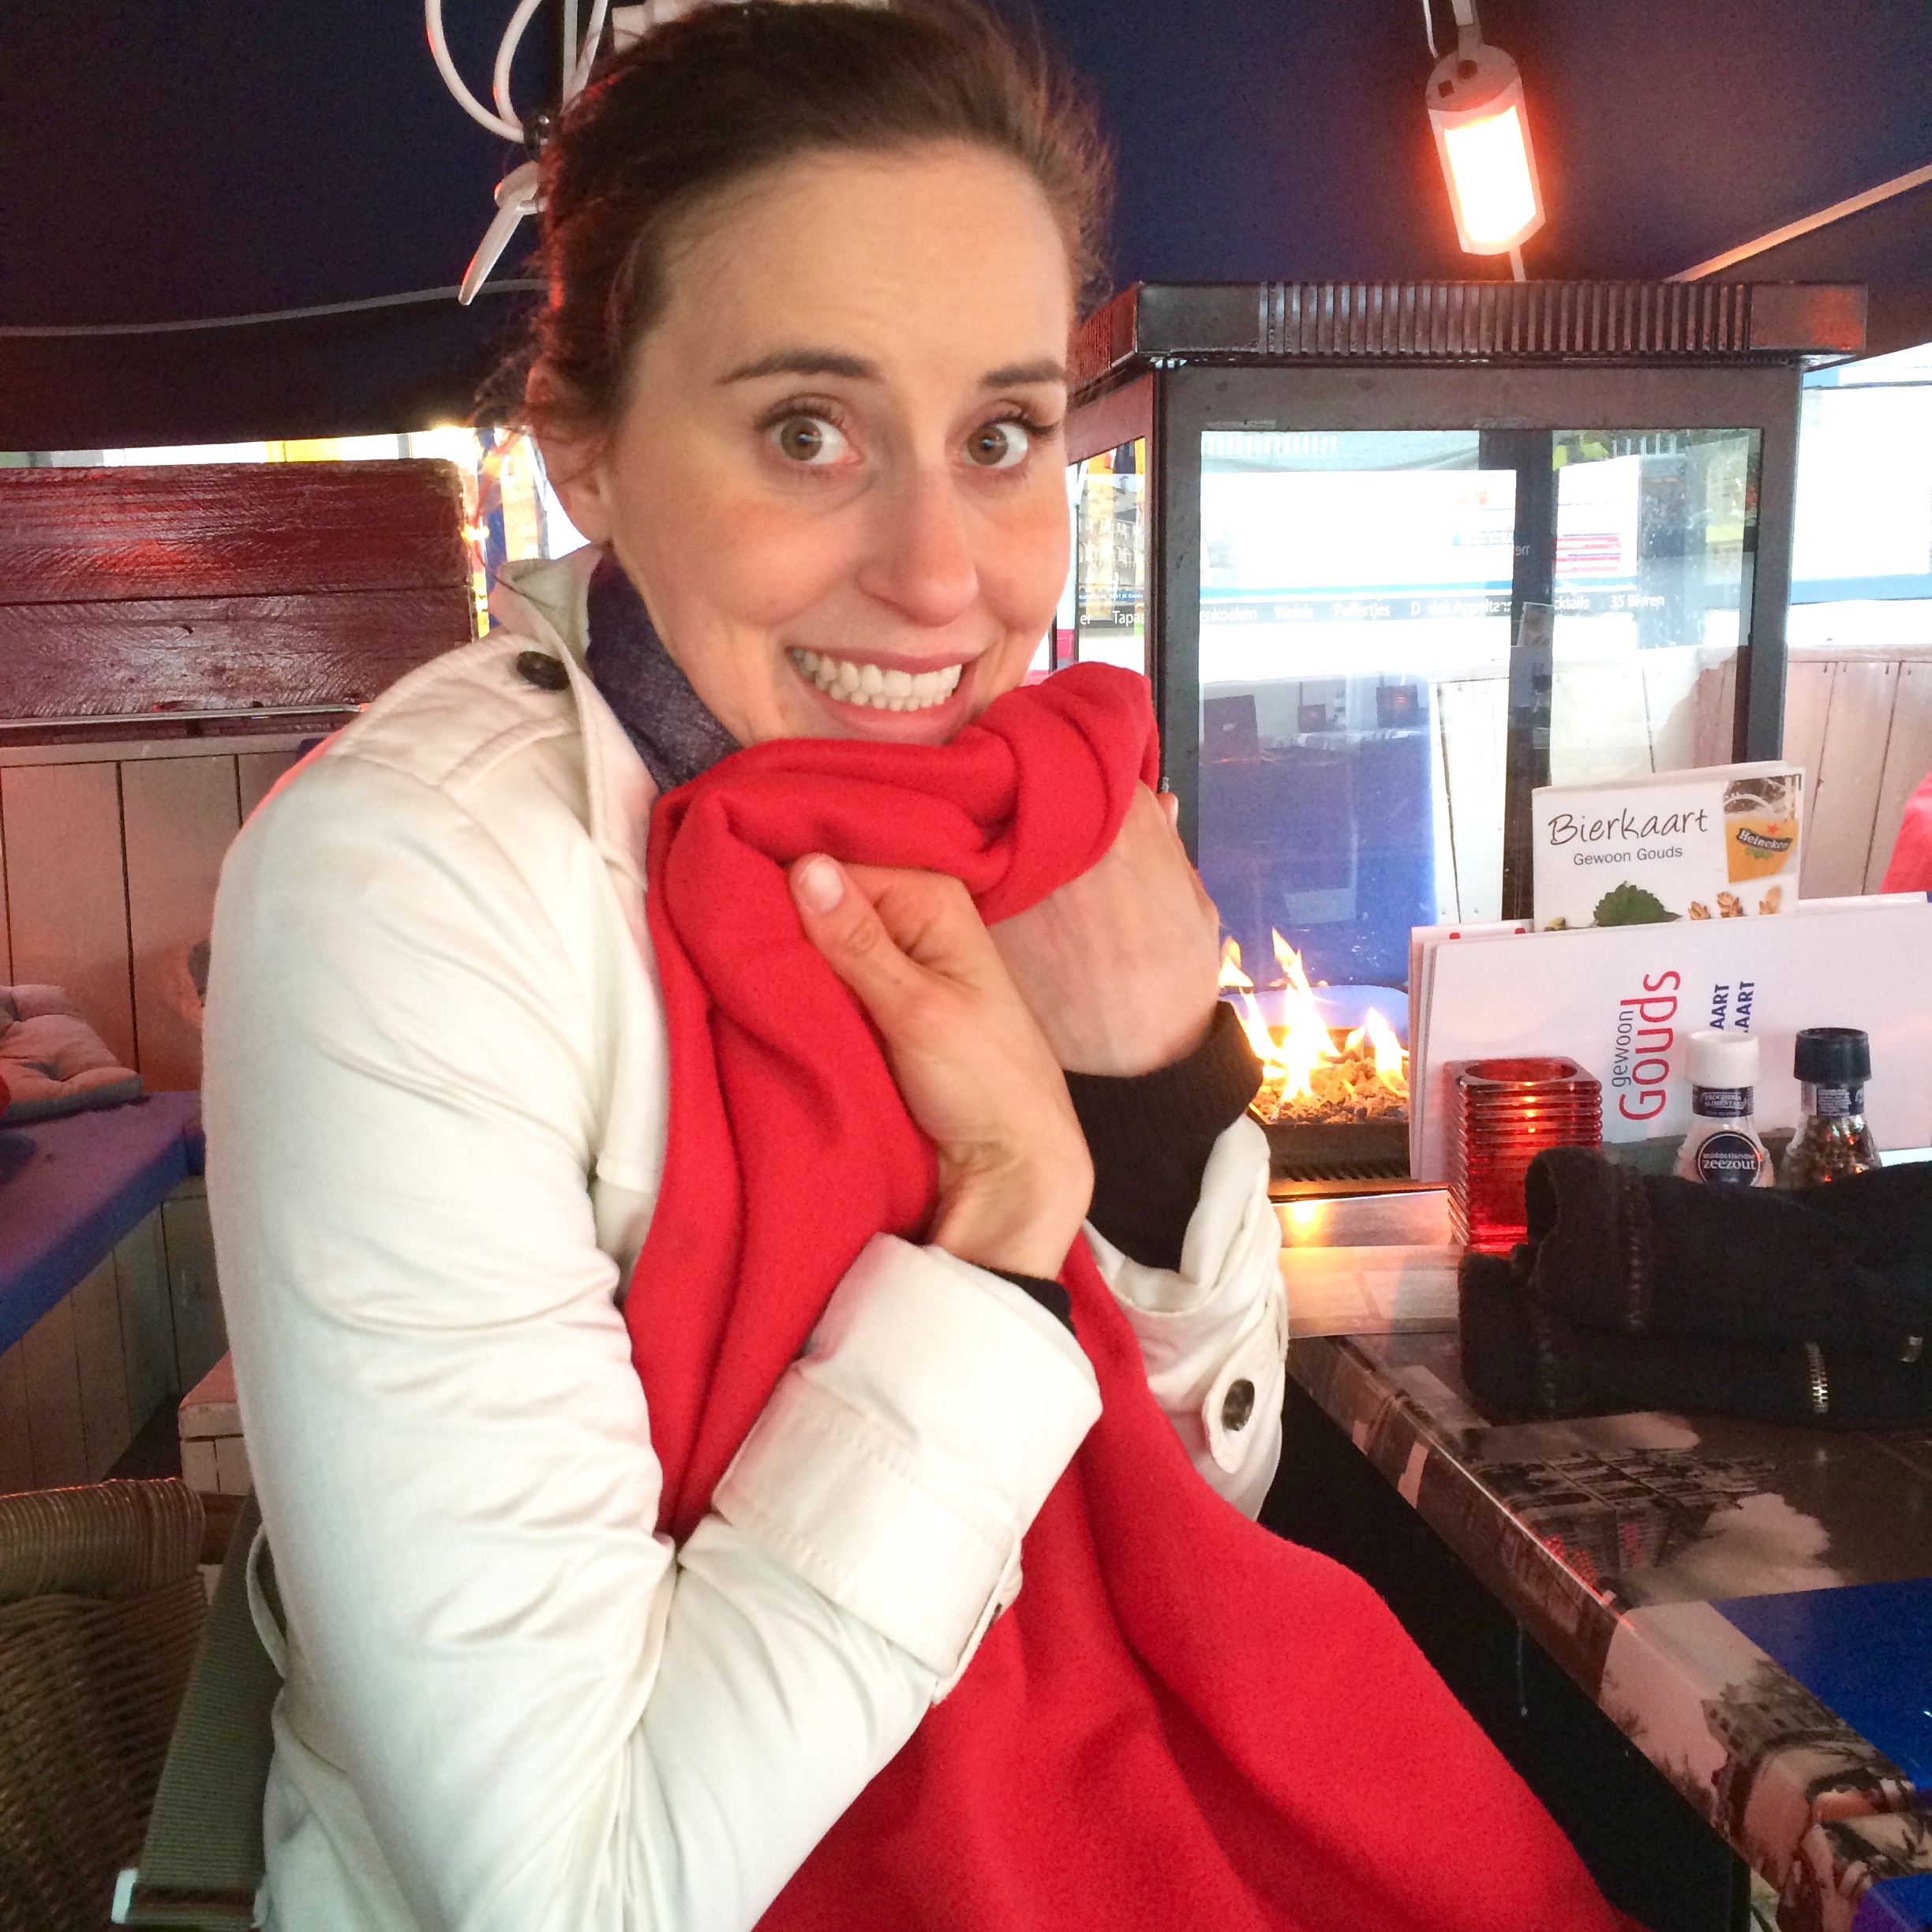
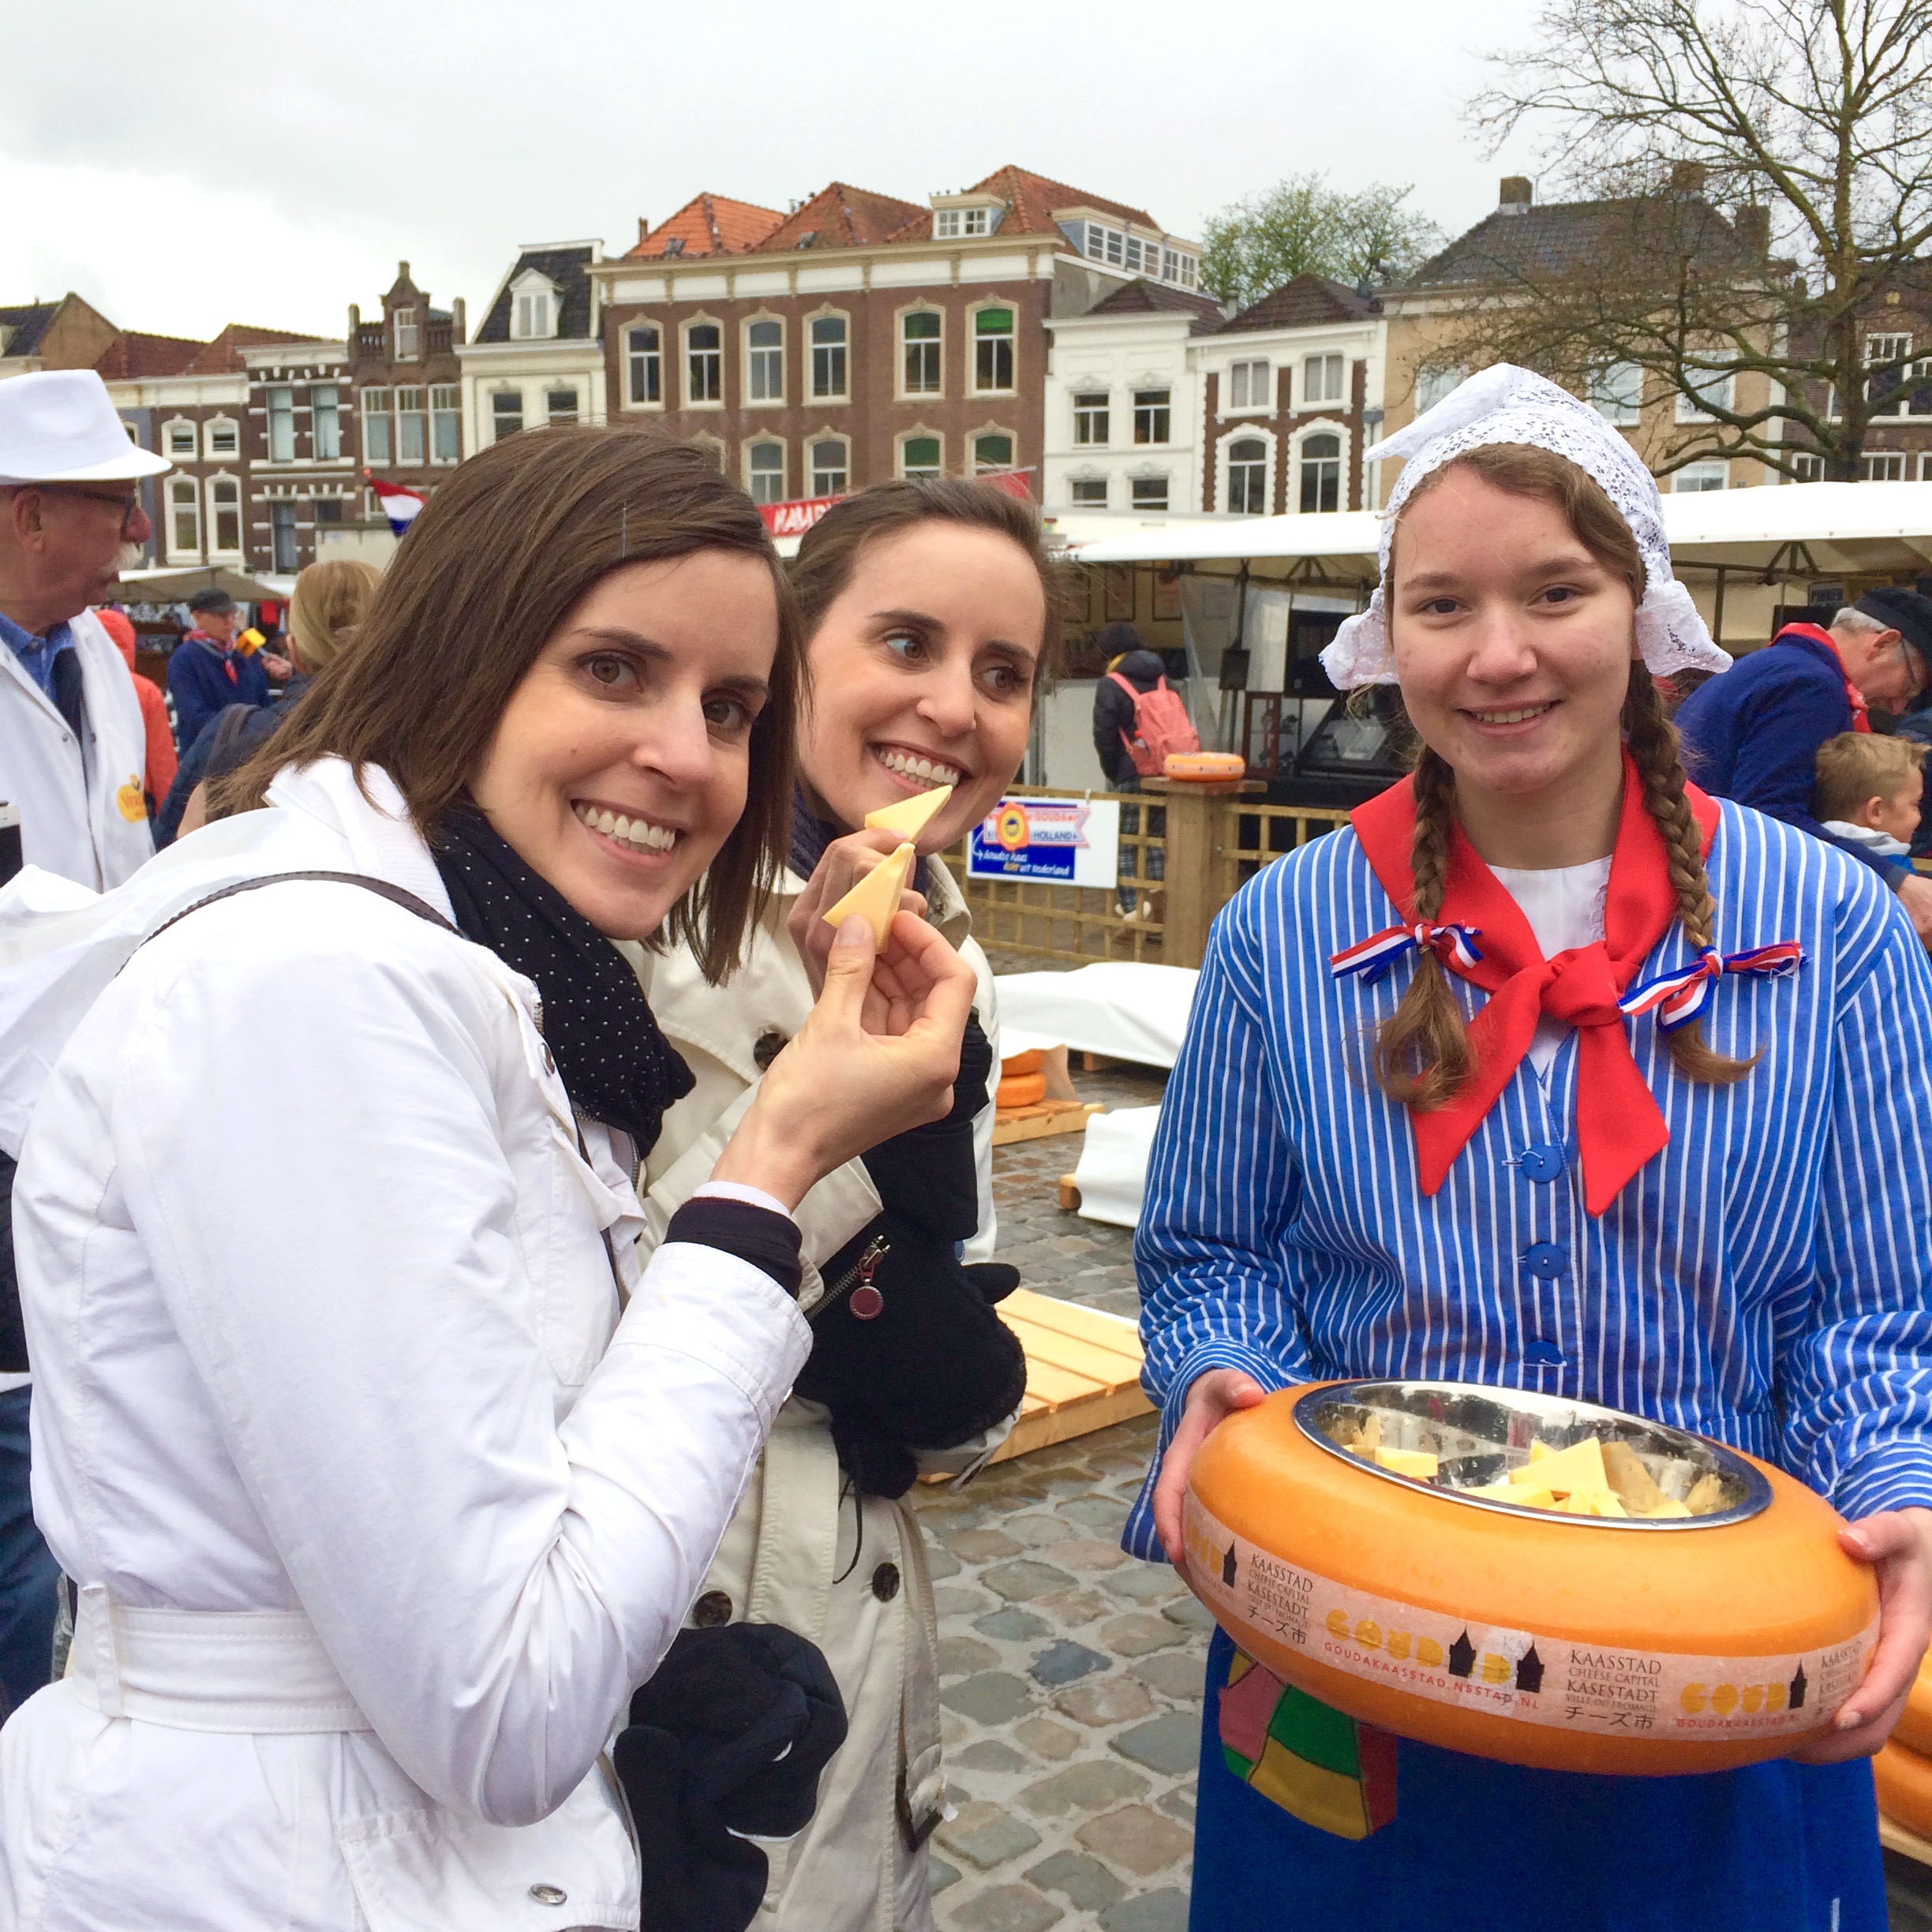
Unfortunately, it was not the best of days weather-wise. We took the train from Amsterdam to Gouda and soon after we arrived it started to rain pretty steadily. We tried to wait it out at a cute little outdoor cafe with red fleece blankets on the chairs, and small fires scattered throughout for warmth. It did manage to stop raining for a few minutes, allowing us a chance to see the cheese market and try some yummy samples. We weighed ourselves on the cheese weighing scale and looked at all the big wheels of cheese that were for sale. I would have liked to have been able to explore the city a little more, it looked nice, but it started to rain again, putting an end to those plans. 

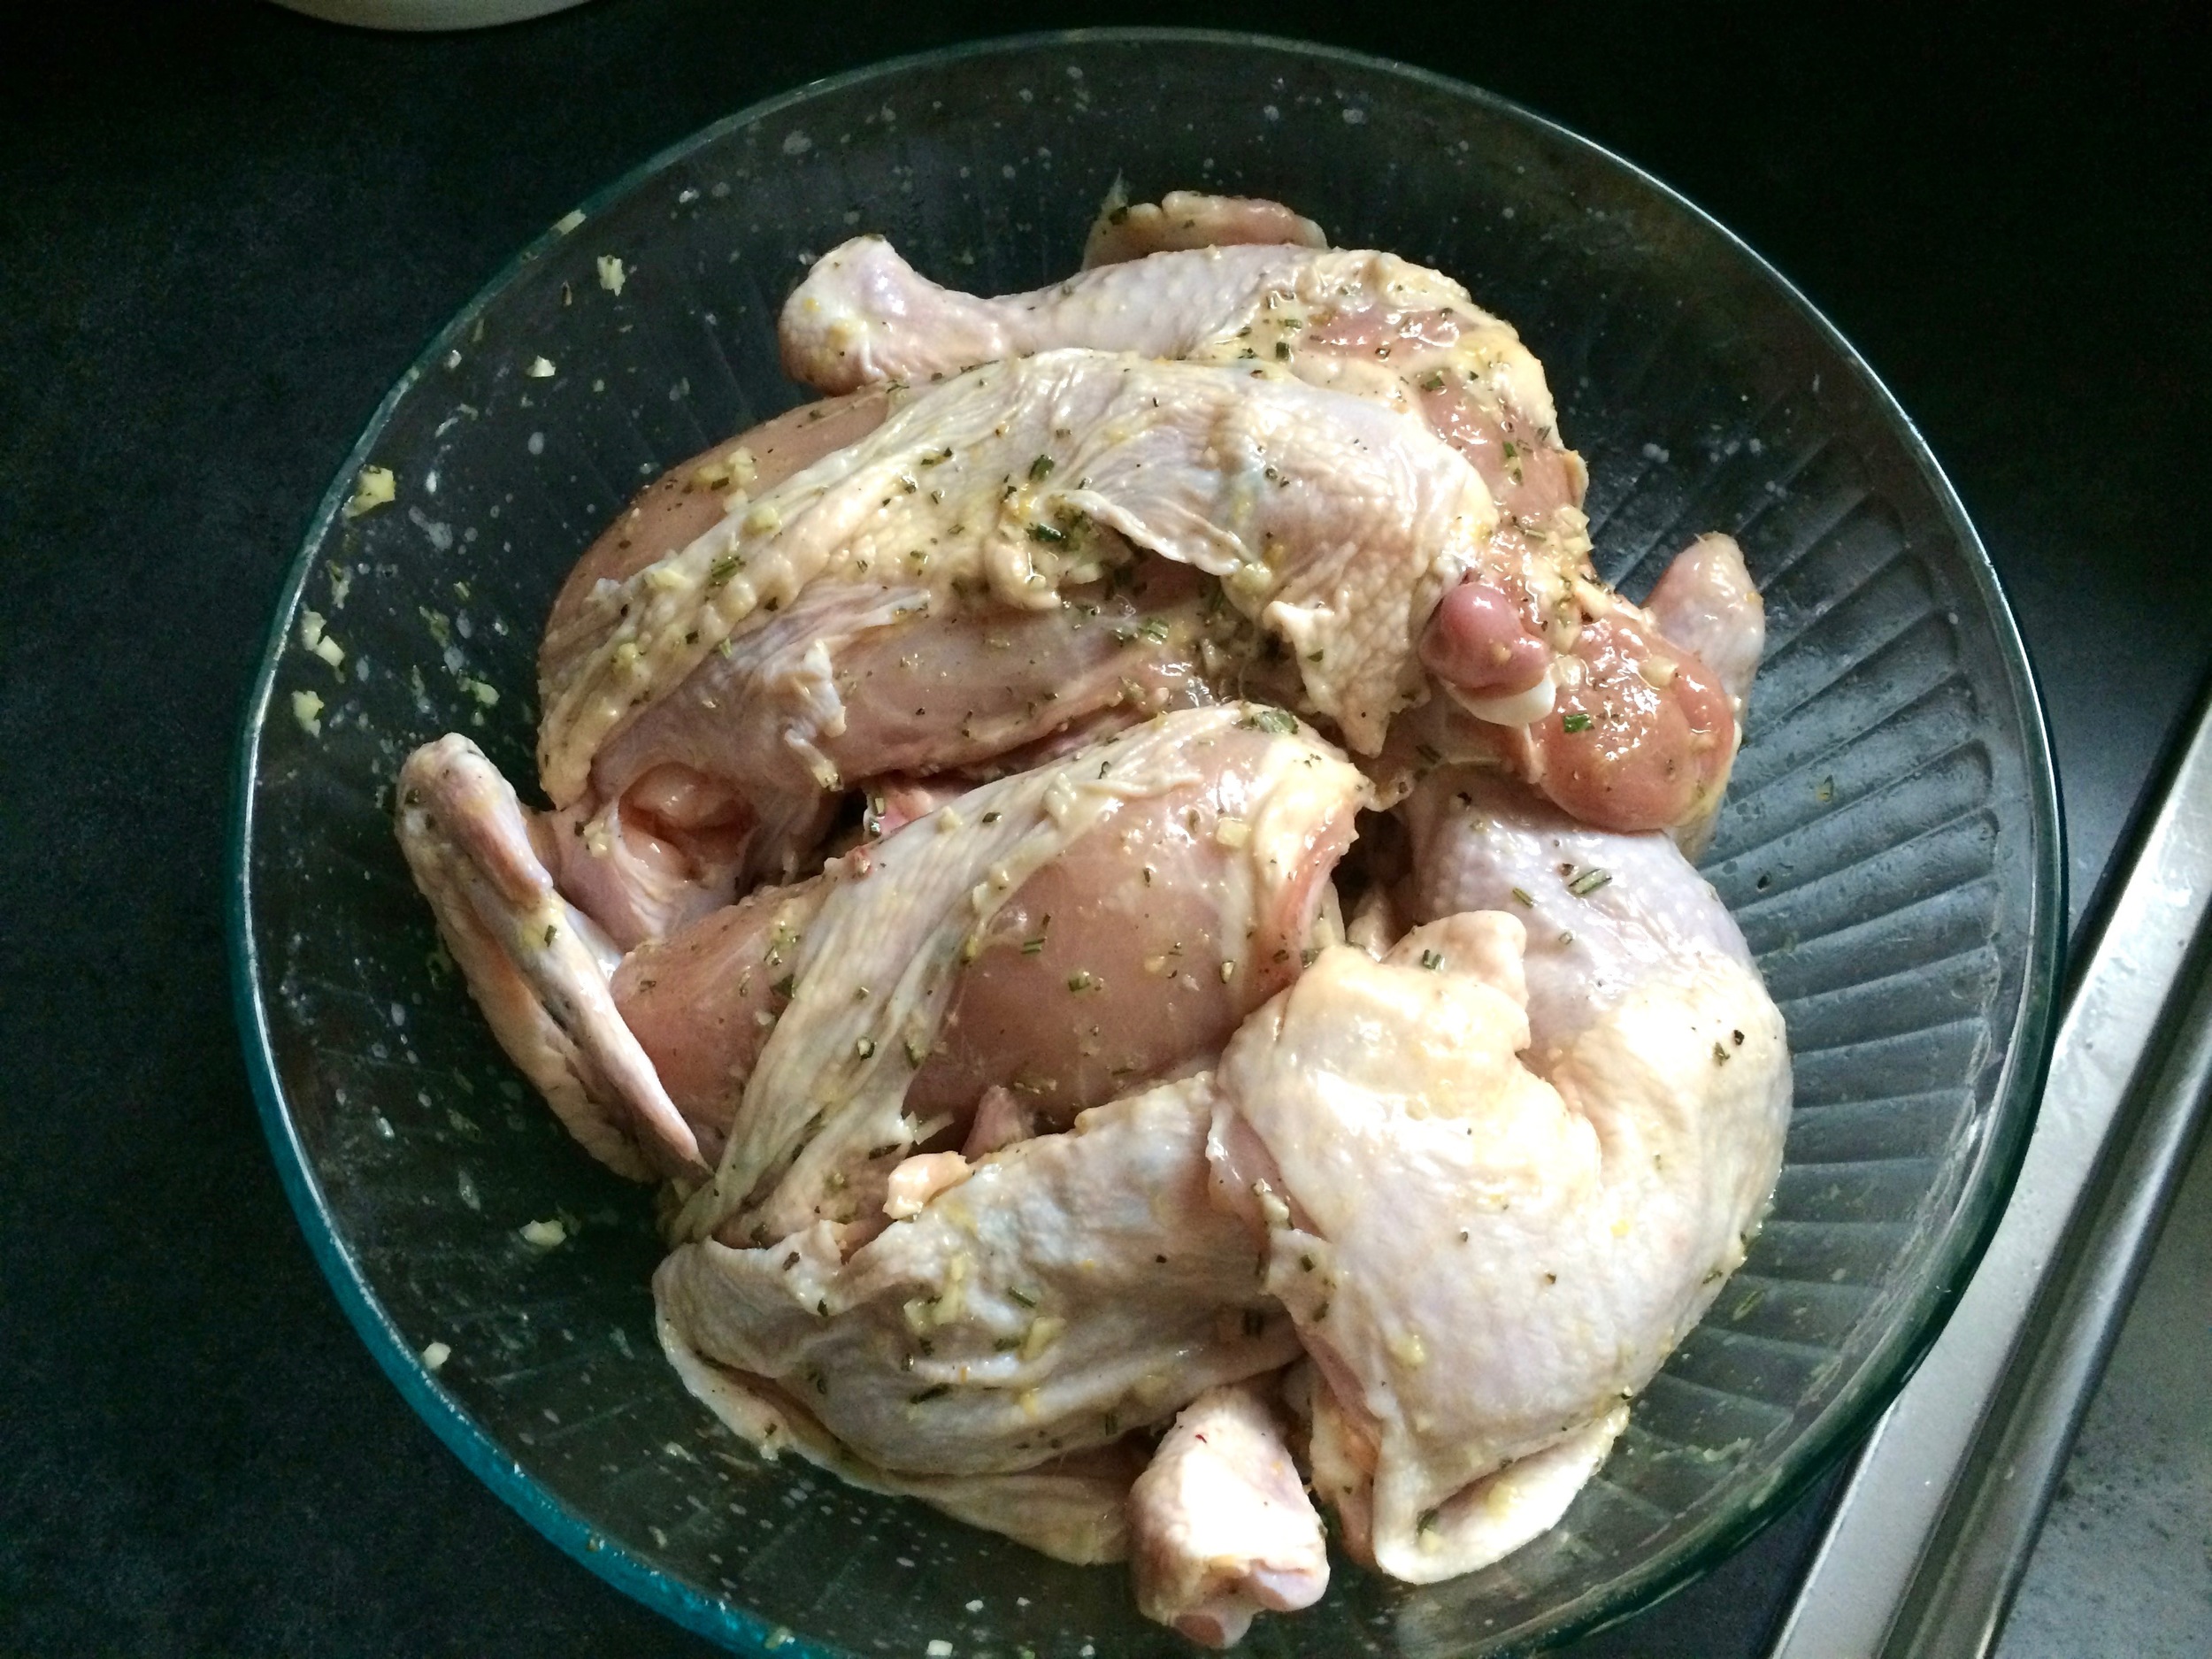
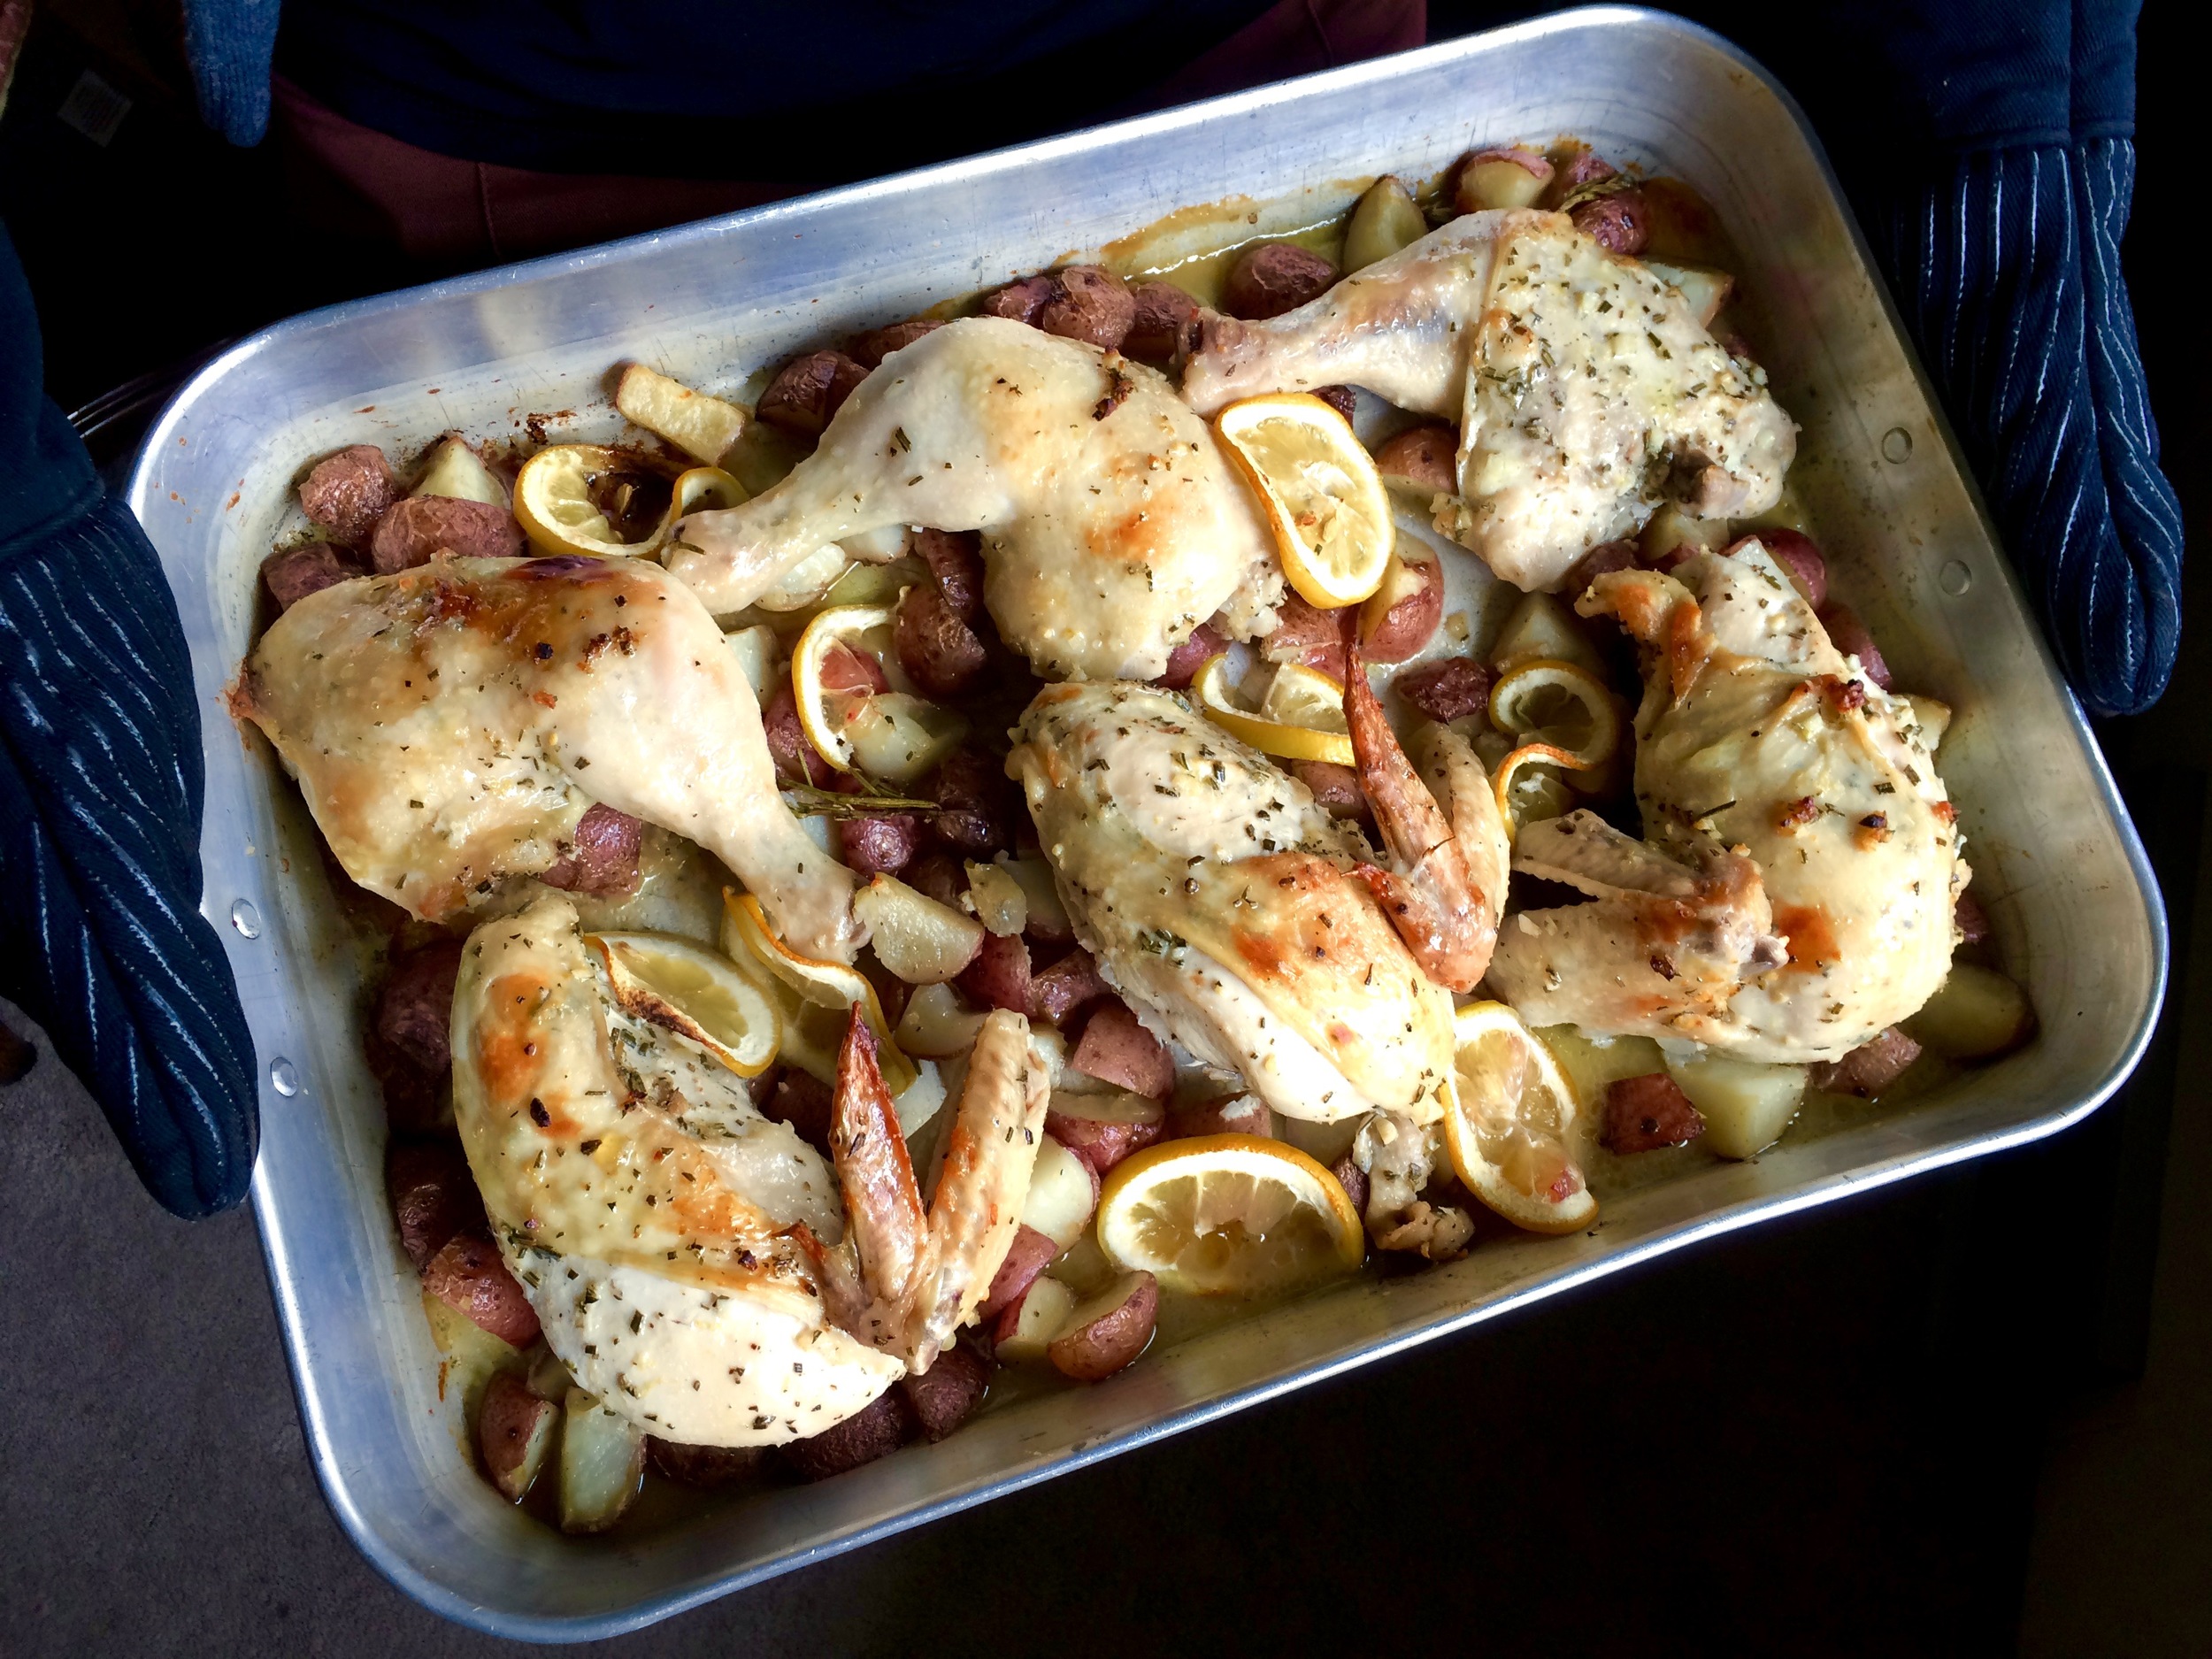
A homemade meal of a spiced meat patty, fresh salad, and rosemary roasted potatoes awaited us when we returned to Oostzaan that night. This was perfect after our long and cold day of travel. Filling, hearty and warm.

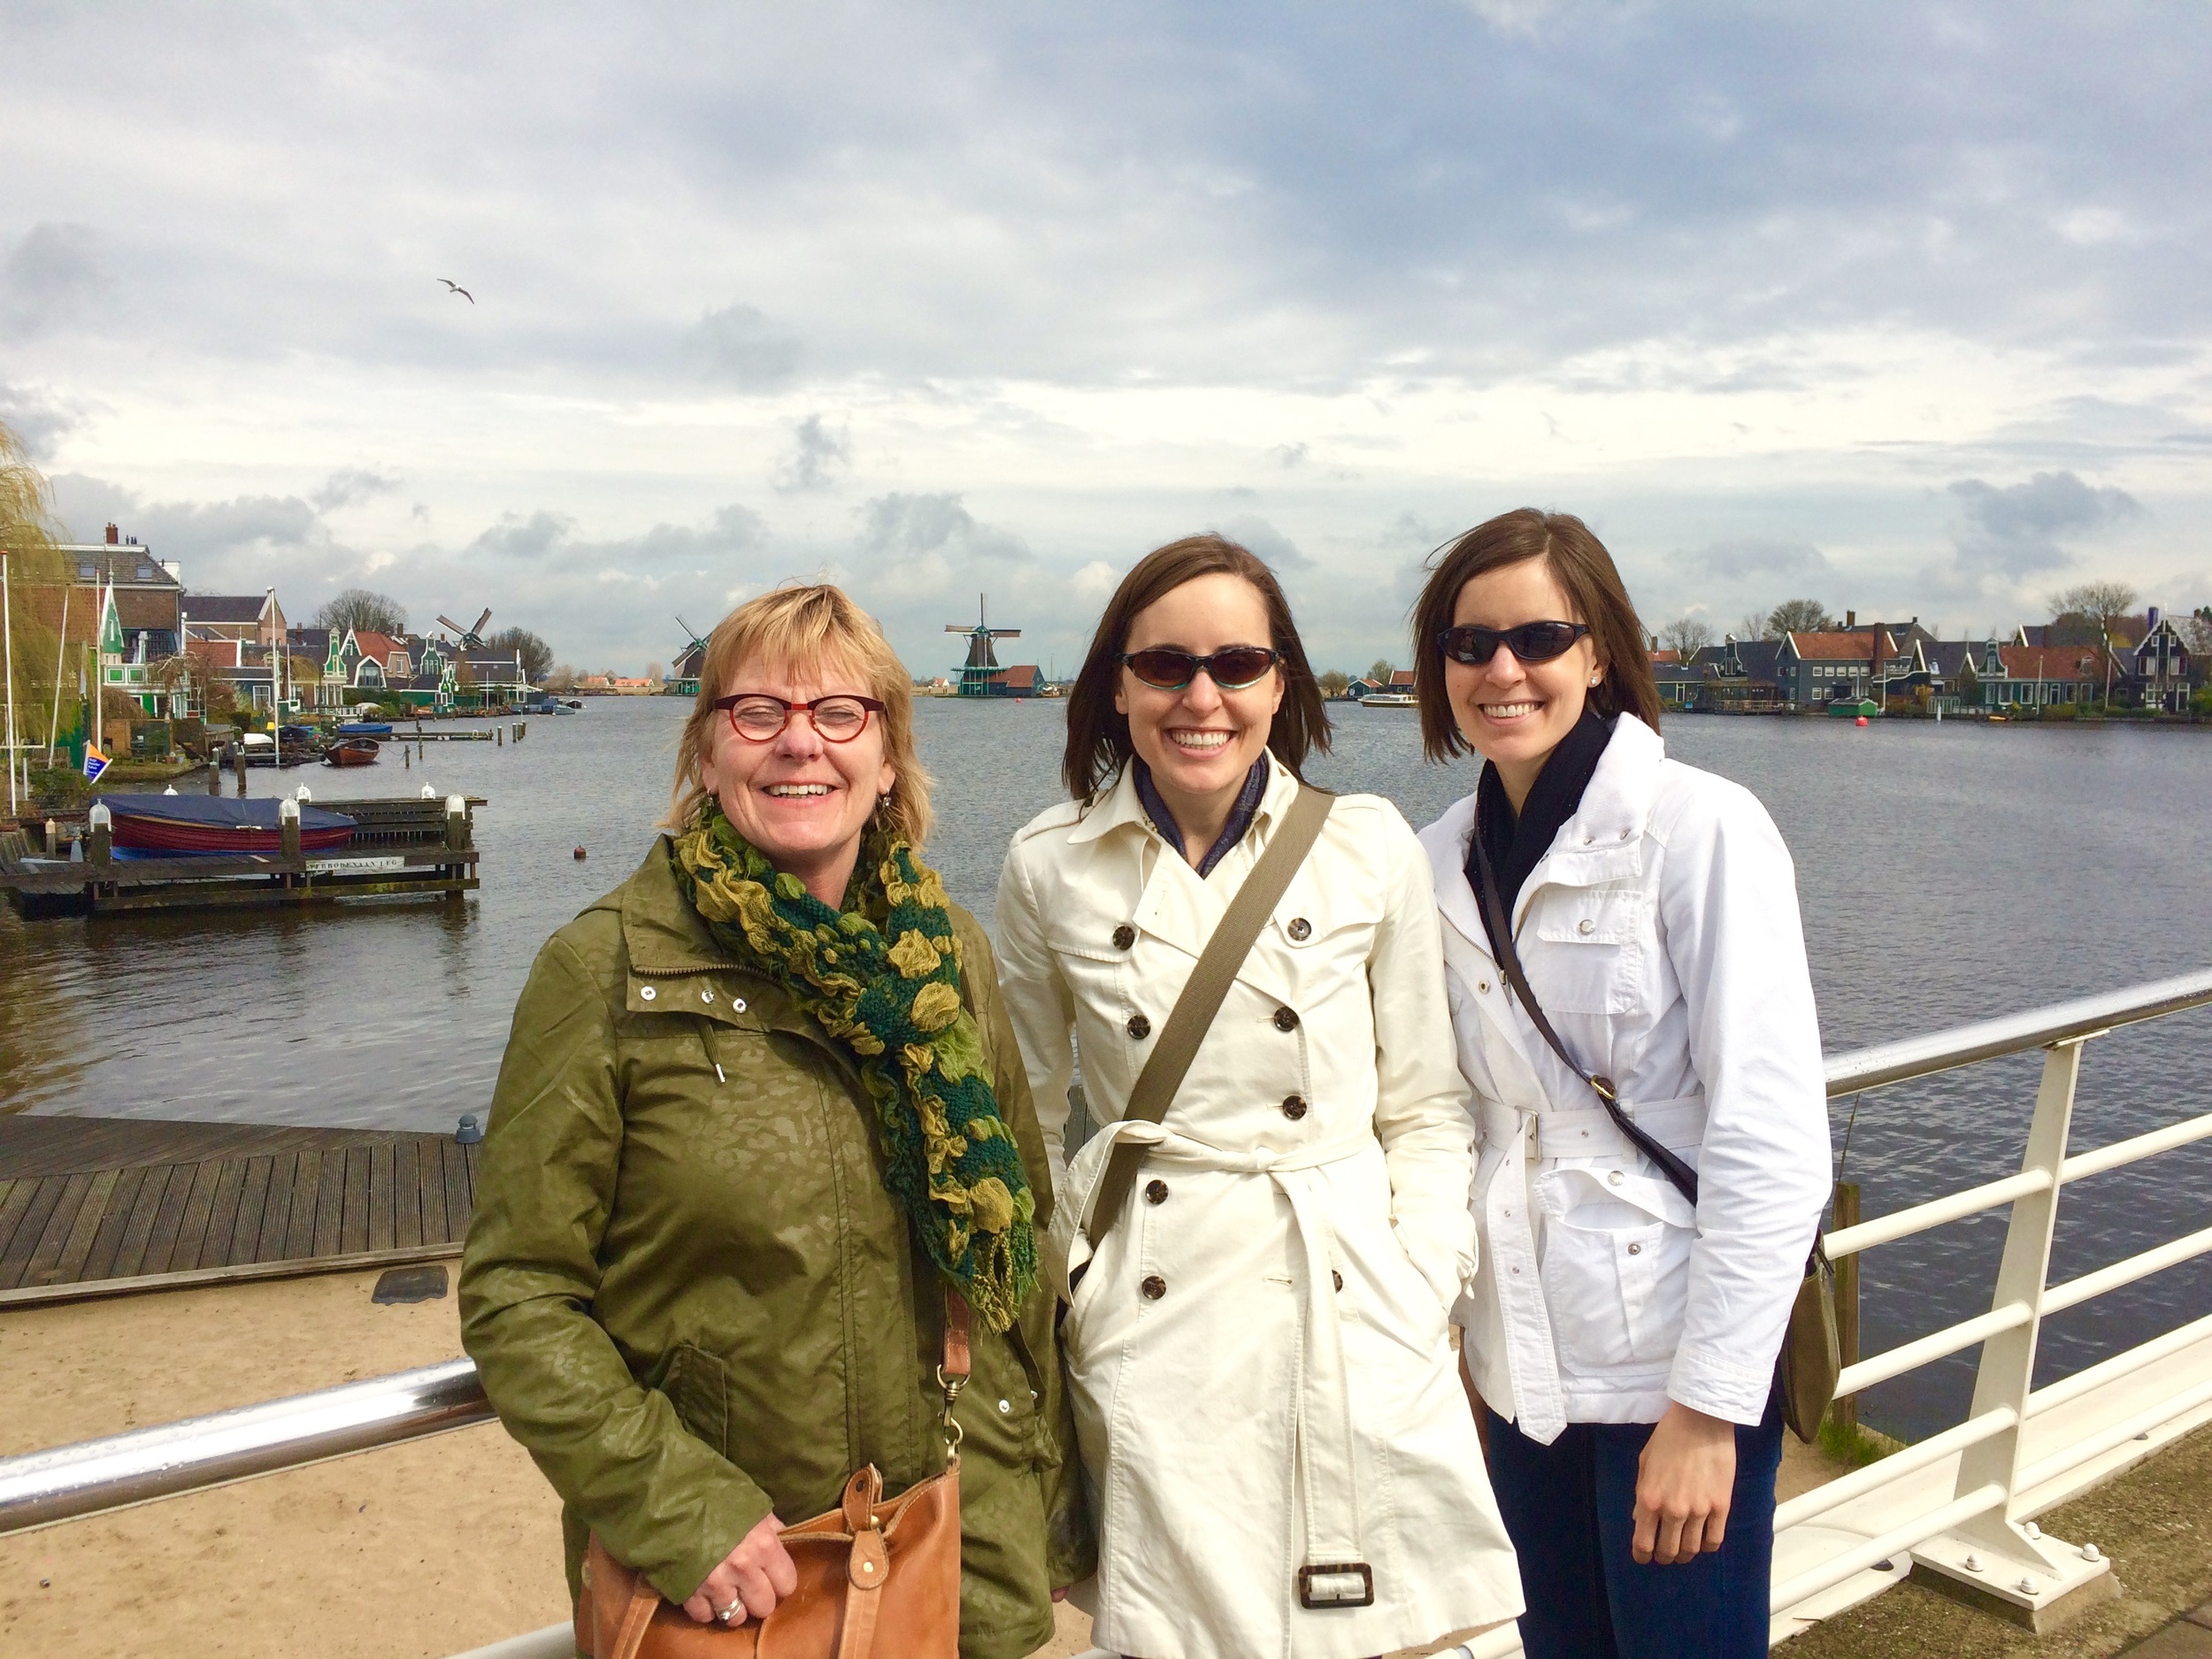
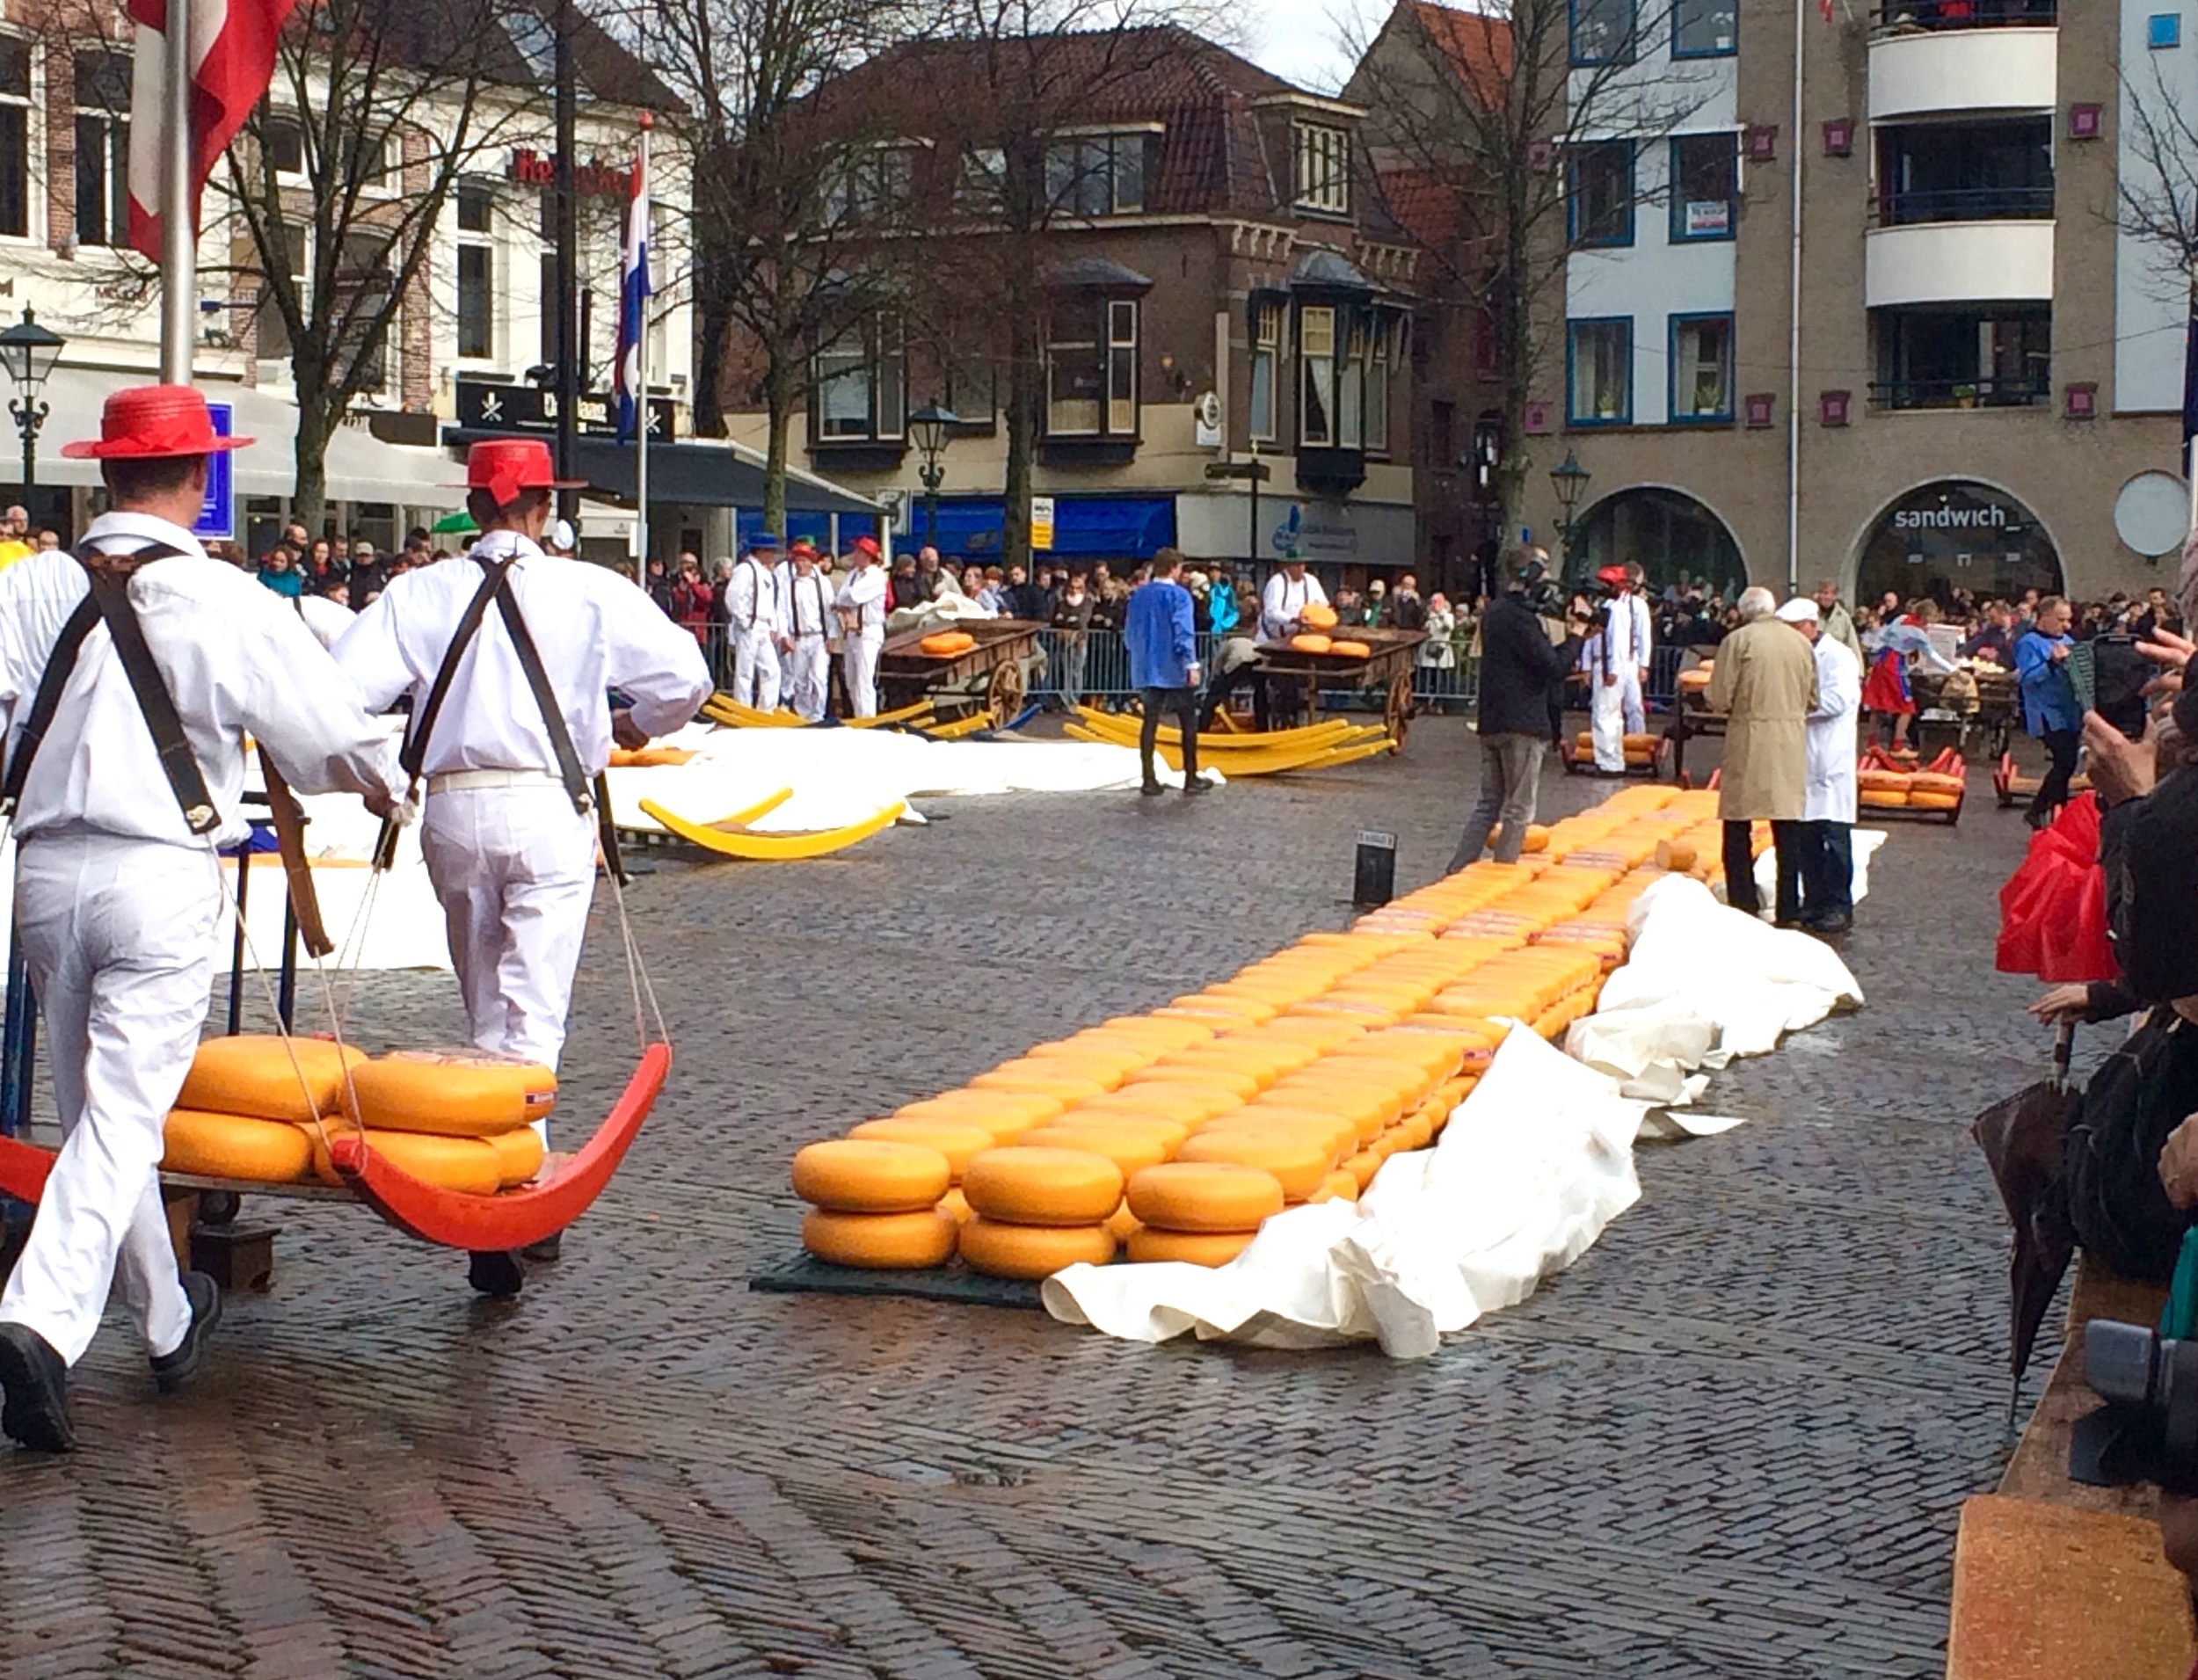
Knowing how much Lara and I love cheese, Henk and Frankje were excited to take us to Alkmaar the next day for more cheese adventures at the Alkmaar Cheese Market. This is apparently the largest cheese market in the Netherlands, much larger than the Gouda cheese market from the day before. 

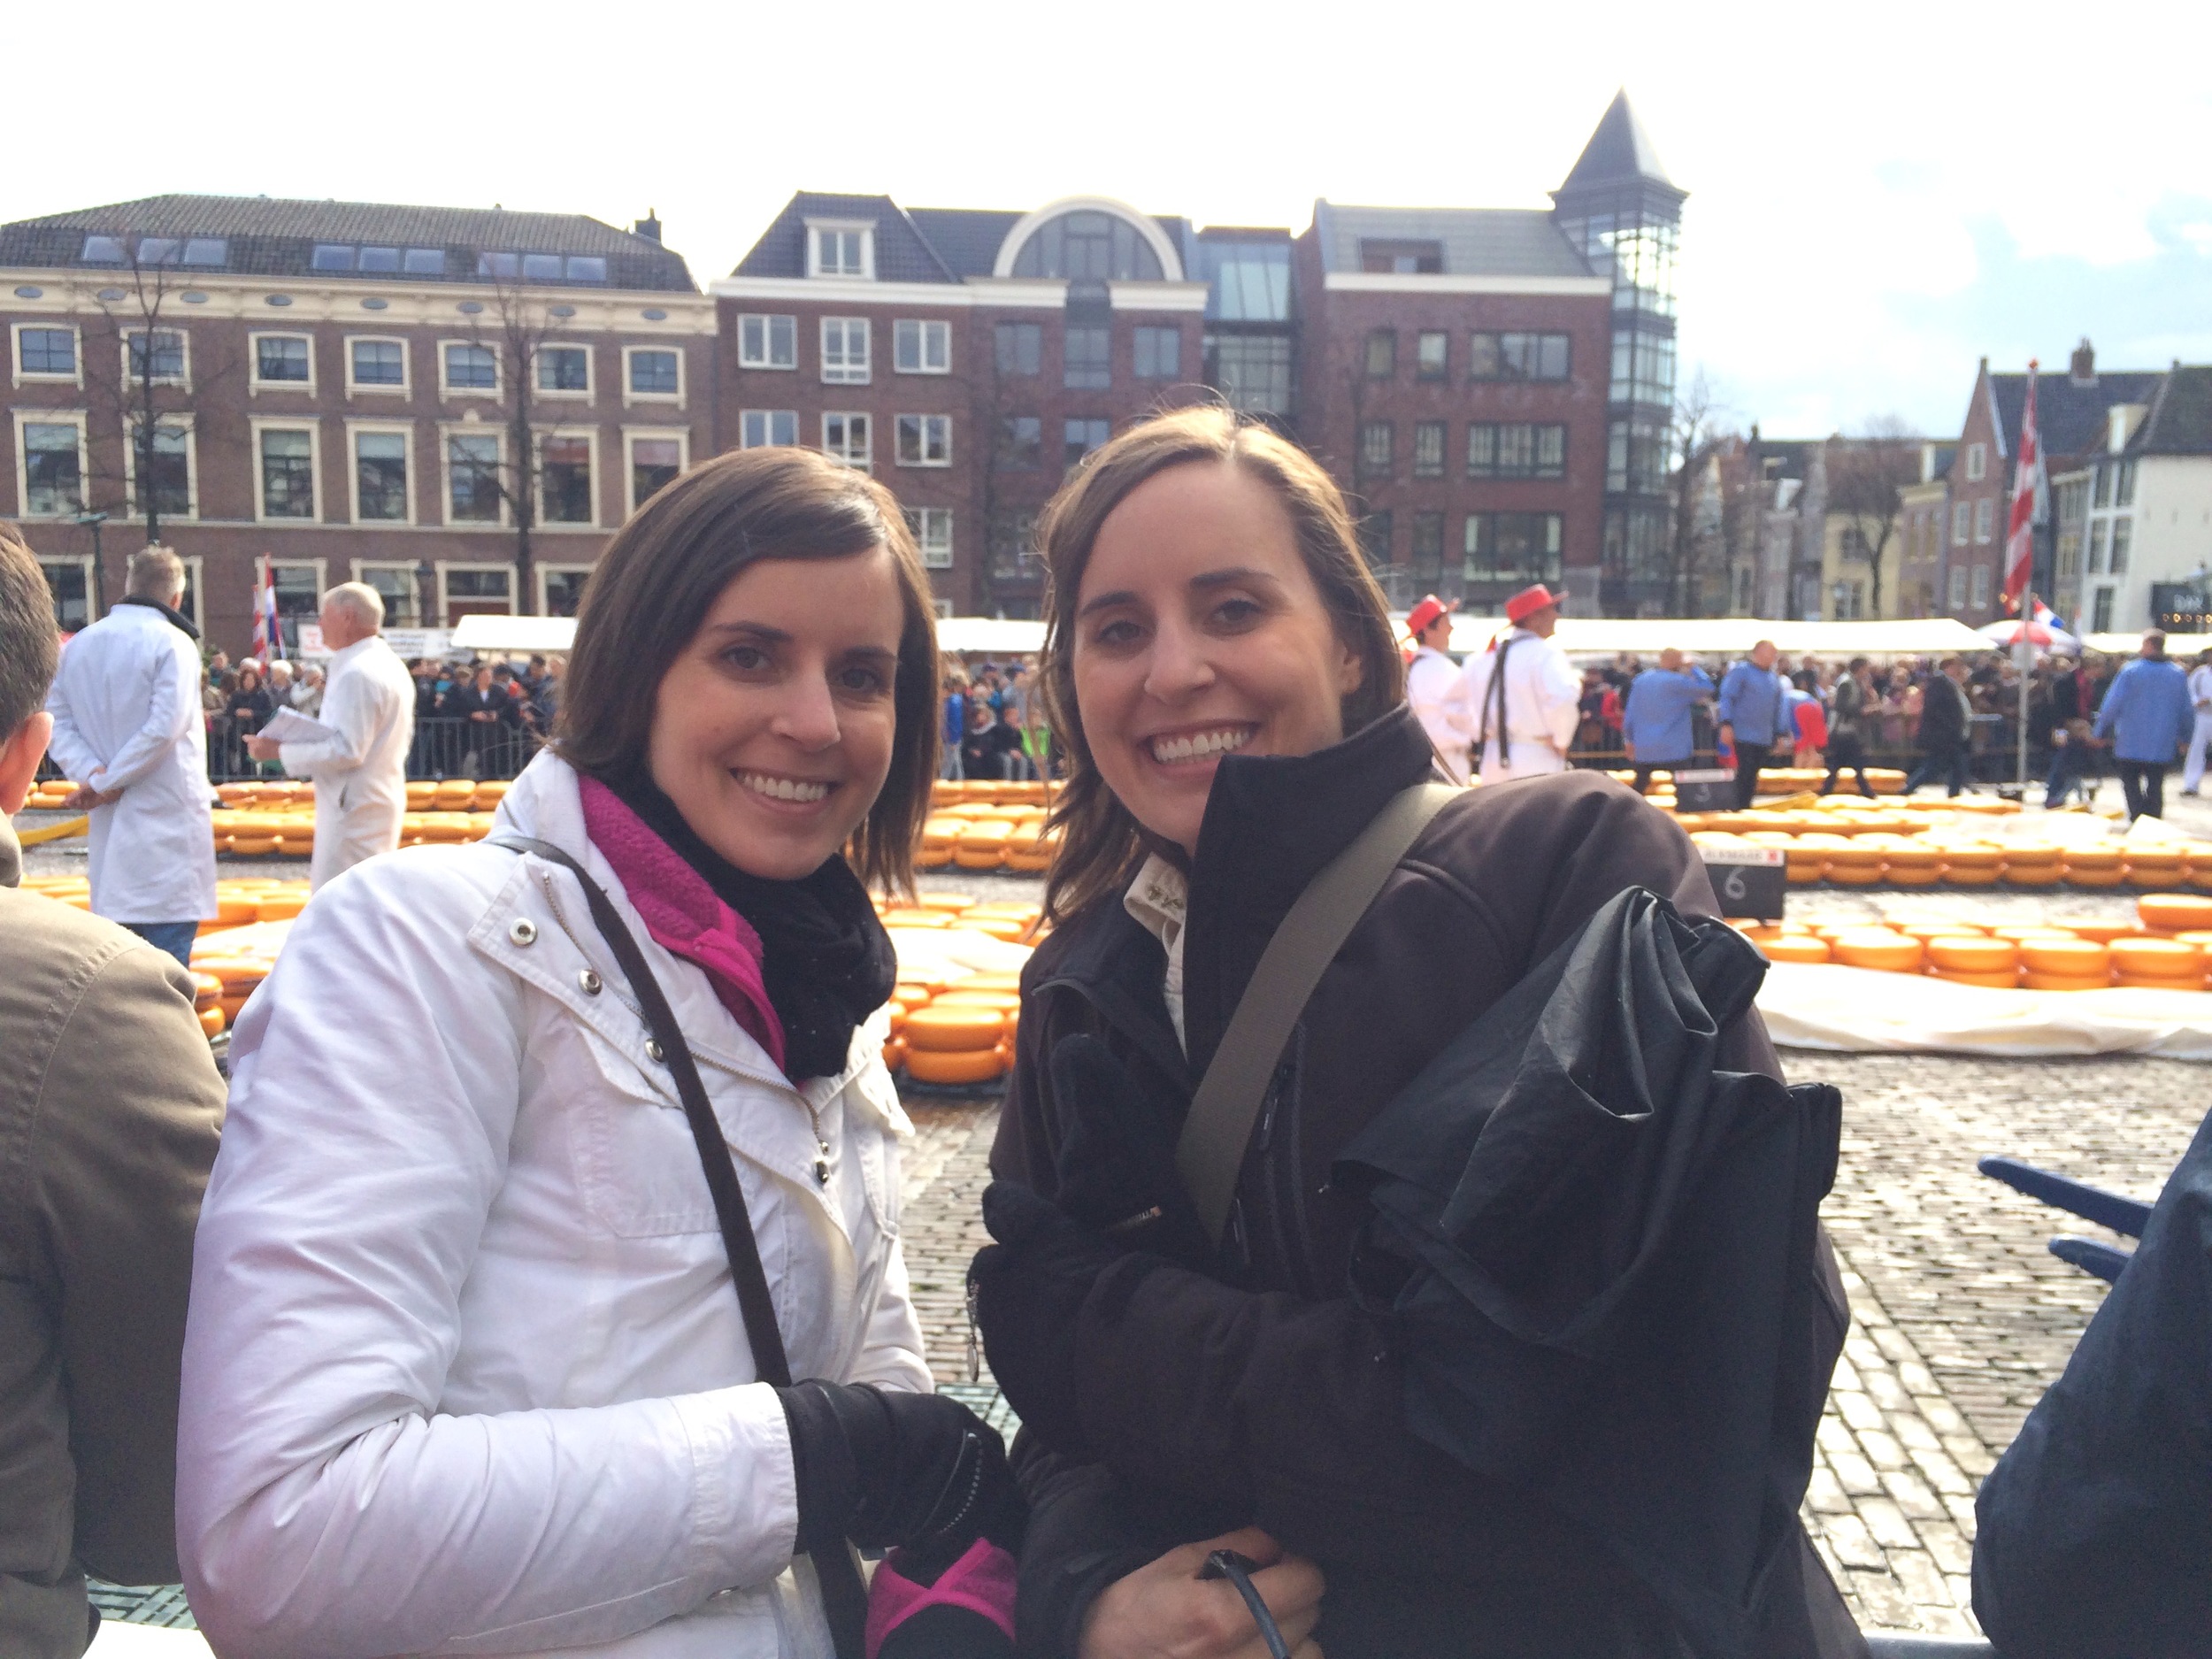
I really enjoyed the morning at the market, it was so much fun to see all the cheese lined up in the market square, and the cheese guys (do they have an official name? I don't know!) carry the big wheels back and forth to the scale inside the nearby cheese building (probably also has an official name). When we first arrived it was still raining but thankfully after half and hour or so the rain let up for the rest of the day and we were able to enjoy the show. It was the first cheese market of the year and there were a lot of tourist from all over watching. There was a lady explaining what was going on in at least 4 or 5 languages, very impressive. 


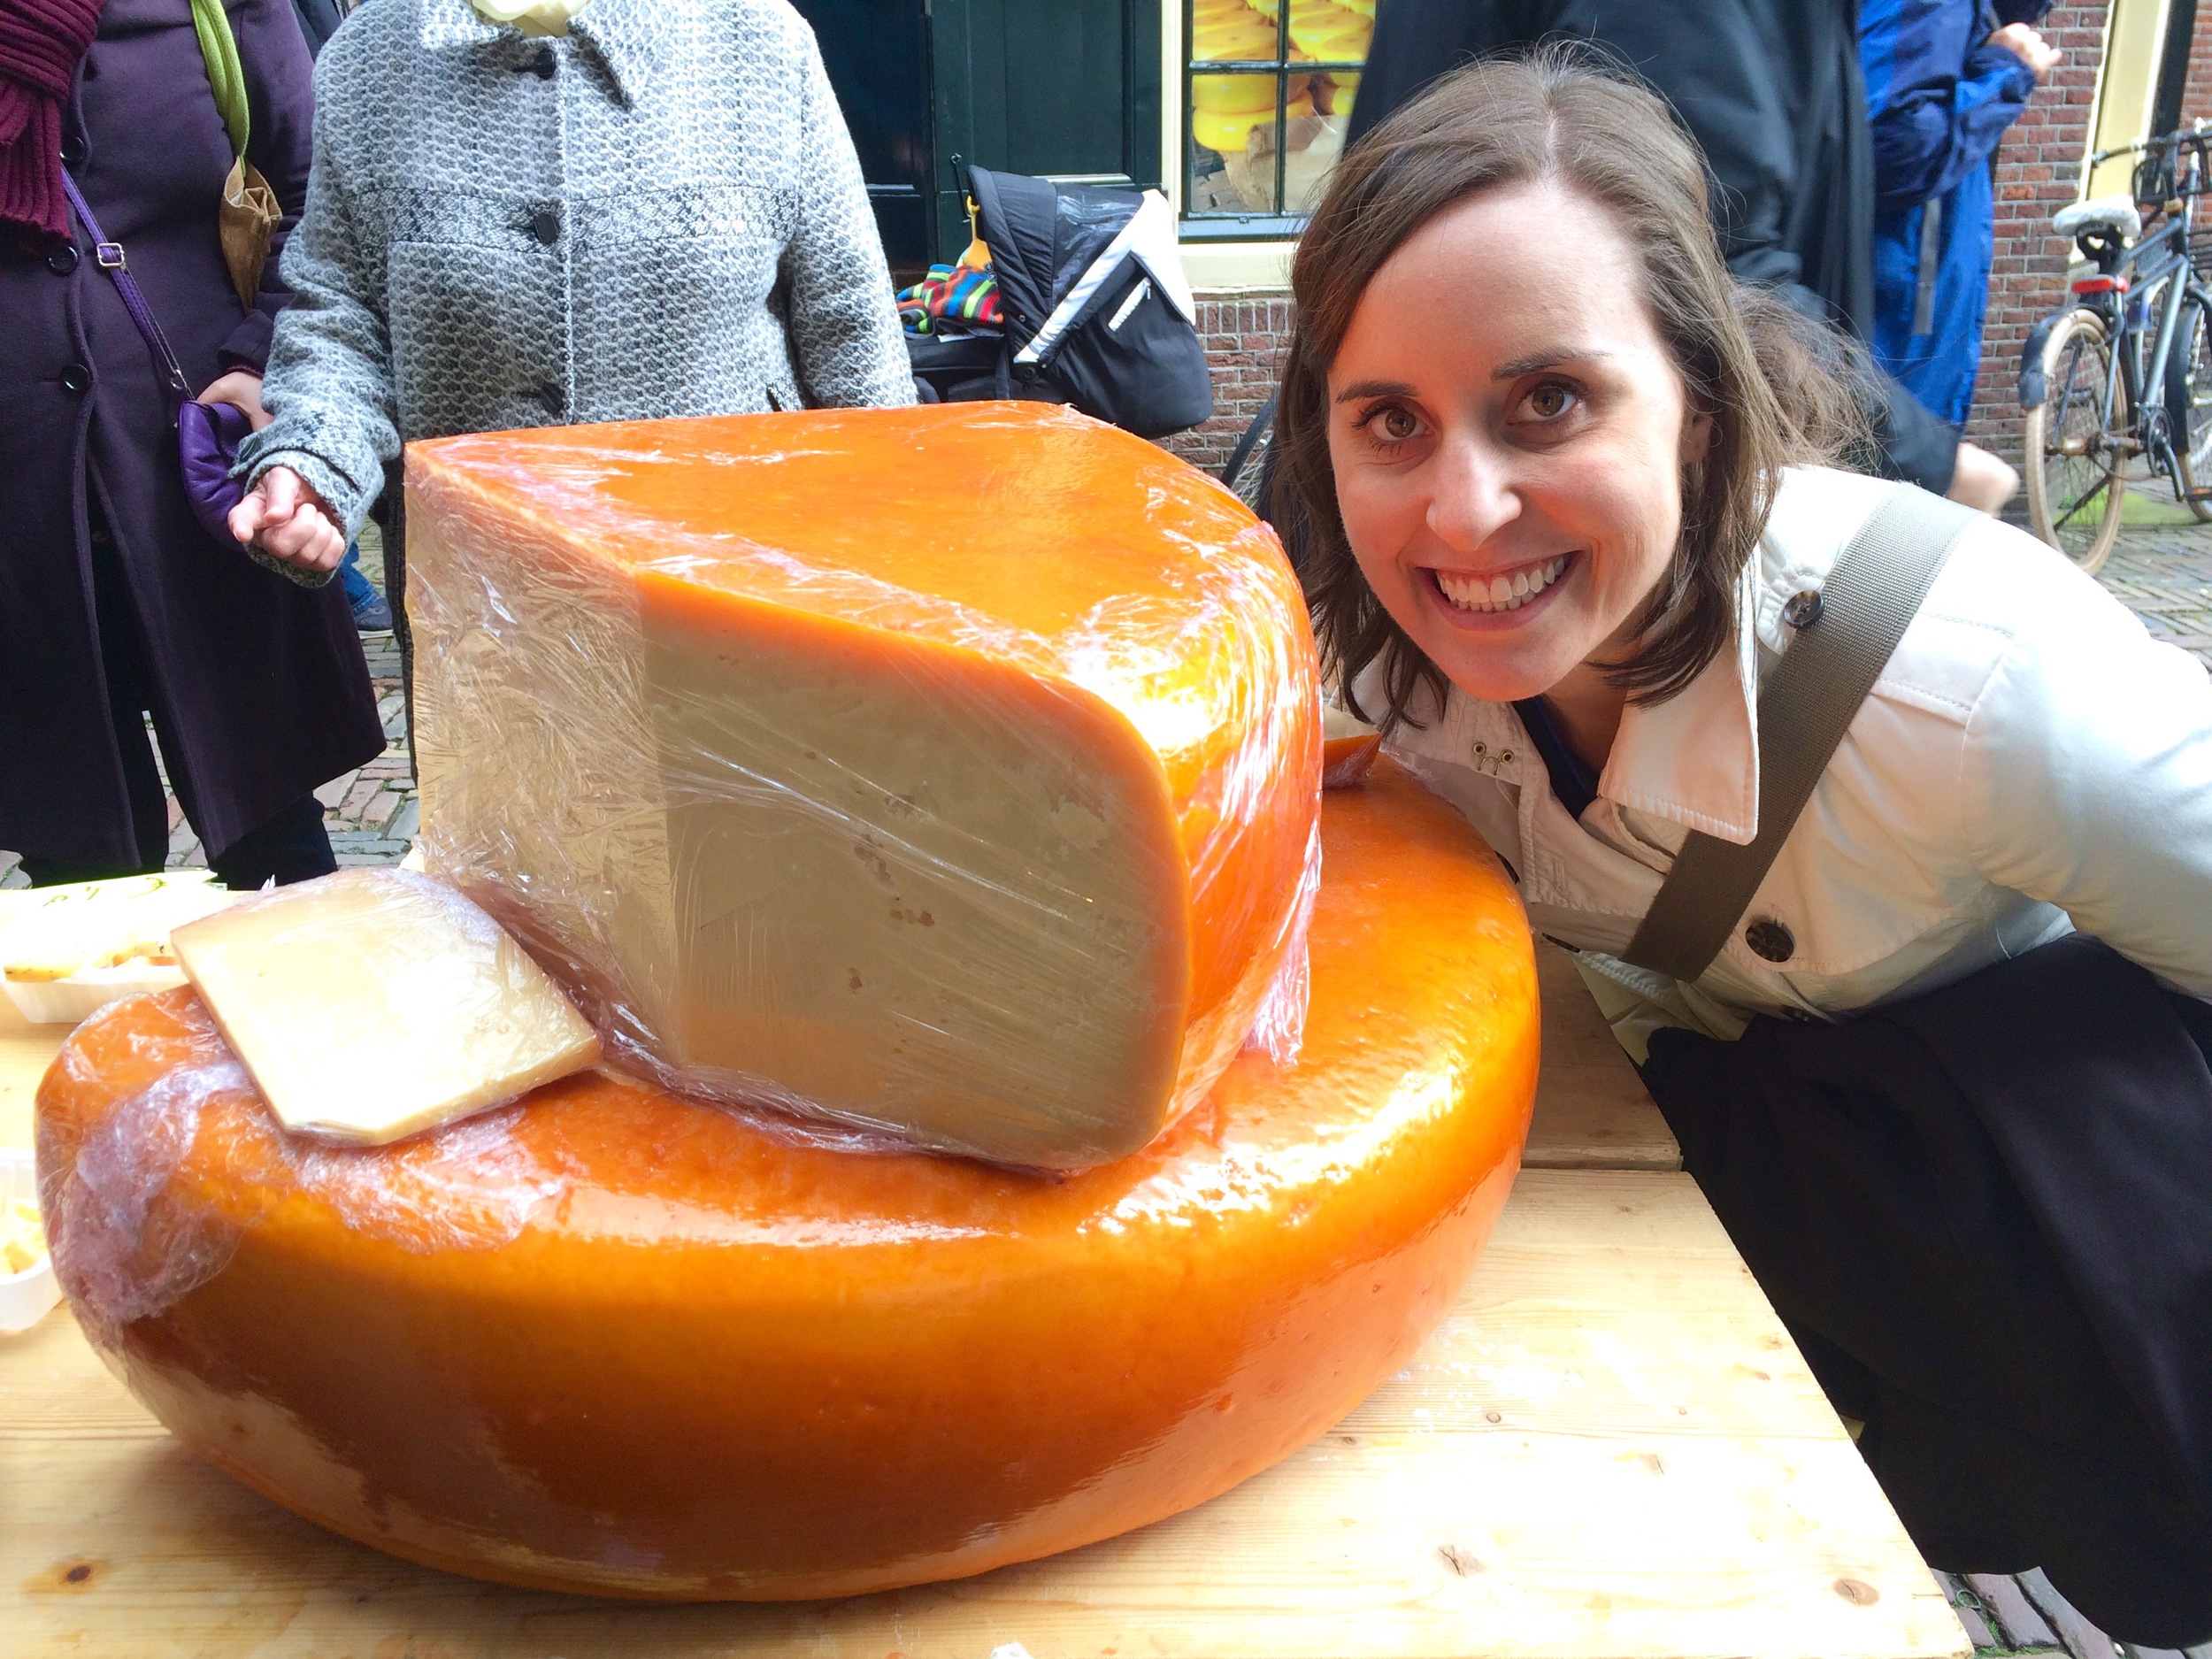
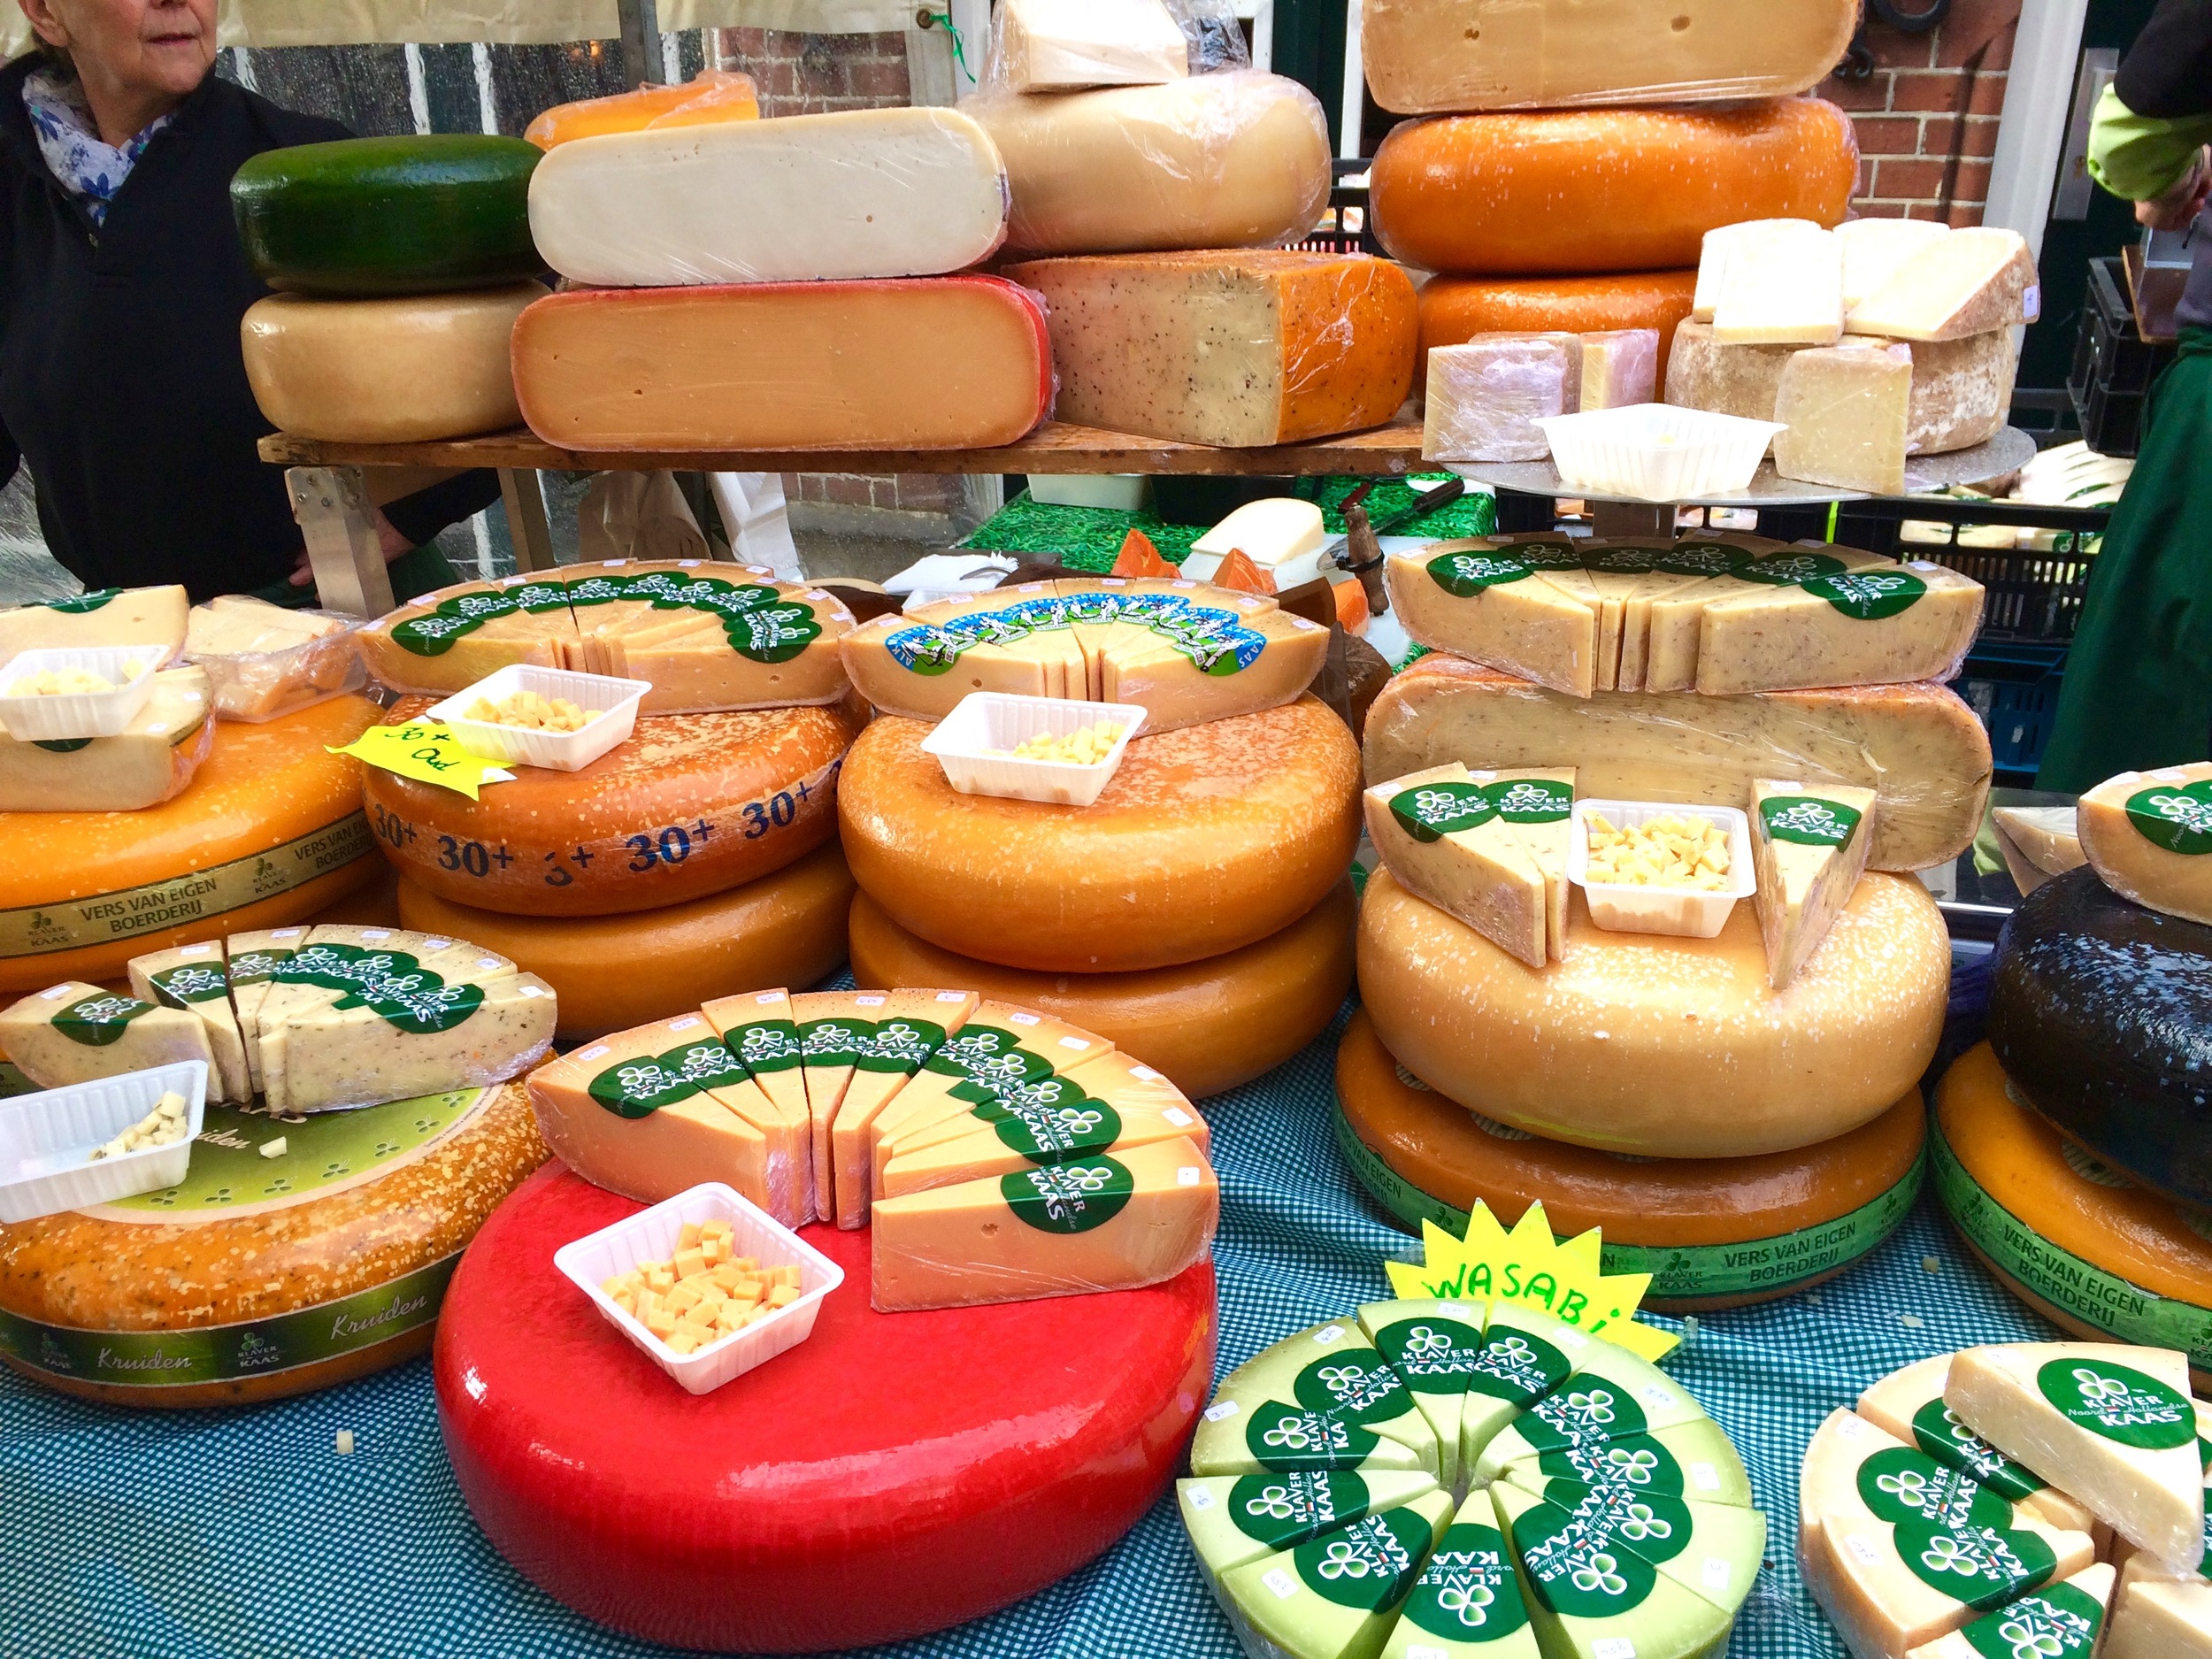
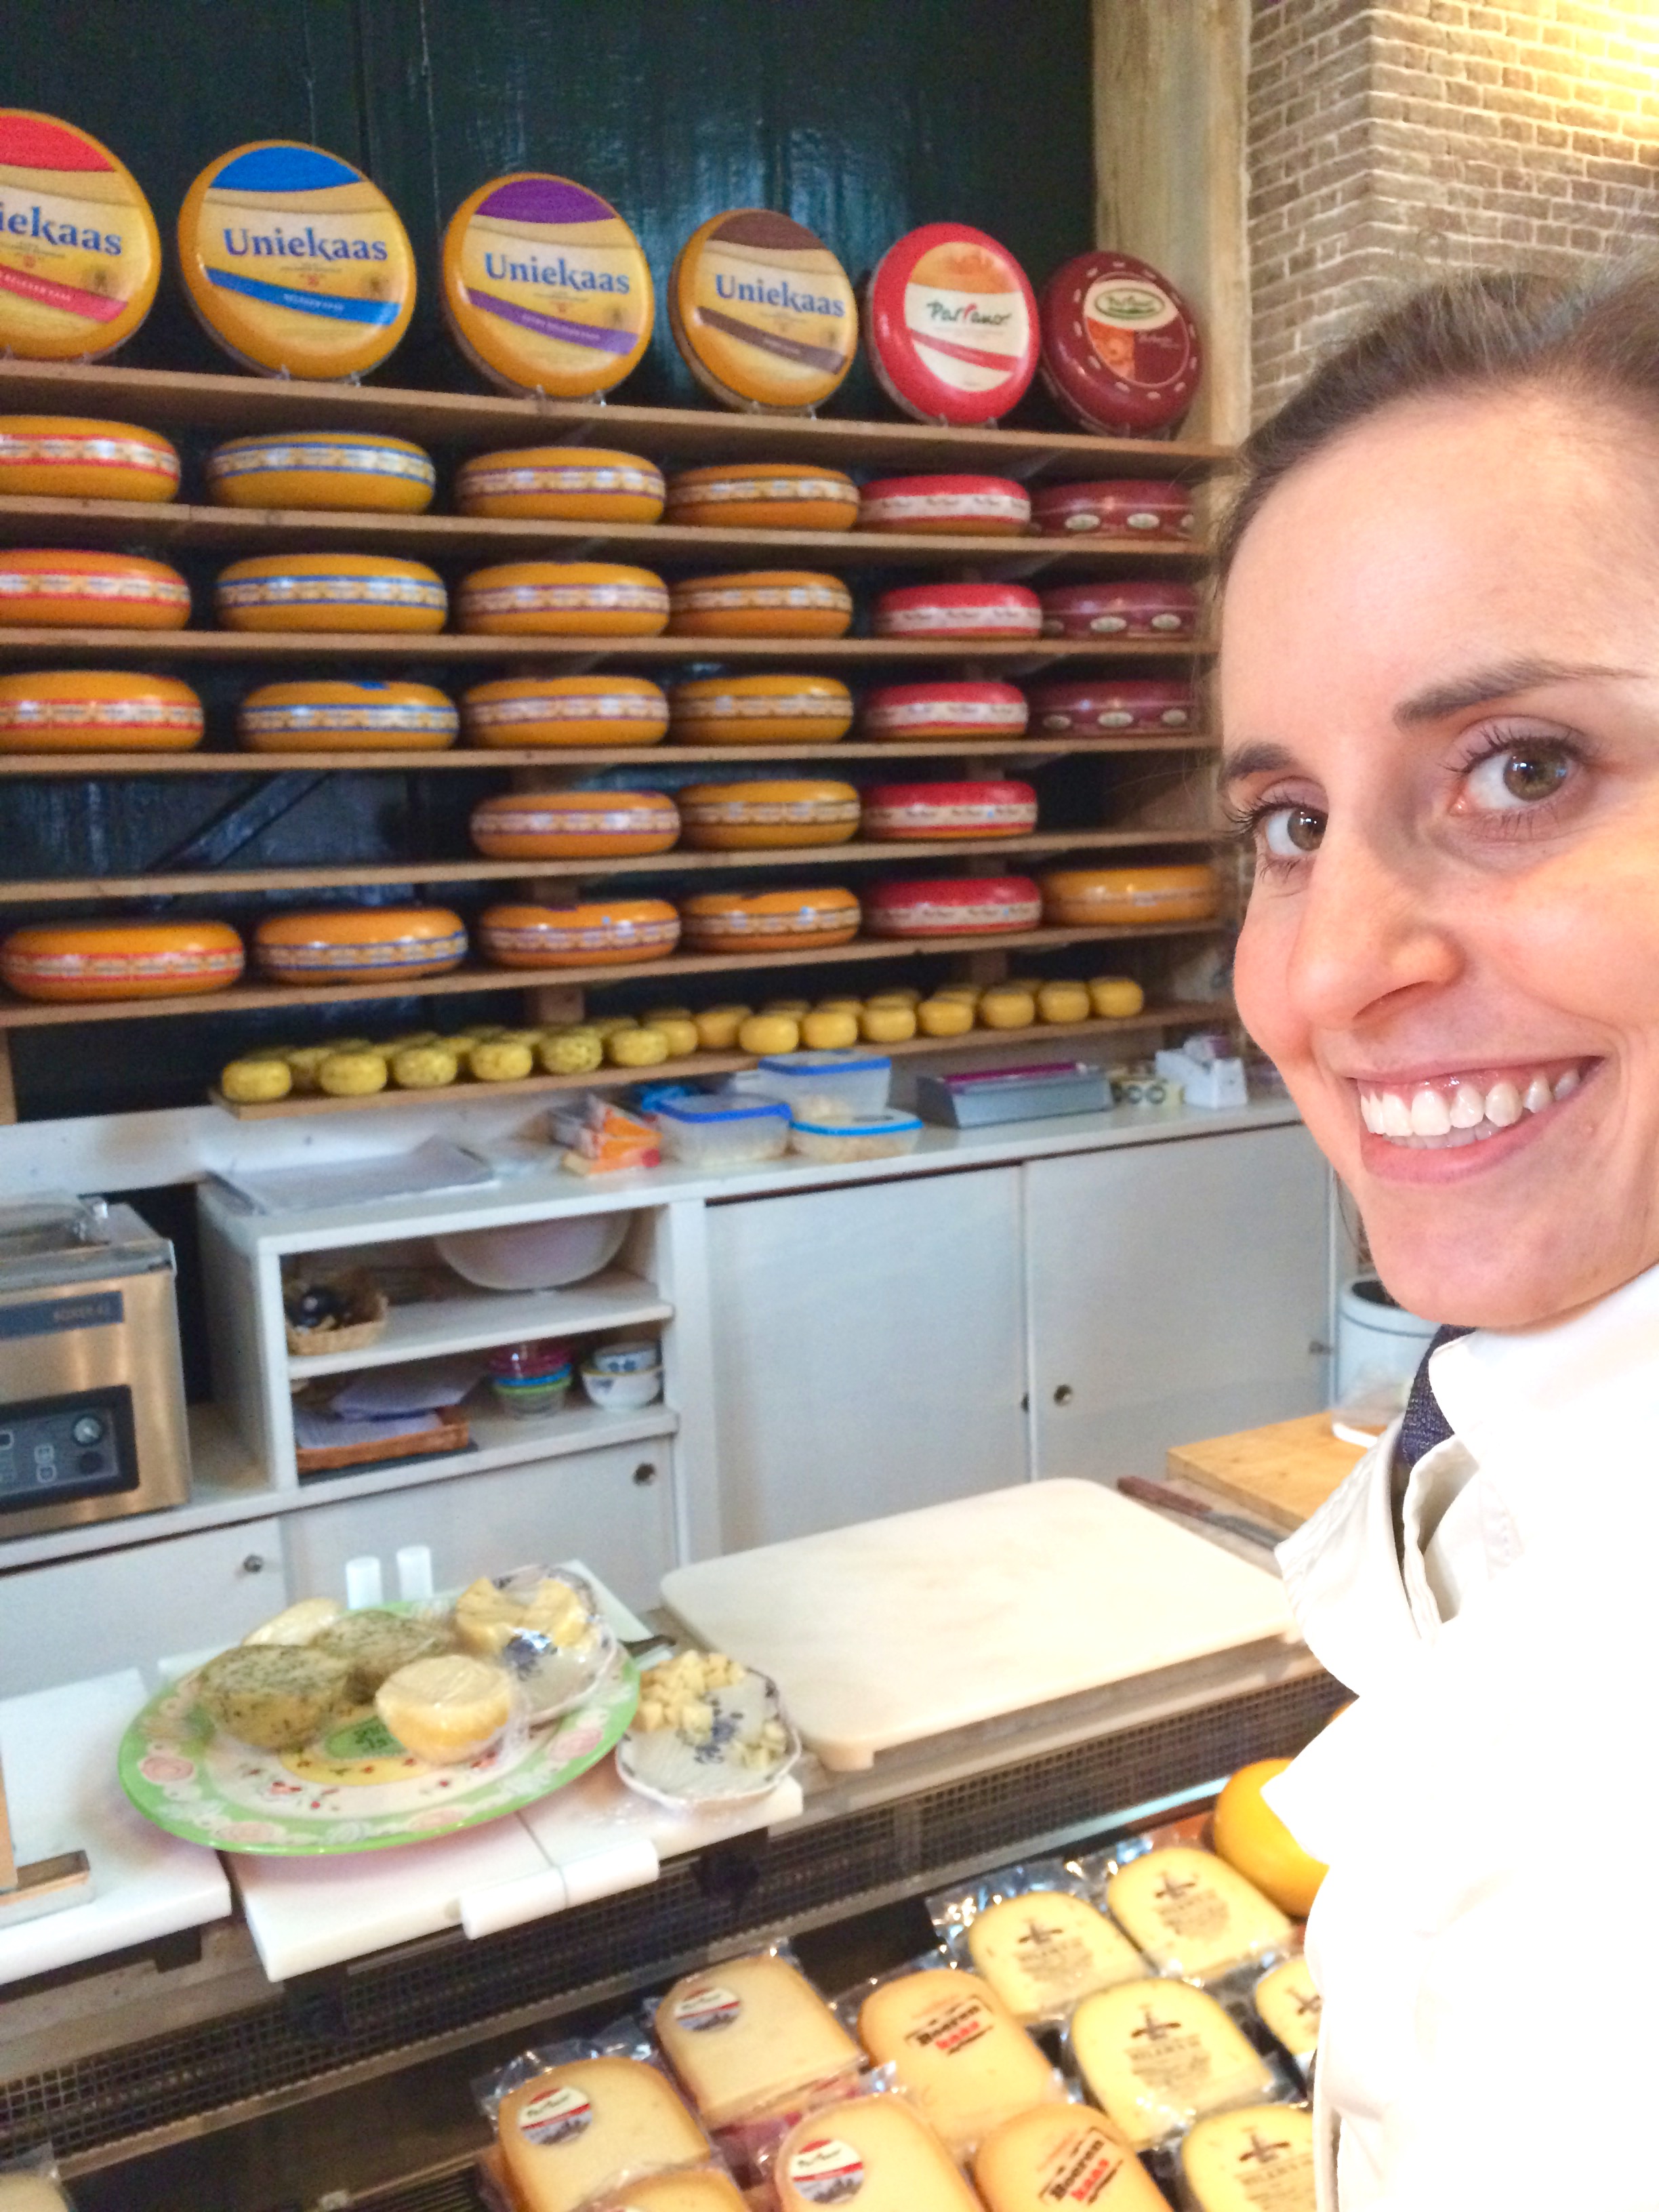
There was obviously plenty of cheese for sale as well, and we were able to sample them all pretty much. You could almost make a lunch out of all the samples if you wanted to! 

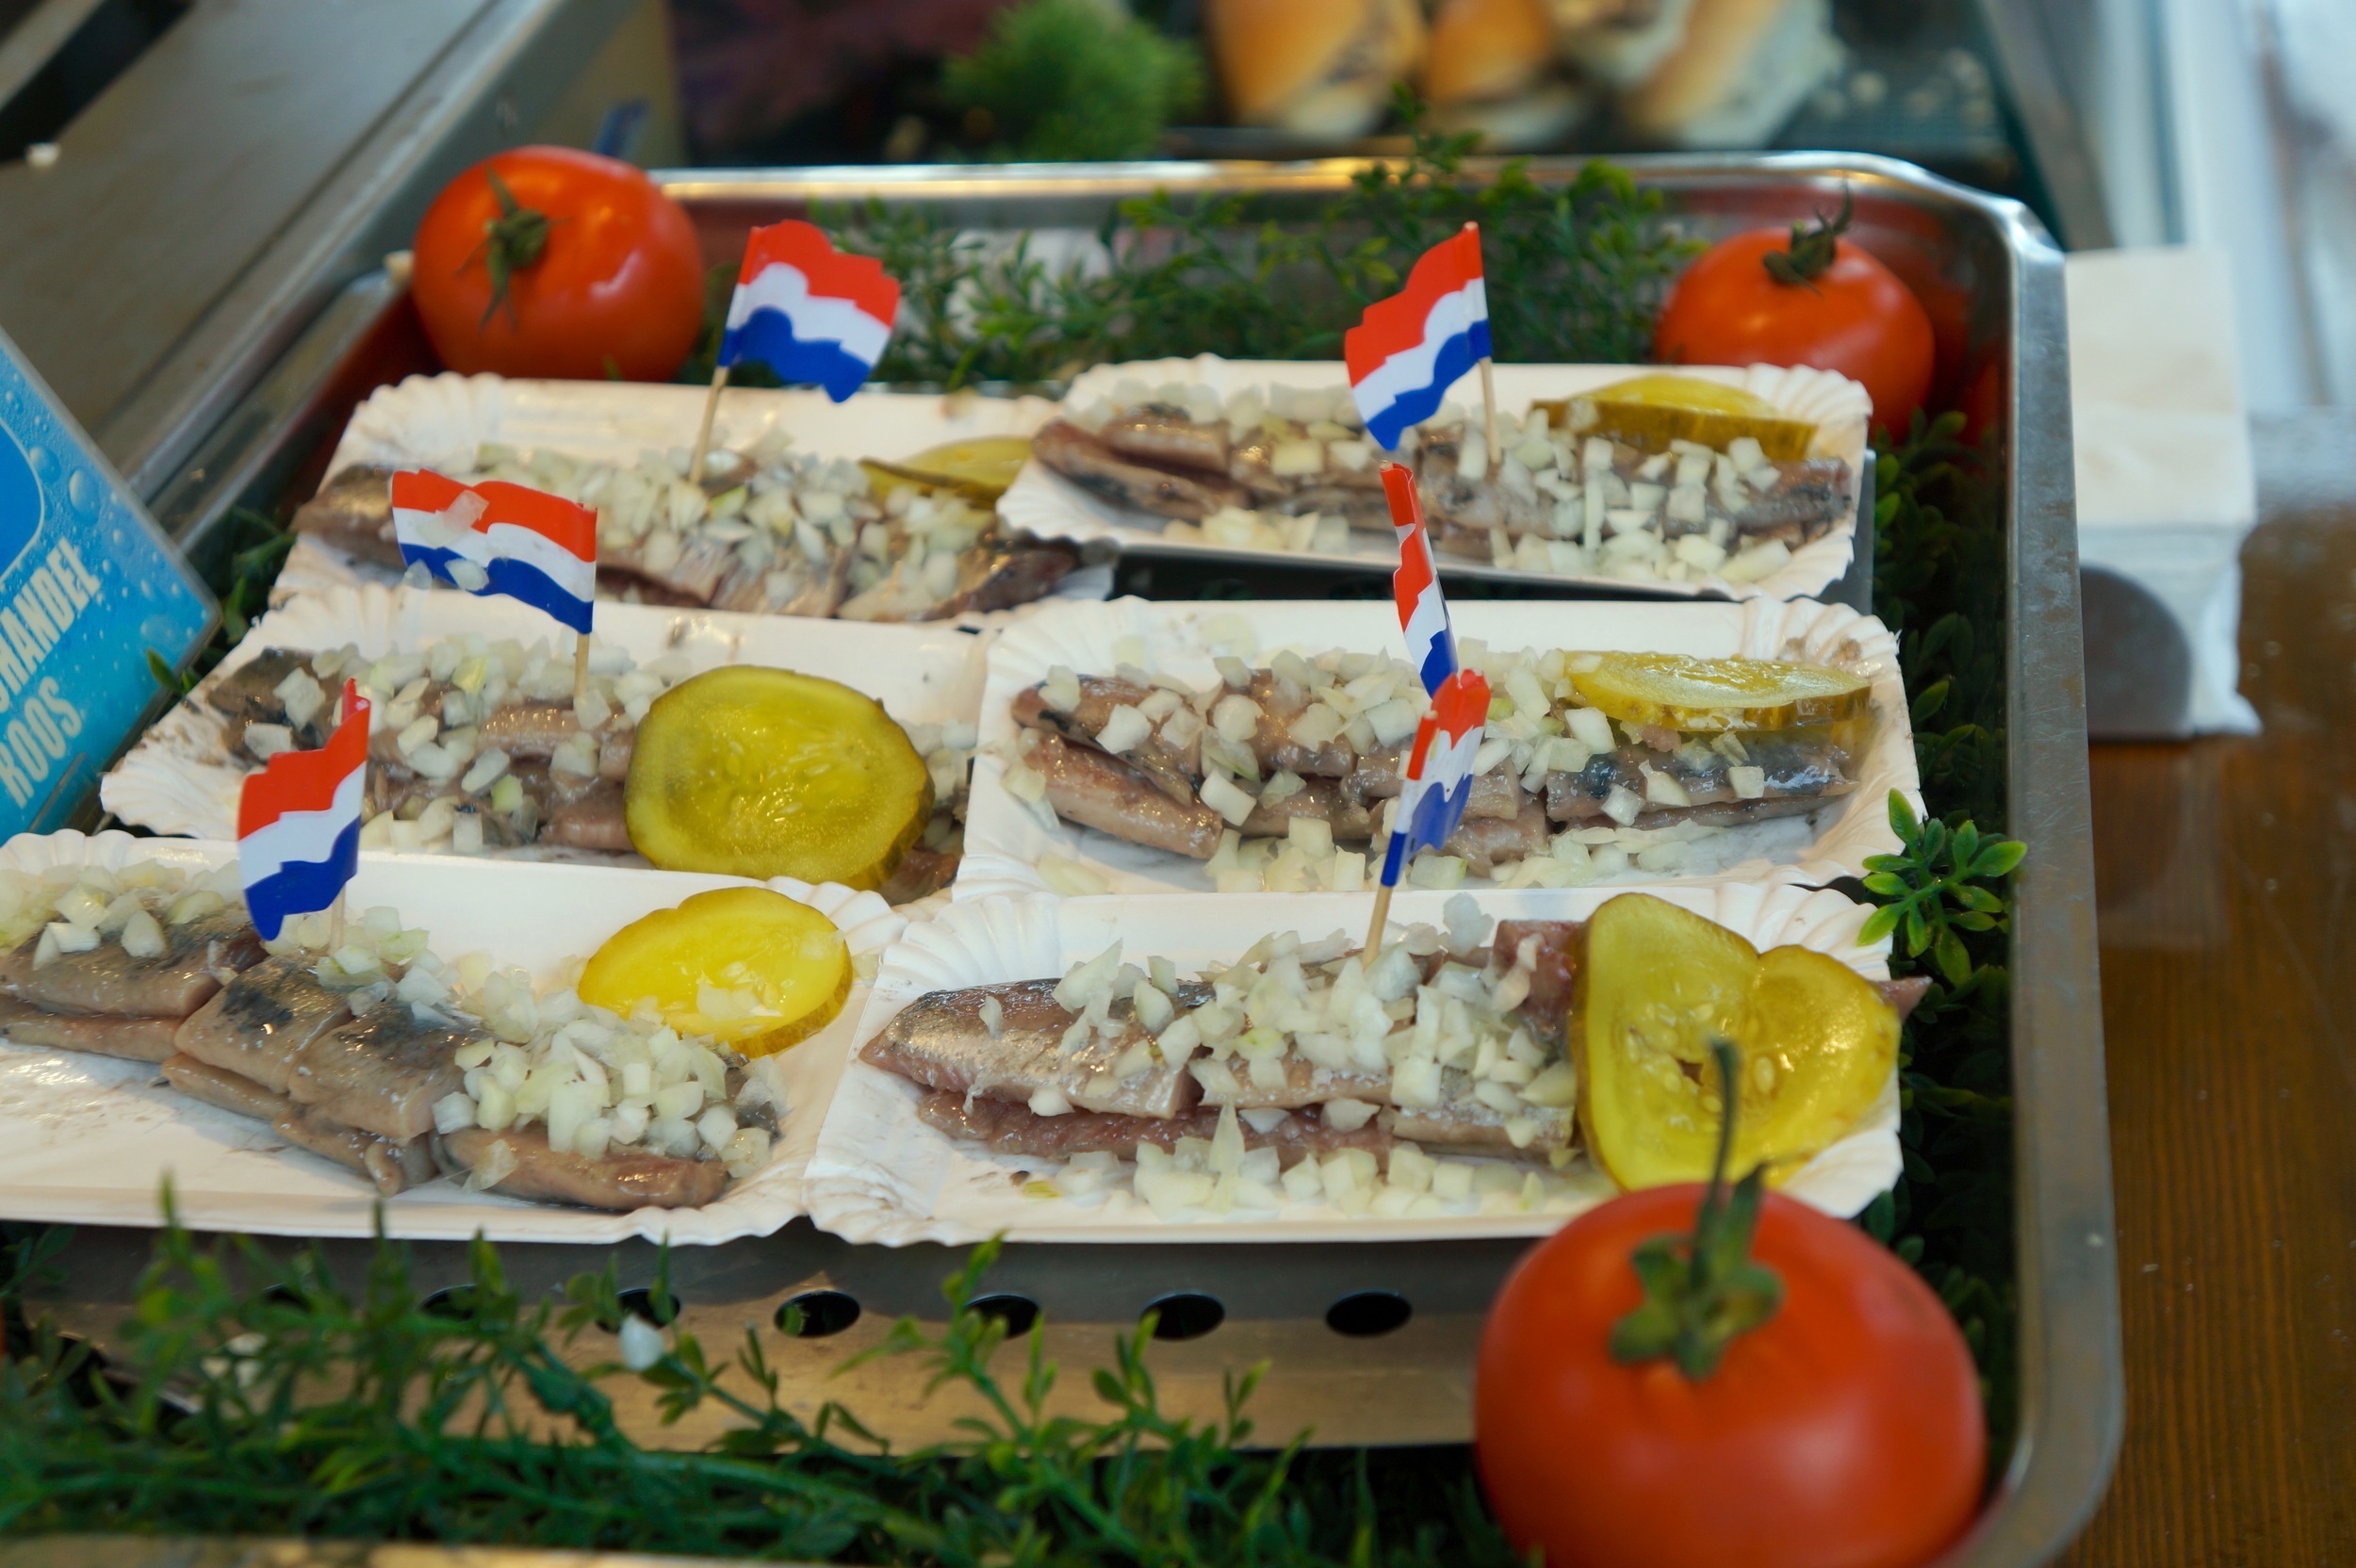
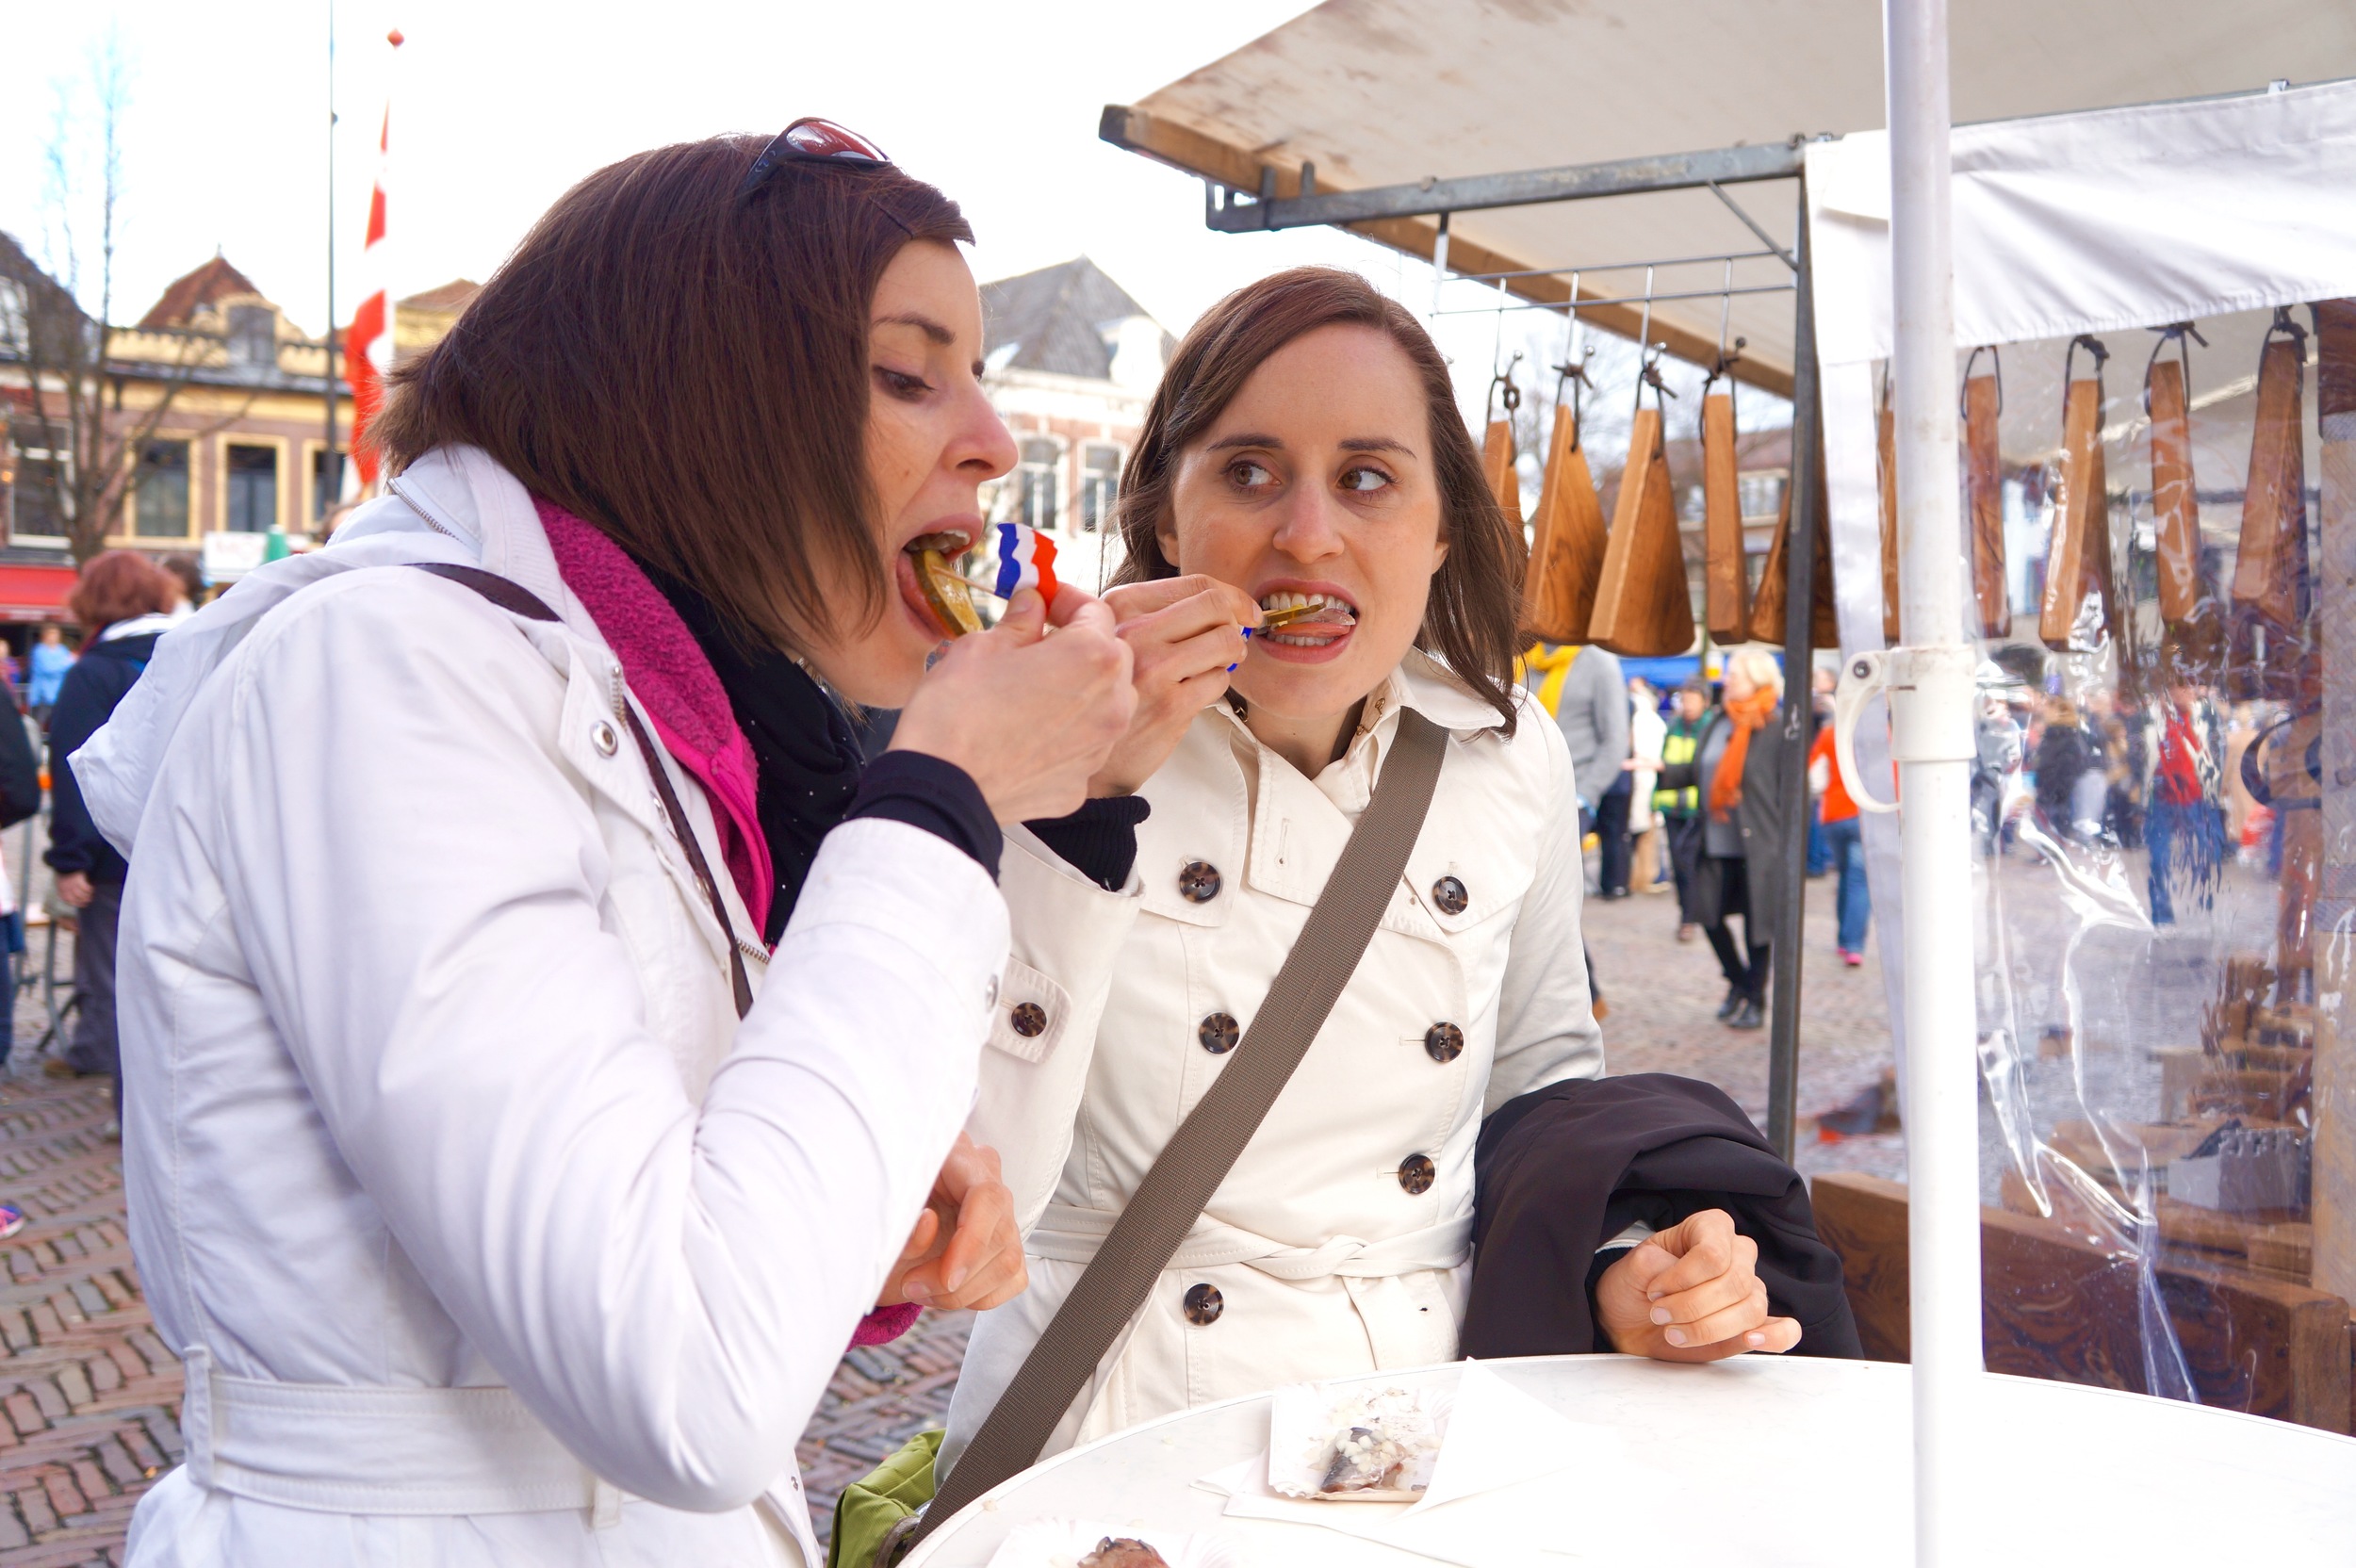
One of the other Dutch specialties Lara and I were determined to try while in Europe was raw herring. I love pickled herring either in vinegar or sour cream and I was excited to try the fresh stuff. As a little snack in Alkmaar we were able to dig right in. You could get it on a little bun, or just plain on a plate with raw onions and pickle, and this is what I went with. 


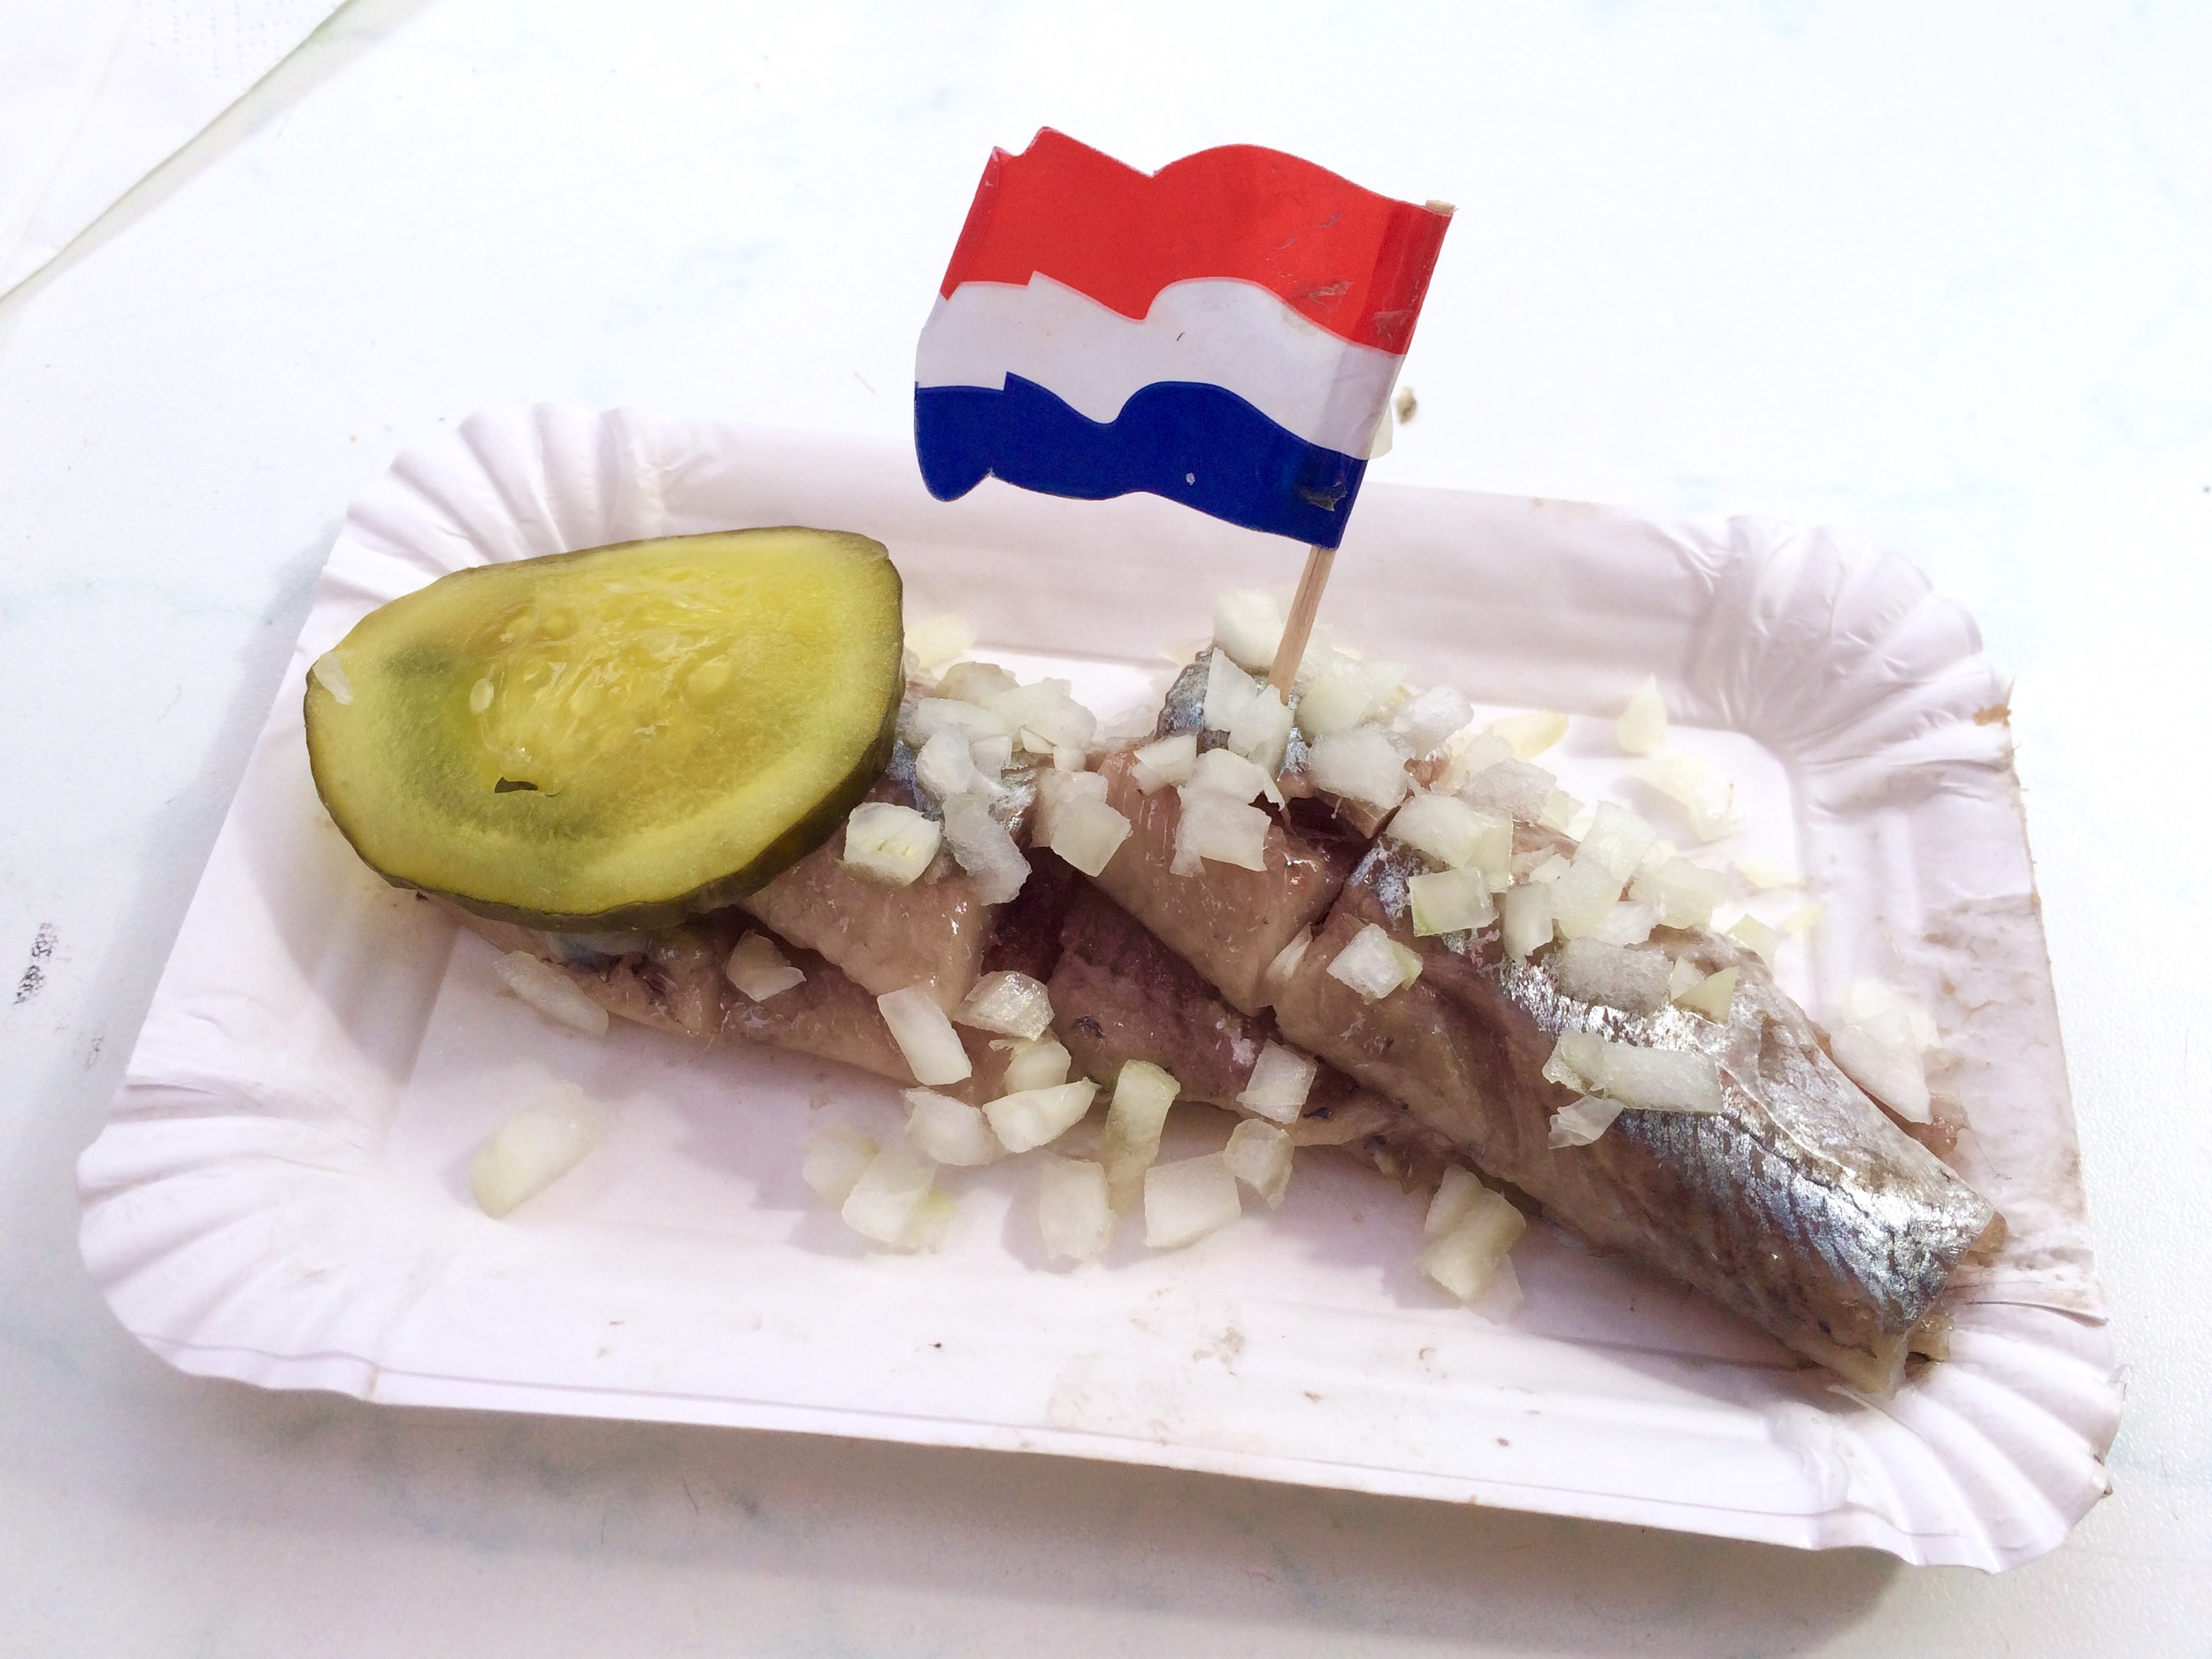
I know a lot of people would find this disgusting, but I loved it. Made me wish I lived closer to the sea! Yum, yum!

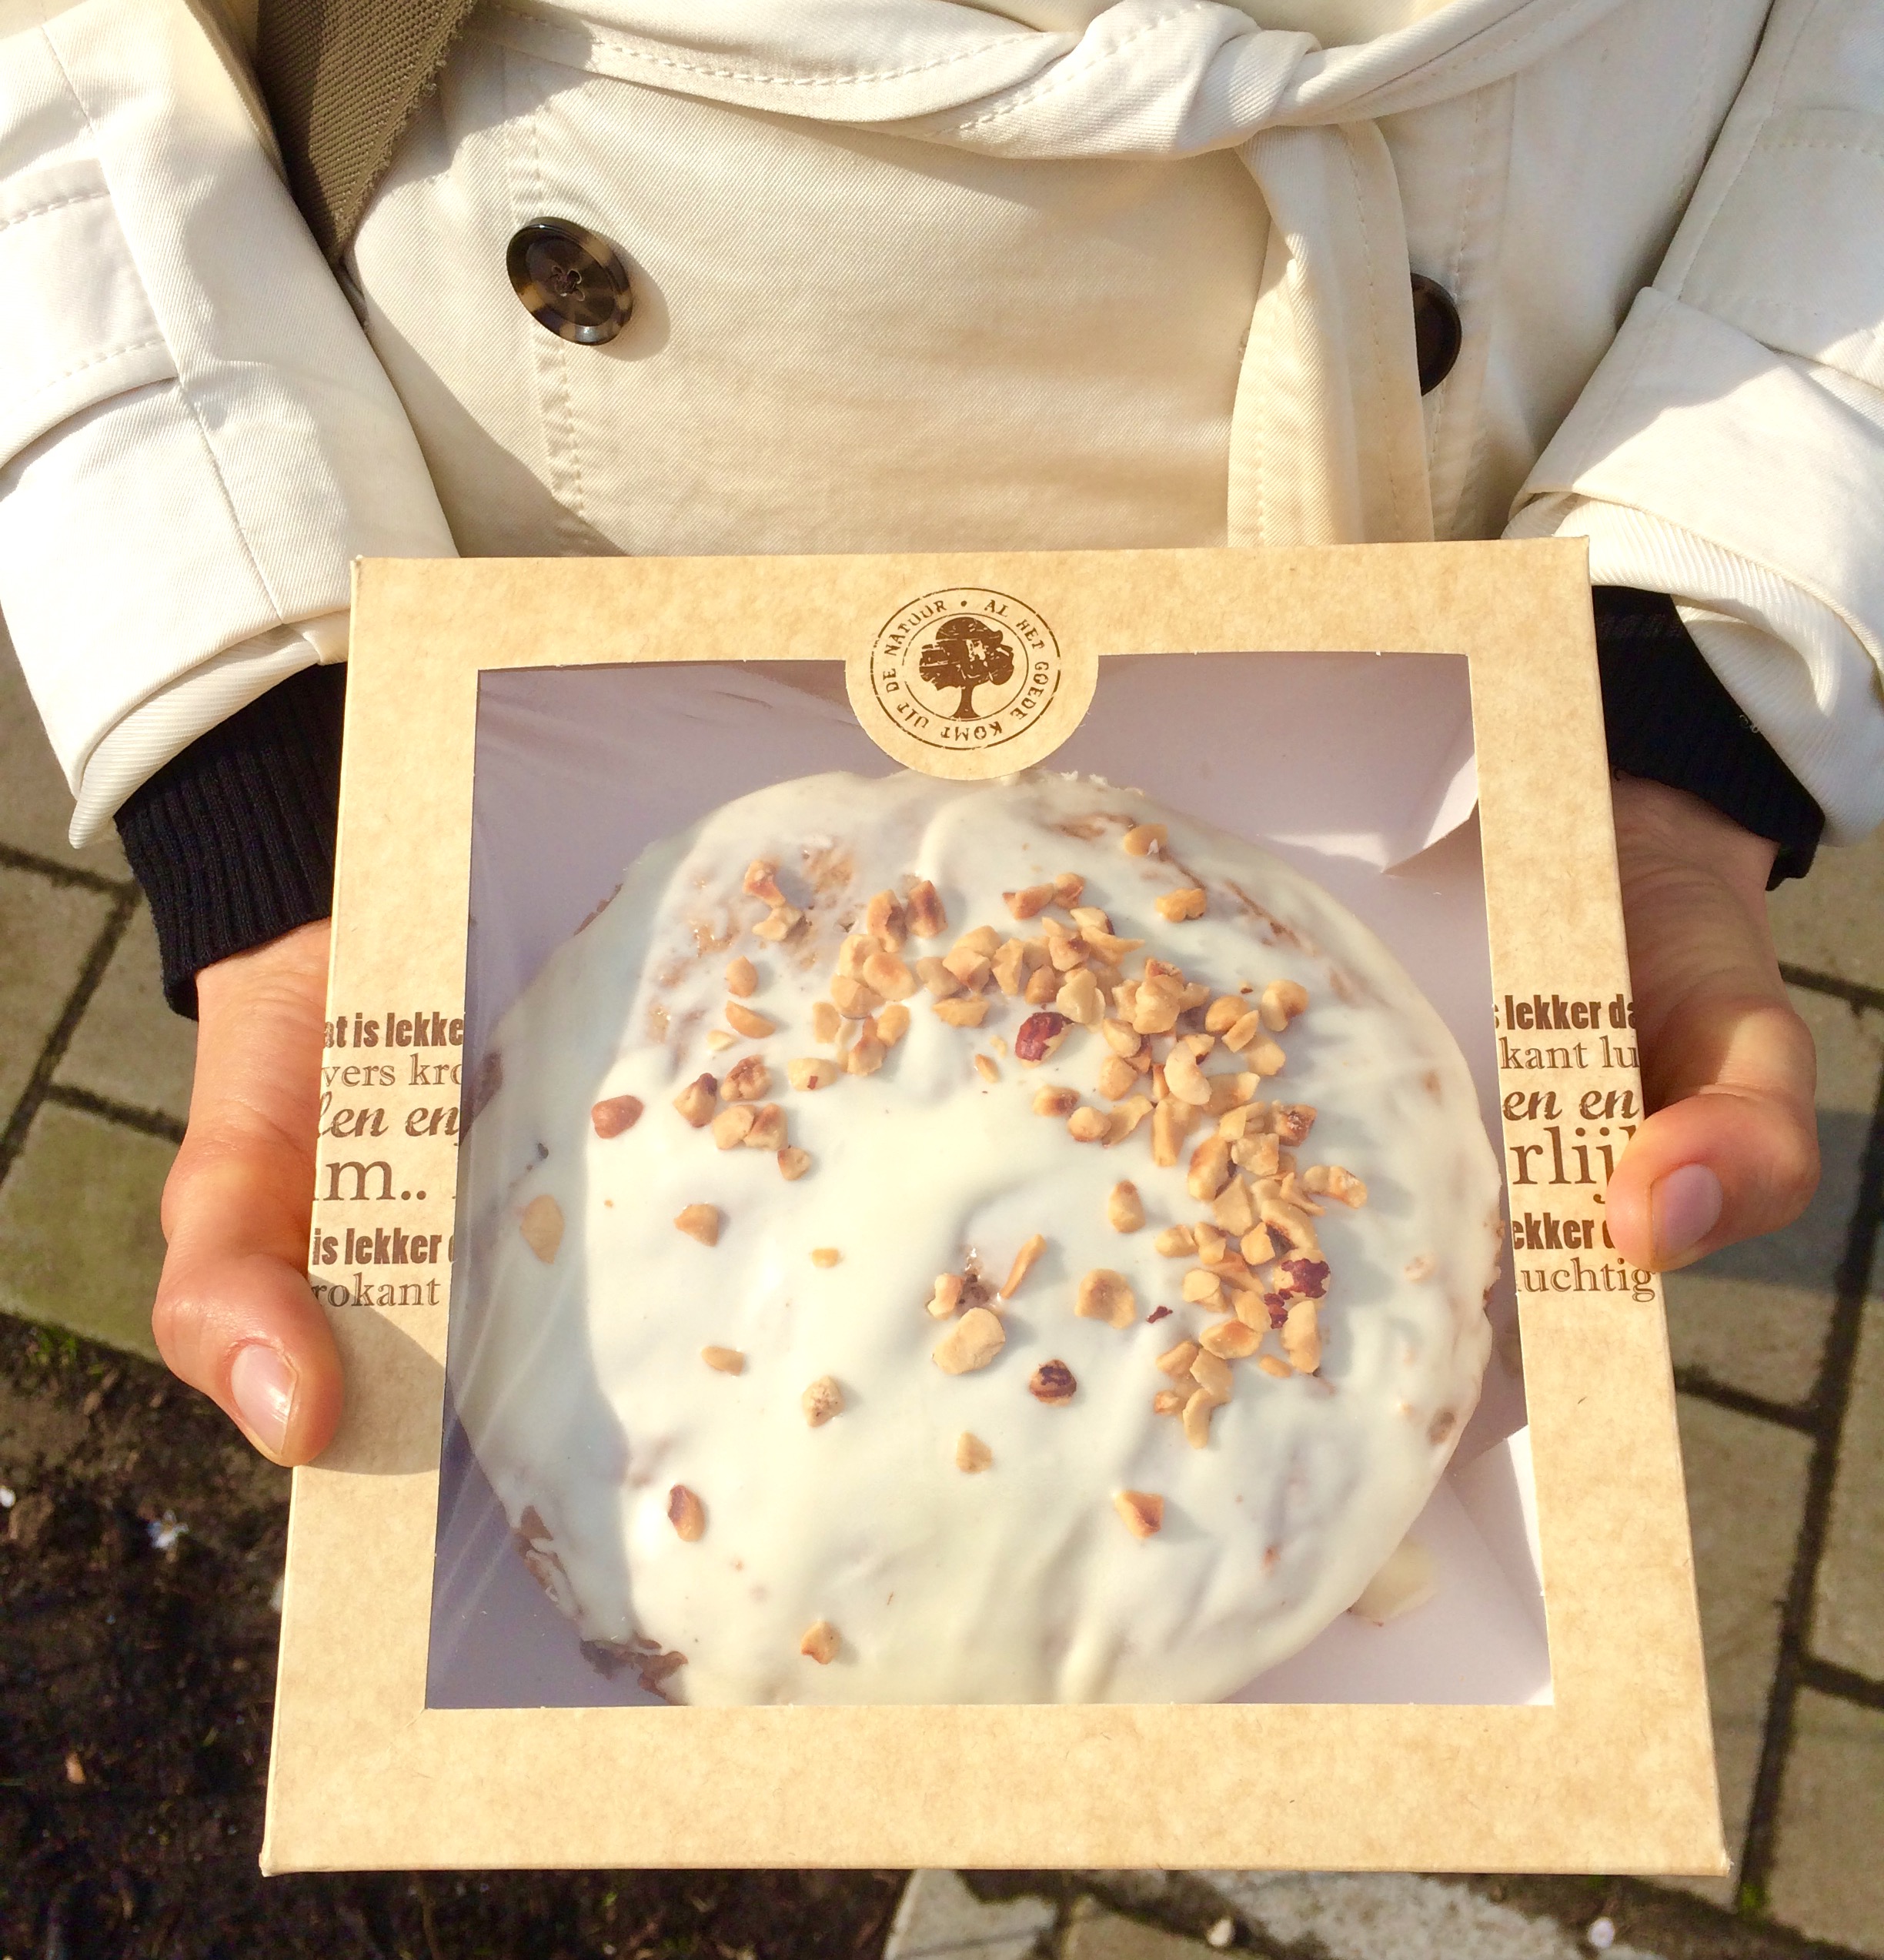
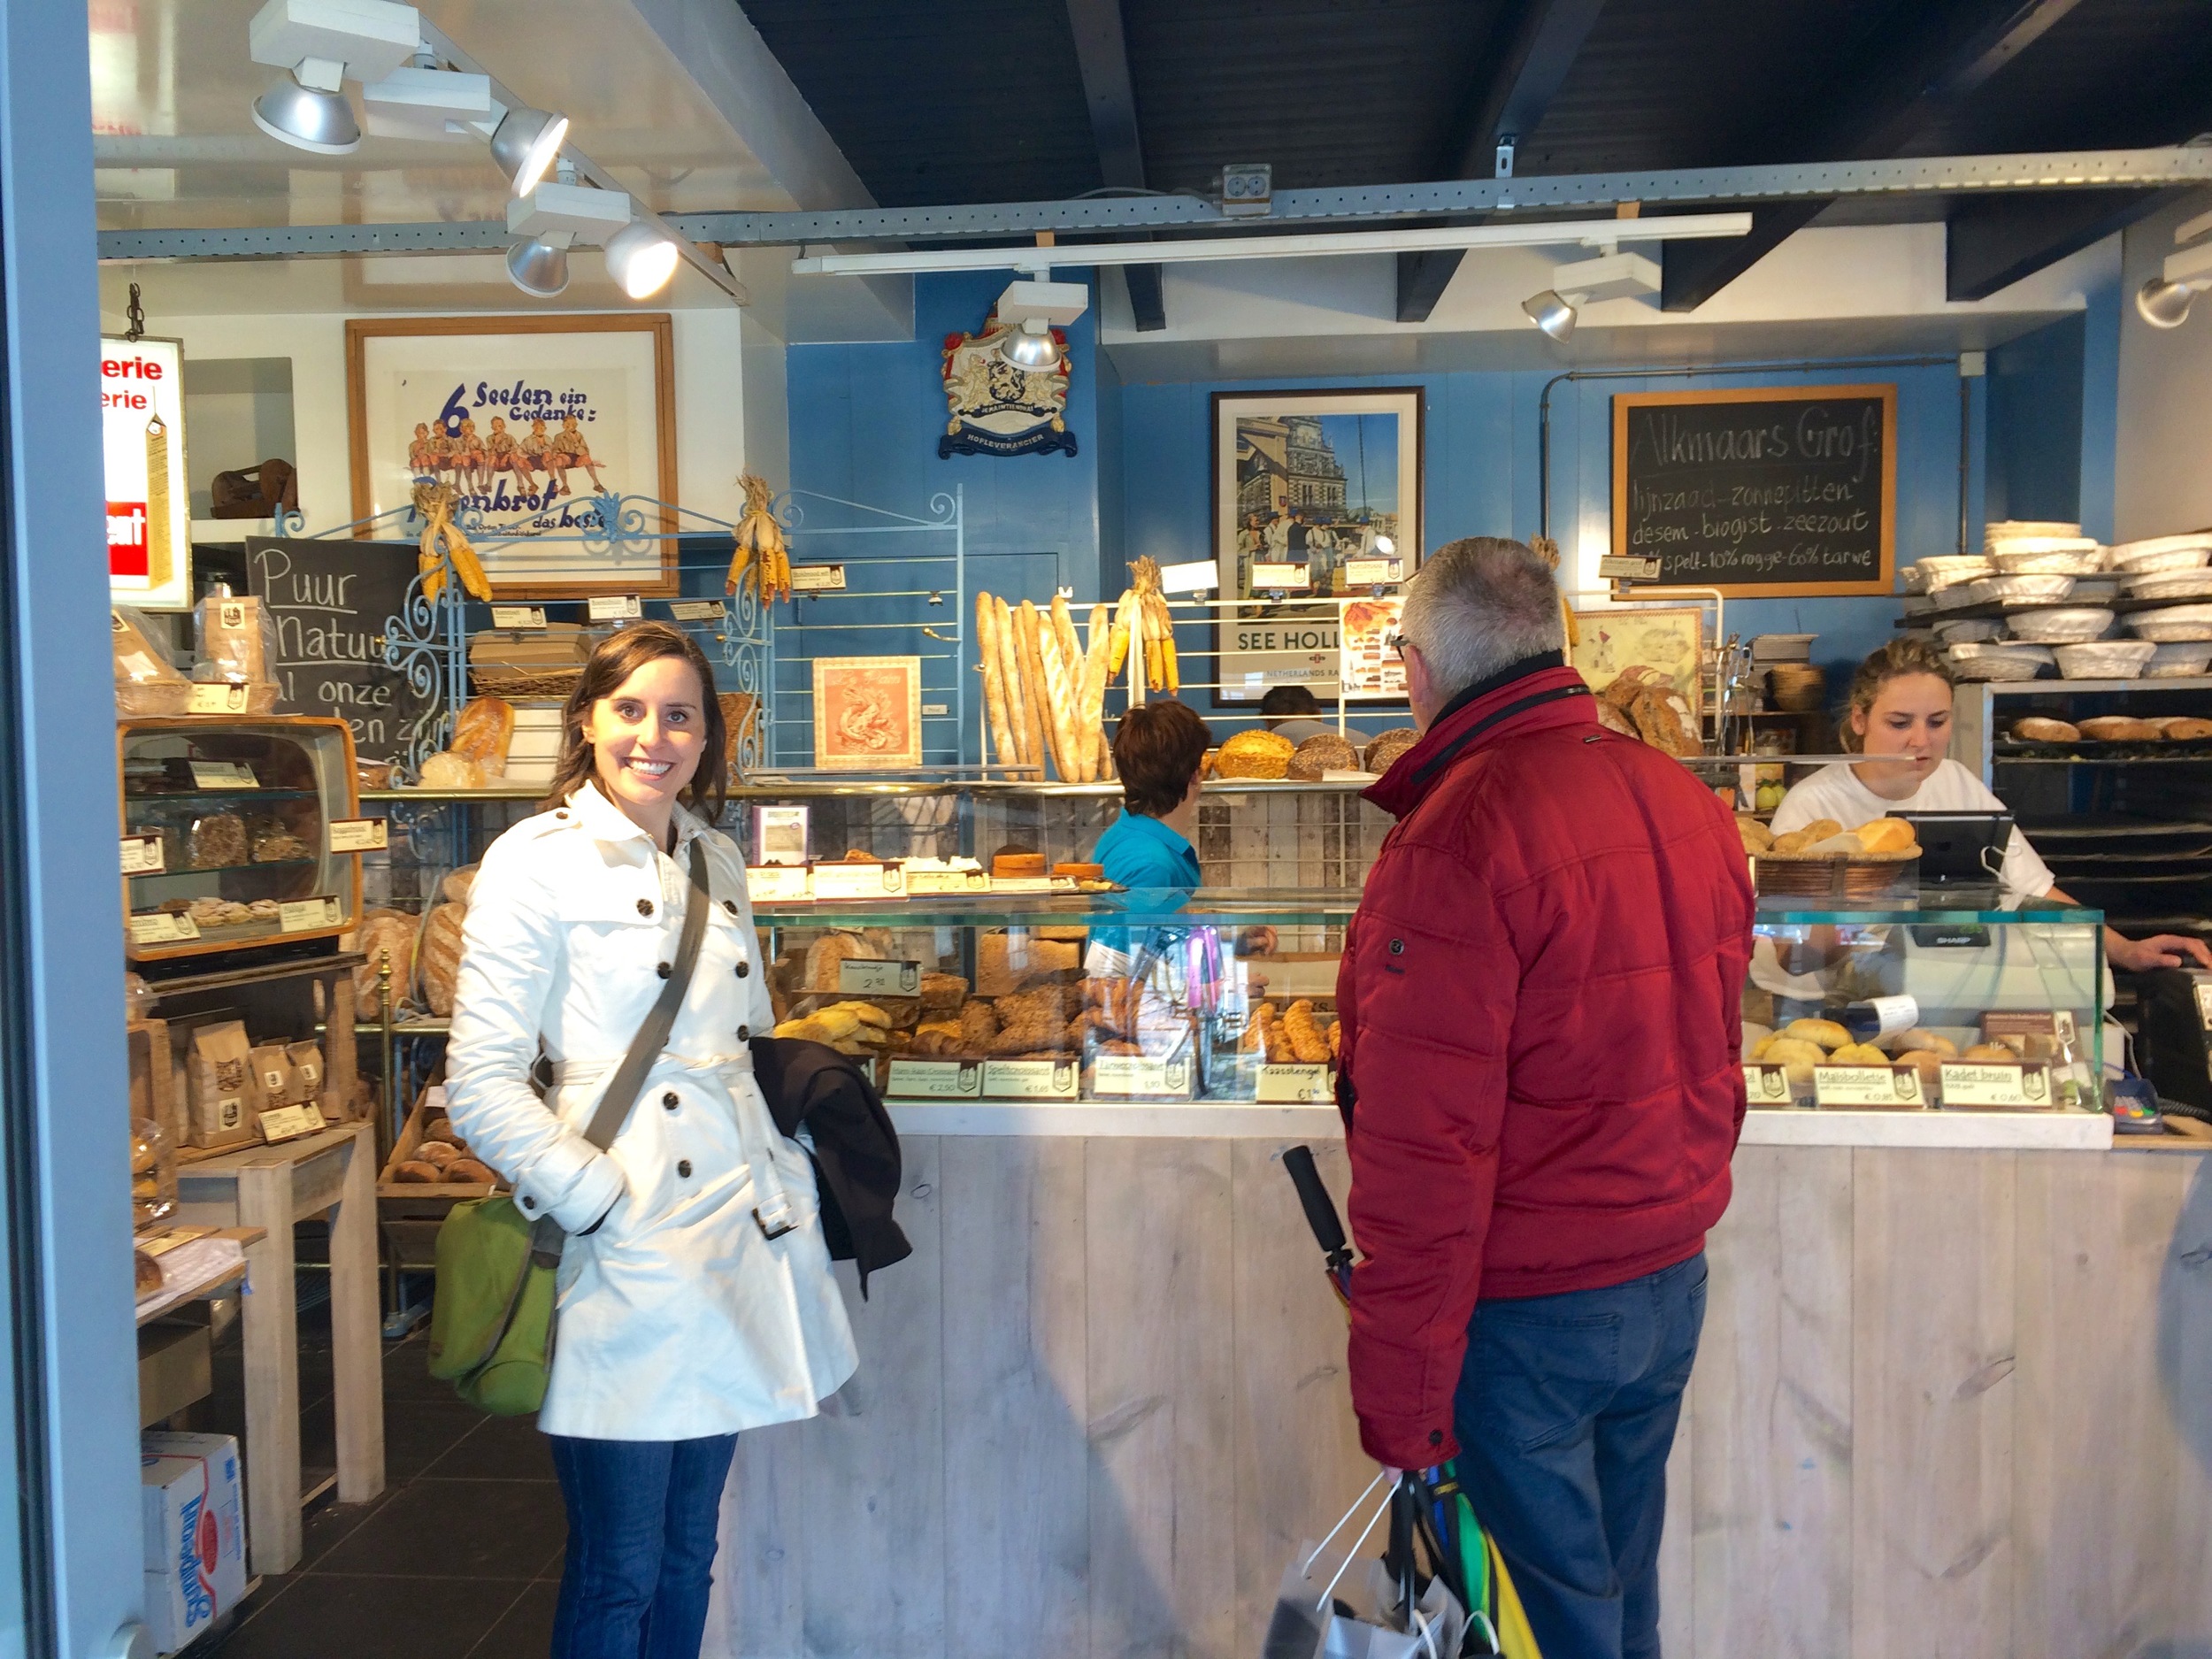
As we left Alkmaar, we stopped at another great little bakery to pick up some baguettes (Henk's favorite) for dinner that night. I was already excited!

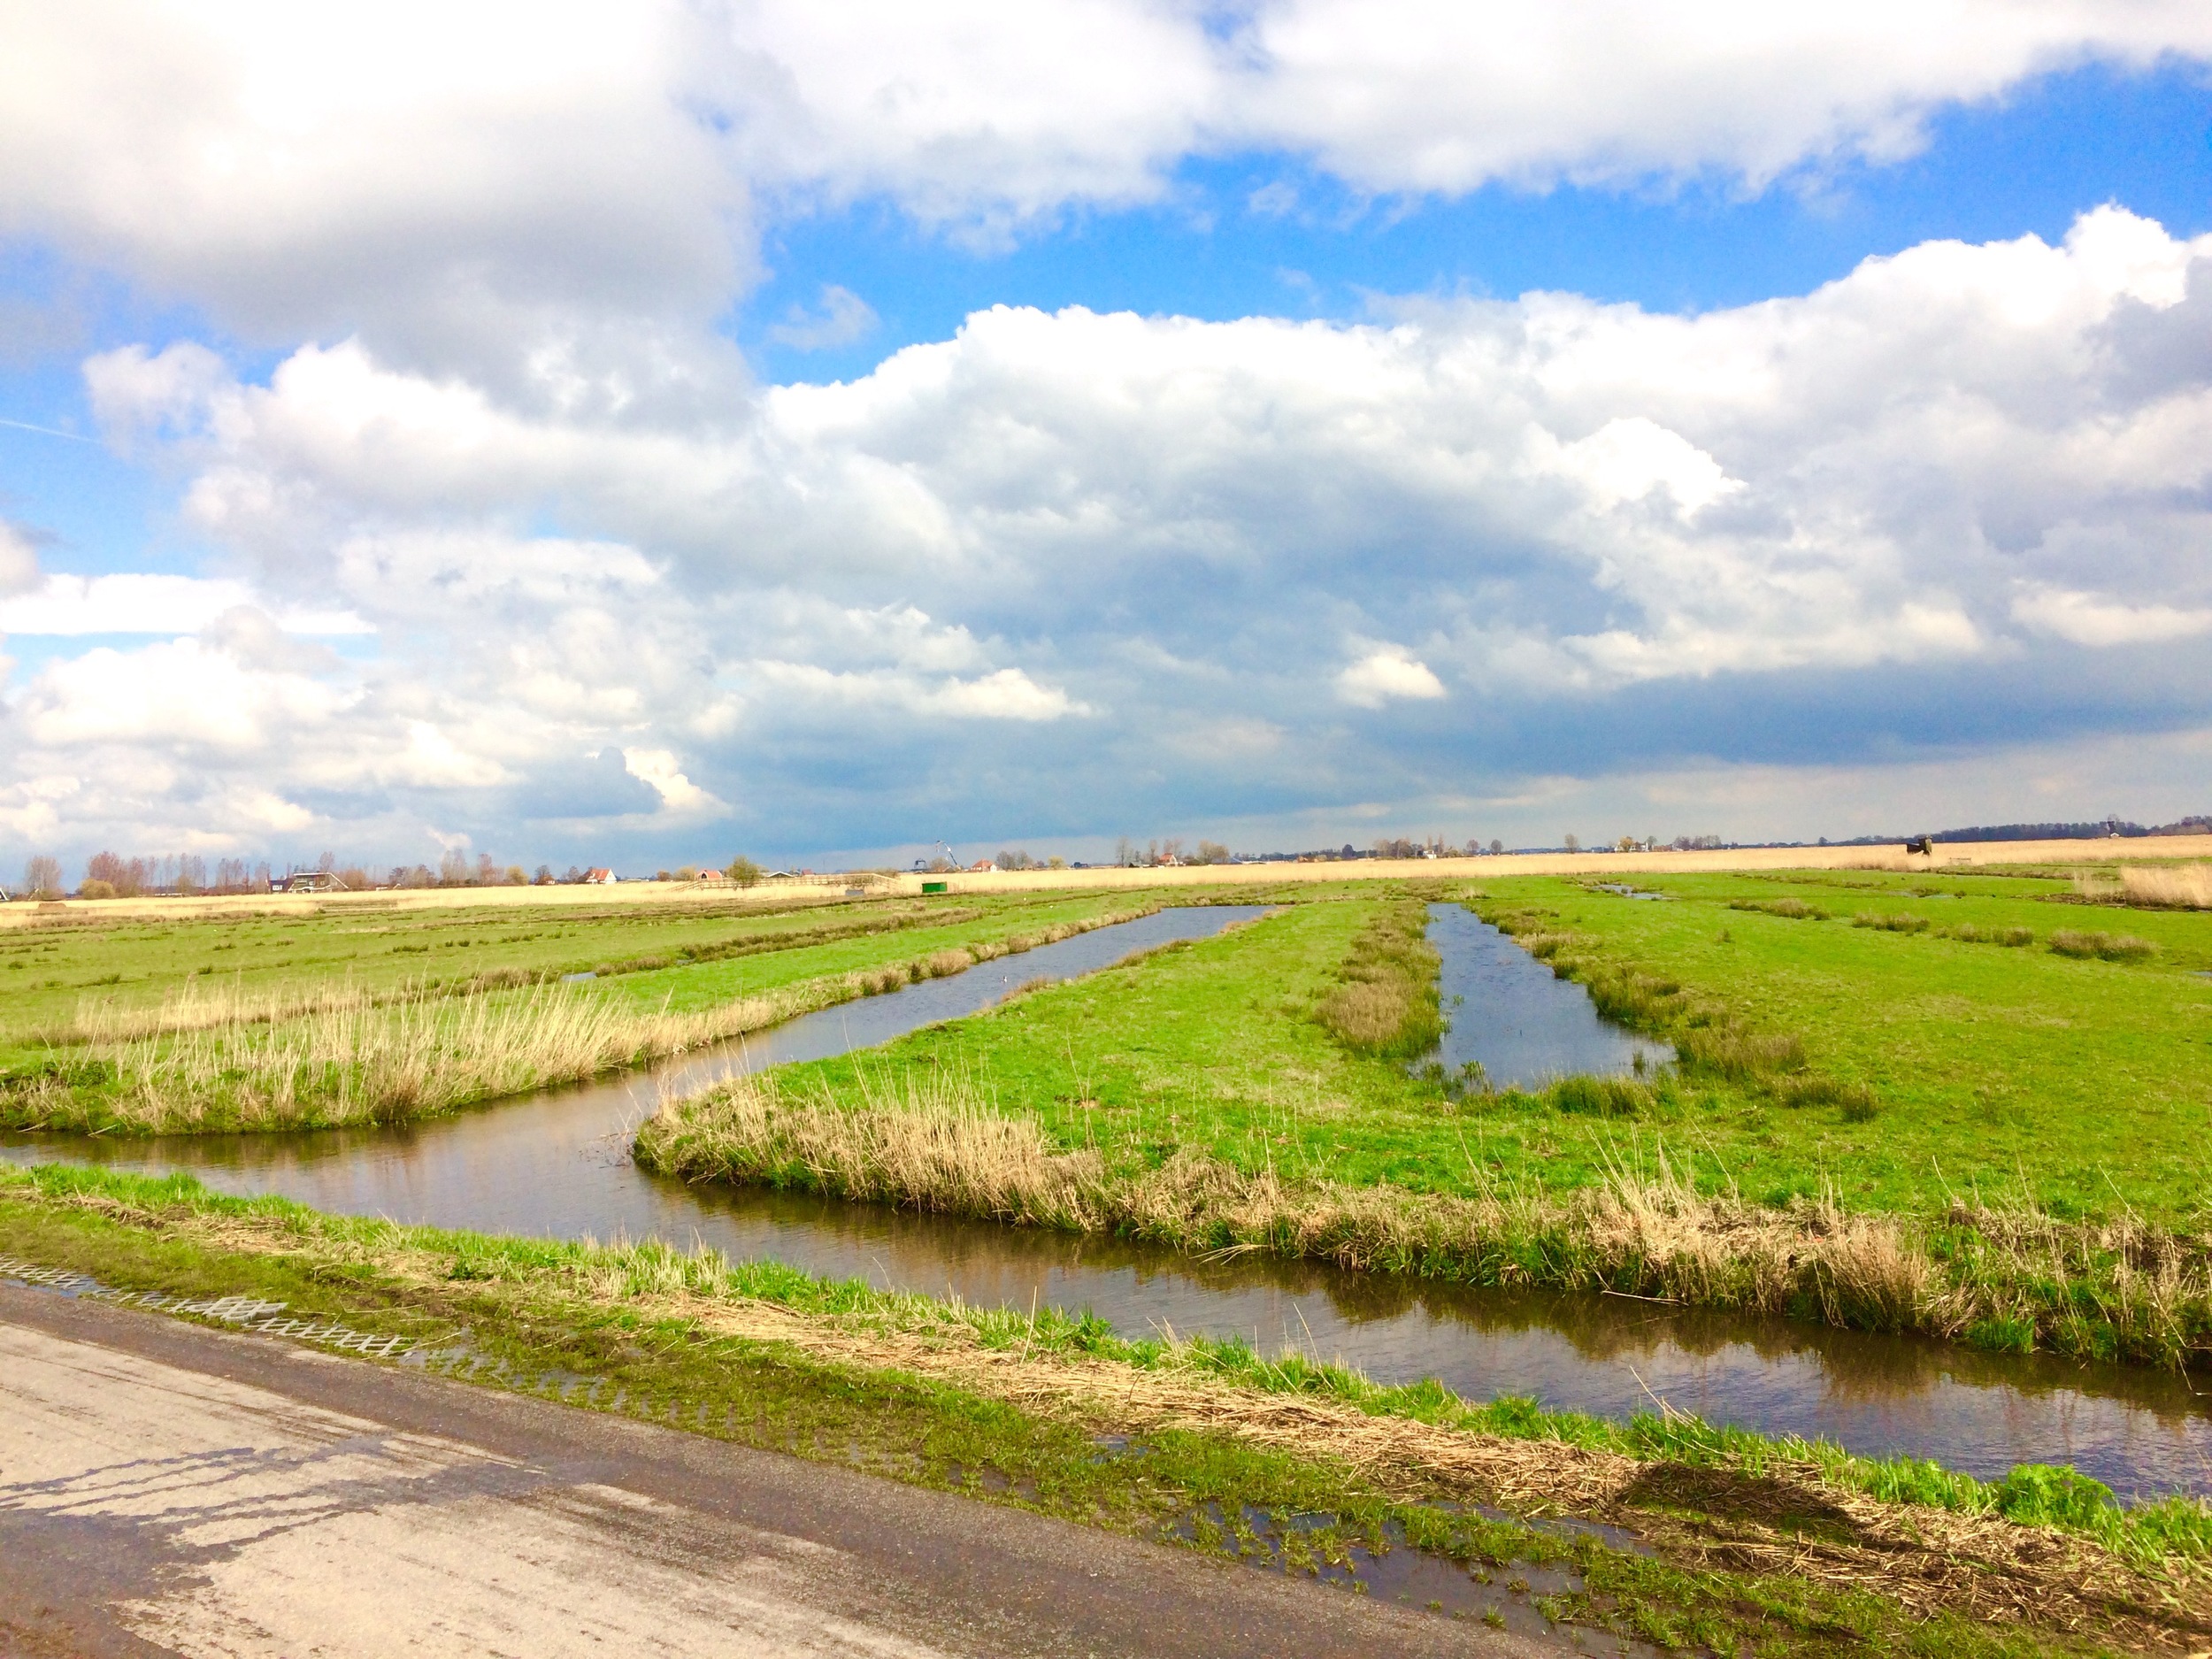
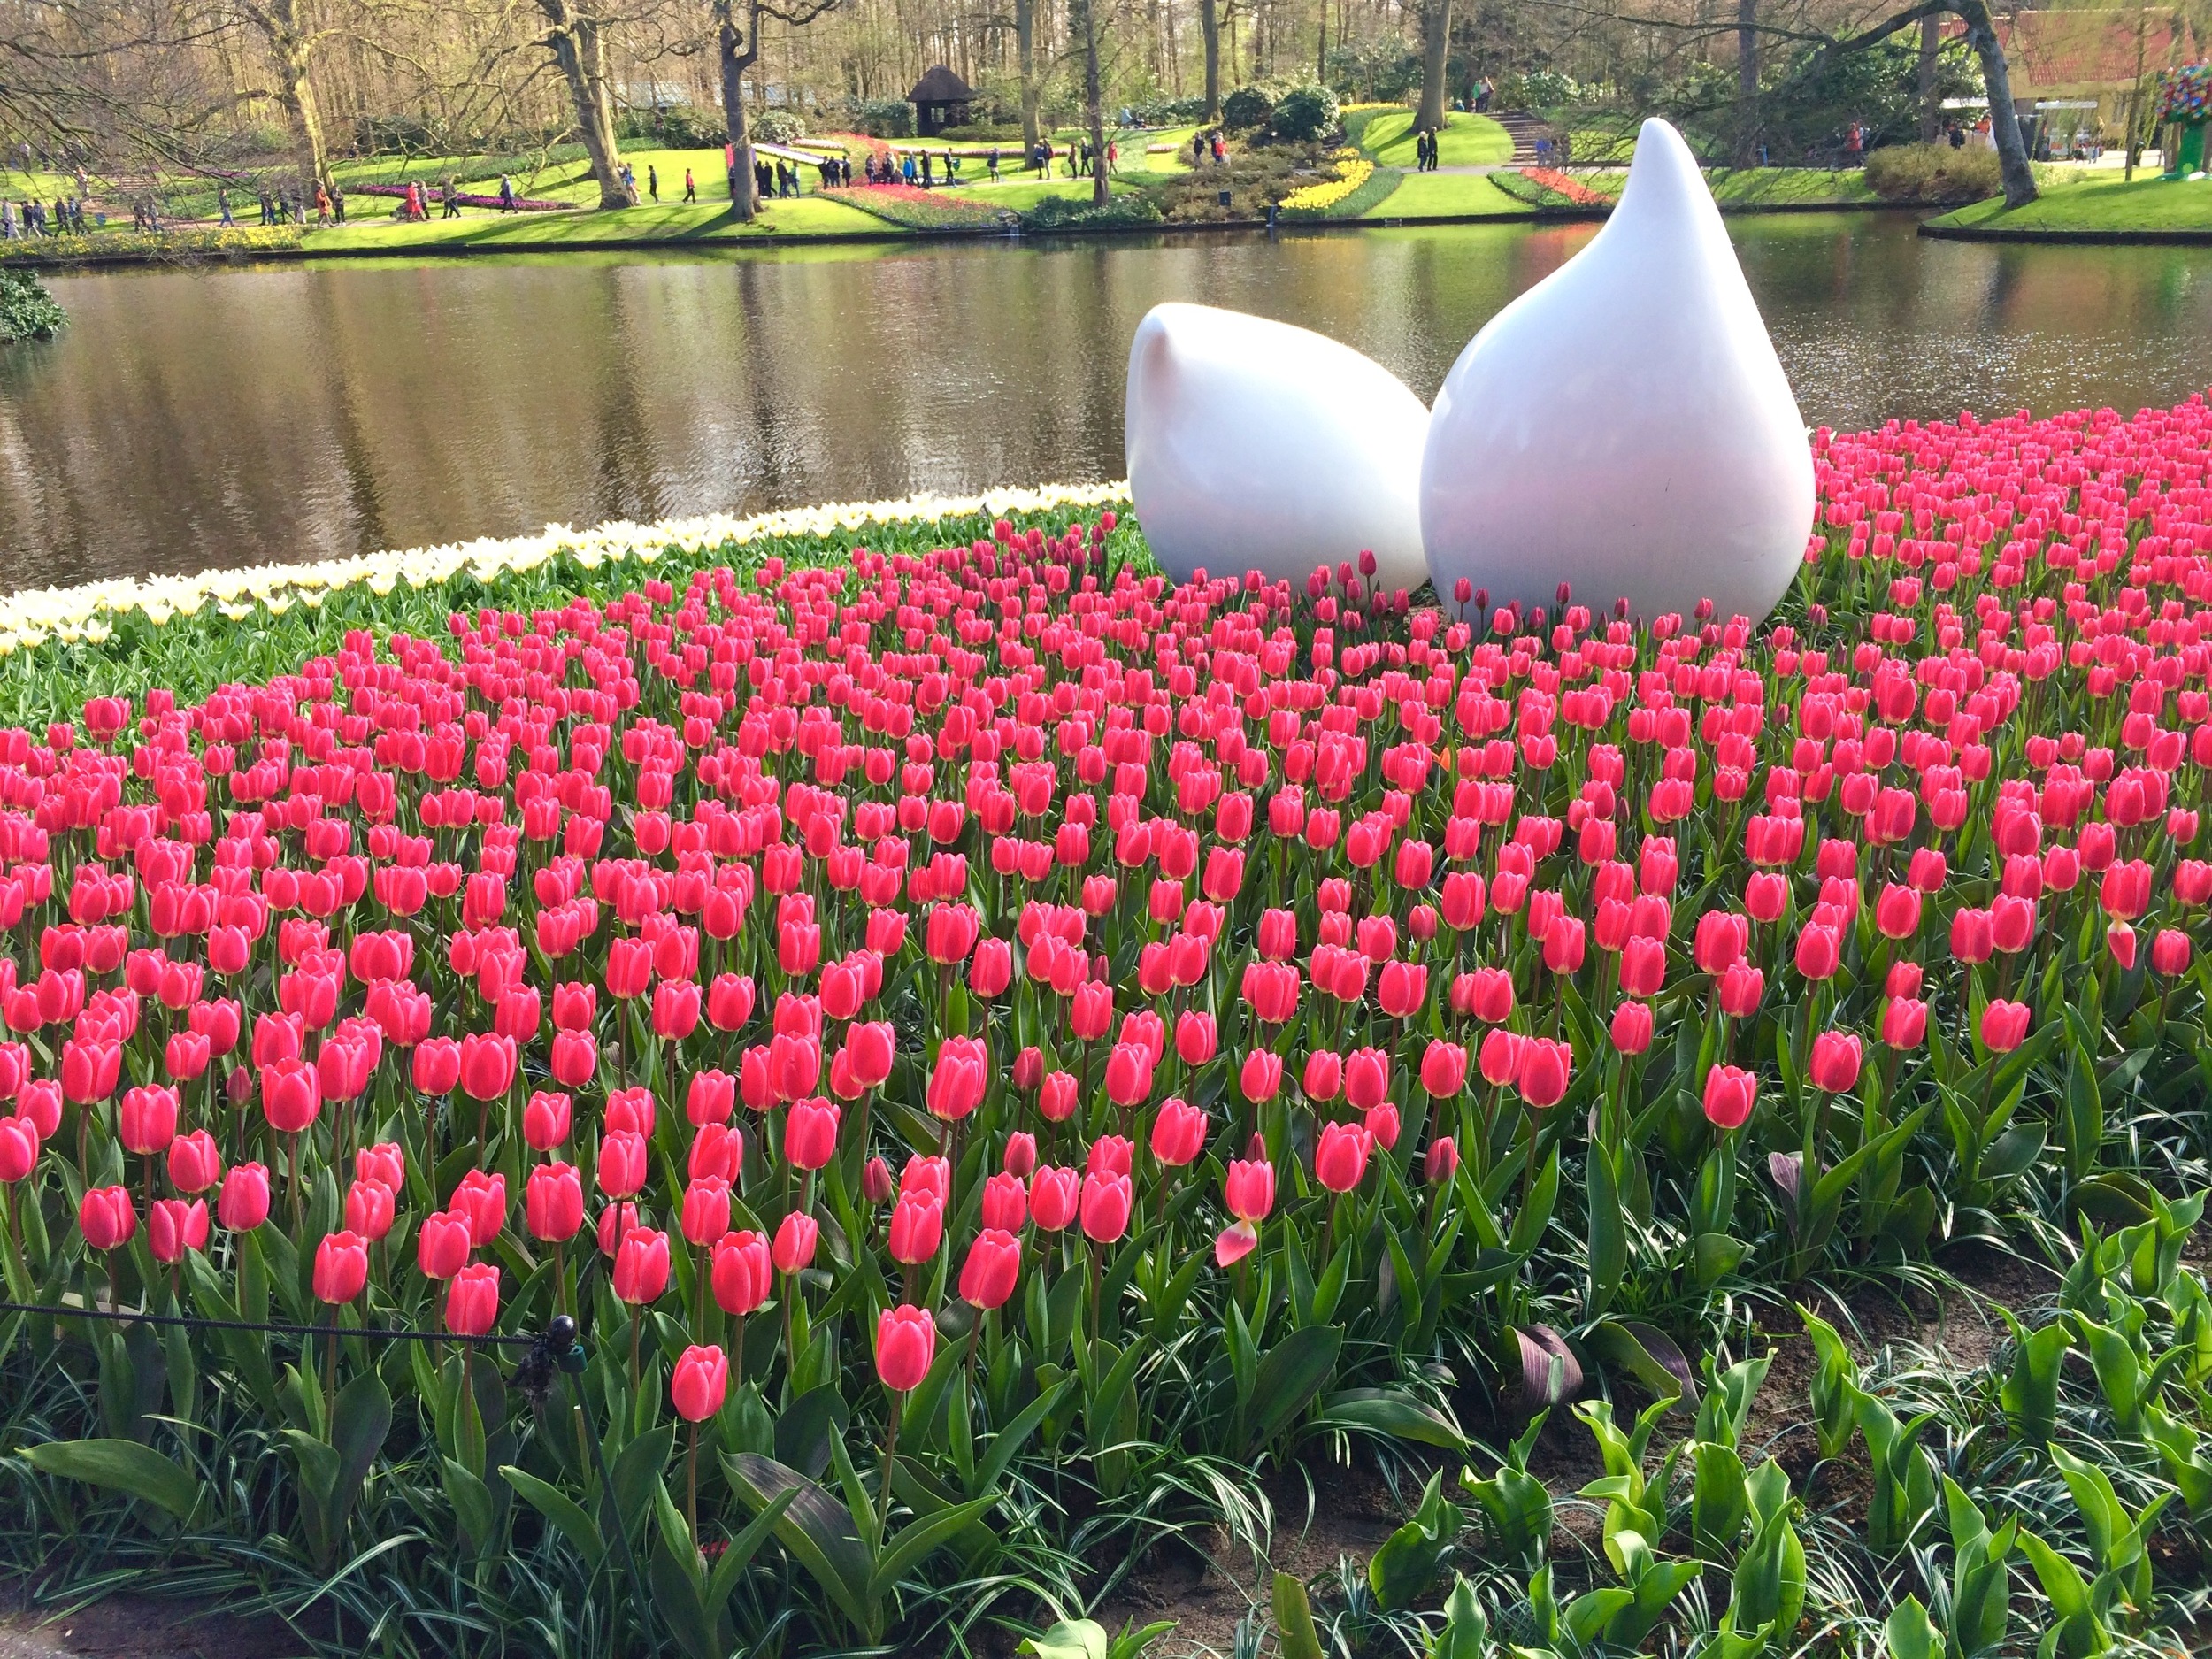
From Alkmaar we traveled south to hit up the Keukenhof in Lisse. It is one of the world's largest flower gardens. They plant 7 million bulbs every fall, and in the spring it is open for 8 weeks so tourists from everywhere can can and enjoy the beauty. When we were almost to the Keukenhof, Henk pulled over on the side of the road so we could get a picture with the blooming hyacinths. They are beautiful, and smell amazing. 

The Keukenhof itself was absolutely beautiful. Unfortunately, we were a week or two too early for the splendor of all the tulips, but we still got to see quite a few tulips, tons of hyacinths, and daffodils as well. I would recommend the Keukenhof to anyone traveling in the Netherlands in April or May, it was definitely worth visiting. 

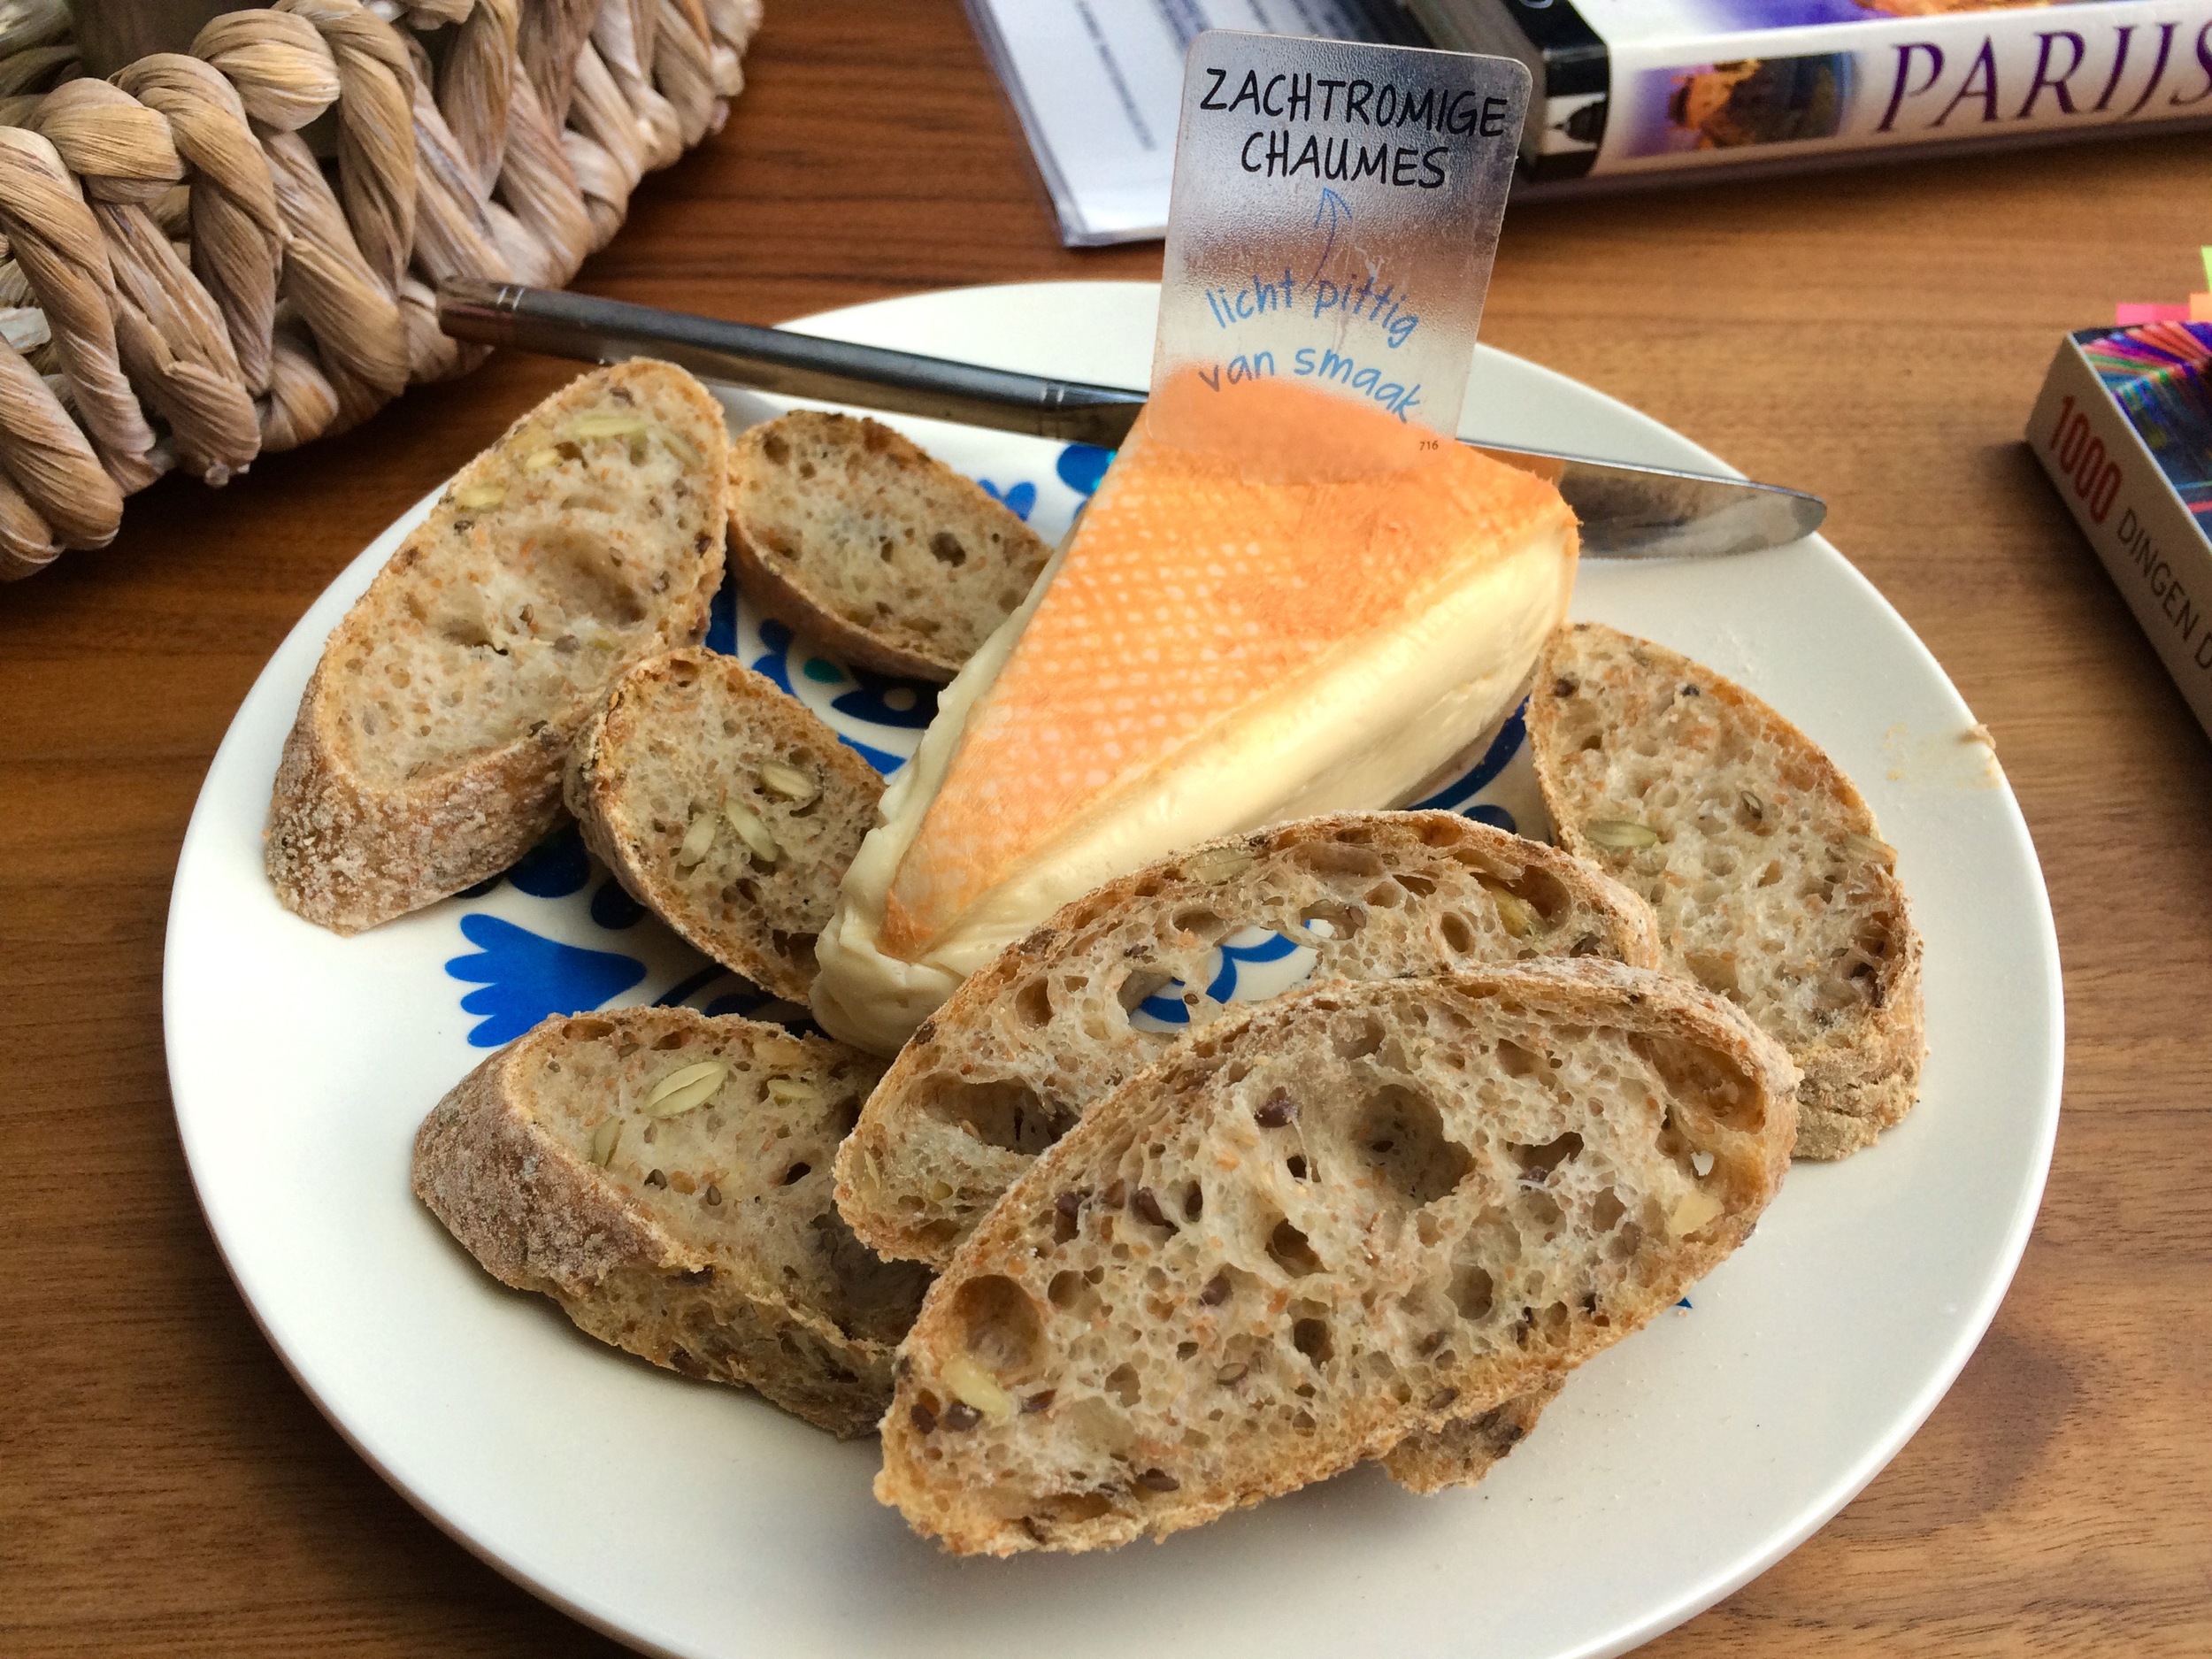
After our long day in Alkmaar and at The Keukenhof we returned home and had a delicious dinner of cheese fondue using some cheese that Henk bought in Alkmaar and the baguettes he bought at the bakery there as well. There was bread and cheese for an appetizer as well, a delicious French cheese called chaumes. So it was a bread and cheese kind of night, pretty much my favorite thing ever. This was our last night in Oostzaan, and it was the perfect way to end our stay there. 

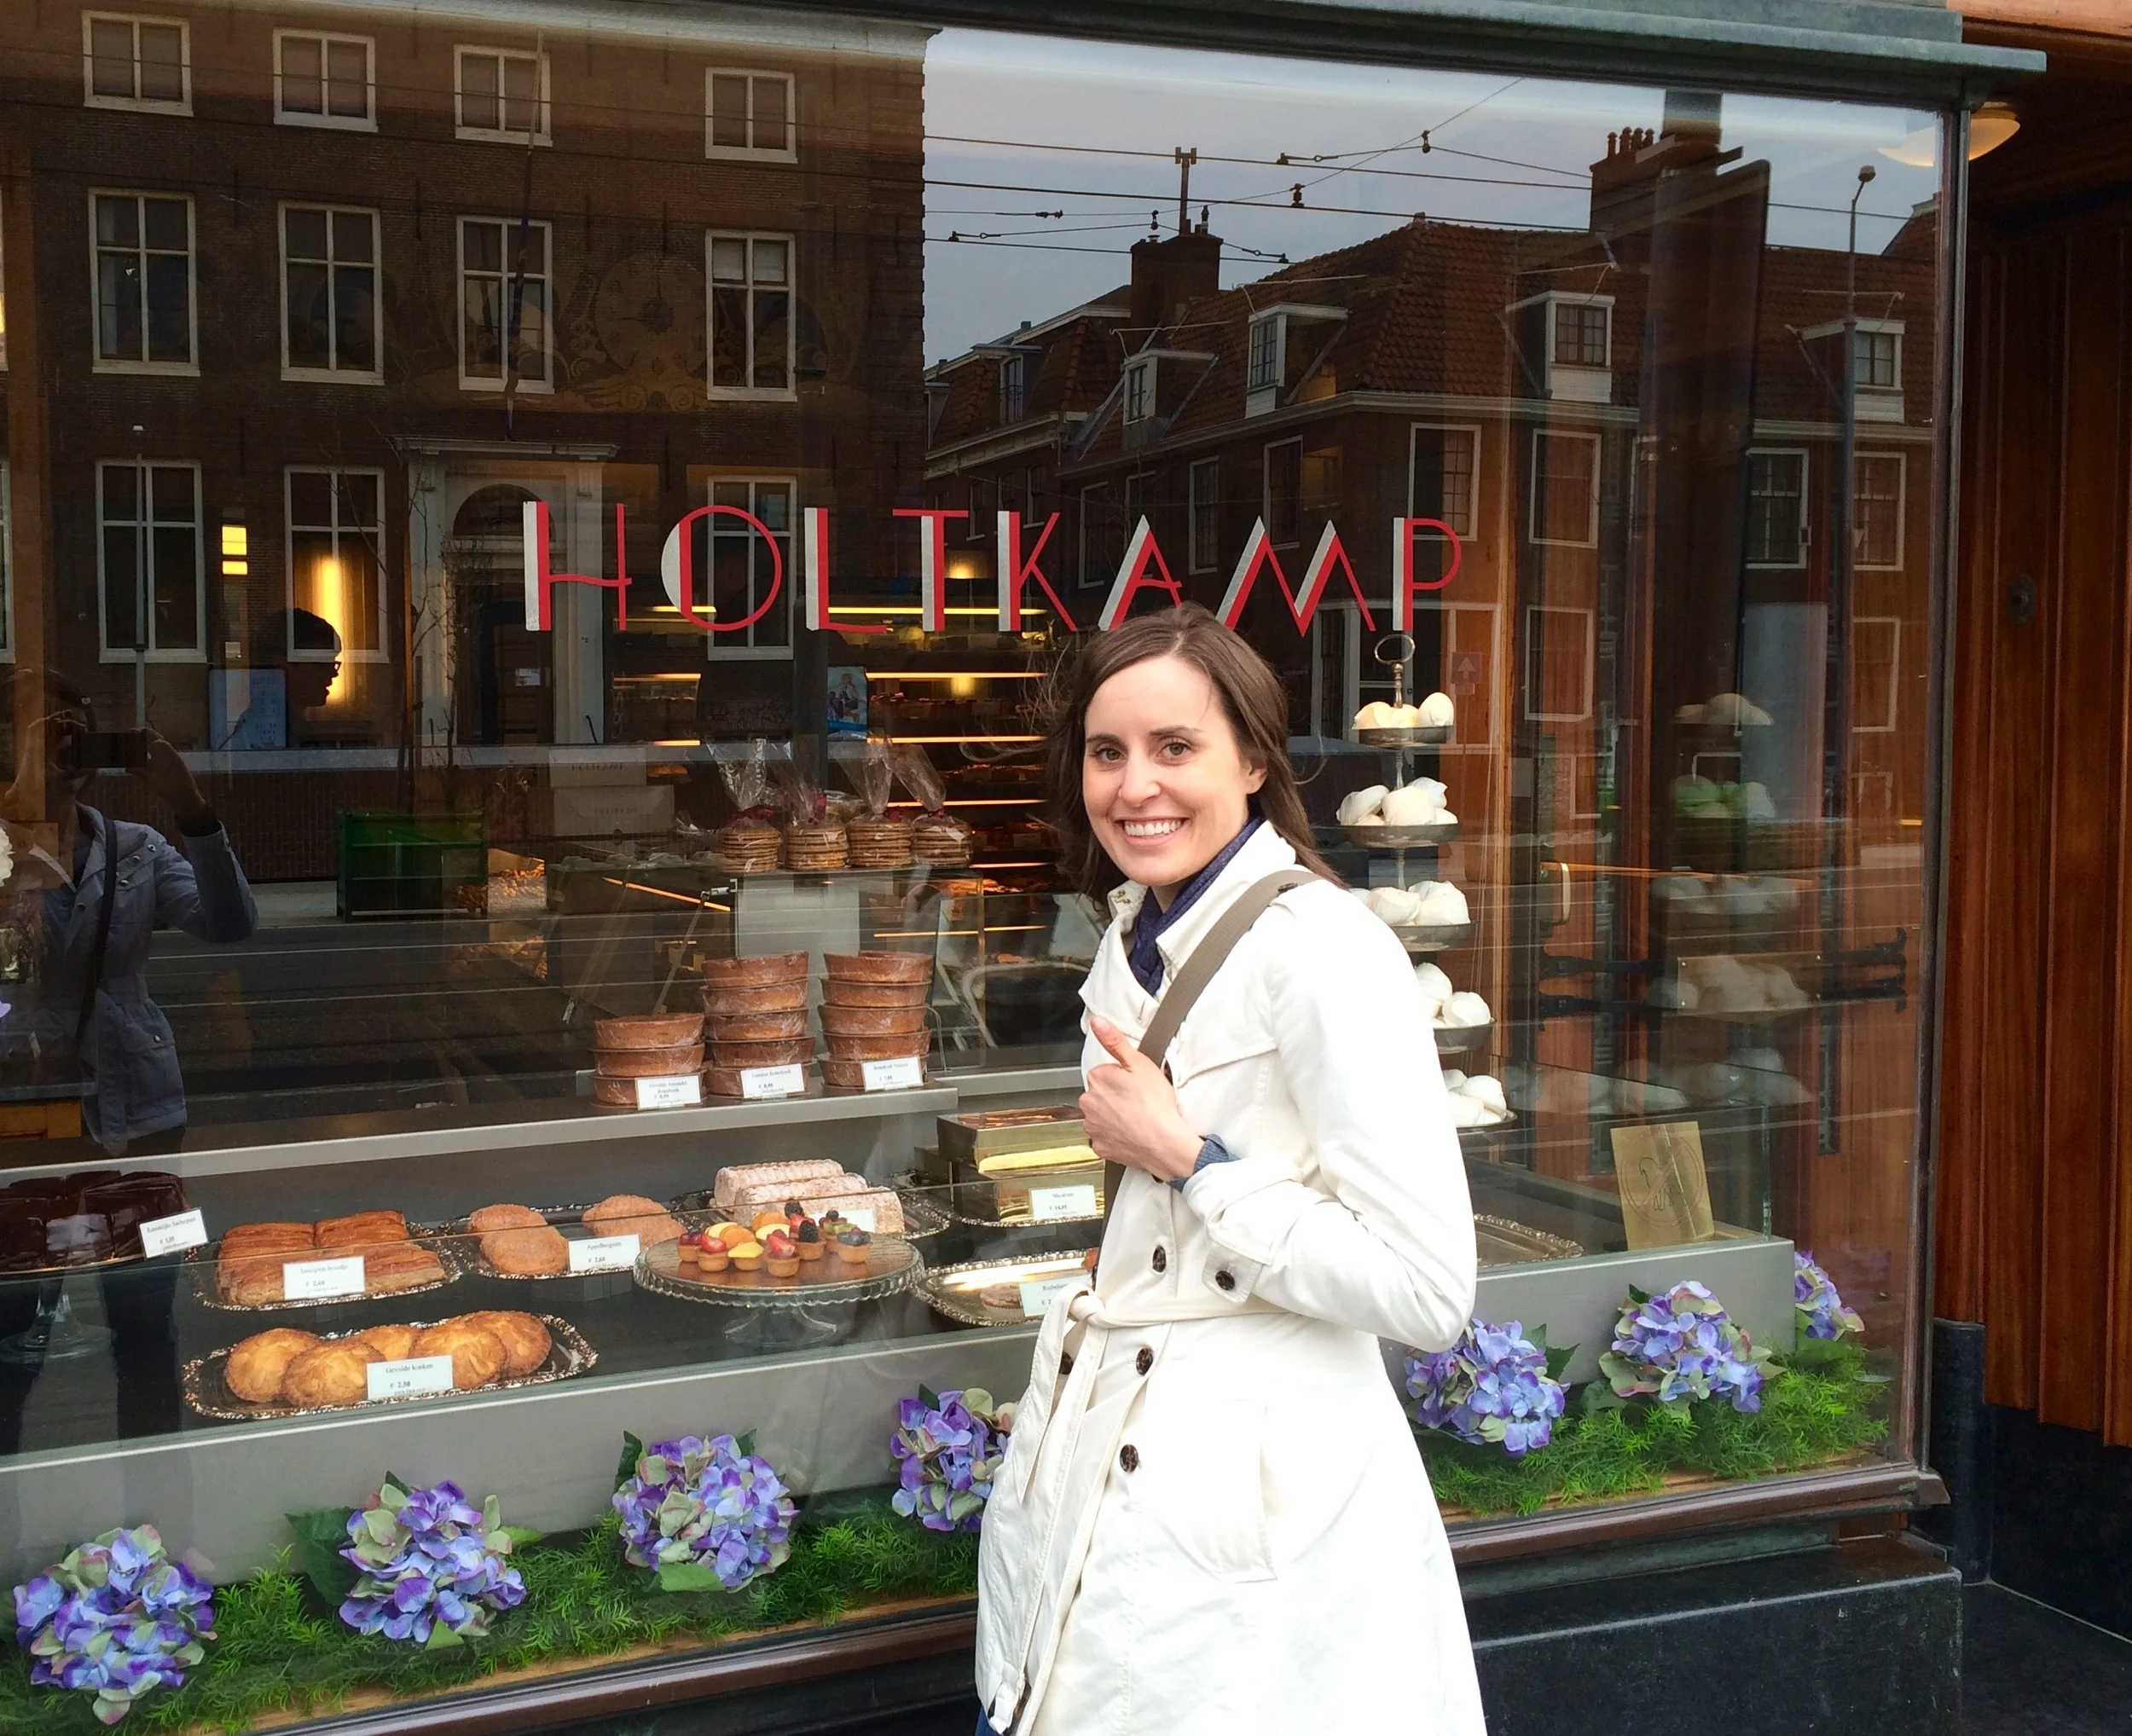
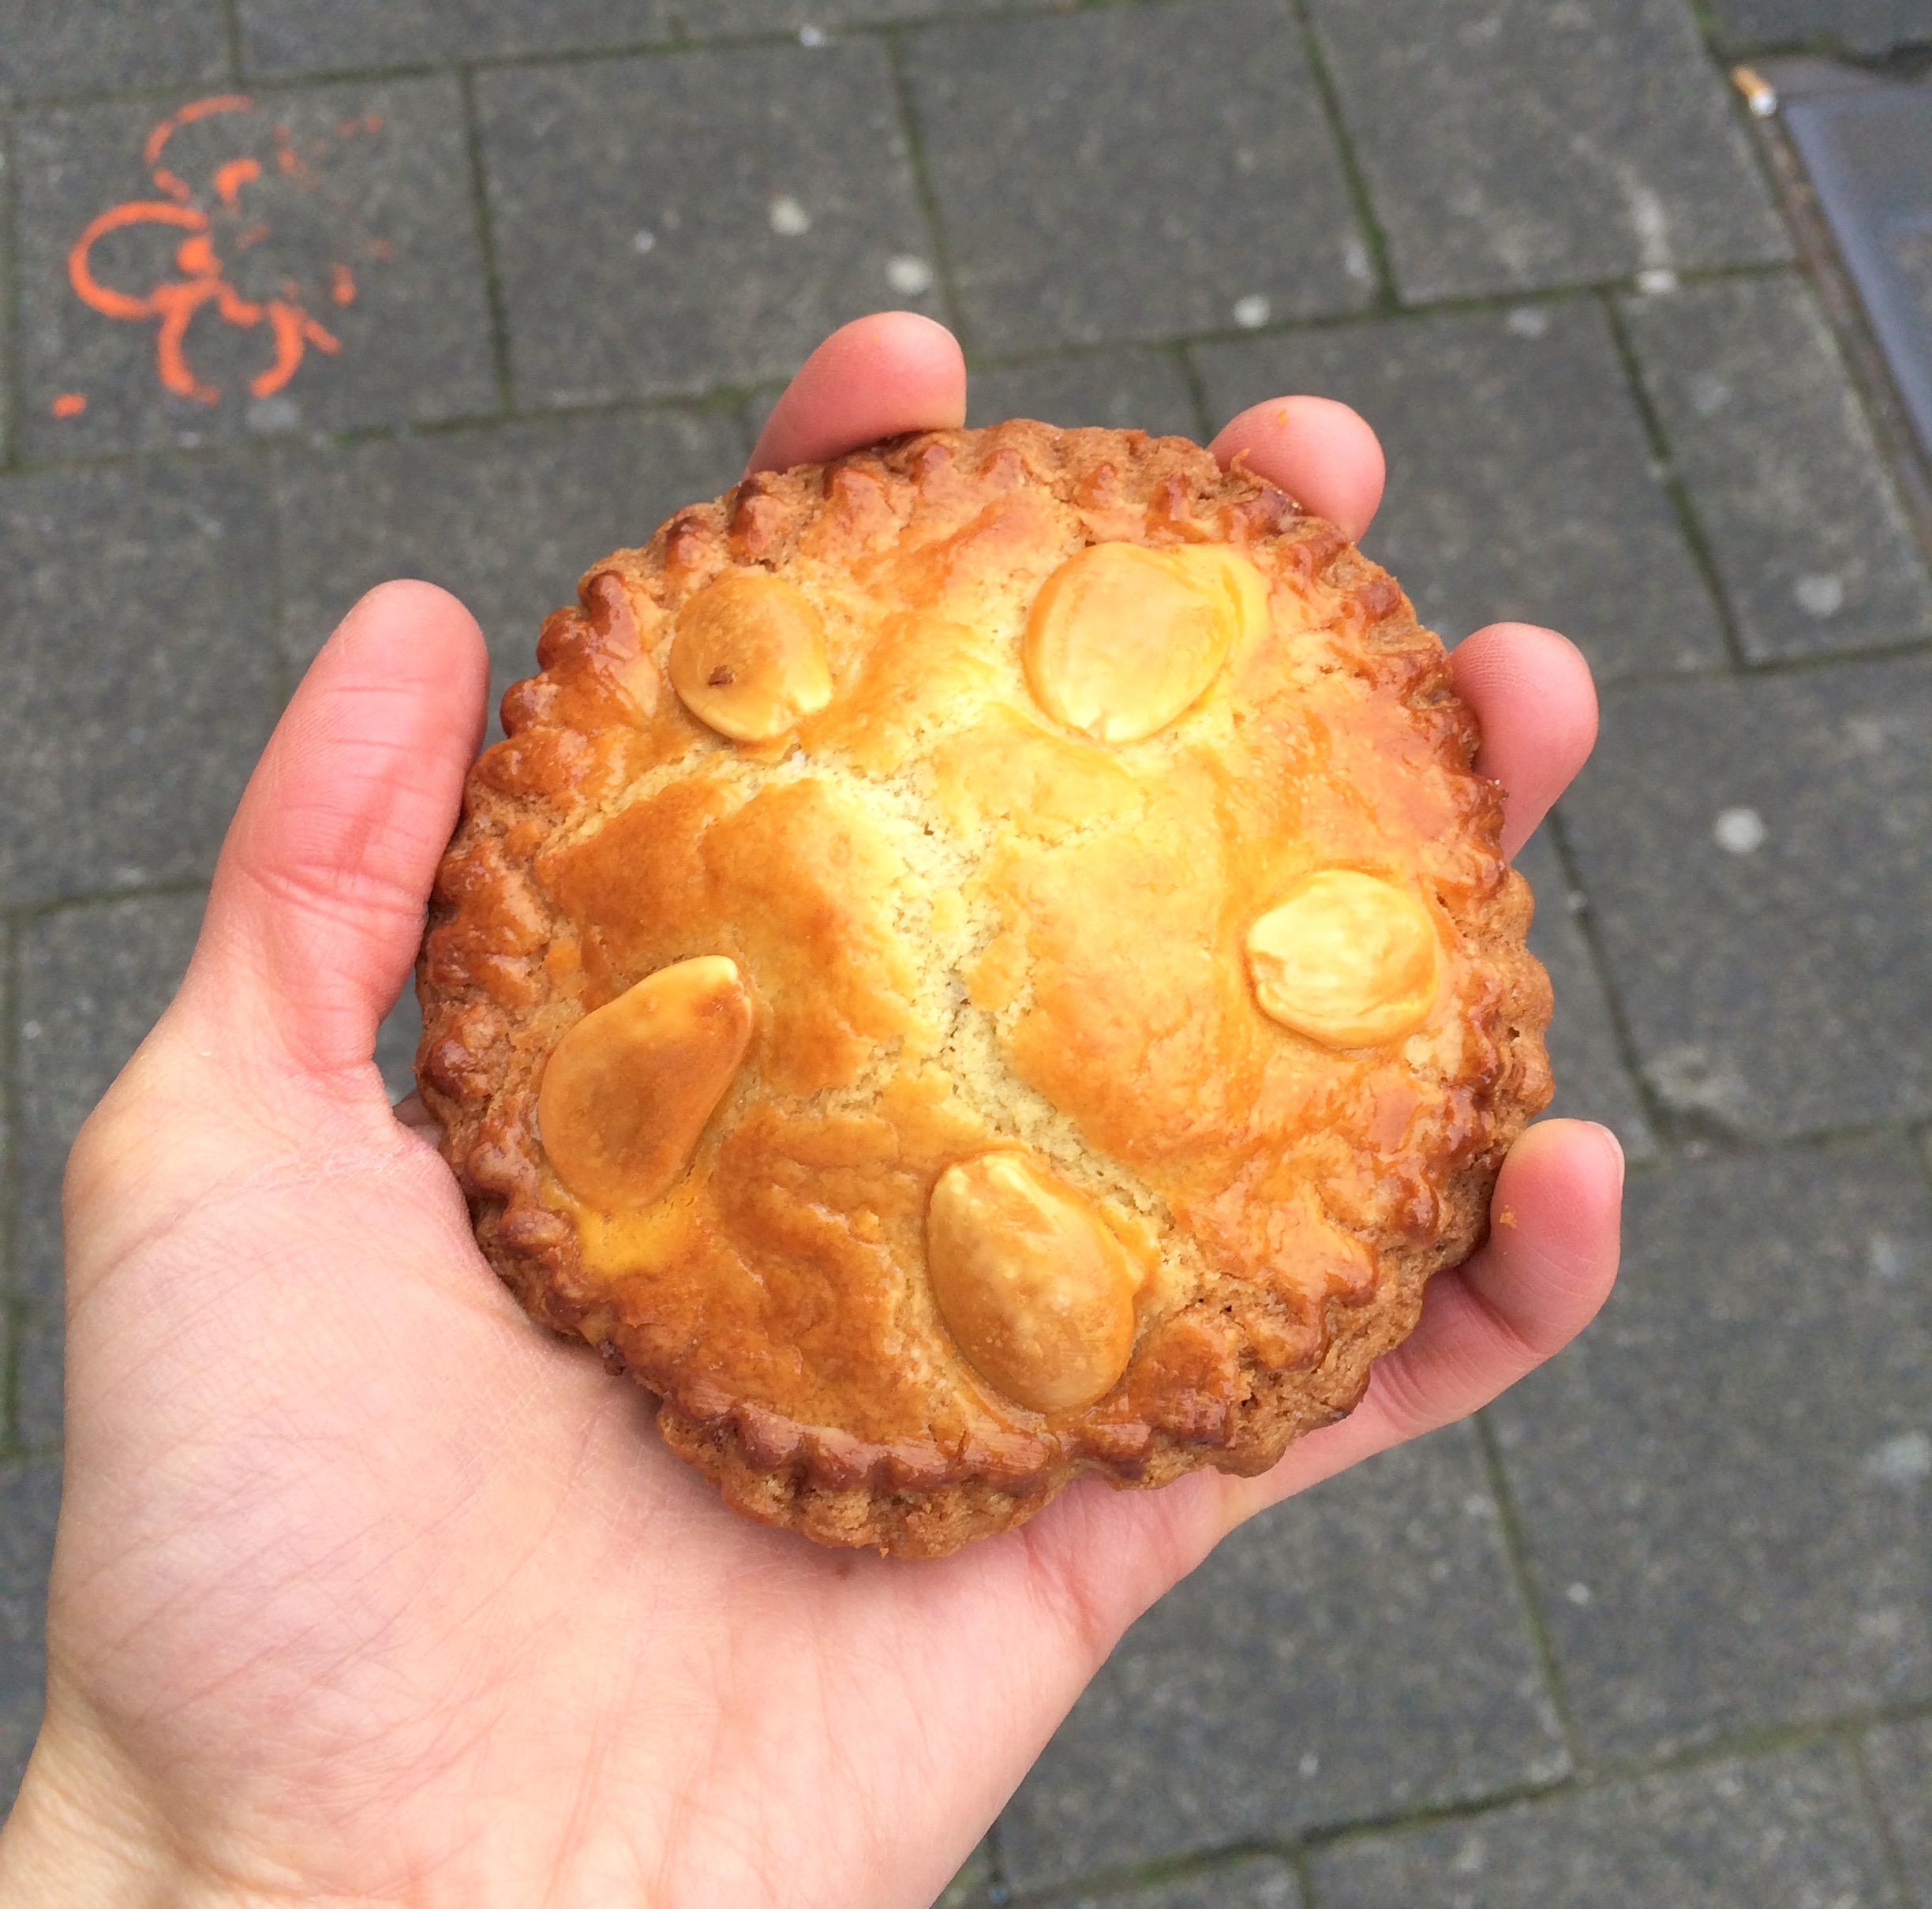
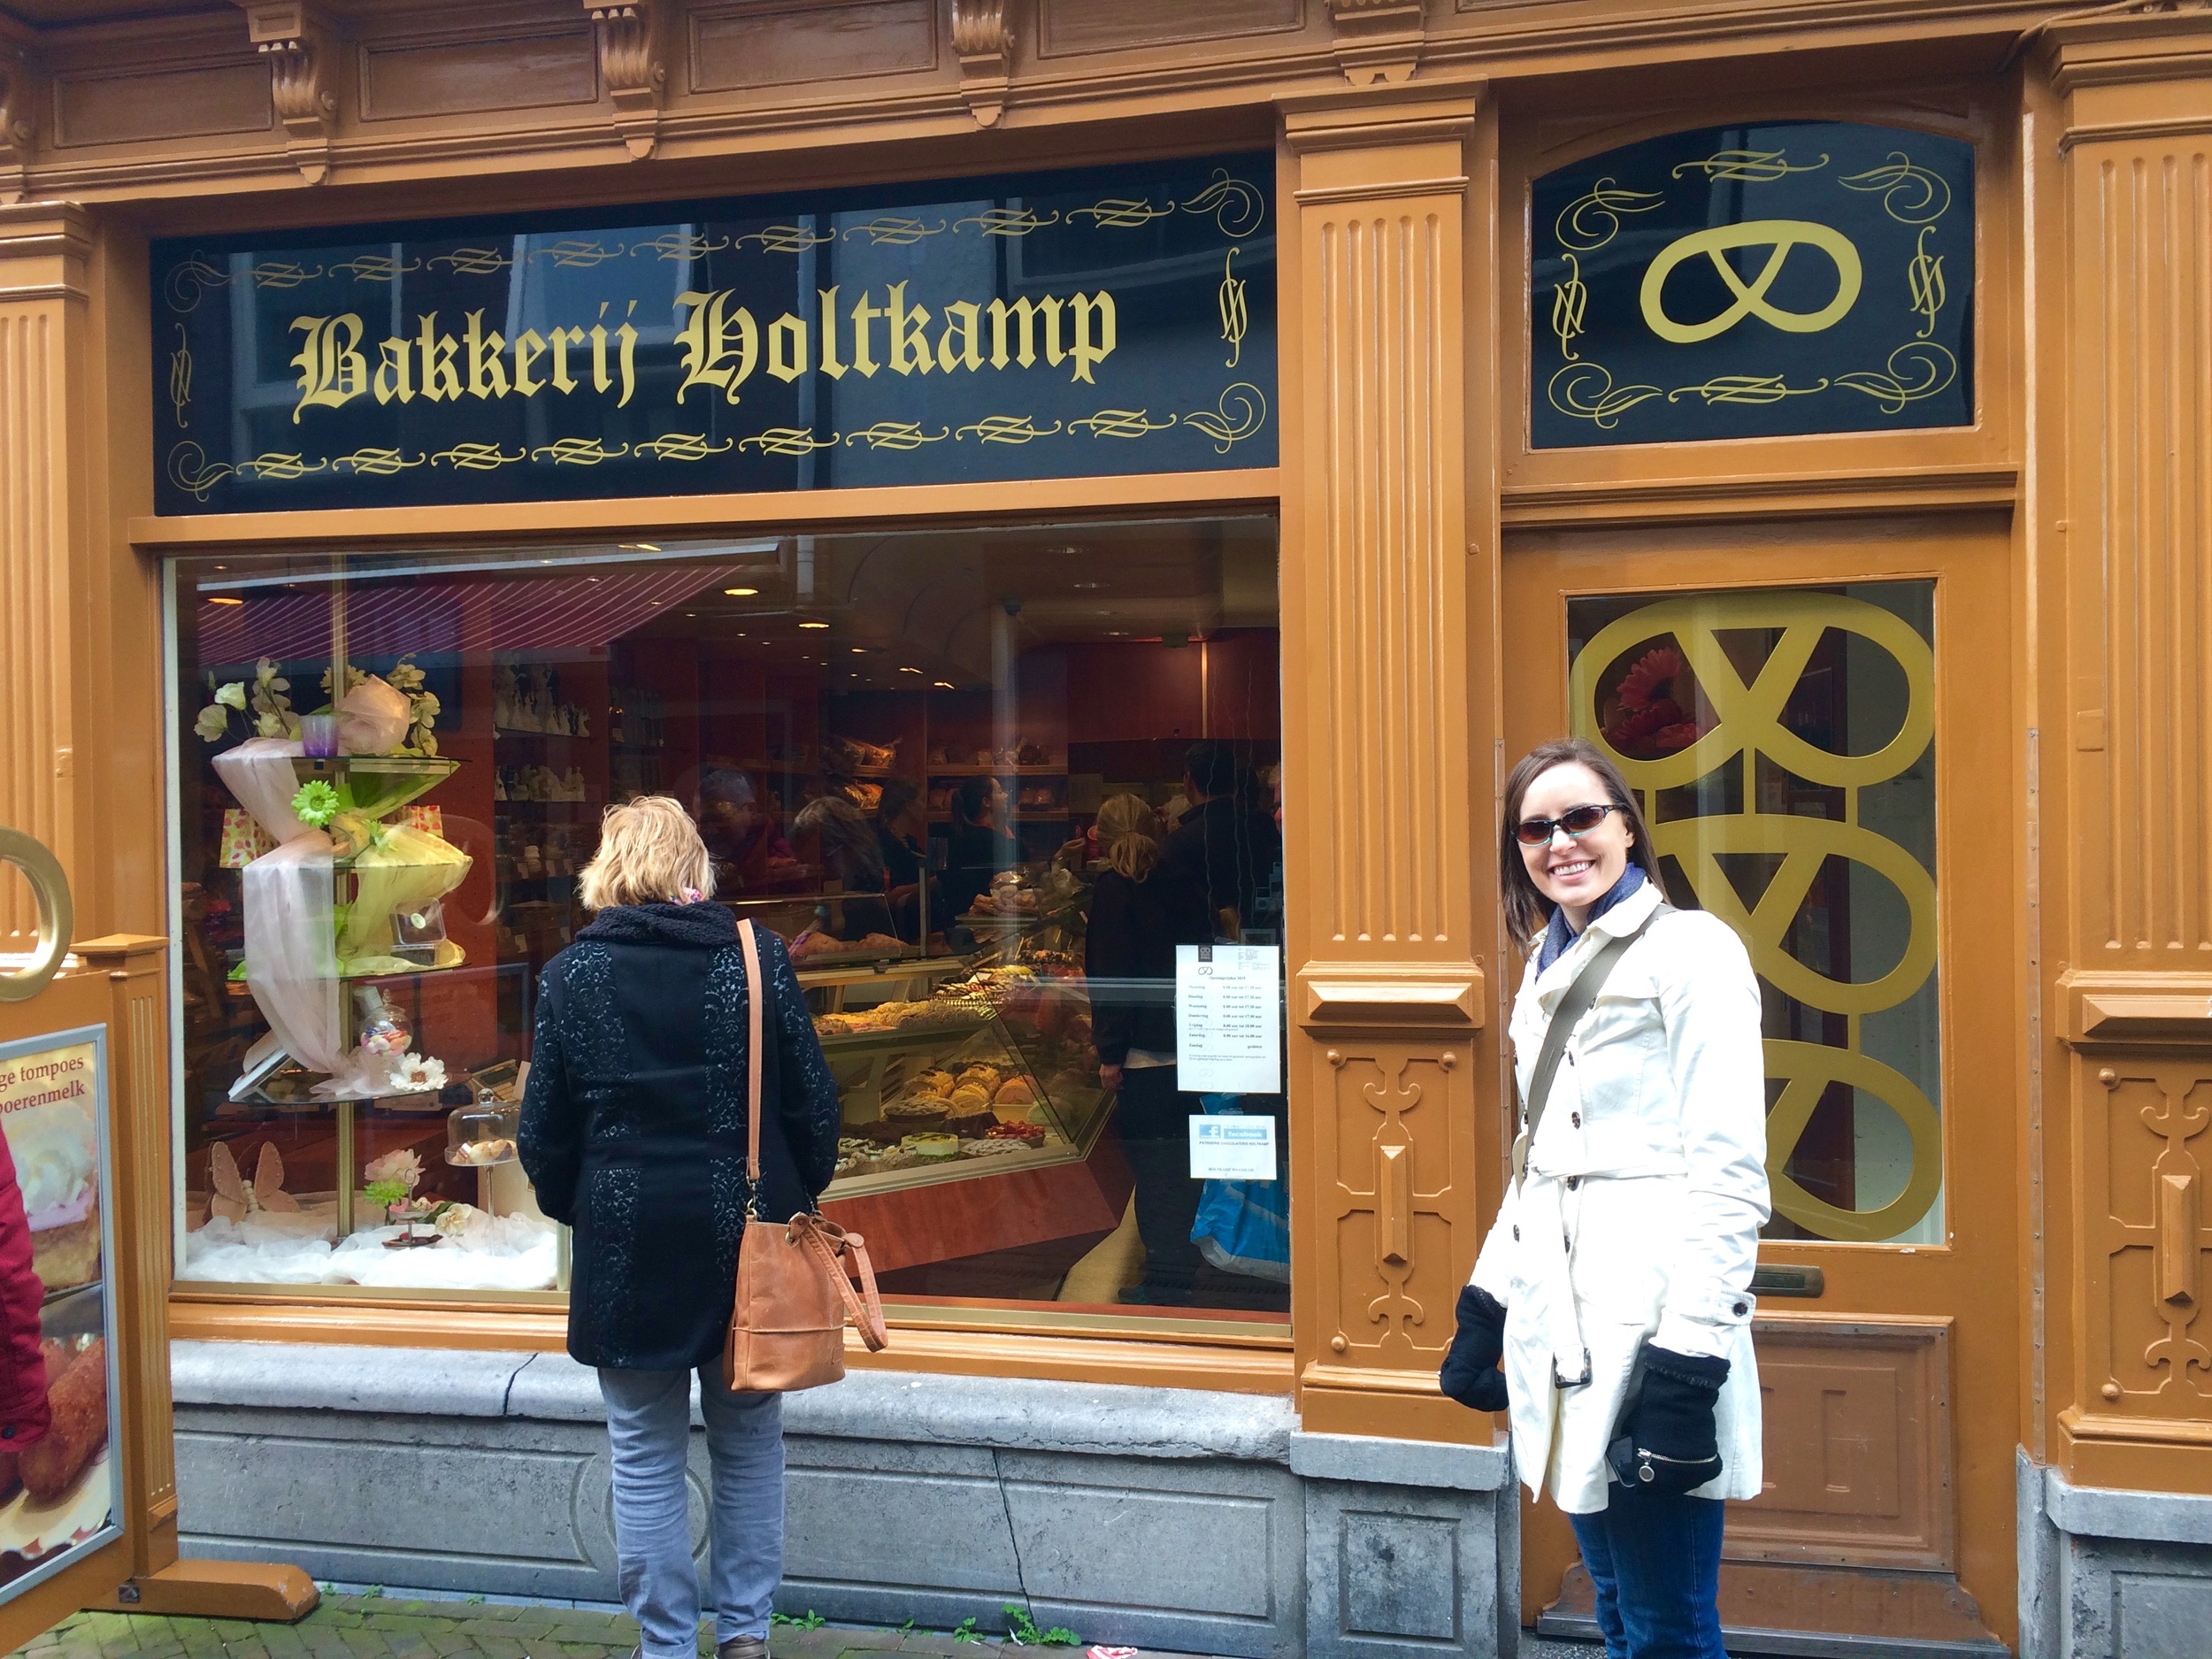
The next day we were off to Rotterdam. On the way we stopped in Maasluis. This was a MUST for Lara and I because this is the town my grandpa grew up in and where he worked as a fisherman. We stopped at the local bakery (of course) and picked up a few tasty treats, as well as a package of windmill cookies to take home for my dad. We spent some time exploring the city and really enjoyed getting to see where my grandpa came from. 


View of the Groote Kerk from the oher side of the channel. 

And then we were in Rotterdam. We booked a couple of nights at the Hotel New York. I wanted to stay here because this building used to be the headquarters of the Holland America which is the company that my grandpa used to work for before the war. It felt like a fitting place to stay. 

The hotel is just full of charm. The rooms are all different, but with nautical themes (at least the two I was able to see were) and there is so much history running through the building. They also have a very nice restaurant on the main floor which is always a good thing!

When I originally planned our trip, I discovered that the Rotterdam marathon was being run on April 10. Since I didn't really care when we went to Europe, I figured this was as good a time as any, so I planned the whole trip around the marathon! Actually, around the quarter marathon. I'm a big runner, but I don't care for marathons all that much. Just too long for me. I do love 1/2 marathons however, and when I saw that the Rotterdam marathon also offered a quarter marathon I knew it was perfect. This is pretty much a 10K and a good distance to race when on vacation in another country in my opinion. 

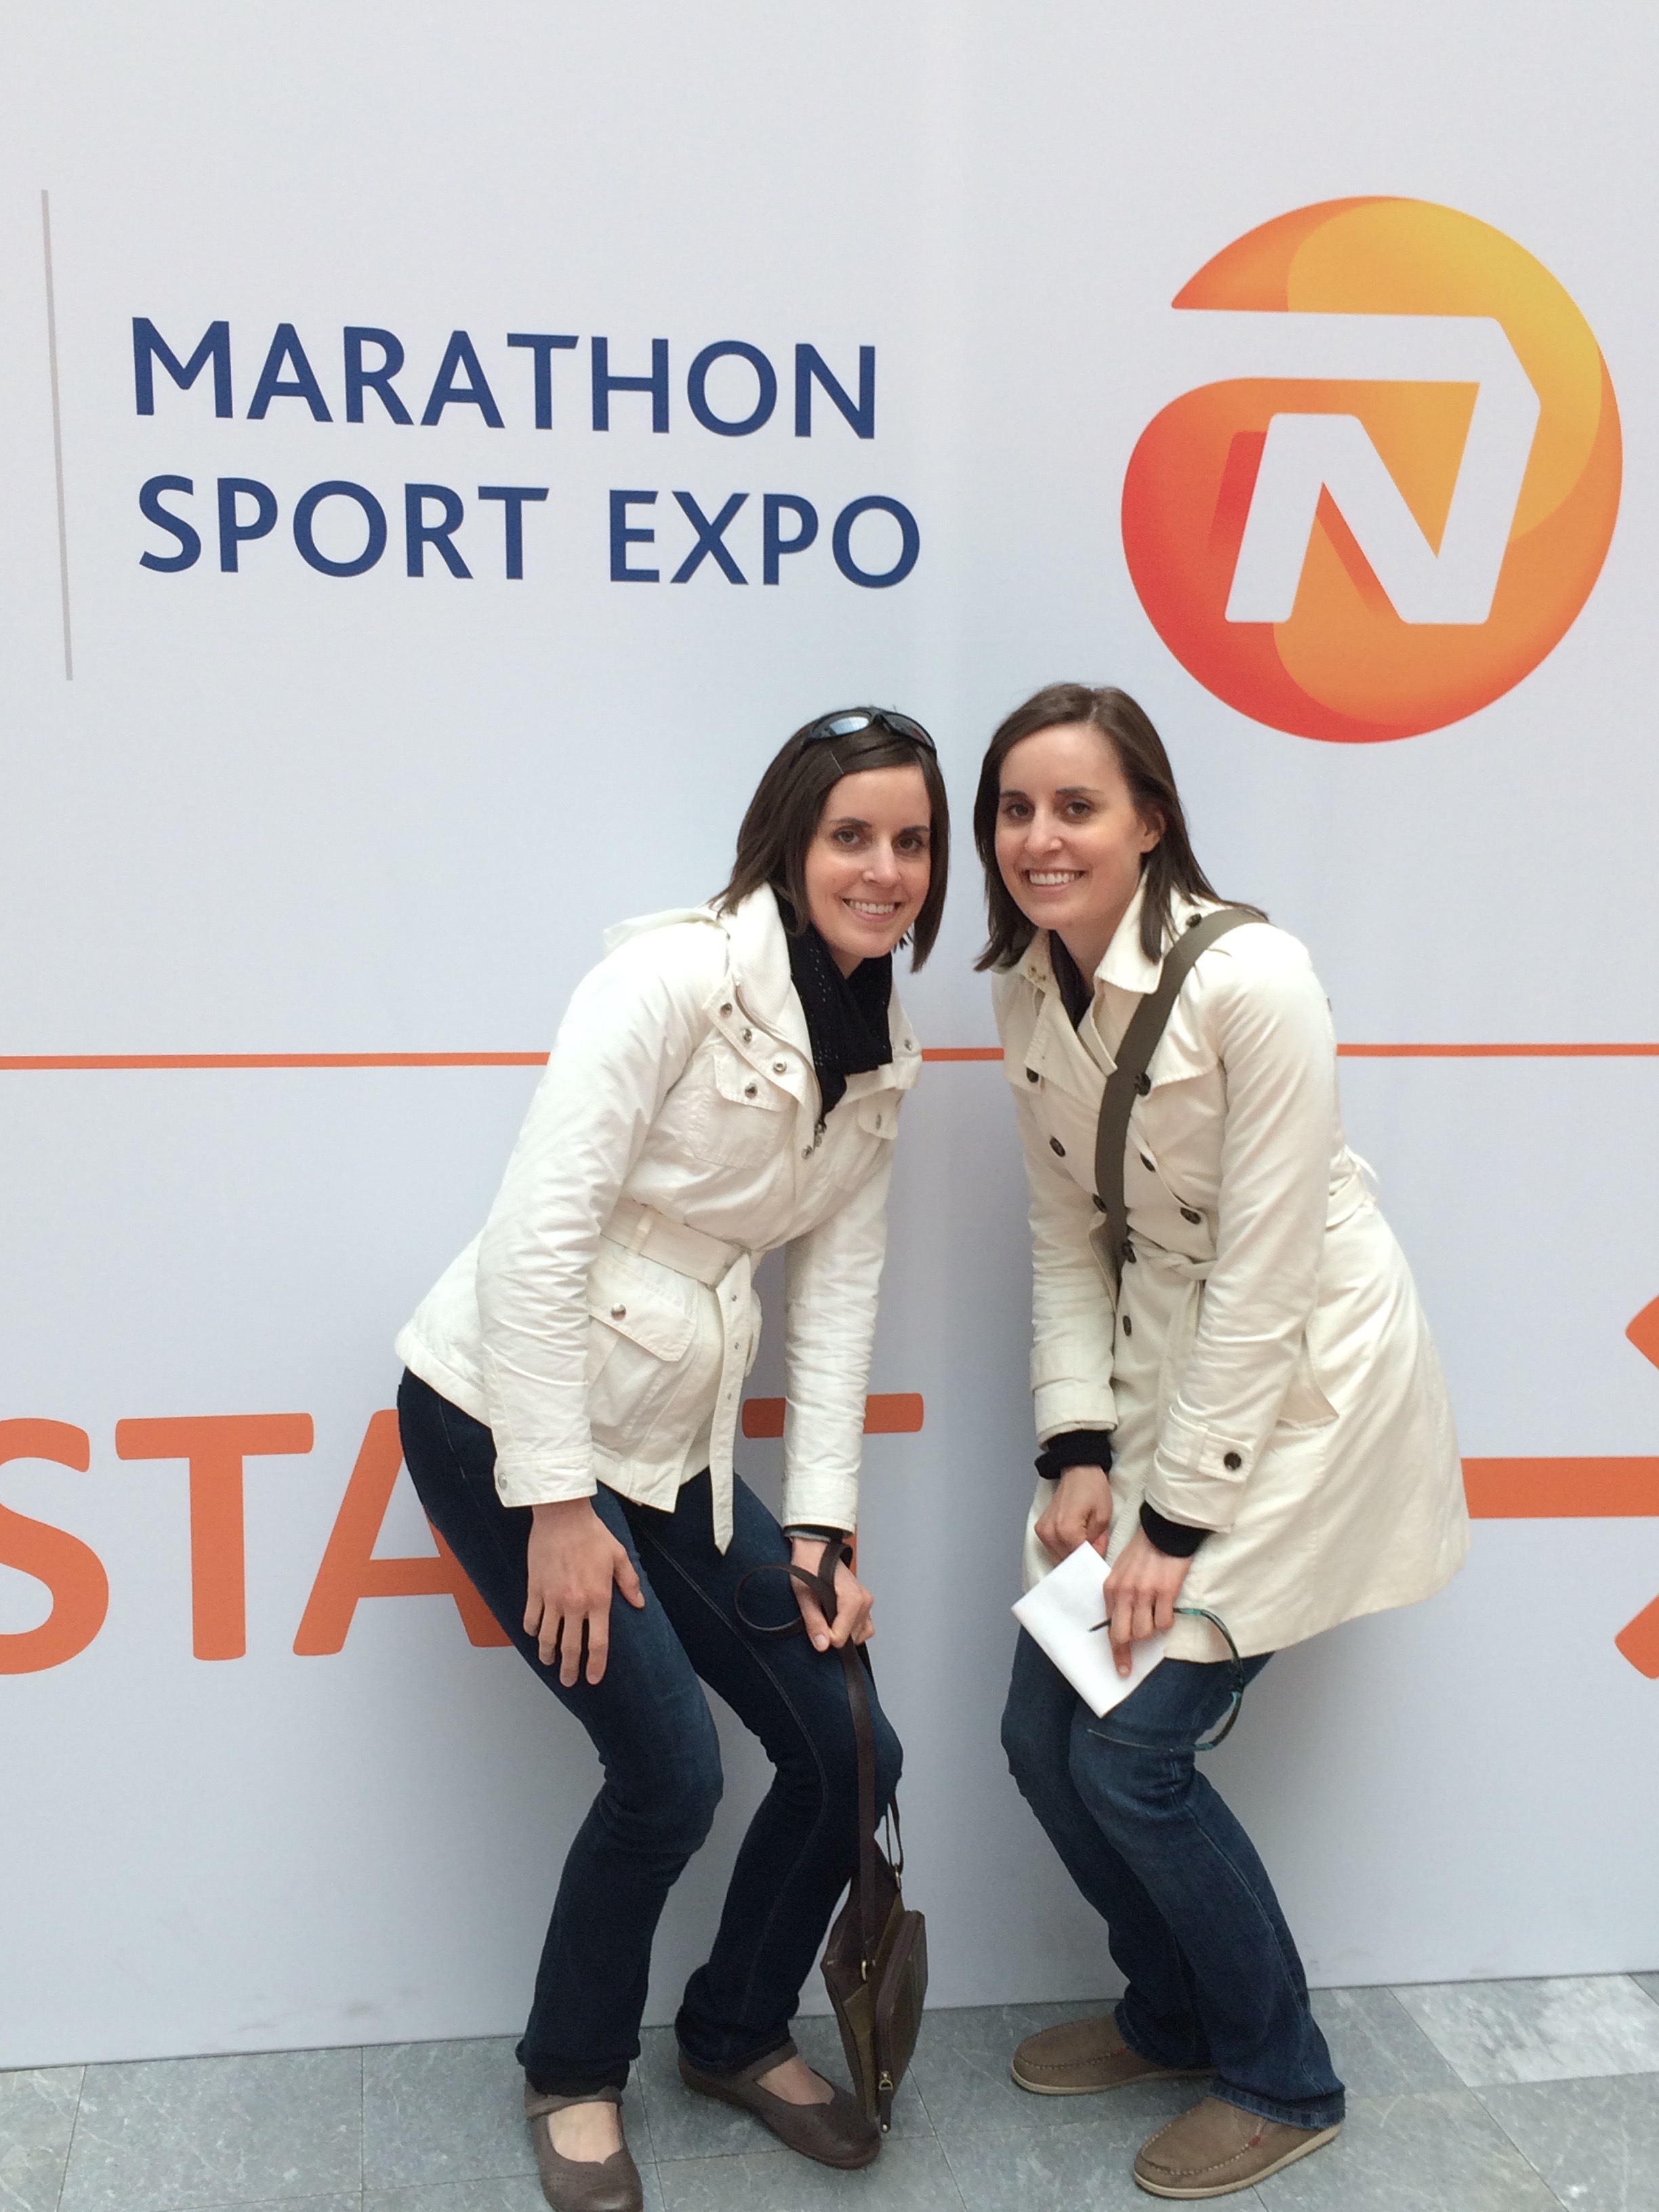
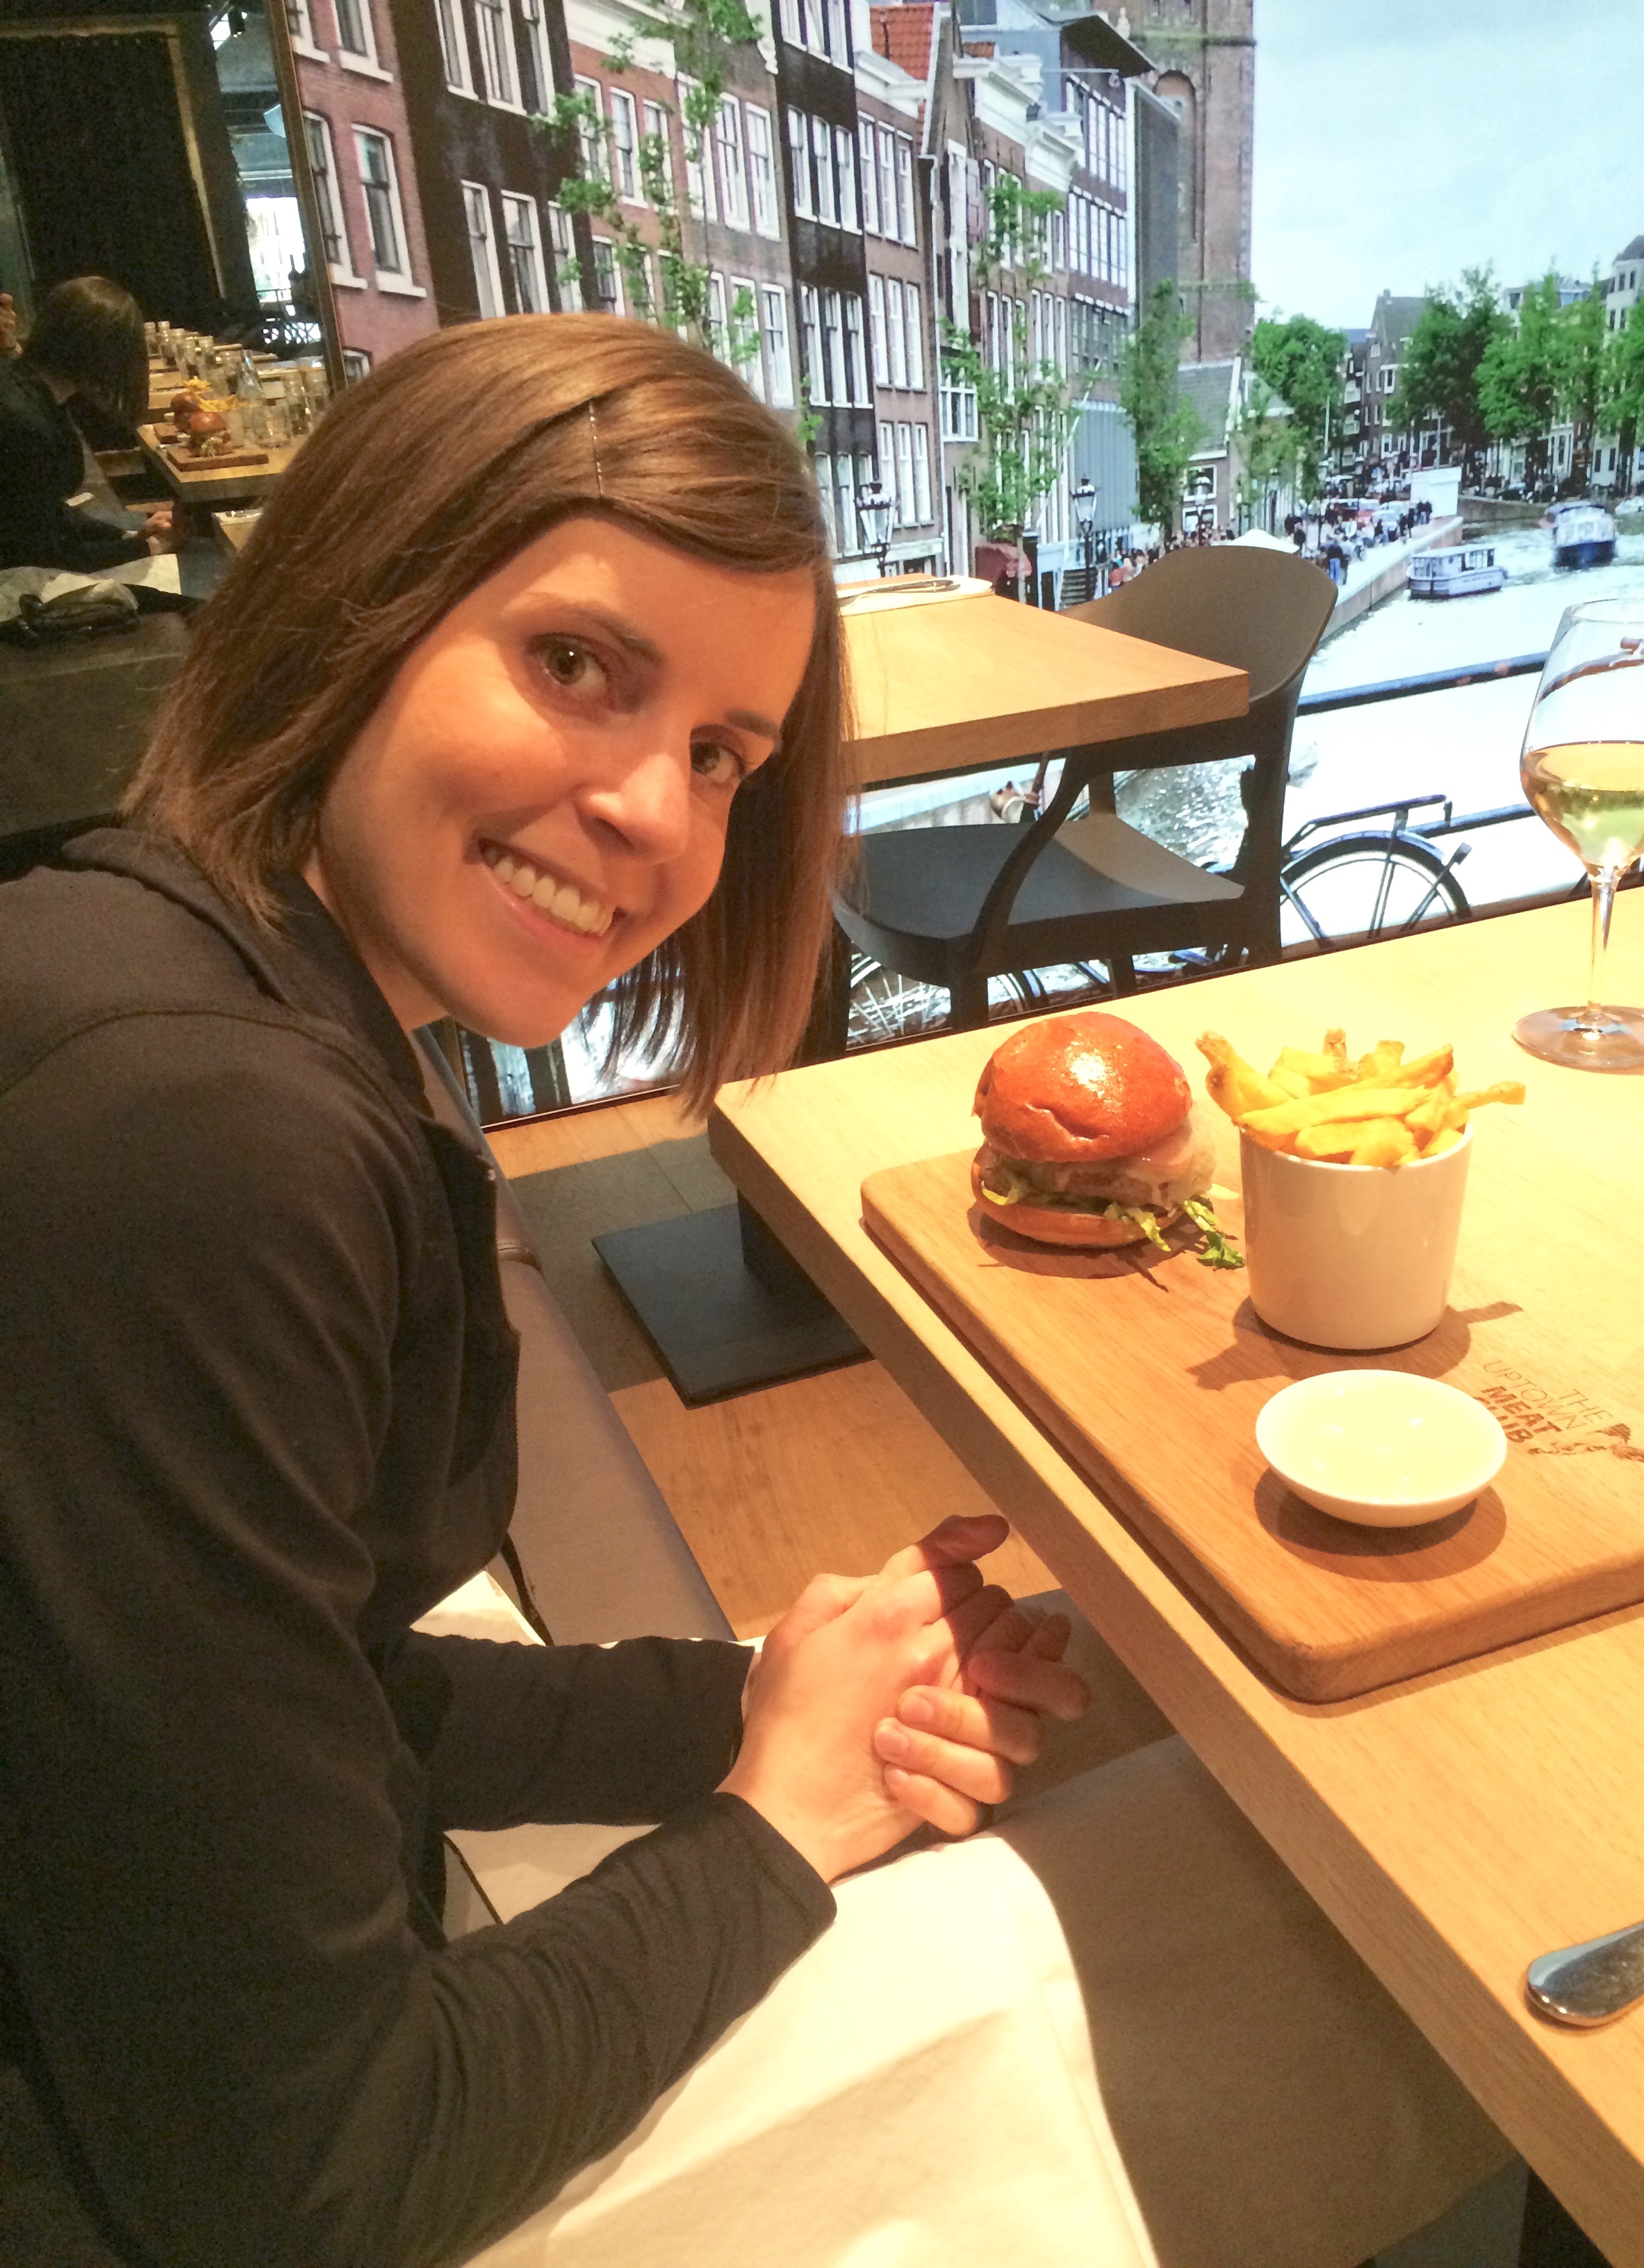
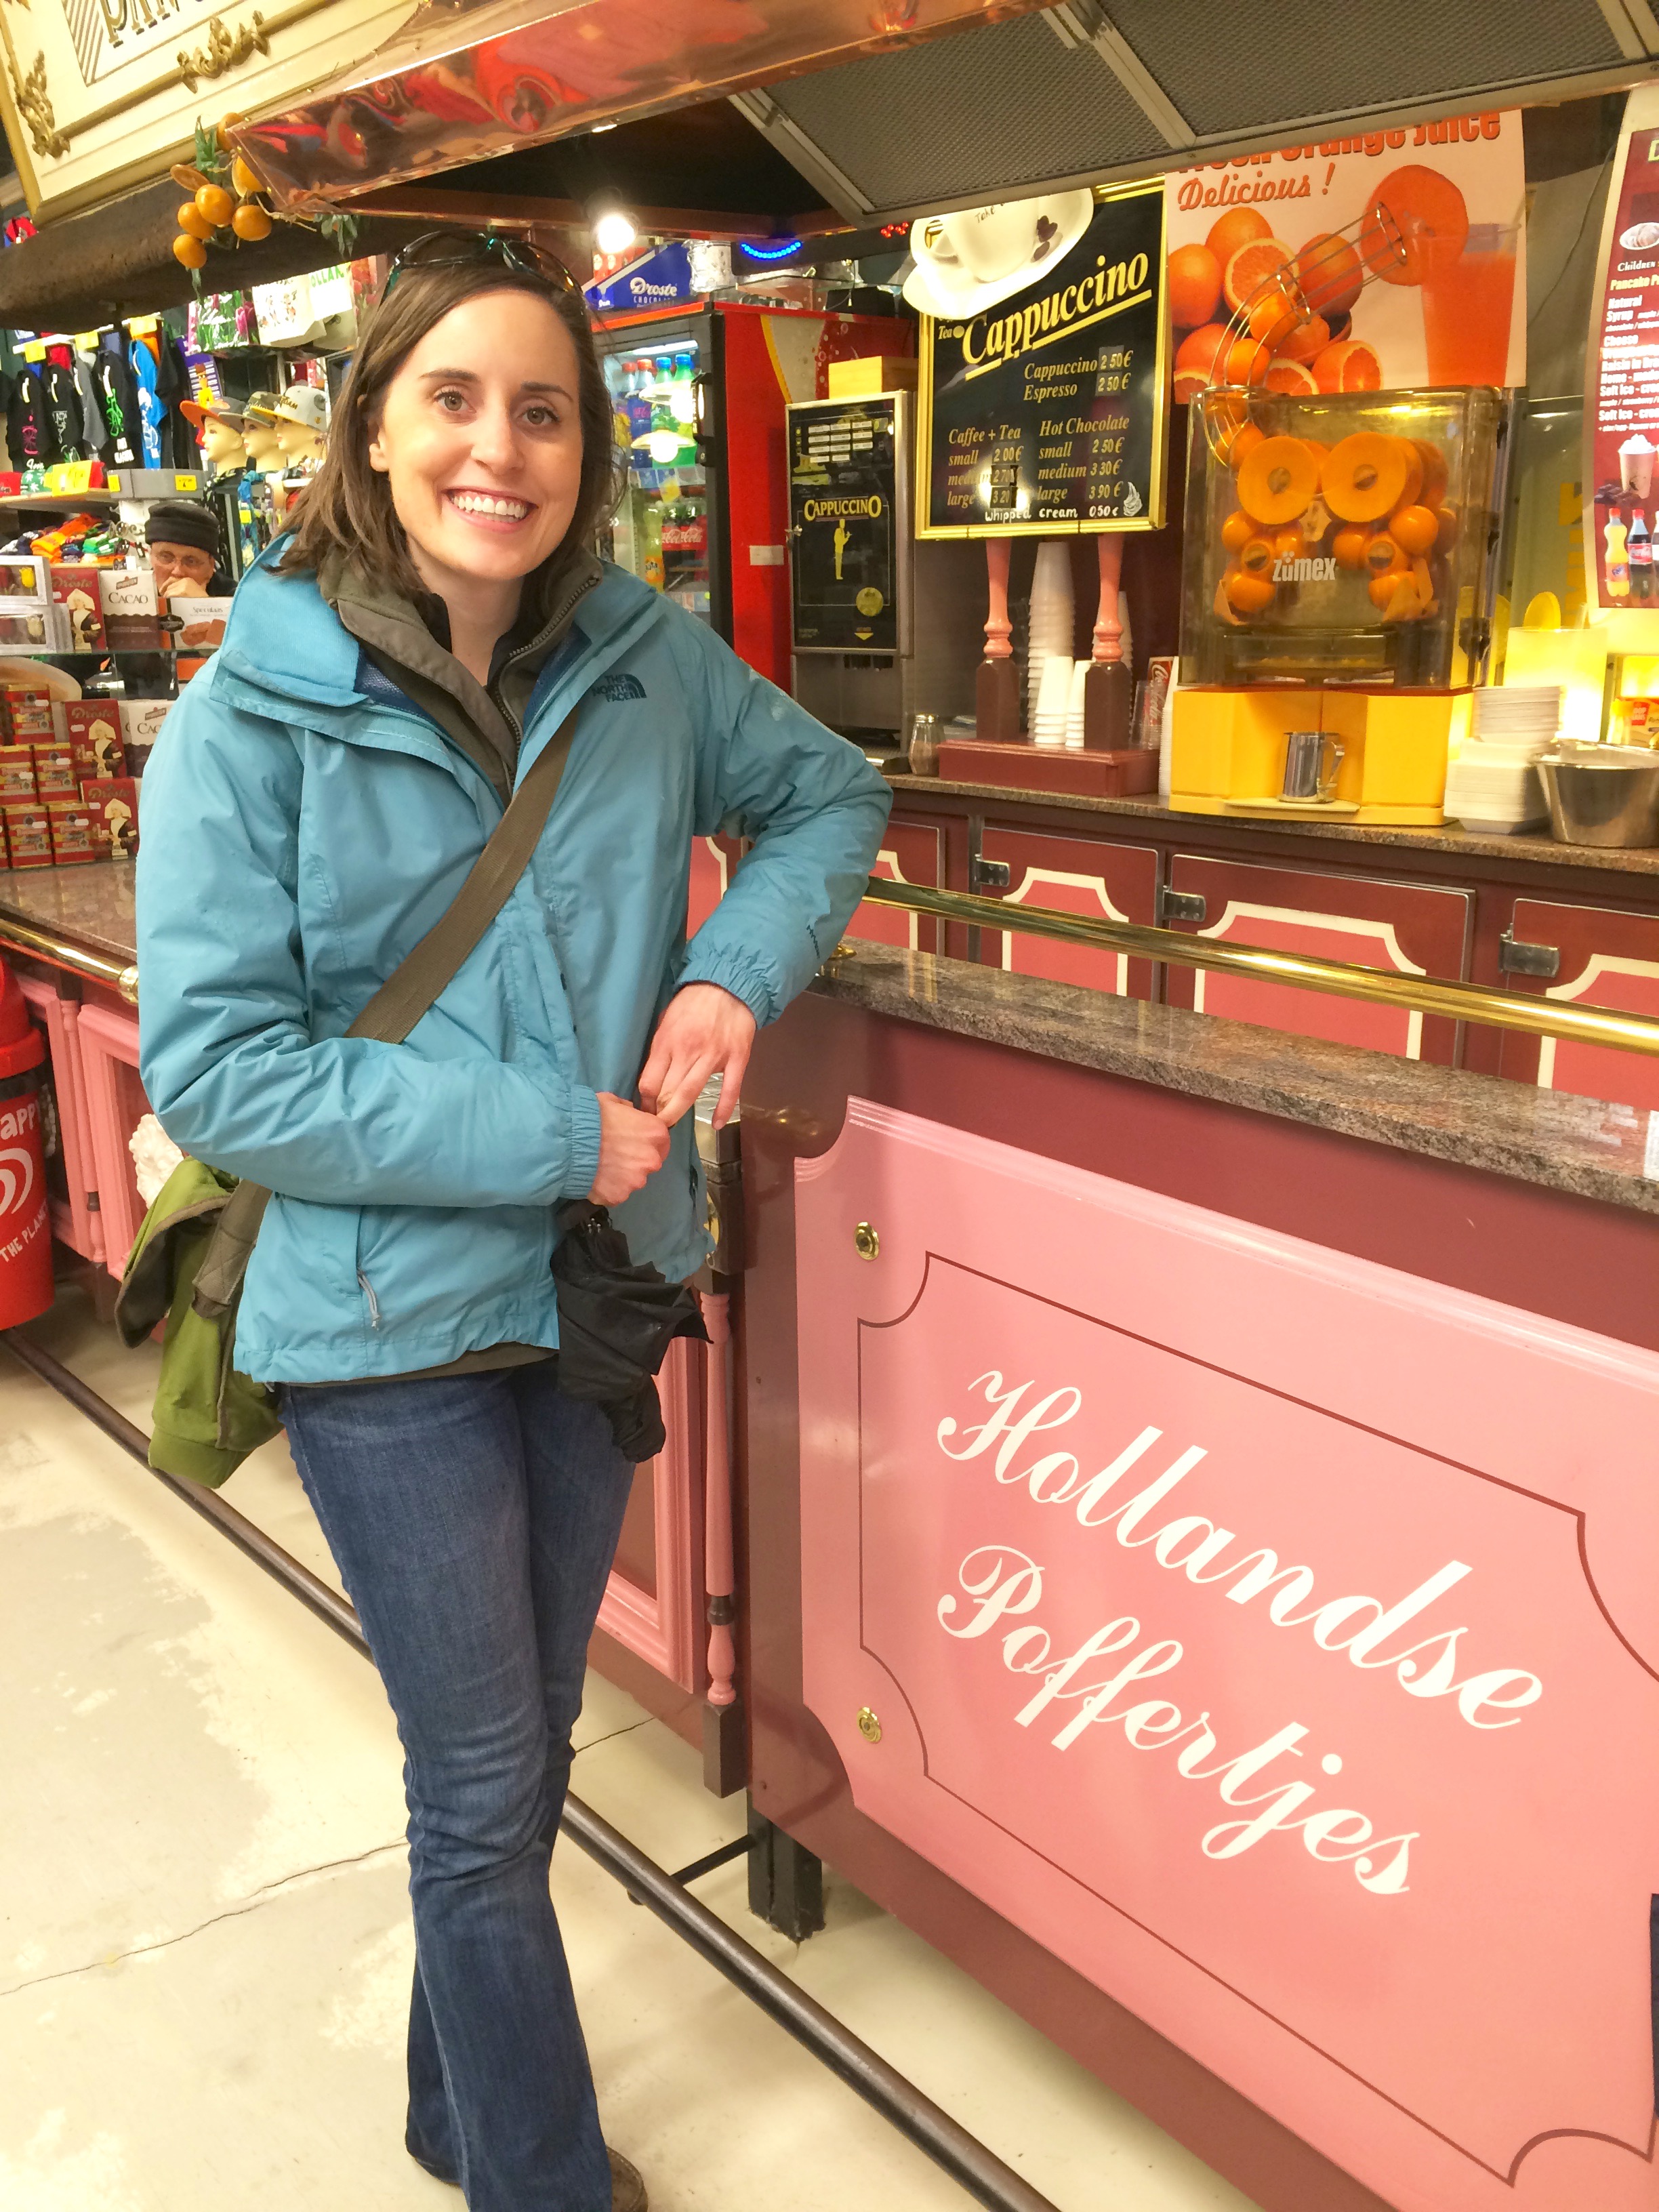
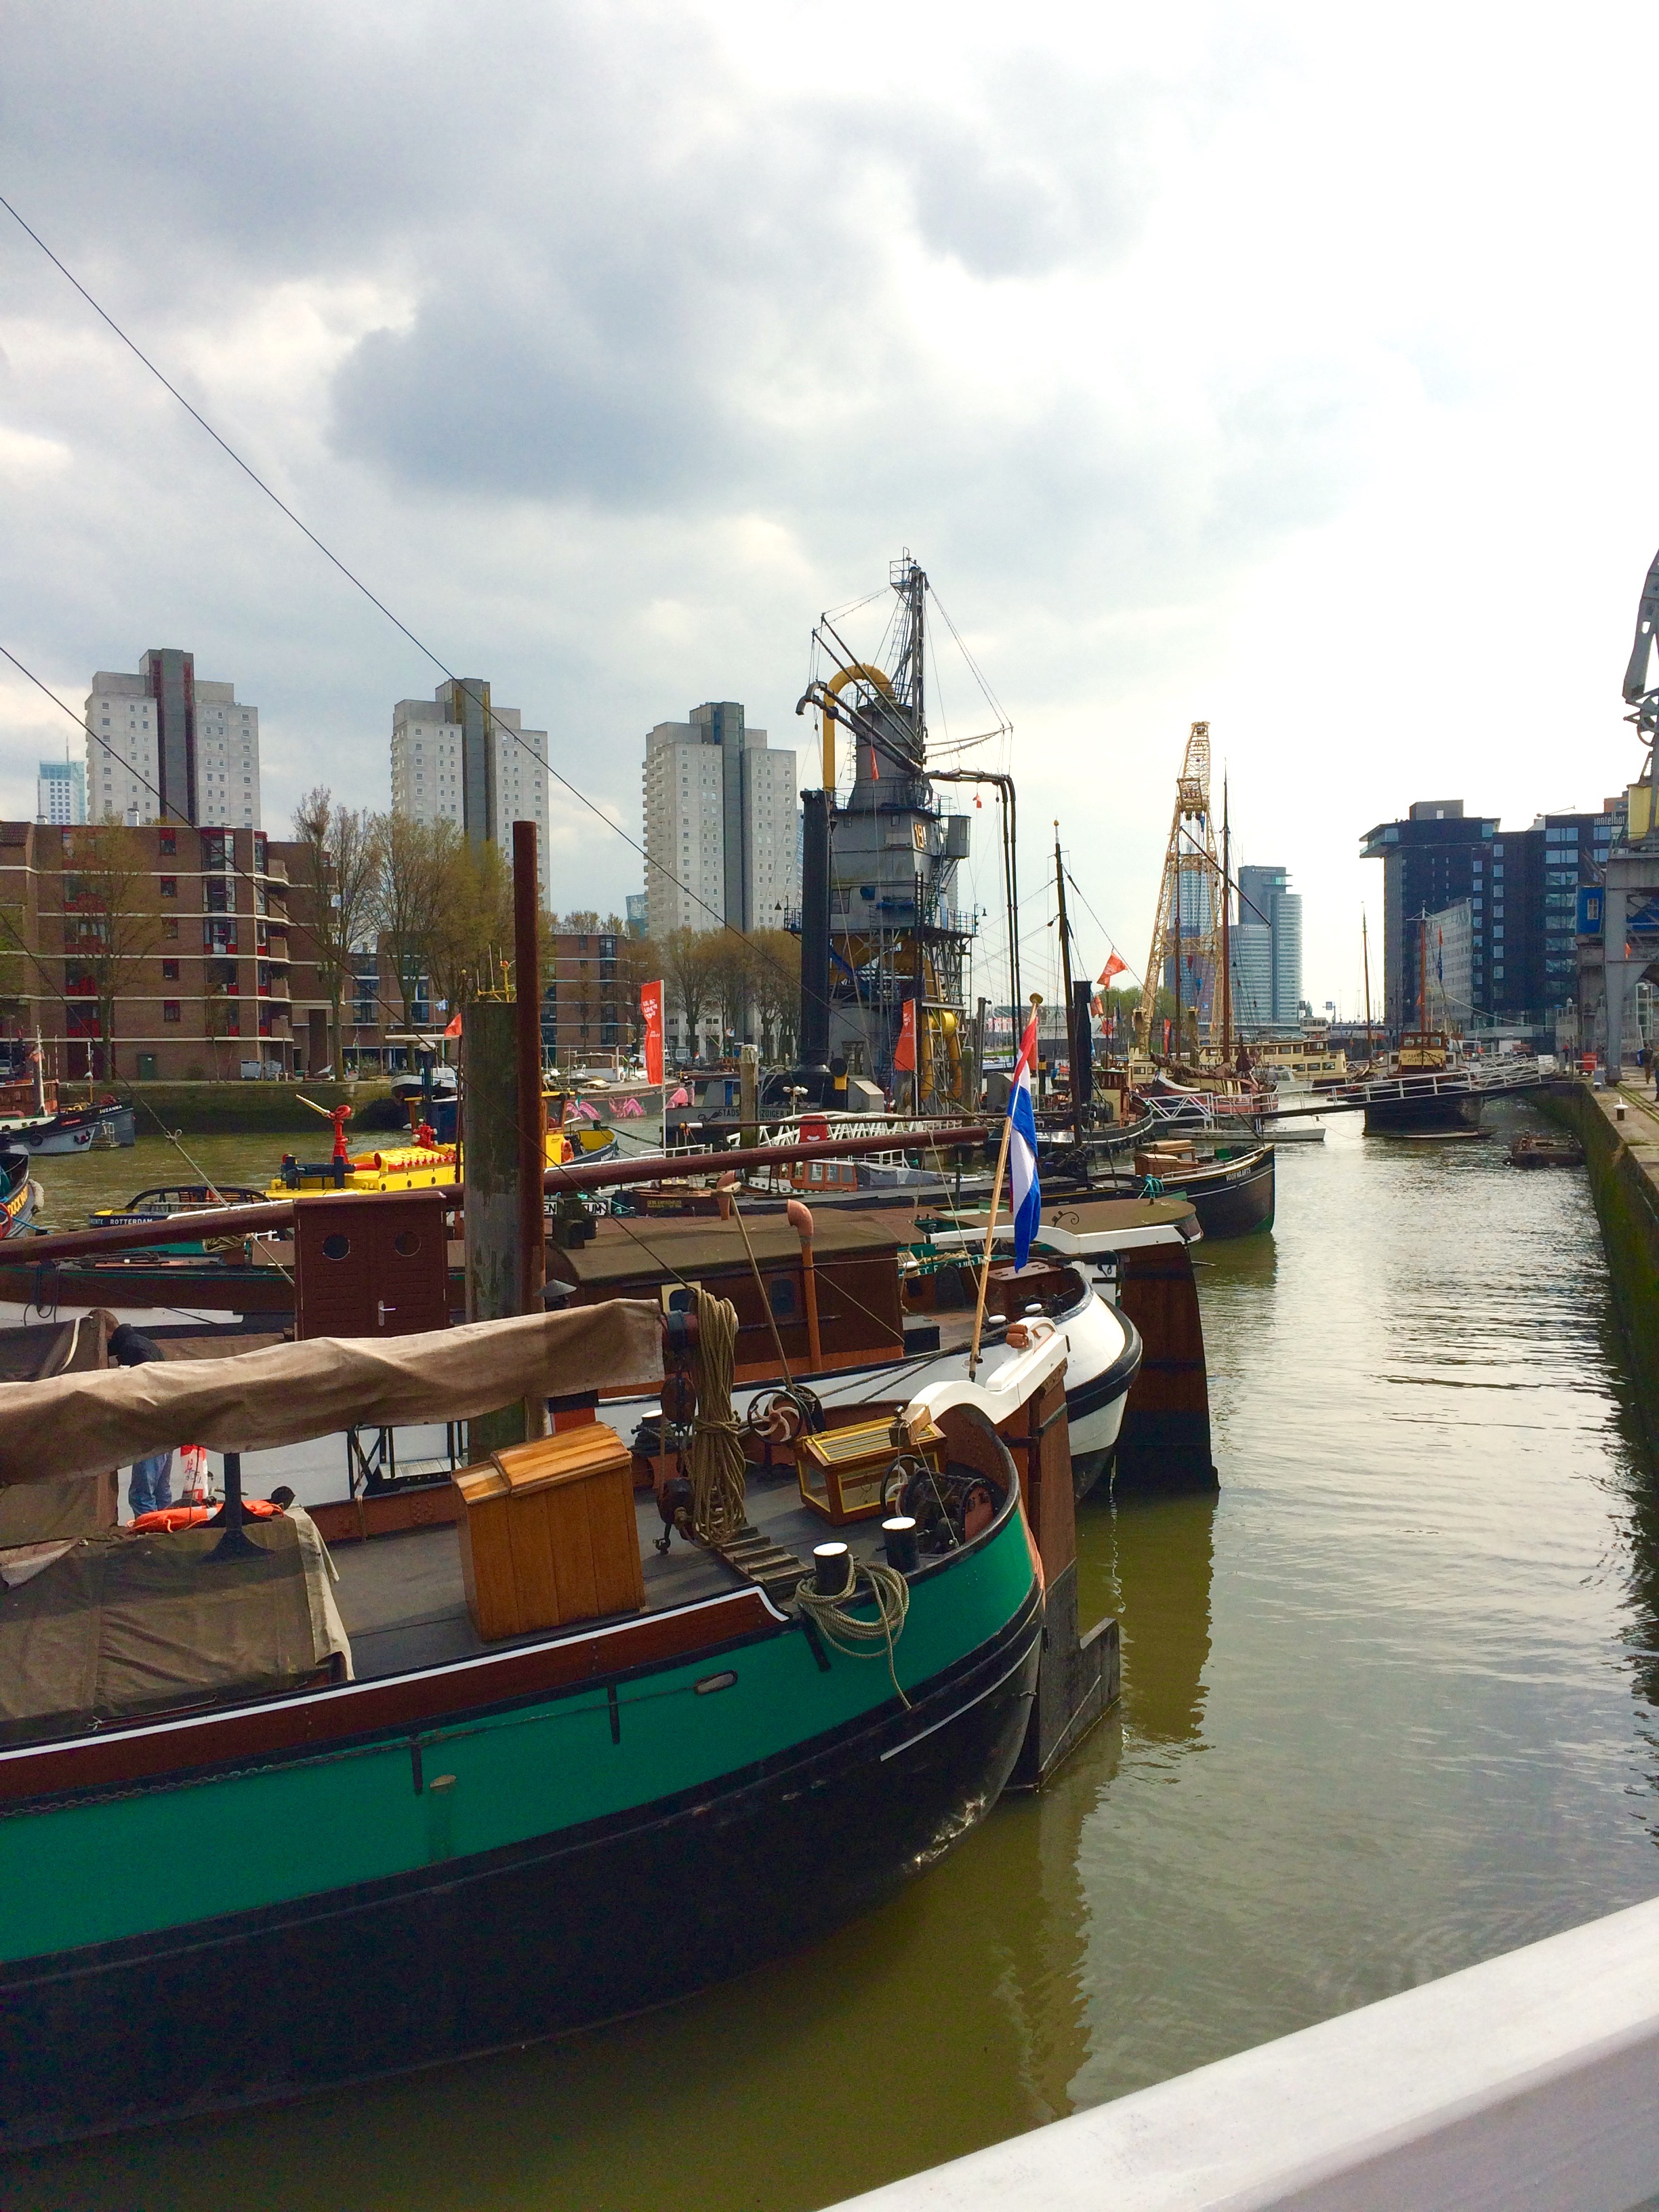
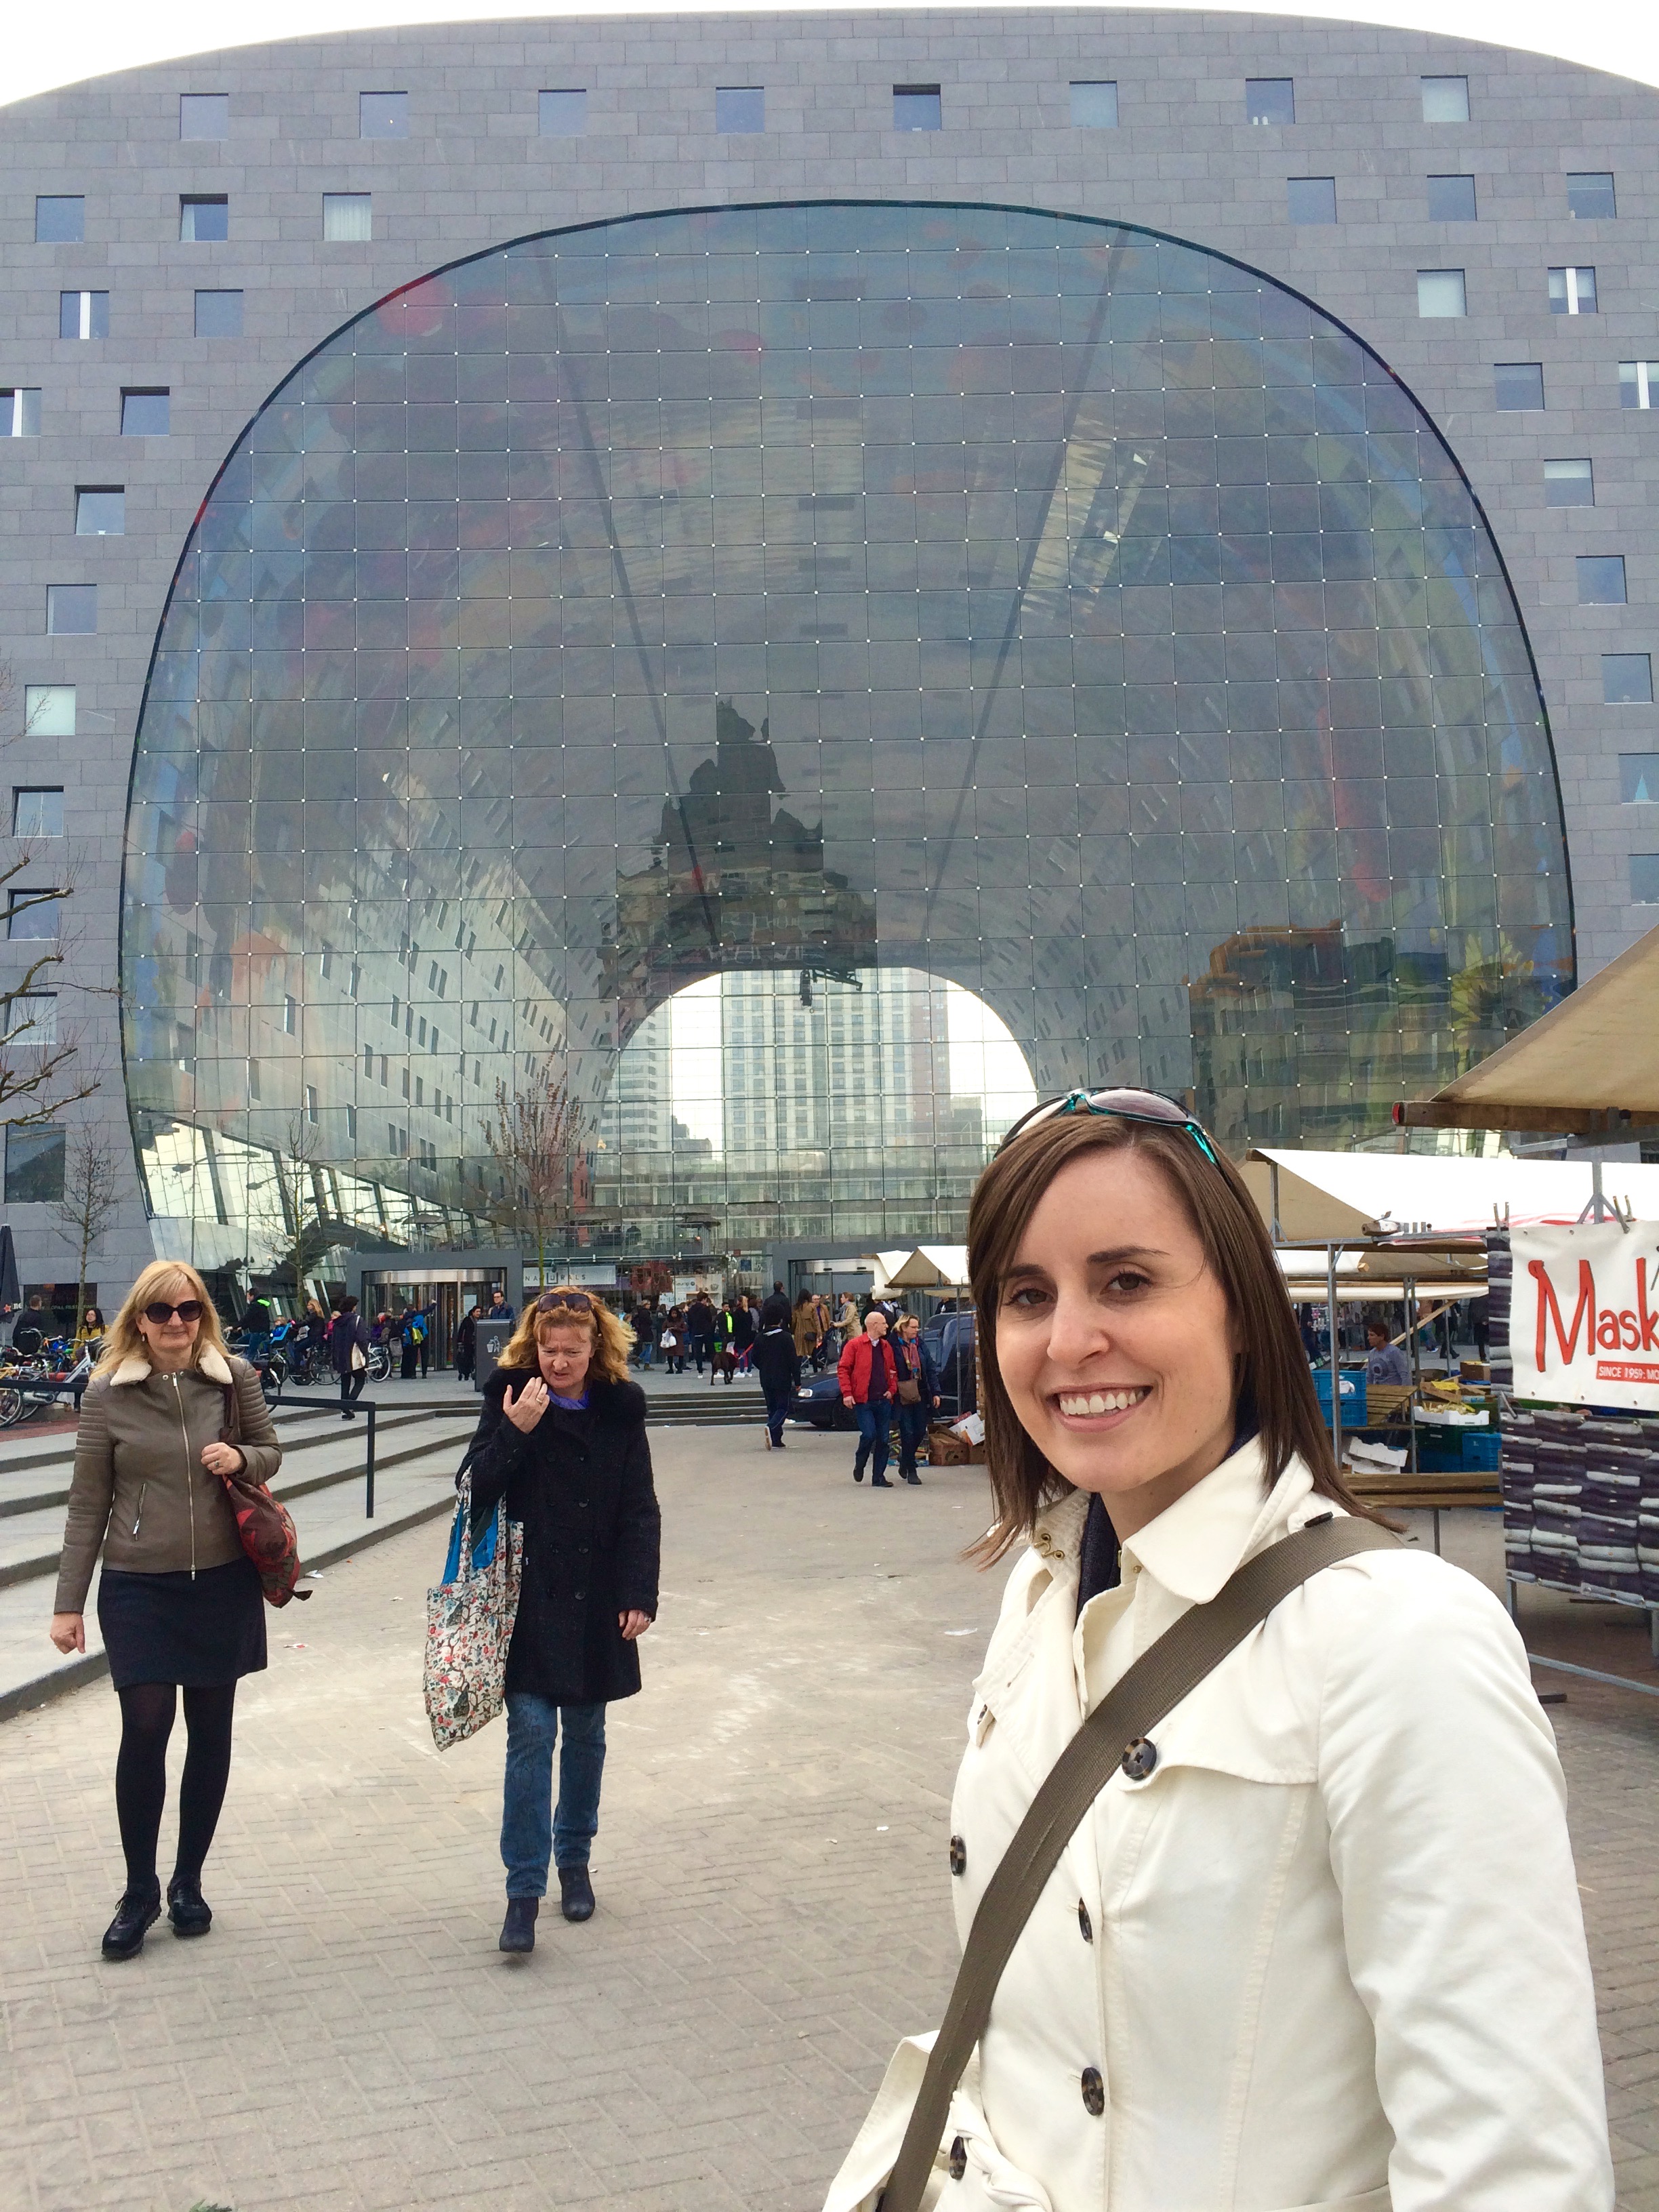
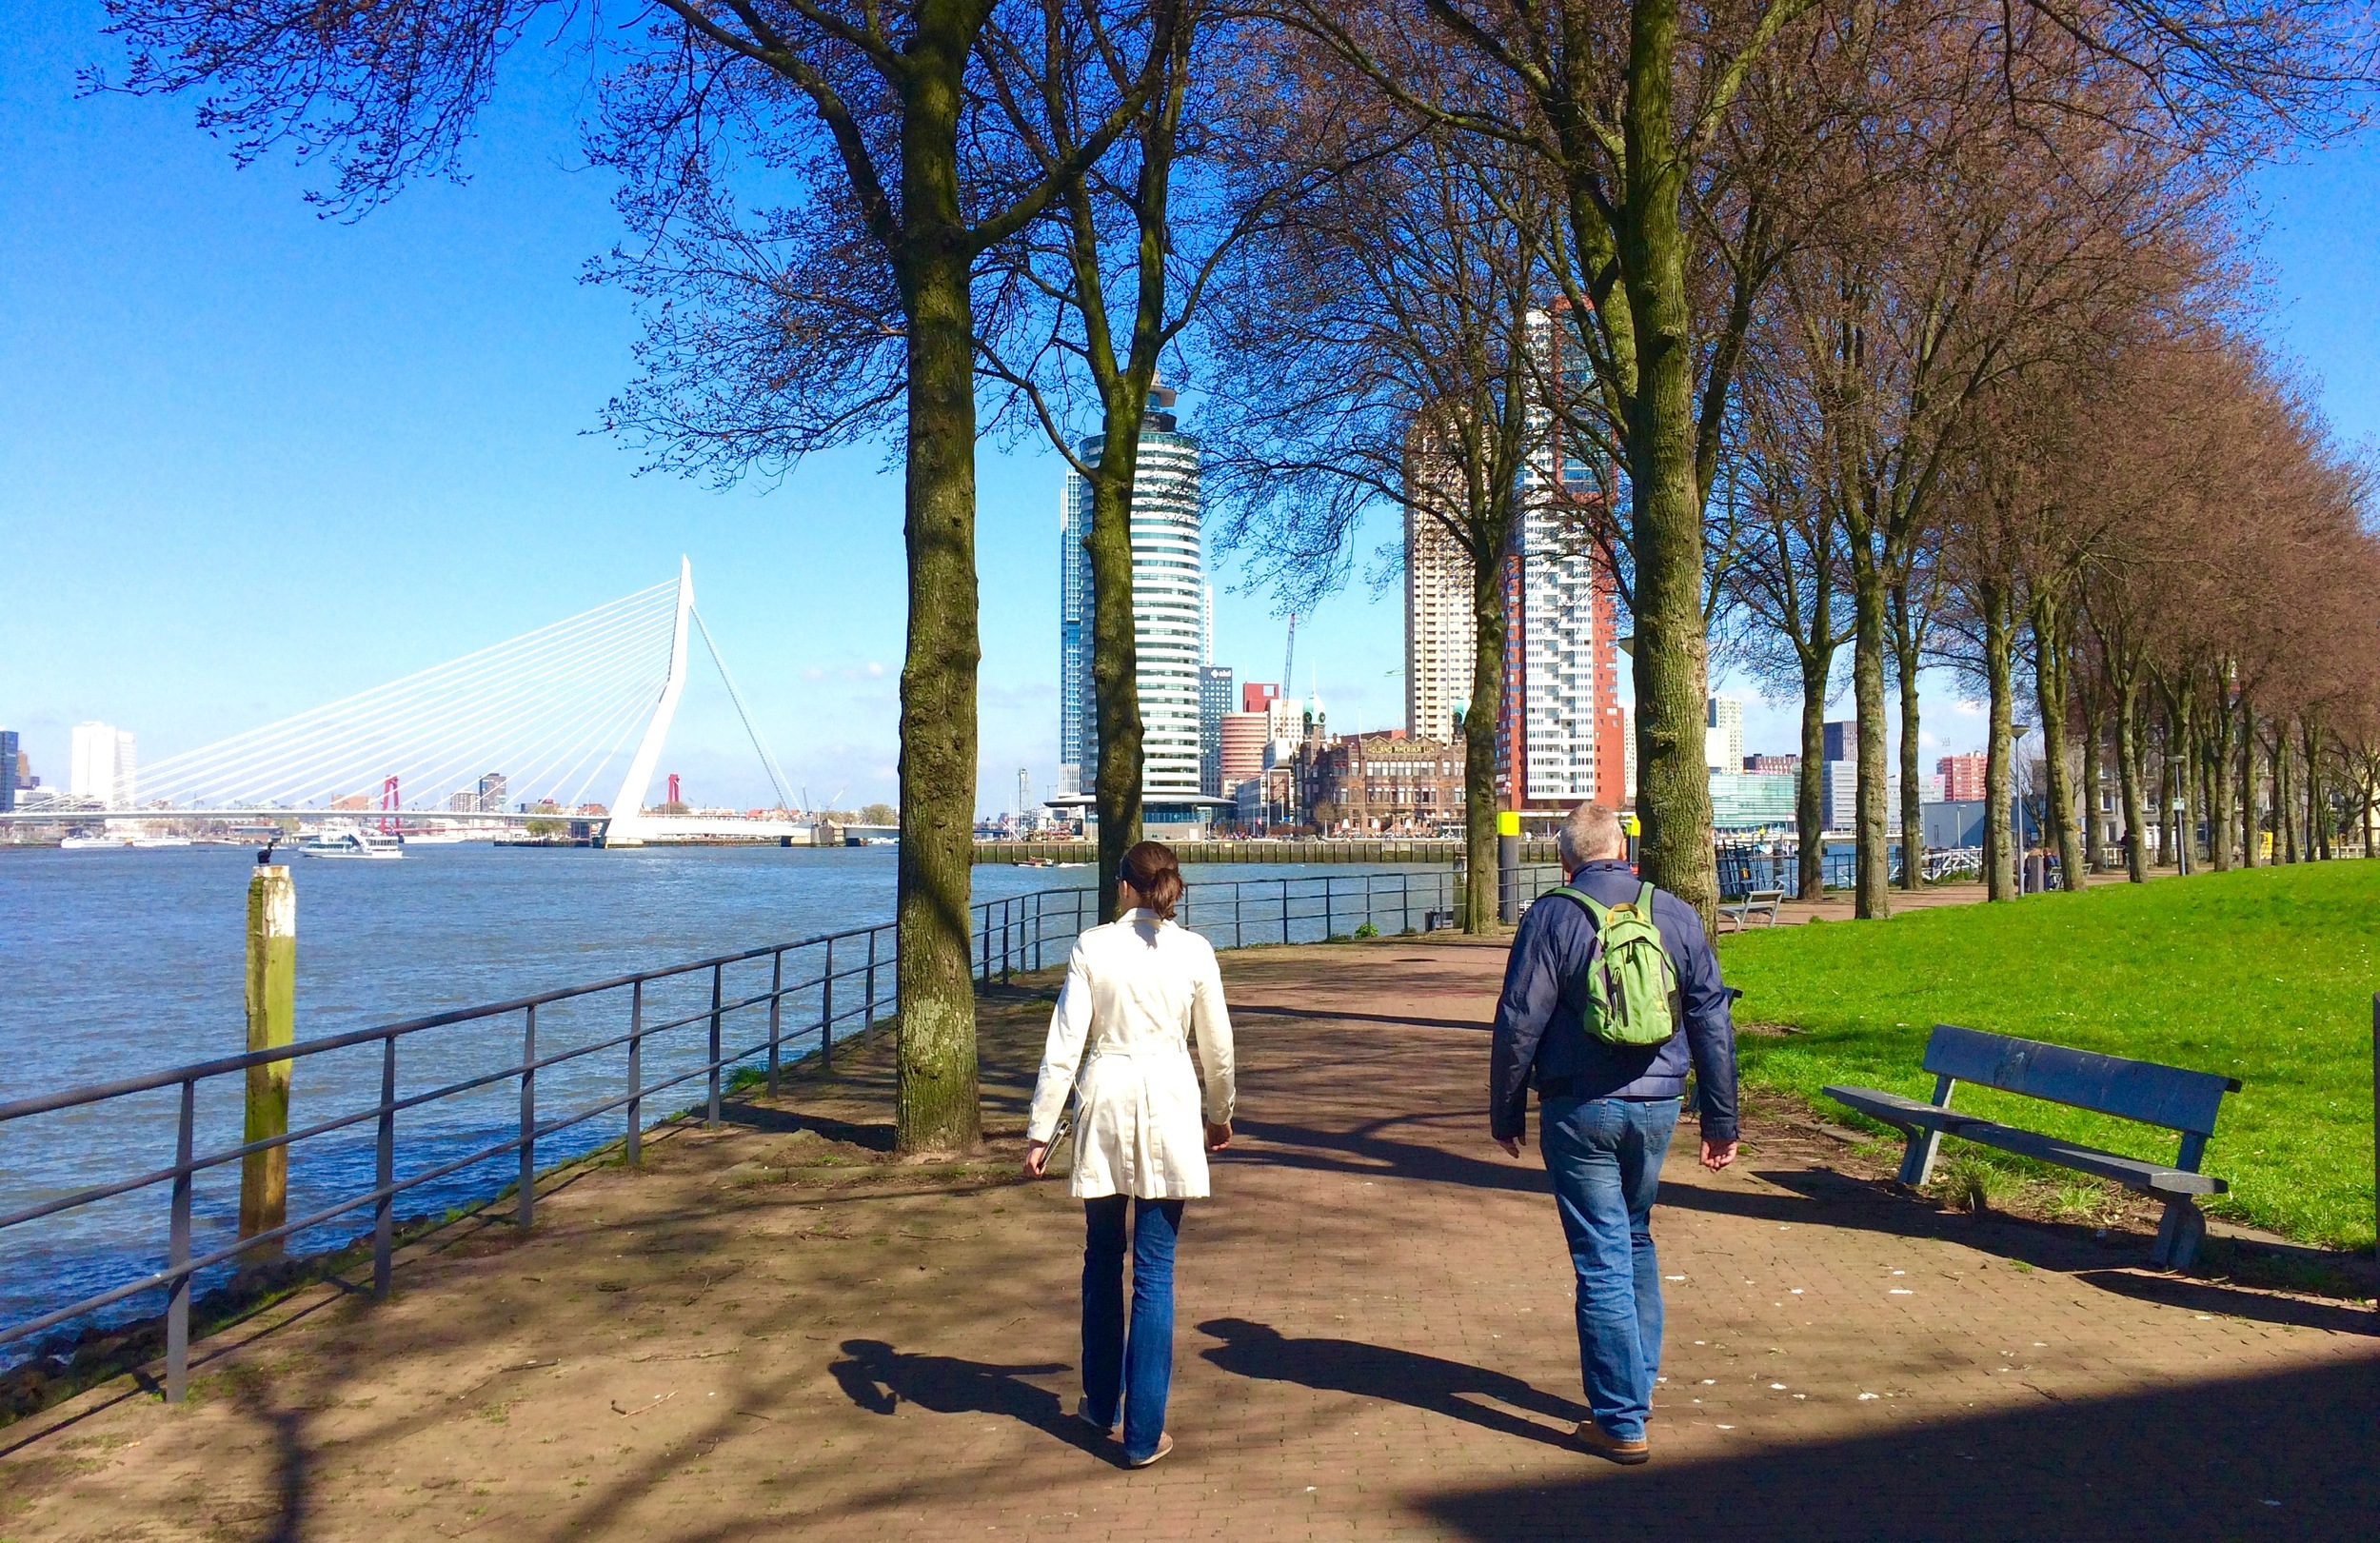
After hitting up the race expo and picking up our bibs we went exploring in the city. So many ships and boats along the river and canals, crazy. My favorite part was probably Markthal, a large residential and office building with a market beneath that is full of food stalls and restaurants, basically my favorite thing ever. Shops selling cheeses, meats, fish, bread, spices, dried fruit and nuts, sandwiches, salads, sushi, fruit, vegetables...

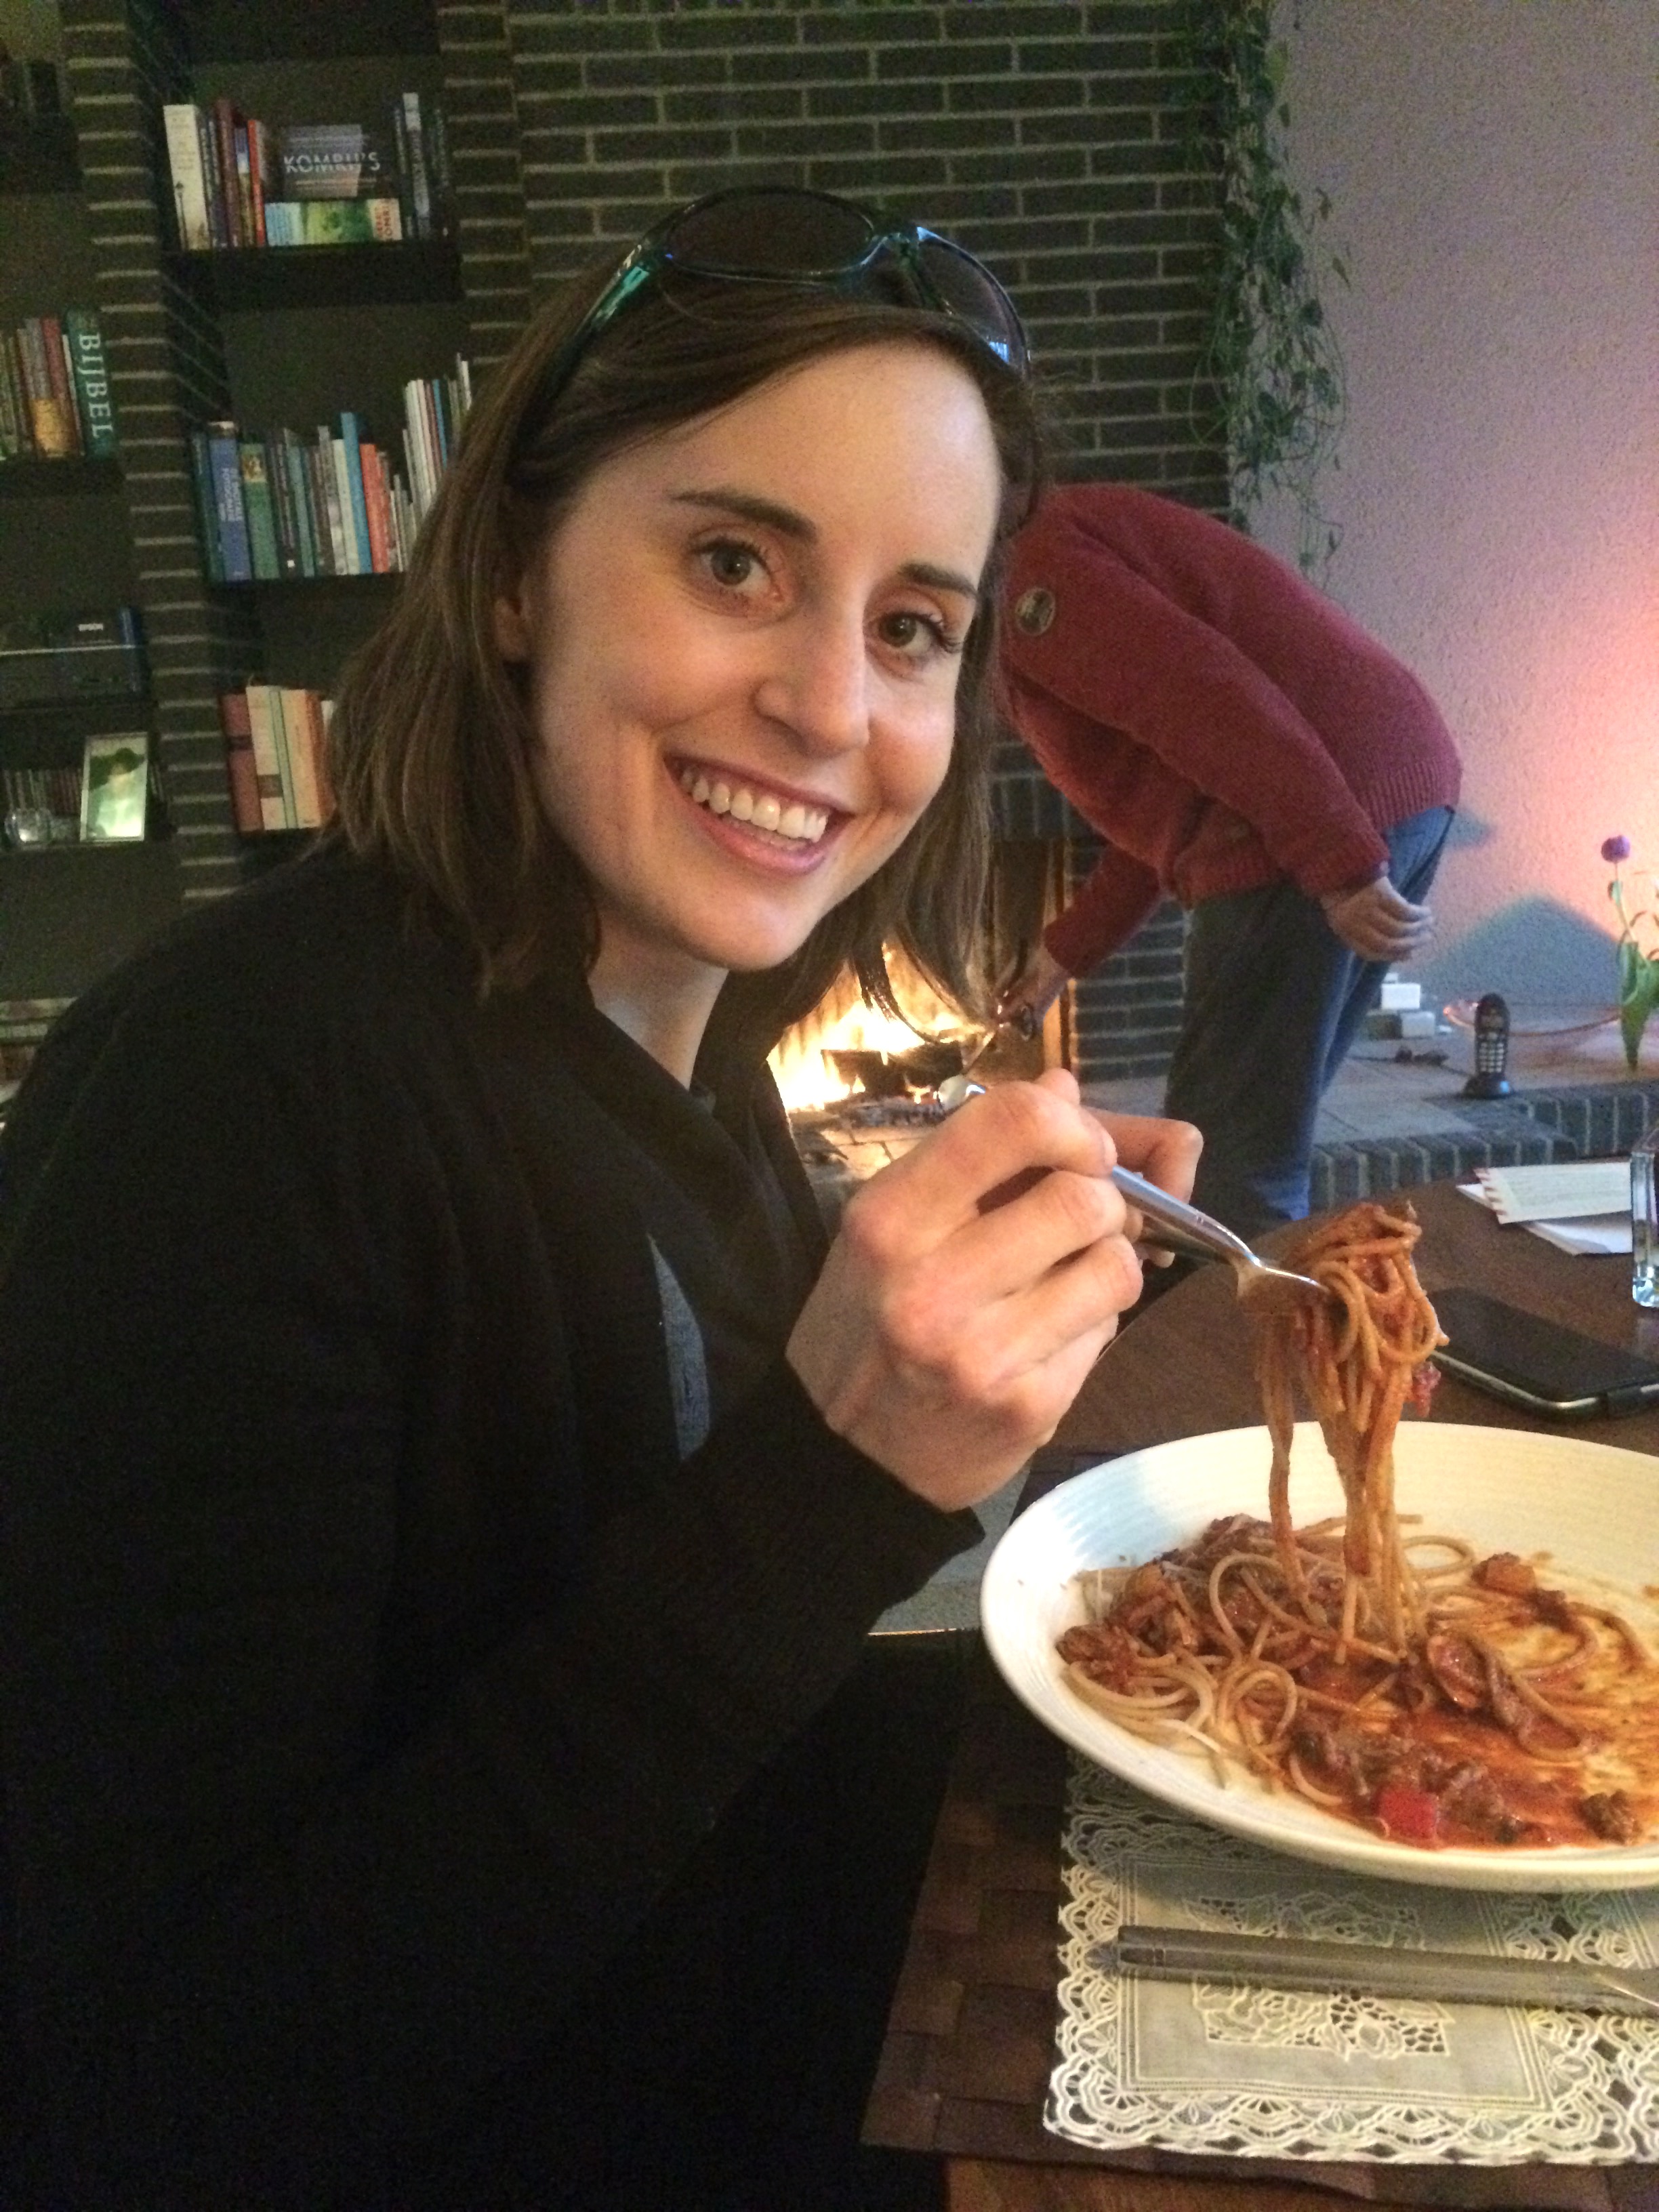
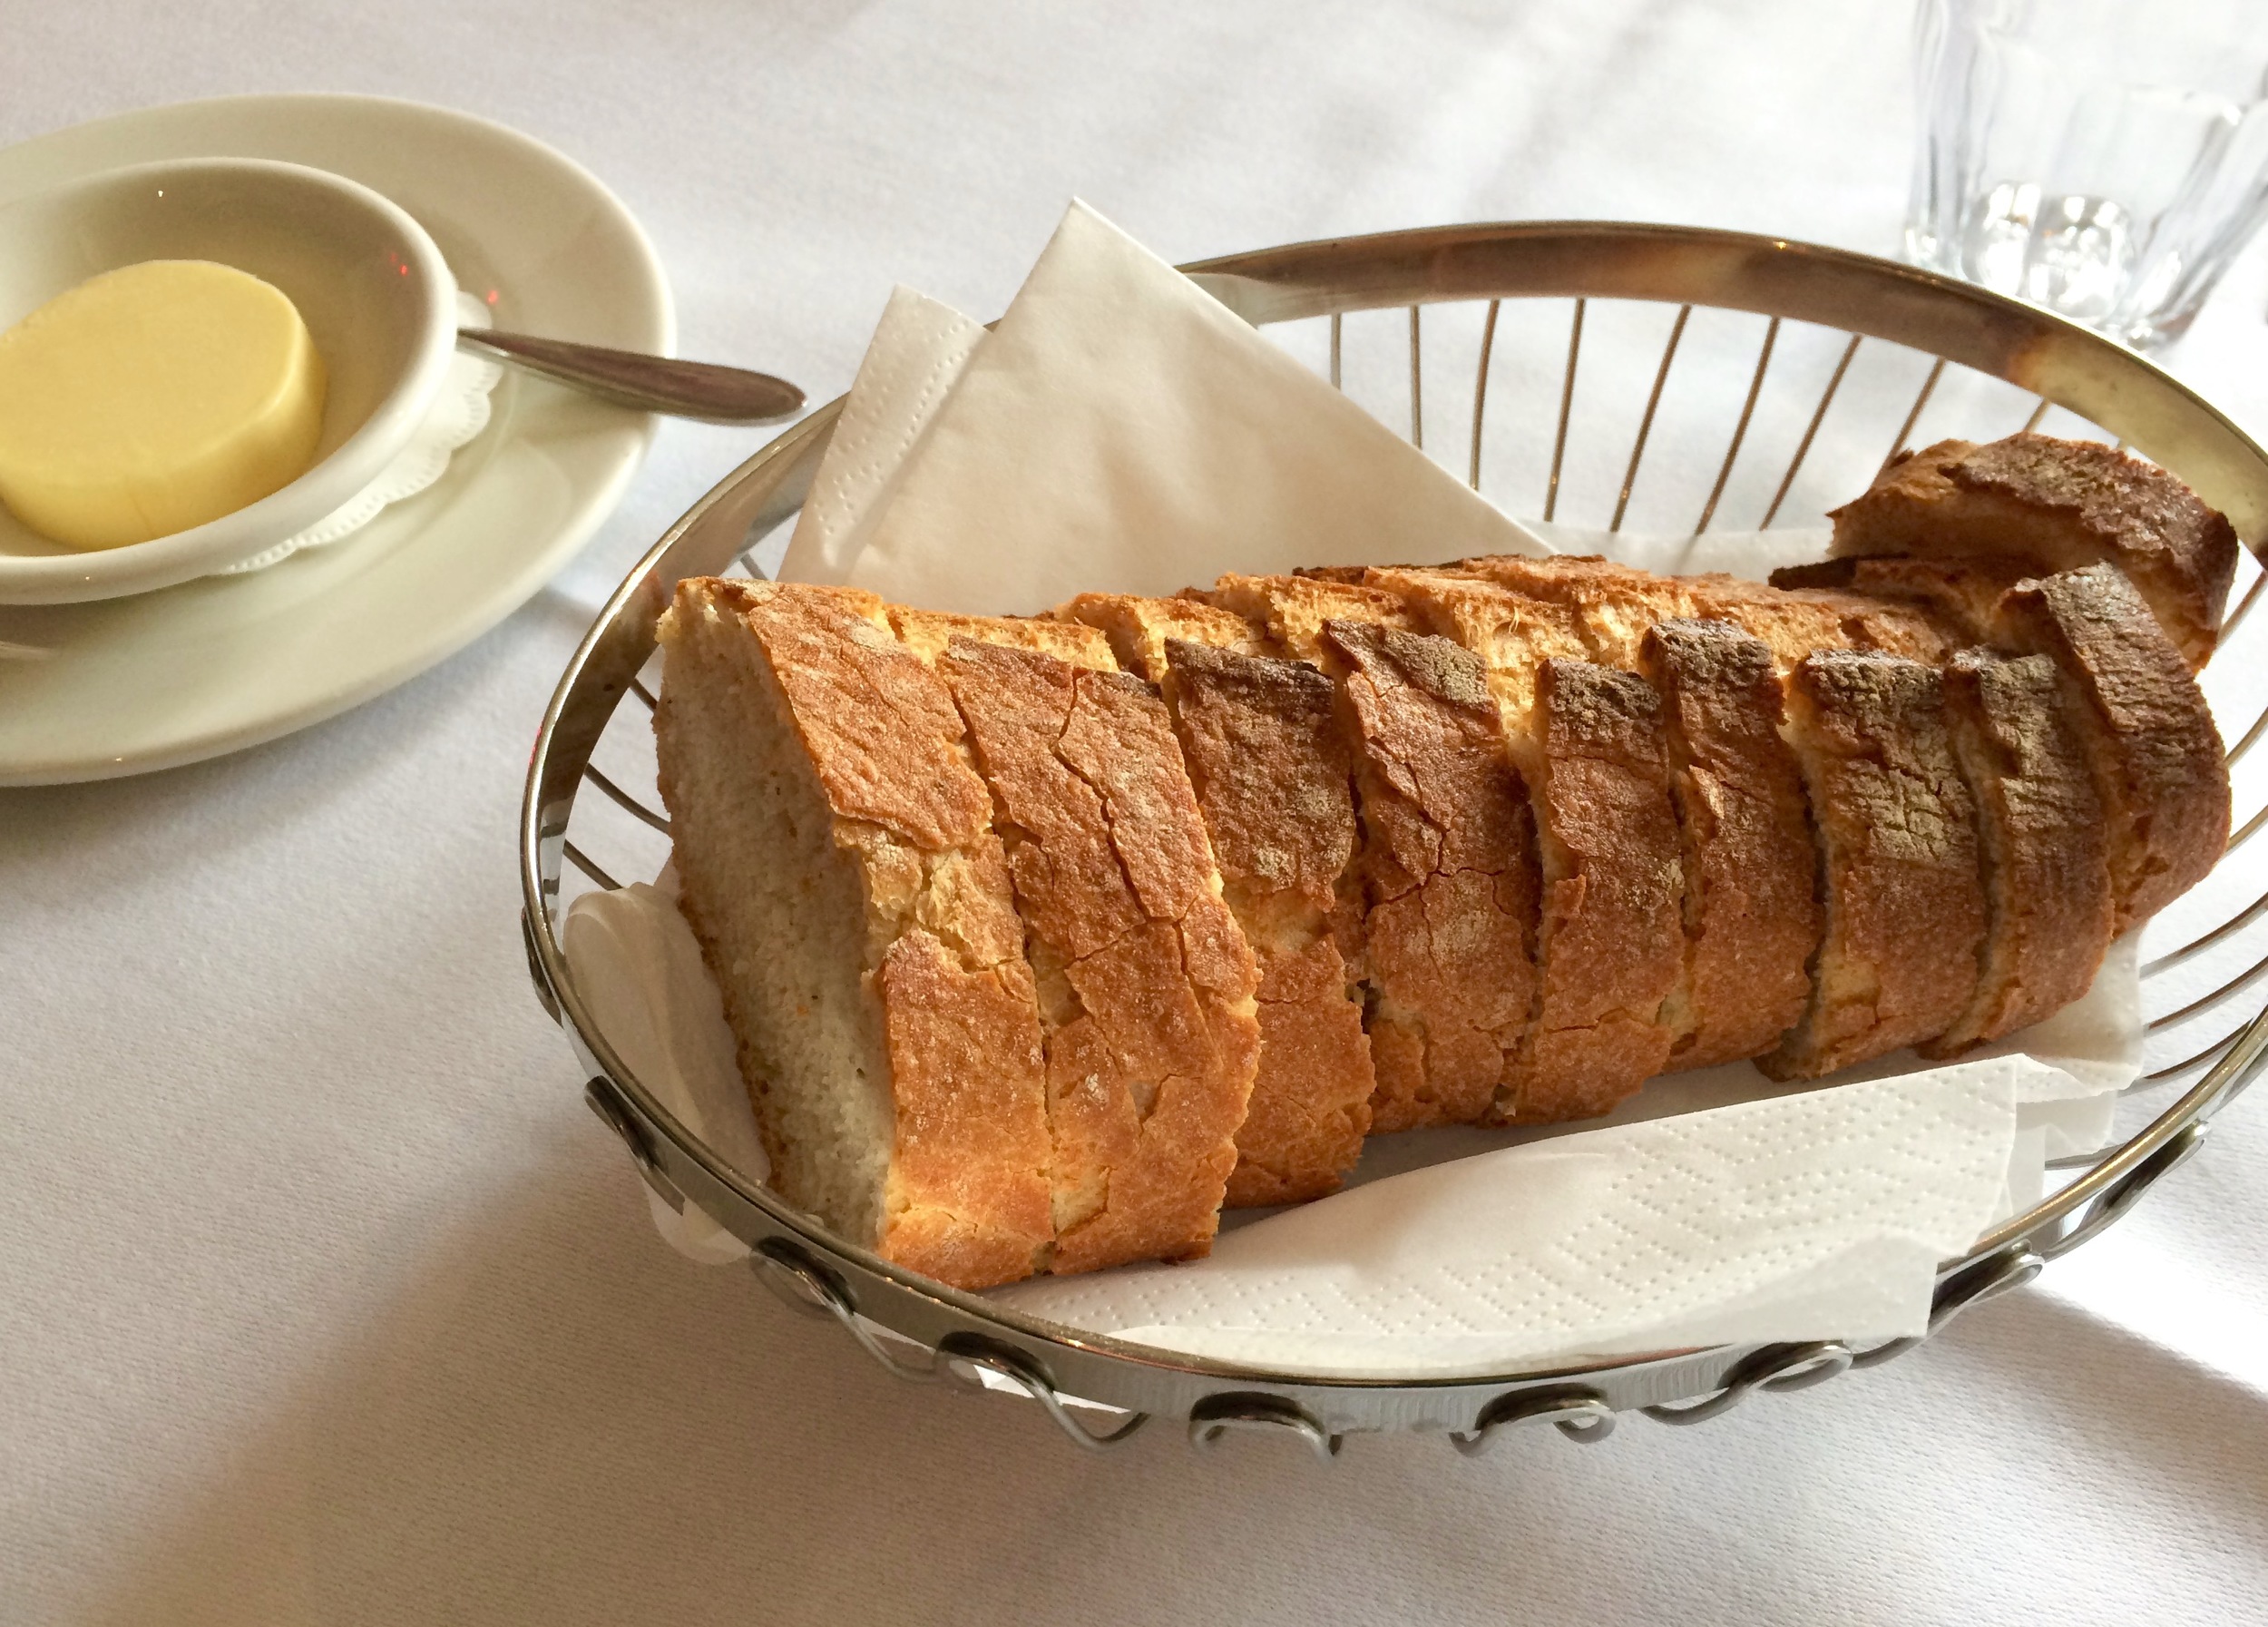
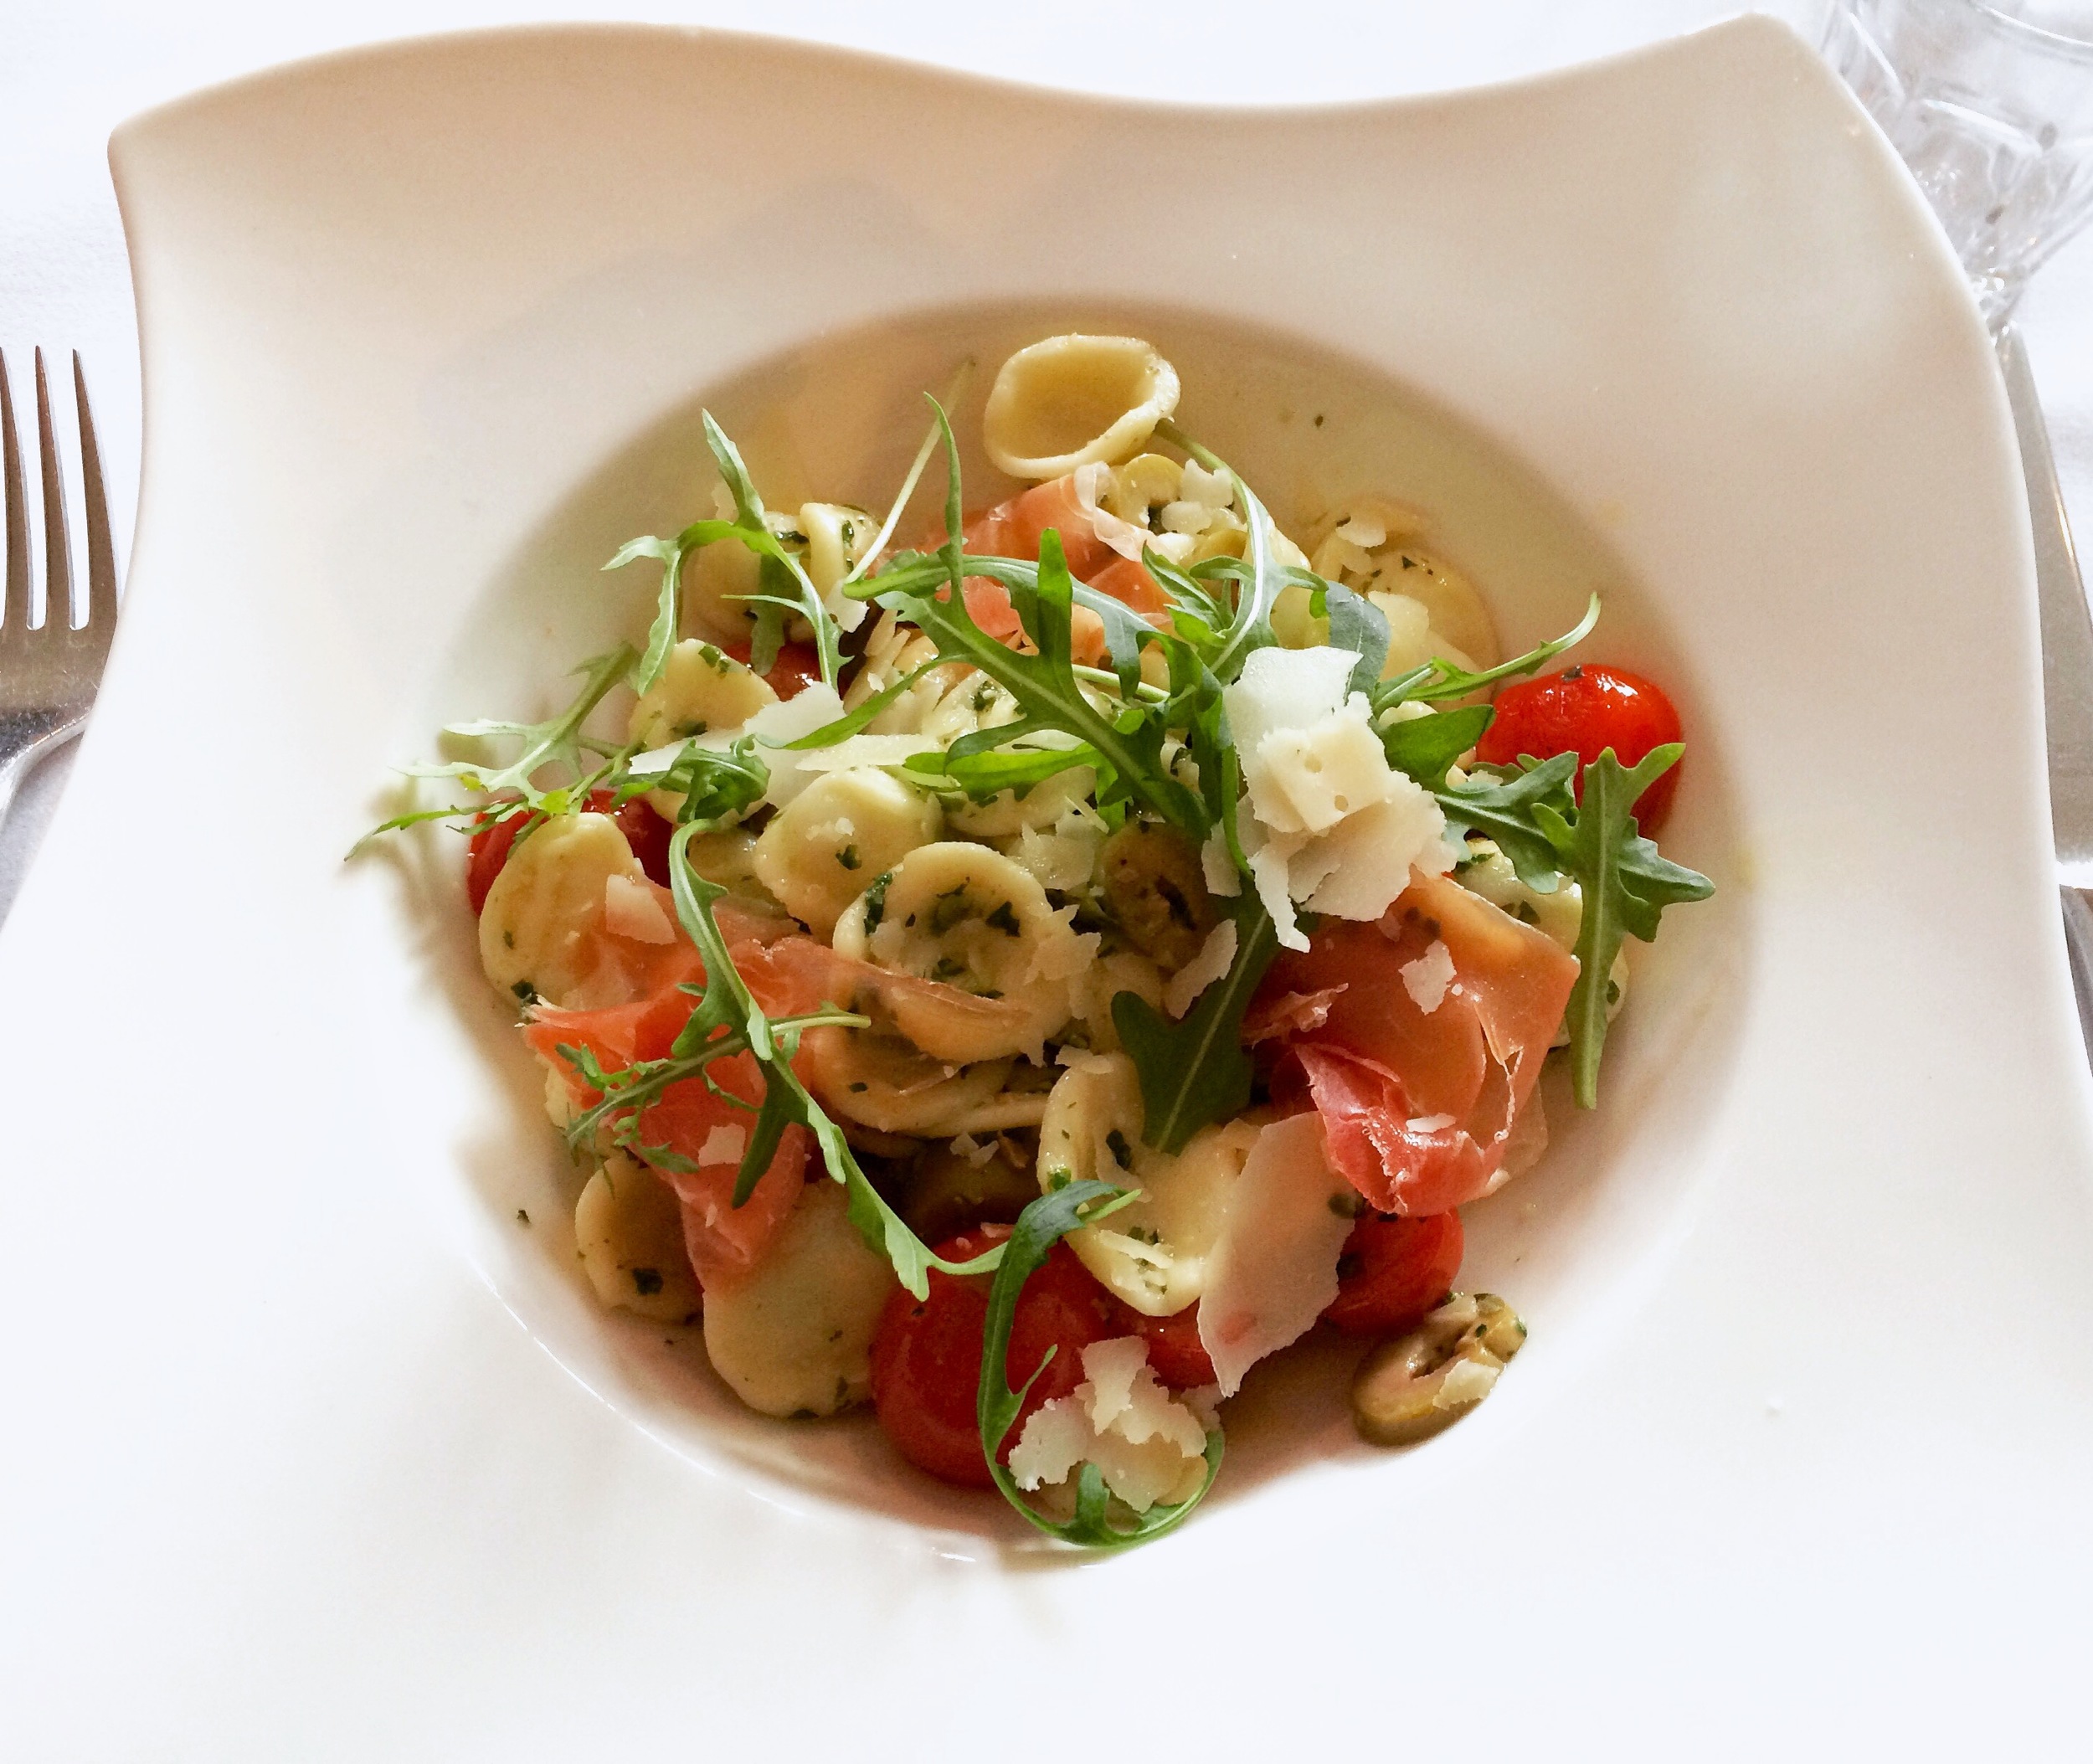
For dinner the night before our race I mentioned that I often like to eat pasta the evening before I run a race. Henk knew just the place to take us. La Stanza was a beautiful Italian restaurant with amazing food, including my requisite pasta! 

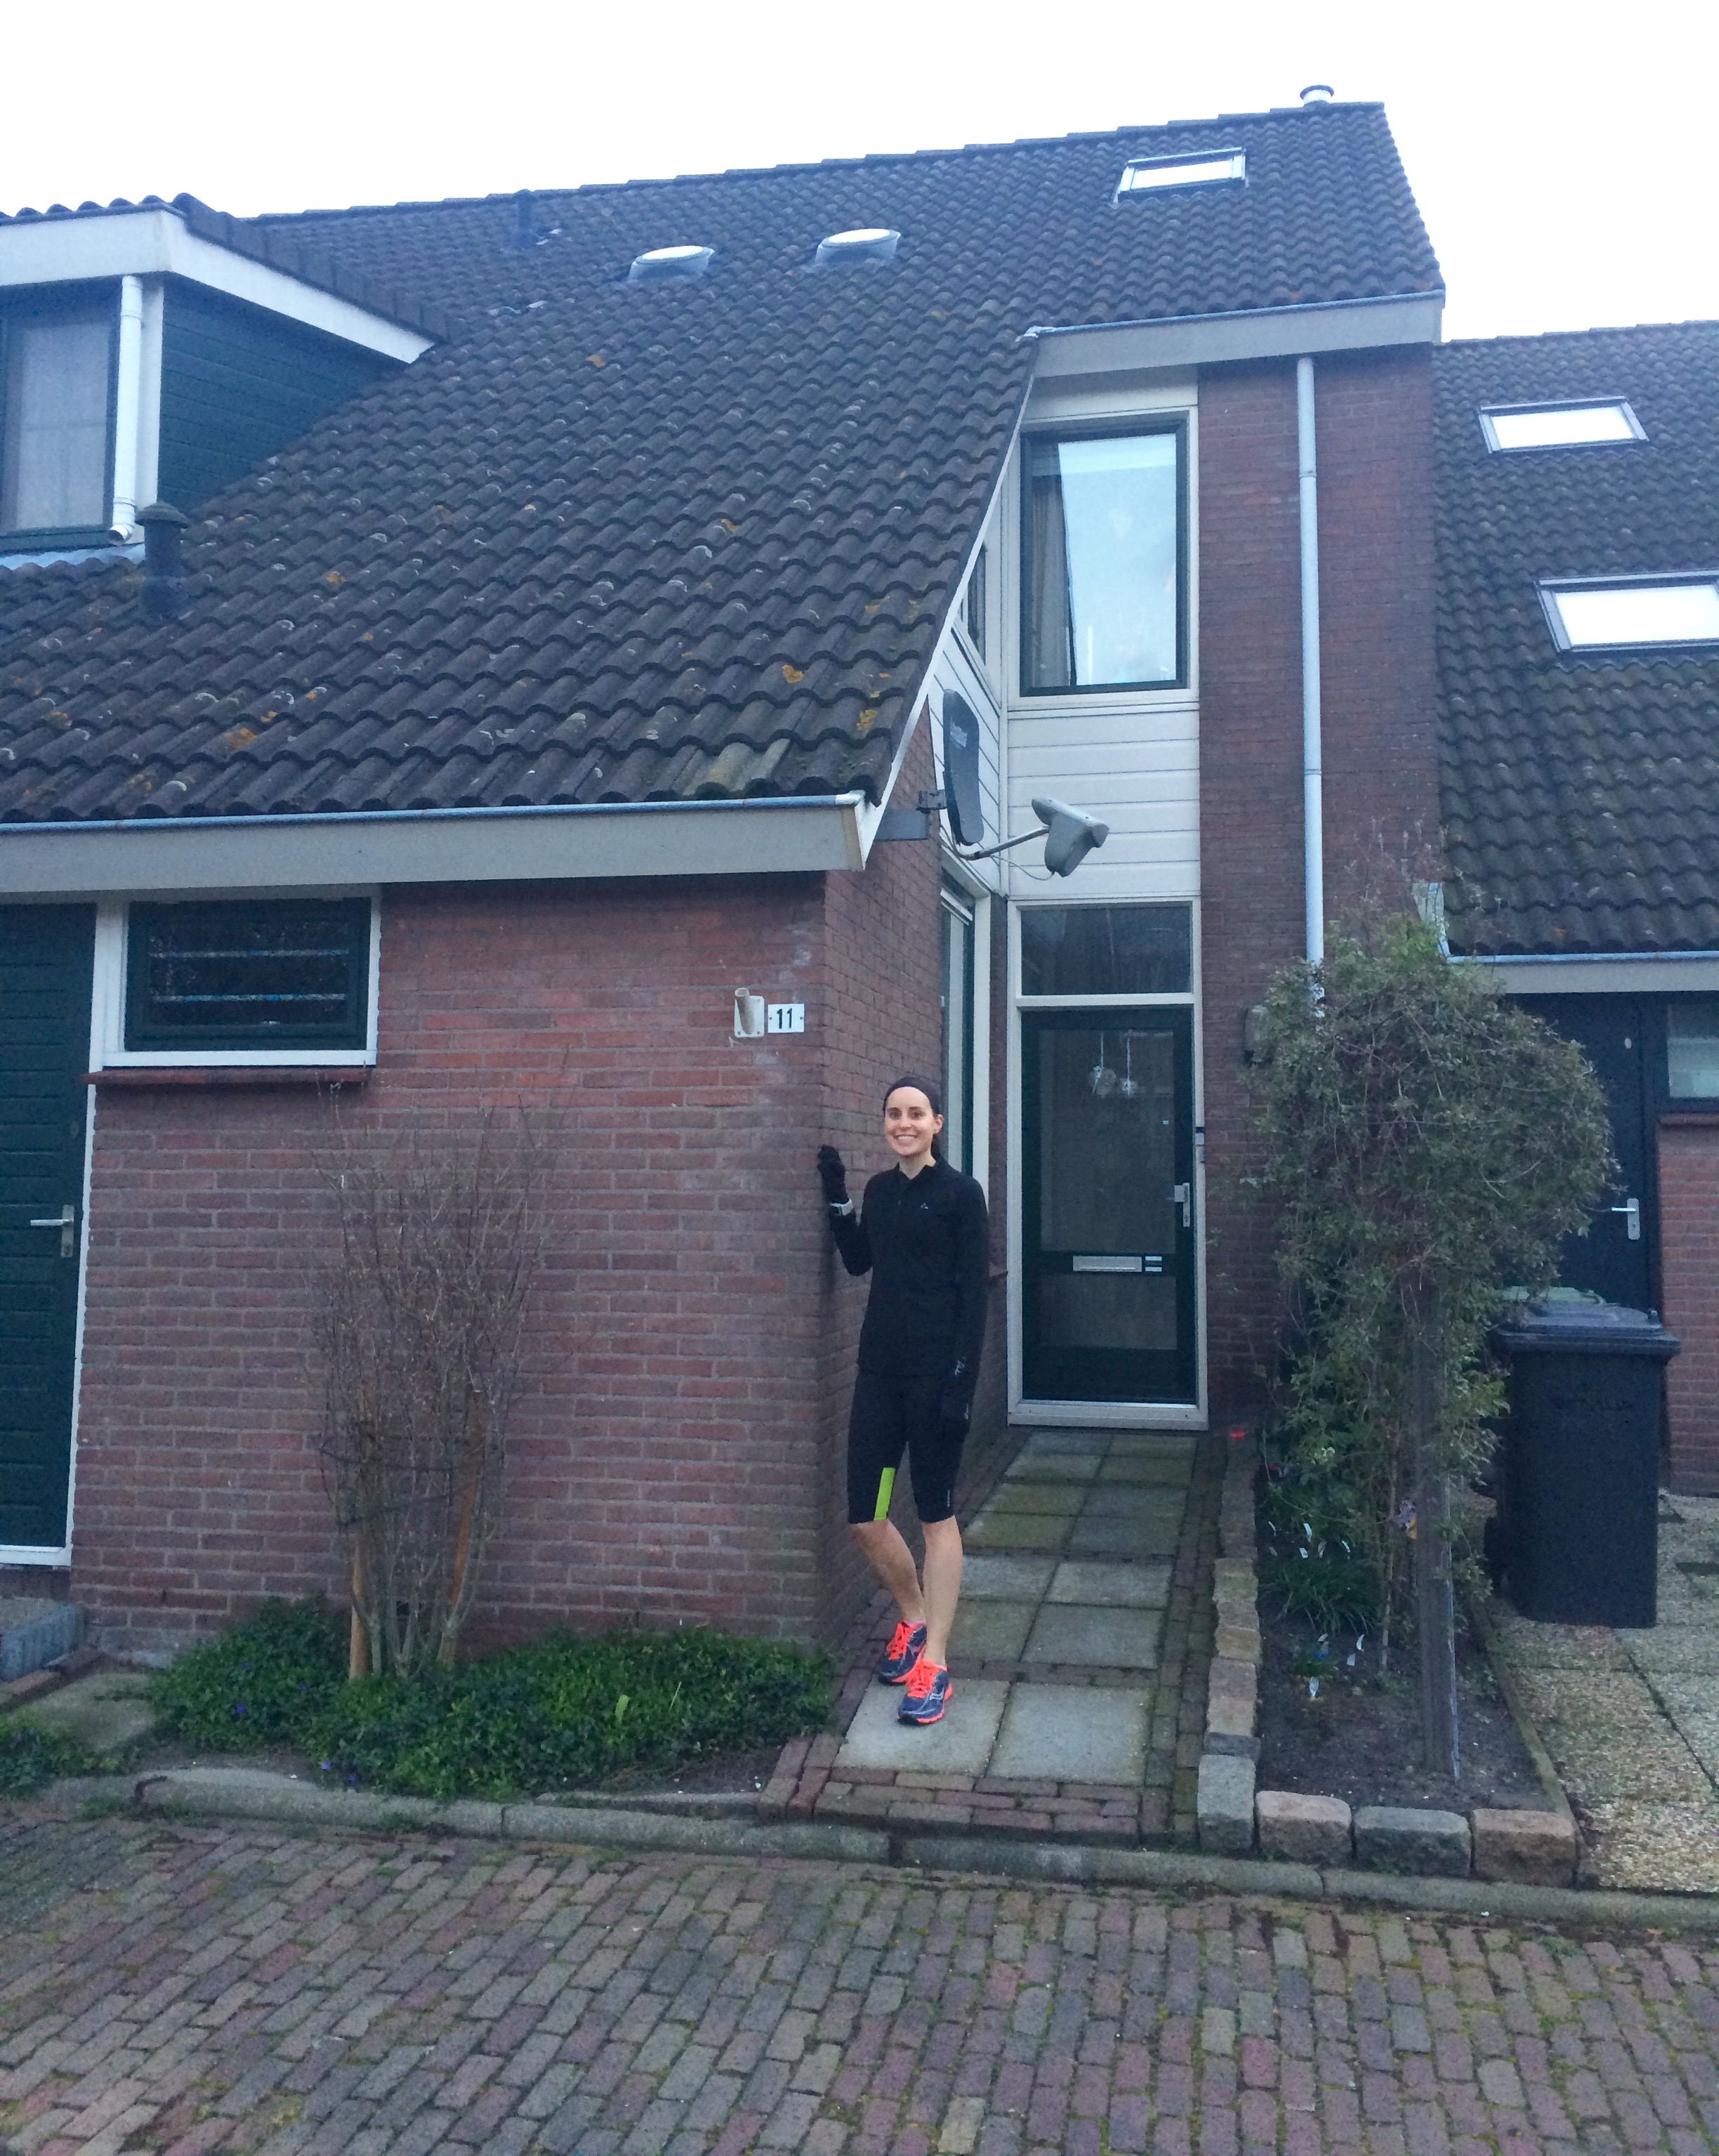
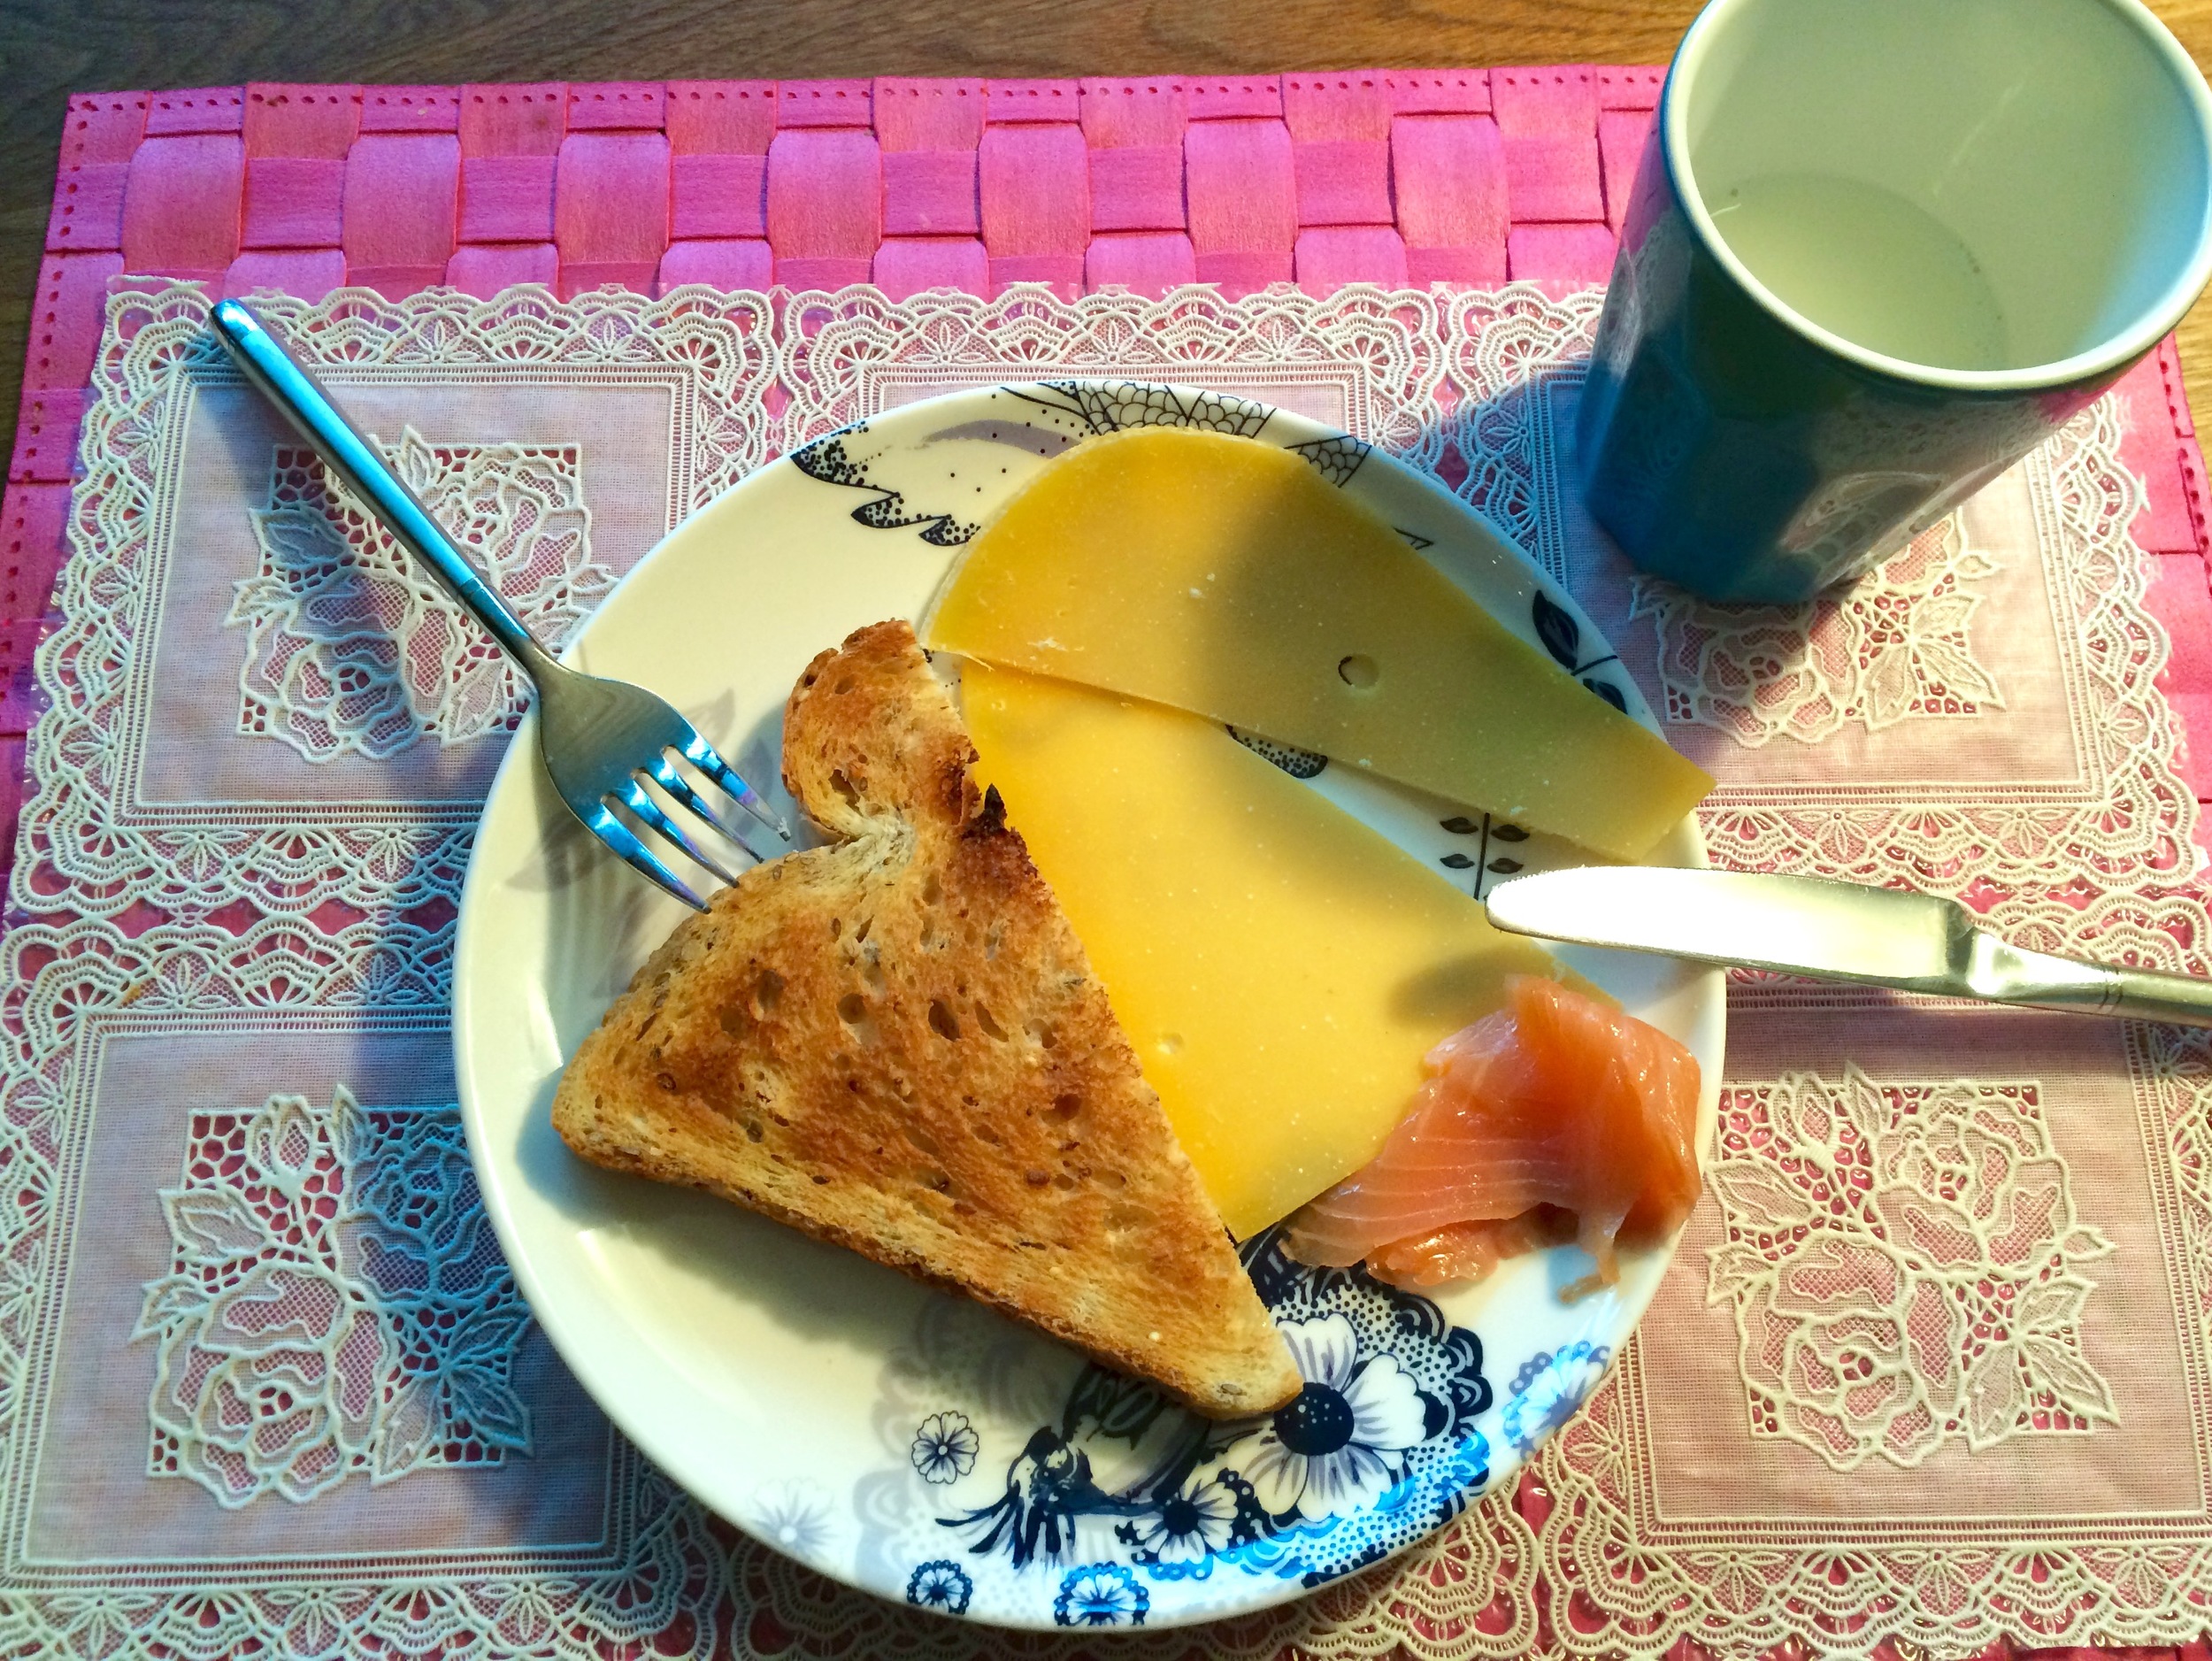
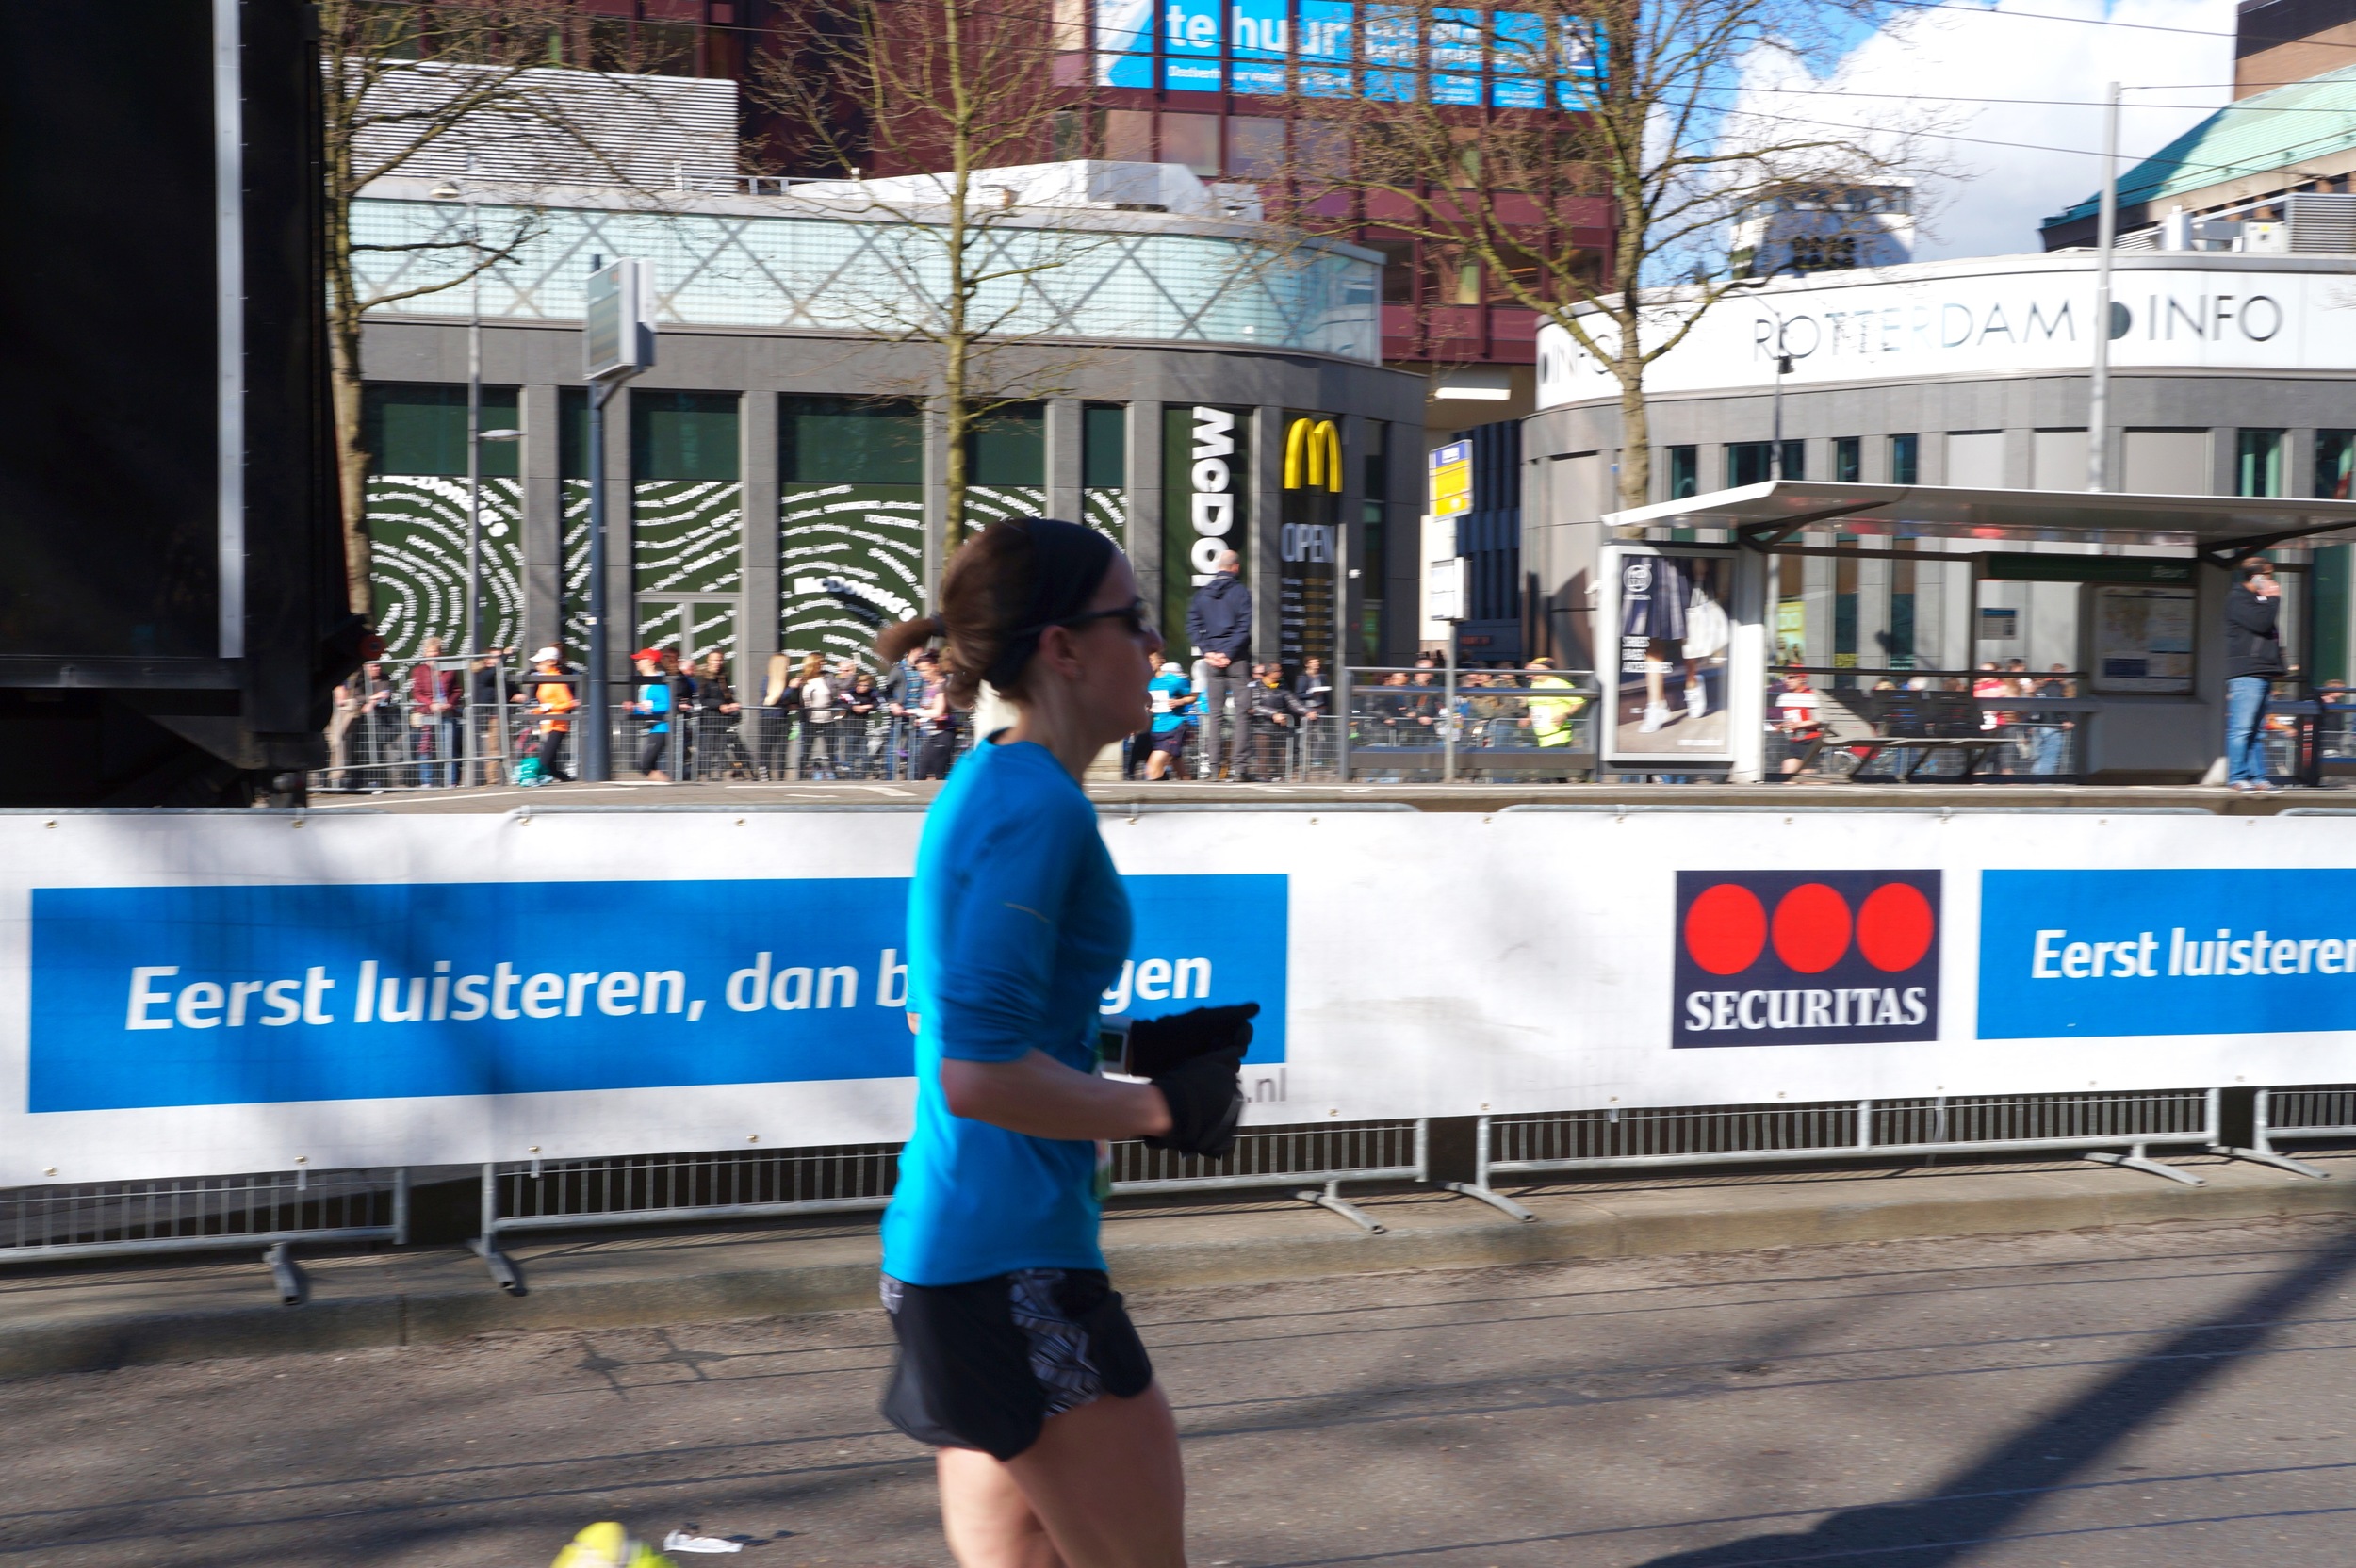
The next morning we were off to the races! I had my typical pre-race breakfast of bread (usually a bagel, but had to go with the baguette this time!) with peanut butter and a banana. It was the perfect morning for a run. Low 50s, sunny, no wind. I couldn't have asked for a better day. It was a nice course too, ran through the city and around a nice sized lake with a park. I didn't have my phone with me so I couldn't really get any pictures, but thankfully Frankje managed to get a few, so I have a couple to share. 

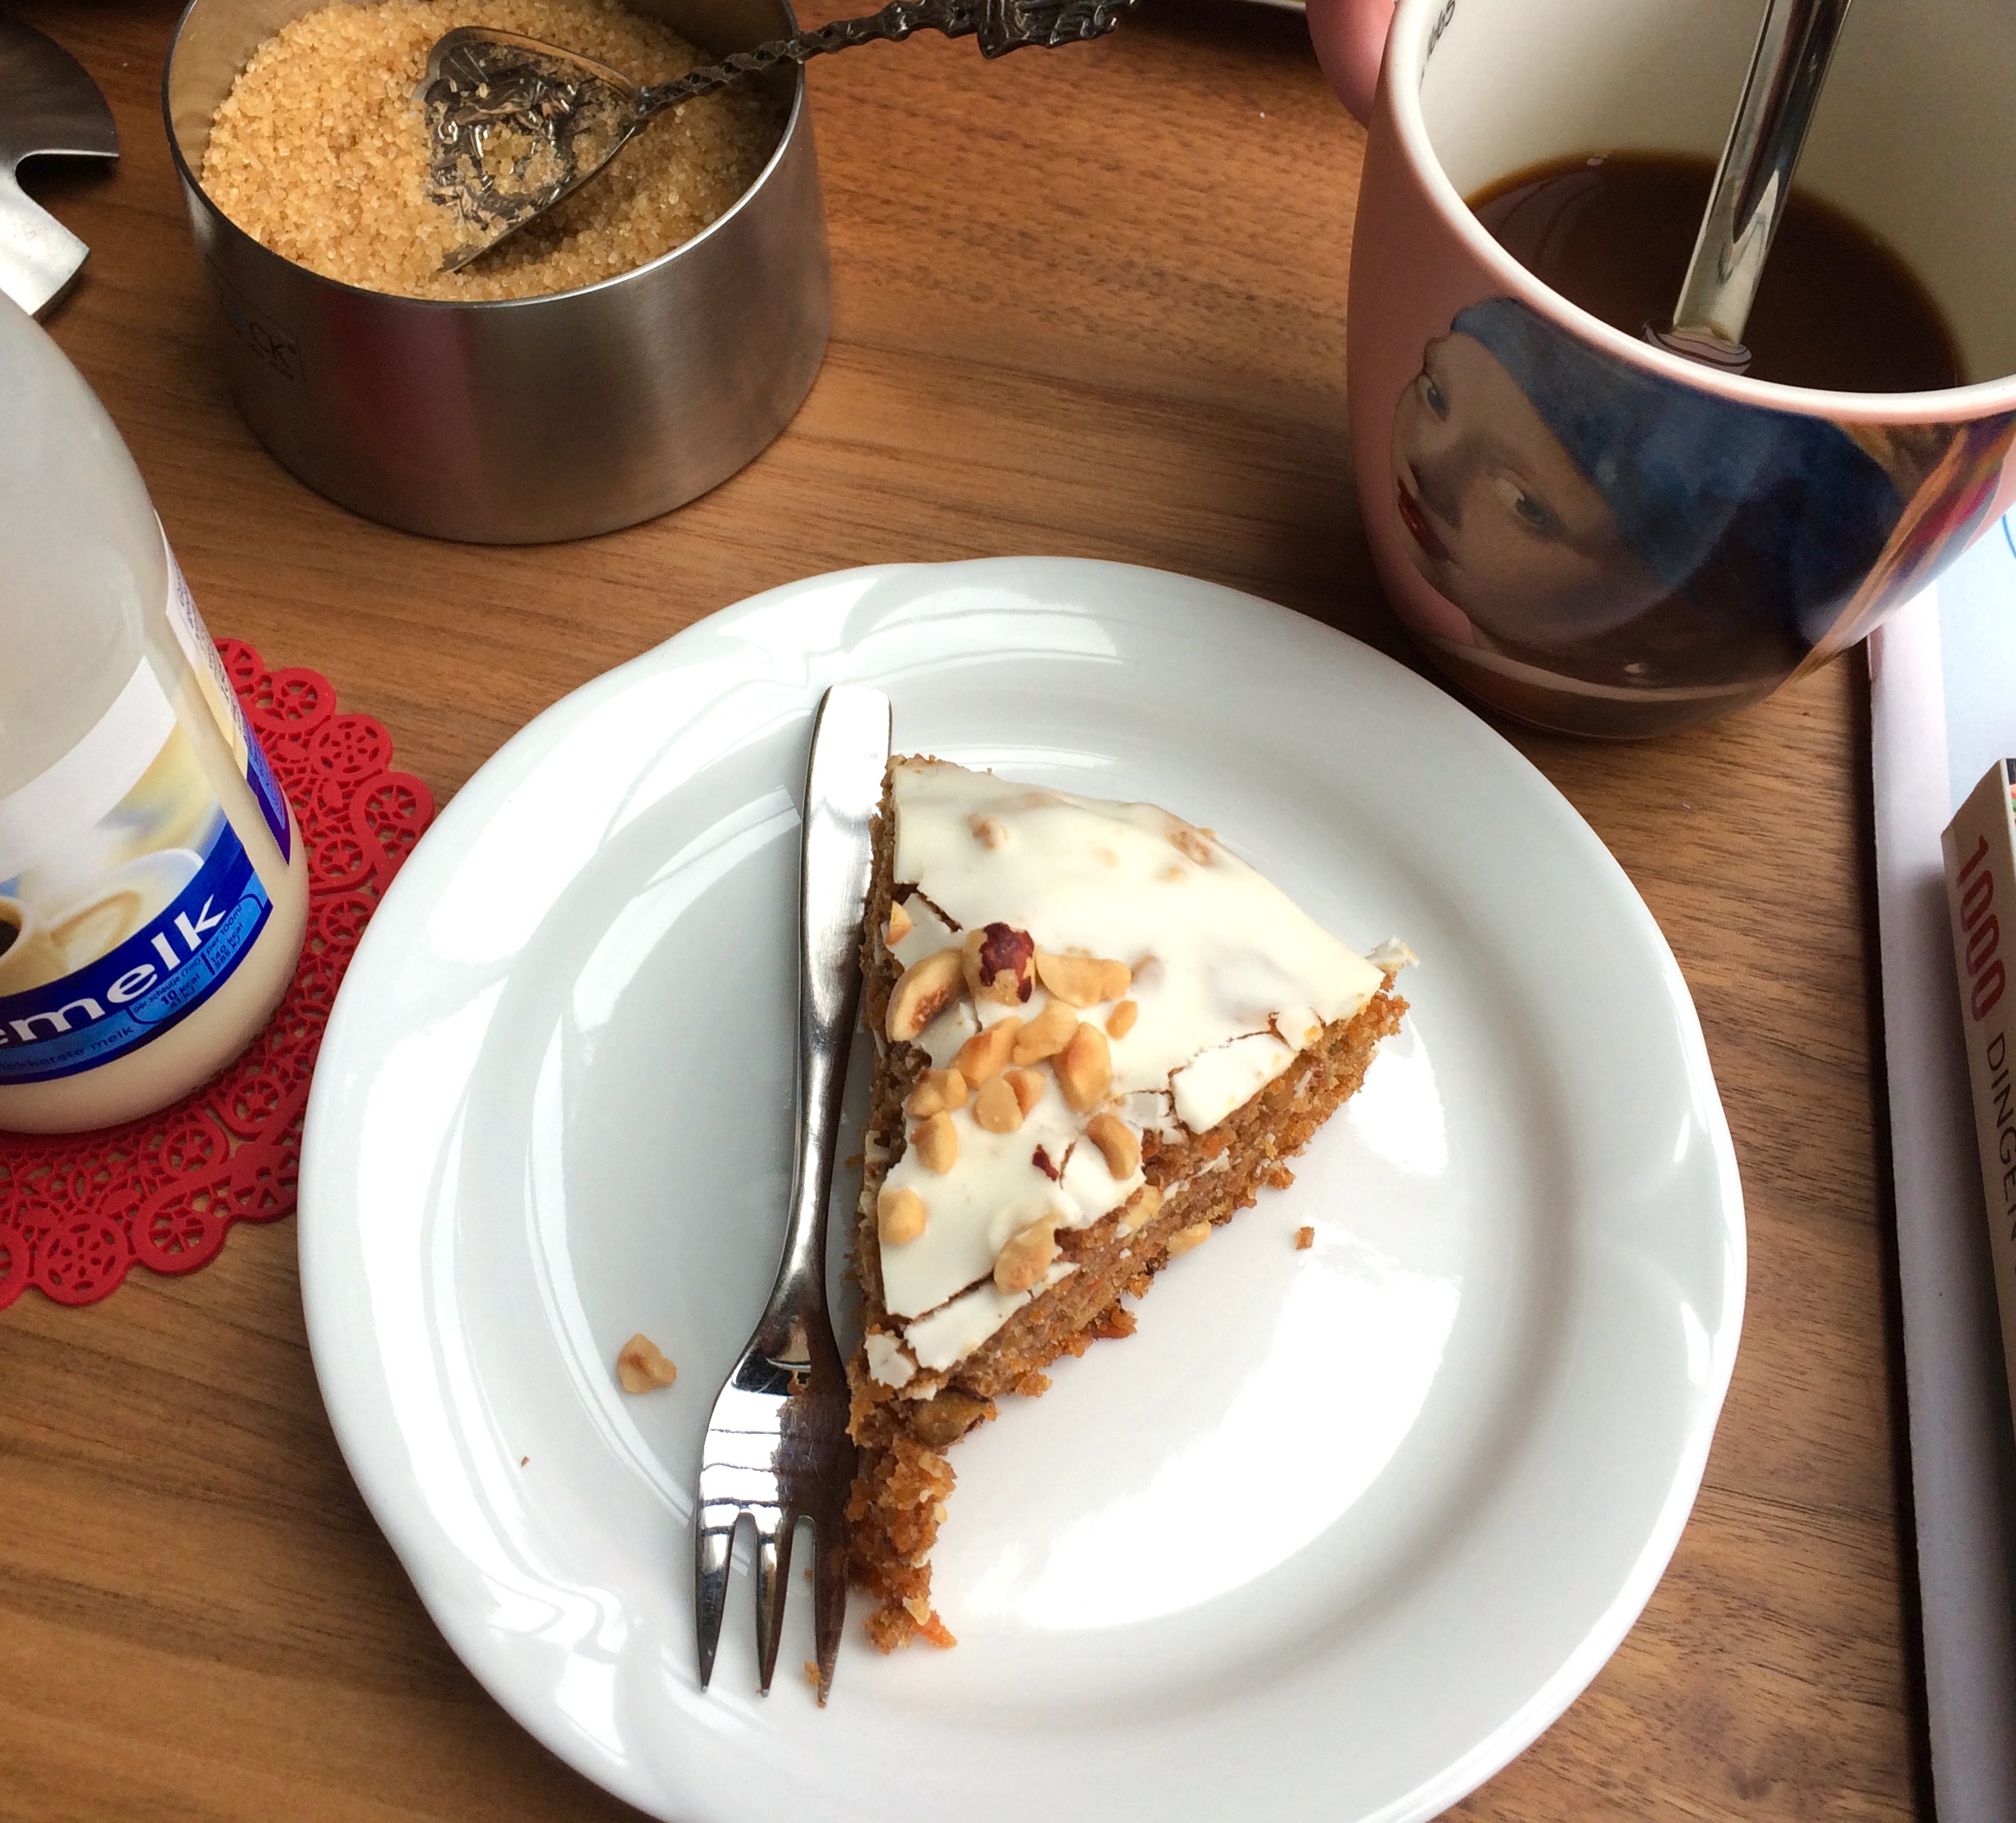
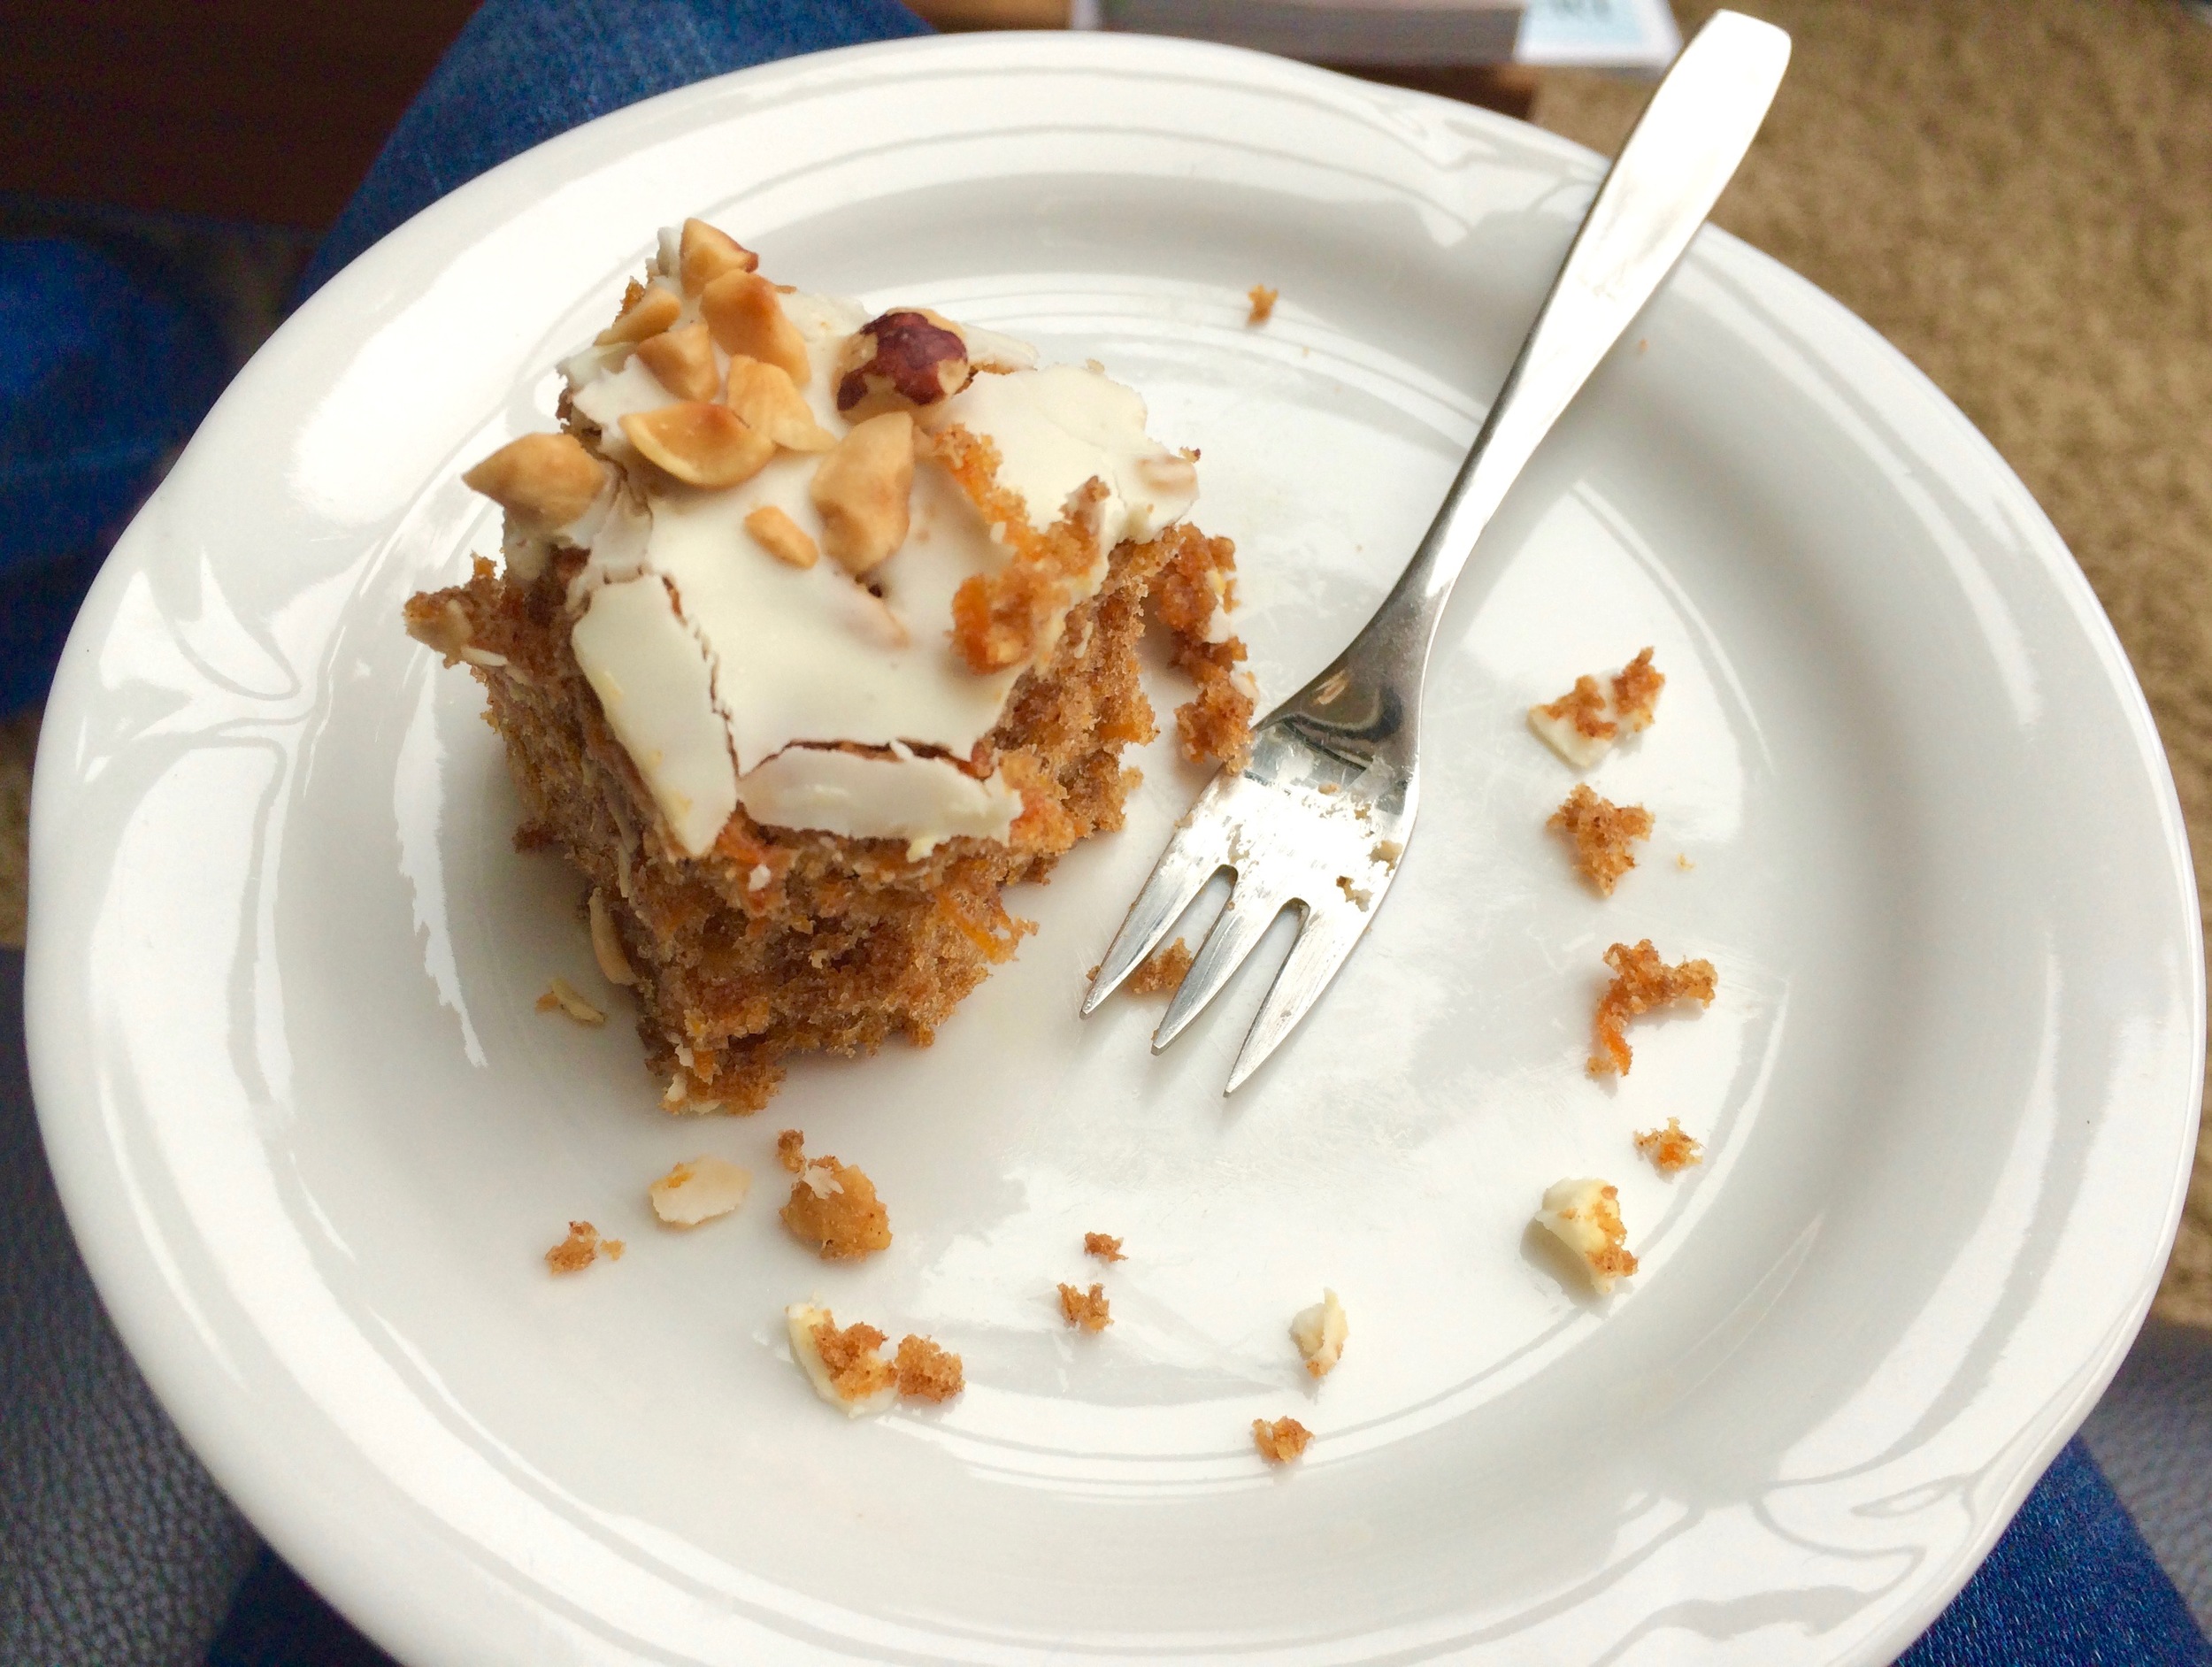
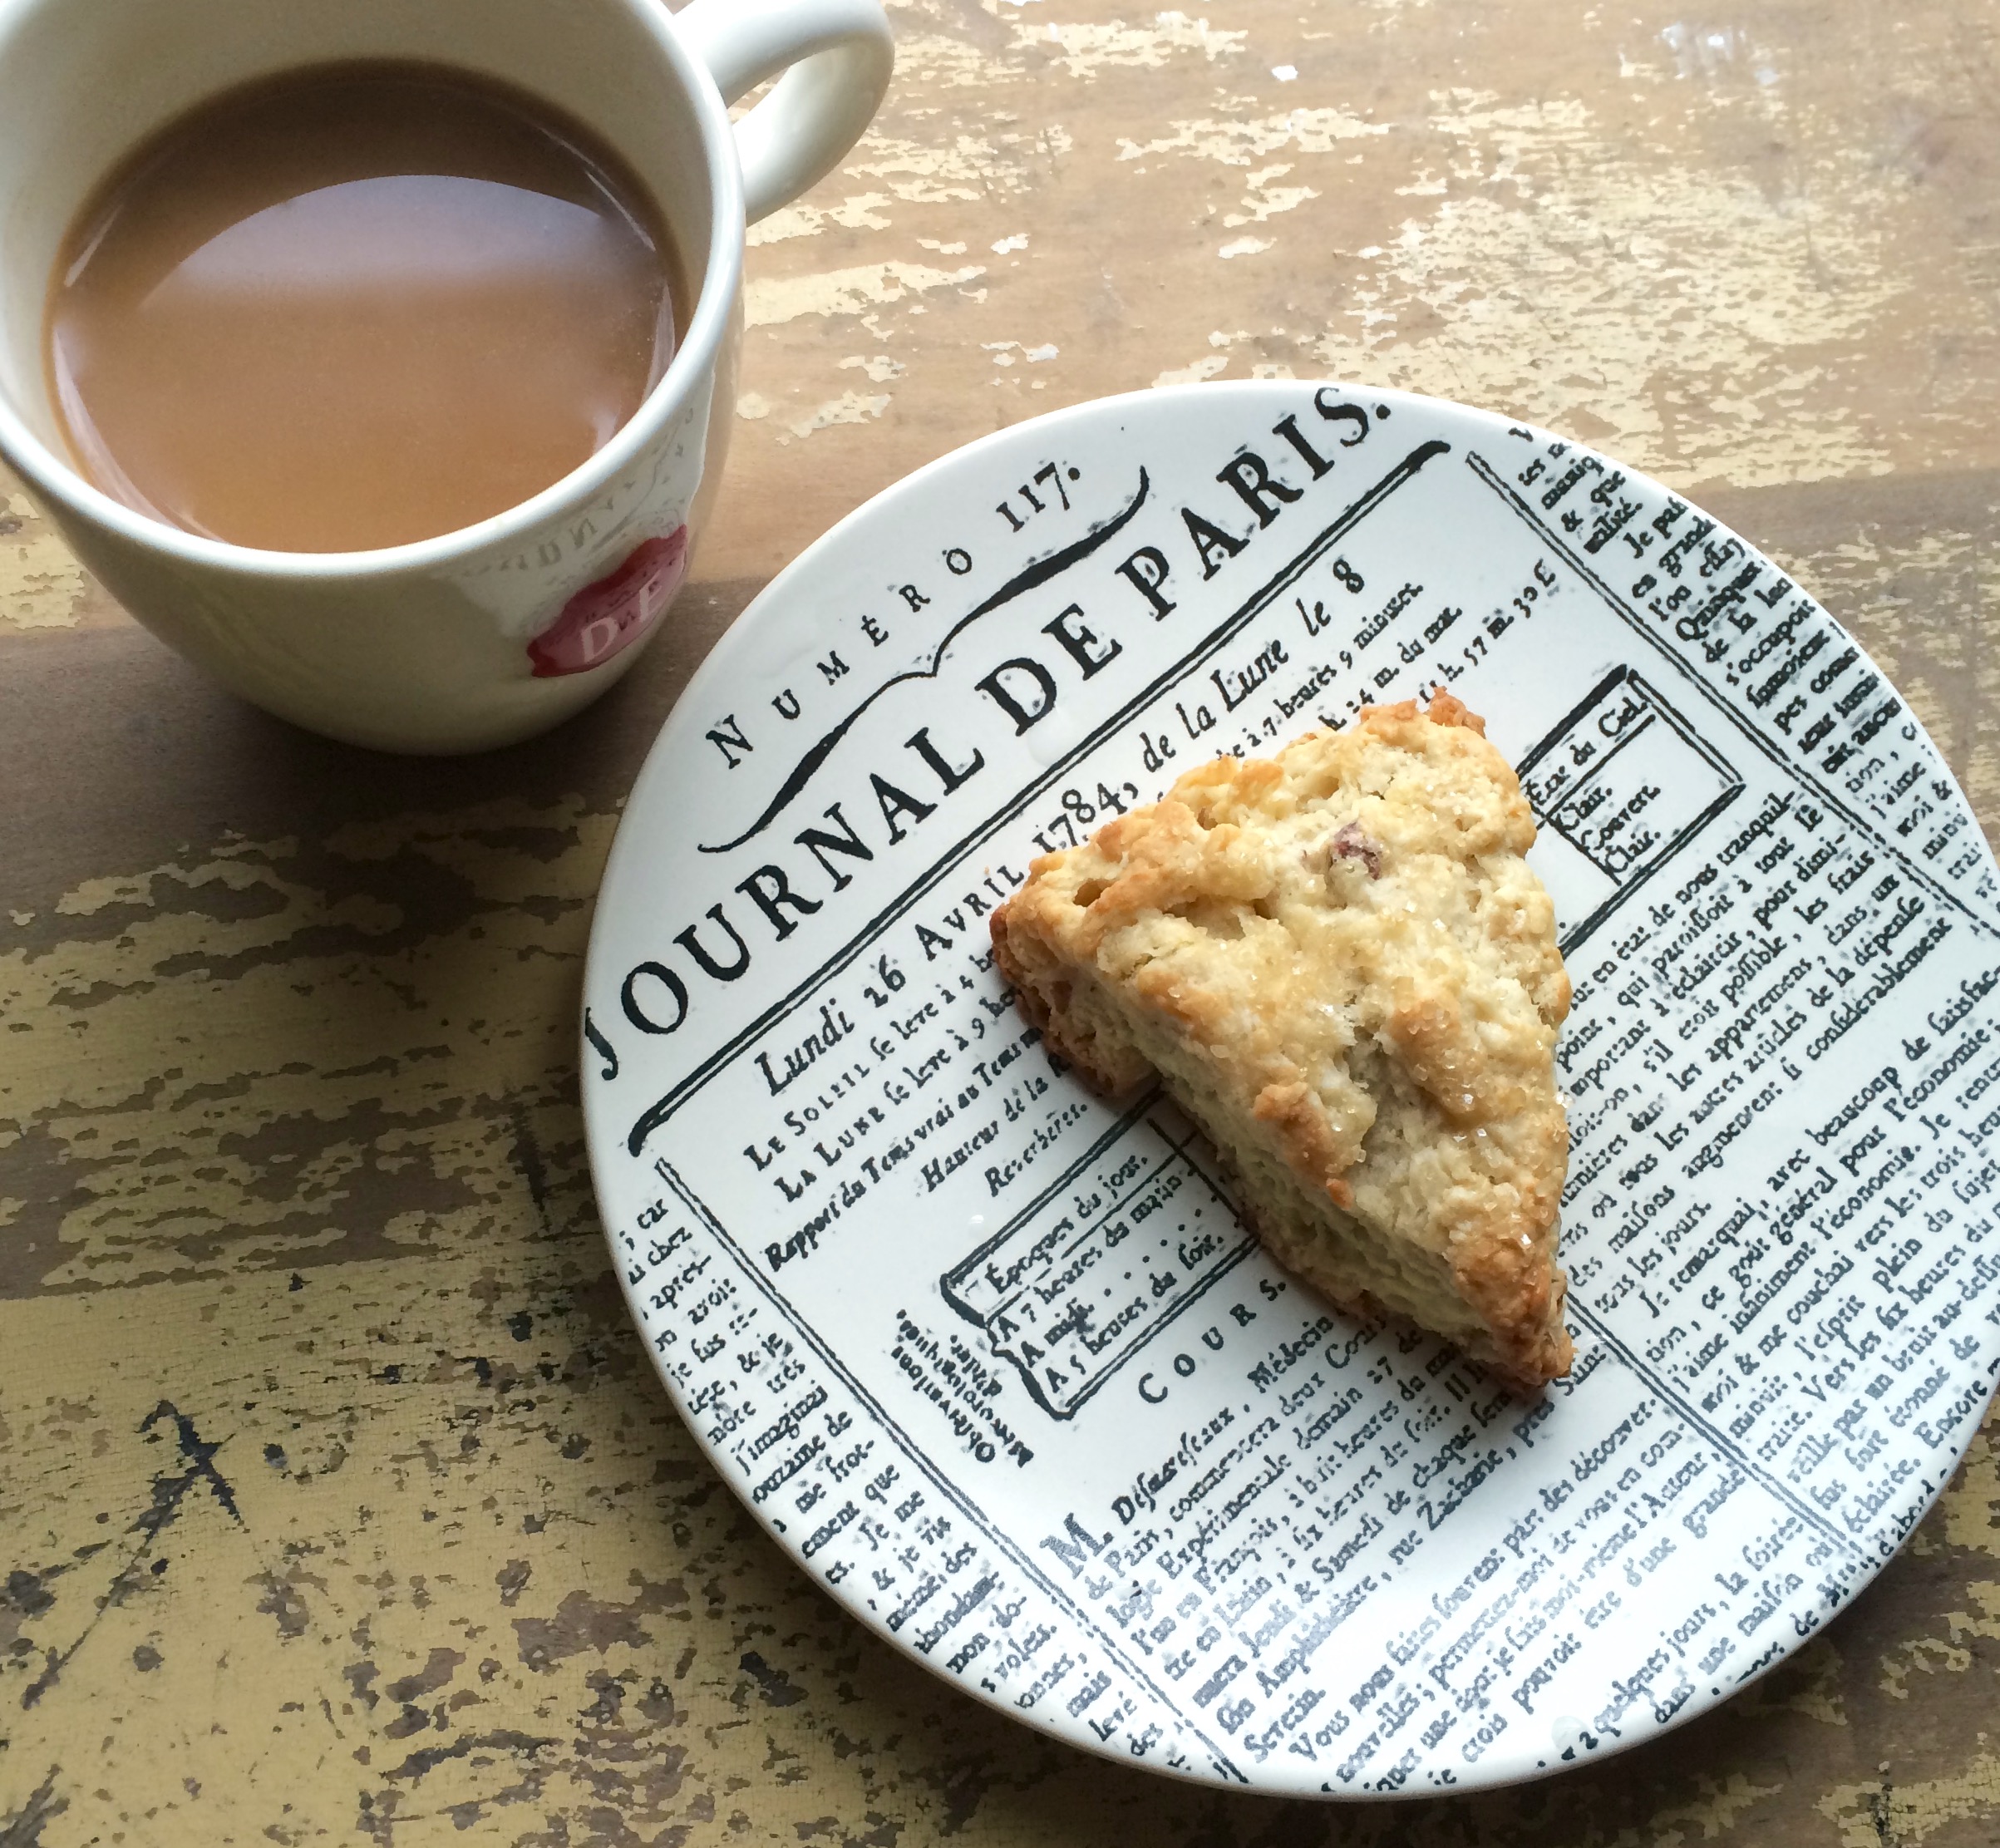
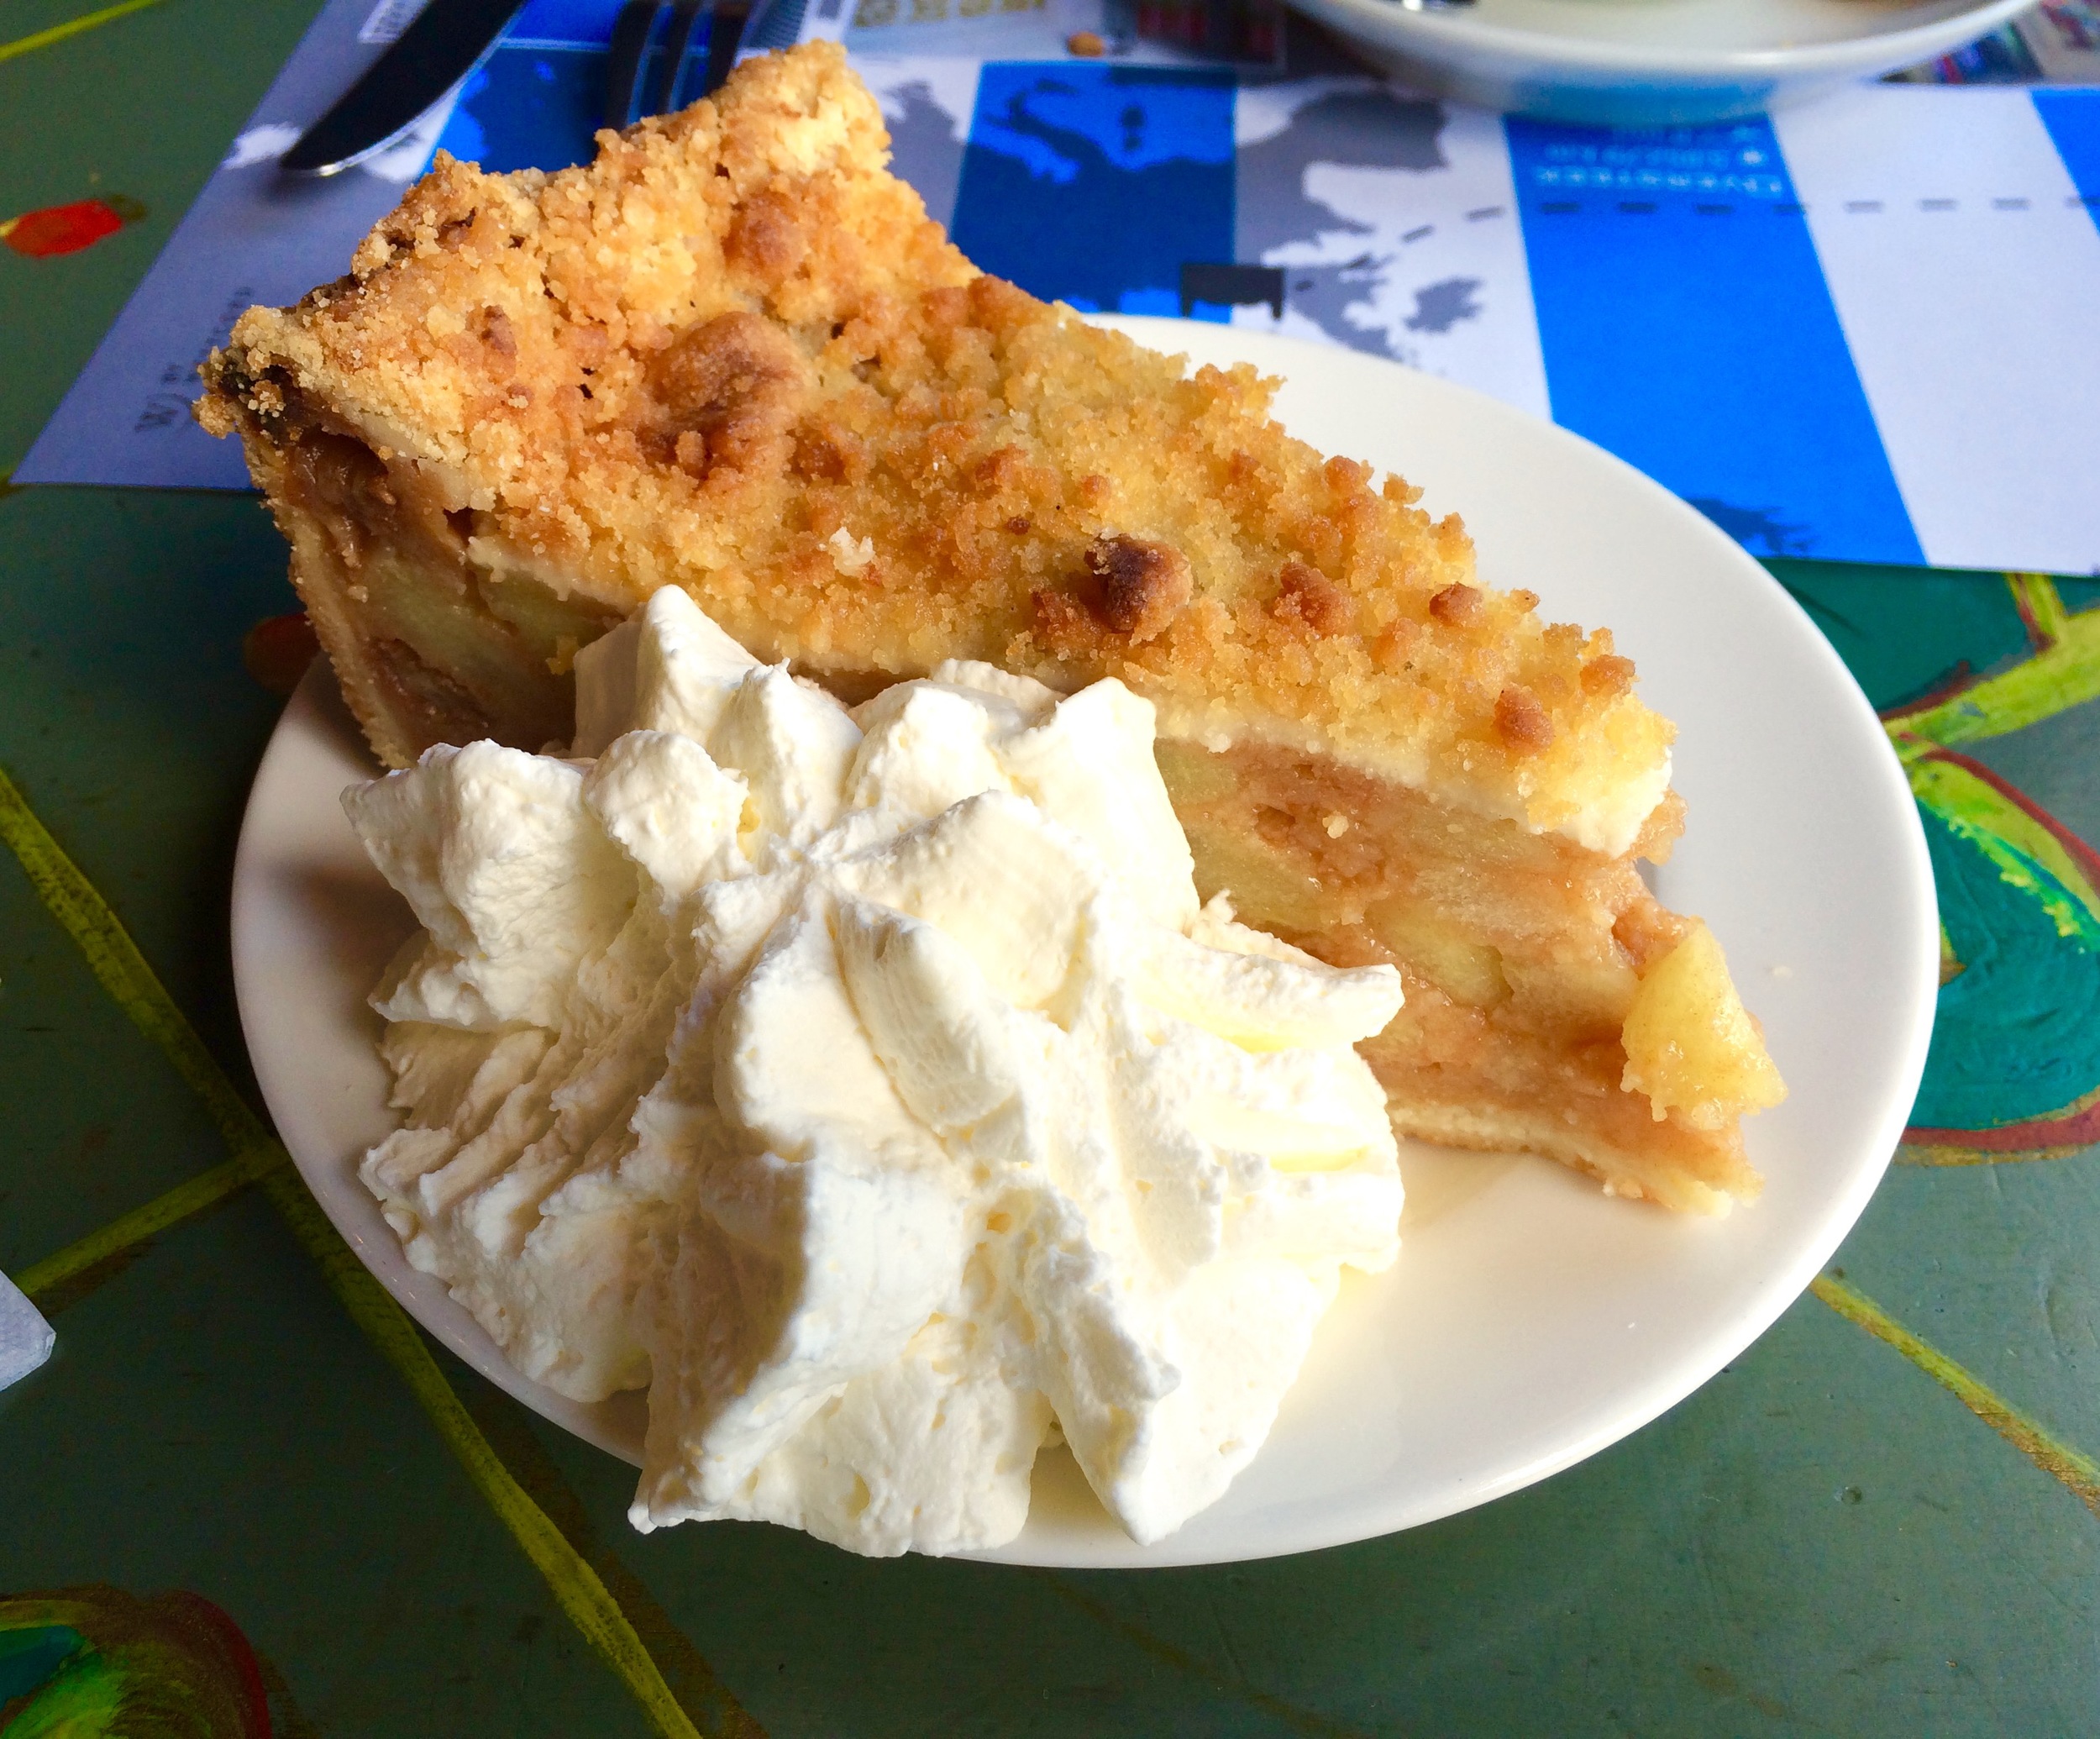
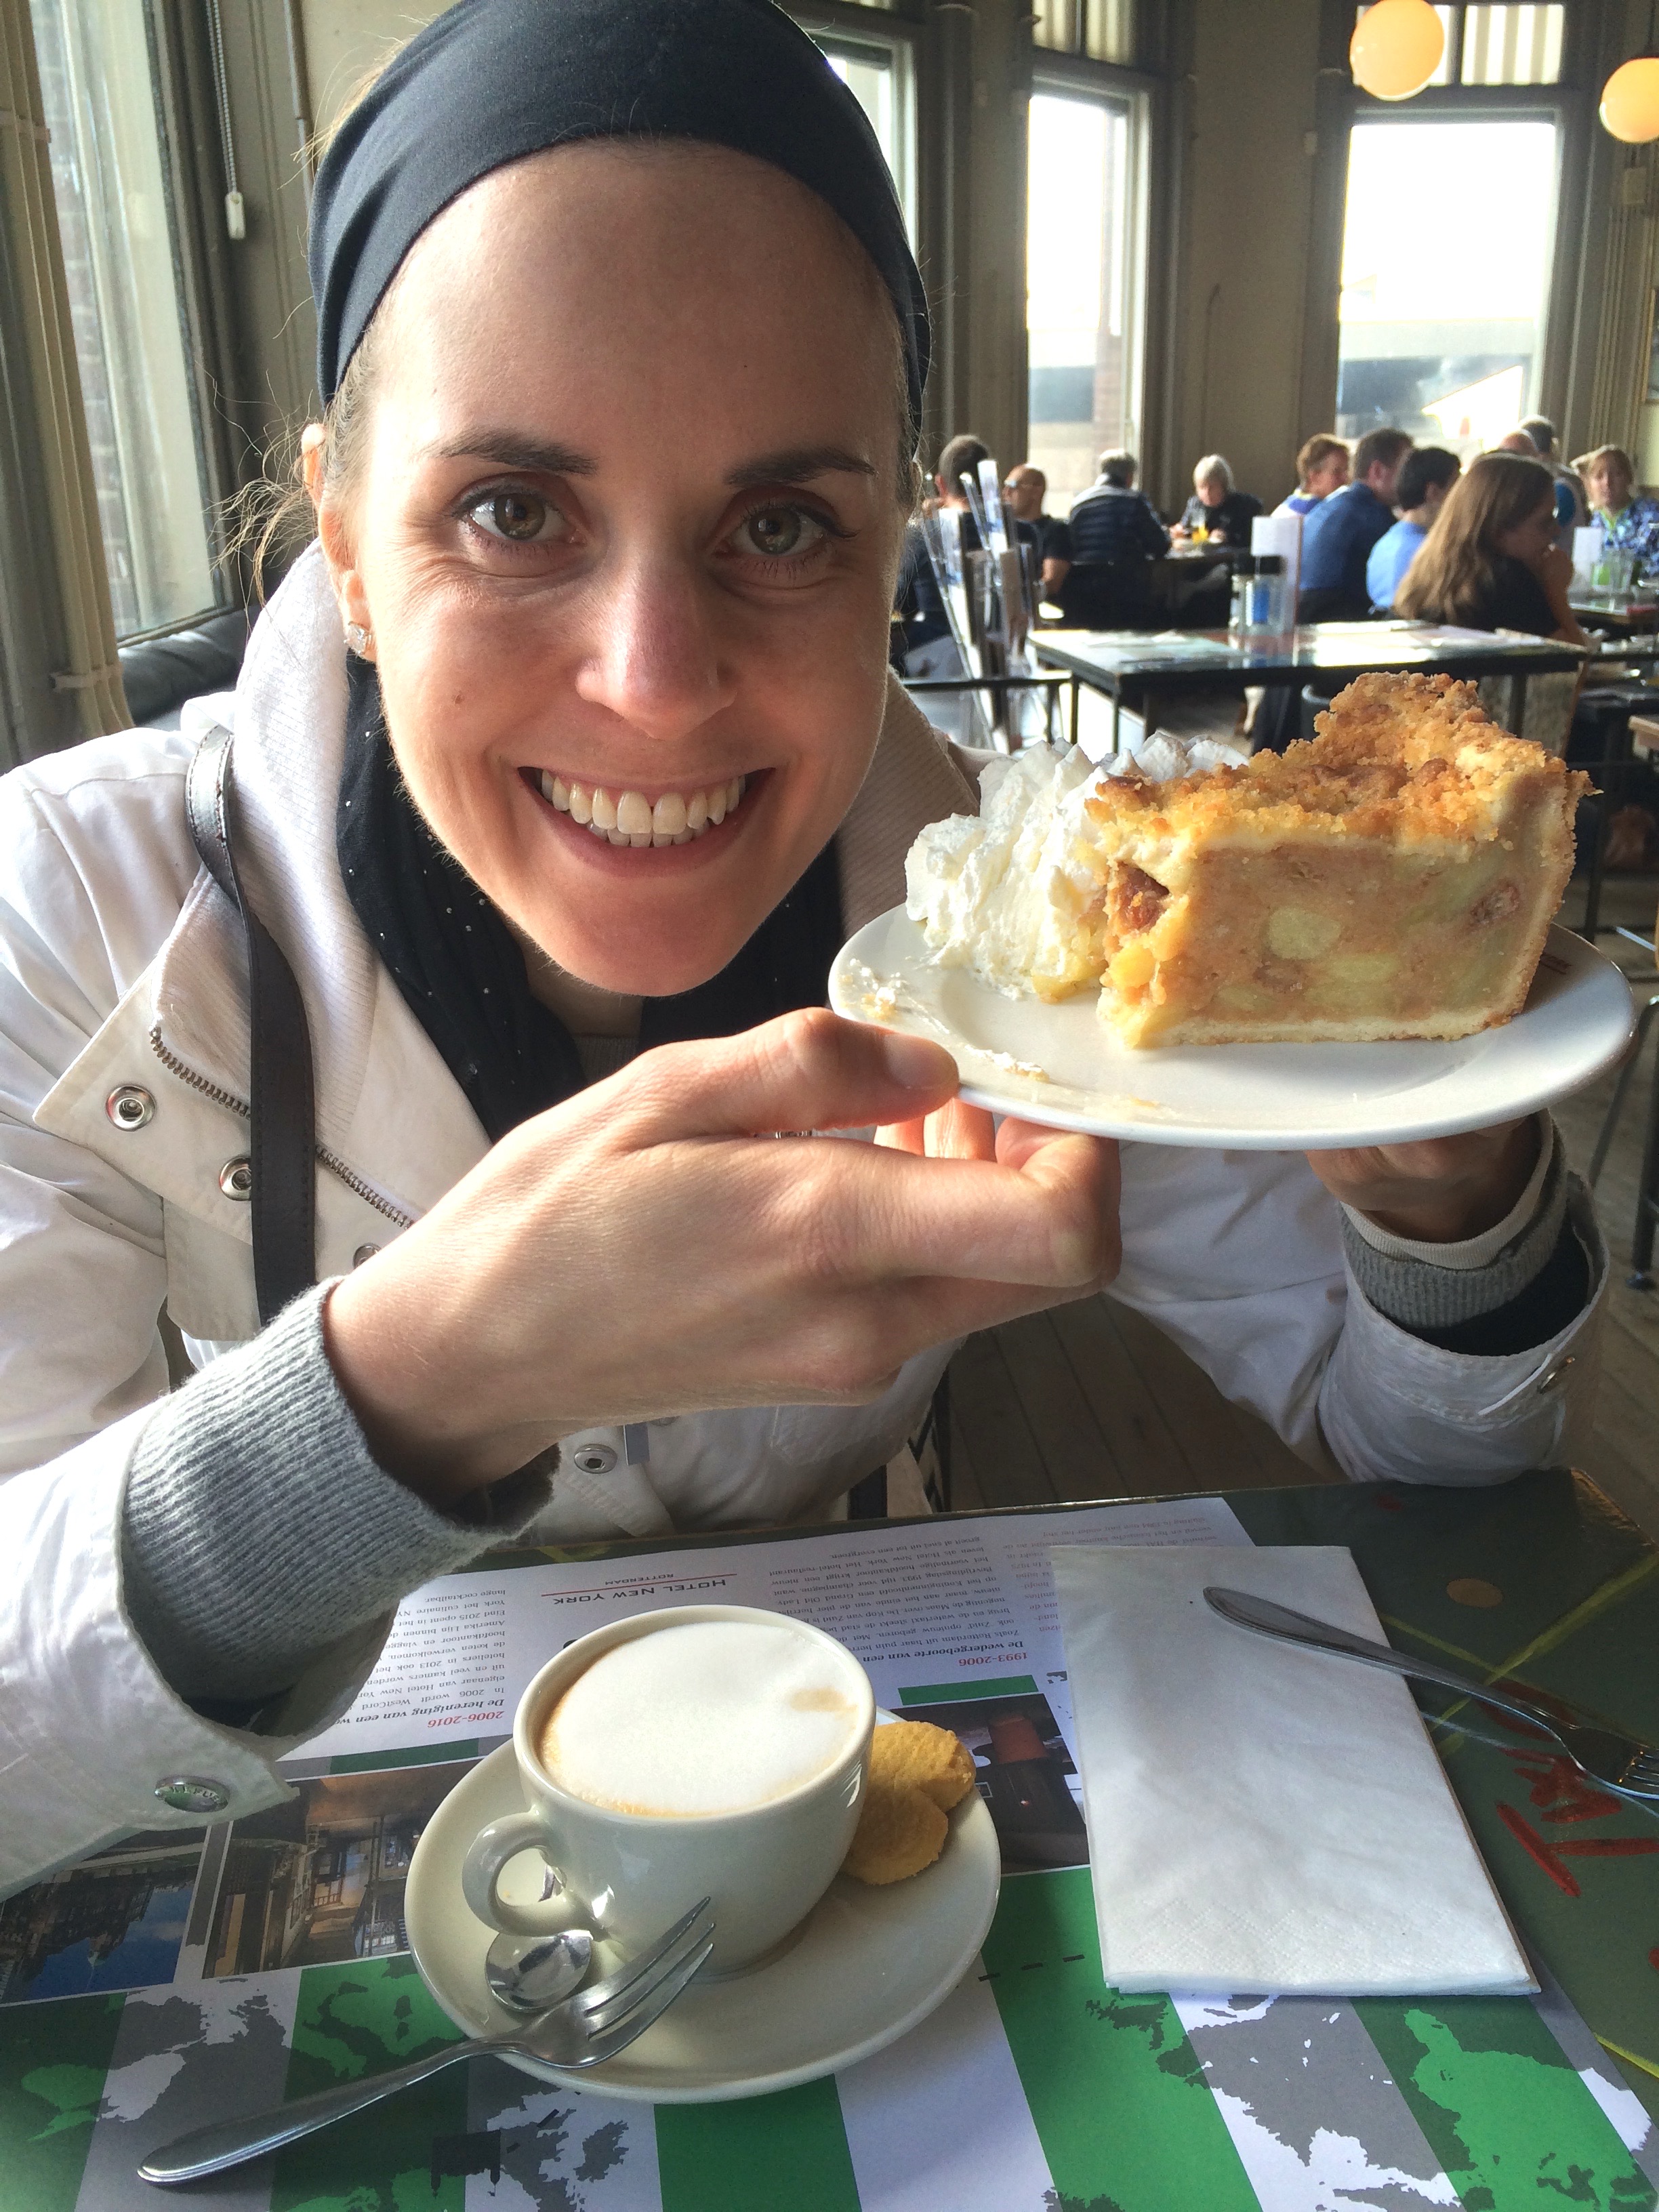
At this point it was time to say goodbye to Henk and Frankje. They headed back to Oostzaan, while Lara and I stayed another night in Rotterdam before heading to France. After they left we treated ourselves to a delicious "lunch" of appeltaart and coffee at the dining room of the Hotel New York where we were staying. A great post-race meal!!

For our last dinner in the Netherlands, Lara and I went back to the Markthal and bought ourselves a few little things to bring back to the hotel and dine al fresco in the garden they had overlooking the channel. It was the perfect night to eat outside, and we had all of our favorite things to enjoy. We bought a couple fresh baked mini rolls, a small wheel of buffalo camembert, prosciutto and a container of strawberries. It was perfect!

And like that, we were off! Onto our next Europe adventure. We boarded the high-speed Thalys train in Rotterdam and rode our way into Paris. More on that...soon!


Europe Trip 2016: The Netherlands, Part 1

As I mentioned a few weeks ago, I was recently in Europe. My sister Lara and I started planning this trip last summer as a graduation present to ourselves. We have both been wanting to visit the Netherlands for quite some time. My family, on both sides, emigrated to the United States from the Netherlands. On my dad's side this occurred fairly recently, my grandpa (my dad's dad) moved to the US in the 1940s after World War II. He actually fought for the Dutch during WWII, and met and married my grandma during the war in New Jersey where his ship would sometimes dock. As you might guess, we still have family there, and my dad has gotten to know one of his cousins quite well. He and his wife were in the US last summer and told me that we were welcome to stay with them if we ever wanted to! I didn't need any more encouragement! Soon after this we started planning a trip for this past April. 

I just wanted to share some pictures from my trip, especially food pictures! Most people don't really care to see all the pictures of food that I took, so I figured my food blog was a very fitting place to present them so anyone who is actually interested can take a look. Enjoy!

ready, set, let's fly to europe!

We were picked up from Schiphol airport by my dad's cousin Henk and driven to Oostzaan and our home away from home for the week (their house is on the left below). First things first, Henk and his wife Frankje prepared us a light lunch of toast, Gouda cheese and smoked salmon. It was perfect. 

After lunch we got right to it! We headed to the Zaanse Schans, a little community that dates back to the 18th and 19th centuries that is full of wooden windmills, barns, houses and museums and built in a typically Dutch style. These buildings were apparently relocated here piece by piece since 1961. A cute little touristy place, full of shops with plenty of souvenirs and knick knacks. I just wanted the food - A fresh and warm stroopwafel (below, left) was all I needed!

One of the many impressive windmills at the Zaanse Schans

We stopped on a awesome little bakery on the way home to pick up a little treat for coffee time. Lara picked the carrot cake which turned out to be pretty amazing, perfect with a strong cup of Dutch coffee. 


What's more fun then checking out a foreign grocery store? Not much in my book! 😊

Did a little shopping at the local Albert Heijn on the way "home" the first night. 

Dinner on the first night was Turkish Pizza from a small local shop. I'd never heard of it before, but it was delicious! But not the "pizza" I was expecting! More like a spicy veggie wrap. I loved it. 


Every morning that we stayed and Henk and Frankje's home we were treated to freshly squeezed orange juice (amazing!) and yogurt with fruit and muesli. It was perfect since this is basically what I eat at home for breakfast every morning (sans fresh squeezed orange juice unfortunately). 

Day 2 and off to Amsterdam!! We took the bus into the city and walked all day!! It was a fun city to explore, especially with someone who lives there and grew up there. It was great to be shown around by a local. We stopped at Holtkamp bakery to pick up some treats after a little walking. Jan Hagel's are my dad's favorite, so had to get a shot for him! Henk also bought us a couple cookies called Gevulde Koeken (see below). To me they seemed like little hand pies filled with an almond filling. I love almond so I was pretty pleased with these buttery little treats. 


Burger's for lunch at The Uptown Meat Club. Great burgers and fries. 

Cooked to order!

After lunch we spent some time exploring the Rijksmuseum, checking out the Vermeers and Rembrandts. I'm no huge art lover, but it was a great museum, and The Night Watch was most impressive. 

And the Amsterdam exploration continued with lots of bikes, lots of canals, a canal cruise and some lovely Delft painted tunnels.

For dinner Henk and Frankje brought us to a beautiful restaurant called THT. We took the ferry from Amsterdam central station across the channel and were dropped off right in front of the restaurant. It's a tapas/small plates restaurant so we were able to try a few different things which was fun!

From left to right:
Dutch croquettes with grain mustard mayonaise
Eggplant fritots in chickpea batter with pomegranate and tahini sauce
Bulgur with chermoula and halloumi marinated in Ras el hanout   
  

Lara and I let it be known that we wanted to try some good and traditional Dutch croquettes. Henk obliged and drove us to the North sea the next day. It was one of my favorite stops! We feasted on smoked salmon, beef carpaccio and croquettes at De Schelp Paviljoen Aan Zee. Everything, from the view, to the atmosphere at the restaurant to the food was amazing. 

It was a little rainy, windy, and cold at the North Sea, but that made it even more memorable (I think I was eating sand for days!). 

After lunch we did some driving around the countryside, on what appeared to me to be more of the "back roads," through small villages and past many farms, on our way to the town of Volendam. It was very picturesque and beautiful, lots of sheep and goats with their furry little babies by their side. The weather hadn't improved much when we reached Volendam it was nice and rainy, with a fairly brisk wind. But we made the most of it. There definitely weren't any other tourists to worry about though, we had the town pretty much to ourselves!

We were shuffled into a little shop where they immediately started dressing us up in the traditional clothing of Volendam and then sat for a picture. Don't you just love the hat? 


One of the foods Lara and I grew up eating was poffertjes, they are little mini pancakes made in a special pan (seen above) with lots of little indentations, kind of like Æbleskiver, the mini Danish pancakes (which I've actually never had). Poffertjes are usually eaten by kids, but that didn't stop us. I like them best with simply a good knob of butter and tons of powdered sugar. Yes, they were just as good as I remember!

After this long and chilly day exploring the country we headed back to Oostzaan where we were treated to a real fire in a real fireplace along with a delicious spaghetti with tomato and pepper sauce all prepared by Henk himself. It was warm, hearty and filling. The perfect end to the day. 

This is just the beginning of our trip. I shall share more photos in my next post. Stay tuned...!

Check out Part 2 of my trip to the Netherlands here

Lilac Blossom Almond Scones

I've been aware for some time now that there are quite a few different edible flowers out there; nasturtium, squash blossoms, chive blossoms, lavender, even marigolds and pansies to name just a few. Up until this point however, other than playing around with some lavender (lavender shortbread cookies!) I really haven't done much with these flowers. I decided to change that this spring when I saw the lilac bushes start bursting with their beautiful flowers, perfuming the air when I take walks. It is one of the best smells imaginable. 

It was a video I saw earlier this spring from Kitchen Vignettes that first peaked my interest in playing around with some lilacs. Then my sister showed me this recipe for lilac blossom scones from Holly and Flora and I knew I had to make them. I did a little urban foraging one morning, coming back home with a bag full of lilac blossoms. Into the scones they went, and I also made a quick lilac blossom simple syrup that I've been using to make vanilla and lilac tea lattes (yum!) all week. So although the lilacs blossoms will soon disappear for another year I will thankfully have the memory of these buttery and delicious scones to hold me through until next spring. 

The flavor of lilac blossoms is quite mild, so don't be afraid that these scones will taste like perfume or potpourri. They lend a quiet floral flavor and aroma to the scones without being overpowering. The almonds add a nice crunch and obvious nuttiness that pairs well with the blossoms. I think the addition of a little bit of white chocolate would be a wonderful third component, but I didn't have any on hand at the time so I wasn't able to try it out. Next time!

Some people might be a little intimidated by scones if they've never made them before, but they really are so easy to make. A few things I like to keep in mind: make sure your butter is very cold before starting, don't over-mix the dough once you add the liquid, and don't add too much liquid or your dough will be too soft and the scones may be a little tough. I usually don't add all the liquid right away, just to make sure I don't add too much. You can always add more as needed. You only want as much liquid as necessary to just hold everything together, and not any more. 

This is a fairly basic buttermilk scone recipe, with the addition of lilac blossoms and almonds. Wonderfully simple and delicious. I made my scones on the smaller side, halving the original recipe and cutting them half as big as what was originally called for, but if you want bigger, more coffee-shop sized scones, make 4 scones out of the recipe below (or double it and make 8 as in the original recipe). 


Lilac Blossom Almond Scones
Adapted from Holly and Flora
Ingredients

  • 1 1/2 cups (6.75 ounces) flour, all-purpose
  • 1 1/2 tablespoons (3/4 ounce) granulated sugar
  • 1 1/4 teaspoons baking powder
  • 1/4 teaspoon baking soda
  • 1/2 teaspoon salt
  • 6 tablespoons (3 ounces) unsalted butter, chilled
  • 1/4 cup (1 ounce) toasted, chopped almonds
  • 3/4-1 cup lilac flowers
  • 1/2 cup buttermilk, shaken well (I actually used a mixture of liquid whey and half-and-half because that's what I had and it work wonderfully)
  • 1/2 teaspoon vanilla extract
  • Turbinado sugar, for sprinkling on top

Directions
Pre-heat the oven to 425 degrees. In a large mixing bowl, combine the flour, sugar, baking powder, baking soda, and salt. Whisk the ingredients together. Cut the chilled butter into small cubes and toss into the dry mixture. Using a pastry blender or your fingers, work the butter into the flour mixture, until pea-sized lumps of butter are present. 

Add the almonds, lilac blossoms, vanilla and buttermilk (a little at a time) and fold together in the bowl with your hands just until the all the flour is moistened and the dough holds together. Make sure to not over-work. Lightly flour the ball of dough and flatten it out on the counter, by hand, into a 1/2 -3/4 inch thick disk. Cut the dough into triangles and place onto a parchment lined baking sheet. Lightly dust with turbinado sugar. (At this point I usually place my scones in the freezer for at least 30-60 minutes to firm up. This step is not absolutely necessary, but I find that scones bake up taller and more beautiful when they chill a little first. You can actually freeze the scones entirely, transfer them to a plastic bag and store them in the freezer. Then bake directly from the freezer when needed, adding a few more minutes to the baking time if needed. This is a great time saver on mornings when you want a fresh batch of scones, but don't want the hassle of making them that morning.) 

Bake 12 to 16 minutes, rotating the baking sheet halfway through, until turning golden brown on the edges. Serve warm, plain, or with a little butter and your favorite jam. 

Yields: 4 large or 8 small scones

Nurse Cookies

I have a good friend who works in a local urgent care as a PA. A week or two ago she mentioned that it was going to be National Nurses Day coming up (it was actually last Friday, May6) and she wanted to bring a bunch of homemade goodies into the urgent care as a thank you to all the nurses she works with. She was hoping that Lara and I could help her out with some decorated sugar cookies, the type we usually make at Christmas. Of course we both jumped on board right away and last week the three of us got together to do some decorating. 

After browsing Pinterest, we settle on three design ideas, EKG hearts, bandages, and nurses caps. All three designs were very simple to make and turned out great! The perfect way to say Thank You to all those nurses out there who work incredible hard to give their patients the best care possible. So although this is a few days late; Happy Nurses Day!!

These cookies were a team effort. I made the cookies the day before we were planning on decorating and Lara made the royal icing that night and frosted the cookies with the base layer so they would have time to dry. The next day we headed over to our friends house and completed the decorating. So while there were a few different steps involved, the whole process was pretty easy and didn't take very long at all!


Vanilla-Almond Sugar Cookies
from Bake at 350
Ingredients

  • 3 cups all-purpose flour 
  • 2 teaspoons baking powder 
  • 1 cup sugar 
  • 2 sticks butter, cold 
  • 1 egg 
  • 3/4 teaspoon pure vanilla extract 
  • 1/2 teaspoon pure almond extract 

Directions
Combine the flour and baking powder, set aside. Cream the sugar and butter. Add the egg and extracts and mix. Gradually add the flour mixture and beat just until combined, scraping down the bowl, especially the bottom.

The dough will be crumbly, so knead it together with your hands as you scoop it out of the bowl for rolling 

Roll onto a floured surface and cut into shapes. Place on parchment lined baking sheets and freeze for 5 minutes. Bake chilled cookies for 10-12 minutes at 350. Let sit a few minutes on the sheet, then transfer to a cooling rack to cool completely. 


Royal Icing
from Sweetopia
Ingredients

  • 6 oz (3/4 cup) warm water 
  • 5 tablespoons meringue powder 
  • 1 teaspoon cream of tartar 
  • 1 kilogram (2.25 pounds) powdered sugar 

*** Note: if your meringue powder has no vanilla flavor in it, you may add a teaspoon of clear vanilla to this recipe

Directions
Pour the warm water and meringue powder into the bowl of an electric mixer. Mix it with a whisk by hand until it is frothy and thickened, about 30 seconds.

Add the cream of tartar and mix for 30 seconds more.

Pour in all of the powdered sugar at once. Using the paddle attachment, mix slowly, on the LOWEST speed, for a full 10 minutes. Icing will get thick and creamy.

Cover the bowl with a dampened towel to prevent crusting and drying.

Tint with food colorings and thin the icing with small amounts of warm water to reach the desired consistency.

Rosemary Lemon Roast Chicken

It may be Mother's Day today, but this year my family celebrated mom last week. Mom decided that she wanted to head to Indiana with a friend to spend time at Conner Prairie, a living history museum where people recreate what life was like in Indiana in the 19th century. My mom is a big Civil War reenacter,  and loves all of these kind of things so this is her favorite kind of weekend, and her top choice for where to spend her Mother's Day this year. Her friend's daughter works at Conner Prairie so they are going to dress up in the historically accurate clothes and have a blast. Hope you're having a wonderful Mother's Day weekend mom!

Even though mom was not going to be home on Mother's day this year I still wanted to make her a special meal, as a thank you for being such a great mom. So instead of celebrating today, we got together last weekend for a Mother's Day meal starring this Rosemary Lemon Chicken. It's a simple recipe, but so full of flavor that everyone loved it. I can't think of much else that goes so well with chicken as lemon and rosemary do. The whole thing can be prepped the night before so all you have to do the day you want to make it is stick it in the oven. If you're craving some delicious chicken, but want to make life easy for yourself, this is the recipe you want to make. 

I was inspired to make this recipe after coming back from Paris. One morning there I was walking down the street and passed a butcher who had a big rotisserie outside his shop with a dozen chickens slowly turning on spits. Below the chickens was a big pile of red potatoes, soaking in the juices of the chickens that were dripping down as they roasted. It looked and smelled amazing and I knew I wanted to recreate it at home. Since I don't have a rotisserie, a good roasted chicken was going to have to do instead. Roasting the chicken over a bed of red-skinned potatoes allowed the chicken juices to permeate and flavor the potatoes as everything cooked. While this prevents the potatoes from getting crispy and brown, it does make them flavorful and creamy. 

I love rosemary with my chicken and potatoes, so I threw a lot of chopped rosemary in this dish as well as some chopped fresh thyme because I had some in the fridge, but you can always use whichever herbs you like best, it doesn't have to be rosemary. Don't skip the lemon however. It permeates the chicken and potatoes, brightening everything with its tart acidity. The perfect pairing with the earthy rosemary. This one is definitely a crowd-pleaser. Impress your guests this weekend with this simply amazing roast chicken. 


Happy Mother's Day to the best mother around!!


Rosemary Lemon Roast Chicken
Adapted from The Cafe Sucre Farine
Ingredients

  • 2 whole chickens, cut into pieces, bone-in, skin-on
  • 2-3 tablespoon chopped fresh rosemary
  • 1 tablespoon chopped fresh thyme
  • 6 cloves garlic, finely minced
  • 5 teaspoons kosher salt
  • 1 teaspoon freshly ground black pepper
  • Zest of 1 large lemon
  • 2 tablespoon fresh lemon juice (do not use bottled lemon juice, it must be freshly squeezed)
  • 4 tablespoons extra virgin olive oil
  • 2 1/2 pounds of small red skin potatoes, cut into quarters
  • 2-3 tablespoons extra virgin olive oil
  • 1-2 teaspoon kosher salt
  • 1 teaspoon freshly ground black pepper
  • 1 lemon sliced in ⅛-inch slices

Directions
The night before you plan on roasting the chicken, or early on the day of, mix the rosemary, thyme, garlic, 5 teaspoons salt, pepper, lemon zest, lemon juice and olive oil together in a small bowl. 

Place the chicken pieces in a large bowl. Pour the oil-herb mixture onto the chicken and use your hands to mix the chicken and the oil mixture together, rubbing it into the chicken and under the skin, coating everything evenly. Cover bowl and place in the fridge at least 4 hours, preferably overnight. 

The next day, preheat the oven to 450 degrees. Lightly grease one or two sheet pans with oil. Combine potatoes, olive oil, the 1-2 teaspoons salt, and the pepper in a medium-size bowl. Toss to coat. Turn potatoes out onto prepared sheet pans in an even layer. Place in oven and roast for 15 minutes.

Remove pans from oven and add the chicken breasts to the pans, skin side up in between the potatoes. Tuck lemons around chicken and potatoes. Roast for about 30-45 minutes longer, or until the breasts reach 160˚F in the thickest part. (If breasts vary greatly in size, you may need to remove the smaller ones 5 minutes before the larger ones.) My chicken took about 38 minutes. 

Remove from oven and cover chicken loosely with foil. Allow to rest for 5 minutes before serving.

Serves 8-10

Classic Hummus

I've been wanting to do a post on hummus for a long time now, but whenever I would make it I never ended up taking any pictures. Well, recently I decided that enough was enough, it was time for hummus pics. So here you are, my favorite, go-to hummus recipe from my favorite cookbook author and chef, Yotam Ottolenghi. To be honest, this is the only hummus recipe I've ever made, but I love it so much that I've never felt the need to search for another. It turns out super creamy, lemony hummus, full of garlic and tahini.

Homemade hummus is so incredibly good, and really quite easy. You will never want to go back to the watery, flavorless store-bought hummus again once you've tried making it yourself (even though, if in a pinch, the store-bought version makes an appearance, don't worry, I understand, sometimes convenience trumps all!). But seriously, this stuff is so good. If you've never tried making hummus before you really should give it a shot. Pull out that food processor and grab a bag of dried chickpeas and get going!

This recipe comes from Jerusalem by Yotam Ottolenghi which I've talked about before, so I won't wax poetic about this wonderful book again. The original recipe makes a massive batch of hummus, way more than I ever need for myself, so I usually halve it. You'll see the halved recipe below, so go ahead and double it if you need a big batch, just be sure you're food processor is big enough. As written below, the recipe makes approximately 2 1/4 - 2 1/2 cups of hummus in the end, so still a nice amount of hummus. 

Making hummus is really a simple process. You do have to think ahead in order to have time to soak and cook the chickpeas, but once that is done, the food processor takes care of all the hard work. And while I know you can make hummus with canned chickpeas, I highly recommend dried. They taste so much better, are not really any more work, and are cheaper, win-win! 


Classic Hummus
Adapted from Jerusalem by Yotam Ottolenghi and Sami Tamimi
Ingredients

  • 1/2 cup plus 2 tablespoons (125 grams) dried chickpeas
  • 1/2 teaspoon baking soda
  • 3 1/4 cups water
  • 1/2 cup plus 1 tablespoon (135 grams) tahini
  • 2 tablespoons freshly squeezed lemon juice (do not use bottled lemon juice)
  • 2 cloves garlic, crushed
  • 3 1/2 tablespoons ice-cold water
  • salt

Directions
The night before making the hummus, put the chickpeas in a medium-to-large saucepan and cover them with cold water at least twice their volume. Leave to soak overnight.

The next day, drain the chickpeas and return to the saucepan. Place the saucepan over high heat and add the baking soda. Cook for about 3 minutes, stirring constantly. Add the water and bring to a boil. Cook, scimming off any foam and any skins that float to the surface. The chickpeas will need to cook between 20 and 40 minutes, depending on how fresh they are, sometimes even longer. Once done, they should be very tender, breaking up easily when pressed between your thumb and finger, almost but not quite mushy. 

Drain the chickpeas. You should have roughly 1 3/4 cup (300 grams) now. Place the chickpeas in a food processor and process until you get a stiff paste. Then, with the machine still running, add the tahini, lemon juice, garlic and 3/4 teaspoon salt. Finally, slowly drizzle in the iced water and allow it to mix for about 5 minutes, until you get a very smooth and creamy paste. 

Transfer hummus (which will be quite warm at this point) to a bowl, cover the surface with plastic wrap, and let it rest for at least 30 minutes. If not using right away, refrigerate until needed. Make sure to take it out of the fridge at least 30 minutes before serving. 

Chocolate Chip Banana Muffins

As I type this, the sun is streaming in the window, blinding me as I sit. I love spring. :) The birds are singing, the buds are just starting to burst out in light green leaves, and the flowering trees are gracing gardens and yards with fragrant and beautiful blooms. Morning runs are warming up, making it easier for me to haul myself out of bed and out the door into the not quite as frigid conditions. Thankfully I can stop worrying about sliding around on icy sidewalks for many months. 

While I'm on the topic of things I love, I also love banana bread; almost as exciting as spring! For these banana muffins I adapted my favorite Greek yogurt banana bread , turning them into muffins with the scrumptious addition of some nice dark chocolate chips.  They baked up tall and fluffy with a moist and tender crumb. Easy to whip up on a lovely spring morning to enjoy with a cup of steaming coffee on your sunny porch. Happy baking!

Like I said, I took one of my favorite banana bread recipes and turned them into muffins. I started by cutting the recipe in half because I just wanted a small batch, so the final recipe makes 6 nice muffins. I increased the oven temperature to 375 degrees and baked them for 18 minutes. For a little extra flavor and fun I added some cardamom along with the chocolate chips, but you could also try adding a little cinnamon for that extra spice. A light and delicious breakfast muffin, perfect for spring!


Chocolate Chip Banana Muffins
Adapted from Greek Yogurt Banana Bread
Ingredients

  • 1 1/2 very ripe bananas (approximately 7.5 ounces)
  • 1 1/2 tablespoons (3/4 ounce) butter, room temperature
  • 1/4 cup (2 1/4 ounces) plain Greek yogurt
  • 2-3 tablespoons (about 1 ounce) sugar 
  • 1/2 teaspoon vanilla
  • 1 egg
  • 1/4 teaspoon salt
  • 3/8 teaspoon baking soda
  • 1/2 teaspoon cinnamon
  • 1/8 teaspoon cardamom
  • 1 cup (4 1/2 ounces) all purpose flour, or a mix of all purpose and whole wheat flours
  • 1/4 cup chocolate chips (I did 35 grams, but you can do a bit more if you like your muffins bursting with chocolate!)

Directions
In a large bowl, mash bananas with a whisk. Add butter, yogurt and sugar and whisk until combined and somewhat smooth. If it's still a little chunky, don't worry. Add the vanilla and egg and stir until combined.

Add salt, baking soda, cinnamon, cardamom and flour and stir just until almost combined. Add the chocolate chips mix until just combined (don’t overmix).

Spoon batter evenly into 6 muffin cups that are either greased or lined with muffin liners. Bake in a preheated oven at 375 degrees for 16-18 minutes or until a toothpick inserted into the center of a muffin comes out almost clean with a few moist crumbs. Remove muffins from pan and let cool on a wire rack. 

Classic Brownies

It's been a couple weeks since I posted anything but I promise that I had good reason - I was in Europe for 10 days!! My sister and I went on a fantastic trip to the Netherlands and France and we had such a wonderful time. I will be sharing pics (LOTS of food pics!) soon, once I can go through all my photos, so stay tuned! 

Until then, enjoy this recipe for classic brownies. I'd have to say that brownies are one of my all time favorite desserts. They are easy, delicious, and always a crowd pleaser. I like my brownies rich and fudgy, those recipes that are full of butter, chocolate (not just cocoa powder) and eggs, with a tiny bit of flour to hold everything together. The only problem with these type of recipes is that I don't always have enough chocolate in the pantry to make them as they often call for 8+ ounces of chocolate (plus this can quickly get quite expensive).

I thought this recipe was a good compromise. It calls for some melted chocolate, but not half a pound of it, and only 6 tablespoons of butter which is really reasonable in a brownie. They are super easy to throw together and bake up beautifully, fudgy and dense, moist and chewy. Great chocolate flavor, a great go-to brownie recipe. 

When I was trying to find a brownie recipe to make I couldn't find anything just right. The recipe I used as a starting point for this recipe looked perfect, the only problem was it called for unsweetened chocolate which I did not have and didn't want to go buy at the time. I decided to try and adapt it so I could use bittersweet chocolate and just see how it worked. So I replaced the unsweetened chocolate with bittersweet chocolate, cut back a bit on the sugar, and added a little cocoa powder to boost up the chocolate flavor. In the end I thought they turned out great! I don't know how they compare to the original but it doesn't really matter, they are great as written below. If I ever find myself with some unsweetened chocolate maybe I'll try making the original recipe, but until then these brownies will do just fine!


Classic Brownies
Heavily adapted from Cook's Illustrated
Ingredients

  • 1/2 cup (2 1/4 ounces) all purpose flour
  • 1/4 teaspoon salt
  • 3/8 teaspoon baking powder
  • 2 3/4 ounces bittersweet chocolate, at least 60% cocoa
  • 6 tablespoons (3 ounces) butter
  • 1 tablespoon cocoa powder
  • 1 cup (7 ounces) sugar
  • 2 eggs
  • 1 1/2 teaspoon vanilla

Directions
Preheat oven to 325 degrees. Prepare a 8-inch square or similar sized baking dish by lining it with parchment paper and greasing the parchment with butter. Set aside. In a medium bowl, combine flour, salt, and baking powder; set aside.

Melt chocolate and butter in the microwave in 15-30 second intervals, stirring after each interval, being sure you don't overheat the chocolate. When chocolate is smooth and melted add the sugar and stir until well combined. Add eggs one at a time, whisking after each egg until completely combined. Add in vanilla.

Add 1/3 flour mixture, fold in with rubber spatula. Repeat until all flour is used and mix is smooth. Pour batter into prepared pan- make sure to spread into corners of pan. Smooth the surface for even baking.

Bake brownies for 30 to 35 minutes, or until a toothpick inserted into the brownies comes out almost clean. Cool in pan on wire rack for 10 minutes. Then carefully remove brownies from pan by lifting out the parchment. Transfer to wire rack and cool completely before cutting. For cleanest slicing, once brownies are almost completely cool, place in the freezer for 30-60 minutes until chilled all the way through before cutting.