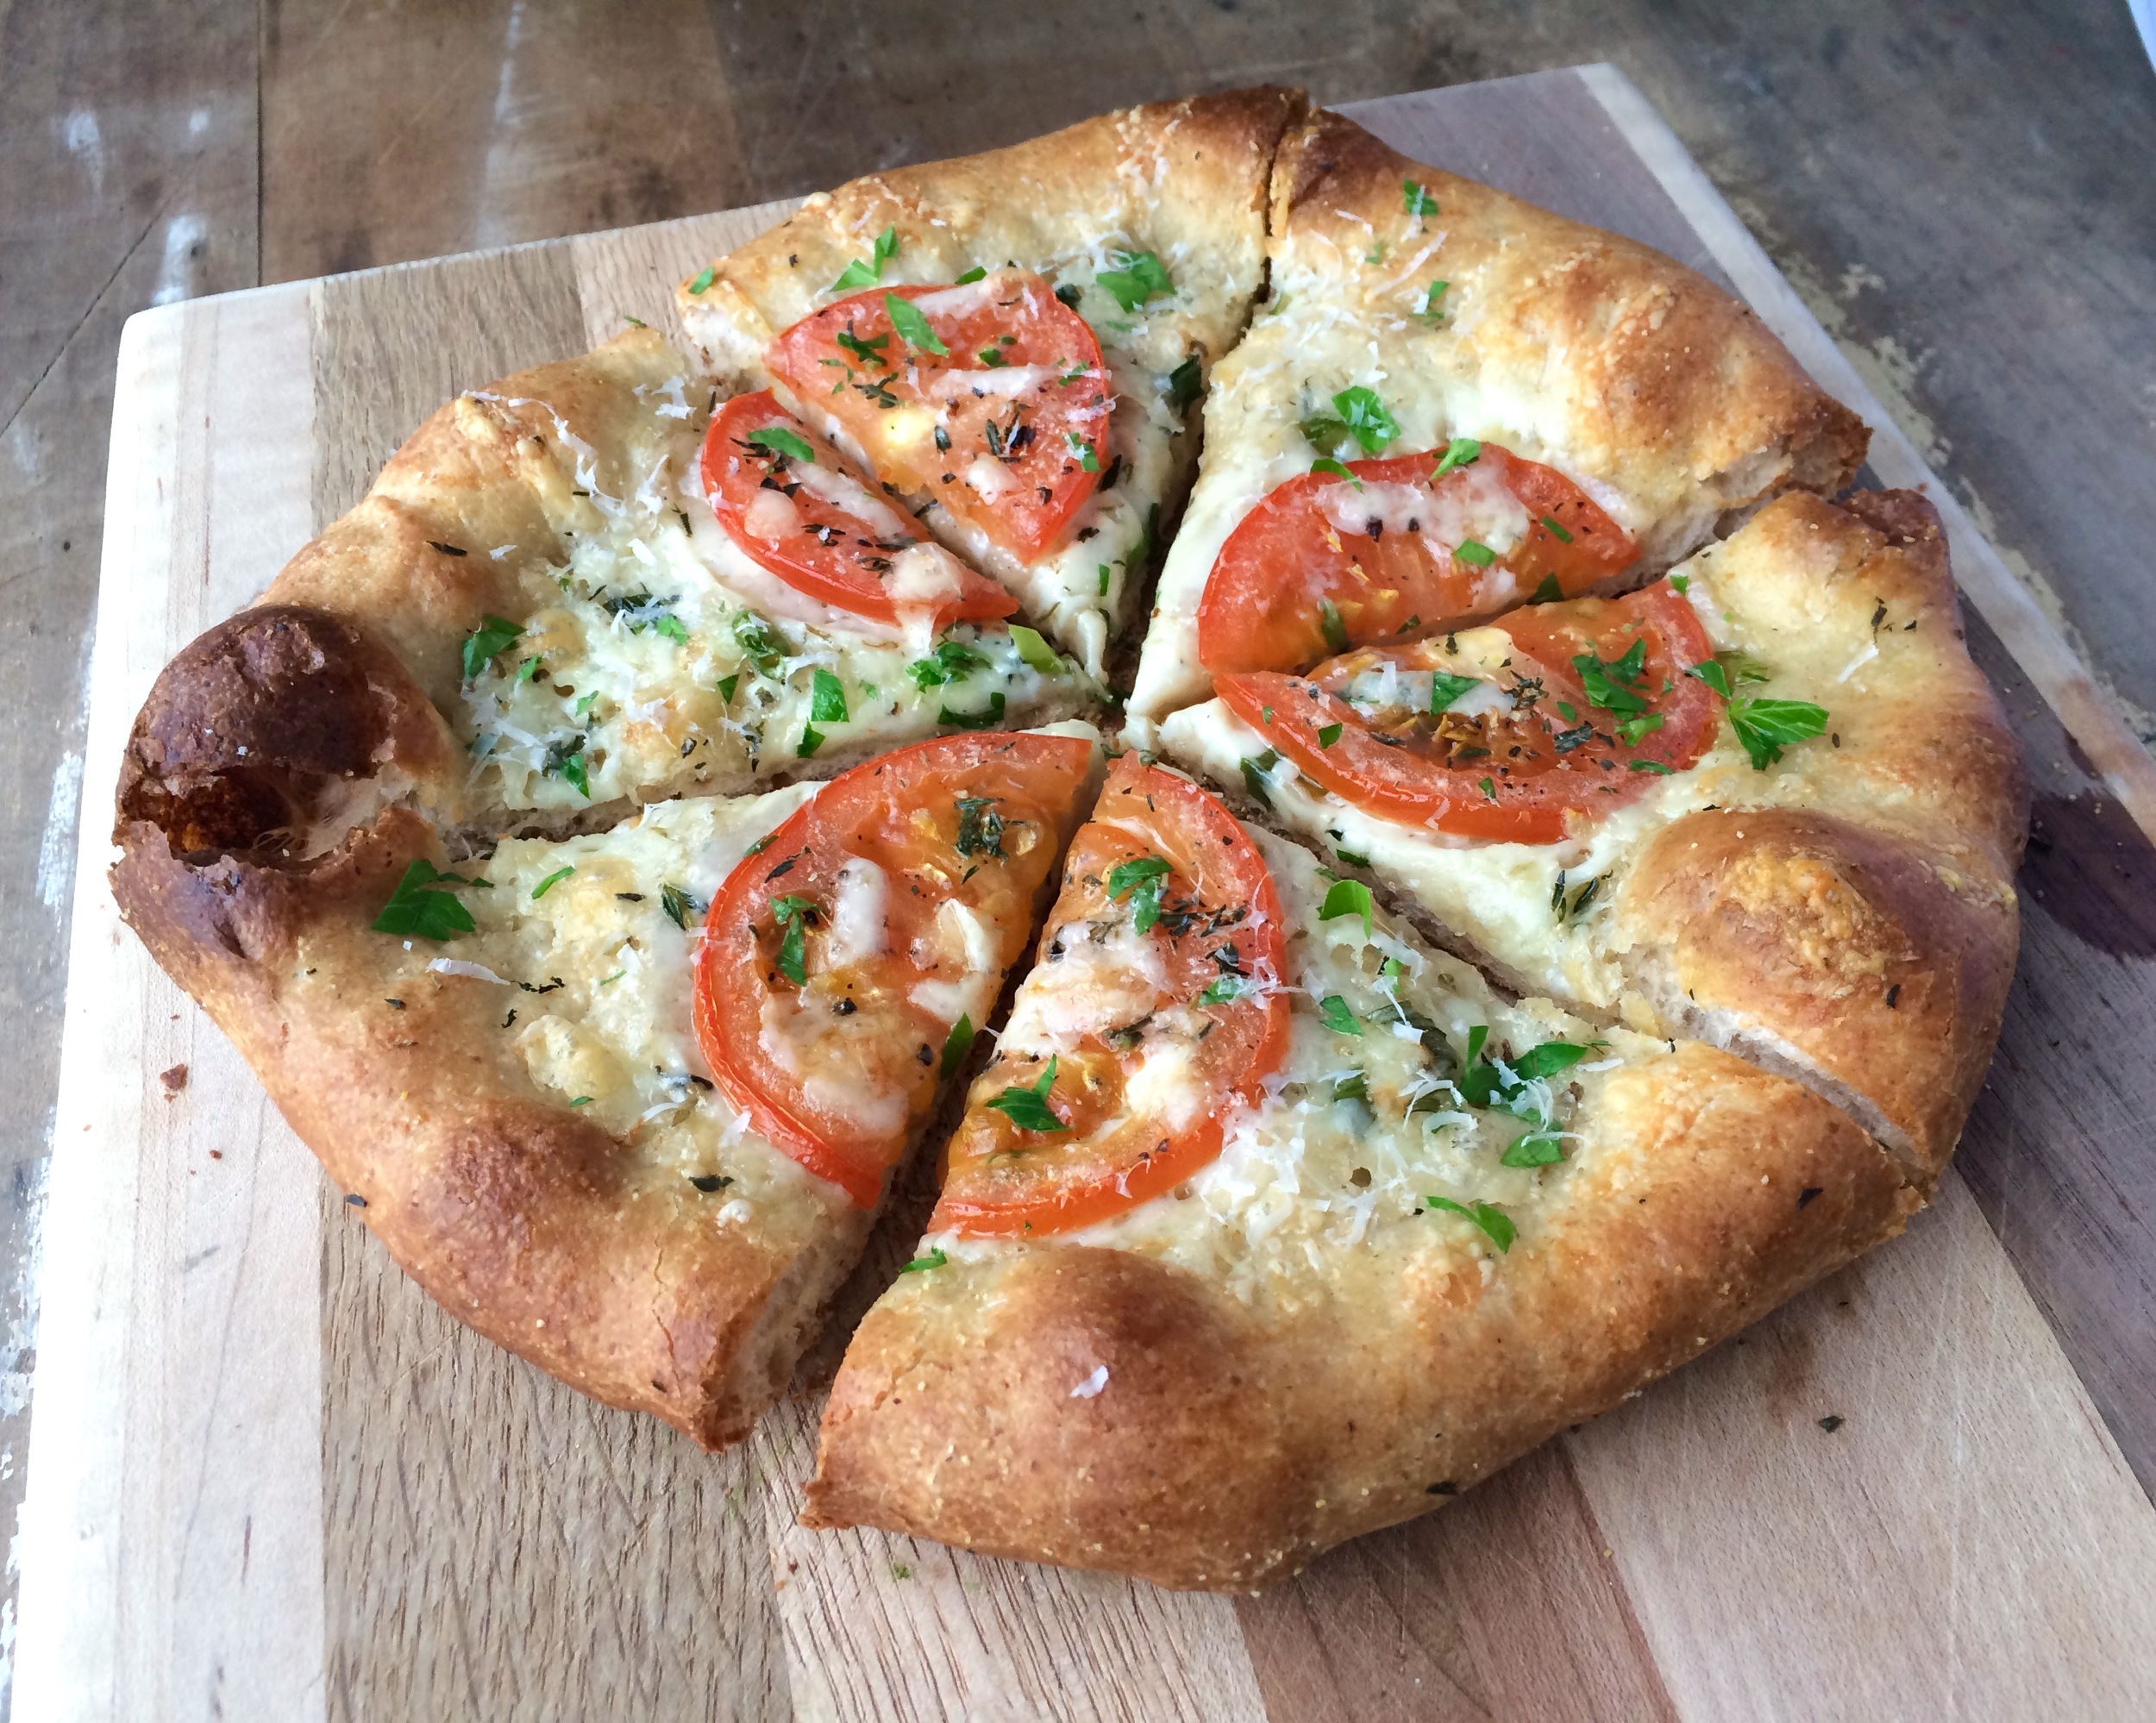
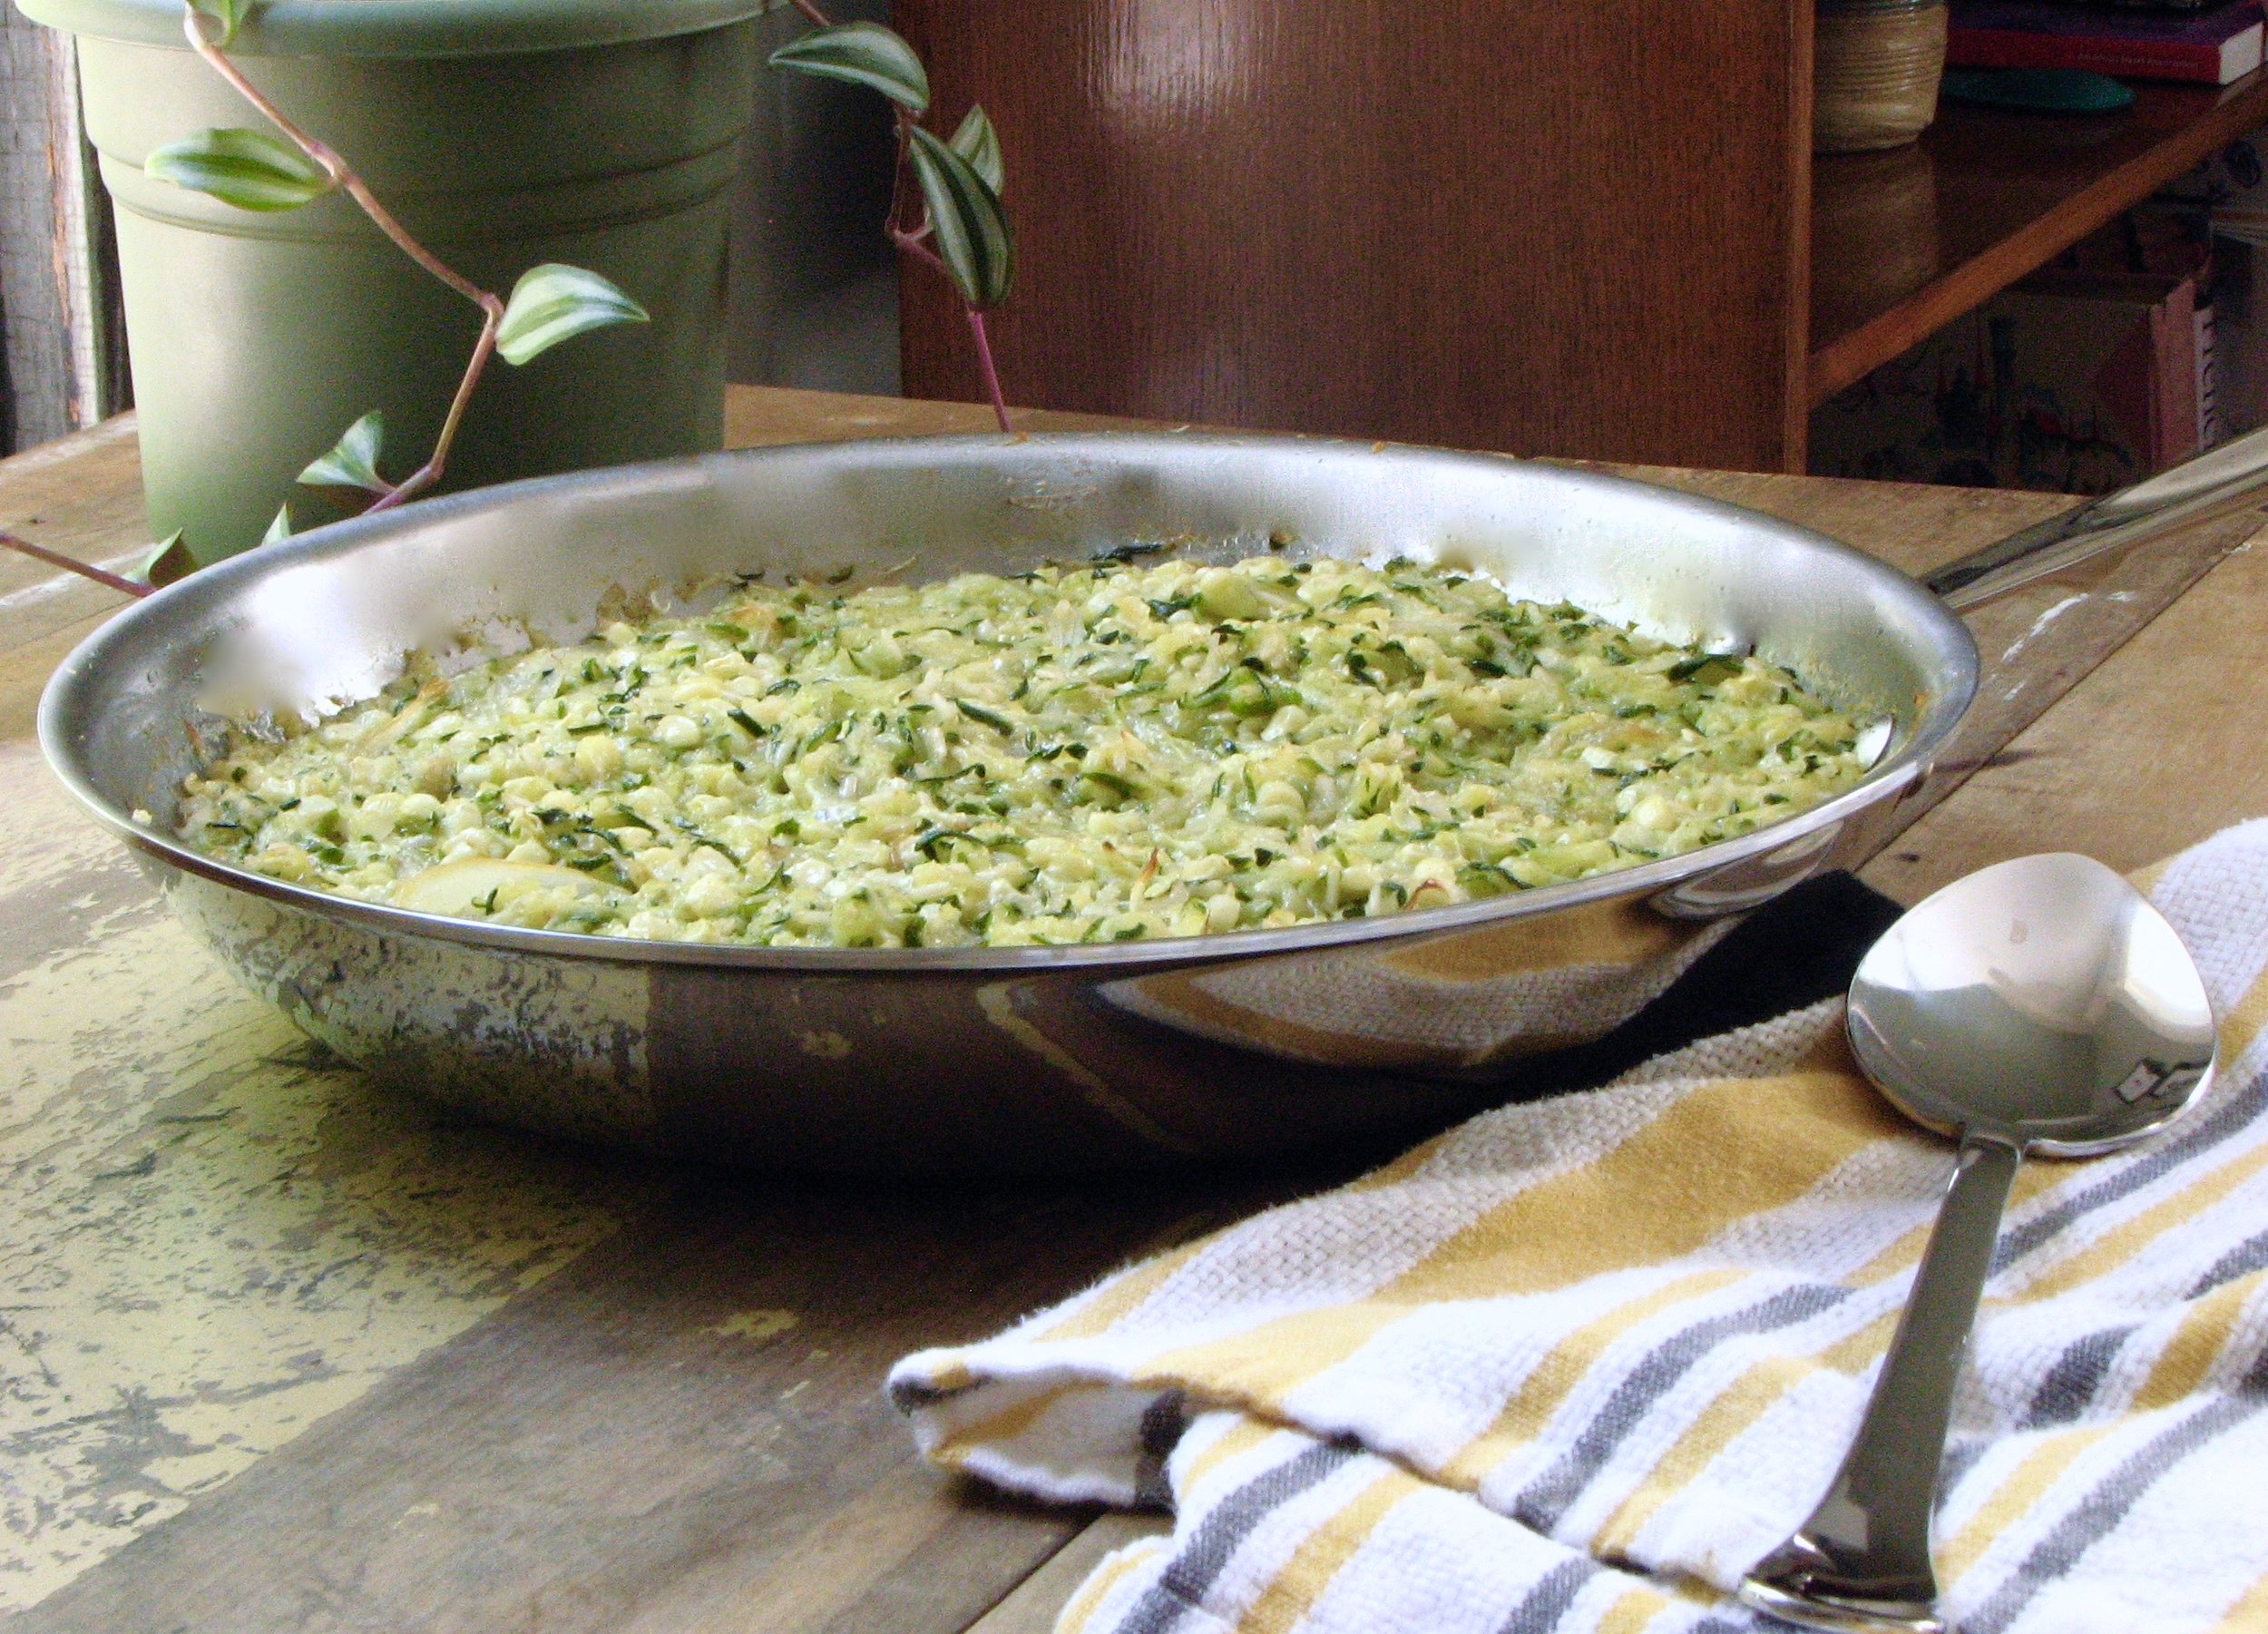
Gratin of Zucchini, Rice and Corn with Cheese
I was browsing through my Instagram feed earlier last week when I came across a photo for a zucchini rice casserole that for whatever reason just called to me. I went online to find the recipe and was happy to see that it was a very simple and a very healthy recipe. So when I went to the farmer's market on Saturday I picked up two large zucchini so I could whip this dish up over the weekend. I am a huge zucchini fan and usually end up just slicing it up into rounds or spears and grilling it. I liked that this dish gave me something else that I could do with zucchini if I am feeling ambitious. Not that it's a difficult dish by any means, but it's slightly more involved than slicing and grilling!
Of course, I couldn't leave the recipe alone so I decided to add my own twist and add in some freshly picked sweet corn that I also picked up at the farmer's market. I think zucchini + corn is one of the best late summer combos so I couldn't pass it up. I think it was a brilliant addition to the gratin! The tender zucchini mixed with the juicy and sweet corn is fantastic along with some salty parmesan and a couple little pats of butter. Fresh, healthy and delicious, this is a great late-summer winner!
On the blog where I got the recipe she used brown rice in this gratin as opposed to the white rice which is what the original recipe that she used called for. I went with the brown rice as well and parboiled it for 8 minutes as she said. I found that in the finished dish the rice was not quite tender so I would recommend upping the length of the parboil to 10-12 minutes, or alternatively, baking the casserole longer overall. I ended up baking it for 35 minutes and there was still quite a bit of liquid left over when I dug in. This extra liquid did not detract from the delicious flavors, but if you are looking for a finished product with less moisture I would bake it longer and/or add less liquid prior to baking.


Gratin of Zucchini, Rice and Corn with Cheese
Adapted from Sprouted Kitchen
Ingredients
- 2 1/2 pounds zucchini or other summer squash
- 2 ears corn
- 1/2 cup short grain brown rice
- 1/2 onion, sliced thin
- 2 tablespoons butter, divided
- 2 tablespoons olive oil
- 2 large garlic cloves, minced
- 2 tablespoons whole wheat flour
- about 2 1/2 cups warm zucchini juices
- 3/4 cup grated parmesan cheese
- salt and pepper to taste
Directions
Shred the zucchini in a food processor or with a box grater, toss with a heaping teaspoon of salt and drain in a colander. Reserving the juices. Meanwhile drop the rice into boiling salted water, bring rapidly back to a boil for 10-12 minutes; drain and set aside. Preheat the oven to 400'.
Cut the kernels off of the ears of corn. In a large oven-proof frying pan melt 1 tablespoon of the butter. Add the corn, salt and pepper and cook over medium high heat until starting to brown. Remove corn from pan and set aside.
Return the frying pan to heat. Add the 2 tablespoon olive oil and cook the onions with a little salt for 15-20 minutes, or longer, until tender and translucent and starting to brown. Stir in the grated and dried zucchini and the garlic. Let sit without stirring for a few minutes to start browning some of the zucchini. Then, toss for about 5 minutes until the zucchini is almost tender. Add the corn back to the pan. Sprinkle in the flour, stir over moderate heat for a minute and remove from the heat.
Gradually stir in the 2-2 1/2 cups warm liquid (zucchini juices). Put the pan over moderately high heat and bring to a simmer, stirring. Remove from the heat again, stir in the blanched rice, 1/2 cup of the grated parmesan and 1 tablespoon butter. Taste carefully for seasoning and add more salt and pepper if needed.
Transfer frying pan to oven. Bake until the gratin is bubbling, top is browned and appears most of the liquid has absorbed, approximately 35-40 minutes, sprinkling with additional parmesan in the last 5 minutes if desired.