Vanilla Sablé
When I went to the Netherlands earlier this year I loved the fact that every cup of coffee I ordered (and let's just say there were a LOT of them!) came with some kind of cookie on the side. Just a small little sweet bite to complement the dark, roasted flavor of coffee. Having been raised in a Dutch American home, I was already quite accustomed to "coffee-time" at home always having accompanying cookie of some sort (windmill cookies were always the go-to) , but seeing the same principle in action in everyday Dutch life was simply wonderful. After getting back from Europe I was inspired to whip together a couple batches of coffee-time cookies for myself. This vanilla sablé recipe was one of the cookies I happened to try out and it turned out to be an amazing choice. It was a fitting choice after my trip to the Netherlands and France; a French cookie to go along with my Dutch cookie culture inspiration!
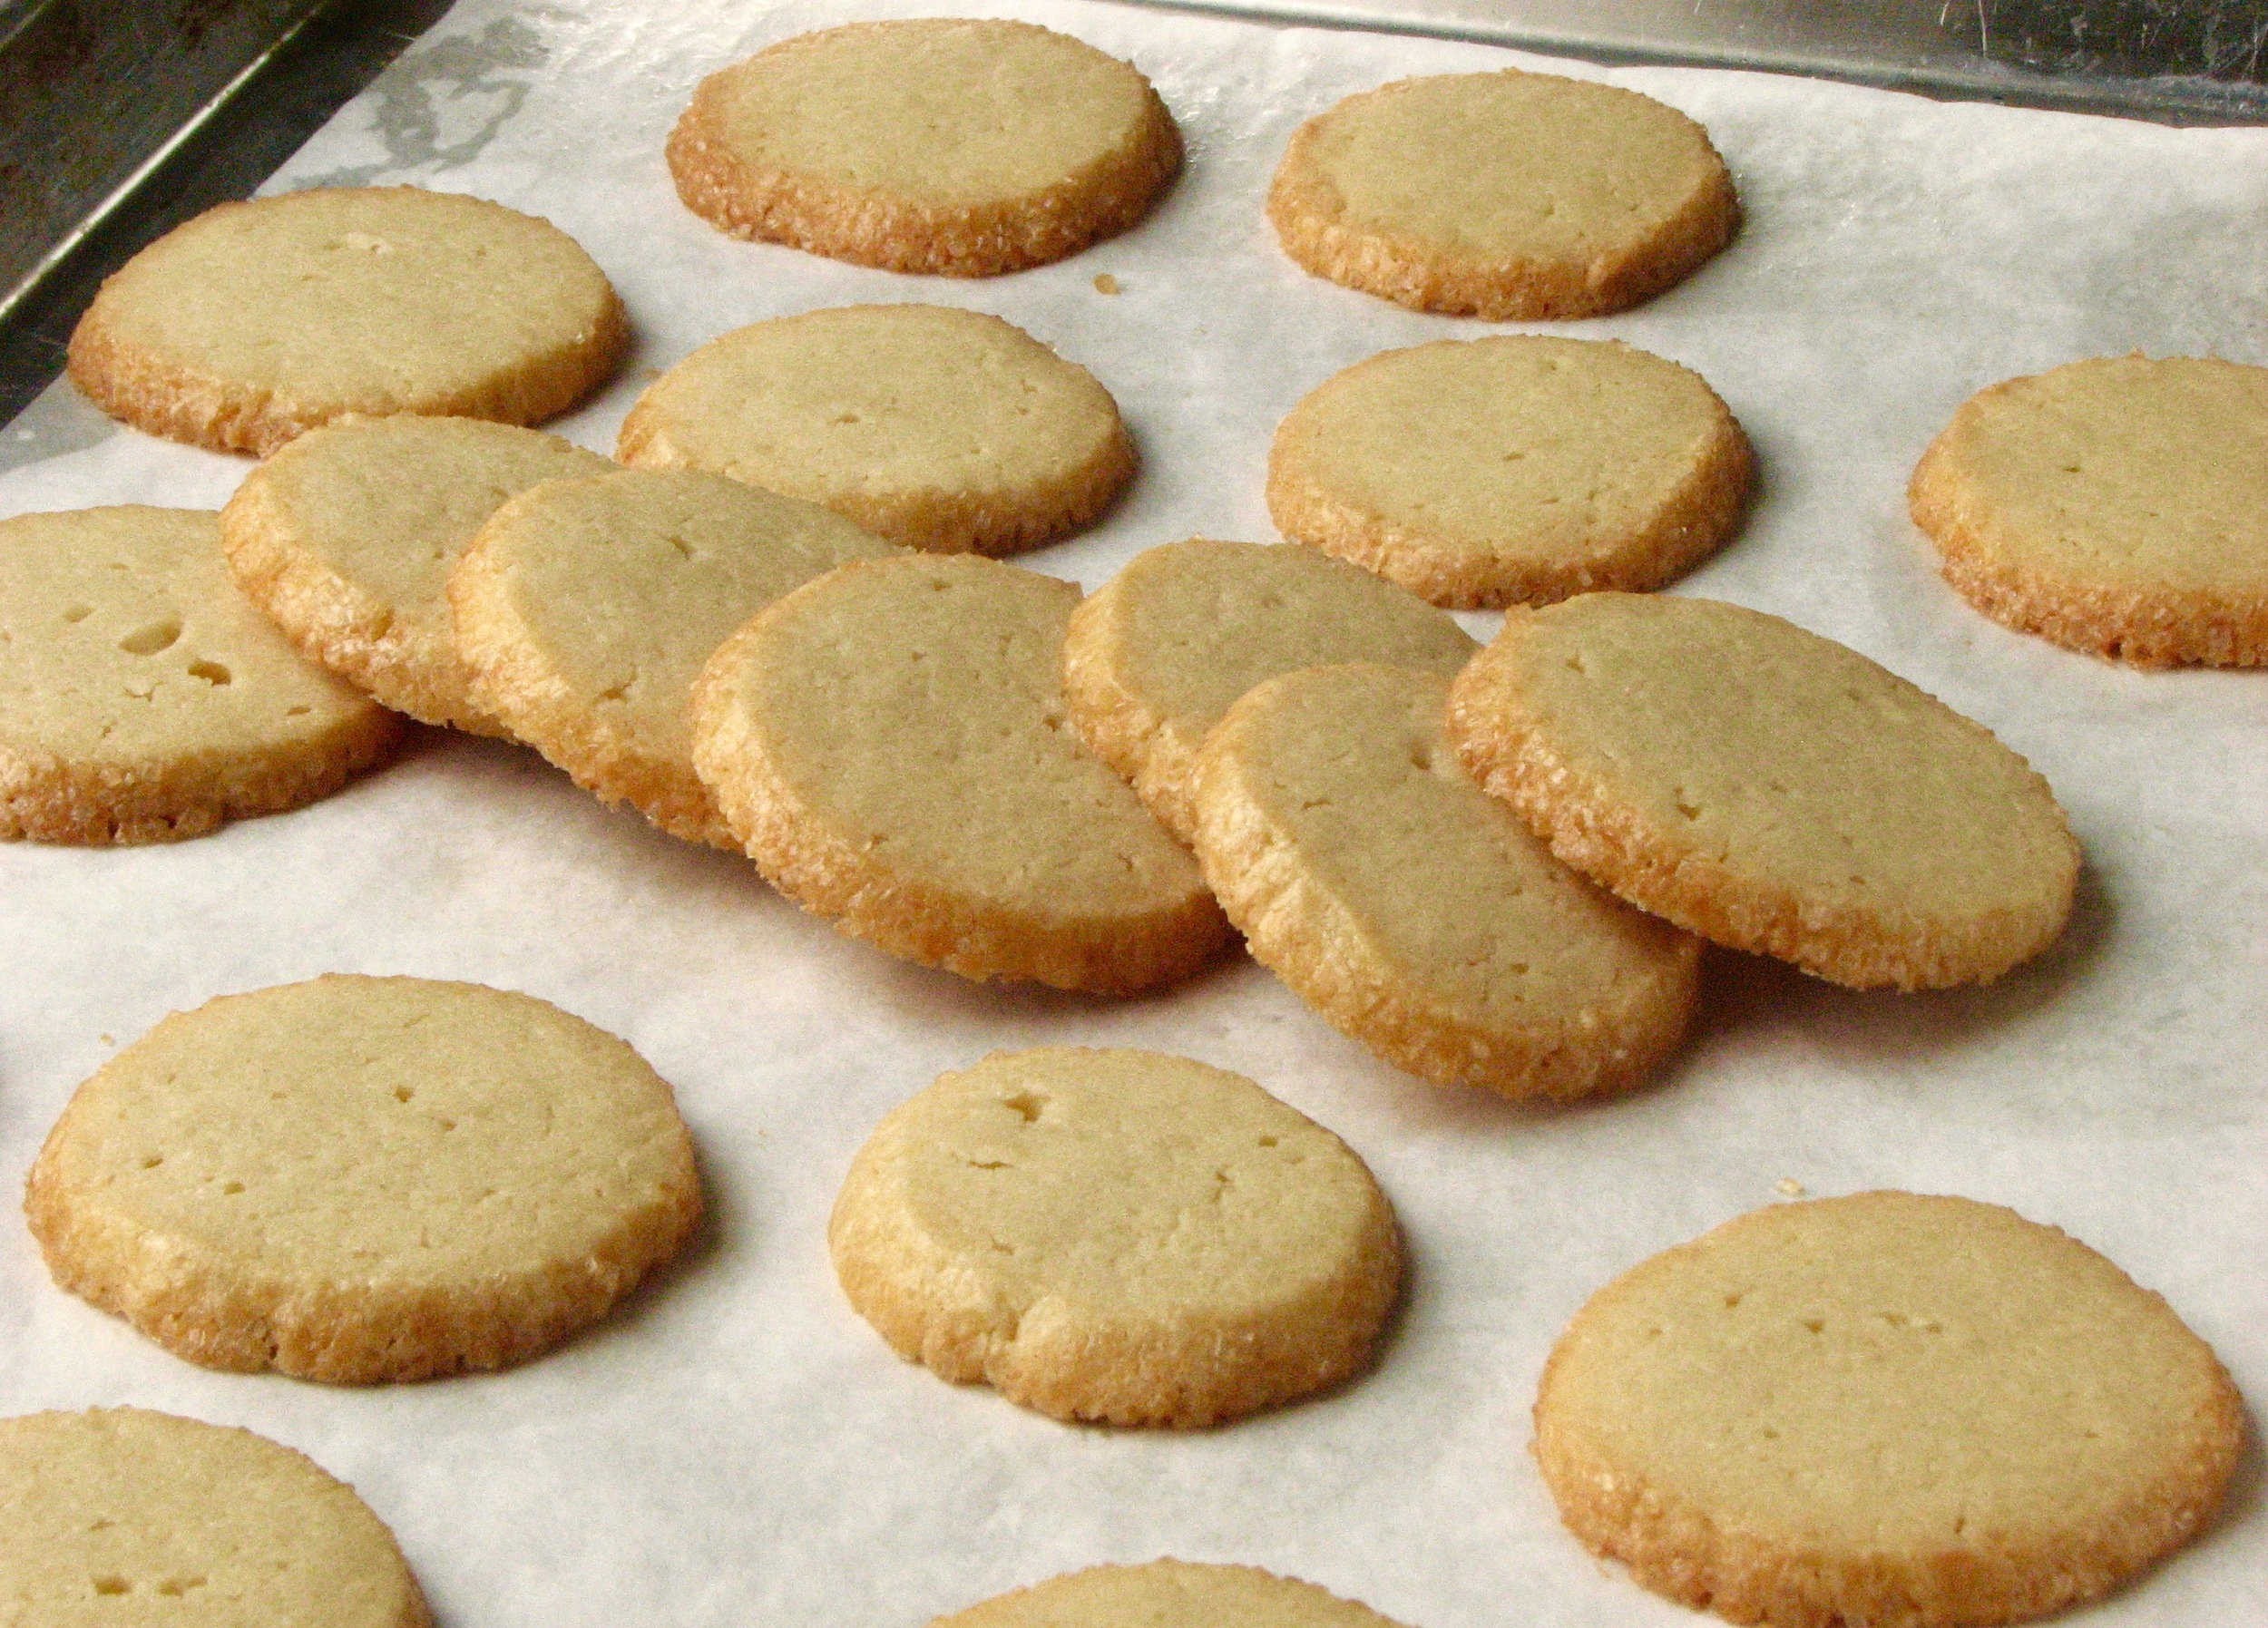
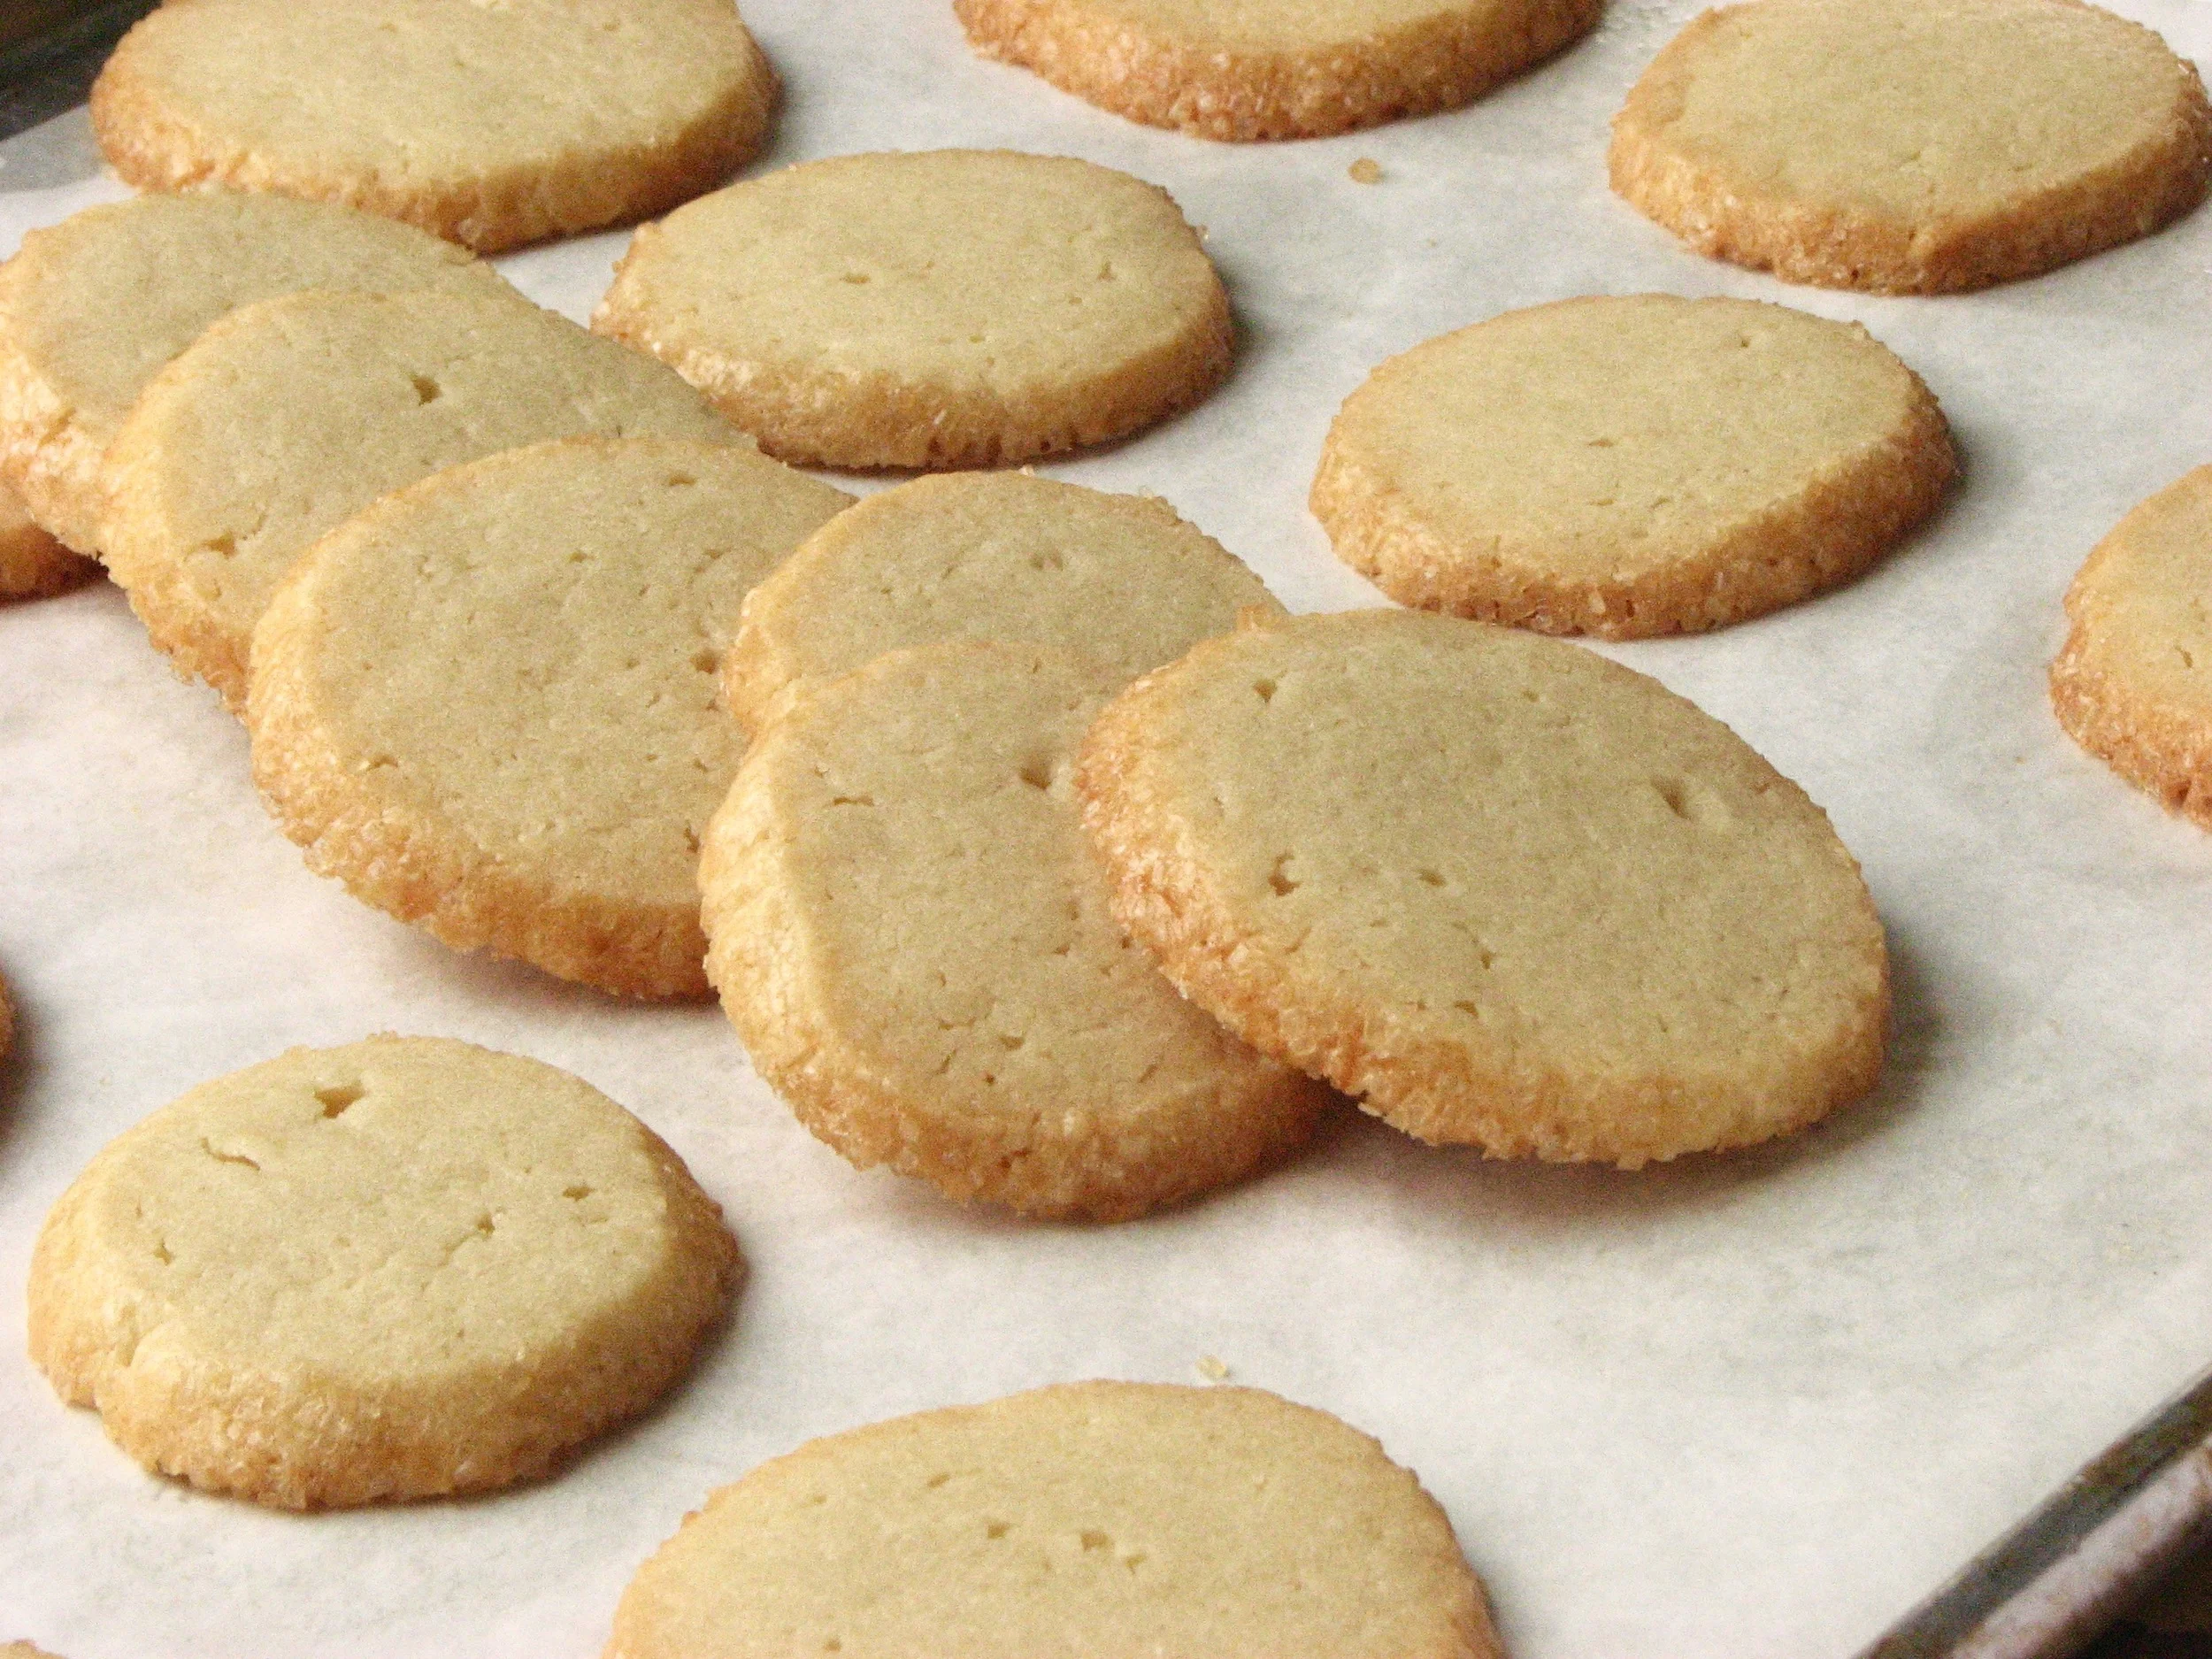
These cookies may look simple and humble but they are absolutely delicious! Super easy to make with just a few simple and basic ingredients, but the end result is heavenly. They are rich yet crisp and light, and melt-in-your-mouth buttery. If you have some good butter to spare, this is the place to use it and really let it shine. A perfect cookie to stand alongside a cup of strong dark coffee.
The recipe I used for these cookies originally called for lemon and lime zest to make citrus sablé, but this time I just wanted something super simple and classic and so I flavored mine with just a little vanilla (vanilla bean would also be amazing if you have one). I also made a few little adjustments in order to not be left with 1/2 and egg. As far as I can tell these adjustments did not end up harming the final cookie one bit. Another great thing about these cookies is that you can make the dough ahead, and shape it into a long and then freeze the log of dough for up to a couple months before thawing and baking. I love finding ways I can work ahead and make life easier for myself in the future.


Vanilla Sablé
Adapted from Joy the Baker
Ingredients
- 1 stick butter
- 1/4 cup (50 grams) granulated sugar
- 2 tablespoons (15 grams) powdered sugar
- 1/4 teaspoon salt
- 1 egg, separated
- 1 teaspoon vanilla extract
- 1 cup (130 grams) flour
- Turbinado sugar, for decorating
Directions
Working in a mixer fitted with a paddle attachment, beat the butter at medium speed until it is smooth and very creamy. Add the sugars and salt to the butter and continue to beat until smooth and velvety, not fluffy and airy, about 1 minute. Reduce the mixer speed to low and beat in the egg yolk until well blended.
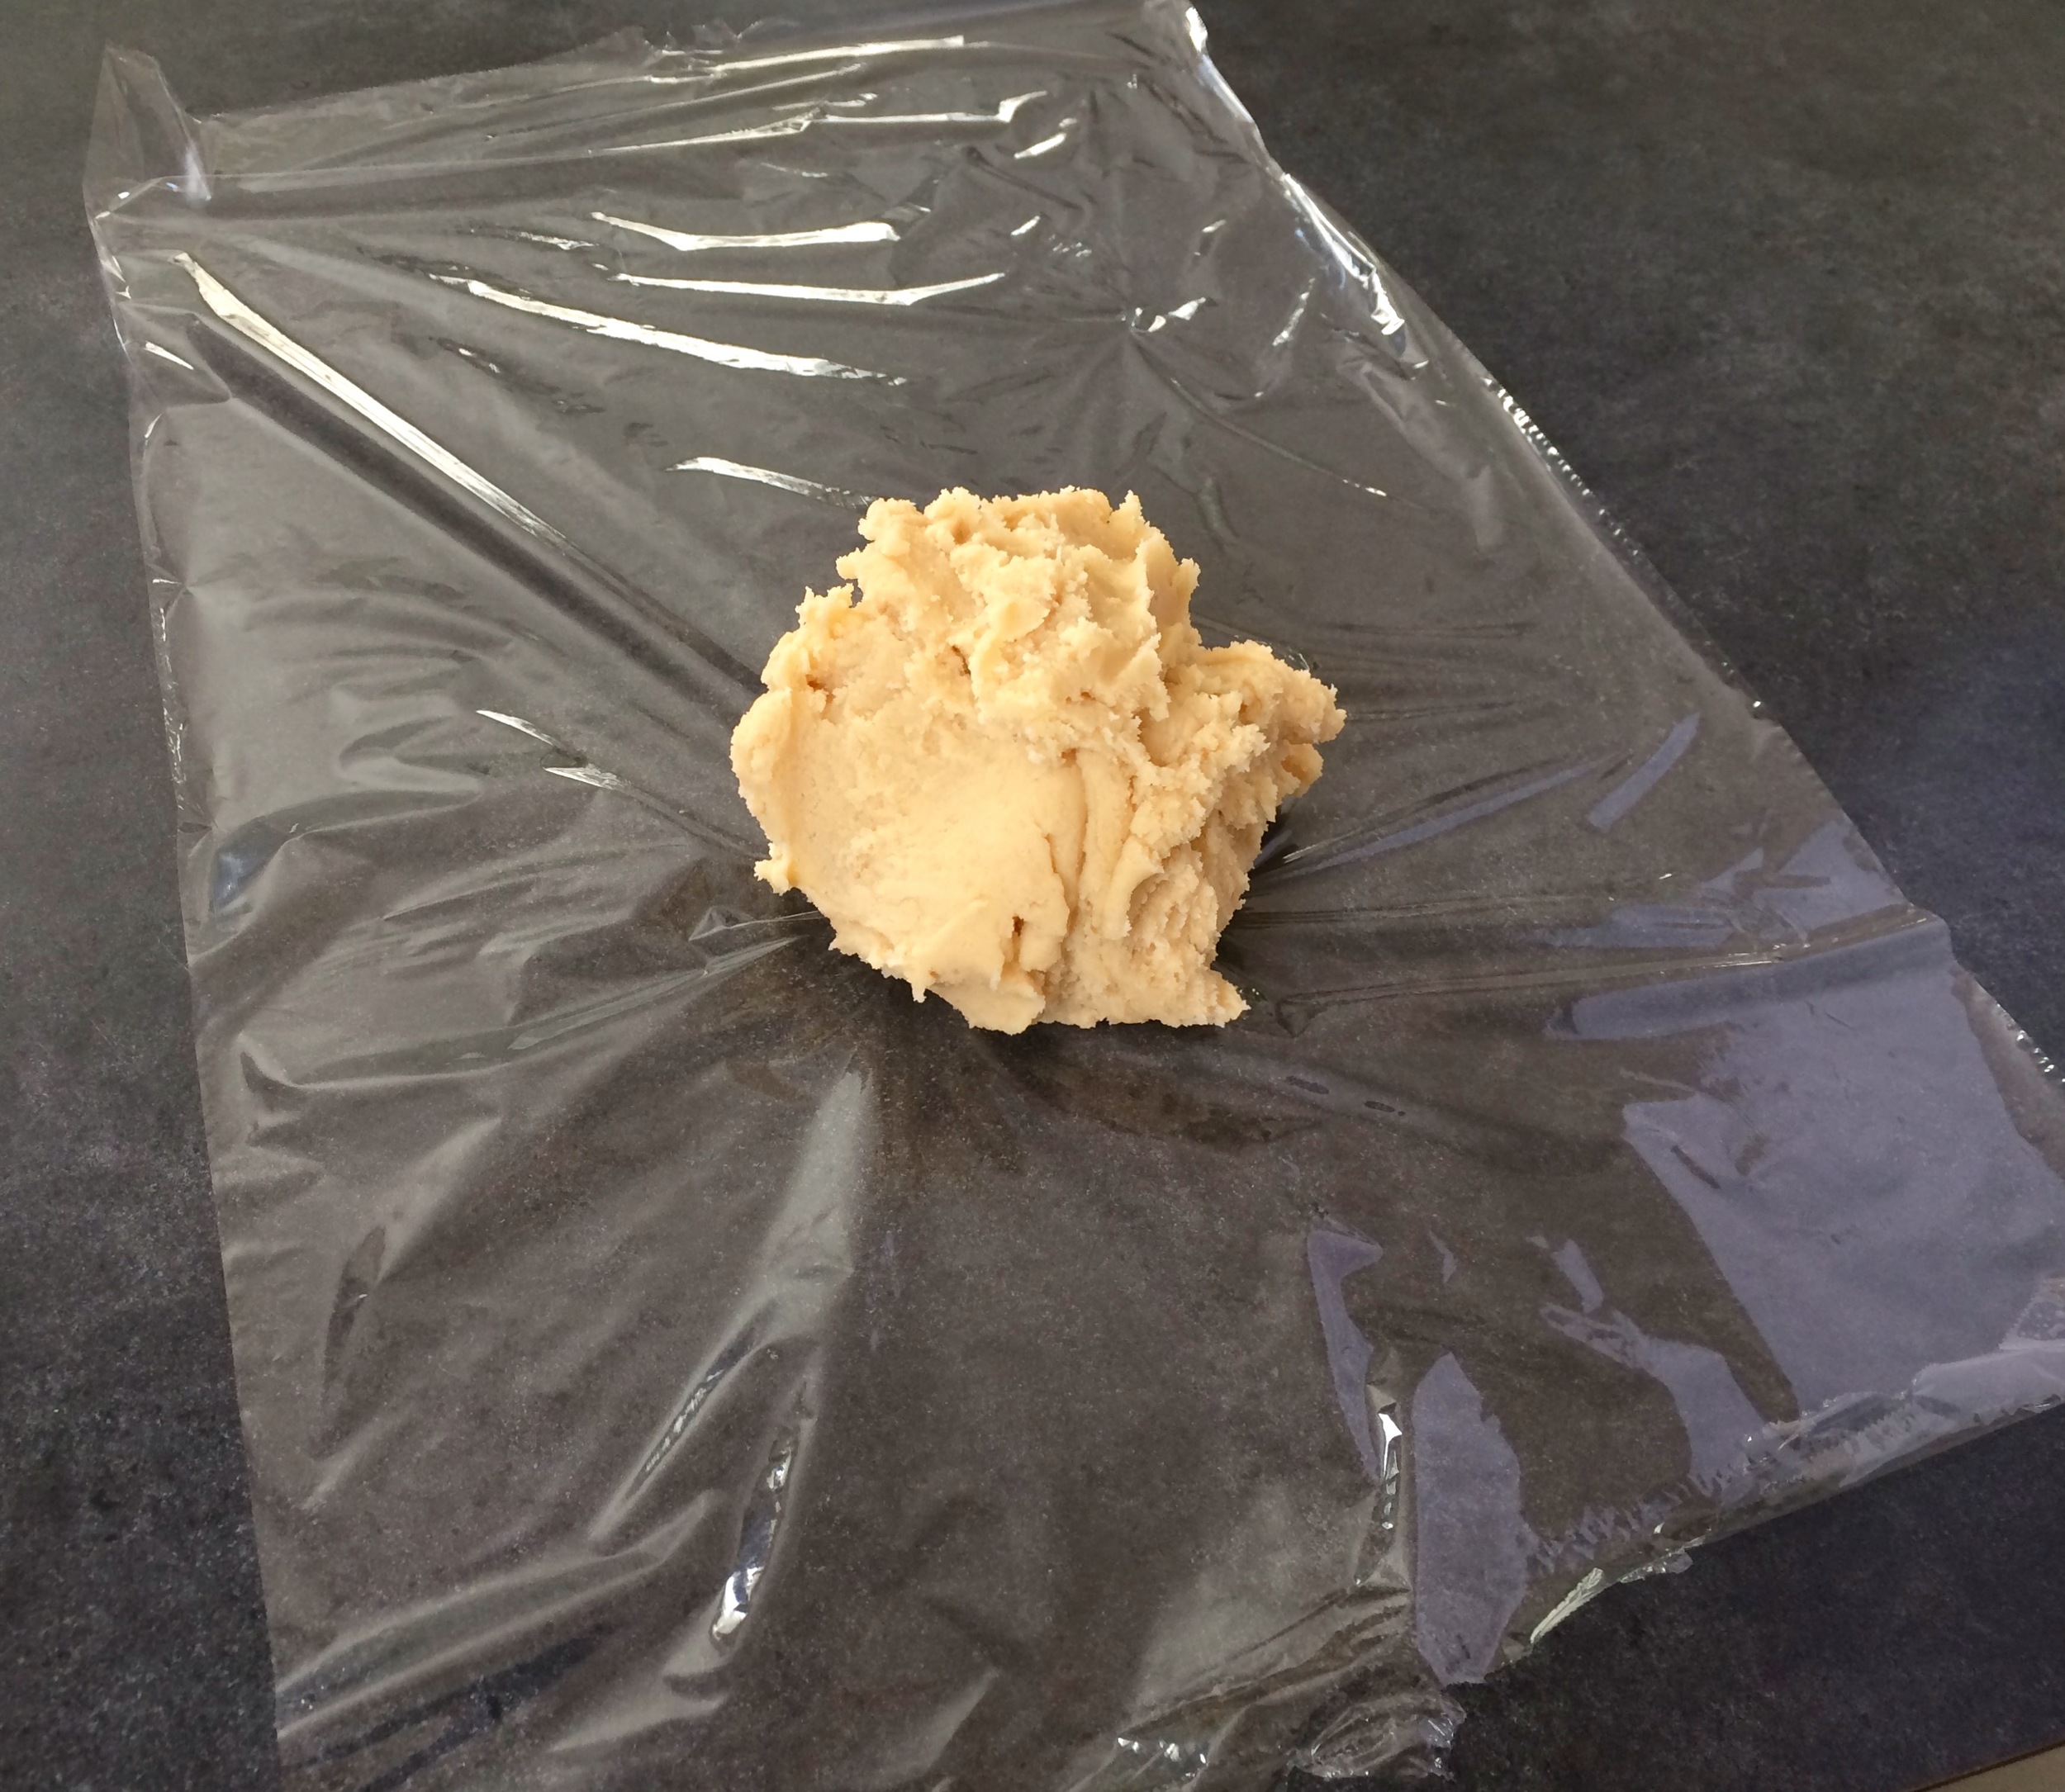
Turn off the mixer, pour in the flour and mix on low speed just until the flour disappears into the dough and the dough looks uniformly moist. If you still have some flour on the bottom of the bowl, stop mixing and use a rubber spatula to work the rest of it into the dough. (The dough will not come together in a ball — and it shouldn’t. You want to work the dough as little as possible. What you’re aiming for is a soft, moist, clumpy dough. When pinched, it should feel a little like Play-Doh.)
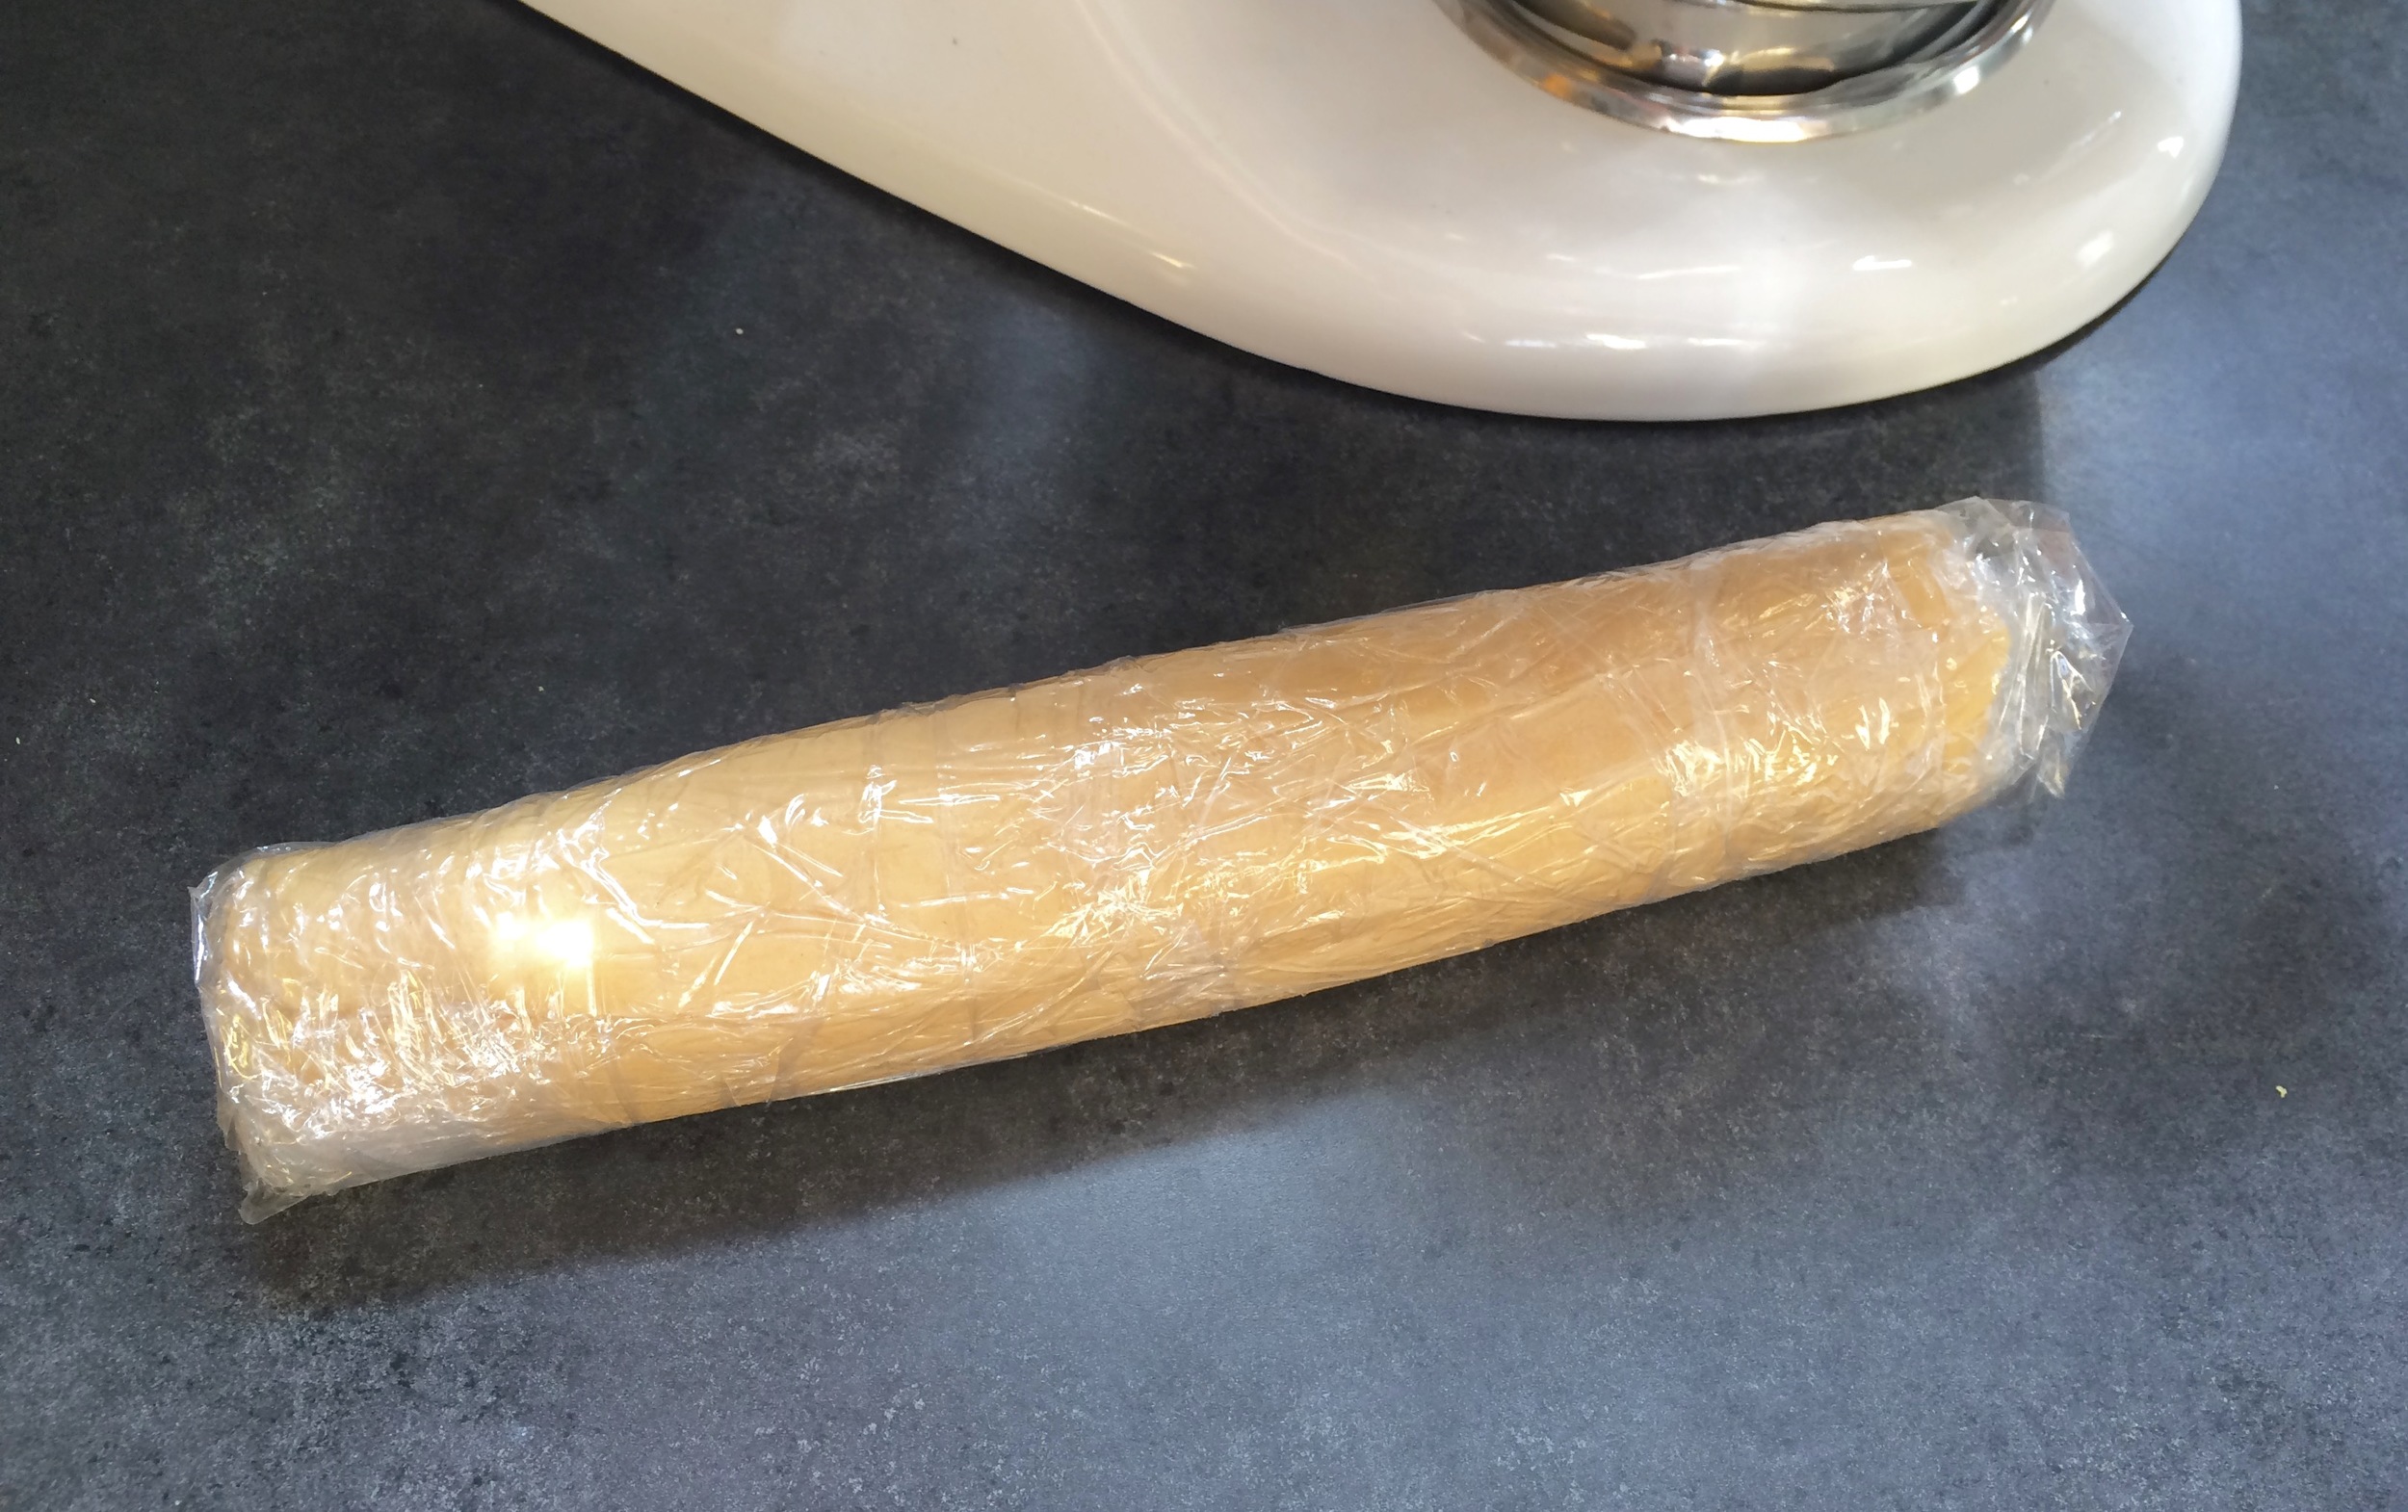
Scrape the dough onto a work surface and gather it into a ball. Shape into a smooth log about 9 inches long (it’s easiest to work on a piece of plastic wrap and use the plastic to help form the log). Wrap the log well and chill for at least 2 hours. The dough may be kept in the refrigerator for up to 3 days or frozen for up to 2 months.
When ready to bake, center a rack in the oven and preheat the oven to 350 degrees. Line a baking sheet with a silicone baking mat or parchment paper and keep it at the ready.
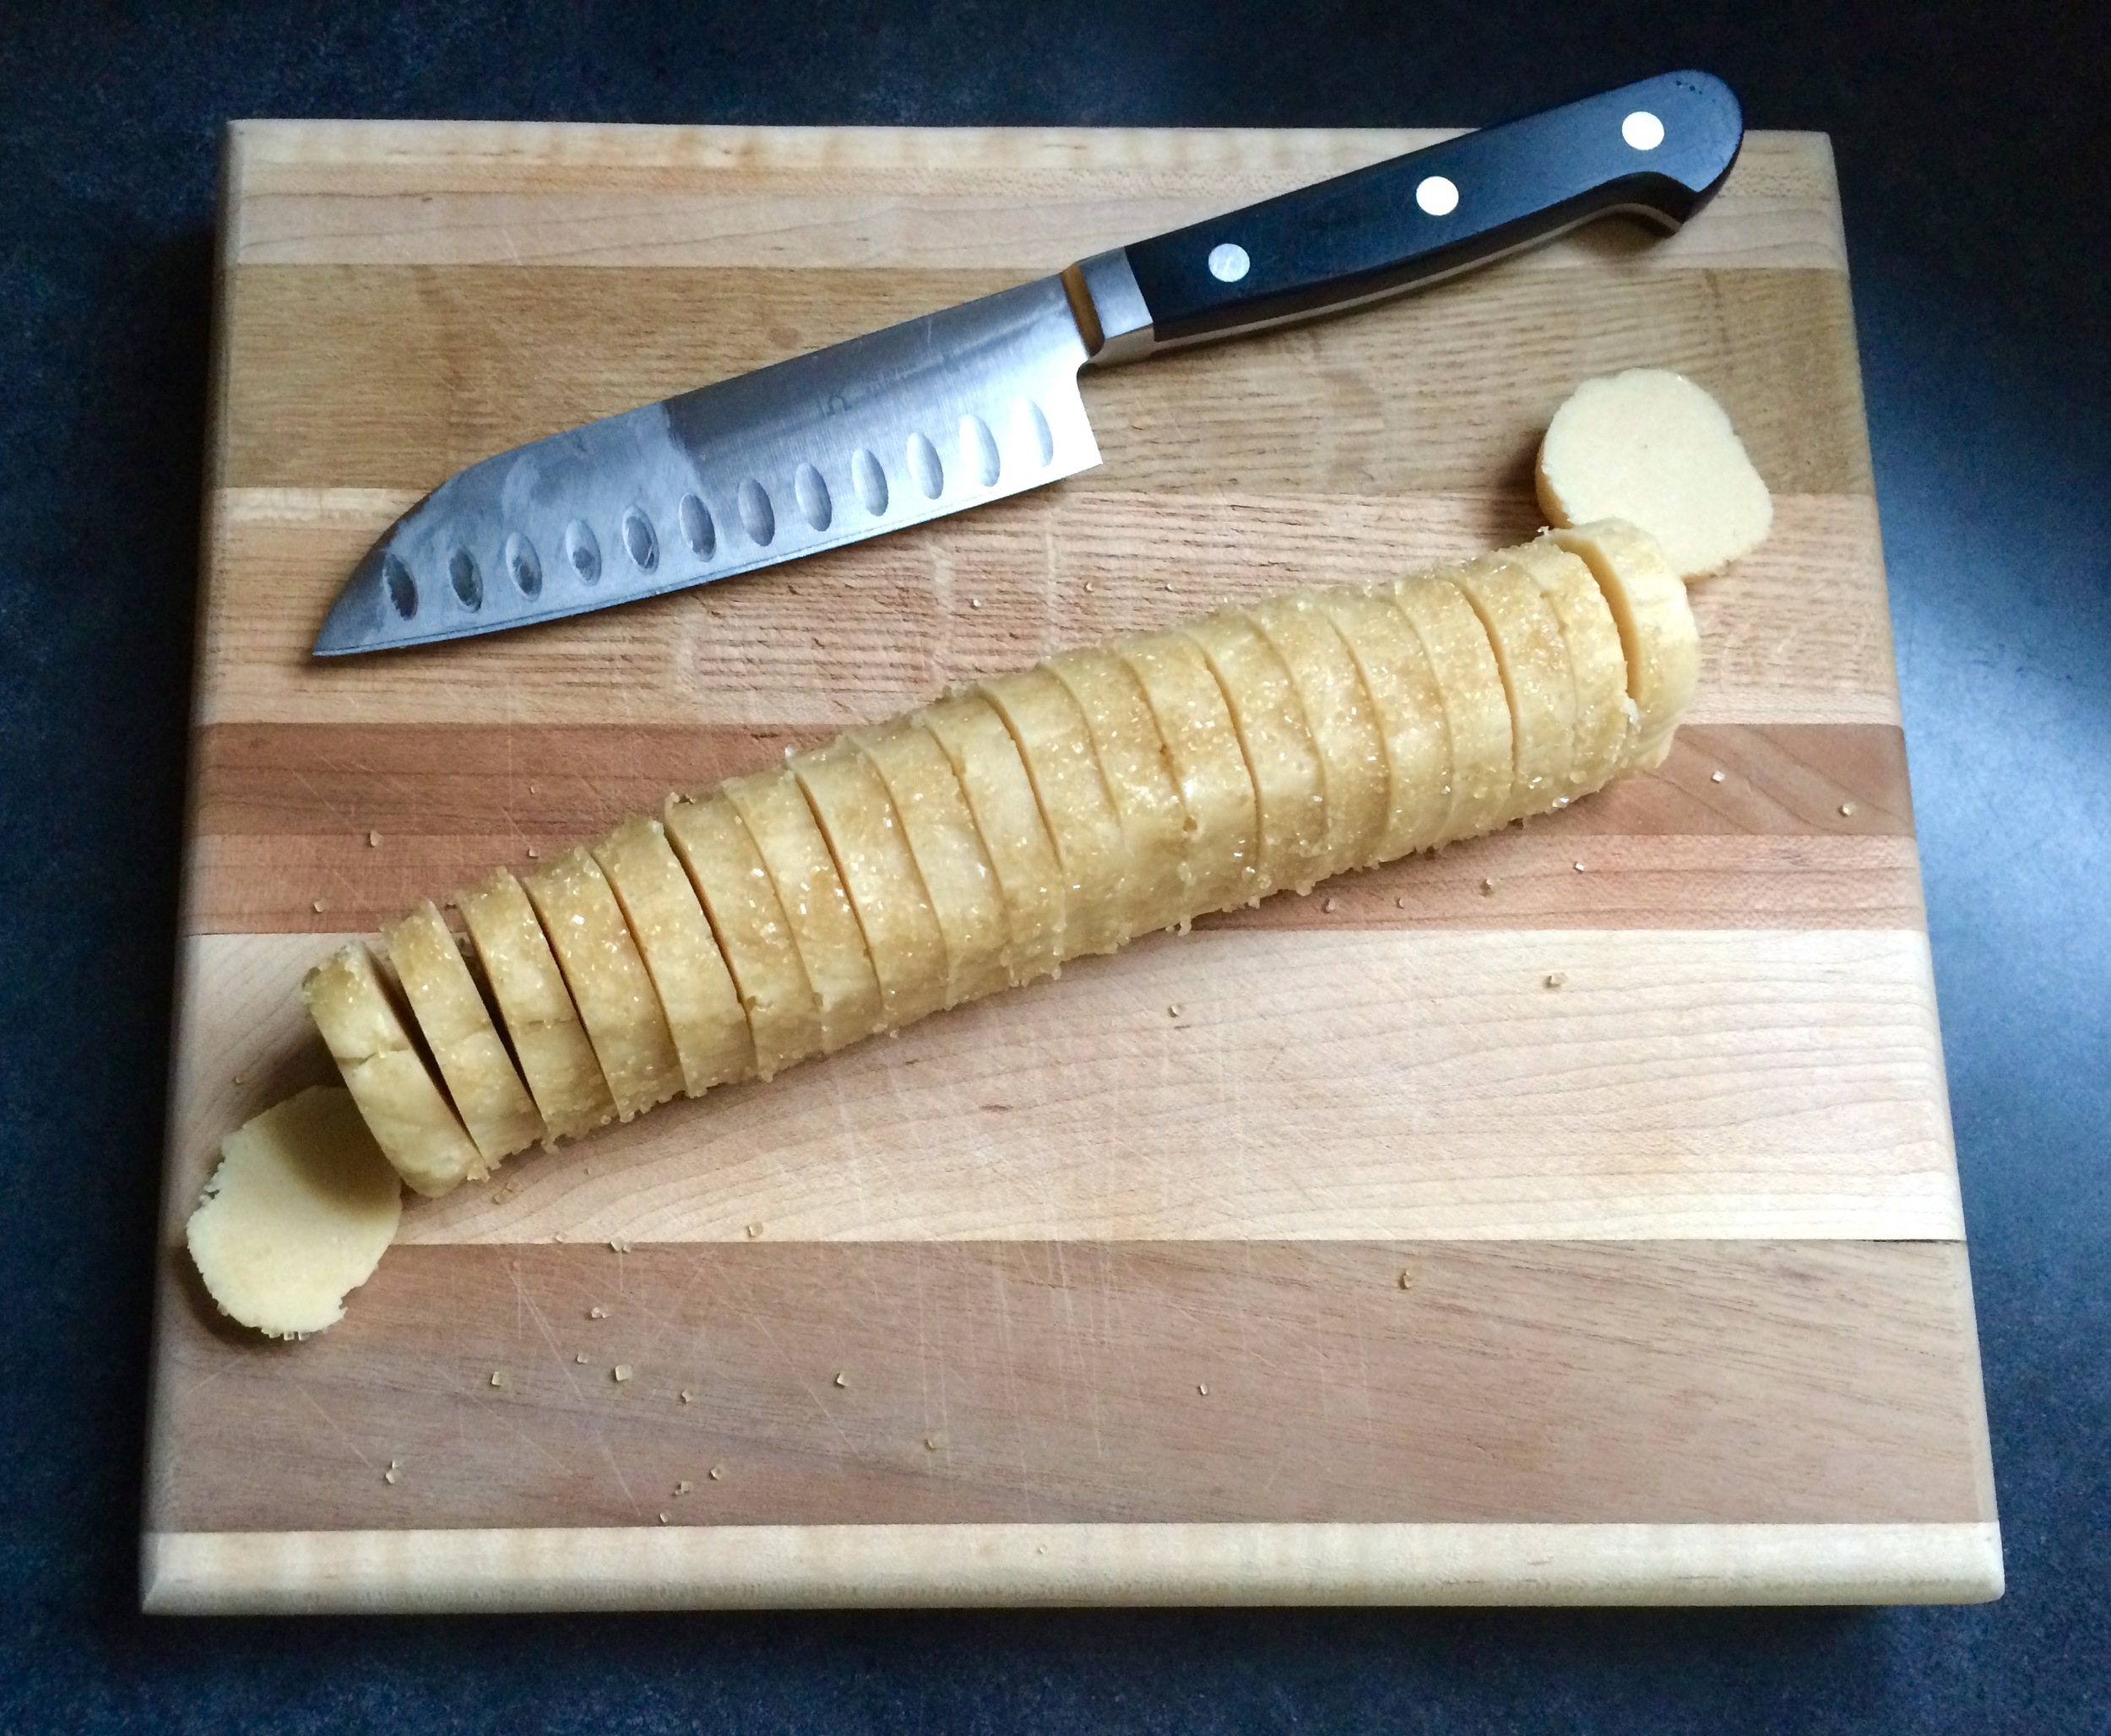
To decorate the edges of the sables, whisk the egg white until smooth. Place chilled log of dough on a piece of waxed paper and brush it with the white, and then sprinkle the entire surface of the log with turbinado sugar. Trim the ends of the roll if they are ragged and slice the log into 1/3-inch-thick cookies (I got around 18 cookies). May chill the dough again at this point if desired, or proceed directly on to baking.
Place the rounds on the baking sheet, leaving an inch of space between each cookie, and bake for 17 to 20 minutes (mine went the whole 20), rotating the baking sheet at the halfway point. When properly baked, the cookies will be light brown on the bottom, lightly golden around the edges and pale on top. Let the cookies rest 1 or 2 minutes before carefully lifting them onto a cooling rack with a wide metal spatula. Repeat with the remaining log of dough.