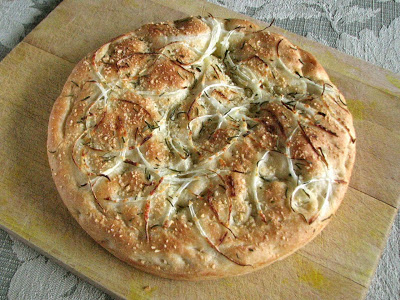
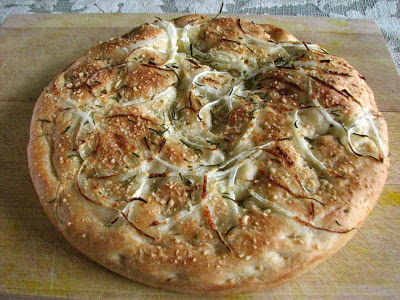
Rosemary Onion Focaccia
The idea of focaccia always sounds so appealing to me, a flatbread rich with olive oil and topped with any number of delicious things. It's really like a pizza in disguise, dressed a little differently so you can eat several slices without feeling too guilty. In the past however, I've attempted to make focaccia a couple of different times and have never been very successful at it. It's always been, well, just okay. But I want more than okay, I know it can be so much more than that. With this recipe I've found my stride, I have found a focaccia that is well beyond okay. This bread was soft and light, tender and rich, topped with just a few simple accompaniments. It really was what I've been looking for. I can't wait to play around with different toppings and flavors. With this focaccia as a base I know they will all be great!
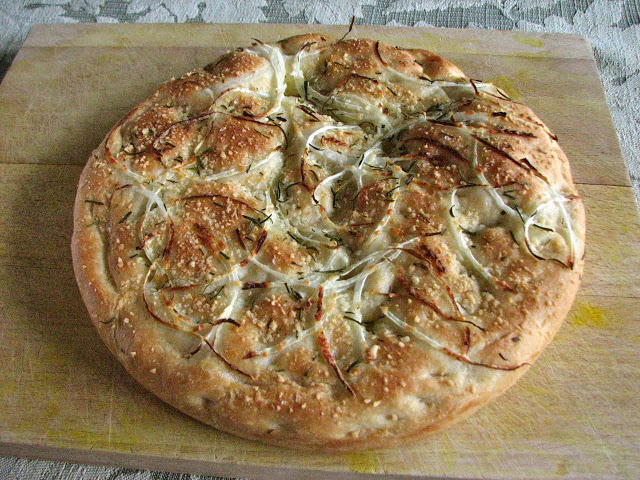
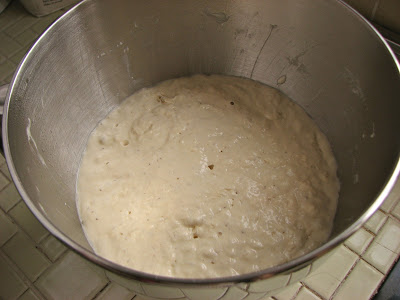
This recipe was very simple, and pretty quick as yeasted bread goes. Knead everything together and let it rise for about an hour. I was in a little bit of a hurry and only let it rise for about 45 minutes and it didn't seem to matter at all. Then all you have to do is press it into your pan and let it sit for only about 20 minutes. While it's resting you can get your toppings together. I went simple this time with some thinly sliced onion, rosemary, a sprinkling of pecorino and some sea salt, but there are so many options when it comes to focaccia, you can really do whatever you want. After the 20 minutes rest, just top it off and stick it in the oven. In another 20 minutes you'll have a beautiful golden brown round of rich, savory bread. You really can't go wrong.
Rosemary Onion Focaccia
Adapted From
Ingredients
- 1 1/4 cup all purpose flour
- 1 1/2 tsp instant yeast
- 1/2 teaspoon kosher salt
- 1/2 cup warm water
- 1/2 teaspoon honey
- 1/4 cup extra virgin olive oil, divided
- Thinly sliced sweet onion
- Roughly chopped rosemary
- Grated pecorino or parmesan cheese
- Sea salt
Directions
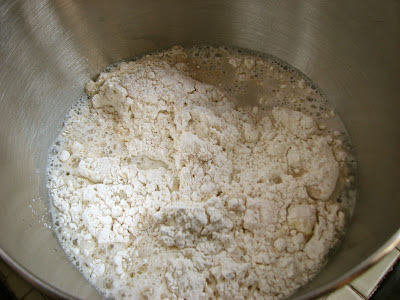
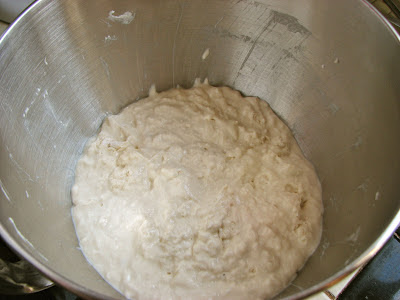
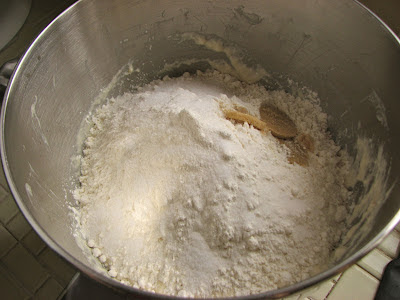
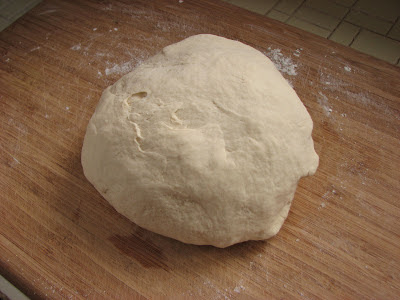
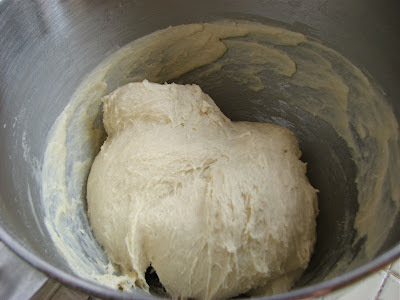
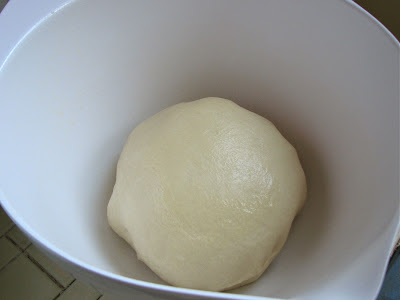
In the bowl of a stand mixer fitted with the dough hook, combine the flour, yeast and salt. Add the water, honey and 2 tablespoons of the olive oil. Knead the dough on medium speed until smooth and supple, 5-6 minutes. Place the dough in a well oiled bowl, cover with plastic wrap and let rest for about 1 hour.
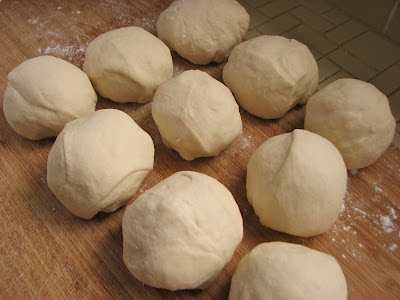
Transfer the dough to a well oiled 9-inch cake pan, pressing it down to fit and dimpling it all over with your fingers. Drizzle the dough with 1 tablespoon of olive oil and let rise until puffed, about 20 minutes. Sprinkle the dough to taste with the thinly sliced onion, rosemary, cheese and salt. Drizzle the remaining 1 tablespoon of olive oil over the focaccia. Bake for 18-20 minutes at 450 degrees until golden brown. Transfer to wire rack to cool.