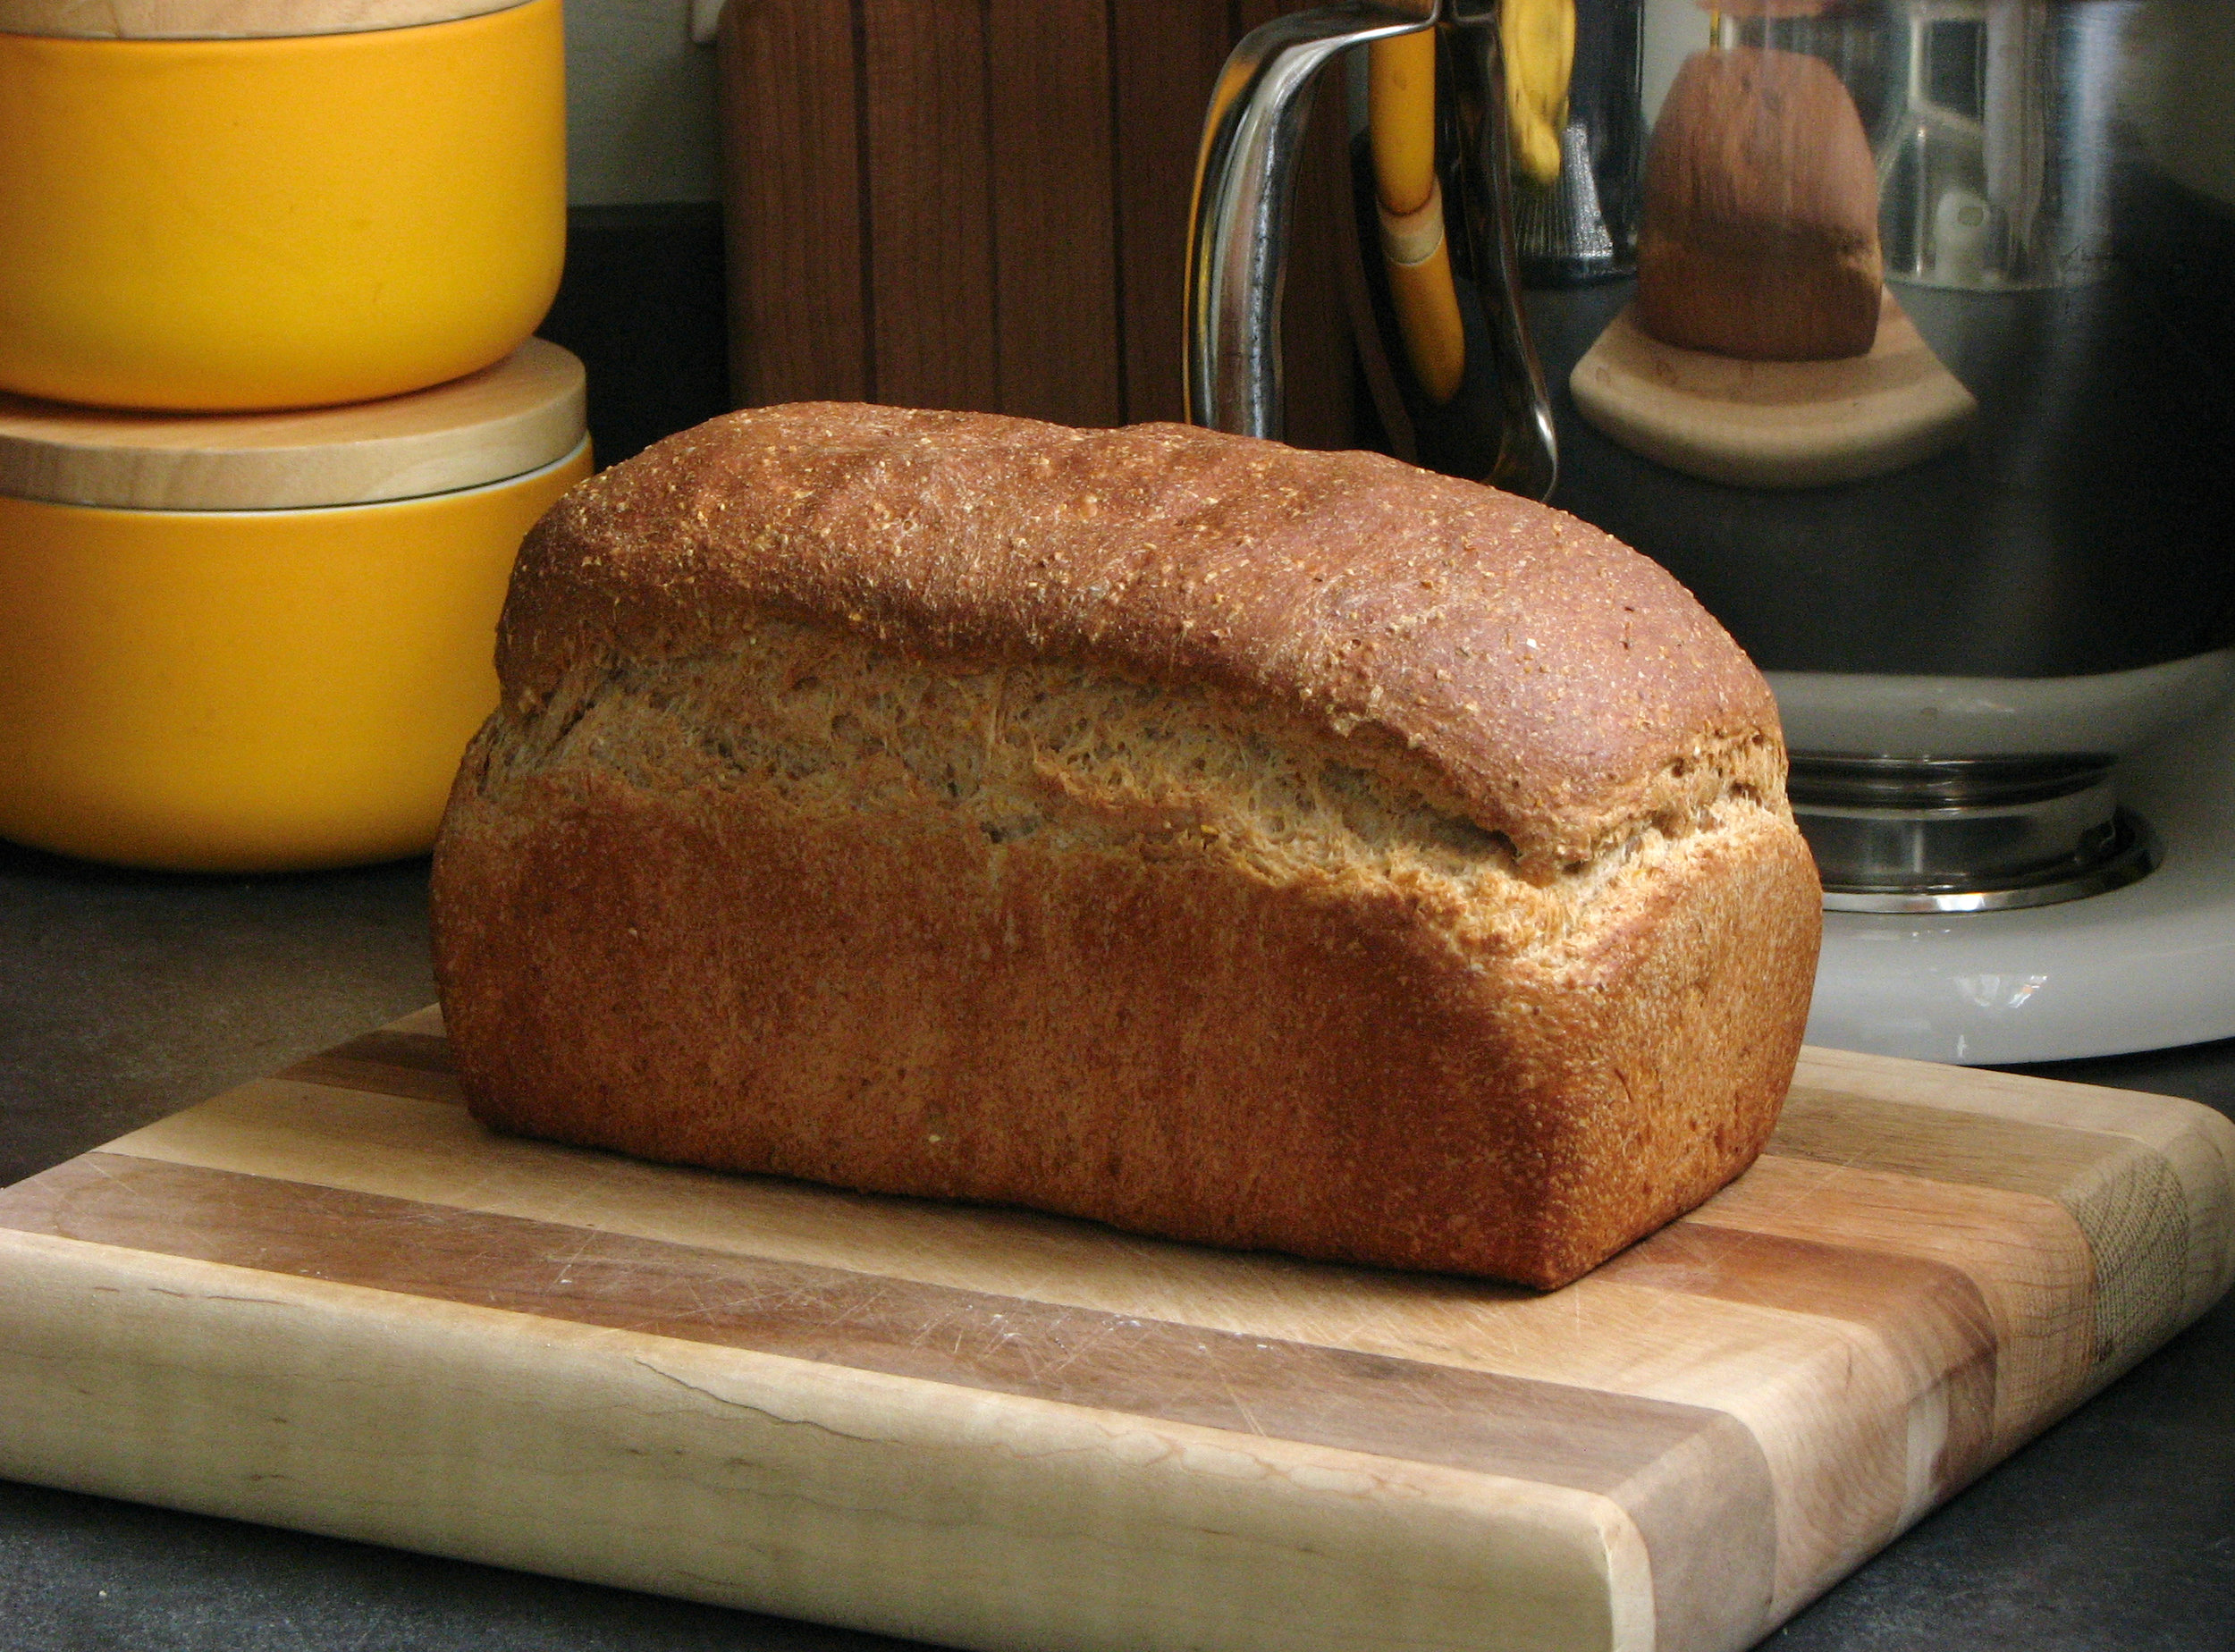
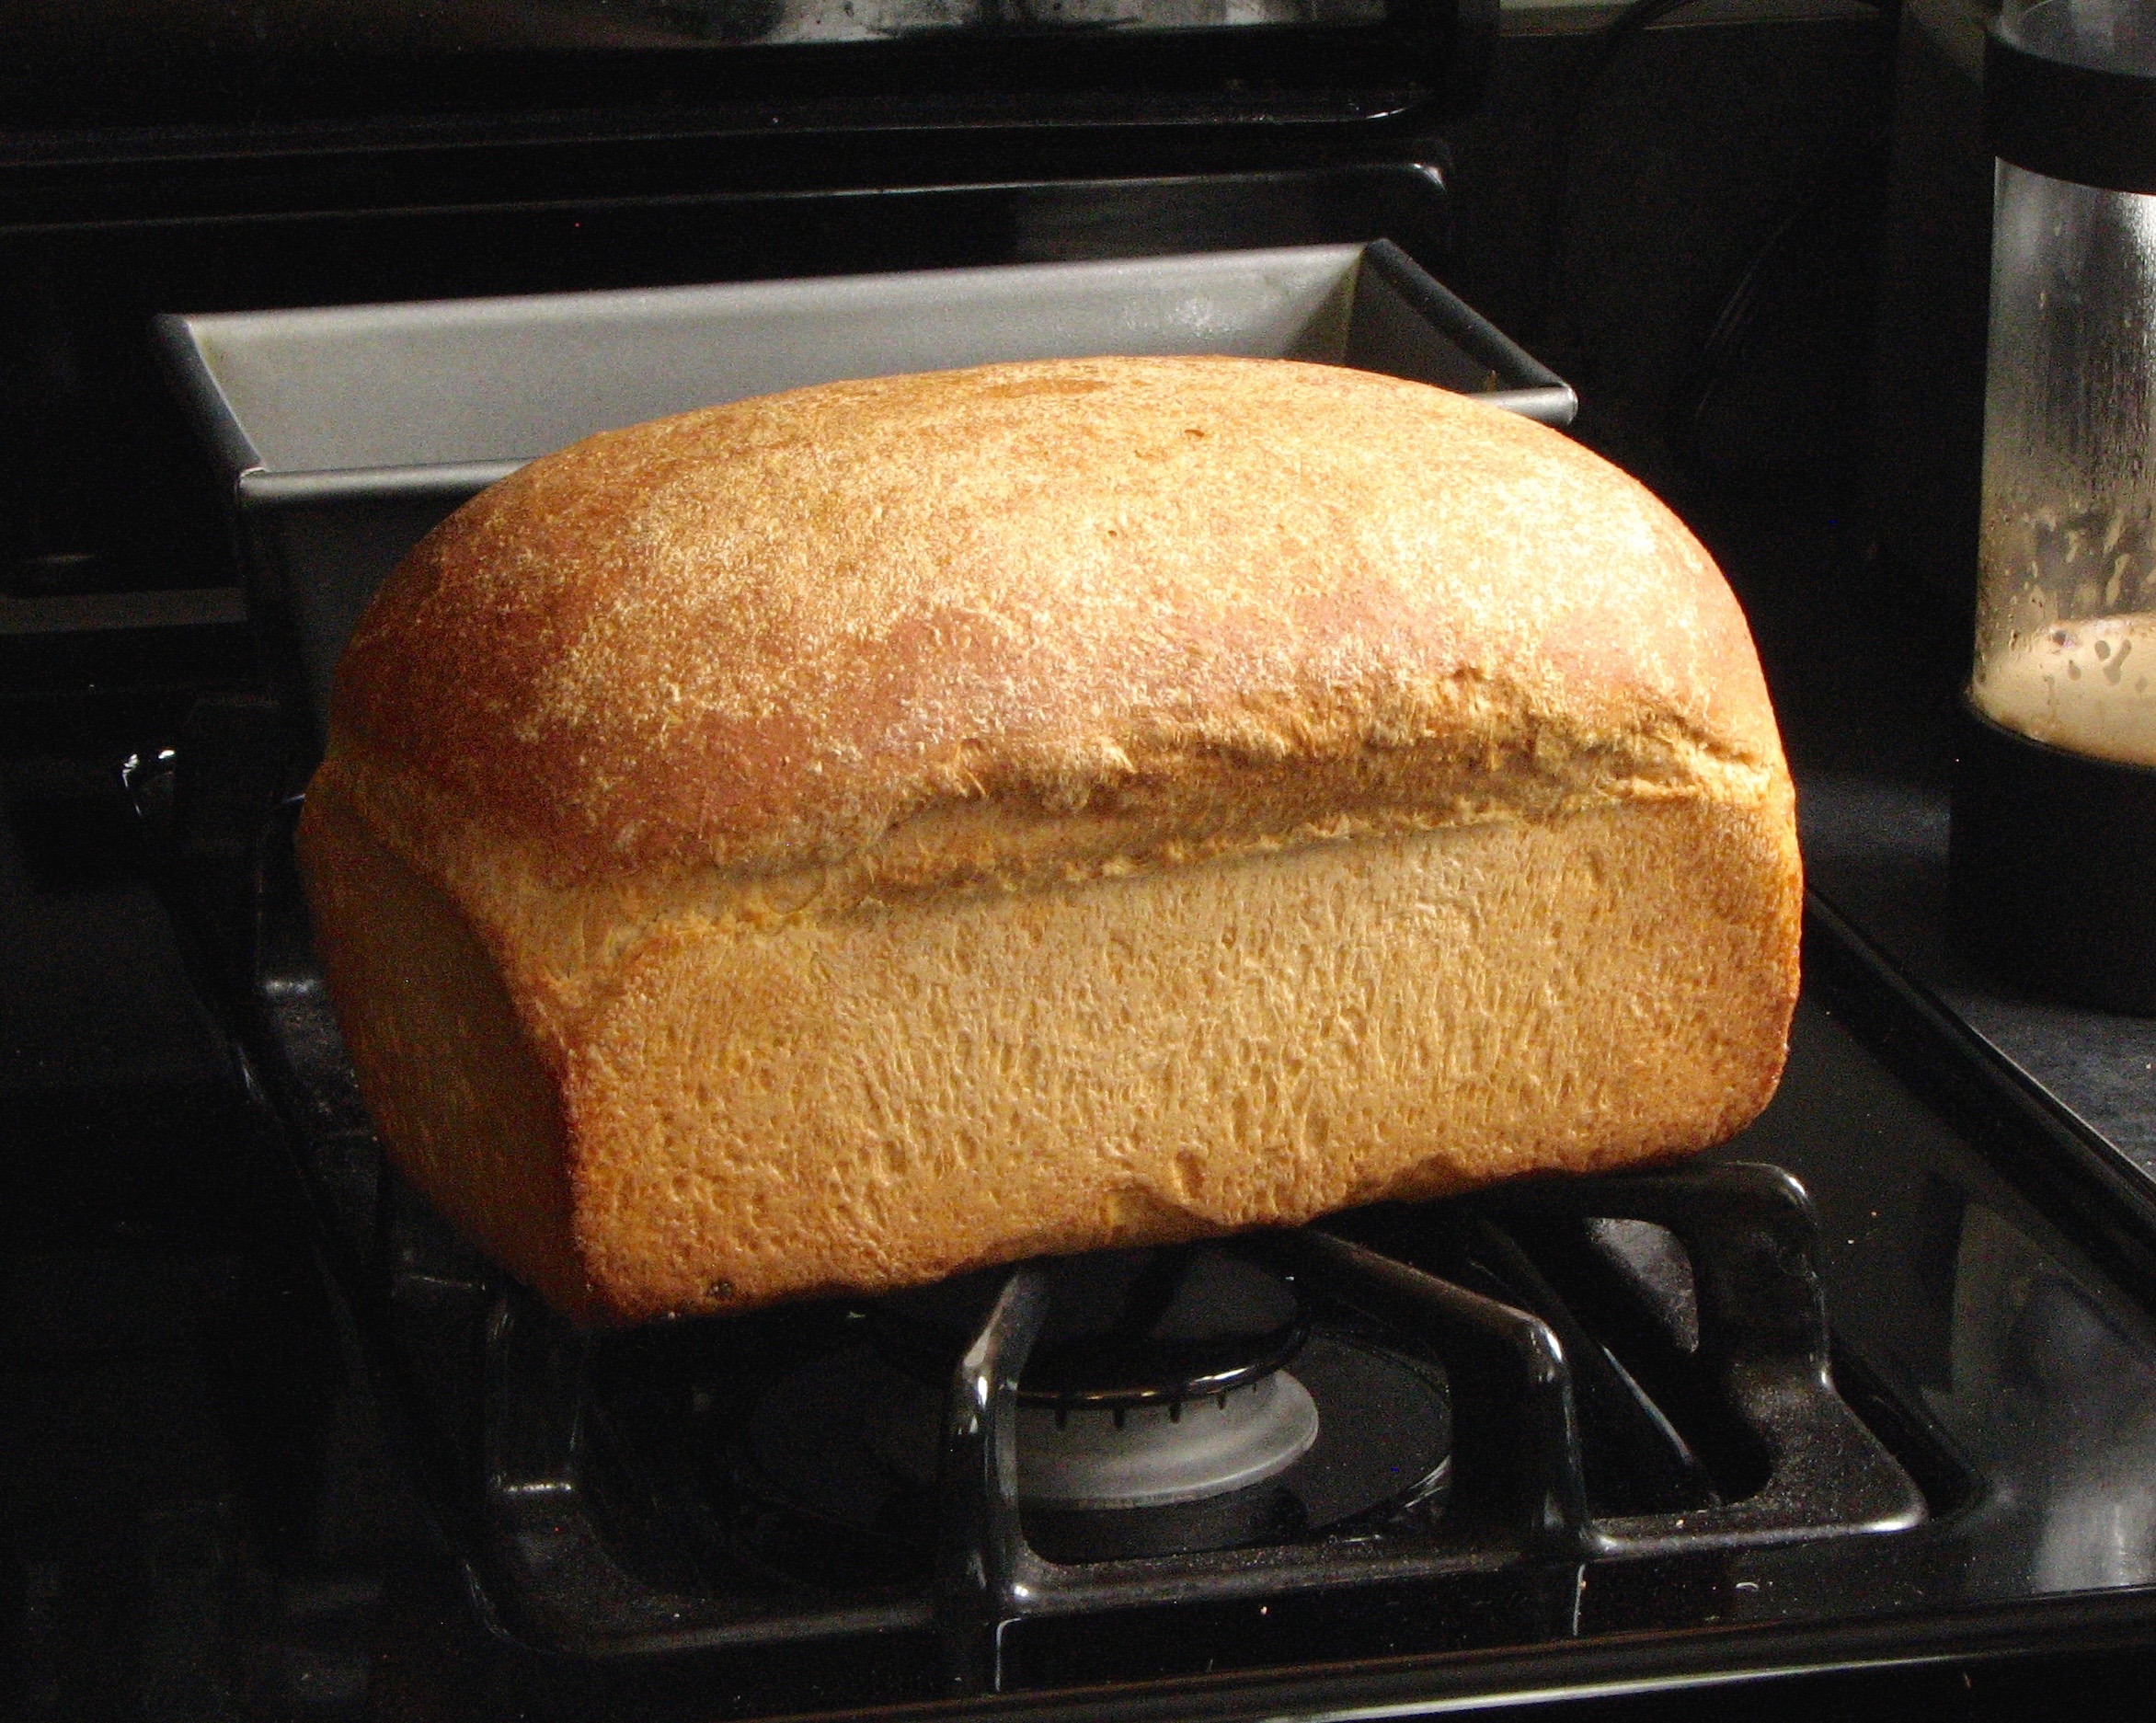
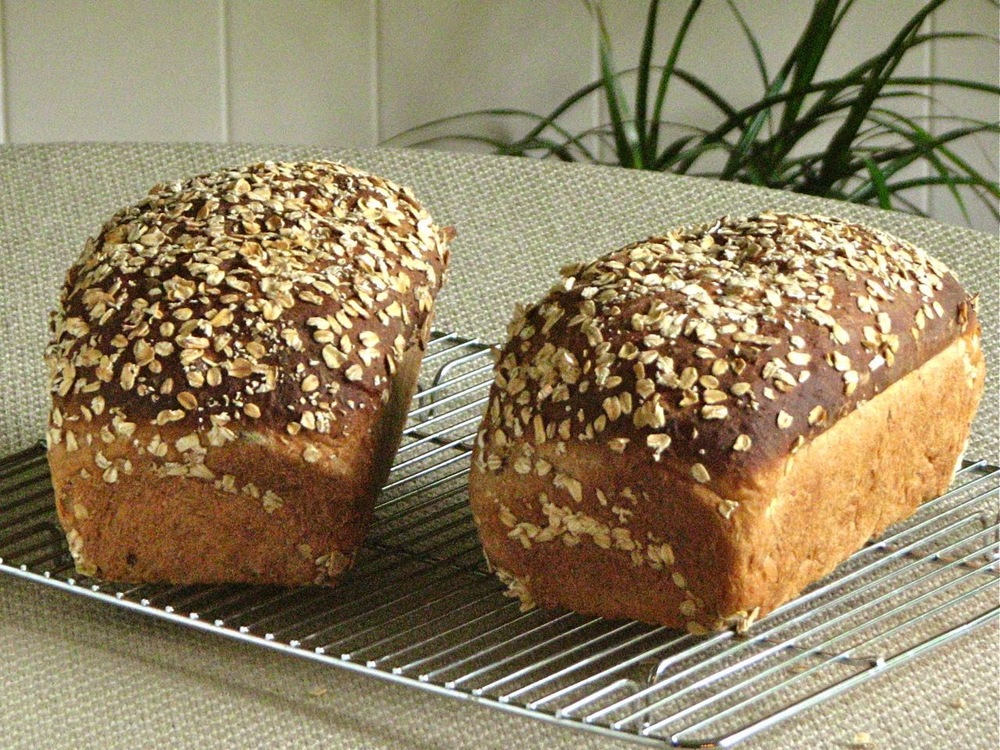
Soft Honey Whole Wheat Sourdough
I had taken a little hiatus from making bread recently, for no particular reason. But then I finally picked up a cookbook on sourdough bread that I’d had my eye on for some time now and I was completely inspired and recharged. Over the past few weeks I have made large pans of crisp and oily focaccia twice, a gooey camembert bread wreath, multiple iterations of thick crusted pizza (which included two separate pizza parties), two loaves of crusty Dutch oven bread, a pan of cinnamon rolls and finally this lovely every so slightly enriched honey whole wheat bread. Phew. I bought a 25 lb bag of flour about a month ago and it’s pretty much gone!
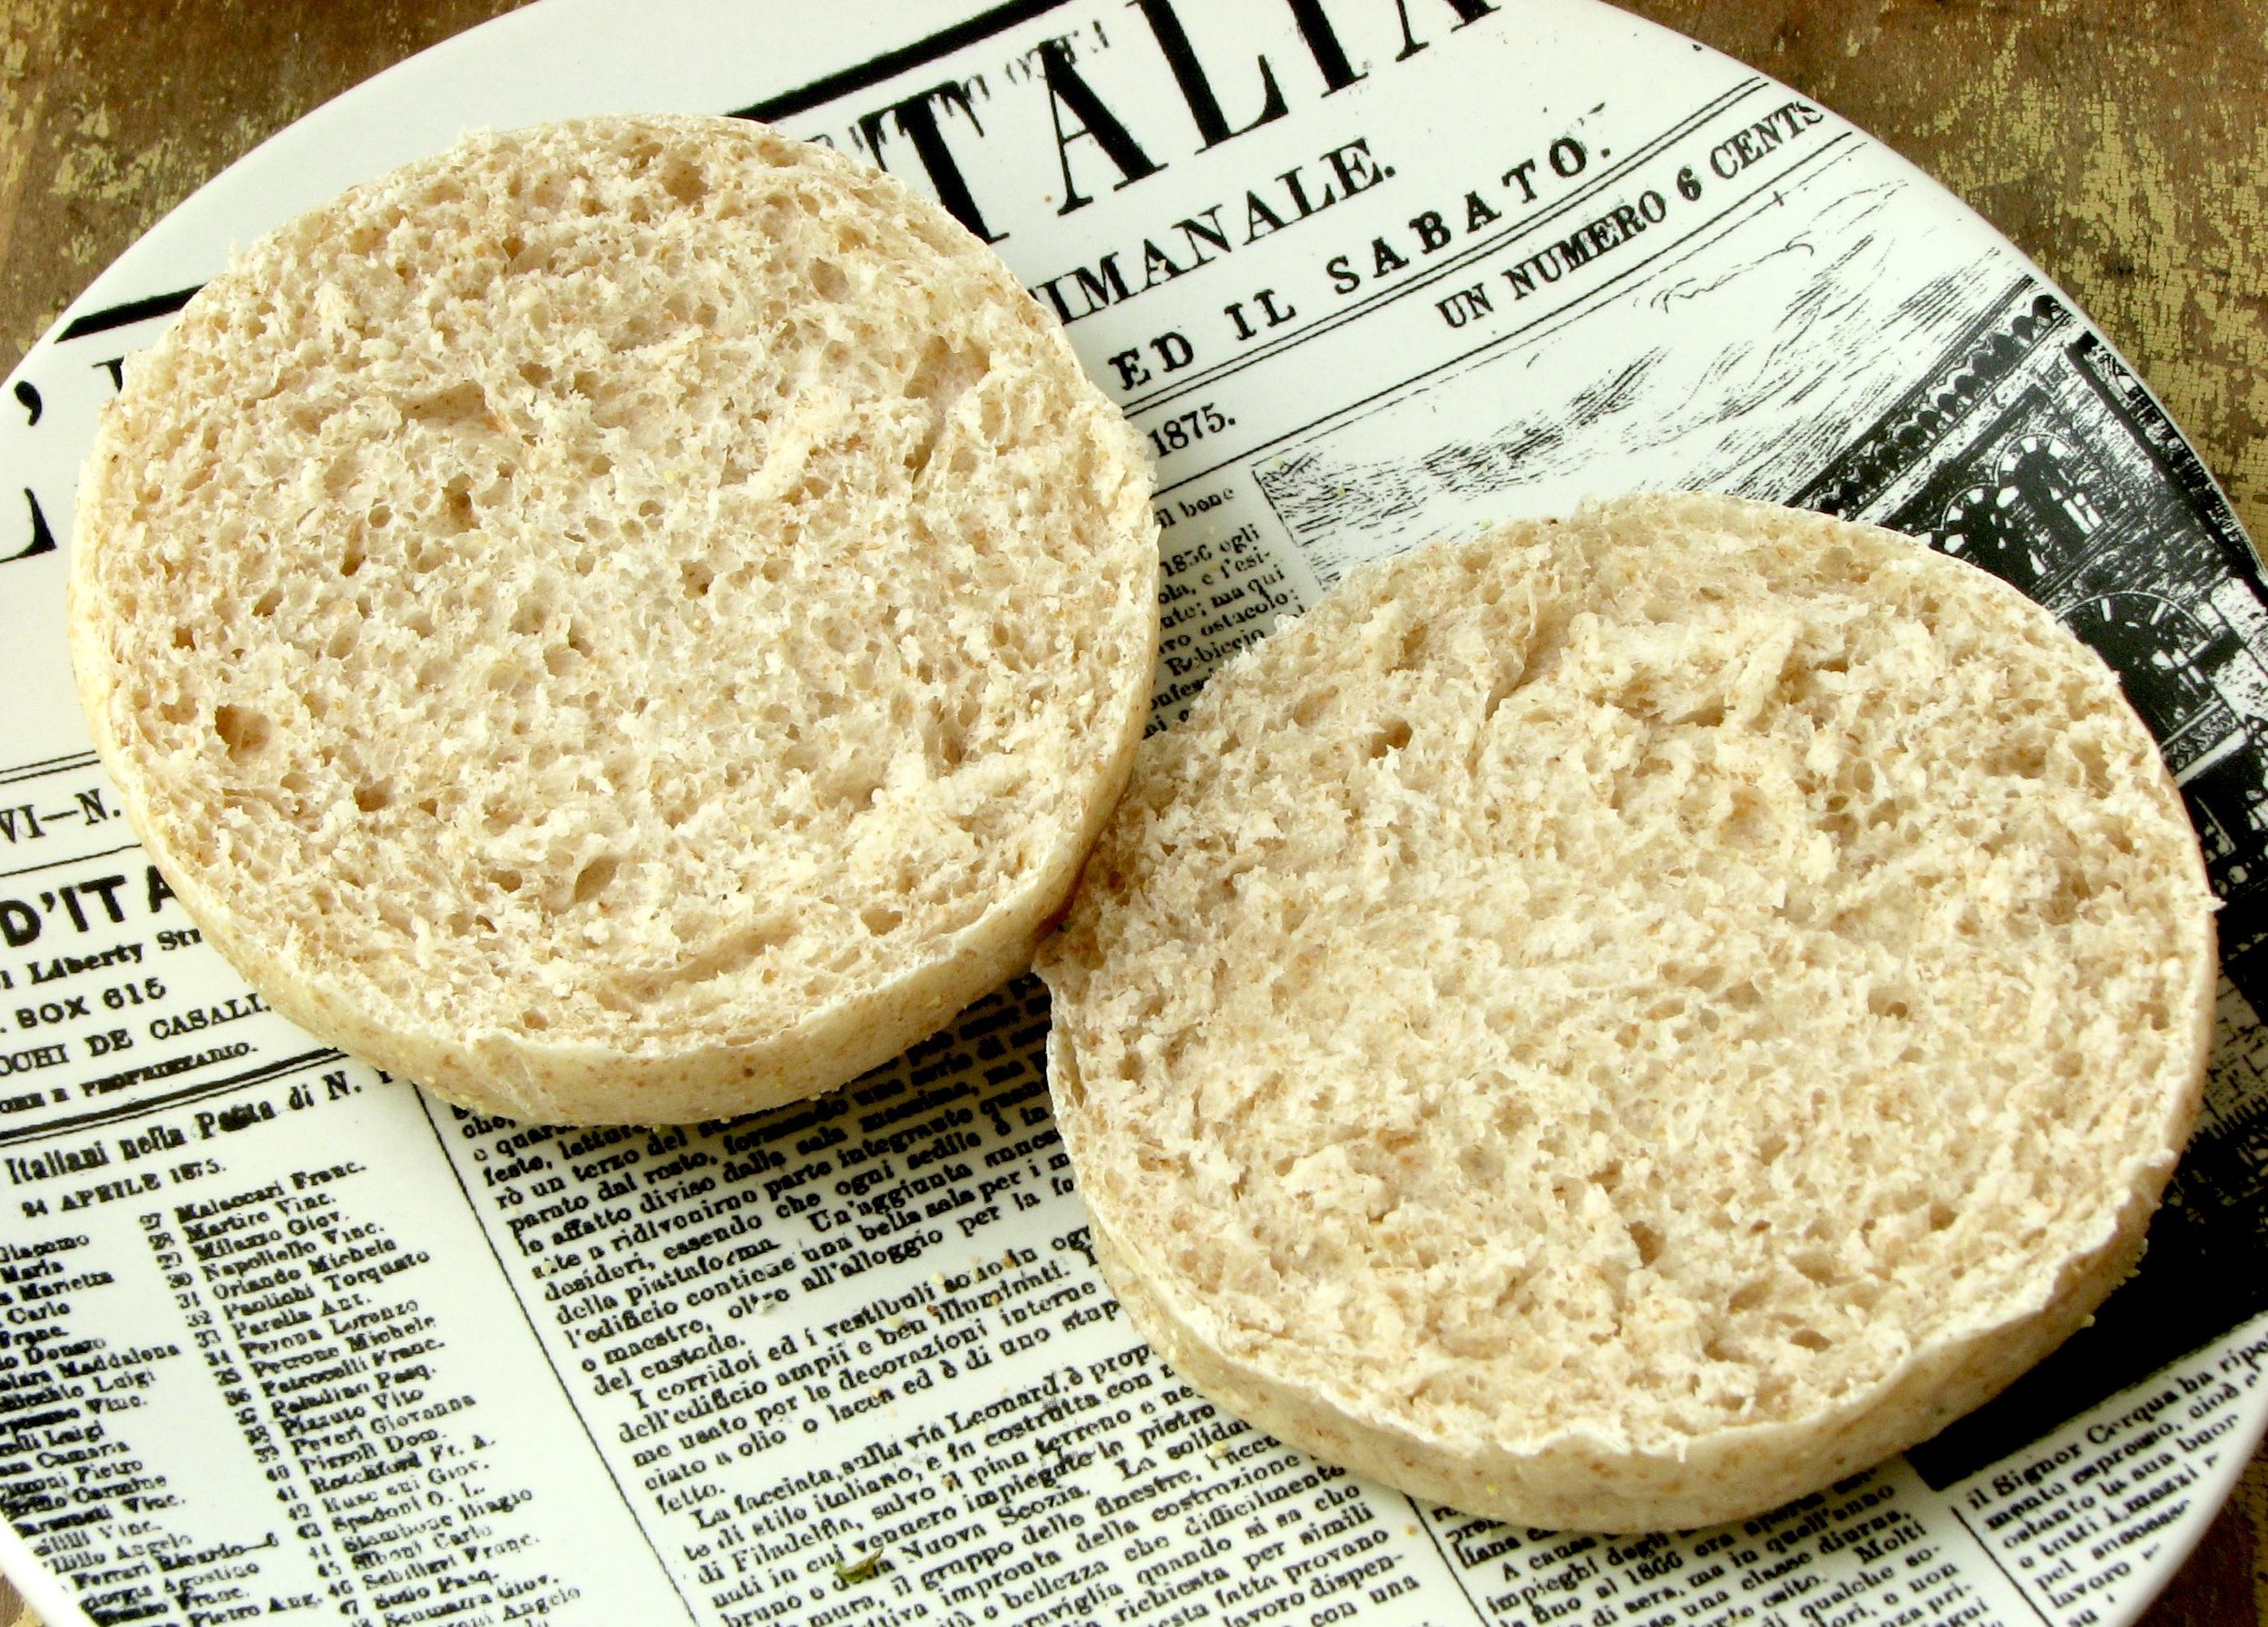
This whole wheat sourdough loaf is lightly sweetened with a little bit of honey, and adds a small amount of whole wheat flour for a little nuttiness, as well as a little nutrition. It is risen with 100% sourdough, no commercial yeast at all which means the rise time is longer, but is so easy. You hardly have to do anything other than mix the ingredients together and let them sit for hours. Almost all hands off. That’s my kind of bread.
I chose this bread for the small Christmas morning brunch I made for my parents. We had scrambled eggs, toast with butter and jam, orange juice and coffee. It was perfect! Merry Christmas!


Soft Honey Whole Wheat Sourdough
Adapted from Artisan Sourdough Made Simple by Emilie Raffa
Ingredients
150 grams (3/4 cup) bubbly, active starter
270 grams (1 cup plus 2 tablespoons) warm milk
30 grams (2 tablespoons) warm water
40 grams (2 tablespoons) honey
30 grams (2 tablespoons) oil
120 grams (1 cup) whole wheat flour
360 grams (3 cups) bread flour - or all purpose in a pinch
1 1/2 teaspoons fine sea salt
14 grams (1 tablespoon) butter, melted
Directions
Make the Dough: In a large bowl, whisk the starter, milk, water, honey and oil together. Add the flours and salt. Mix to combine until a rough dough forms. Cover and let rest for 45 minutes to 1 hour. After the dough has rested, gently work it into a semi-smooth ball, about 15 to 20 seconds. The dough will feel supple and smooth when it comes together.
Bulk Rise: Cover the bowl with a damp towel and let rise at room temperature until double in size, about 6 to 8 hours. The dough will look nice and domed when ready.
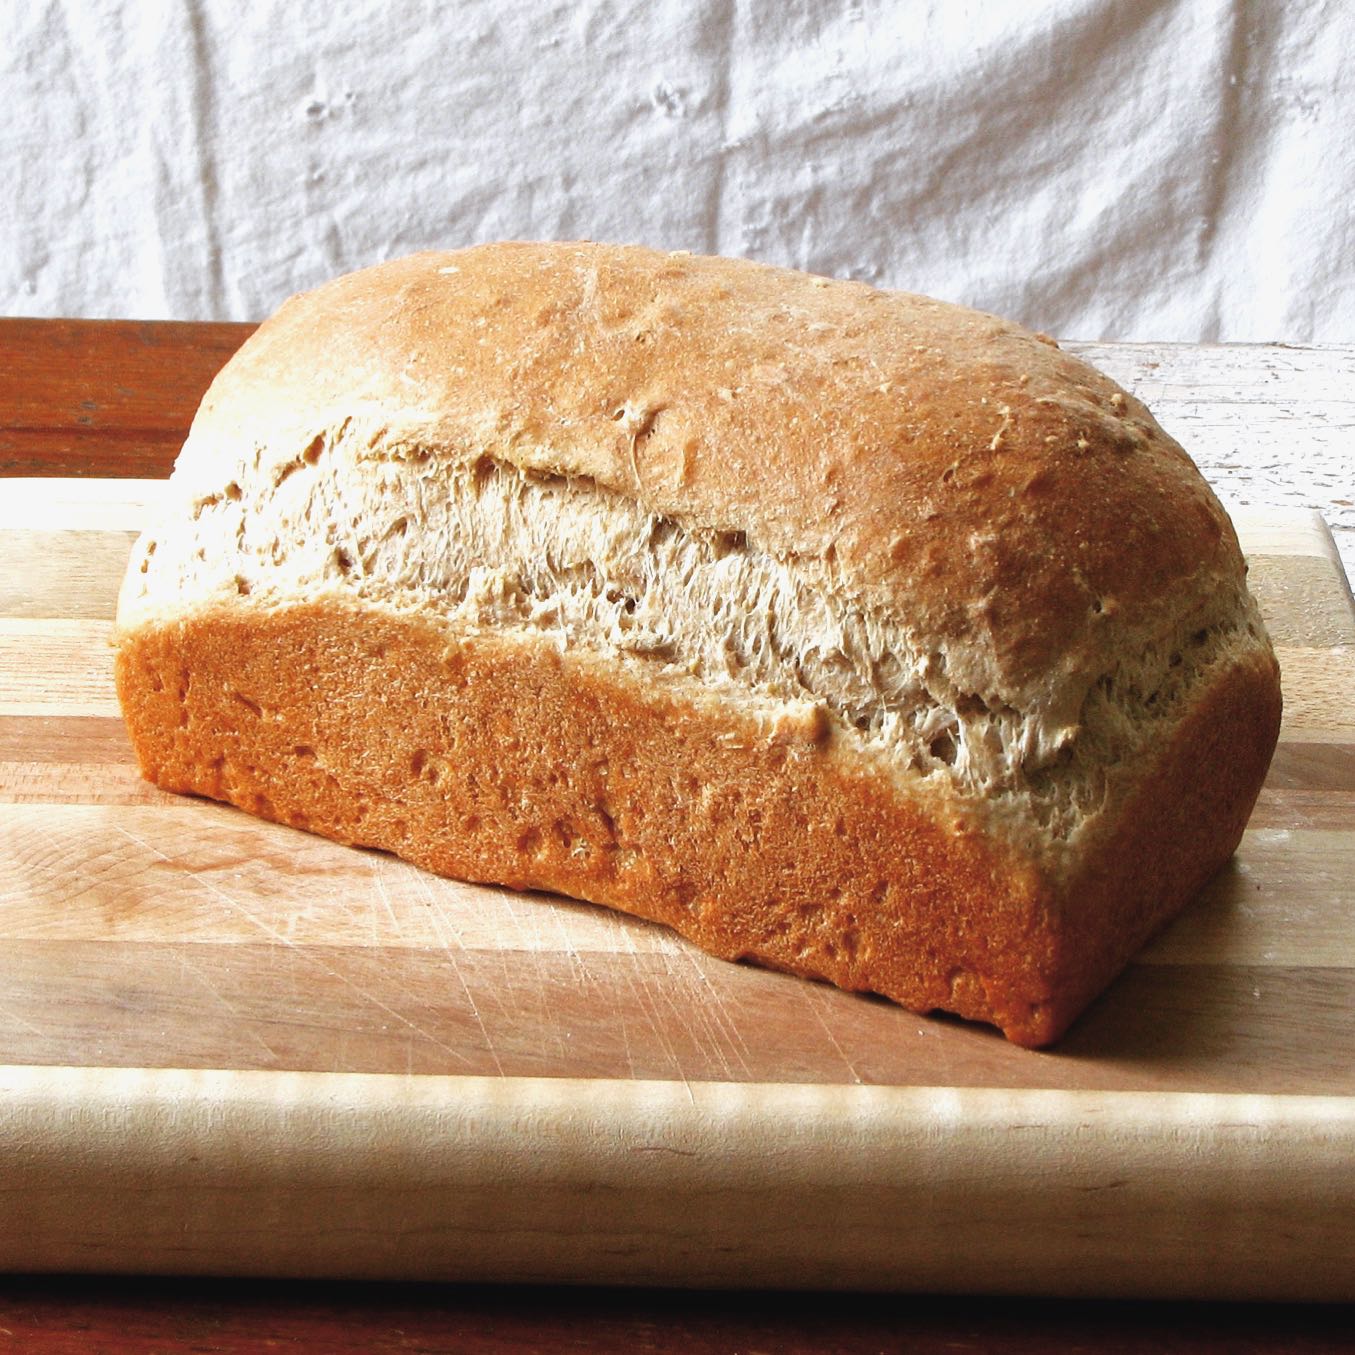
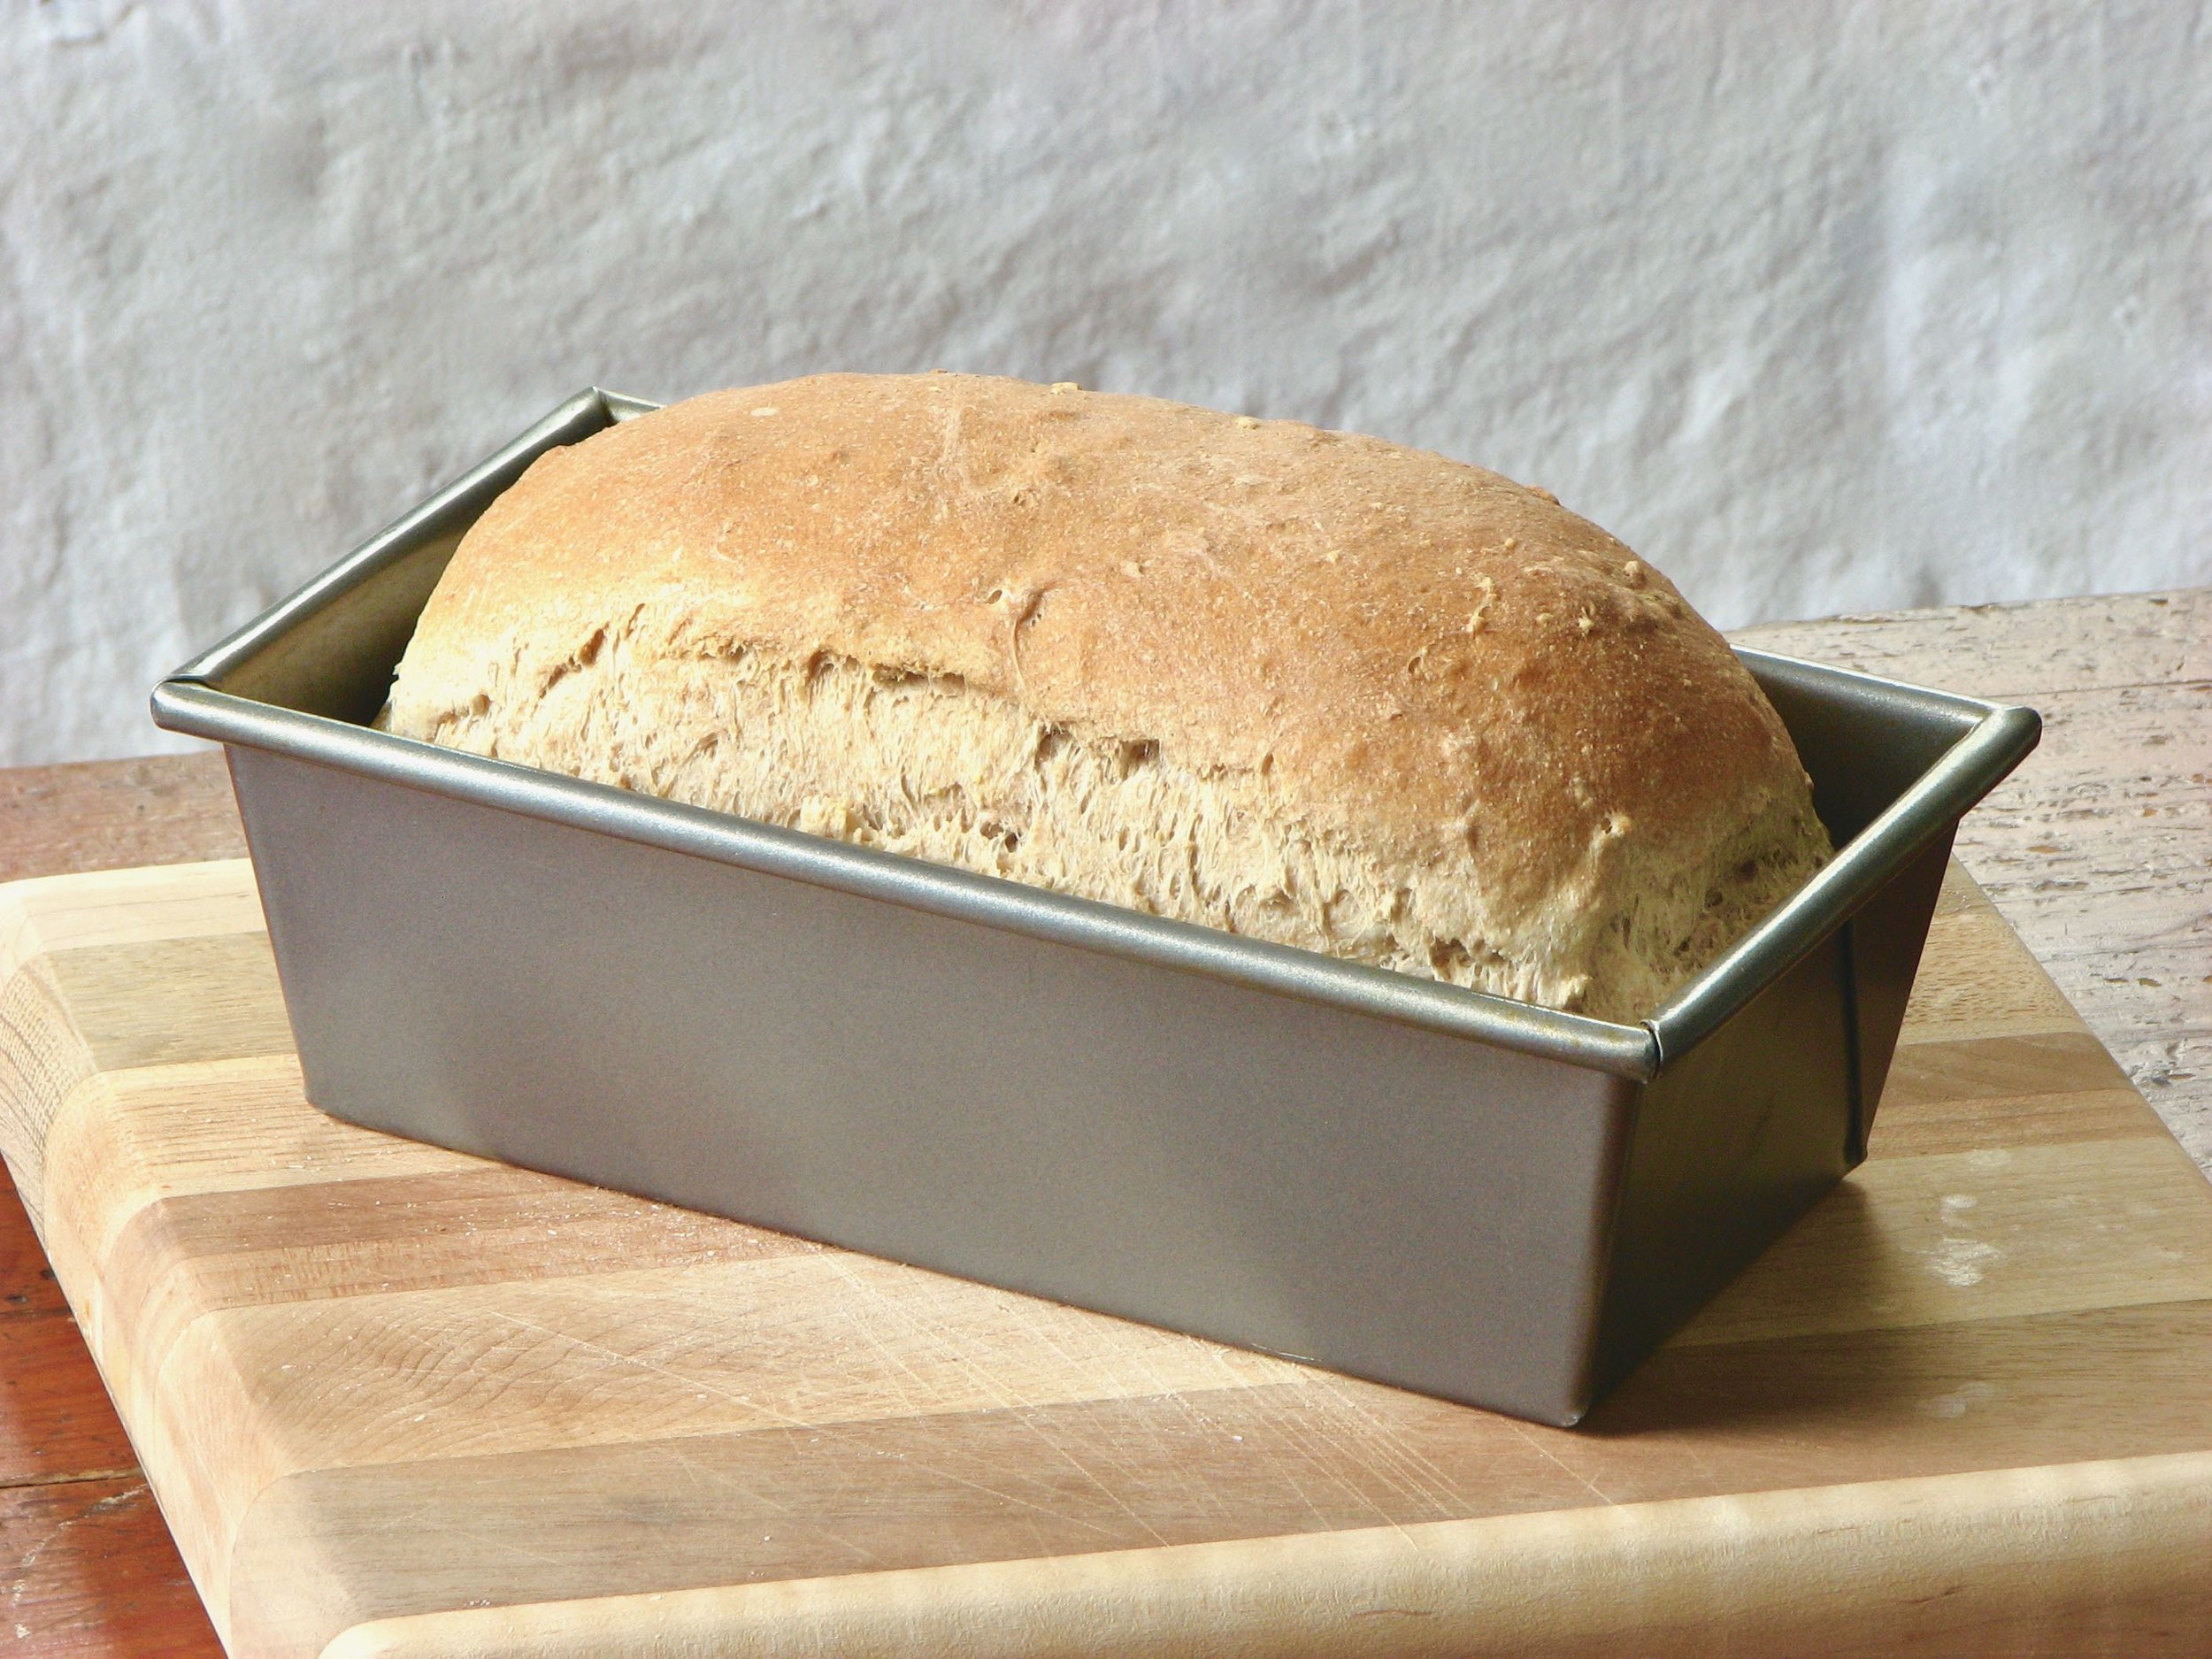
Shape: Remove the dough onto a lightly floured work surface. Gently dimple the surface with your fingertips to release any large air bubbles. Roll the dough into a log, tucking the ends underneath. Let rest for 5 to 10 minutes. Meanwhile, lightly coat a 9x5 inch loaf pan with oil. With floured hands, cup the dough and pull toward you to tighten its shape. Place into your loaf pan, seam side down.
Second Rise: Cover the dough and let rest until it has risen about 1 inch above the rim of the pan, about 1 1/2 to 2 hours, depending on temperature.
Preheat your oven to 375 degrees.
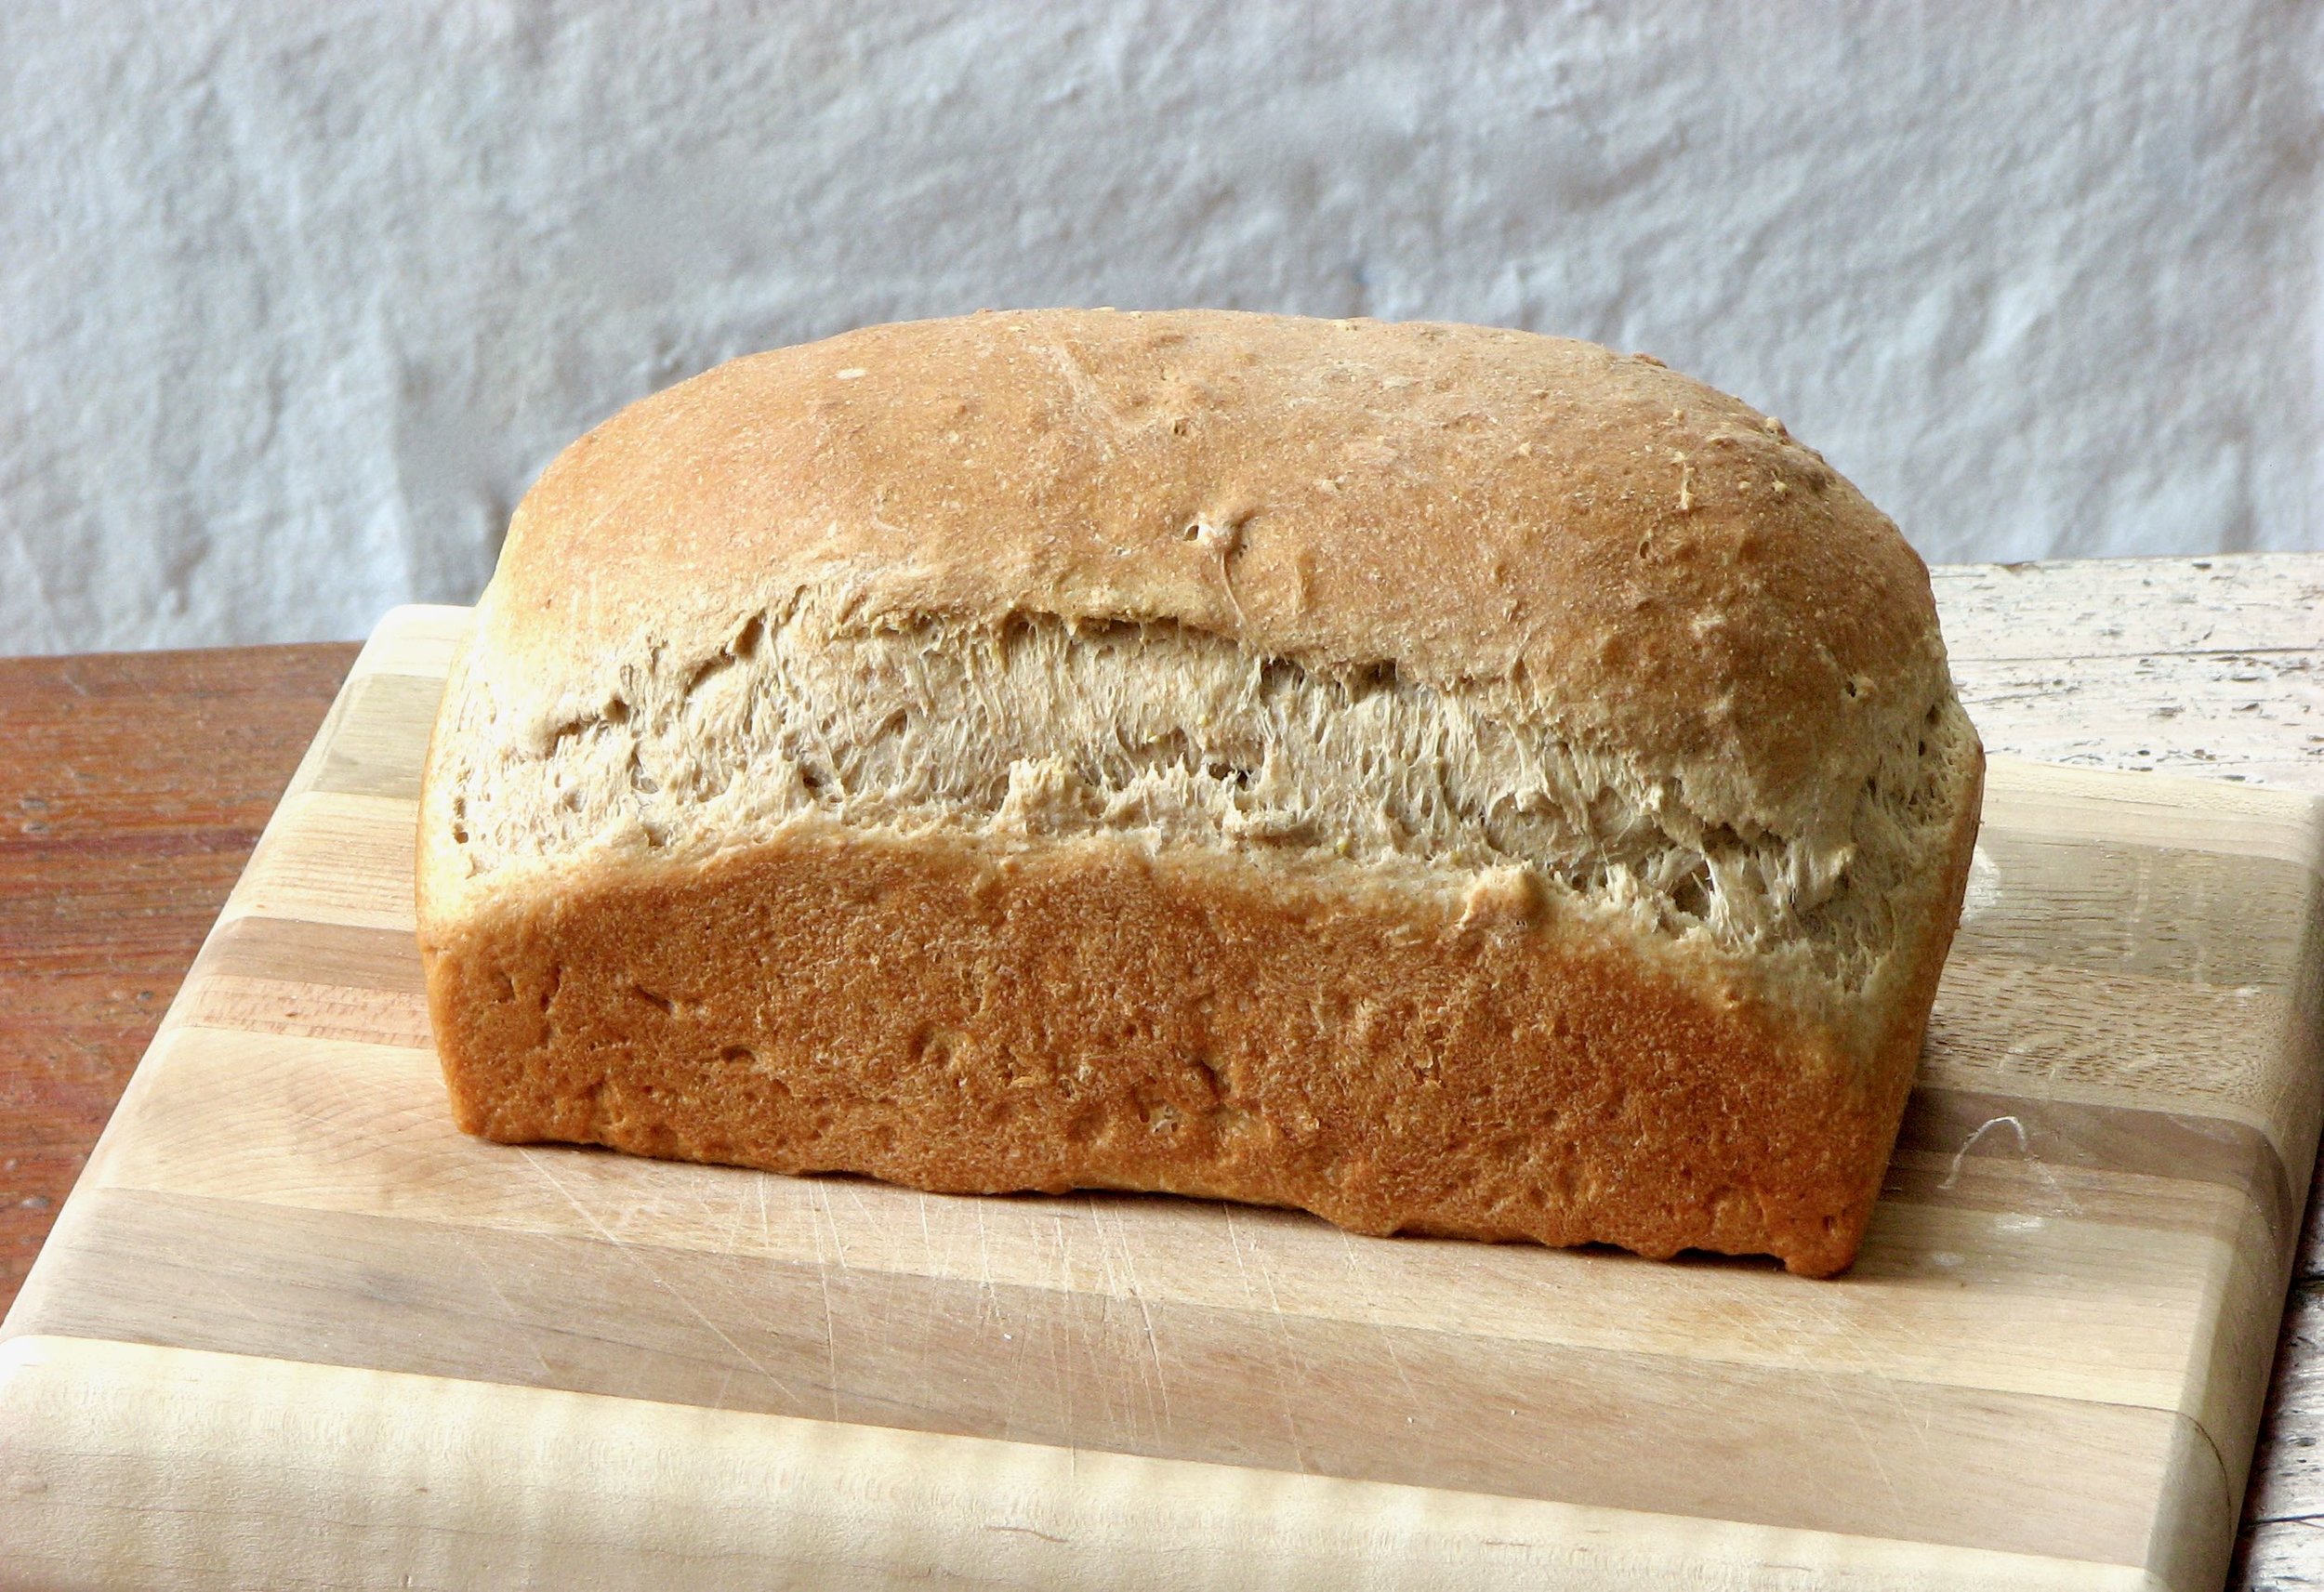
Bake: Bake the dough on the center rack for 40 to 45 minutes. When finished, remove the loaf from the oven and brush the crust with the melted butter. Cool in the pan for 10 minutes, then transfer the loaf to a wire rack to cool completely before slicing.