The Grand Hotel
Last week I was able to go on a mini vacation with Lara up north to Mackinac Island. It has been a while since I've been up there so it was nice to be back. We both had a glorious time, the weather was perfect and the experience was just wonderful. Our lodging for the night we were there was at the Grand Hotel. The Grand Hotel is a beautiful, historic hotel that was built in the 1880s and claims to have the world's longest porch.
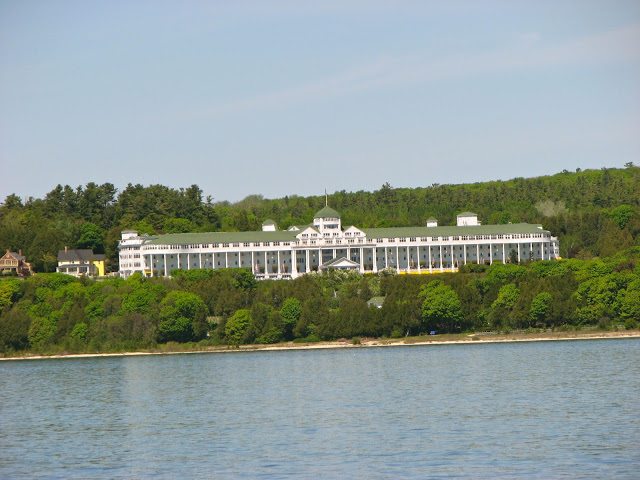
The Grand Hotel, from the ferry
The overnight package that Lara and I got including a night at the hotel, as well as dinner the night we arrived, and breakfast and lunch the next day. The Grand Hotel has a dress code at night; after 6:30 all men must be dressed in a coat and necktie, and all women must wear a dress, skirt and top, or suit. Some people might find this weird and stuffy, but I enjoyed it! It was fun to see everyone dressed up for dinner, no blue jeans in sight.

Dressed up for dinner
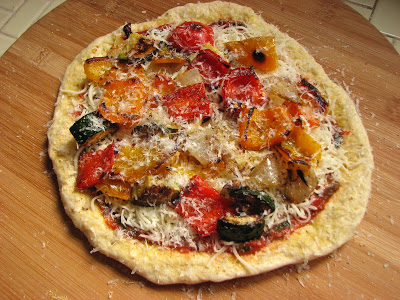
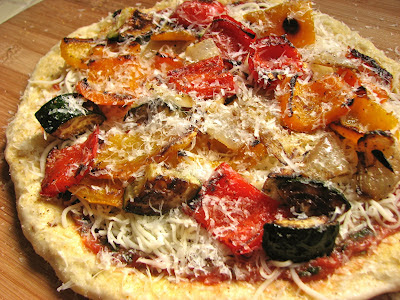
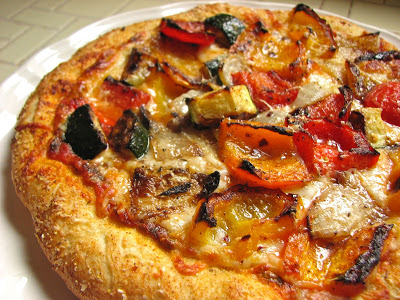
One of the best parts of our whole experience at the hotel was the food (of course). They did a superb job with each meal we enjoyed. I couldn't help but take lots of pictures of everything I ate so I could post them here. Our first meal was dinner the night we arrived:
Dinner:
Appetizers:

Goose Liver Pate en Croute, Sauterne Aspic and Fennel Slaw
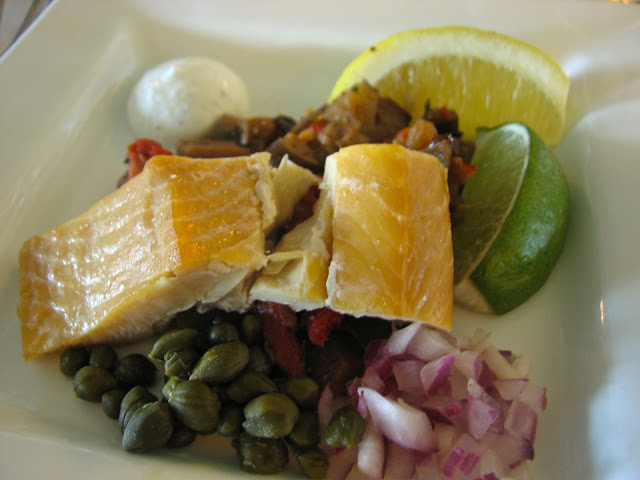
Smoked Mackinac Trout, Eggplant-Heirloom Tomato Tartare
Soups:

Chilled Strawberry and Banana Soup, Vanilla Syrup
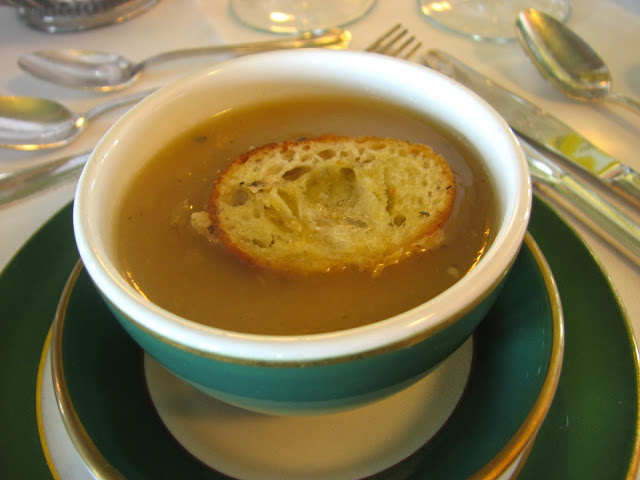
Grilled Sweet Onion and Truffle Soup, Gruyere Crostini
Salad:
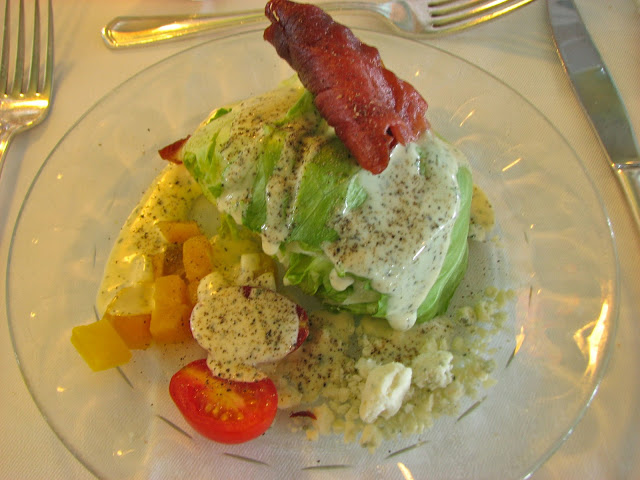
Mackinac Wedge:
Iceberg lettuce, roasted beets, Crispy Serrano Ham and Blue Cheese Herb-Ranch Dressing
Entrees

Cornish Game Hen Breast and Leg Confit, Mushroom Ragout, Nueska Bacon Jus

Lava Lake Ranch Lamb Tenderloin Vegetable Bolognese, Red Wine Shallot Sauce
Desserts:
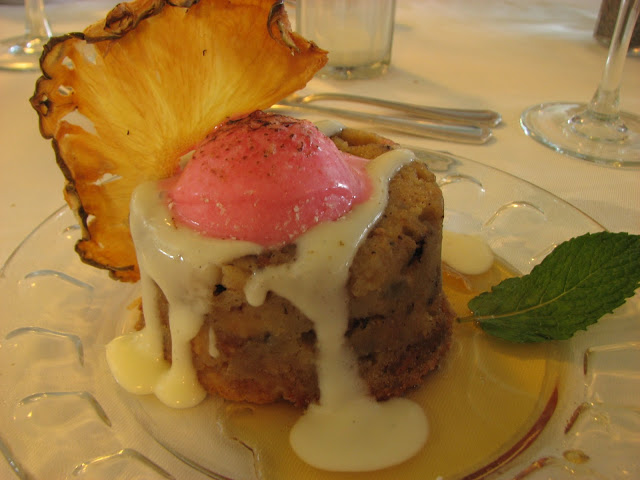
Warm White Chocolate Bread Pudding Crystallized Ginger Sauce
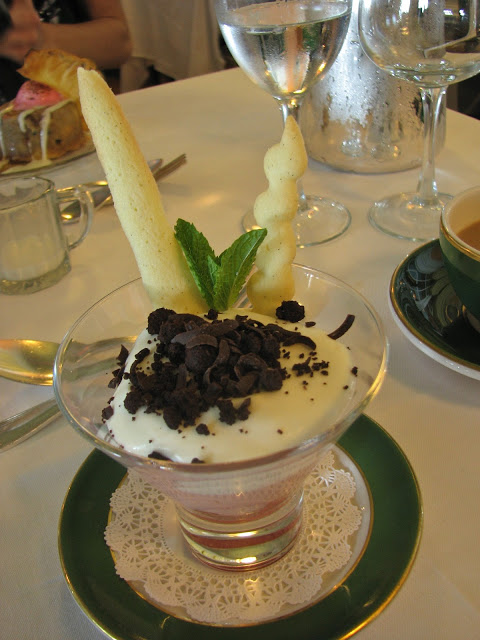
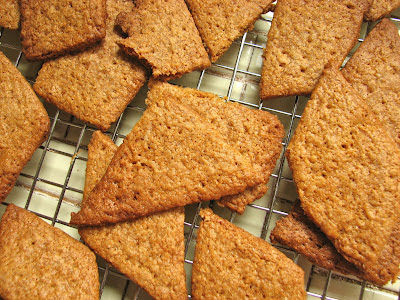
Strawberry Shortbread Parfait Vanilla Sabayon
Breakfast:
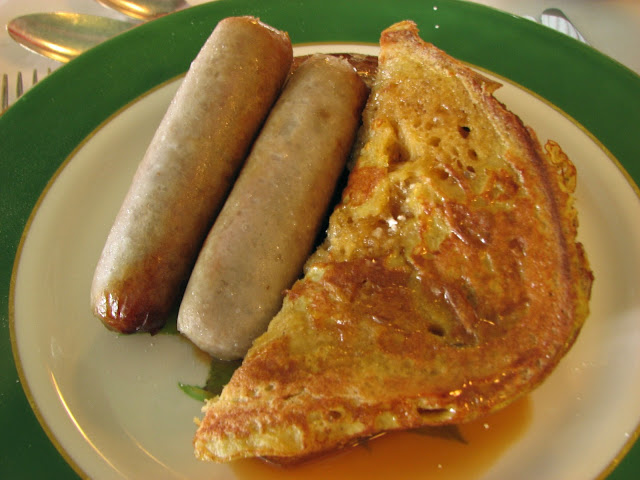
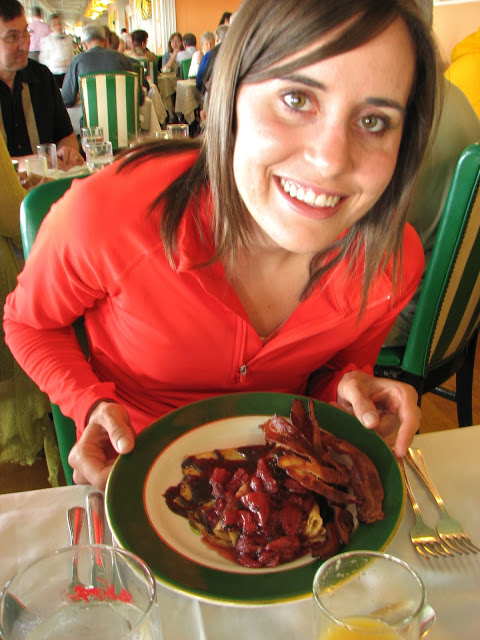
My Caramel Peach Cream Cheese Brioche French Toast with Sausage Links
Lara and her Nutella Crepes with Strawberries and Cured Bacon

We got a yummy bread basket too, and I got mango juice which was delicious
Lunch:
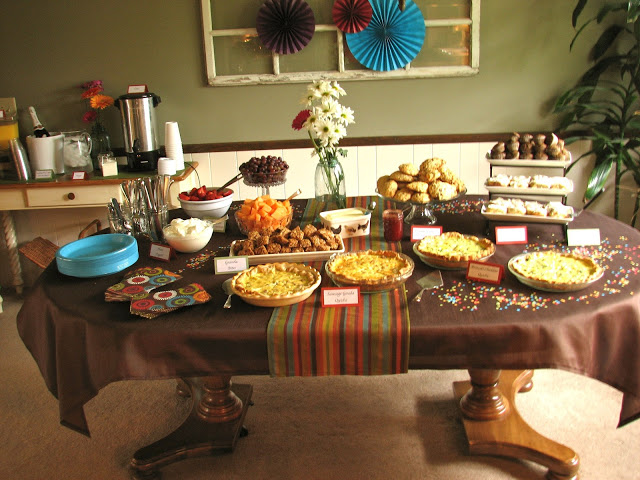
Lunch was an awesome buffet that would have been a lot nicer had we not been seated at the same time as a very large school group. There were kids everywhere, making the lines super long, and the food run out before I could get to it. It was still very delicious, but a little stressful too.
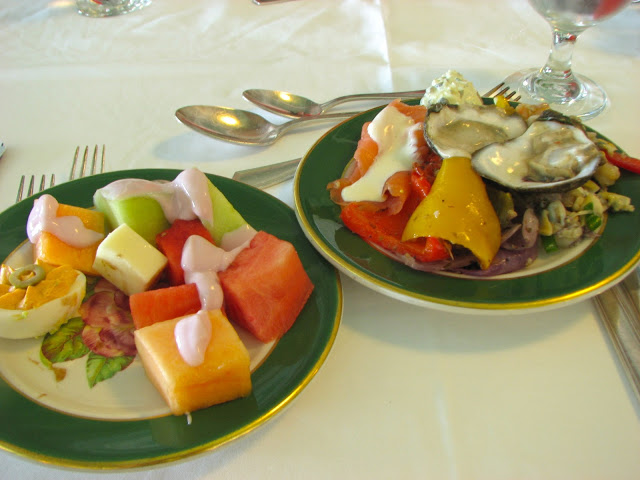
A few pictures of the food: Fruit, deviled eggs, oysters, marinated veggies, chilled seafood salad, smoked salmon...

Lara's first ever oyster!

Second plate: mixed veggies, roasted potatoes, cheese platter rice, and a creamy hot seafood salad

This was probably the favorite at lunch, scallops and shrimp in a cream sauce, absolutely delicious!
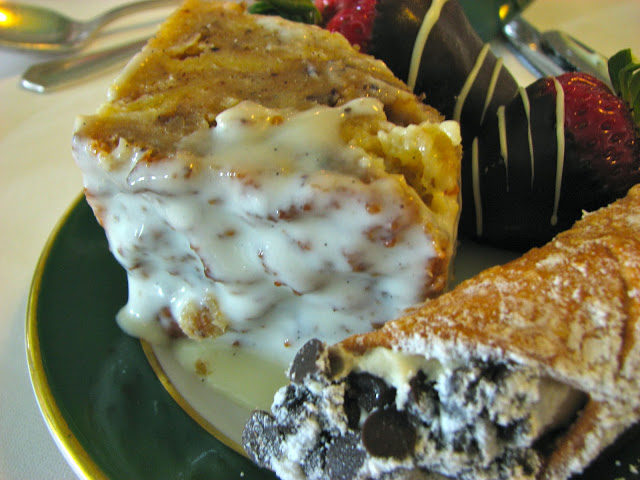
Can't forget dessert! Bread pudding, cannoli, chocolate dipped strawberries...
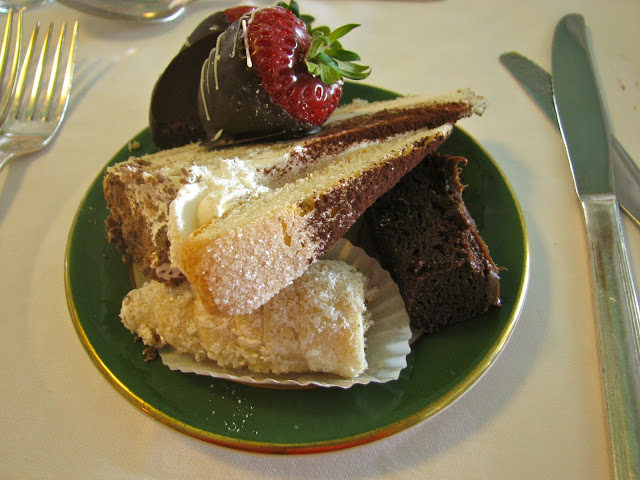
...tirimisu, cream puff, chocolate cake, to name a few!
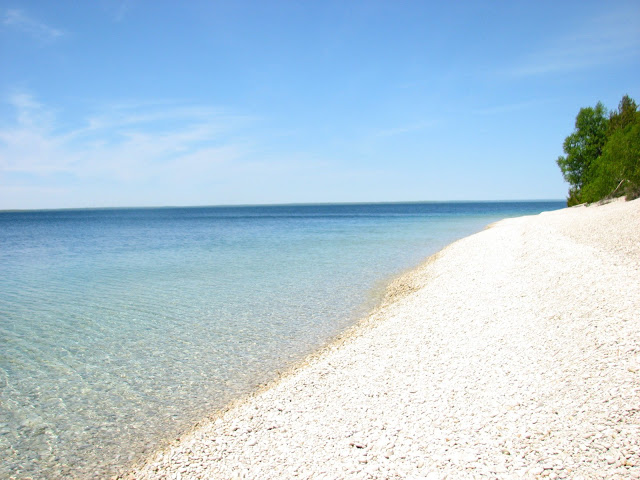
The whole experience was just wonderful. If you ever have the chance to go to the Grand Hotel, or just to Mackinac Island, be sure to do it. Cars are not allowed on the island, so make sure you take your bikes along if you can, so you can bike around the island.
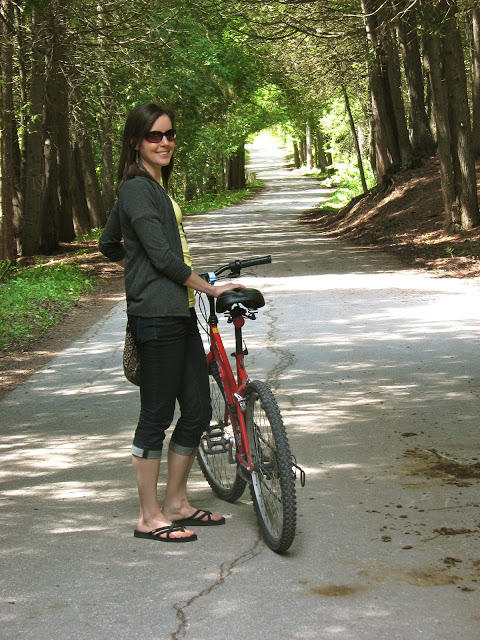
Trying to work off a little of all of the food!

Ladies Slipper
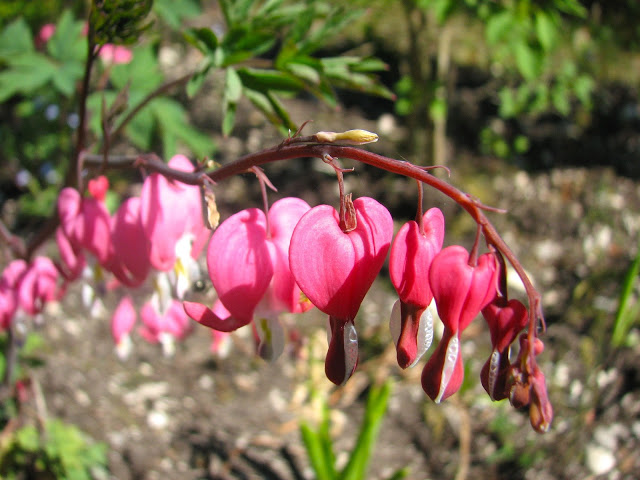
Bleeding Hearts
Beautiful!