Struffoli
At Christmas last year my mom saw an episode of Giada at Home in which Giada made struffoli for dessert. My mom thought it looked so fun and interesting and she really wanted to make it for Christmas, but we never got around to it, other things got in the way and when Christmas was over, we hadn't made the struffoli. This Christmas, I was randomly watching the food network and what should I see, the Giada Christmas episode in which she makes struffoli! I thought it looked fun and make and delicious and knew that this year we had to try it out.
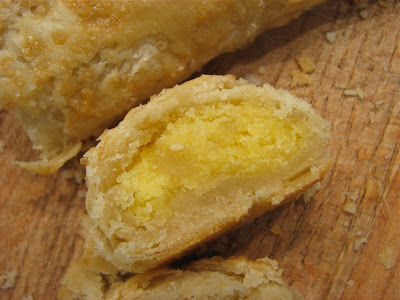
According to Wikipedia, "struffoli is a Neapolitan dish made of deep fried balls of dough about the size of marbles. Struffoli are crunchy on the outside and light inside. They are mixed with honey and other sweet things." This is a winning combo in my book. Fried dough covered in sweetness, sign me up!
Making the struffoli turned out to be a lot of fun and really not that much work. Forming all the little balls of dough took a little time, but it really wasn't that bad. The dough came together quickly and the little doughnuts fried up in just a few minutes. I heated my oil while I was forming all the balls of dough, and it was just about ready when I finished with the dough. The glaze was quick and easy, and forming the wreath wasn't bad at all, but it was sure nice to have two people working on it. This is definitely a recipe to do with others. It's fun to do while talking and laughing with friends or family.
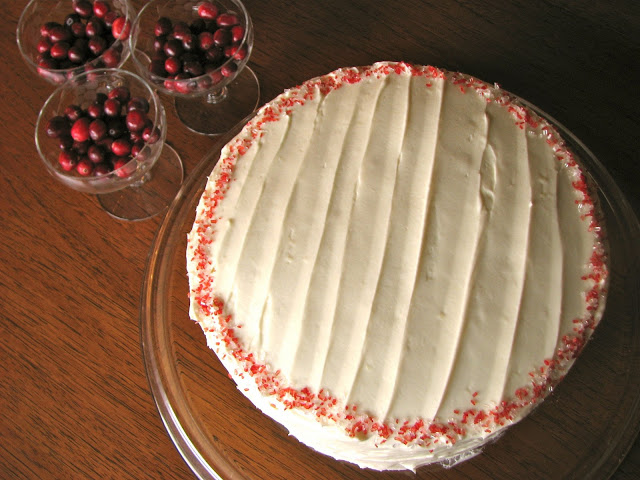
The finished project turned out really well, but I don't think it was perfect. I omitted the hazelnuts in the recipe because I didn't have any, but I would like try it with the hazelnuts sometime. A lot of my glaze kind of pooled under the wreath once it had cooled which didn't seem quite right, but it still tasted very nice. The mini doughnuts seemed a little dry, but I may have fried them too long, I don't have a ton of experience frying. Regardless of this, I would definitely try this again. I thought it was a fun Christmas treat that is easy to pick at throughout the night. You can take just one or two little balls and pop them in your mouth. A fun finger food dessert.
Although struffoli is traditionally served at Christmas and Easter, I think this would be fun any time of year. You could mold it into different shapes depending on the season or holiday, and you could decorate it with different colored sprinkles. Right now I'm thinking a football shaped struffoli with colors in your team's colors for the Superbowl would be a lot of fun, or how about a heart for Valentines Day? The possibilities are endless!
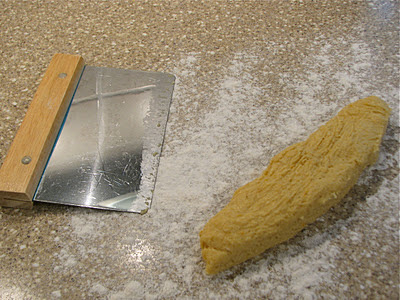
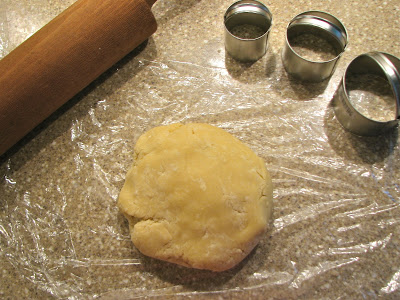
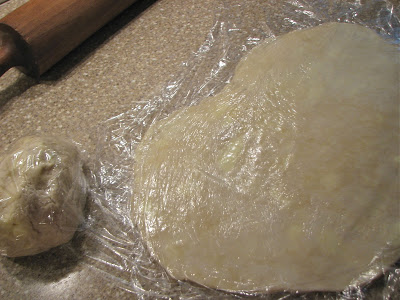
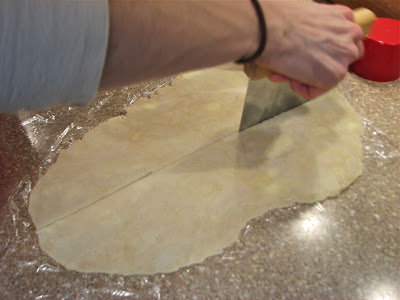
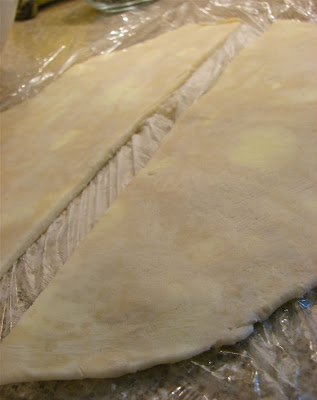
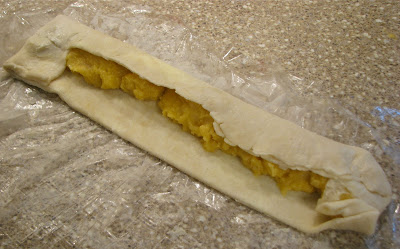
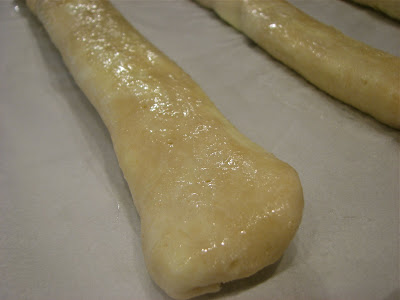
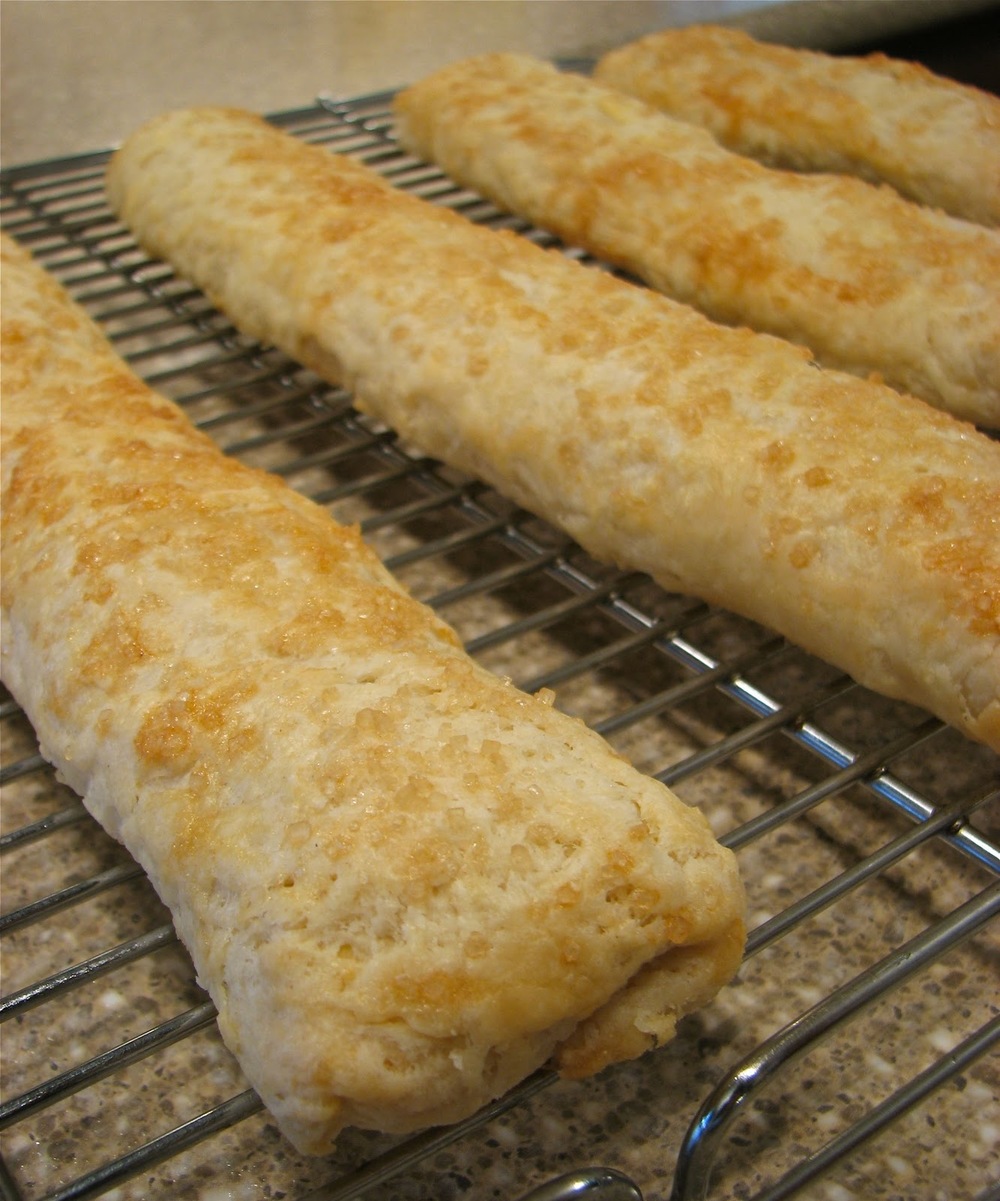
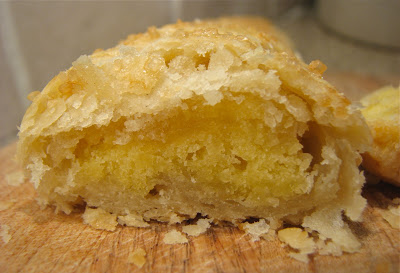
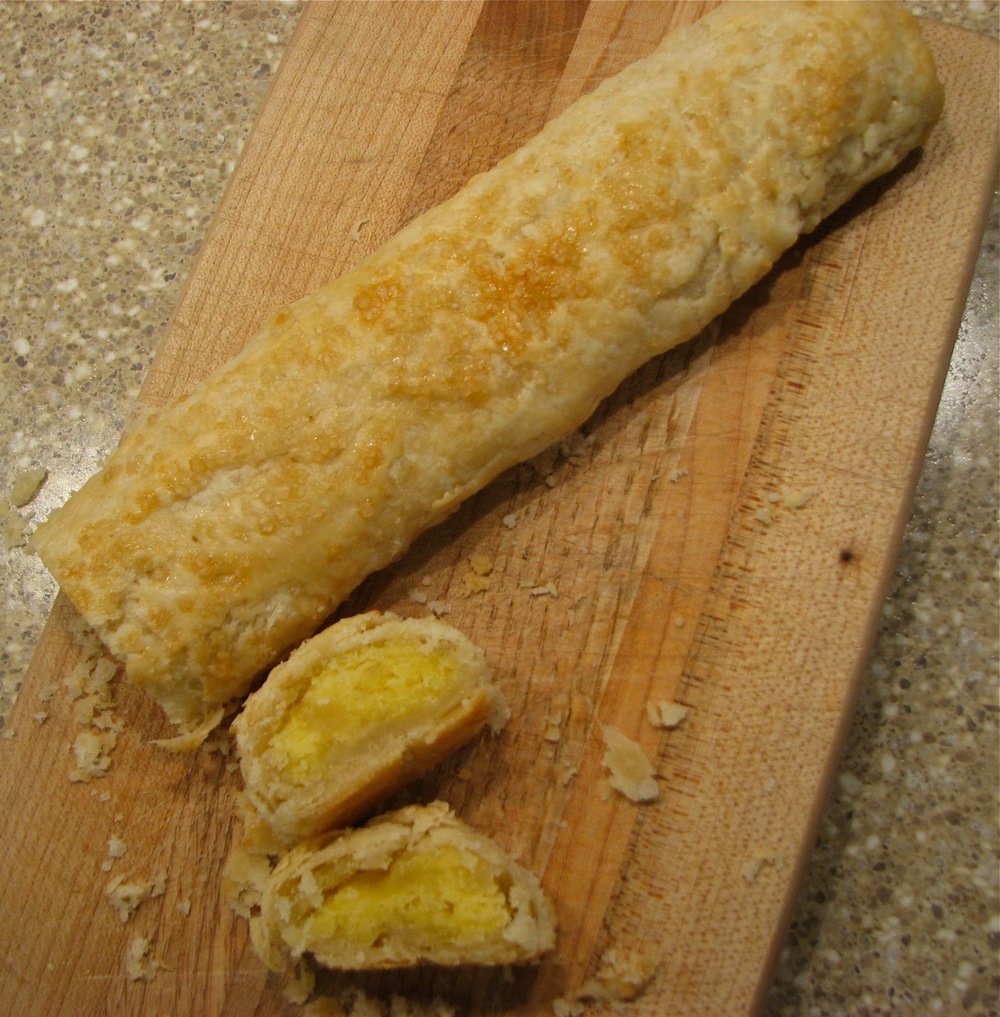
The dough, ready to cut up
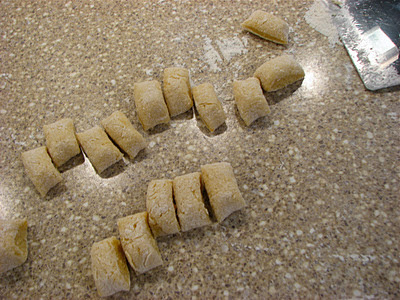
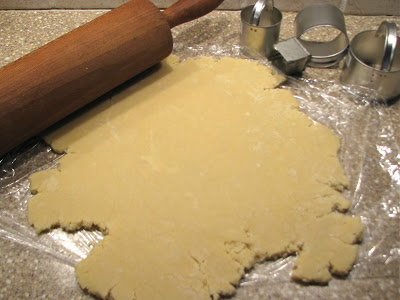
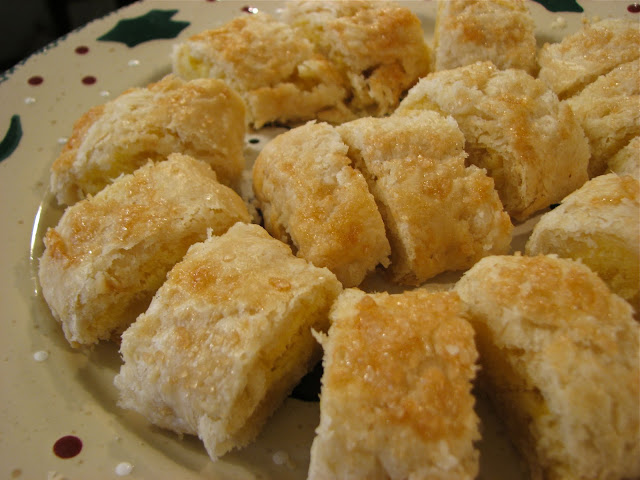
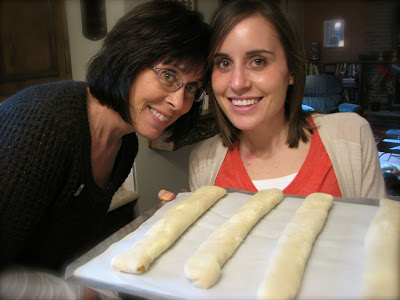
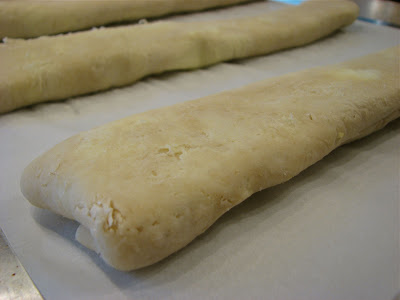
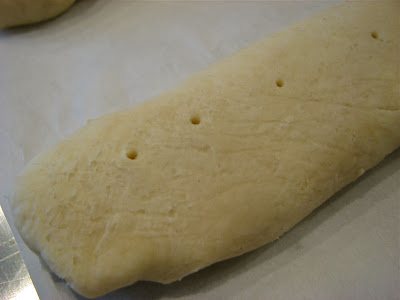
Form the dough into ropes and them cut the
ropes into tiny little chunks, they
can be smaller than you think
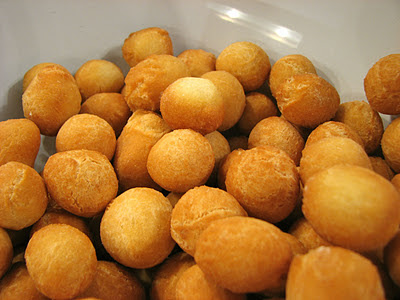
Getting there!
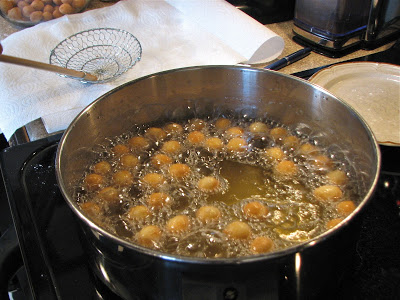
Frying them all up
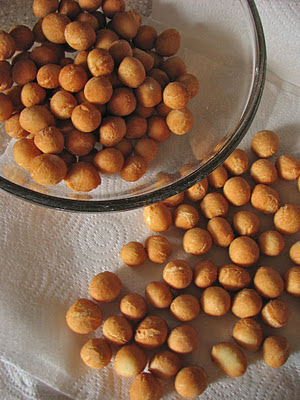
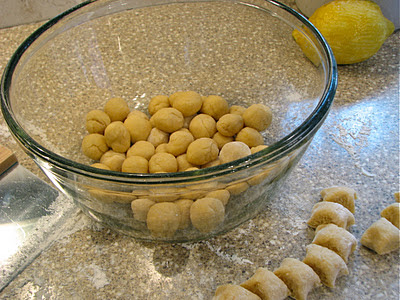
Place on paper towels to drain, then throw
them in a bowl
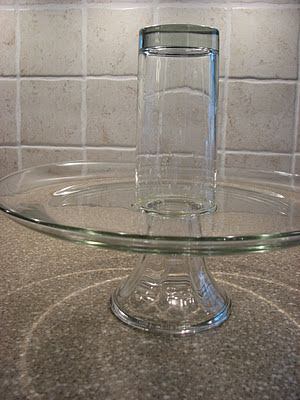
Grease a cup and get your serving plate ready
Ready to assemble
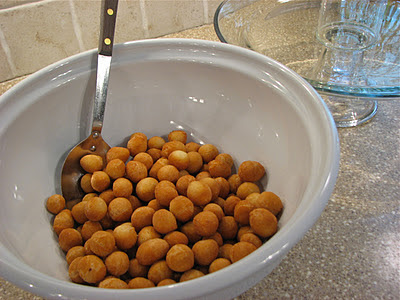
Take the little doughnuts
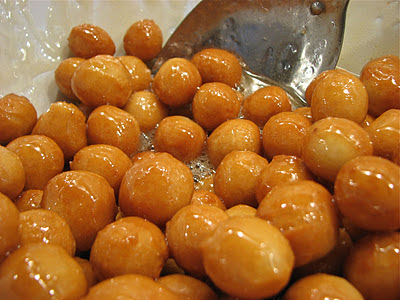
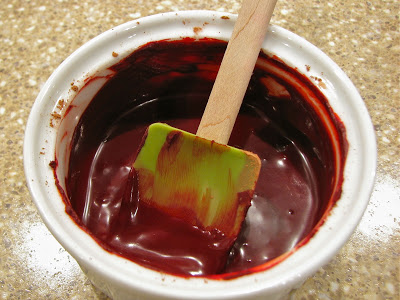
And cover them with the glaze

Then start shaping it around the glass
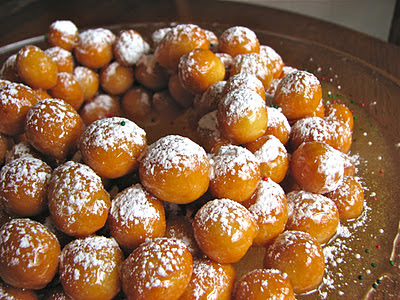
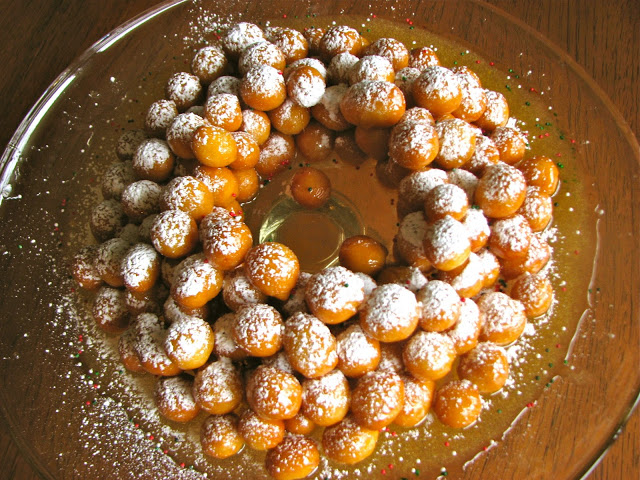
Once cooled, remove the glass, dust with powdered sugar and cover it with sprinkles, Enjoy!
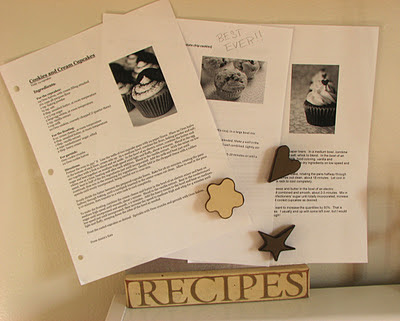
Struffoli
From The Food Network
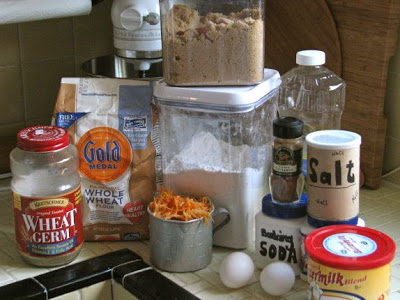
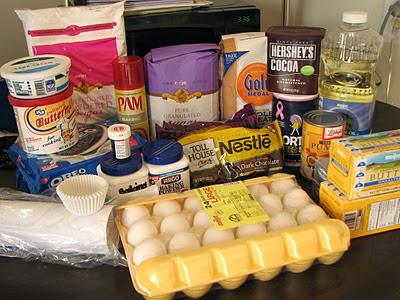
Ingredients
- 2 cups flour, plus extra for dusting
- 1 large lemon, zested (about 2 teaspoons)
- 1/2 large orange, zested (about 2 teaspoons)
- 3 tablespoons sugar
- 1/2 teaspoon fine sea salt
- 1/4 teaspoon baking powder
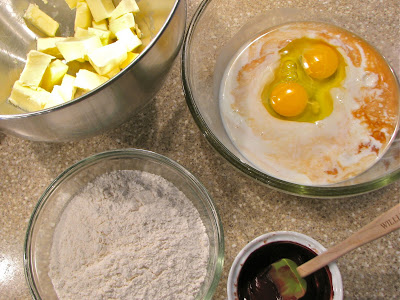
- 1/2 stick (2 ounces) unsalted butter, cut into 1/2-inch pieces, at room temperature
- 3 large eggs
- 1 tablespoon white wine, such as pinot grigio
- 1 teaspoon pure vanilla extract
- Canola oil, for frying
- 1 cup honey
- 1/2 cup sugar
- 1 tablespoon lemon juice
- 1 1/2 cups hazelnuts, toasted (I didn't use)
- Vegetable oil cooking spray
- Sugar sprinkles, for decoration
- Powdered sugar, for dusting
Directions
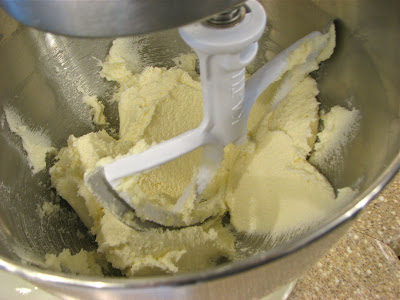
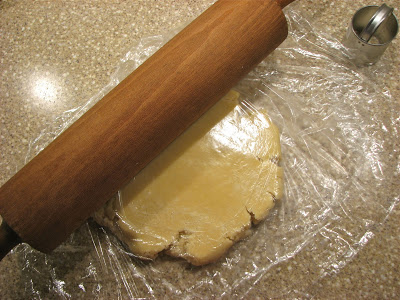
For the dough: In the bowl of a food processor, pulse together 2 cups of flour, lemon zest, orange zest, sugar, salt, and baking powder. Add the butter and pulse until the mixture resembles a coarse meal. Add the eggs, wine, and vanilla. Pulse until the mixture forms into a ball. Wrap the dough in plastic wrap and refrigerate for 30 minutes.
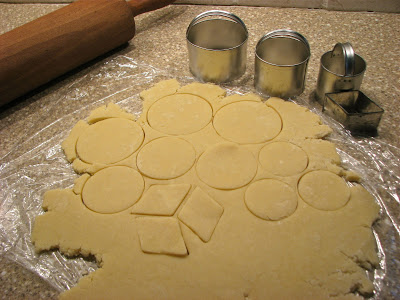
Cut the dough into 4 equal-sized pieces. On a lightly floured surface, roll out each piece into 1/2 inch thick logs and cut into equal sized half inch pieces. Roll each piece of dough into a small ball about the size of a hazelnut. Lightly dredge the dough balls in flour, shaking off any excess In a large heavy bottomed saucepan, pour enough oil to fill the pan about a third of the way. Heat over medium heat until a deep frying thermometer inserted in the oil reaches 375 degrees F. (If you don't have a thermometer, a cube of bread will brown in about 3 minutes). In batches, fry the dough until lightly golden, about 2 to 3 minutes. Transfer to a paper bowl lined plate to drain.
In a large saucepan, combine the honey, sugar, and lemon juice over medium heat. Bring to a boil and cook, stirring occasionally, until the sugar is dissolved, about 3 minutes. Remove the pan from the heat. Add the fried dough and hazelnuts and stir until coated in the honey mixture. Allow the mixture to cool in the pan for 2 minutes.
Spray the outside of a small, straight-sided water glass with vegetable oil cooking spray and place in the center of a round platter. Using a large spoon or damp hands, arrange the struffoli and hazelnuts around the glass to form a wreath shape. Drizzle any remaining honey mixture over the struffoli. Allow to set for 2 hours (can be made 1 day in advance). Decorate with sprinkles and dust with powdered sugar, if using. Remove the glass from the center of the platter and serve.