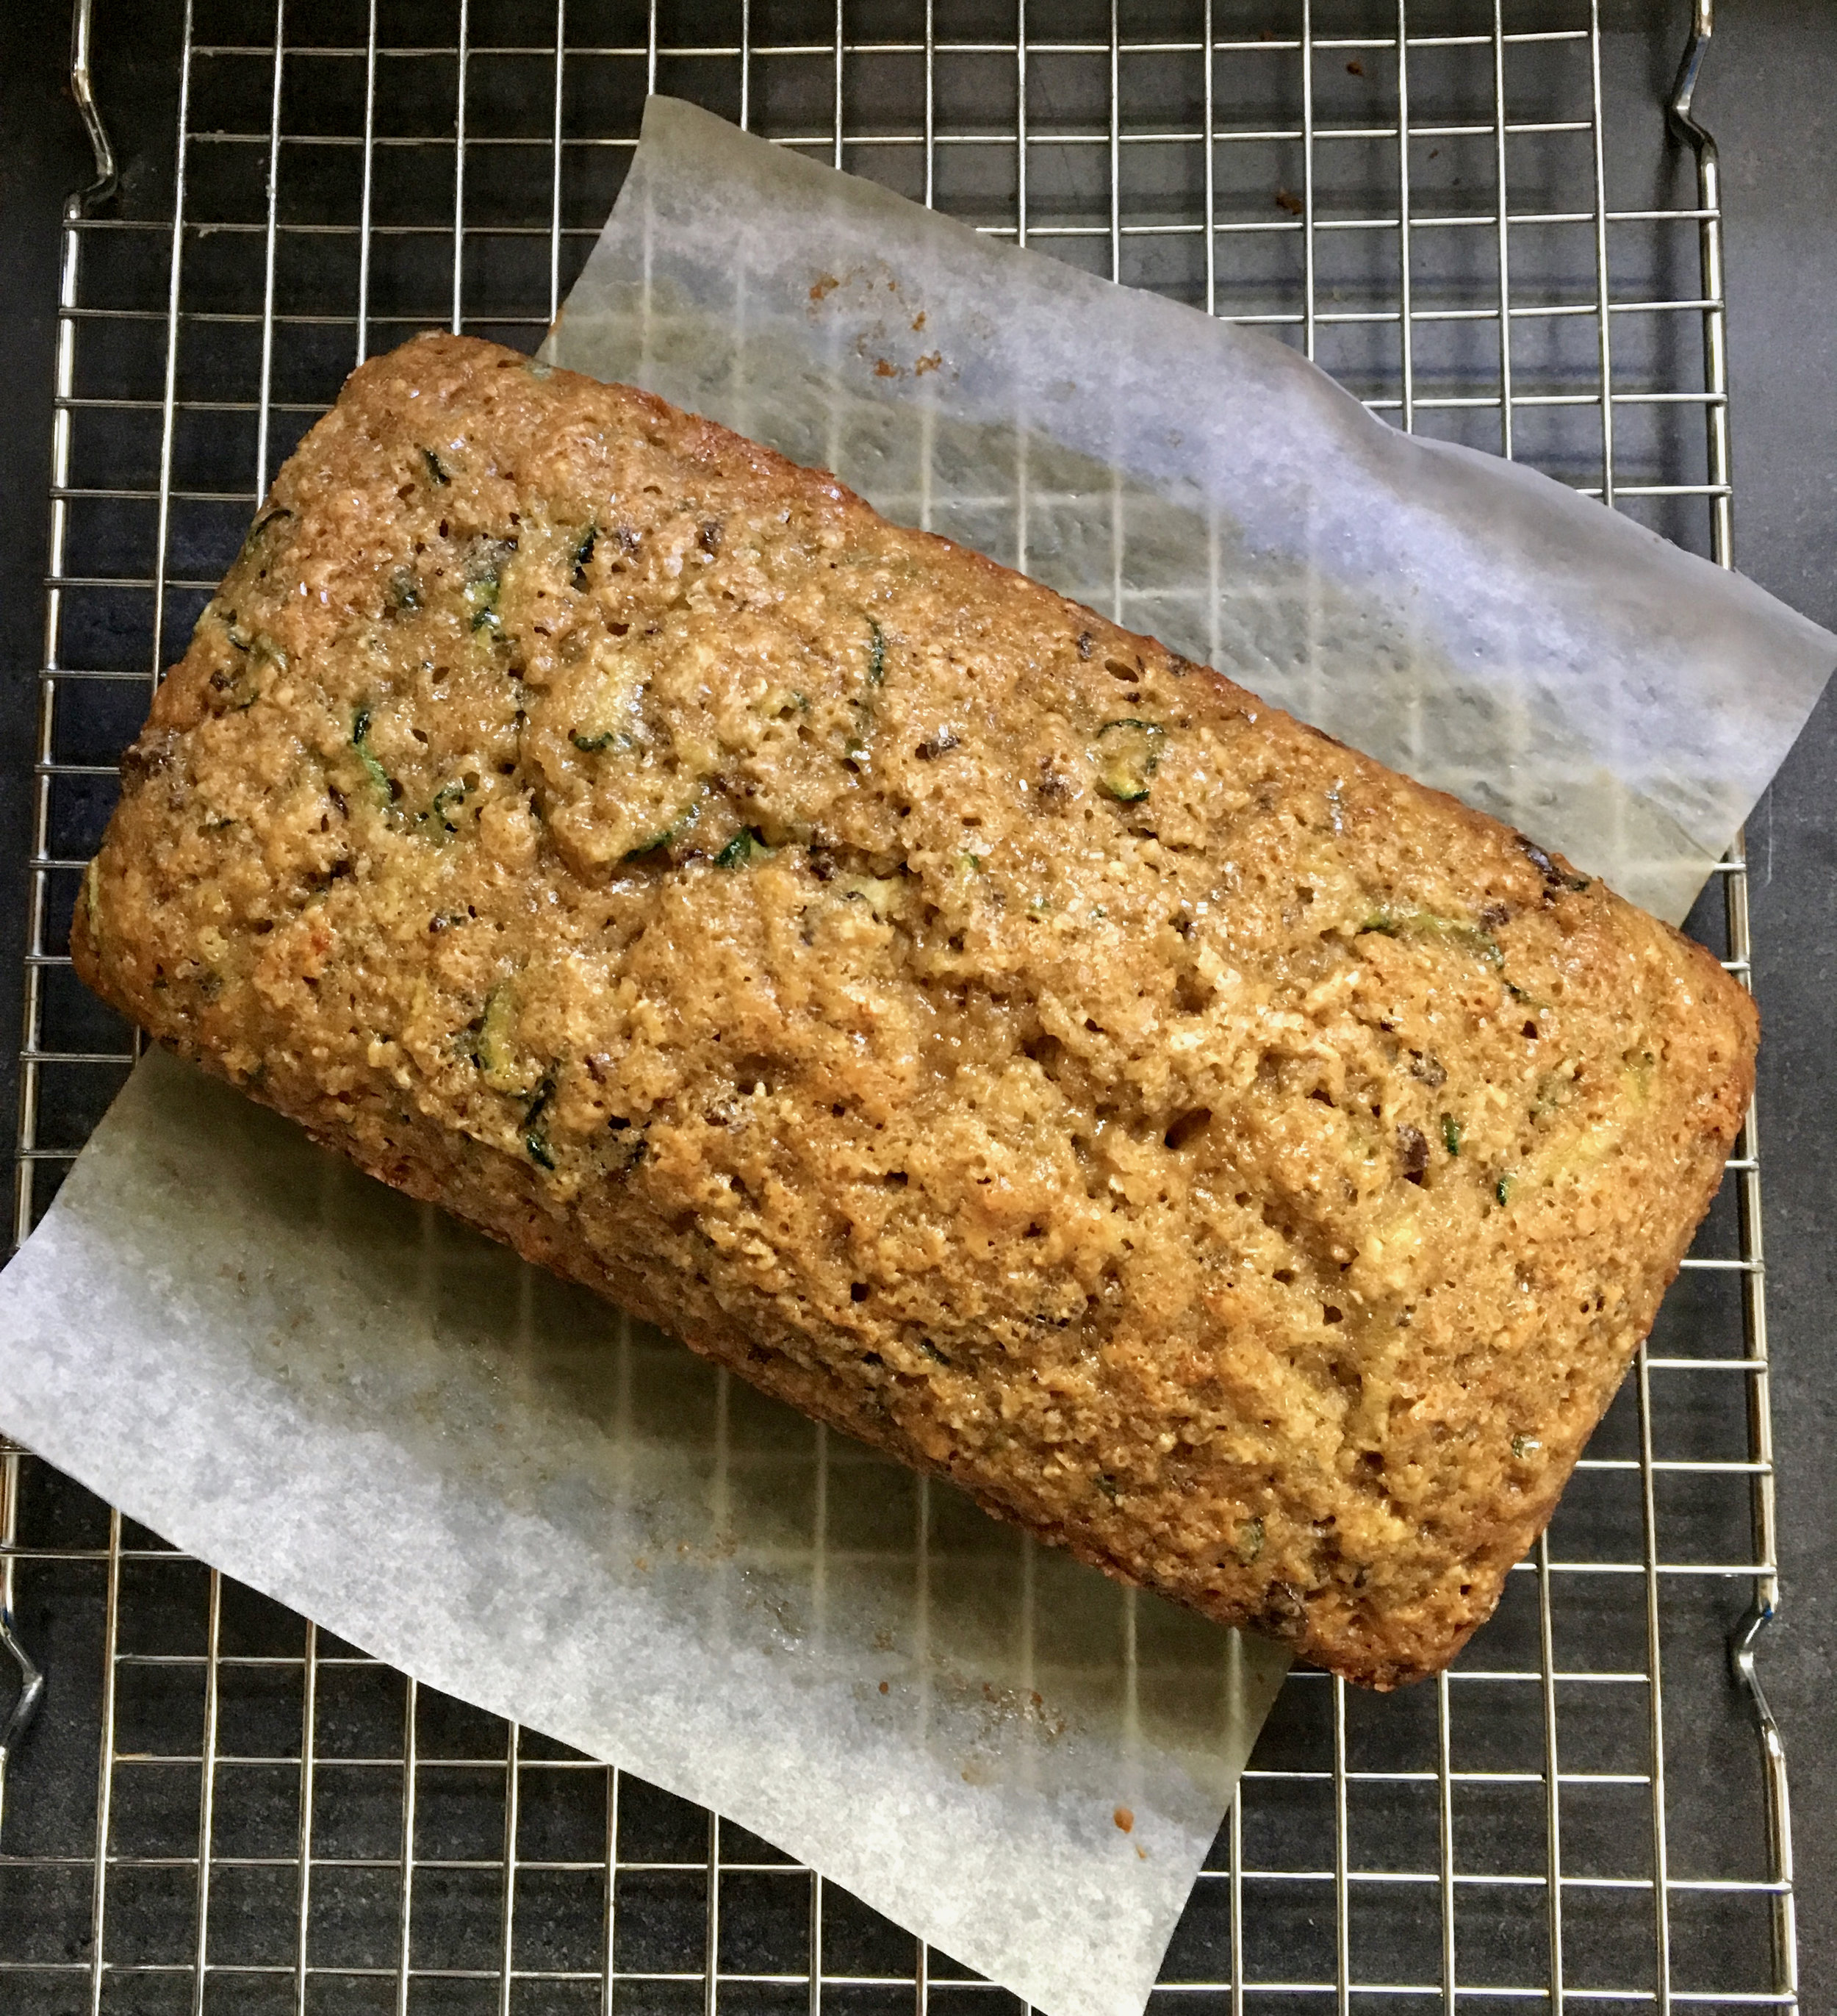
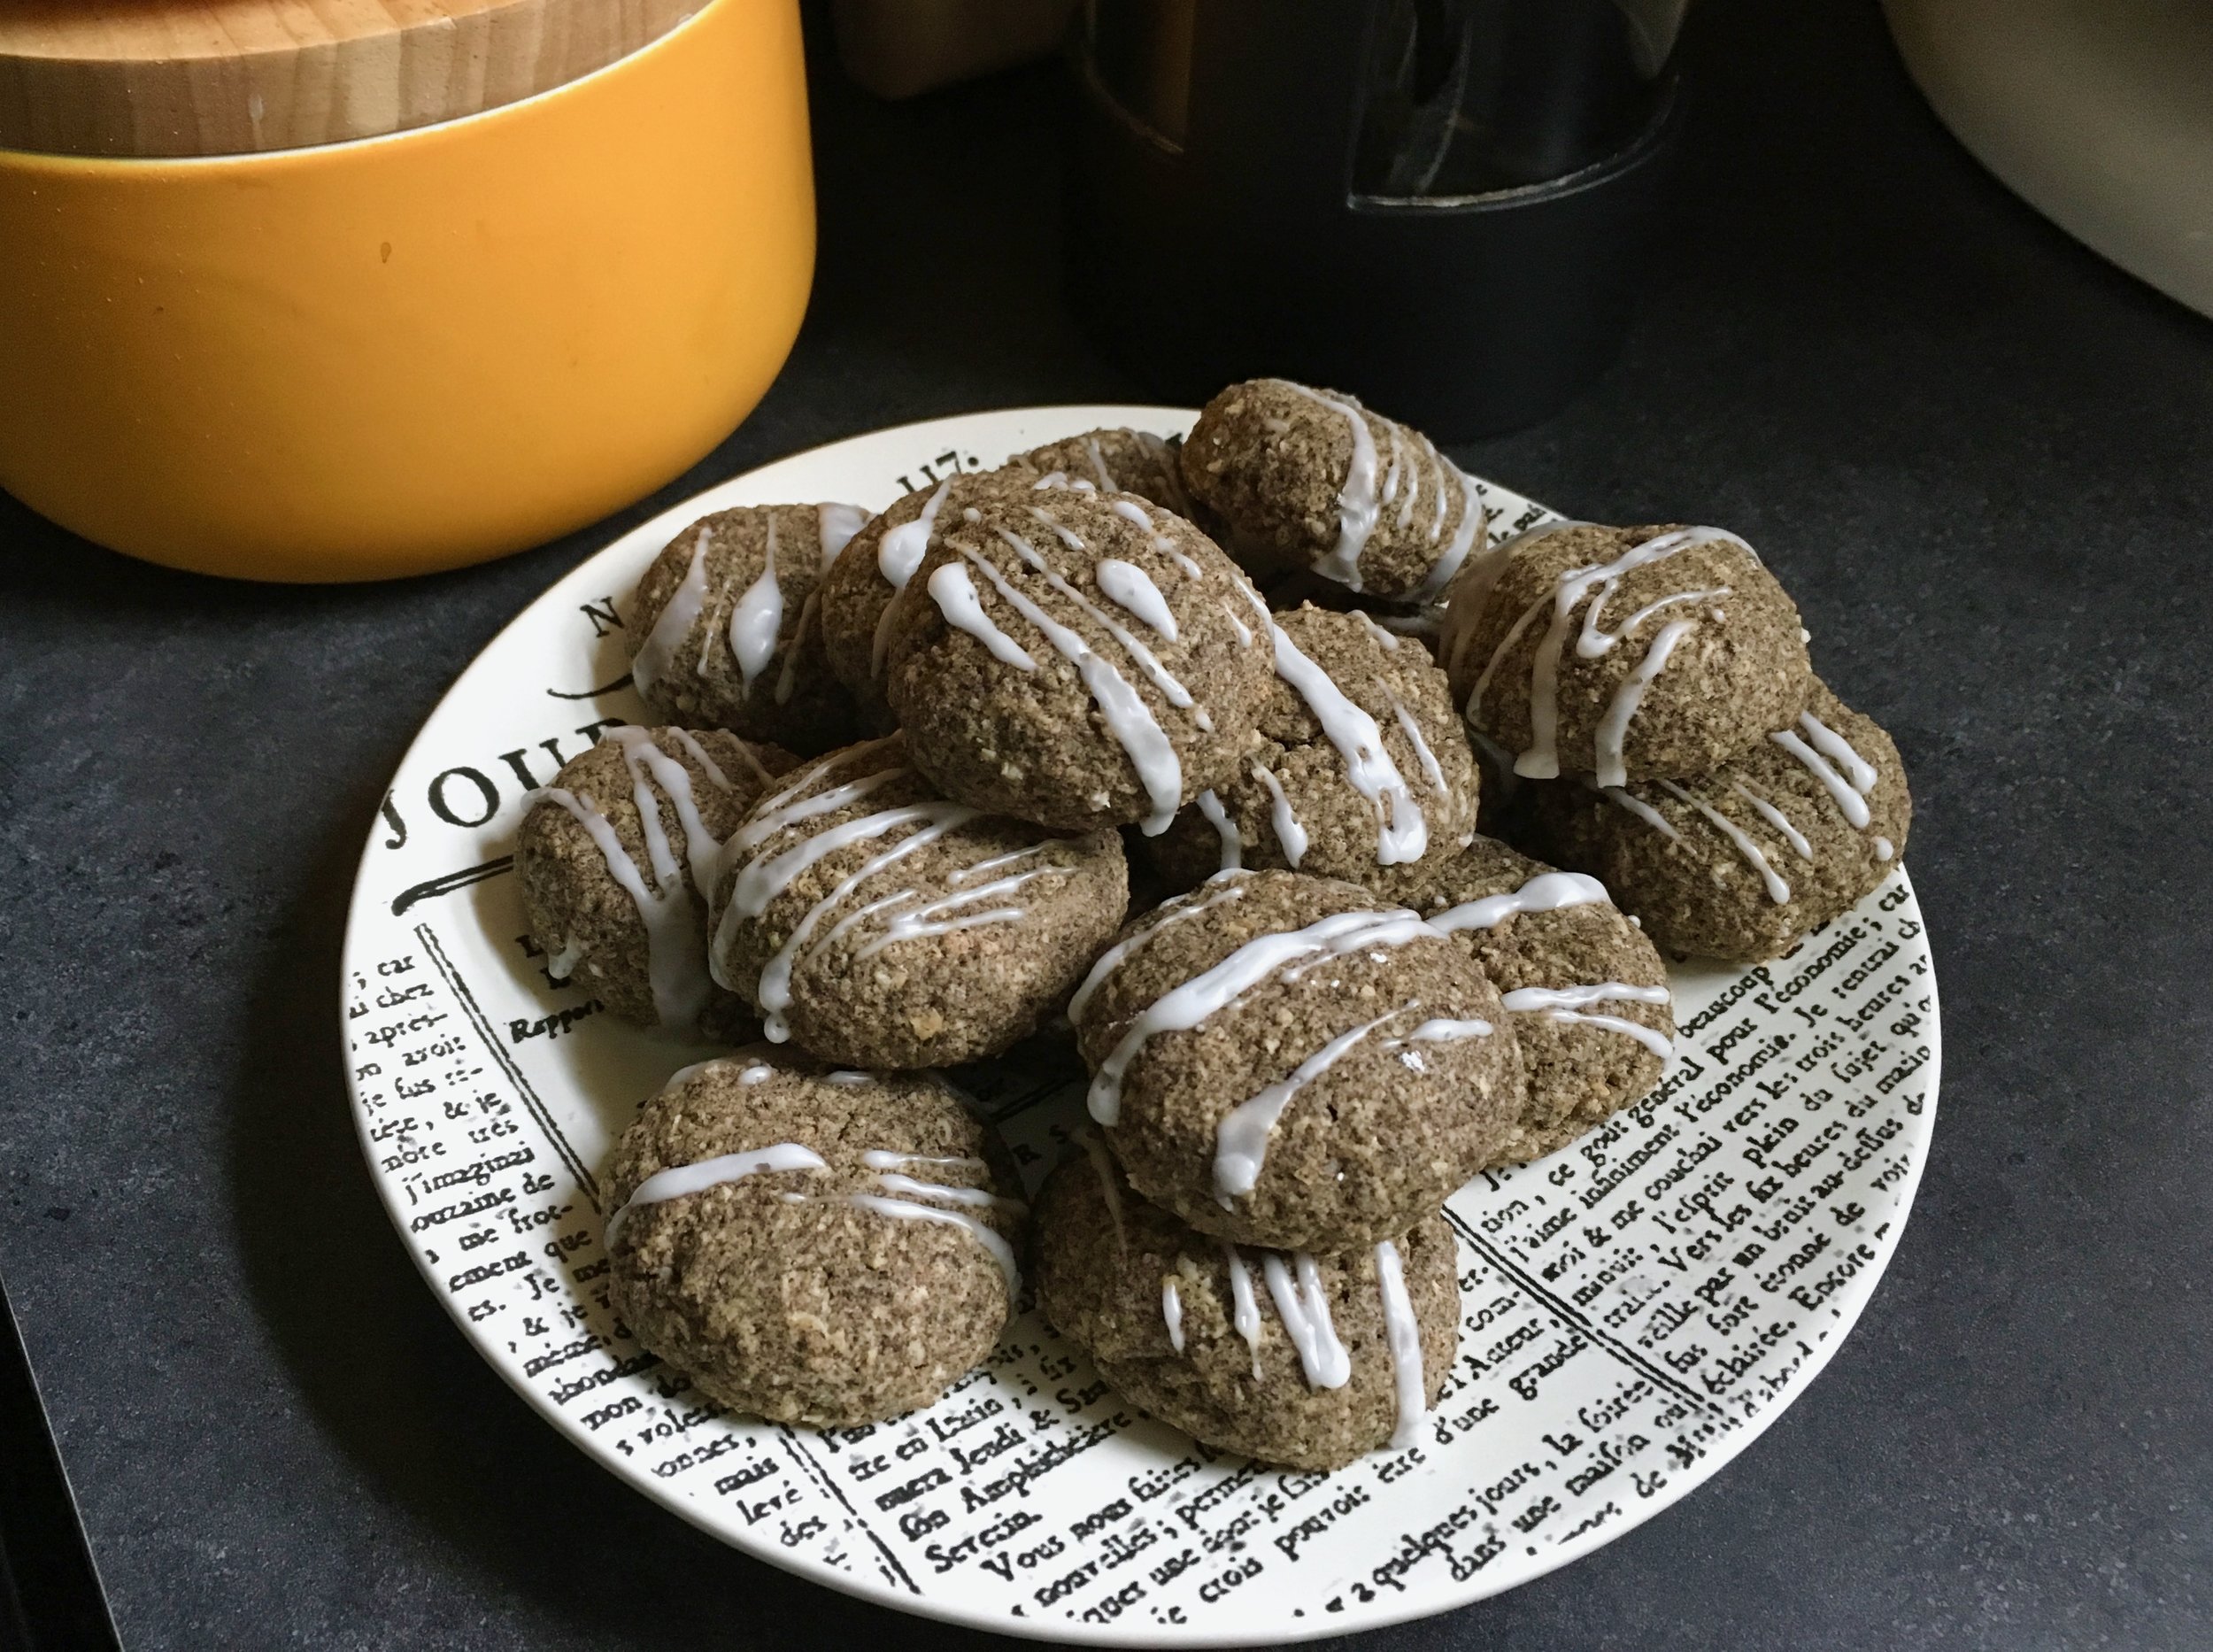
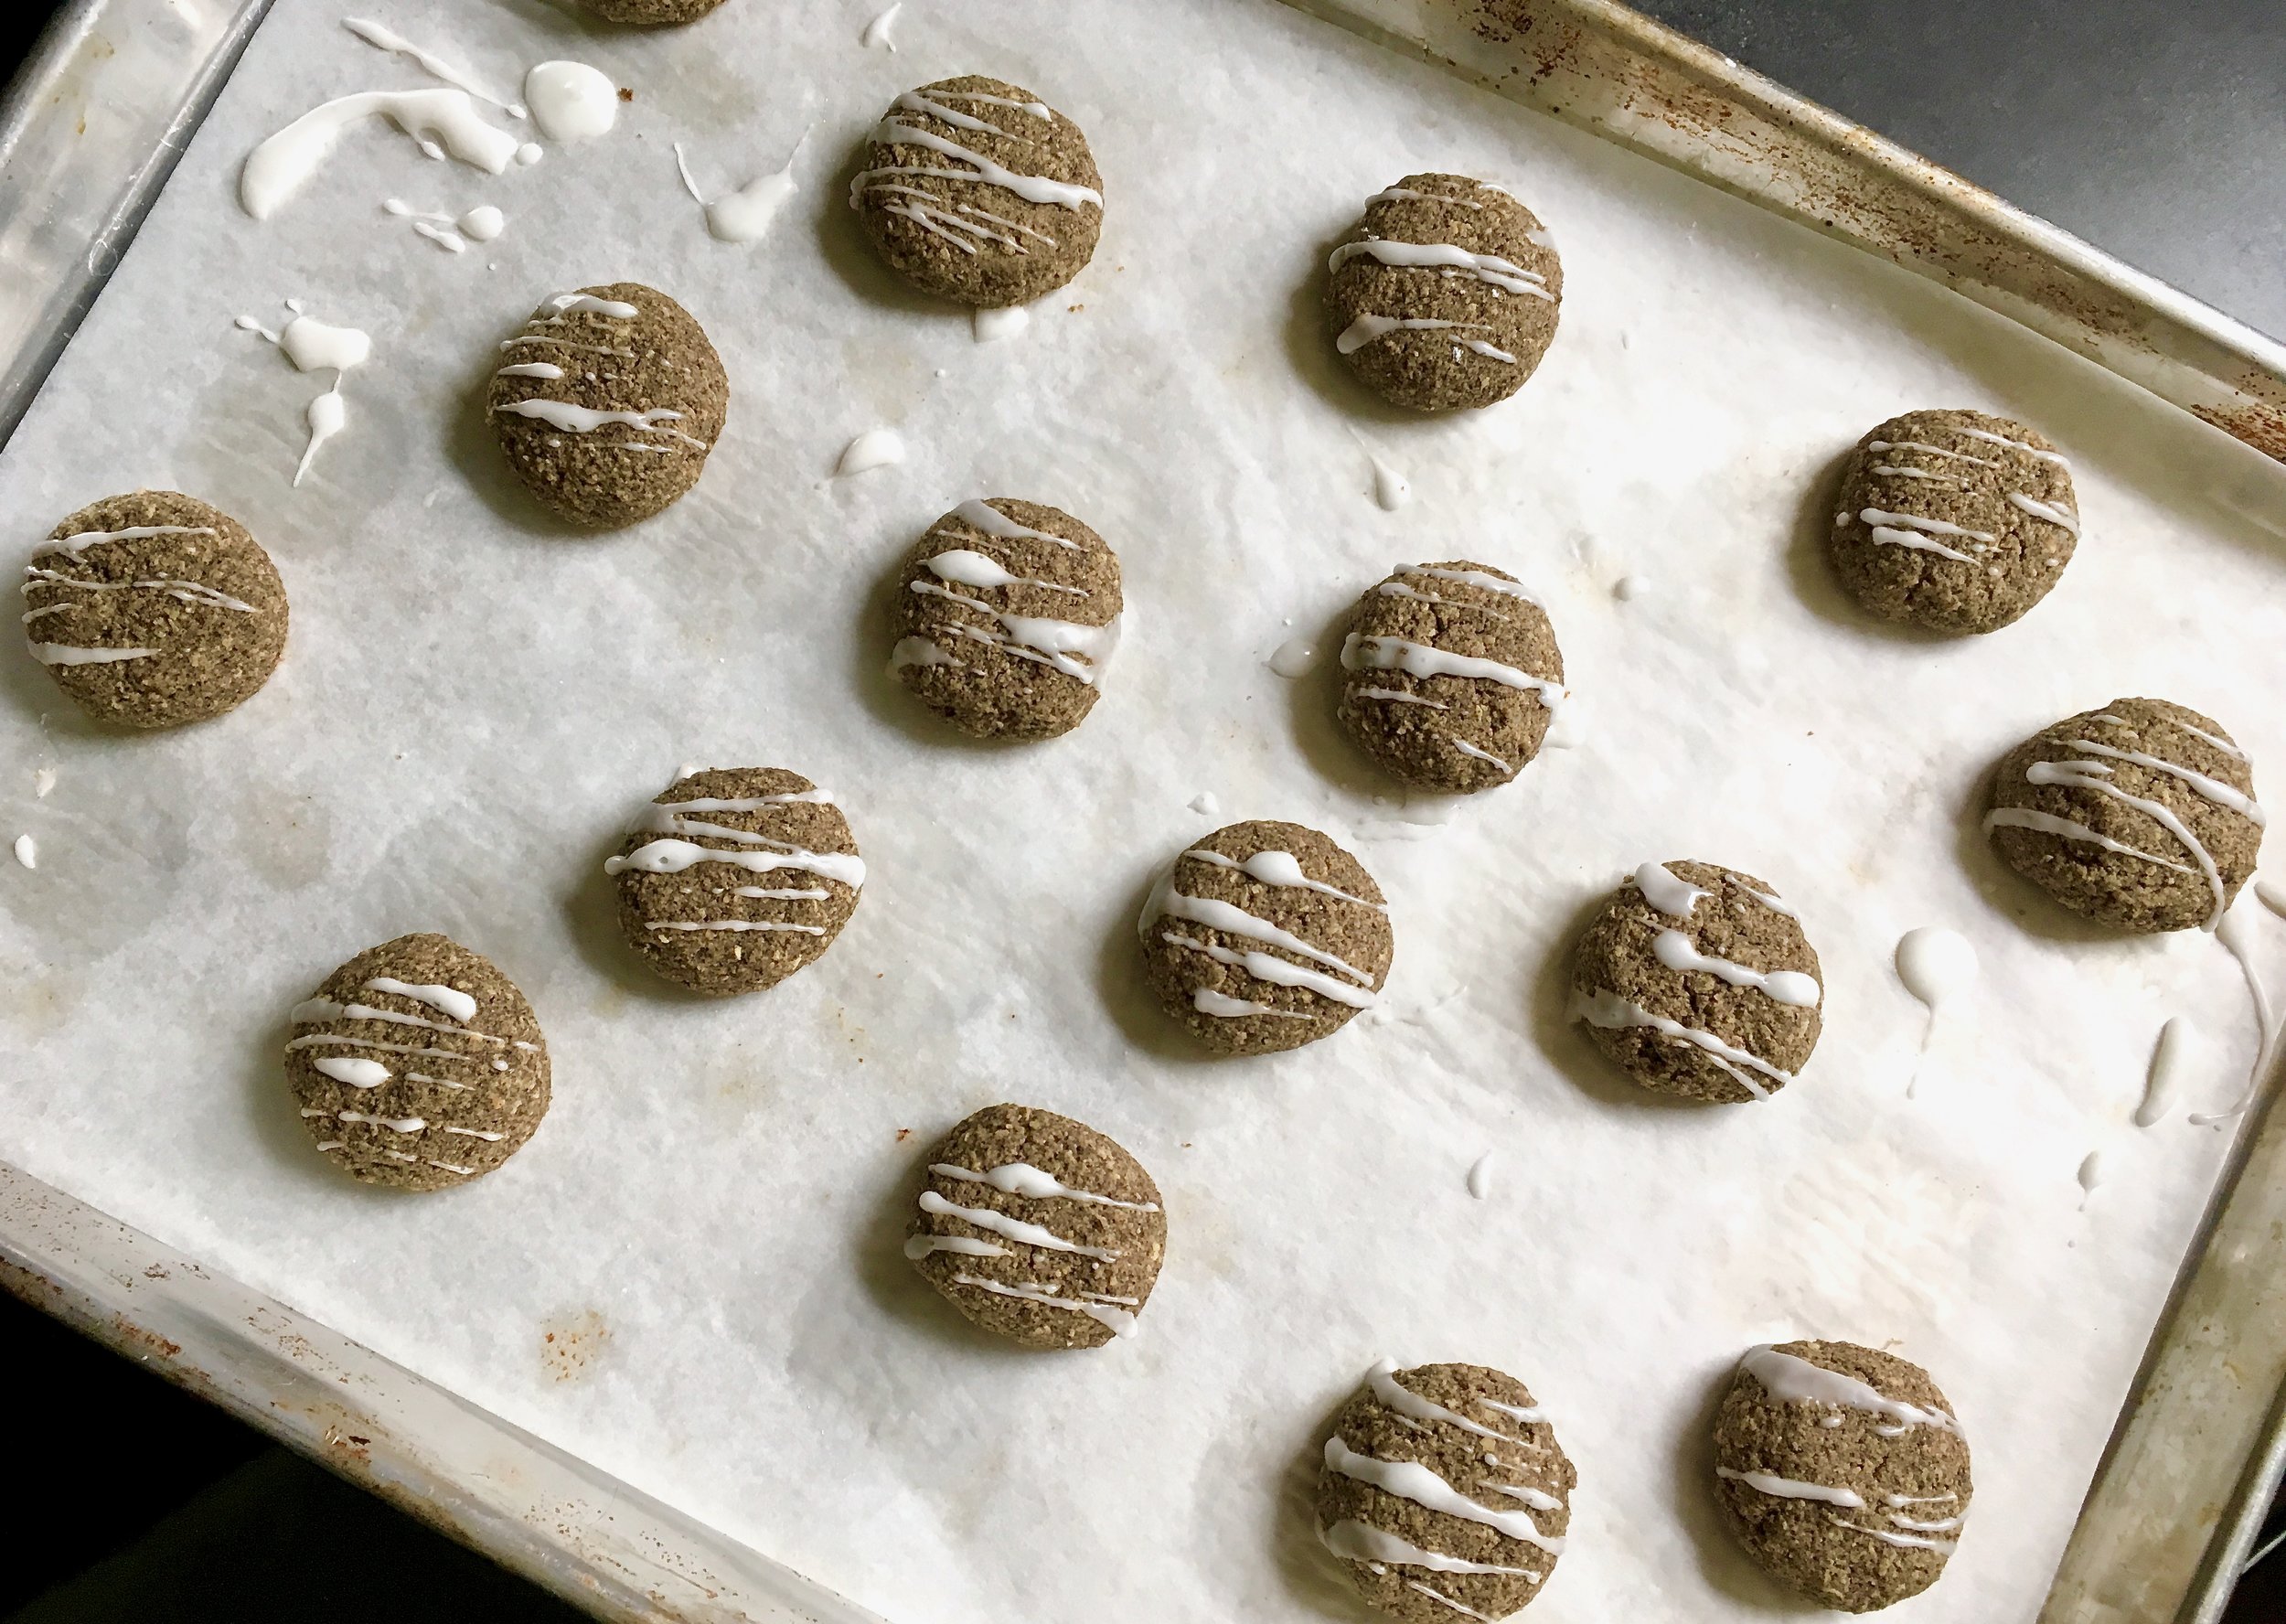
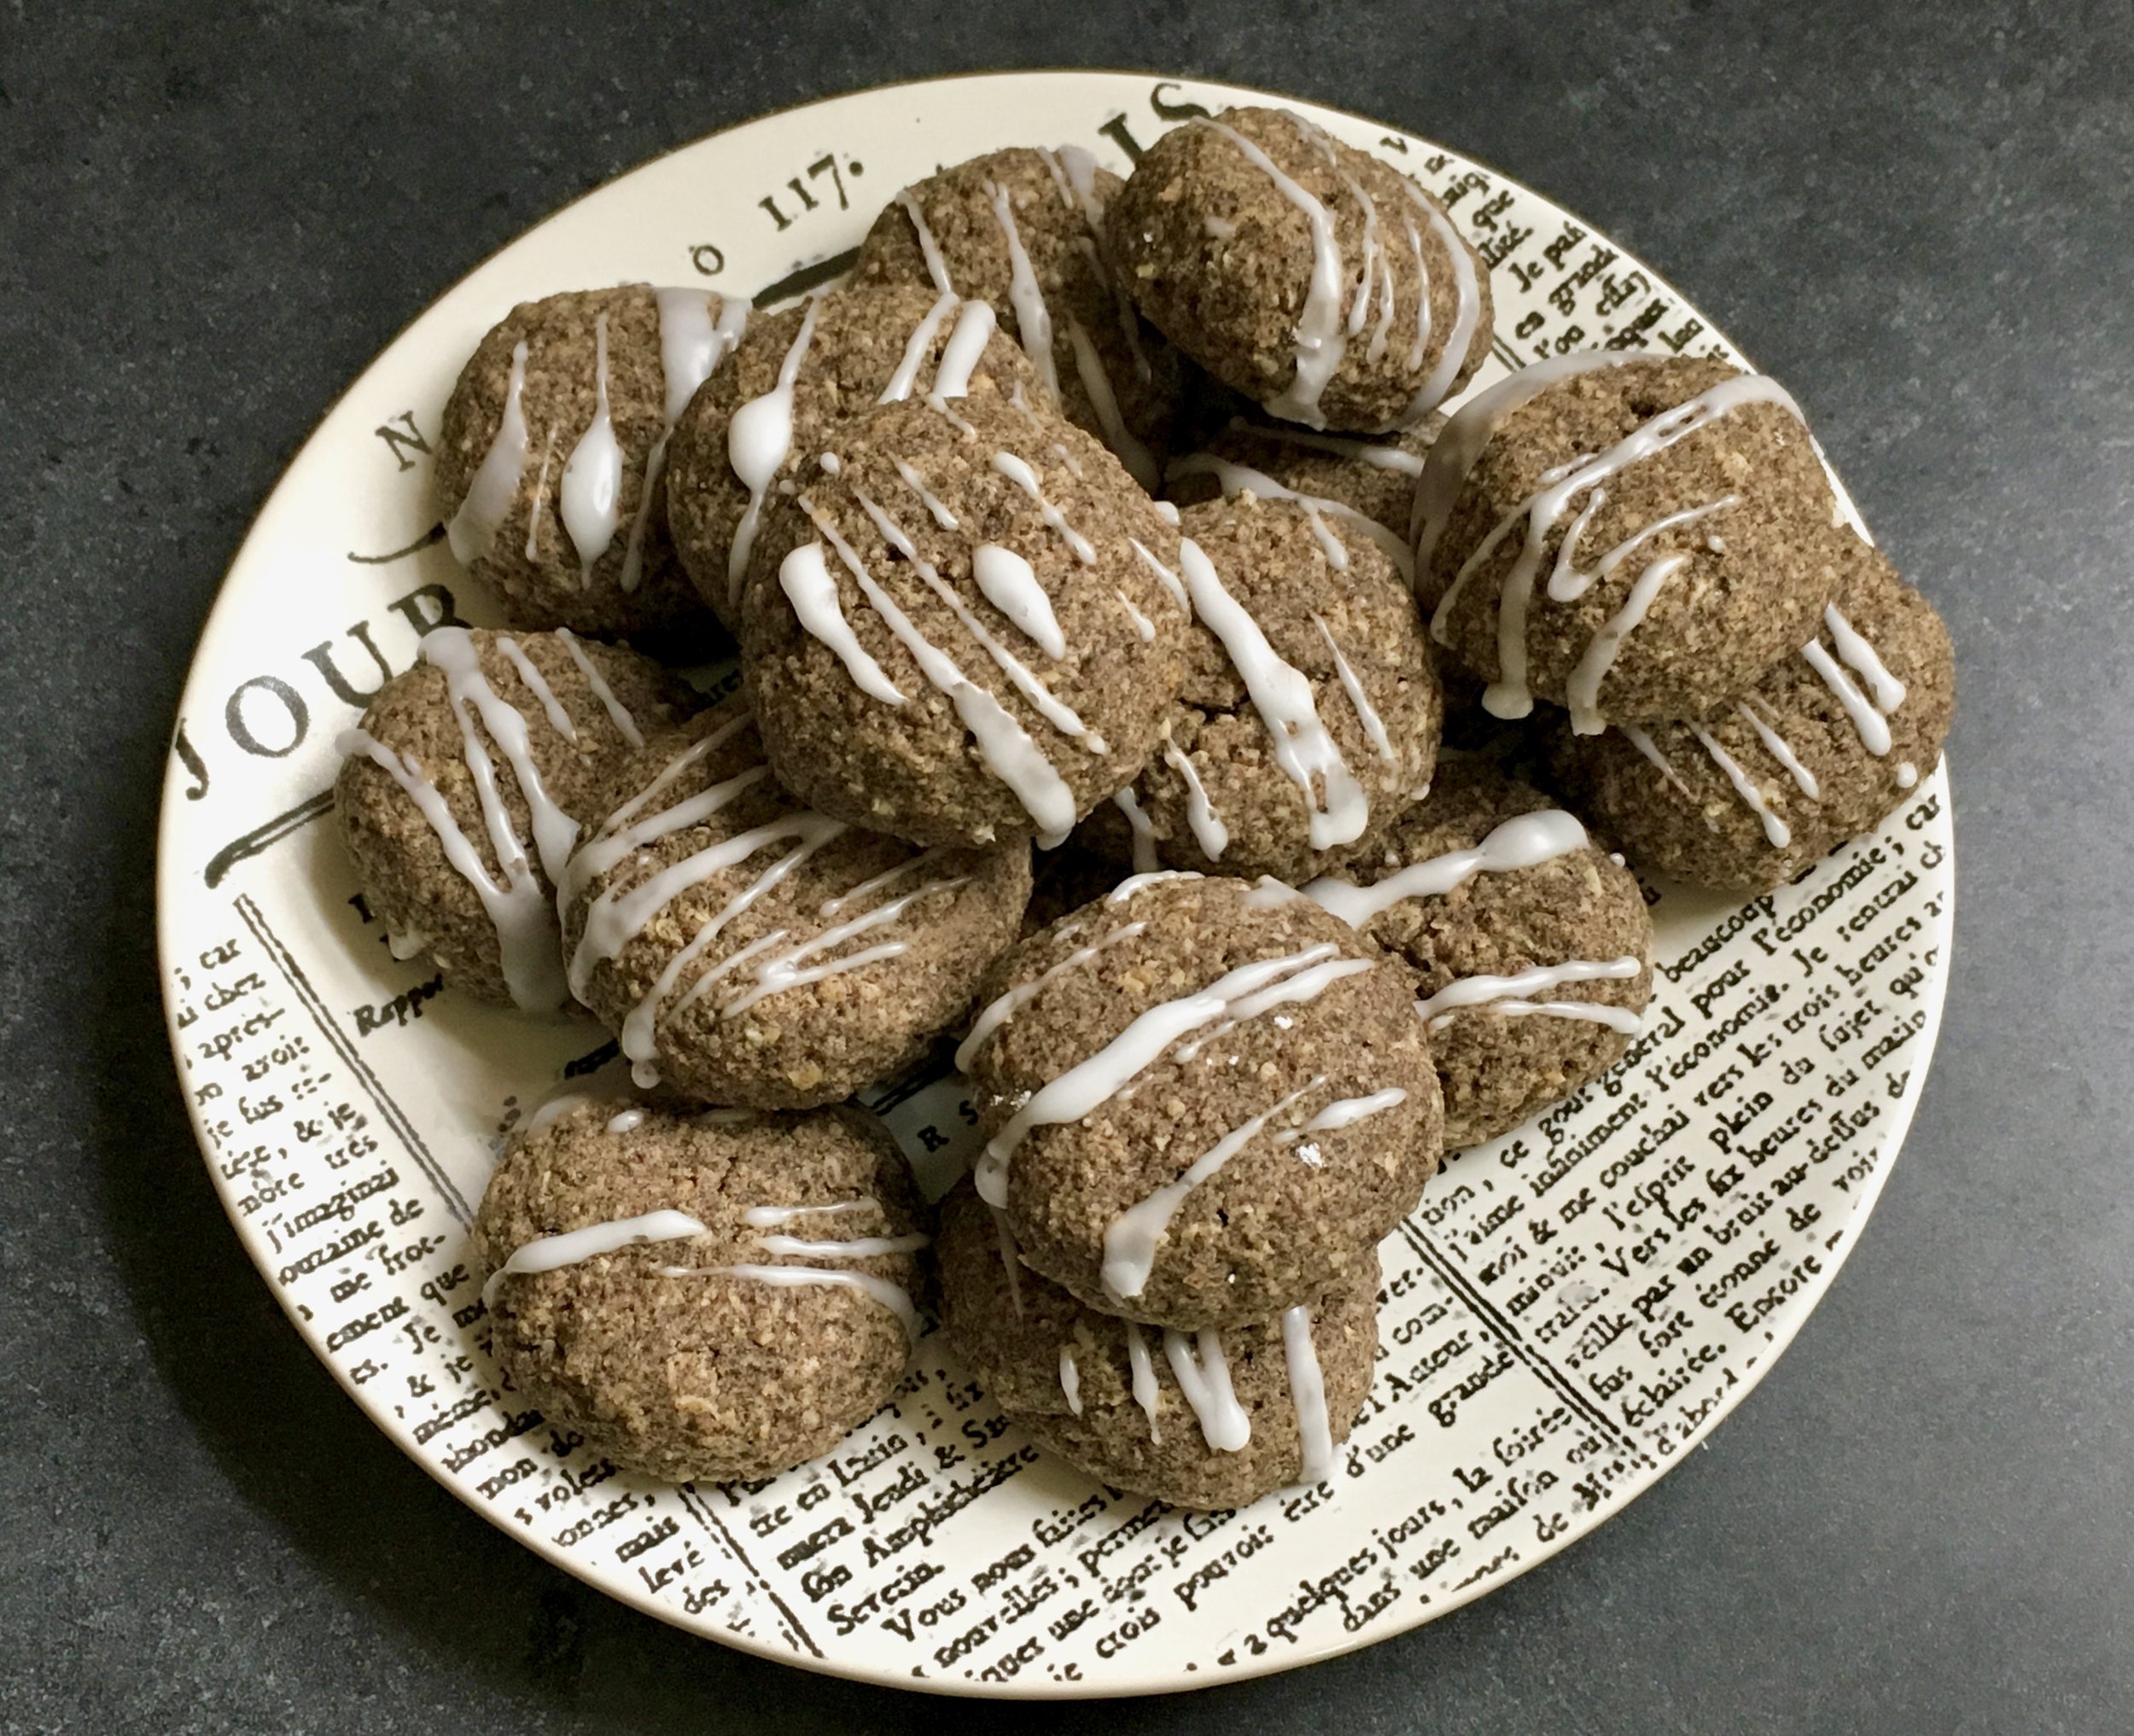
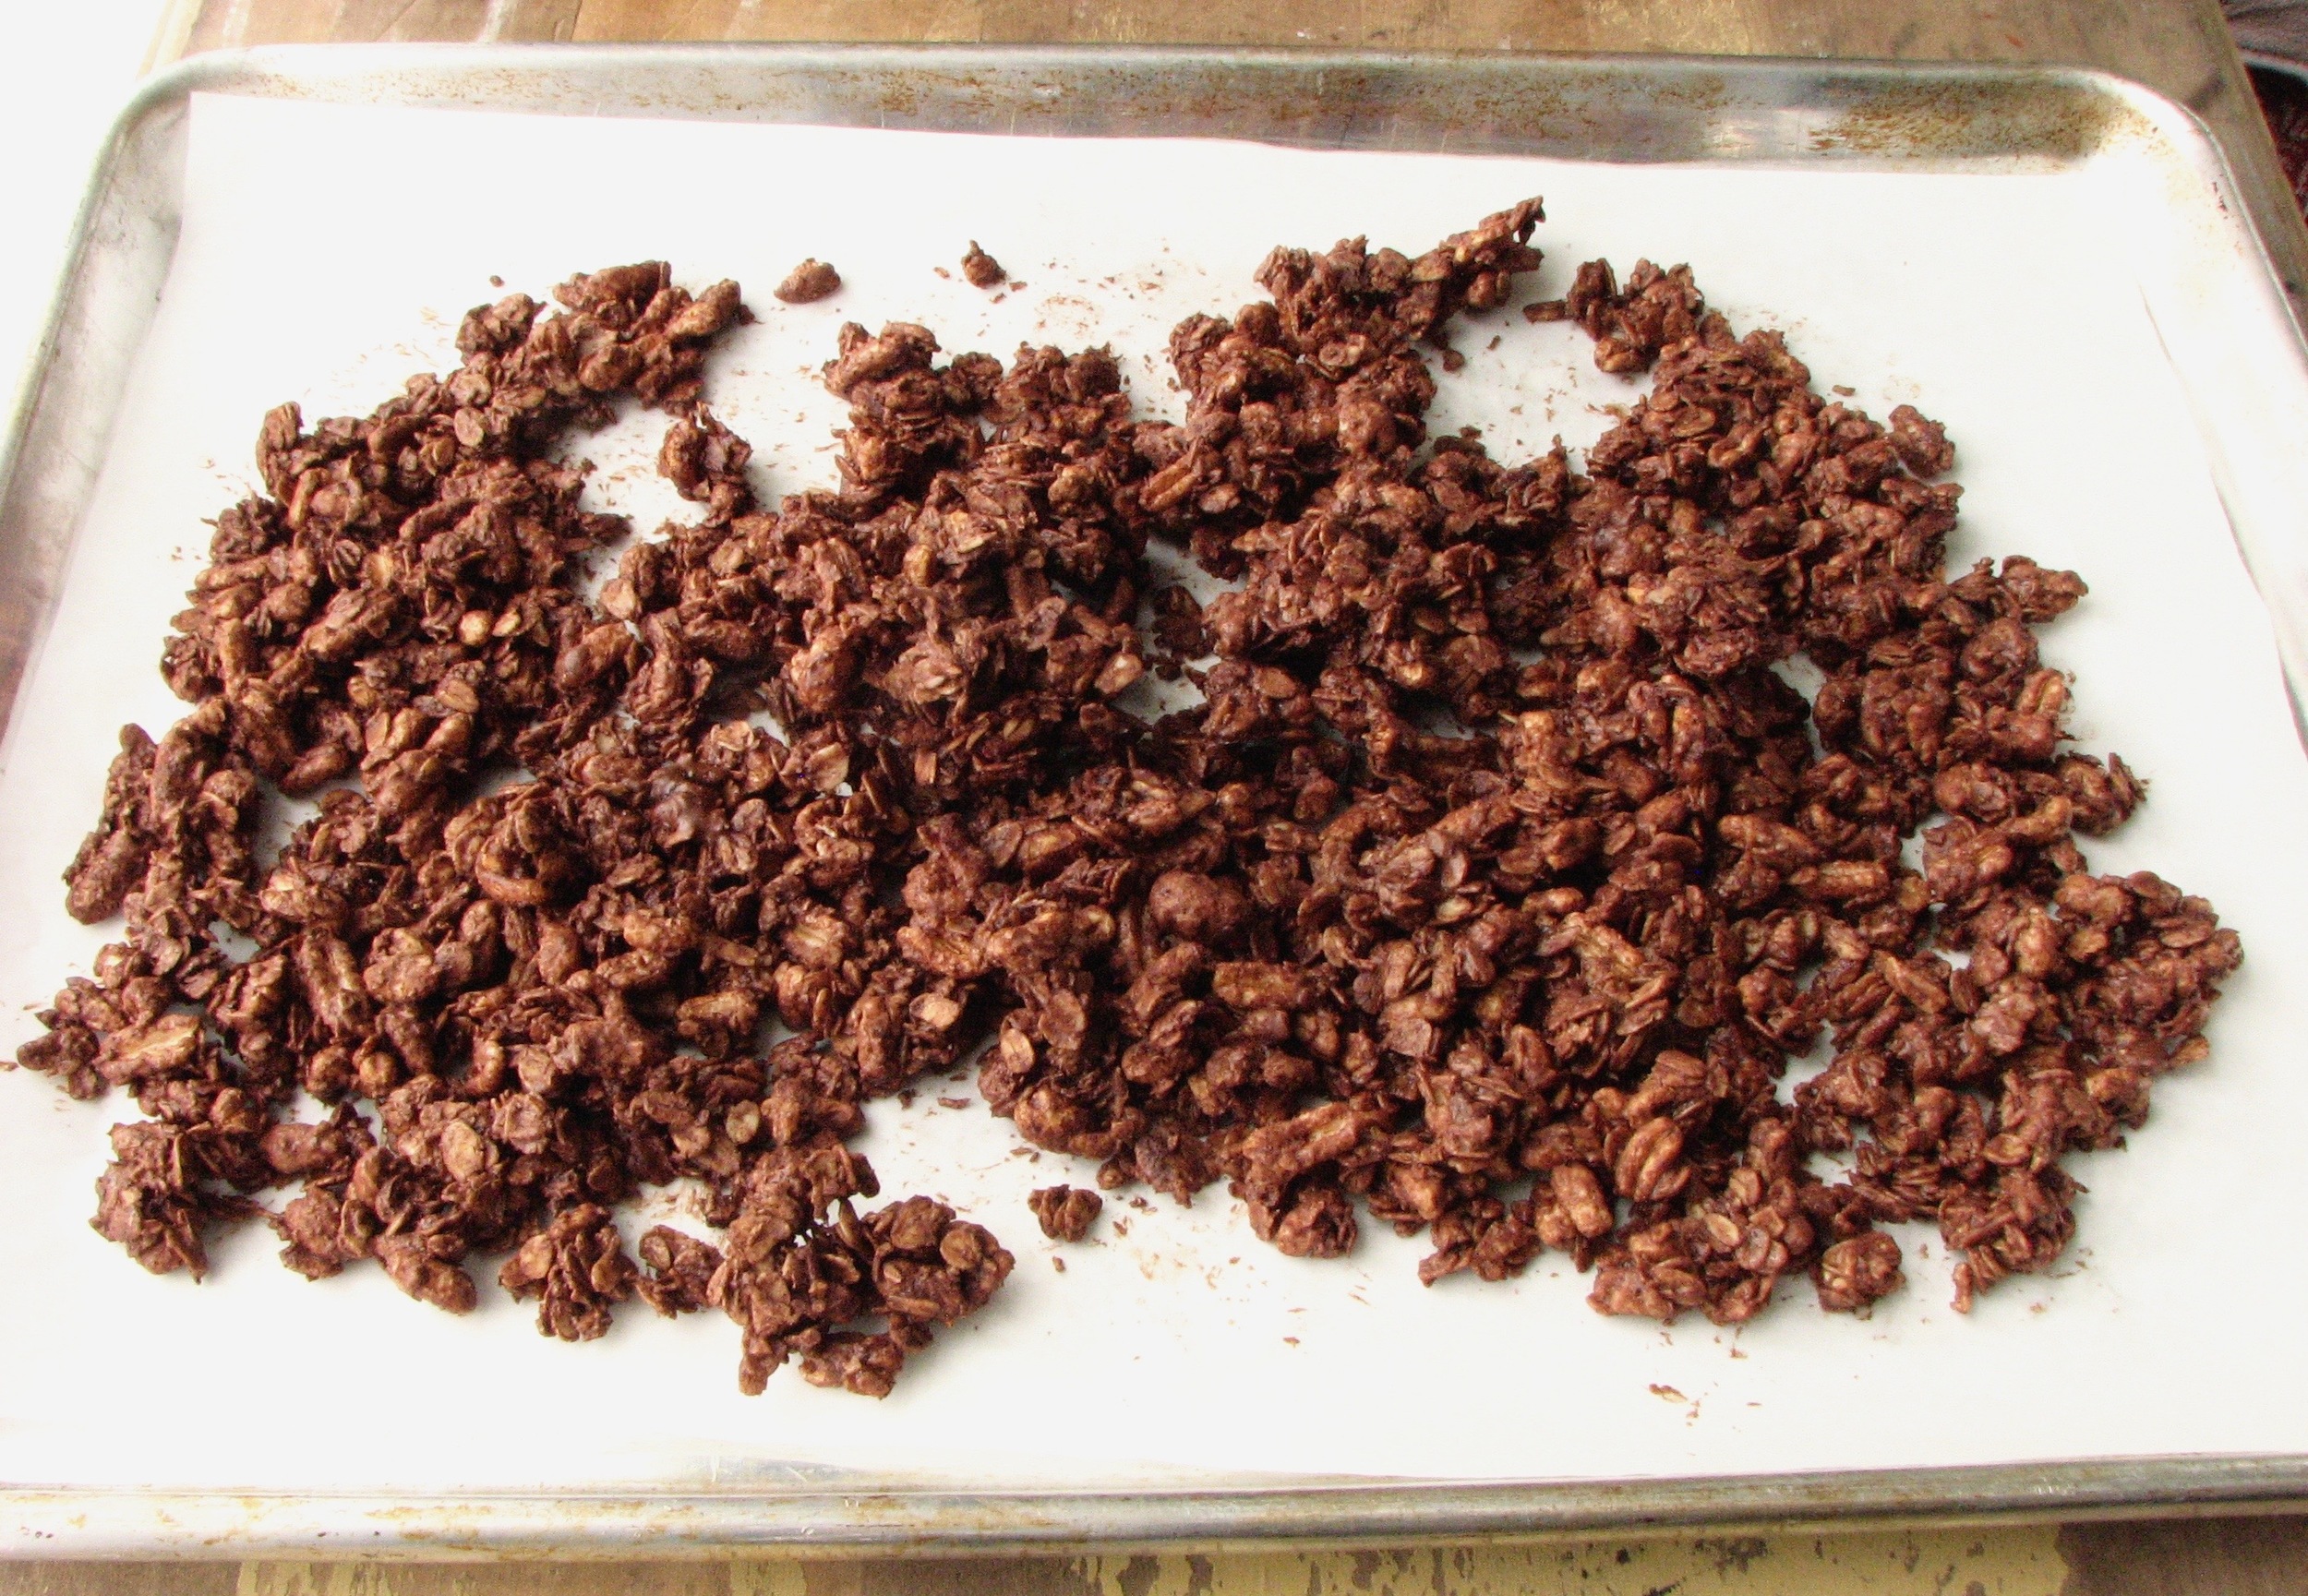
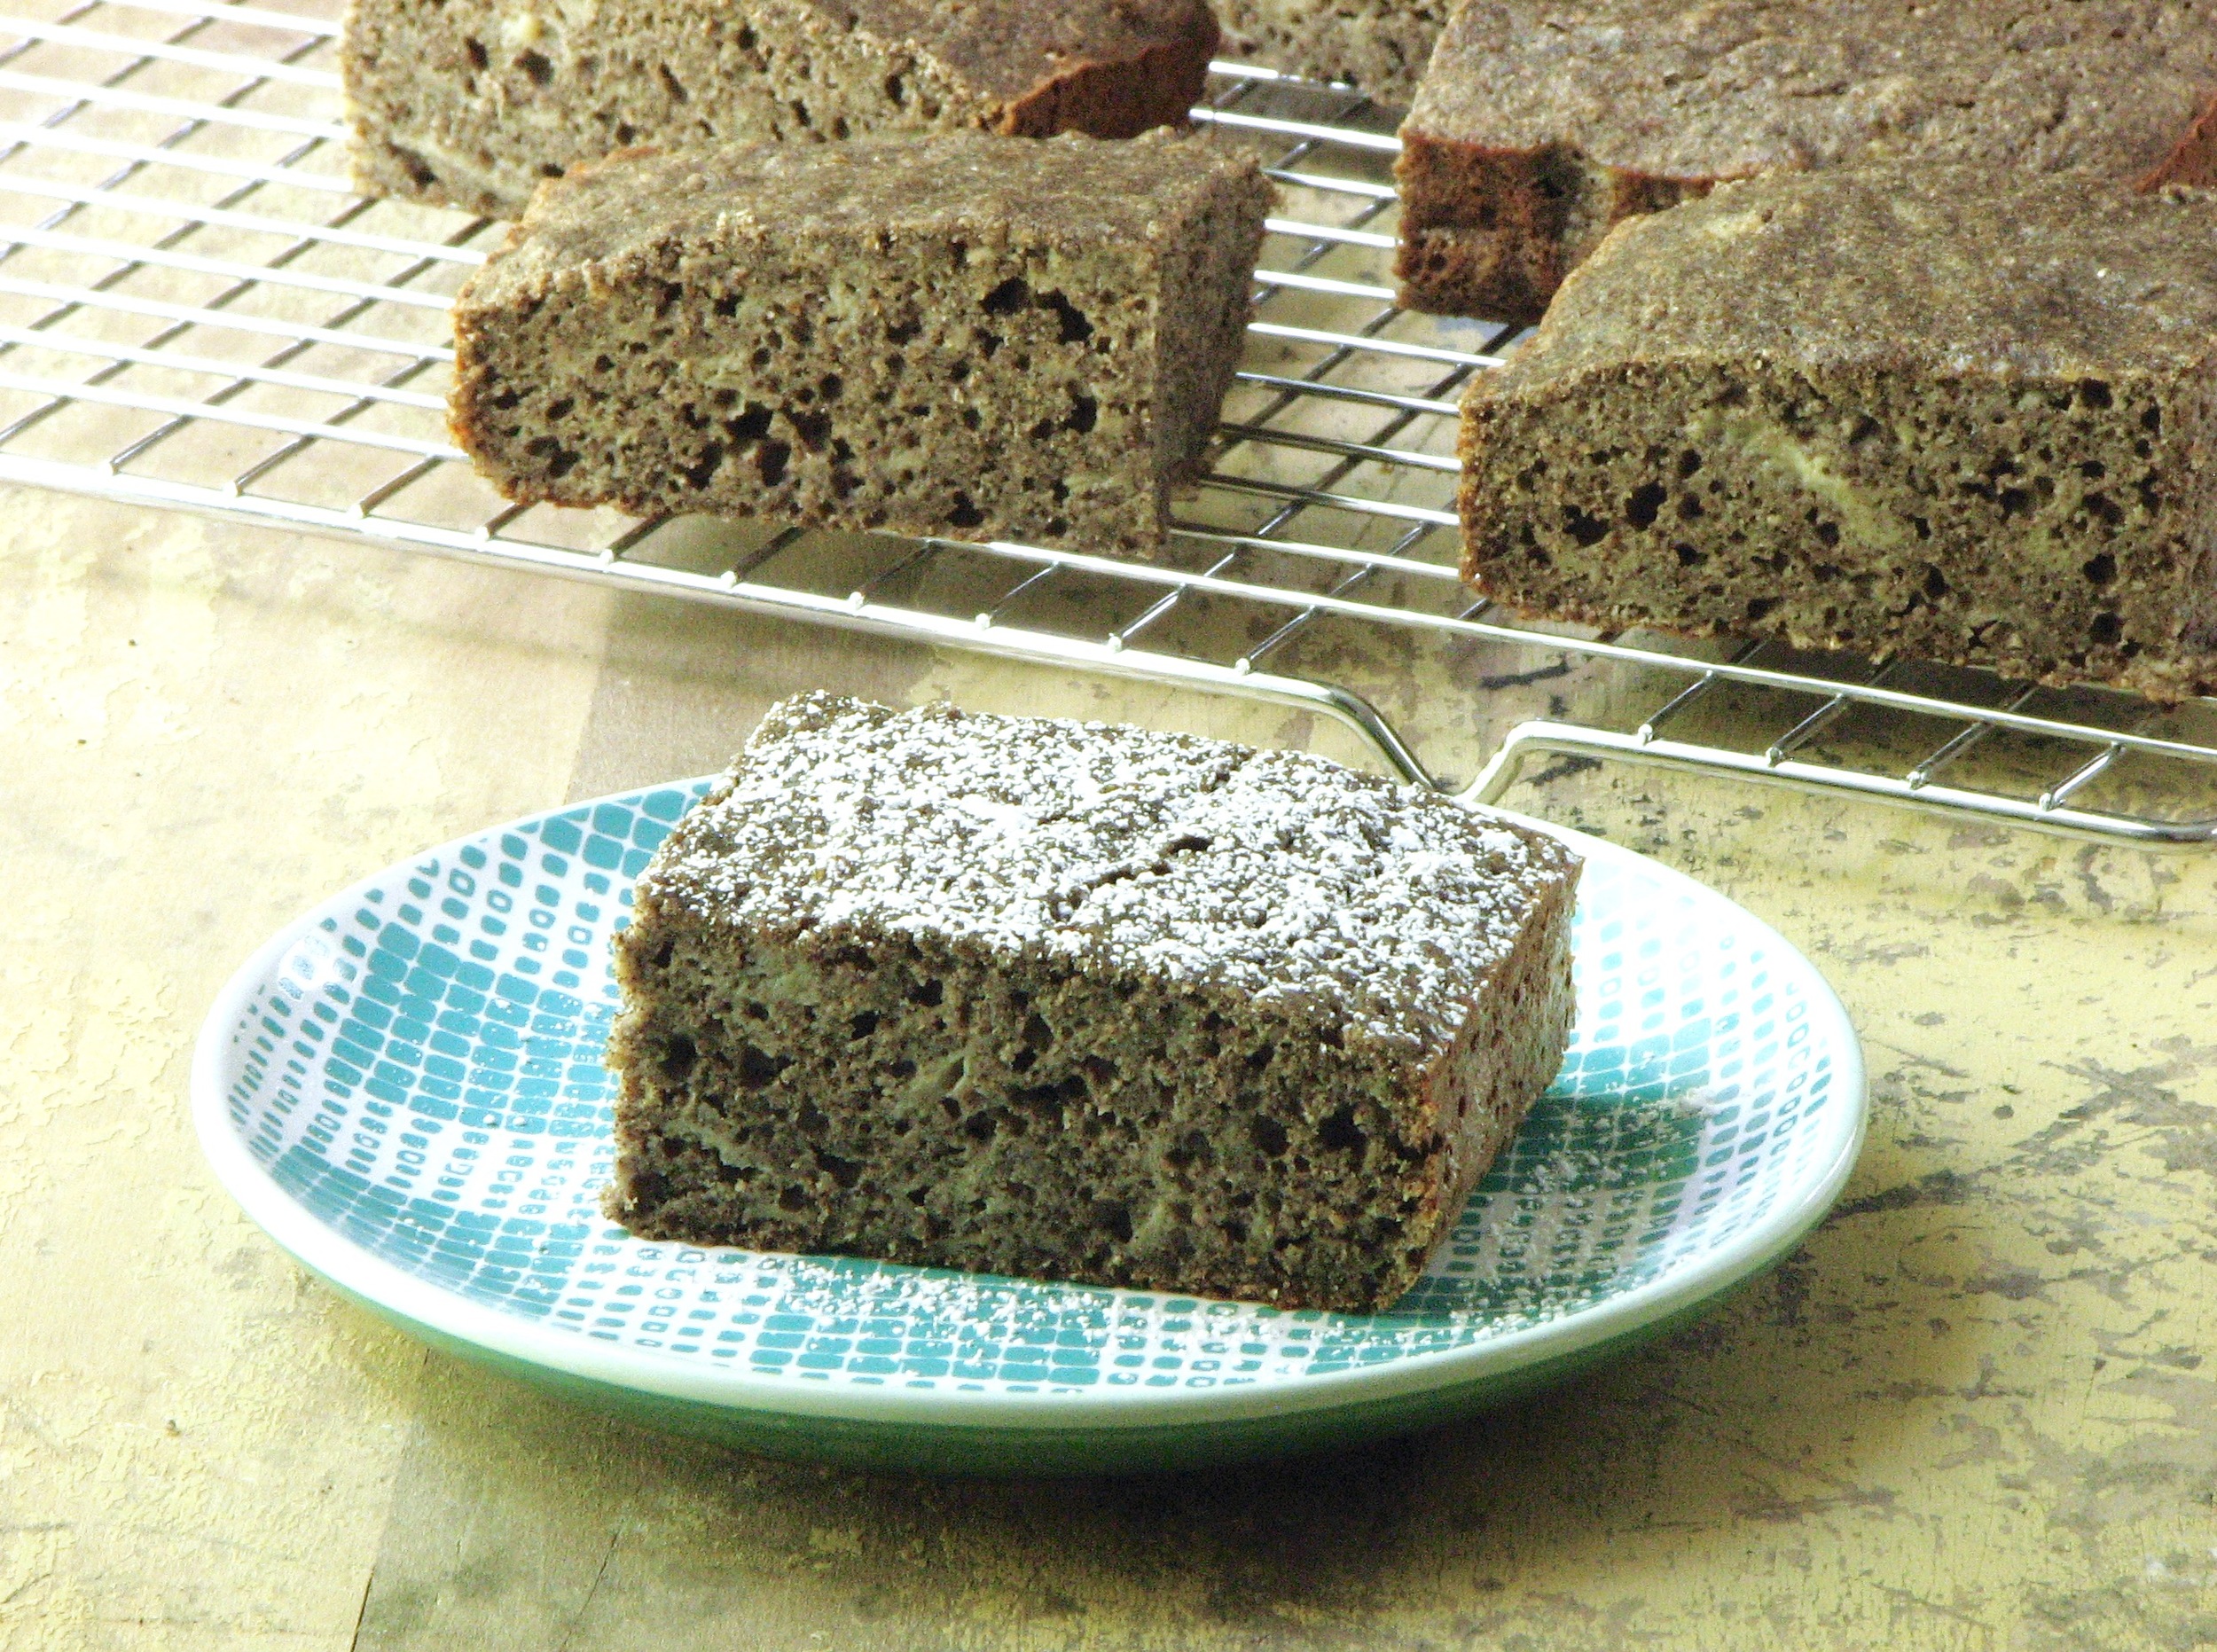
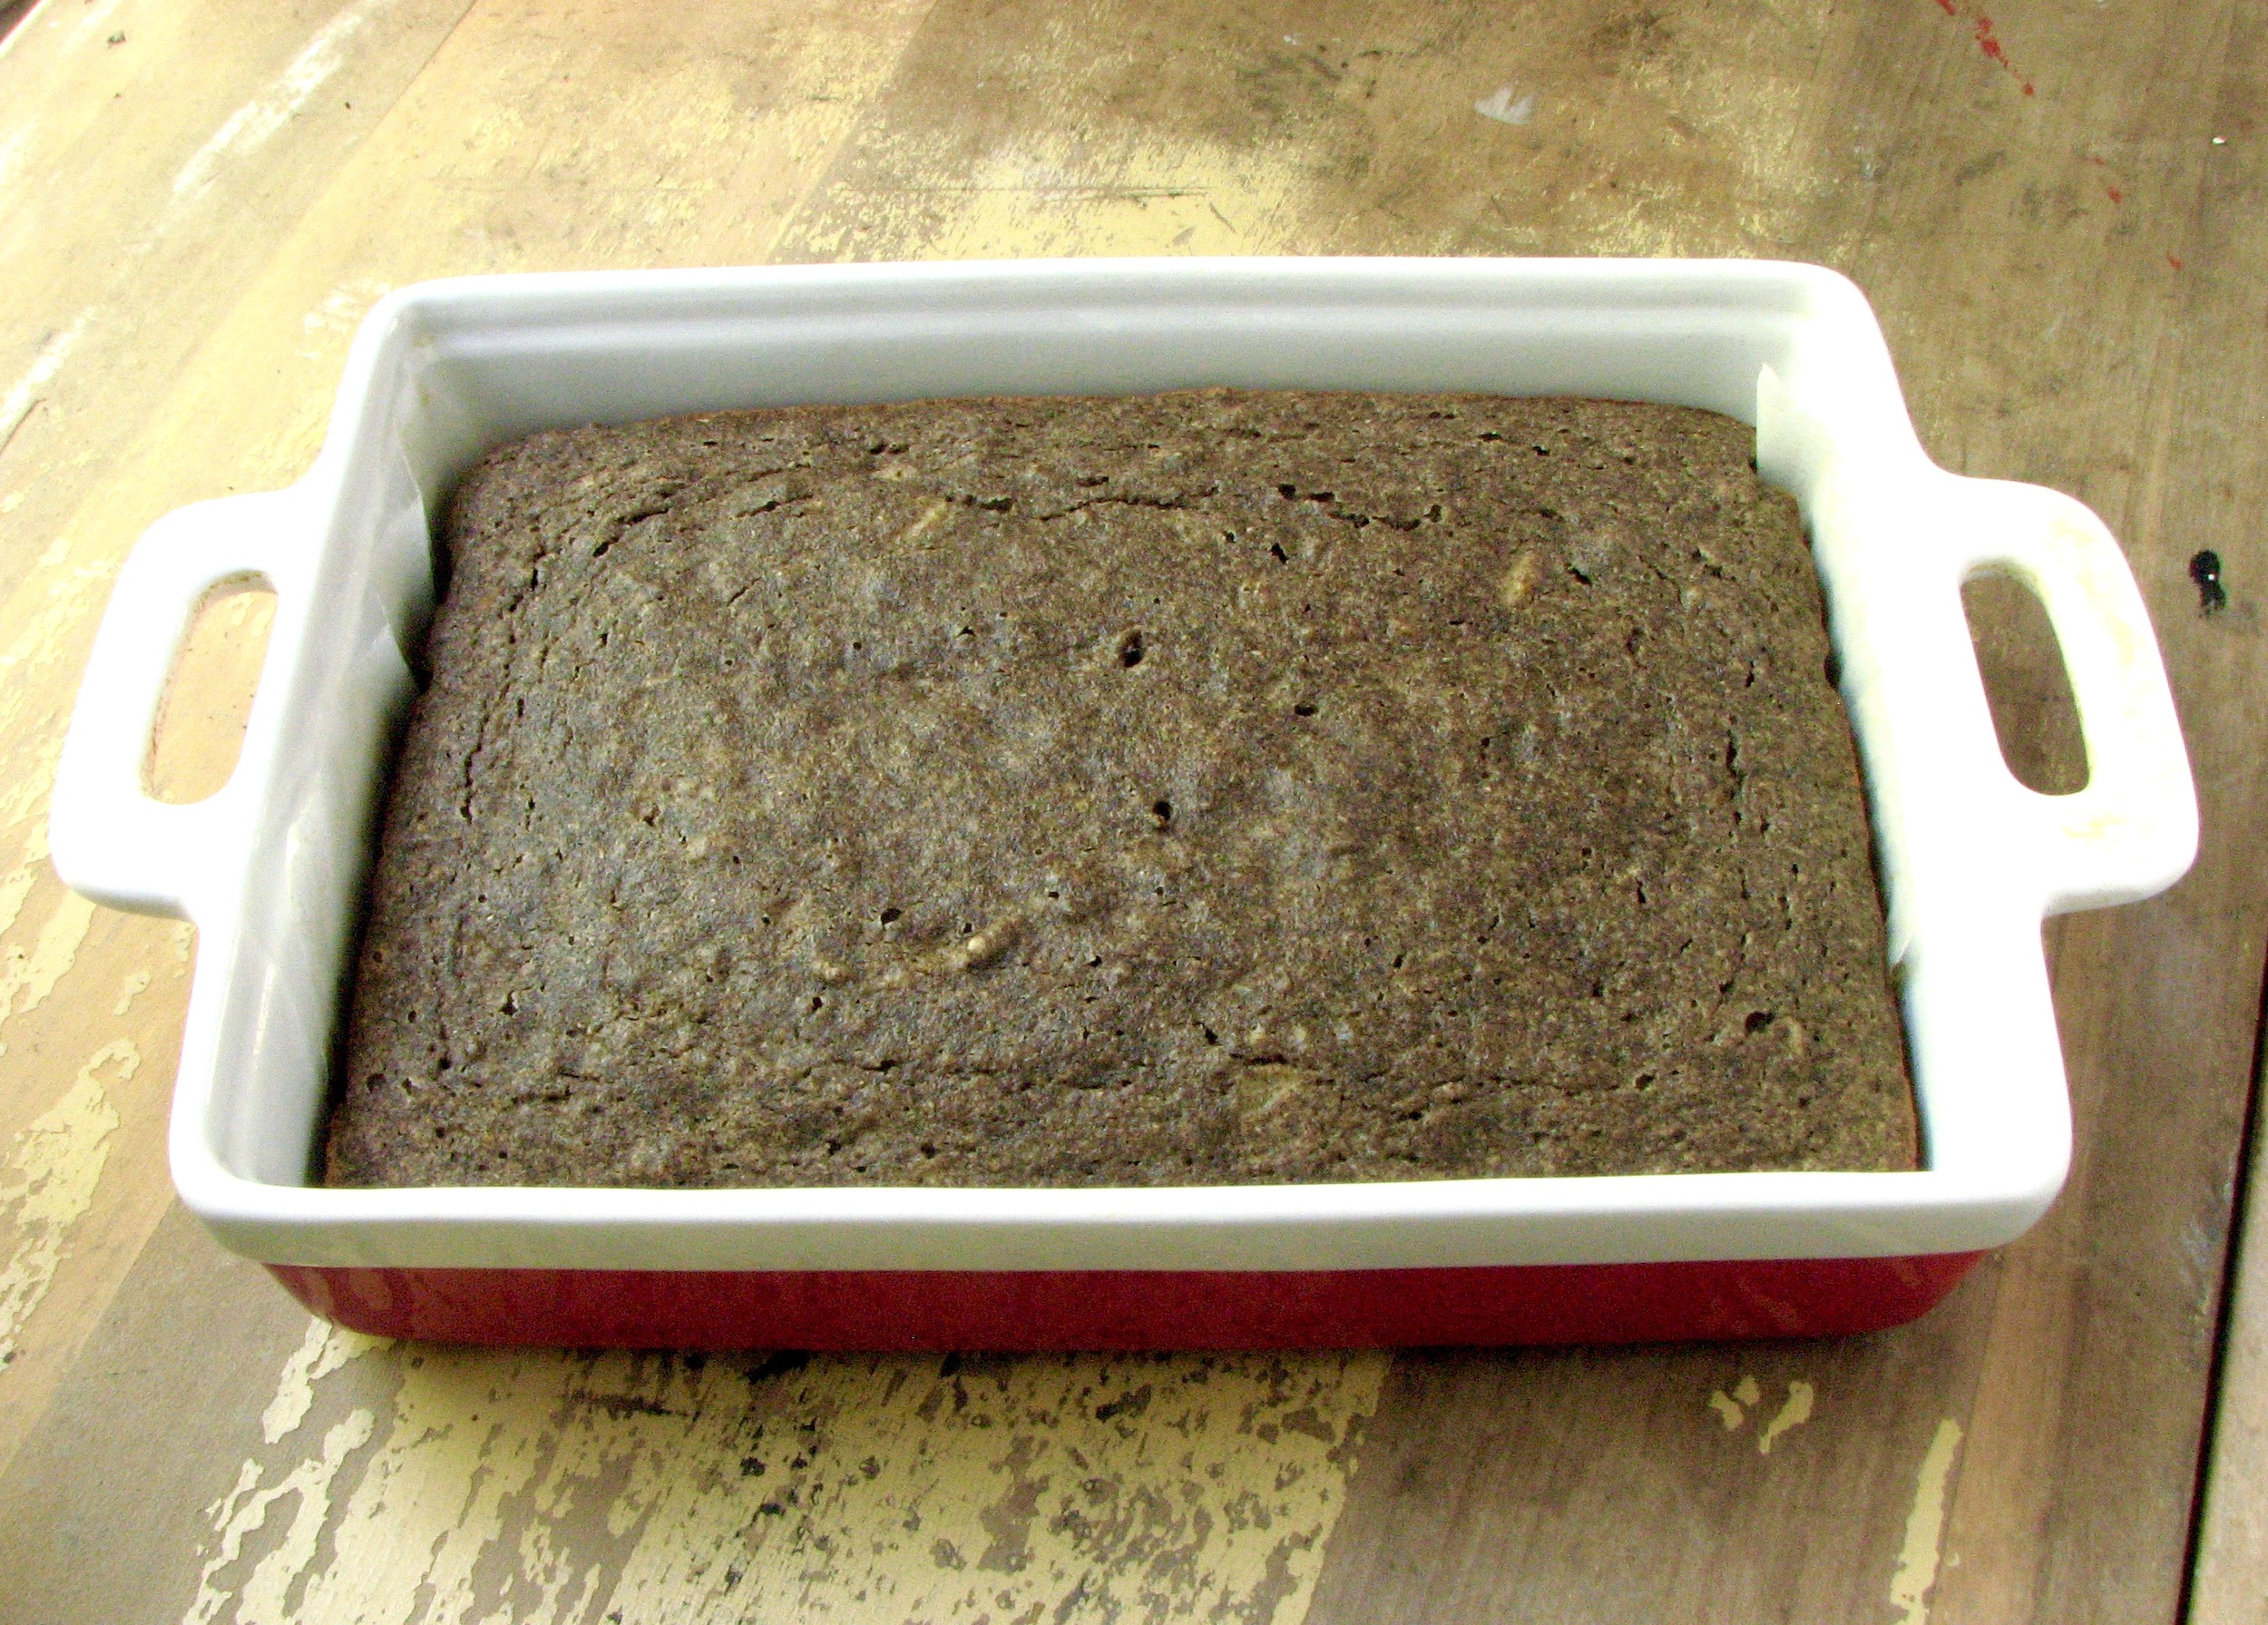
Buckwheat Applesauce Breakfast Cake
Cake for breakfast? Always a good idea in my book. While this recipe is not a cake in the traditional sense, light, airy and super rich, it kind of has an indulgent feel when topped with a yummy yogurt almond frosting. It's not a very sweet cake - dense and hearty in texture, yet still super moist thanks to the applesauce. The buckwheat flour really adds a unique dimension in both flavor and texture. There is a lovely bitterness to this cake from this flour which I love, but might take a little getting used to. And because buckwheat is not "wheat", it behaves differently in baking. It results in a cake that is almost a little sandy in texture, and more dense than a traditional baked good.
I adapted the recipe (because I just can't help myself!). The original used almond flour in addition to the buckwheat, and coconut oil. I replace these with whole wheat flour and butter instead. This likely altered the texture somewhat but in the end I loved the results, so it doesn't really matter! I also used some liquid whey (leftover from homemade yogurt) instead of almond milk, but I'm sure buttermilk would also work Finally, I adjusted the spices somewhat based on my preferences, and the time of year and replaced the molasses with maple syrup along the same vein. Overall, this dense, somewhat bitter but very interesting "cake", topped with a healthy yogurt and almond butter frosting ticks all the right buttons for me. The most important thing being that it's delicious. In the end that's all that really matters!


Buckwheat Applesauce Breakfast Cake
Adapted from Edible Perspective
Ingredients
- 1 1/4 c buckwheat flour (150 grams)
- 1/2 cup (60 grams) whole wheat flour
- 2 tablespoons (25 grams) brown sugar
- 1/2 teaspoon cinnamon
- 1/4 teaspoon cardamom
- 1 teaspoon baking powder
- 1/2 teaspoon salt
- 2 eggs
- 1 cup buttermilk or liquid whey
- 2/3 cup (170 grams) unsweetened applesauce, I used homemade (alternatively, can use several cups of grated apple, somewhere around 250 grams, the recipe is very forgiving)
- 2 teaspoons vanilla
- 3 tablespoons (42 grams) butter, melted
- 3 tablespoons (60 grams) maple syrup (or honey)
Directions
Preheat your oven to 350* F and line a 9x9 pan with parchment, or grease thoroughly. Stir the buckwheat flour, whole wheat flour, sugar, cinnamon, cardamom, baking powder, and salt in a large bowl until well mixed. In another bowl whisk the eggs together. Then whisk in the milk, applesauce, vanilla, butter and maple syrup until fully combined. Pour the wet ingredients into the dry ingredients and stir until just combined.
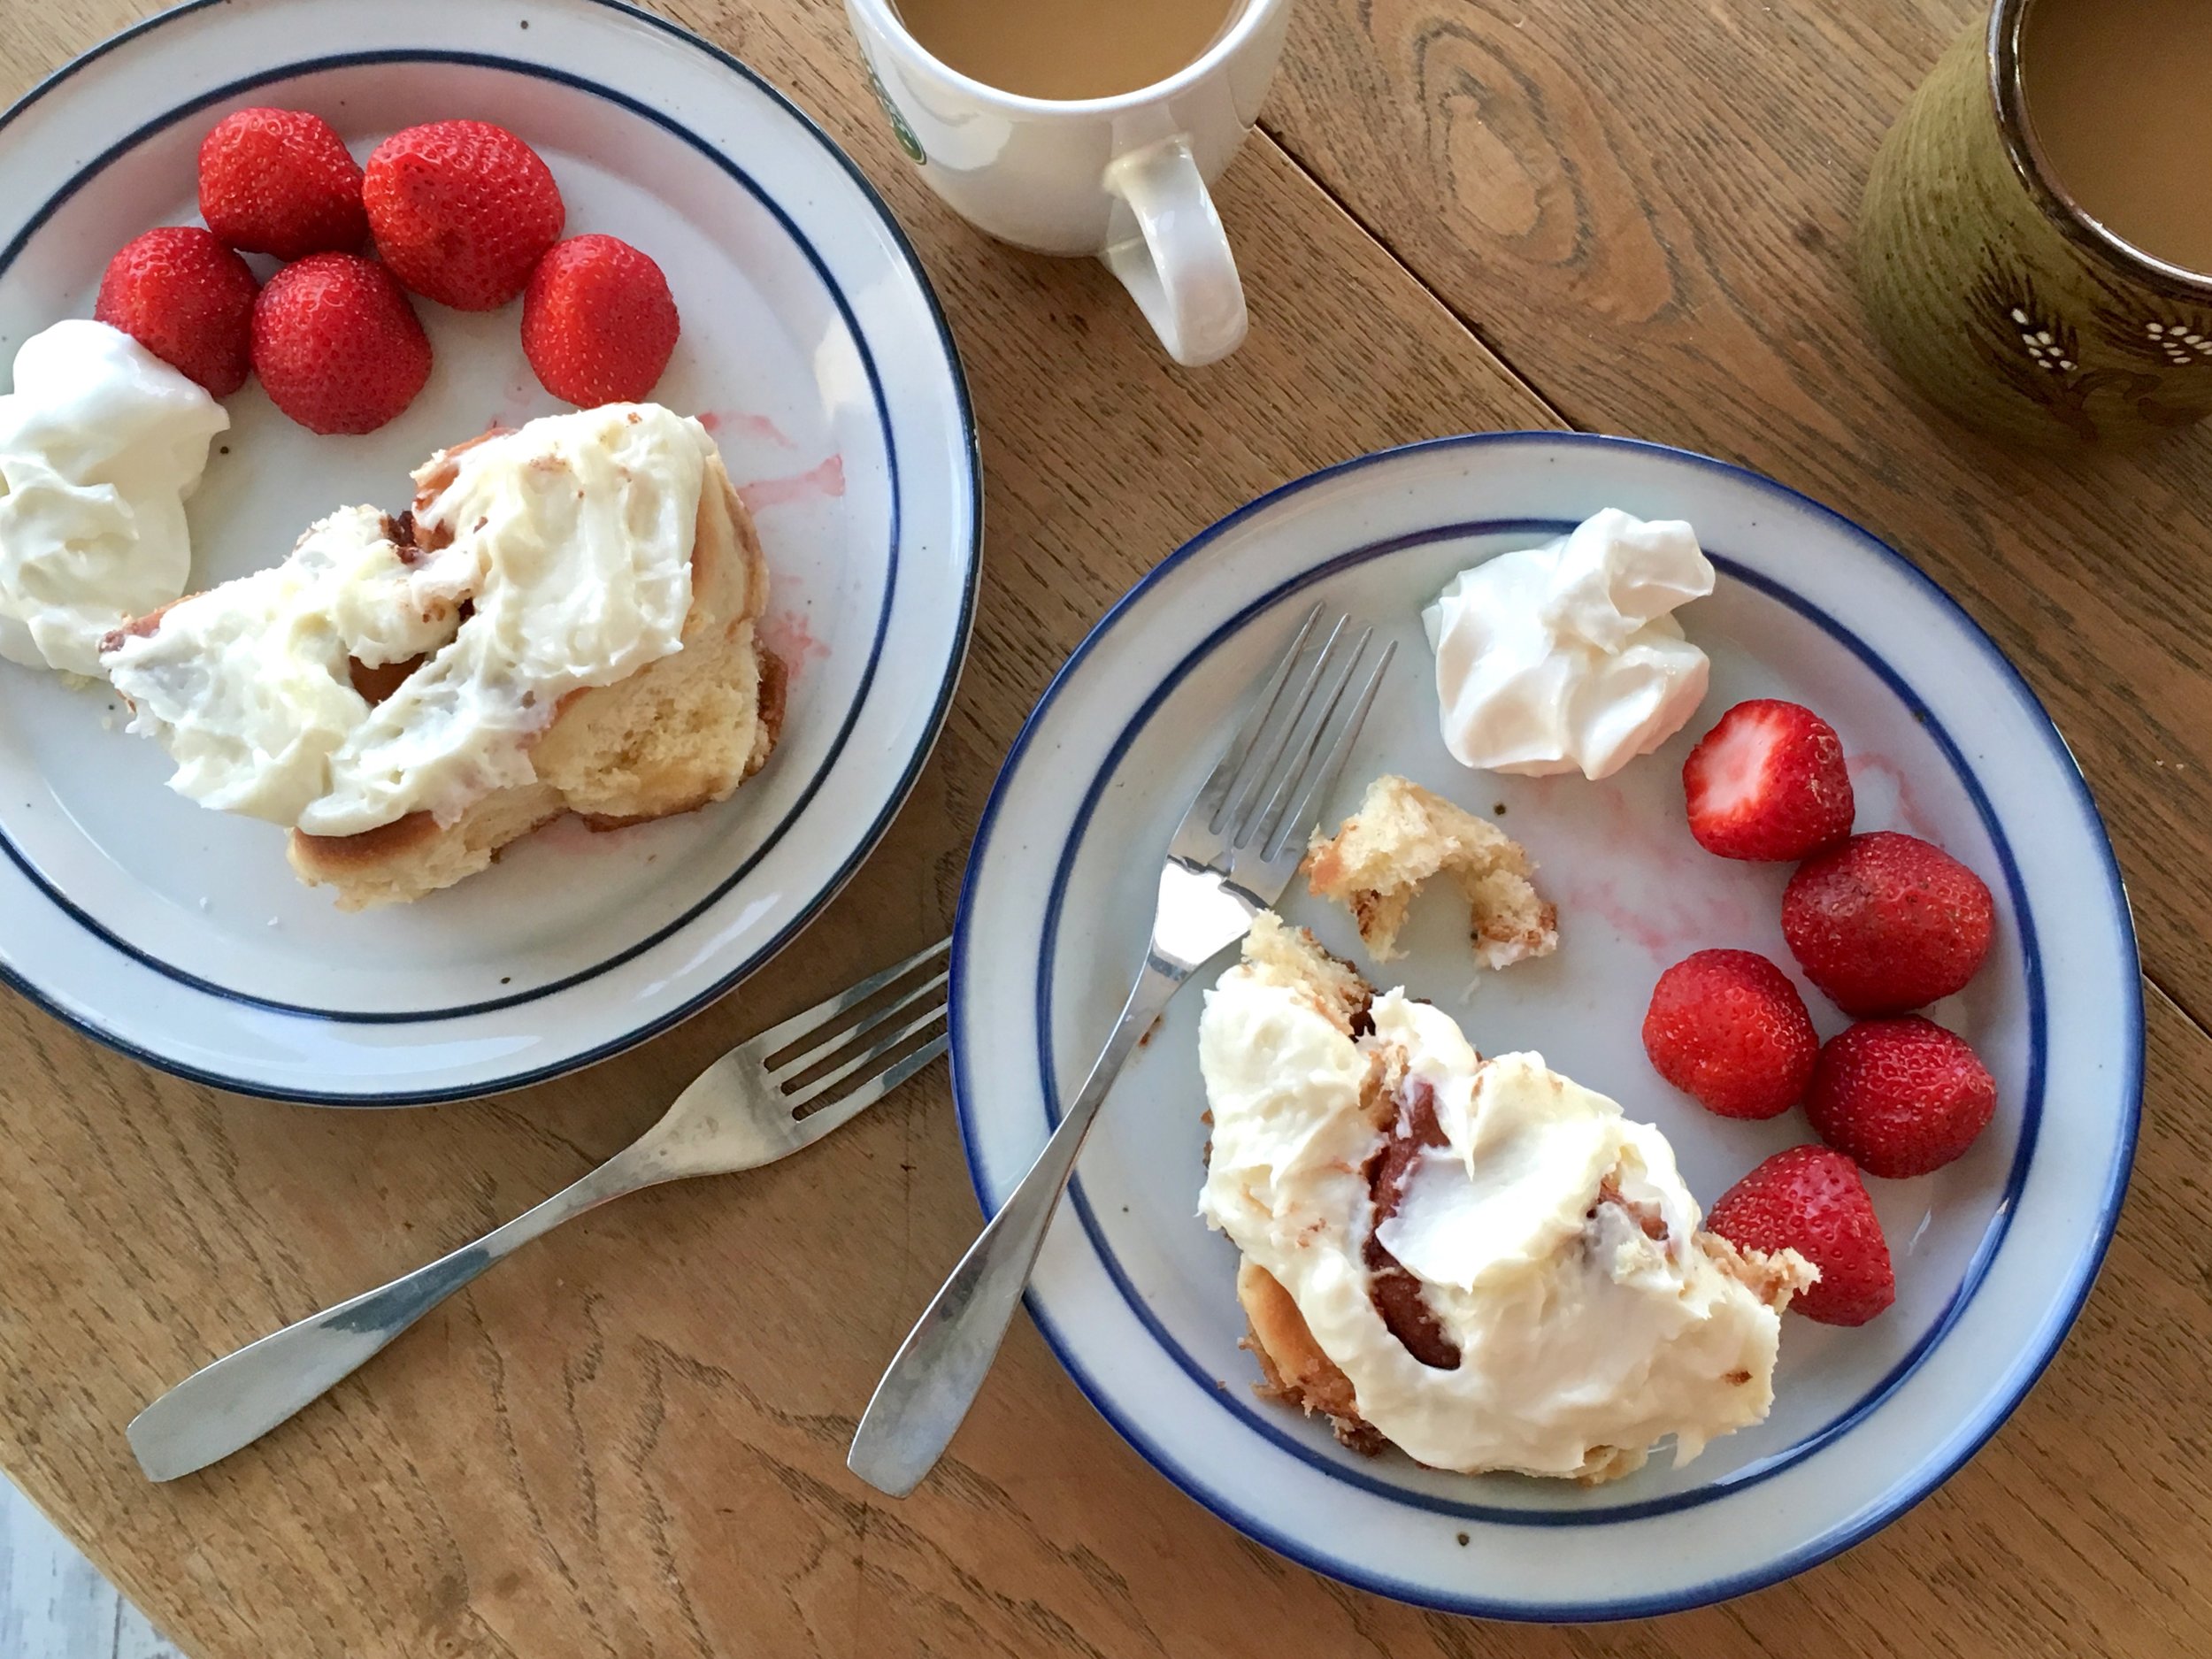
Pour the batter into your pan and spread evenly. Bake for 38-40 minutes, testing with a toothpick for doneness. You want the toothpick to be slightly sticky, not gooey or dry. Allow to cool for 10-15 minutes before slicing. Serve with a dusting of powdered sugar, or with almond butter frosting (recipe below).
Almond Butter Frosting
From Delectably Mine
Ingredients
- 1 tablespoon almond butter
- 2 tablespoons Greek yogurt
- 1/2 teaspoon maple syrup (optional)
- couple shakes of cinnamon
- Pinch of salt (optional)
Directions
Mix together the almond butter and Greek yogurt until well combined and smooth. Add in the maple syrup, cinnamon and salt and stir to combine. Taste and adjust flavorings if desired, adding a little more almond butter if it is too tangy, a little more yogurt if it is too thick, or a little extra maple syrup if you want it a little sweeter. Spoon frosting onto each slice of cake, or spread in an even layer over the top of each piece.