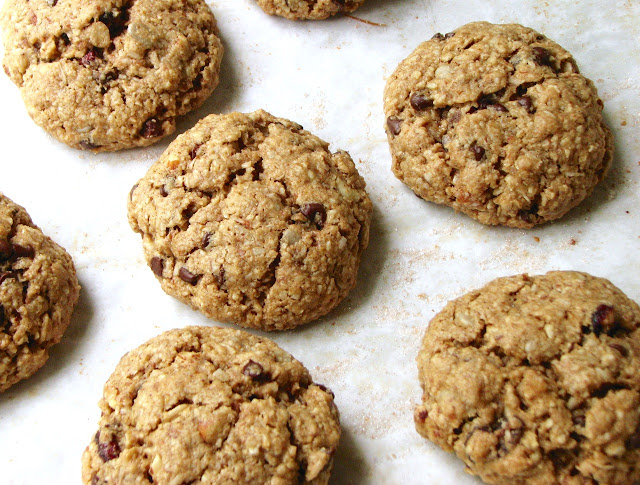
Big Cluster Cinnamon Almond Granola
I was talking to my grandma a few weeks ago about making granola and how much I love doing it. It's so much better and ridiculously cheaper than buying it, and it's not at all difficult to do. Plus, you can customize it to your exact specifications! My grandma is gluten intolerant, and so granola is a good option for her to have on hand for breakfast, or a snack, or whatever. After our conversation I decided to make her a batch to show her what homemade granola can be like.
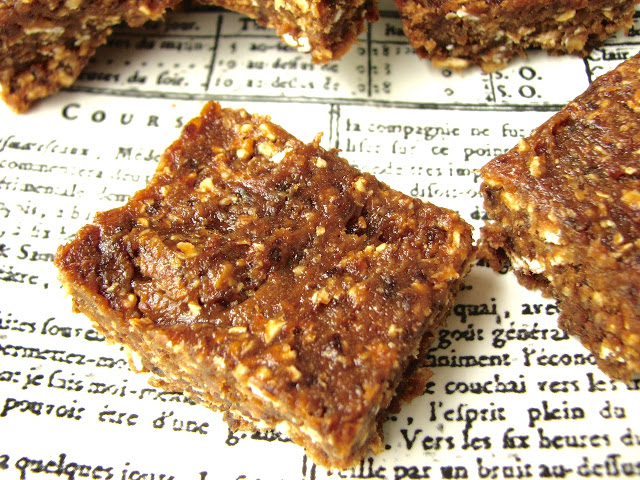
I chose this recipe because it was very simple. Since I don't know exactly how she likes her granola I decided to keep it basic and pretty classic. Oats, almonds and brown sugar, some cinnamon and vanilla, all kept nice and crunchy with a bit of oil. It turned out a beautiful, toasty granola that formed big, crunchy clusters. Super tasty, and perfect for anything you might imagine.

I eat a ton of granola. Yogurt and some kind of fruit, topped with granola almost every morning. I never get tired of it. I also just snack on it out of hand throughout the day. It's a great quick snack that you can eat as much or as little of as you want. There are lots of other options though; top some sweetened fruit with it and bake until bubbly, top ice cream with a little extra crunch, throw it on a salad as an alternative to croutons. Just be creative, and I'm sure you'll come up with many more options that suit your life!

Big Cluster Cinnamon Almond Granola
Adapted from
The Blue Bottle Craft of Coffee
by
Ingredients
- 1/2 cup (3.5 ounces) brown sugar
- 1/4 cup (30 grams) water
- 3 cups (250 grams) old fashioned rolled oats
- 2 ounces almonds, coarsely chopped
- 1/2 teaspoon cinnamon
- 1/4 teaspoon Kosher salt
- 2 1/2-3 tablespoons (35 grams) canola or vegetable oil
- 1 teaspoon vanilla extract
Directions
Preheat oven to 250 degrees. In a small saucepan, combine the brown sugar and water. Cook over medium-high heat, stirring constantly, until the sugar is completely dissolved and the mixture comes to a boil. Let cool.
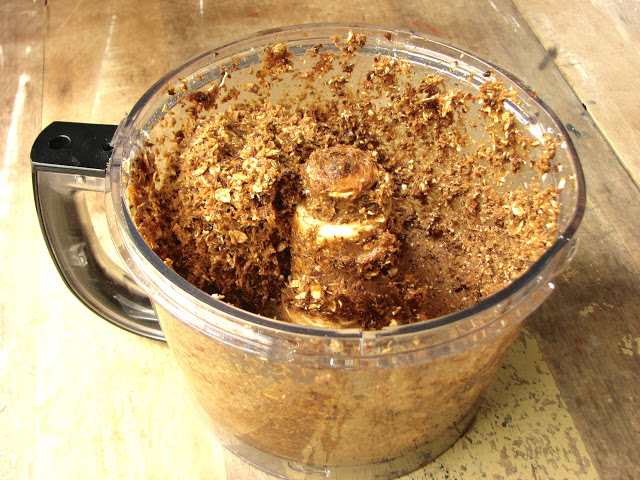
In a large bowl, combine the oats, almonds, cinnamon, and salt and mix well.
Add the oil and vanilla extract to the brown sugar mixture and stir until thoroughly combined. Pour over the oat mixture. Mix well with a large spoon or rubber spatula until thoroughly combined and uniform in texture.
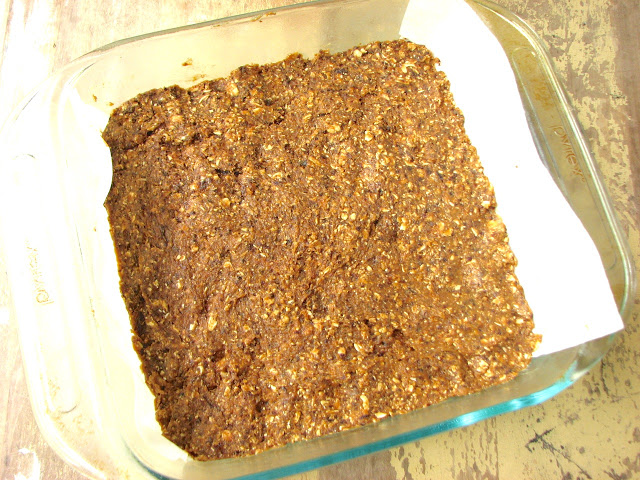
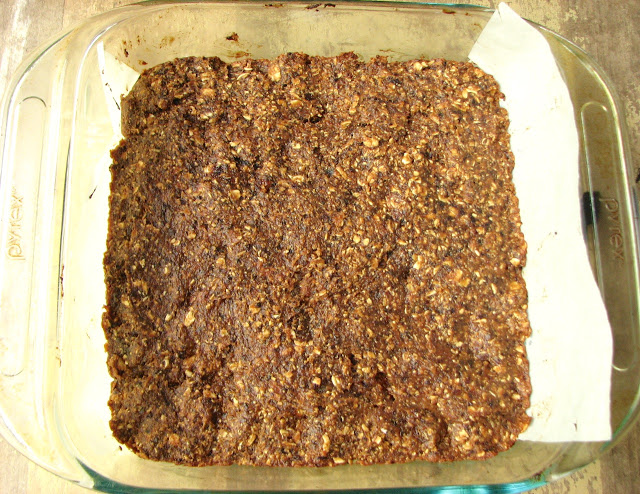
Transfer granola to a rimmed baking sheet and pat down into a thick, even layer.
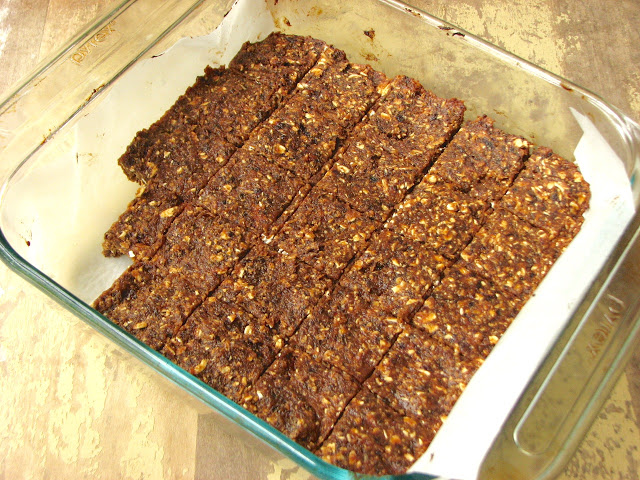
Bake for 75 minutes. Remove oven and use a large metal spatula to flip the granola, keeping it in as large of chunks as possible. Return the granola to the oven and bake for about 60 minutes more until completely dry and no longer at all soft when you take a bite. Let cool before serving.
Store in a tightly sealed container at room temperature.