French Style Lemon Yogurt Cake
A few weeks ago I read the book A Homemade Life by Molly Wizenberg. It was one of those books that, though I enjoyed it while reading it, it wasn't until I had finished the book and was thinking back to it that I realized how well I actually liked it. Each of the short chapters in this book shares a small moment in Molly's life that in some way relates back to the recipe that is printed at the end of every chapter. Of all of the recipes in this book the one that stood out the most to me was her French style lemon yogurt cake. I am a sucker for any type of cake, and this simple recipe looked easy and wonderful, it was at the top of my list.
I was right about this one. Sometimes a recipe comes along that you know you will make again and again. This is one of those recipes. In the past week I've already made it twice, and am excited to whip it together again soon!

As I said, this is a very simple recipe. No need for any fancy equipment or special ingredients. I did use a blender to make some coarse almond flour, but the original recipe calls for 1 1/2 cups of flour instead of the 1 cup of flour and 1/2 a cup of ground almonds. So if you don't feel like grinding up any almonds, don't! But since I had some almonds in the pantry, and Molly suggested trying this substitution, I decided to give it a try.
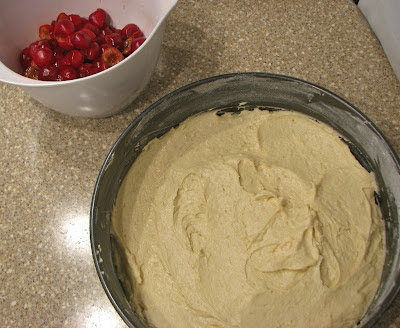
The first time I made this cake I turned it into an almond cake. I didn't have any lemons, and I don't love lemon flavoring in my baked goods, so I decided to substitute with 1/2 a teaspoon of almond extract. It was absolutely delicious! With some raspberries on top and a little whipped cream you have the most delicious, light and summery dessert.
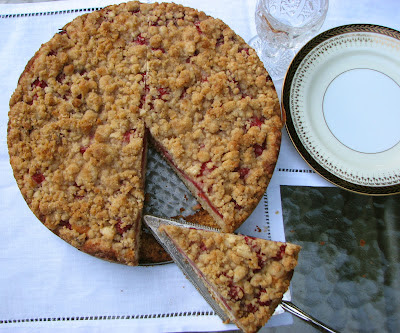
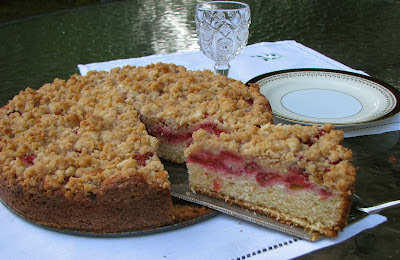
For the second go at the cake I decided to make it as written and add in the lemon flavor. This cake also turned out delicious; sweet and tart and very lemony. The lemon syrup and glaze added moisture and sweetness, a lovely way to top it all off. I paired this variation with some vanilla bean ice cream and it was absolutely wonderful. I probably still prefer the almond version to the lemon one, but both were yummy and worth making again.
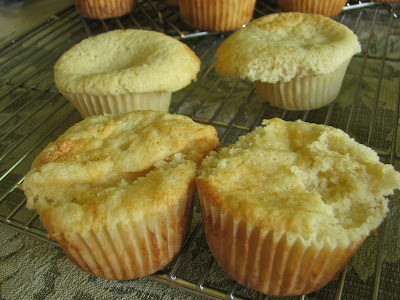
Both cakes had a slight problem with falling during the end of baking. It didn't affect the taste at all, but meant the loss of the beautiful domed top I was going for. I hope to be able to make this cake again without it falling. But either way, I know it will be delicious. I have lots of ideas of different versions of this cake I want to try, so it may make another appearance on this blog sometime soon.

A quick buzz in the blender turns
blanched almonds into almond flour
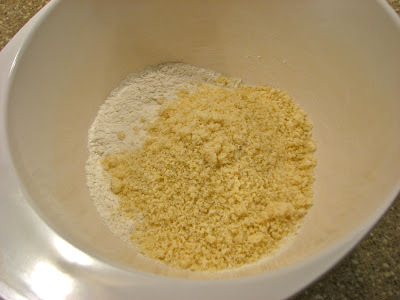
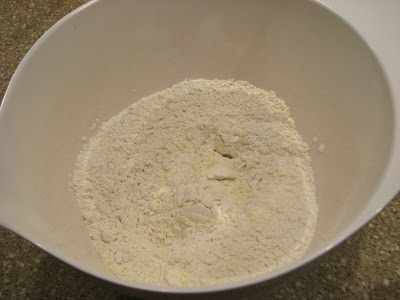
Mix the almond flour into the regular flour,
powder, and salt

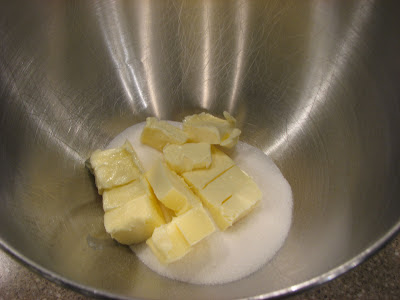
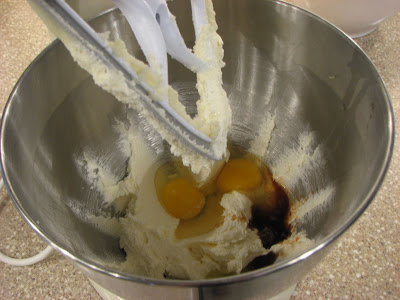
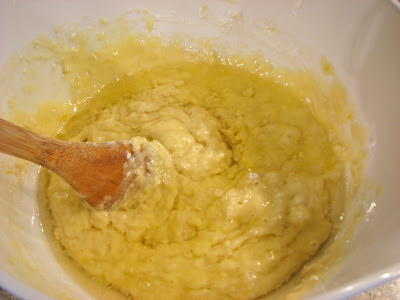
In another bowl combine the eggs, yogurt,
and sugar
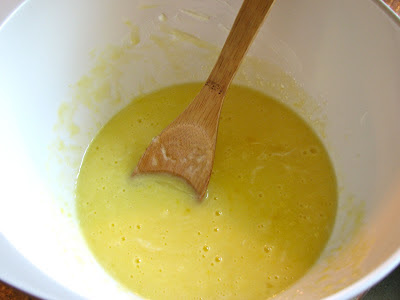
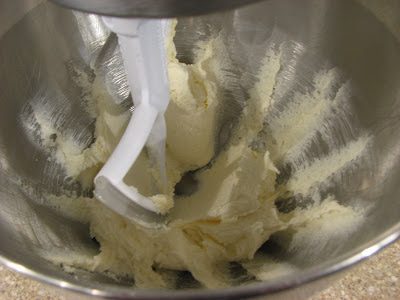
Mix together well
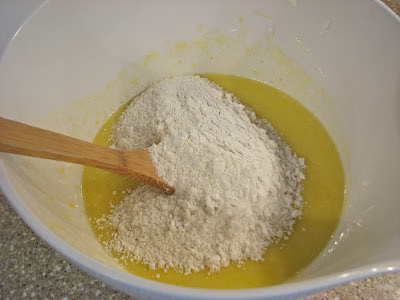
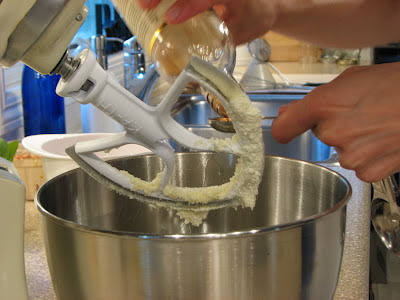
Add the dry ingredients
Finally, add the oil
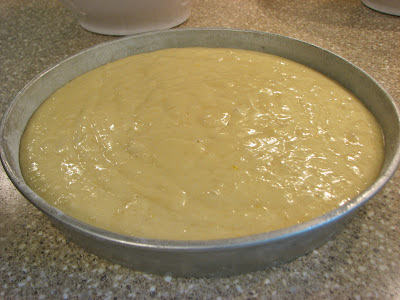
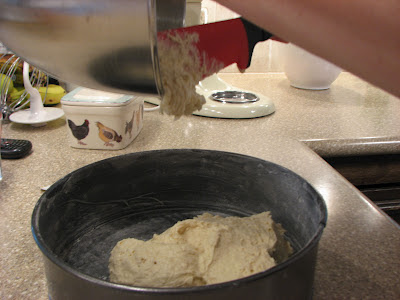
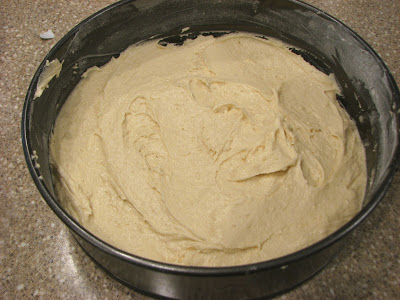
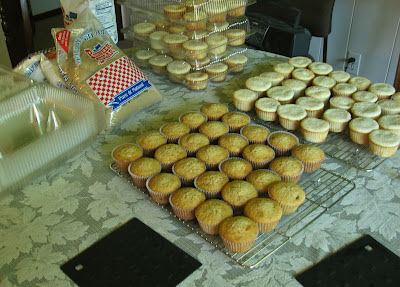
Pour into prepared 9-inch pan, and bake
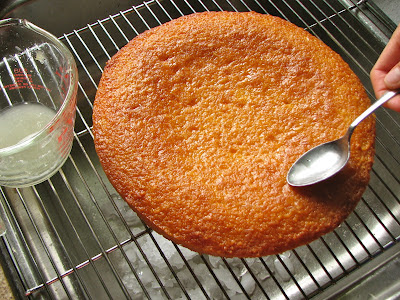
Once baked, cover the cake with
lemon syrup

Finish off with a drizzle of lemon icing

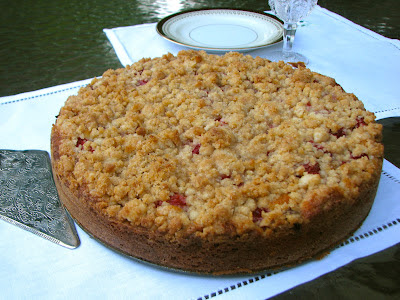
Cake with the book

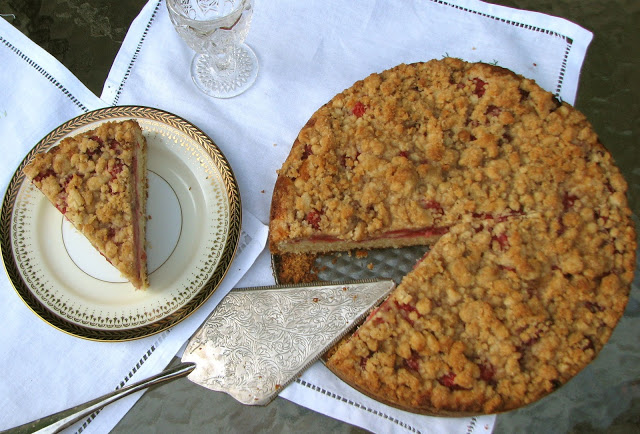
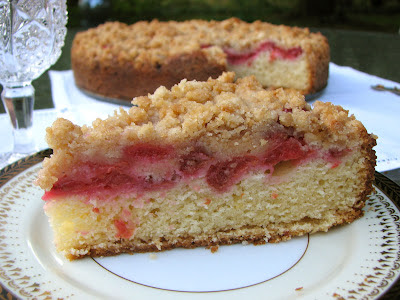
Cut a nice big slice

Dig in
French Style Lemon Yogurt Cake
From: A Homemade Life by Molly Wizenberg
Ingredients
For the Cake
- 1 cups all-purpose flour
- 1/2 cup finely ground blanched almonds
- 2 teaspoons baking powder
- pinch of salt
- 2 teaspoons grated lemon zest
- 1/2 cup plain whole-milk yogurt (not low-fat or non-fat)
- 1 cup sugar
- 3 large eggs
- 1/2 cup vegetable oil, such as canola
For the Syrup:
- 1/4 cup powdered sugar, sifted
- 1/4 cup lemon juice
For the Icing:
- 1 cup powdered sugar, sifted
- 3 tablespoons lemon juice
Directions
Preheat the oven to 350 degrees. Line the bottom of a 9-inch round cake pan with parchment paper and then grease the pan and the parchment with butter or cooking spray.
In a medium bowl whisk together the flour, almonds, baking powder and salt. Add the lemon zest and mix thoroughly.
In a large bowl, combine the yogurt, sugar and eggs, and mix well. Add the flour mixture to the yogurt mixture and stir until just combined. Add the oil and stir well until it comes together into a smooth yellow batter. Pour the batter into the prepared cake pan.
Bake the cake for 25 to 35 minutes until a toothpick or cake tester comes out clean. Do not over bake.
Cool the cake in the pan on a wire rack for 15 minutes. Then invert the cake unto a large plate, remove the parchment paper and invert the cake back onto the wire rack so it sits upright.
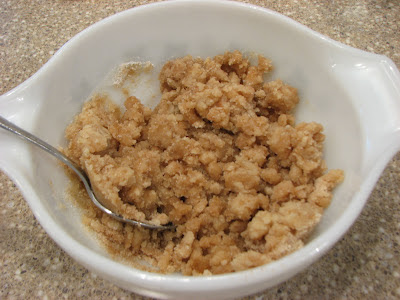
In a small bowl, whisk together the powdered sugar and lemon juice for the syrup. Place the cake on the wire rack over a rimmed baking sheet or over the sink and slowly spoon the syrup atop the warm cake. Some of the syrup will run down the sides of the cake. Then cool the cake completely.
In a small bowl, combine the powdered sugar and lemon juice for the icing. Whisk well to completely dissolve the sugar. Spoon or drizzle the icing over the cooled cake.