Christmas Cookies 2011
I absolutely love the Christmas season! It is basically over now so I'm a little sad. The Christmas music has for the most part stopped, and I saw three trees on the side of the road last night ready for the garbage pickup. Posting these pictures is therefore making me happy, remembering the fun and excitement I felt last week when I was preparing for the parties ahead.
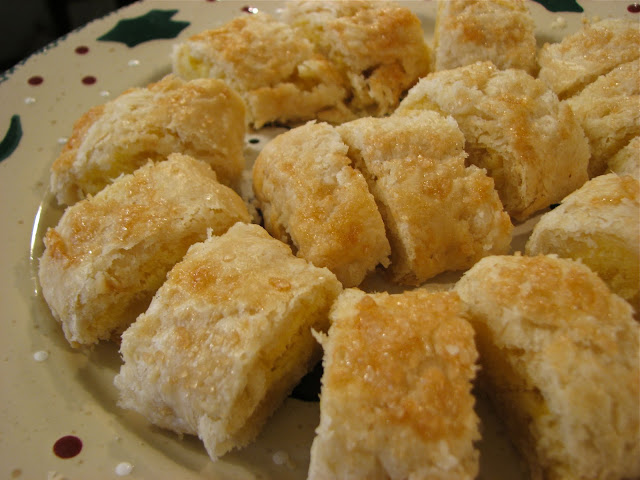
Christmas cookies have become a fun tradition in my house, every year my sister and I try something different. Each year the cookies get a little better as we learn more about how best to decorate them. This year is the second year we've tried royal icing for our Christmas cookies. It isn't the most flavorful icing, but it produces the best looking cookies in my opinion. I love the smooth shiny finish the cookies get, and I love how the icing hardens up completely so you don't have to worry about wrecking your labor intensive decorations.
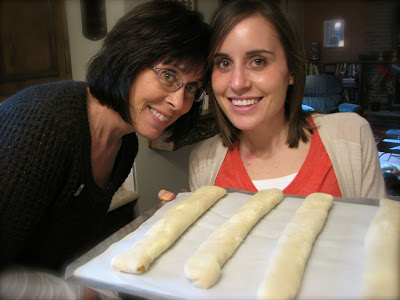
Lara and I made two batches of cookies this year. For one of the batches we invited our cousin Bailey over to help decorate. We had a lot of fun trying all sorts of different designs. Some turned out really cool, and some not so much, but that's part of the fun. The second batch was all Lara. She spent a long time looking at different cookie designs all over the web and finally decided on two she wanted to try. I had nothing to do with this batch, it was all her. I just took the pictures. I love how they turned out, I think she did a fantastic job! It was a lot of fun, I can't wait until next year to do it all over again!
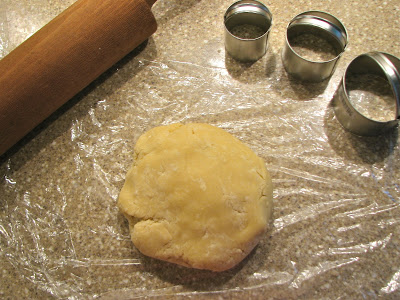
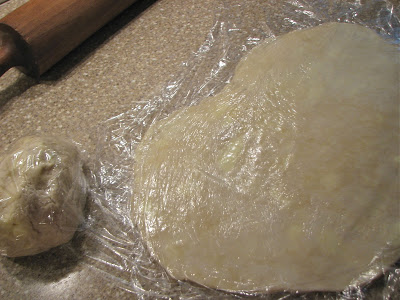
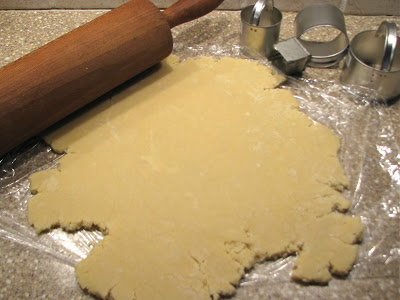
The dough, ready for rolling
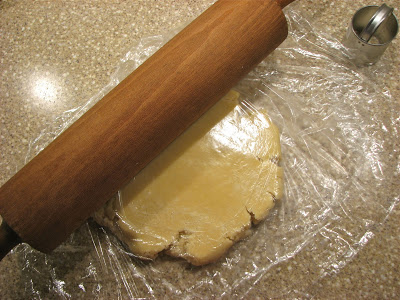
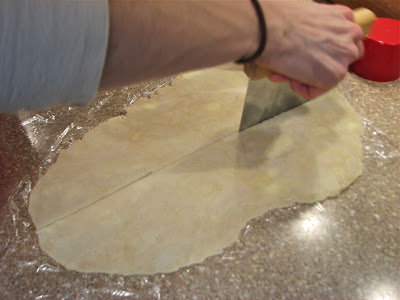
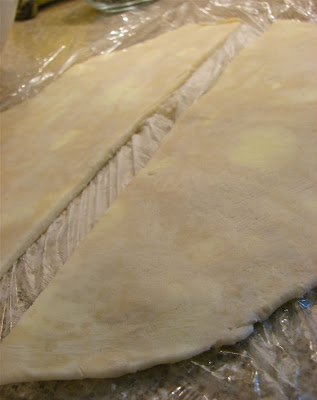
New trick this year, roll the dough out between
two sheets of plastic wrap, it worked beautifully,
no sticking and no need to use extra flour, making the
cookie dense and tough
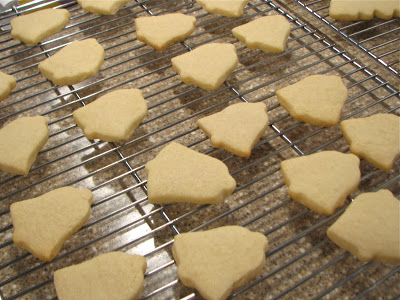
All rolled out and ready to cut
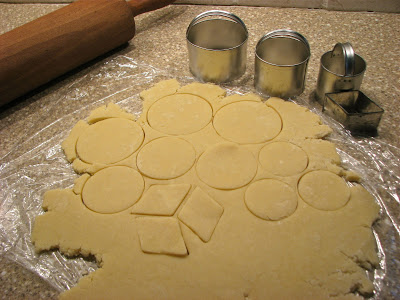
Circles and diamonds for this batch
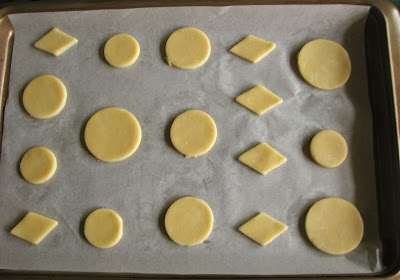
Put the cut out dough on cookie sheets and refrigerate
for 5-10 minutes to firm them up
(so they don't spread as much during baking)
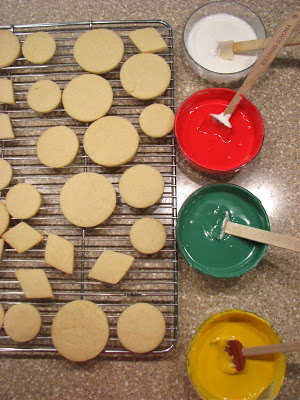
Cookies and icing all ready to go
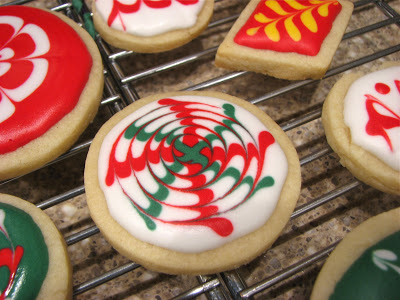
Some of the creations
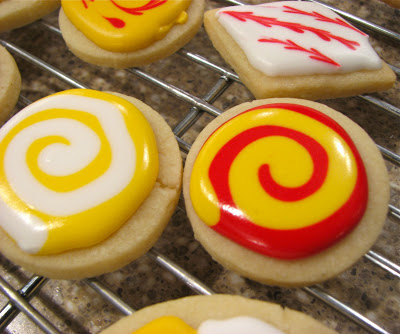
Swirls!
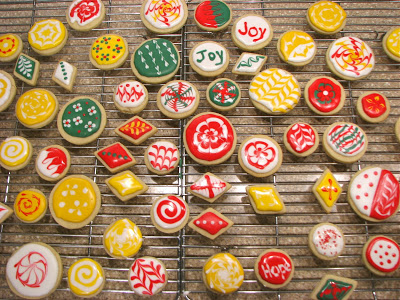
We did them all!

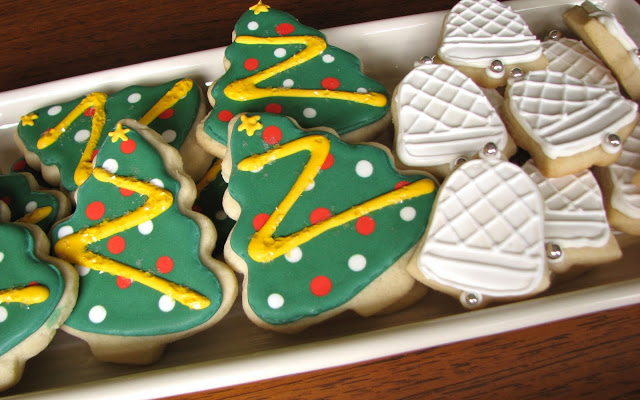
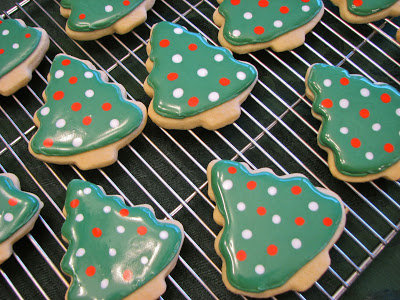
Lara's batch, first the trees
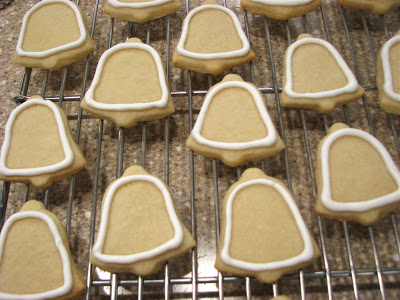
Then the bells
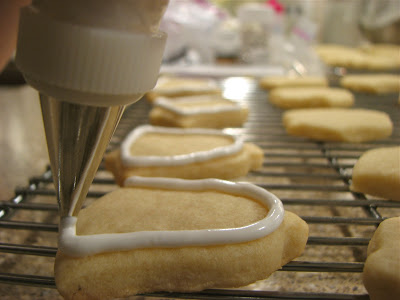
Piping a border
Aren't they cute?
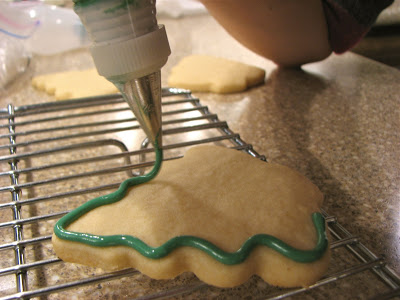
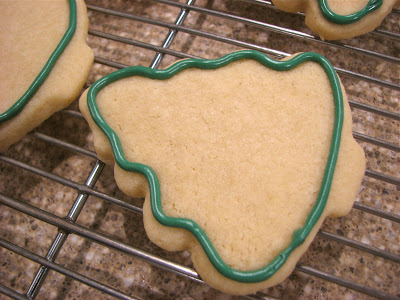
Now for the trees
Ready for filling
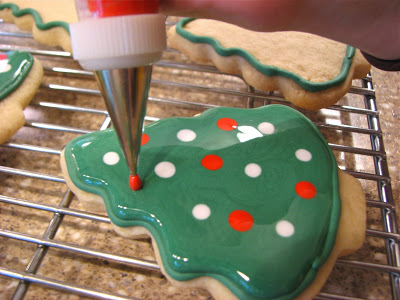
Adding the dots while the green is still wet
Time to dry
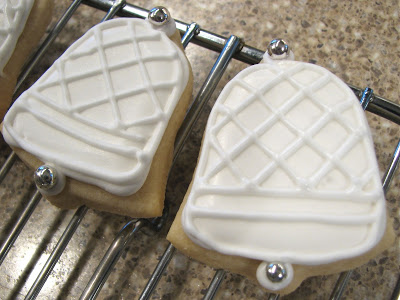
The finished bells!
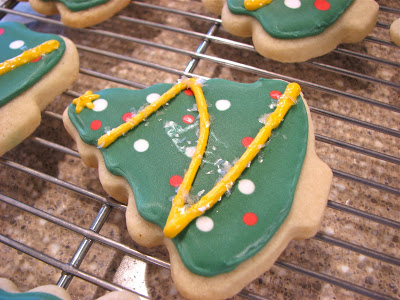
Add a gold garland and the trees are finished too

I liked the trees the best!

All done for another year :(
Check out Christmas Cookies 2012 for more great ideas
Vanilla Almond Sugar Cookies
From: Bake at 350
Ingredients
- 3 cups unbleached, all-purpose flour
- 2 teaspoon baking powder
- 1 cup sugar
- 2 sticks salted butter, cold
- 1 egg
- 3/4 teaspoon pure vanilla extract
- 1/2 teaspoon pure almond extract
Directions
Combine the flour and baking powder, set aside. Cream the sugar and butter. Add the egg and extracts and mix. Gradually add the flour mixture and beat just until combined, scraping down the sides of the bowl. The dough will be crumbly, so knead it together with your hands as you scoop it out of the bowl for rolling
Roll out between two pieces of plastic wrap and cut into shapes. Place on parchment lined baking sheets. Put the unbaked cookies in the fridge or freezer for 5-10 minutes. Bake for 10-12 minutes at 350 degrees. Let sit a few minutes on the sheet, then transfer to a cooling rack.
Royal Icing
From sweetopia
Ingredients
- 1 teaspoon cream of tartar
- 1 kilogram (2.25 lbs.) powdered icing sugar
*** Note; if your meringue powder has no vanilla flavour (vanillin powder) in it, add a teaspoon of clear vanilla to this recipe
Directions
In mixer bowl, pour in the warm water and the meringue powder. Mix it with a whisk by hand until it is frothy and thickened…about 30 seconds. Add the cream of tartar and mix for 30 seconds more.
Pour in all the icing sugar at once and place the bowl on the mixer. Using the paddle attachment on the lowest speed, mix slowly for a full 10 minutes. Icing will get thick and creamy.
Cover the bowl with a dampened tea-towel to prevent crusting and drying.
Tint with food colourings or thin the icing with small amounts of warm water to reach the desired consistency.