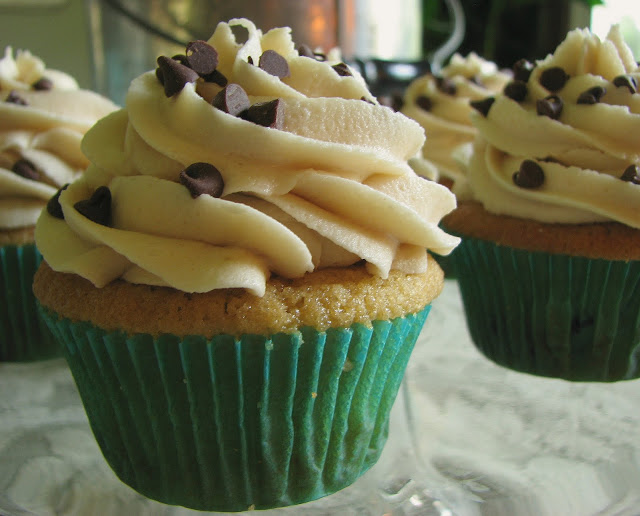
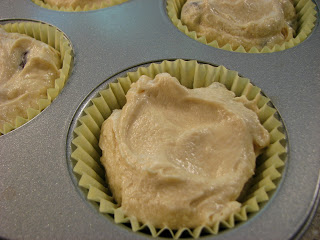
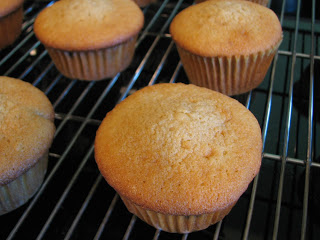
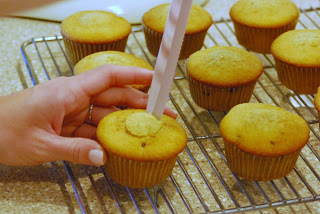
Triple Citrus Bars
My mom had to make a dessert for a potluck cookout earlier this month and she chose to make these bars. I helped out a little and took some pictures to document the process. In the past several years, whenever I'm around I am usually the one to make the dessert or the salad or whatever else is needed, so it was nice to see my mom back in the kitchen making her own dessert (although, it makes me want to jump right in and make my own too!). It was fun to double team these yummy bars, sharing the excitement of preparing a beautiful dish.
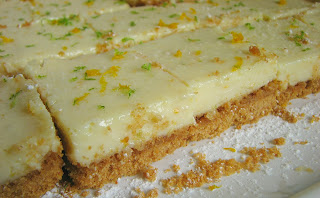
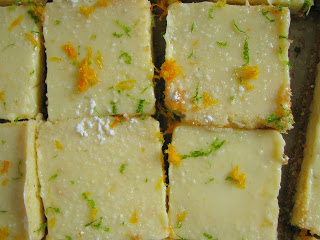
If you are looking for a light, fresh and citrusy dessert this summer, this is the bar for you. It was the perfect choice for an outdoor party by the pool. They weren't too difficult to make and they are a nice twist on the traditional lemon or lime bars. I enjoyed the three kinds of fruits and the beautiful flavors and color they added to the bars. The buttery, sandy crust is a nice contrast to the smooth and tart citrus filling. And the best part, they can be made the night before and chilled in the fridge overnight. It doesn't get much better than that! Overall, a fresh and satisfying dessert for a hot summer night.


Triple Citrus Bars
from The Complete America's Test Kitchen TV Show Cookbook
Ingredients
Crust
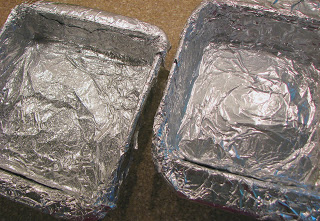
Adjust an oven rack to the middle position and heat oven to 325 degrees. Line an 8-inch square pan with foil and spray with vegetable oil spray.
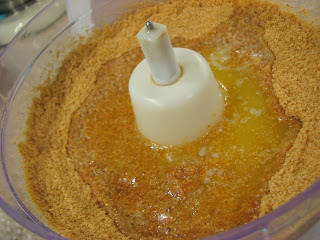
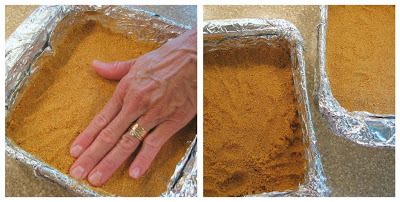
For the crust: pulse crackers in food processor until fine (about 10 seconds), you should have about 1 1/4 cups of crumbs. Add the brown sugar and salt, process to combine. Drizzle butter over the crumbs and pulse until crumbs are evenly moistened with butter. Press the buttered crumbs firmly and evenly into the prepared pan. Bake for 18-20 minutes, until deep golden brown. Cool on a wire rack.
For the filling: In a medium bowl, stir together cream cheese, zest and salt with a spatula until softened, creamy and thoroughly combined. Add sweetened condensed milk and whisk until smooth and completely incorporated. Whisk in the egg yolk. Add the lime, lemon and orange juice and whisk gently to incorporate (the mixture should thickened slightly).
Pour the filling into the cooled crust and spread to corners, smoothing the surface with a rubber spatula. Bake until the filling is set and the edges begin to pull away slightly from the sides, 15-20 minutes. Cool on a wire rack to room temperature, 1-1 1/2 hours. Cover with foil and refrigerate until thoroughly chilled, at least two hours.
Lift the bars from the pan using the foil and cut into 16 squares. May be sprinkled with toasted coconut if desired.
If you are looking for a light, fresh and citrusy dessert this summer, this is the bar for you. It was the perfect choice for an outdoor party by the pool. They weren't too difficult to make and they are a nice twist on the traditional lemon or lime bars. I enjoyed the three kinds of fruits and the beautiful flavors and color they added to the bars. The buttery, sandy crust is a nice contrast to the smooth and tart citrus filling. And the best part, they can be made the night before and chilled in the fridge overnight. It doesn't get much better than that! Overall, a fresh and satisfying dessert for a hot summer night.
Fresh and tart, a refreshing dessert
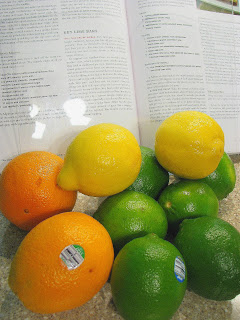
All the fruit, ready and waiting
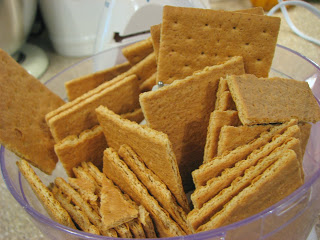
Graham crackers for the crust
Crush them up and add some butter
All mixed and ready for the pan
The prepared pans, we made a double batch
Pour the crumbs into the pan
Press and bake!
Get the filling ready, start with the cream cheese and zest
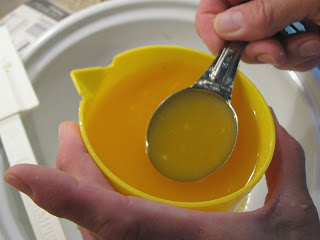
Then the juice
Ready to go
Grab an egg yolk
Once it's all together, pour into the pans,
it's as easy as that!
Cut and ready to eat
Ahhh...refreshing!
from The Complete America's Test Kitchen TV Show Cookbook
Ingredients
Crust
- 5 ounces animal crackers (I didn't have any so I used graham crackers and they turned out just fine)
- 3 tablespoons brown sugar
- Pinch of table salt
- 4 tablespoons (1/2 stick) butter, melted and slightly cooled
- 2 ounces cream cheese, room temperature
- 1 1/2 teaspoons grated lime zest
- 1 1/2 teaspoons grated lemon zest
- 1 1/2 teaspoons grated orange zest
- Pinch of table salt
- 1 (14 ounce) can sweetened condensed milk
- 1 large egg yolk
- 6 tablespoons lime juice
- 1 tablespoon lemon juice
- 1 tablespoon orange juice
Adjust an oven rack to the middle position and heat oven to 325 degrees. Line an 8-inch square pan with foil and spray with vegetable oil spray.
For the crust: pulse crackers in food processor until fine (about 10 seconds), you should have about 1 1/4 cups of crumbs. Add the brown sugar and salt, process to combine. Drizzle butter over the crumbs and pulse until crumbs are evenly moistened with butter. Press the buttered crumbs firmly and evenly into the prepared pan. Bake for 18-20 minutes, until deep golden brown. Cool on a wire rack.
For the filling: In a medium bowl, stir together cream cheese, zest and salt with a spatula until softened, creamy and thoroughly combined. Add sweetened condensed milk and whisk until smooth and completely incorporated. Whisk in the egg yolk. Add the lime, lemon and orange juice and whisk gently to incorporate (the mixture should thickened slightly).
Pour the filling into the cooled crust and spread to corners, smoothing the surface with a rubber spatula. Bake until the filling is set and the edges begin to pull away slightly from the sides, 15-20 minutes. Cool on a wire rack to room temperature, 1-1 1/2 hours. Cover with foil and refrigerate until thoroughly chilled, at least two hours.
Lift the bars from the pan using the foil and cut into 16 squares. May be sprinkled with toasted coconut if desired.