Before I started school a few weeks ago, my grandma asked if my sister and I would like to come over and cook an Italian dinner. She had picked up a magazine from Costco called
Ultimate Italian, a Better Homes and Garden magazine, and thought that we could have some fun with it; she was right! I had never had the chance to cook with my grandma before, but I know she is an excellent cook with tons of experience from her days of dinner parties and other gatherings, so I was really excited to have this chance.
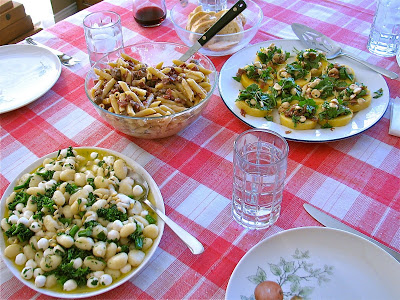
After paging through the magazine (multiple times) we finally decided on a menu:
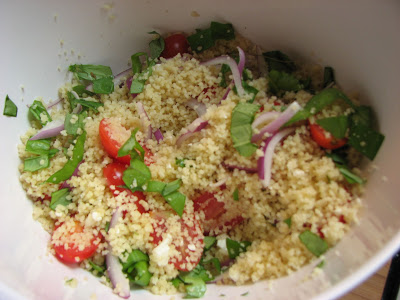
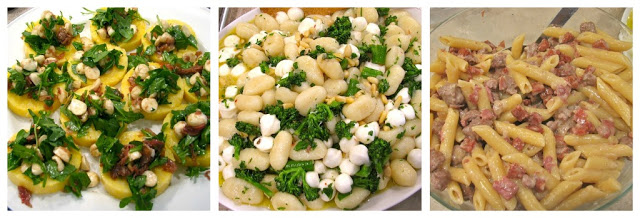
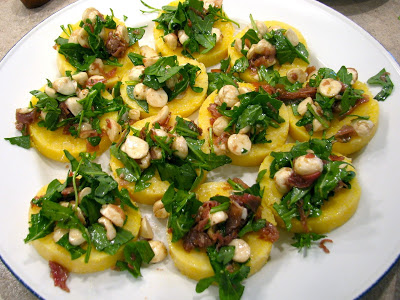
Polenta with Marinated Mozzarella Topping
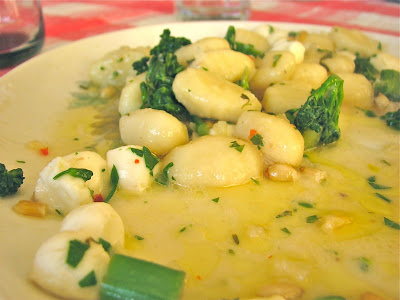
Gnocchi with Mozzarella, Broccolini, and Warm Anchovy Sauce
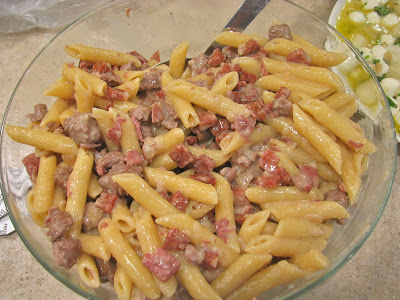
Penne with Piedmont Sauce
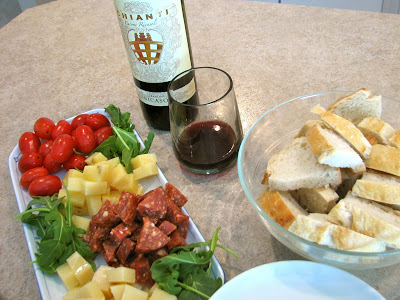
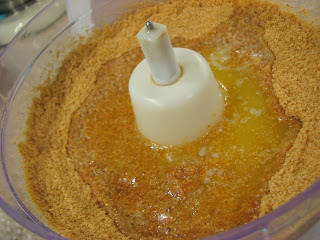
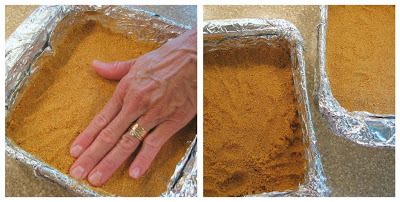
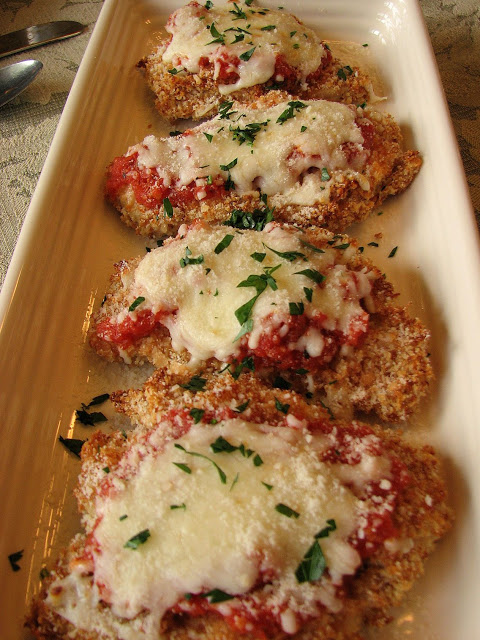
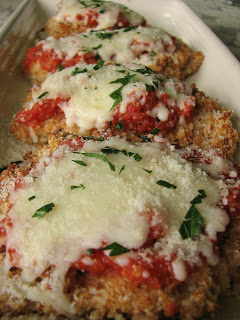
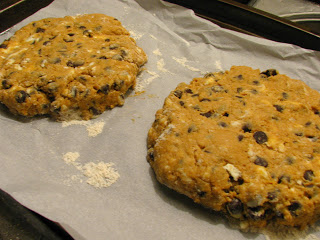
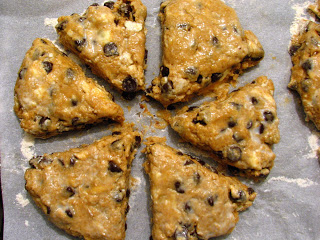
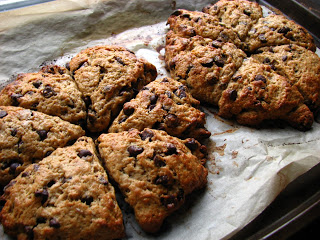
Of course the day included a fun shopping trip where we went to Russo's, a fun international grocery store, to find most of the ingredients to make our meal a success. We bought cheese, salami, espresso, pasta, sausage, polenta (some day I'll make it myself, but not this day!), and of course the wine. We stopped at Meijer to pick up a few items of produce and then it was back home; let the fun begin! Check out the pictures below to see how the evening went. I recommend all three dishes. They were all so flavorful and complex in flavor. I don't think I could pick a favorite. Just make them all!
I just know that this is going to become one of my best kitchen memories. I had so much fun, the food was delicious, and everyone enjoyed the whole experience. It really doesn't get better that this. Food, family, and a ton of fun. I definitely hope we can do it again soon!
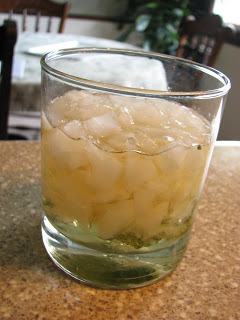
No one wanted to have a caffeine buzz all night,
so we had espresso first, before the meal, not
traditional, but who cares.
A toast to start off the evening right.
Starting the sauce,
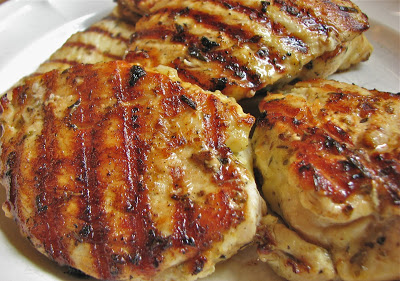
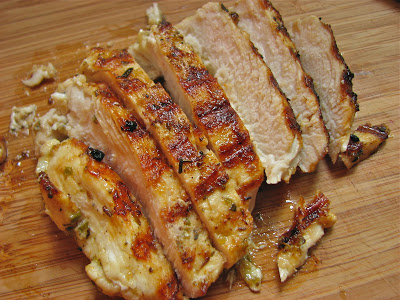
browning the sausage
Chopping the onions,
happens at almost every meal
Salami, so good!
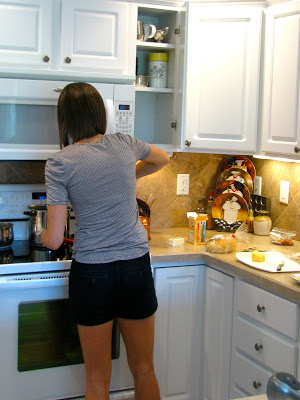
Me cooking = very happy
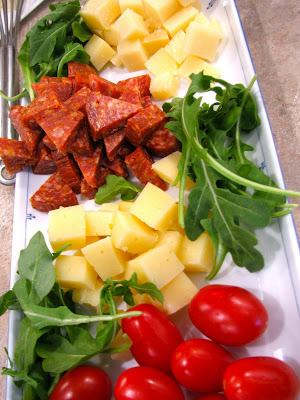
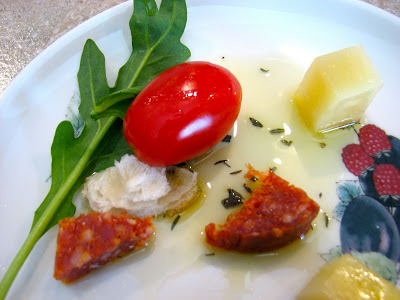
Probably my favorite thing, the
antipasti platter
(just give me cheese and I'm happy)
The whole appetizer
(really a meal in itself)
Mmmm...so good
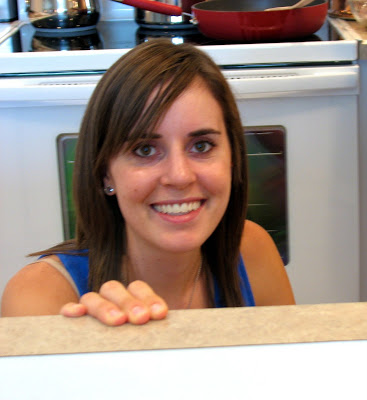
Grandma checking out what is going on
(I think she approves)
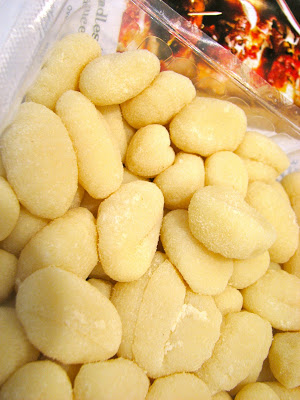
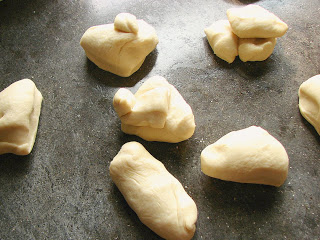
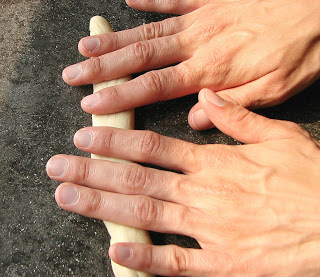
Getting the gnocchi ready
The penne, ready to go
and the gnocchi
and of course, the polenta
We're ready to eat!
One more look
Ready to enjoy, we probably had enough food
for 10 more people, but who cares
My delectable looking plate
Potato dumplings, swimming in flavorful sauce
Stuffed and happy.
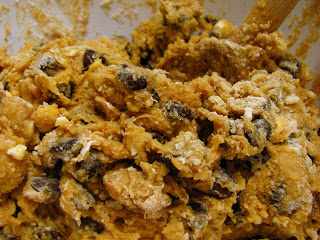
We ended the evening with some gelato
and a couple episodes of MASH!
- 2 Tablespoons olive oil
- 1 Tablespoon balsamic vinegar
- 1/2 teaspoon finely shredded lemon peel
- 1/4 teaspoon black pepper
- 1/4 teaspoon minced garlic
- 6 ounces chopped fresh mozzarella cheese
- 1 ounce chopped prosciutto
- 1/3 cup coarsely chopped arugula
- 2 tablespoons fresh basil
In a medium bowl, whisk together olive oil, vinegar, lemon peel, pepper and garlic. Stir in mozzarella and prosciutto. Cover and chill for up to 4 hours. Before serving, stir in arugula and basil. Spoon topping over polenta rounds.
Gnocchi with Mozzarella, Broccolini and Warm Anchovy Sauce
From: Ultimate Italian, a Better Homes and Gardens Special Interest Pubication
Ingredients- 1/4 cup olive oil
- 1/4 cup finely chopped shallots (2 small)
- 3 tablespoons butter
- 3 canned anchovy fillets, rinsed and patted dry, and finely chopped
- 1/4 teaspoon crushed red pepper
- 2 tablespoons lemon juice
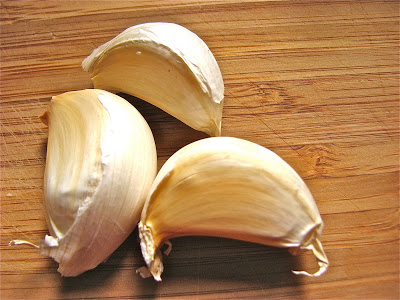
- 2 large cloves garlic, minced
- 1 1/2 teaspoons snipped fresh thyme
- 1/4 teaspoon salt
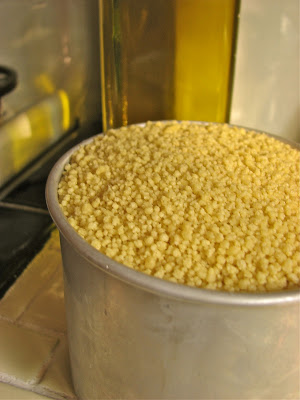
- 1 1-pound package shelf-stable potato gnocchi
- 8 ounces broccolini or broccoli, trimmed and chopped
- 1 pound perlini, perle, or other fresh mozzarella cheese, cut into 1-inch pieces
- 1/4 cup pine nuts, toasted
- 1 tablespoon fresh Italian parsley
Directions
For anchovy sauce, in a small saucepan, heat oil, shallots and butter over medium-low heat until butter melts. Stir in anchovies and crushed red pepper. Cook and stir until heated through, using the spoon to mash anchovies as you stir. Remove from heat. Stir in lemon juice, garlic, thyme, and salt. Let stand at room temperature for 20 minutes.
Meanwhile, cook gnocchi according to package directions, adding the broccolini to water during the last 3 minutes of cooking; drain. Return gnocchi mixture to hot pan; cover to keep warm.
Warm the anchovy sauce over medium heat for 1 minute. Add anchovy sauce to gnocchi mixture along with mozzarella; toss to coat.
To serve, transfer gnocchi mixture to a large serving dish. Top with pine nuts and parsley. Serve immediately.
Penne with Piedmont Sauce
From: Ultimate Italian, a Better Homes and Gardens Special Interest Pubication
Ingredients- 1/4 cup olive oil
- 8 ounces Italian sausage links, casings removed
- 1 cup chopped onion
- 6 large cloves garlic, thickly sliced
- 4 ounces salami, chopped
- 2 ounces prosciutto, chopped
- 1/2 cup red wine
- 1 1/2 cups beef stock or broth
- 1/2 cup whipping cream
- 1/2 teaspoon black pepper
- 3 cups dried penne pasta
Directions
In a large skillet or saute pan, heat the olive oil over medium-high heat. Add sausage; cook and stir for 5 to 6 minutes or until browned, breaking up the meat with a wooden spoon as it cooks. Drain fat from the sausage, reserving 2 to 3 tablespoons fat. Remove the sausage from the pan and set aside. Return fat to pan.
In the same pan, cook the onion and garlic for 2 to 3 minutes or until the garlic starts to brown and the onion becomes translucent. Add the salami, prosciutto, and cooked sausage. Pour in the red wine, stirring to scrape up the flavorful browned bits that may stick to the bottom of the pan. Simmer about 2 minutes or until liquid is reduced by half. Add the stock, cream and pepper, and bring to a boil. Reduce heat and simmer for 12 to 15 minutes or until the mixture reaches sauce consistency.
Meanwhile, in a large pot, cook pasta in lightly salted water accordion got package directions, except undercook by 1 to 2 minutes. Drain and return pasta to pot. Stir in simmered sauce mixture. Return to a simmer. Cook and stir for 3 to 5 minutes or until sauce is absorbed slightly and pasta is al dente.