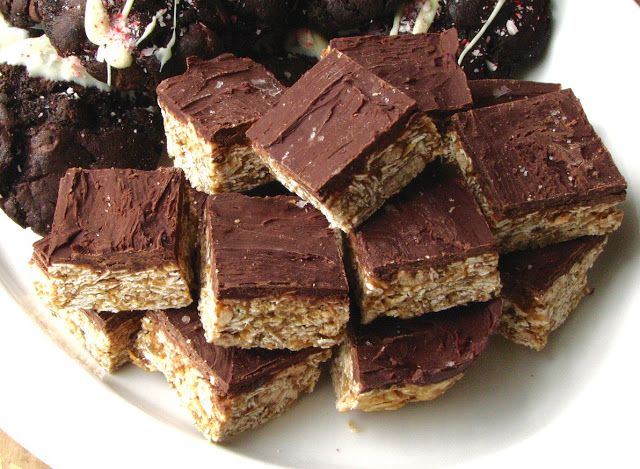
No Bake Gingerbread Oat Bars
The new year has arrived, time sure does fly. A lot has happened in the past year, and a lot is going to happen in 2016. I can't believe that I am going to graduate this year and start residency. This is so exciting, and yet completely terrifying at the same time. One day at a time, that's the way to do it.
Anyway, on to these no bake oat bars. I had been looking for a no bake oat bar to have on hand for a quick snack for those afternoons where you suddenly realize that you didn't eat enough for lunch. These are the perfect solution; hearty and dense, packed full of all those whole grain oats, chewy and perfectly sweet. I was in the Christmas spirit when I made these, so I added a little bit of molasses for that delicious gingerbread flavor. These bars sliced up beautifully, they won't crumble and fall apart on you like it seems so many no bake bars do. If you want a simple and delicious snack for the upcoming week, I highly recommend these tasty bars.
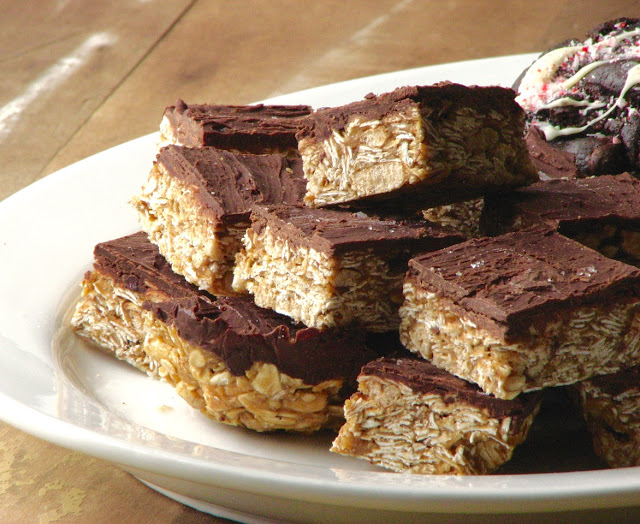
Like I said, I added a bit of molasses to this recipe for a gingerbread flair, but if you'd rather not have that flavor, go ahead and replace the molasses with a little more honey. The melted chocolate on top makes these bars extra special, but if you're looking for something a little more simple you could always skip it, but I do highly recommend a little chocolate, it's just so good. And although I haven't tried it, I think you could easily add some dried fruit and/or nuts to the mixture for a little extra punch of flavor. I may try experimenting with that soon! Whatever you decide, enjoy!
No Bake Gingerbread Oat Bars
Adapted from Tutti Dolci
Ingredients
- 3/4 cup (180 grams) cashew butter (or your favorite nut butter)
- 1/4 cup (3 ounces) honey
- 2 tablespoons (40 grams) molasses
- 1/4 teaspoon salt
- 1 teaspoon cinnamon
- 1 teaspoon vanilla
- 3 cups (240 grams) old fashioned rolled oats
- 1 cup (15 grams) puffed kalmut
- 1 cup chocolate chips
- Sea salt for topping, optional
Directions
Line an 8-inch square baking pan with foil and spray with nonstick spray. Combine cashew butter, honey, molasses, salt, and cinnamon in a heavy saucepan over medium-low heat, stirring until melted and smooth. Remove saucepan from heat and stir in vanilla, oats, and puffed kalmut until combined. It will be very sticky and thick. Scrape mixture into prepared pan and use a spatula lightly coated with nonstick spray to press evenly into pan. Try to work quickly, it firms up as it cools.
Place chocolate chips in a glass bowl and microwave in 15-30 second intervals until melted and smooth. Pour melted chocolate over bars and smooth with an offset spatula, then top with flaky sea salt if using. Place bars in the refrigerator and chill until set. Lift foil to remove bars from pan and place on a cutting board; cut into squares with a sharp knife.