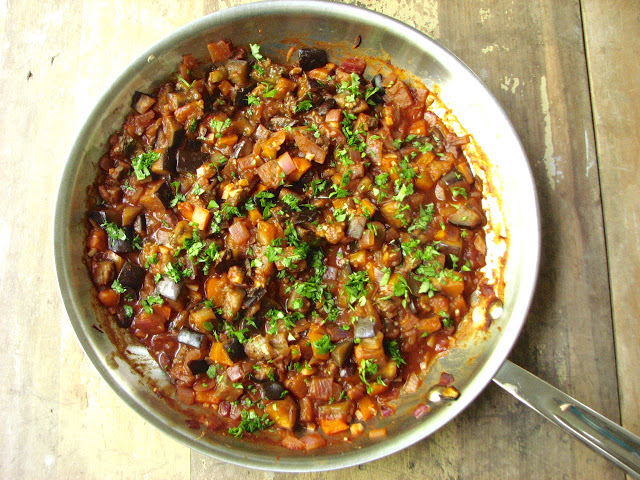
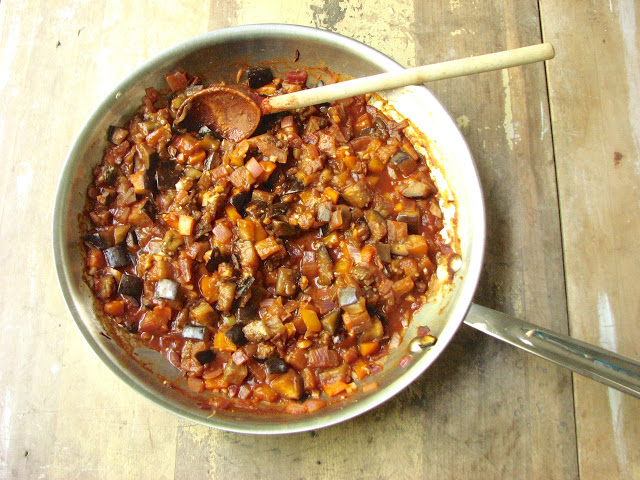
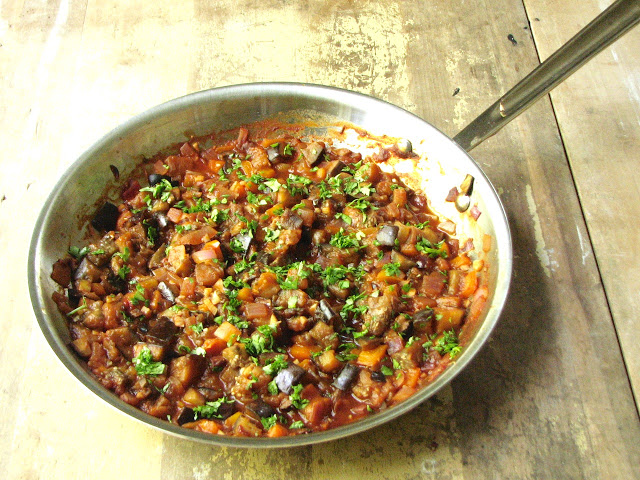
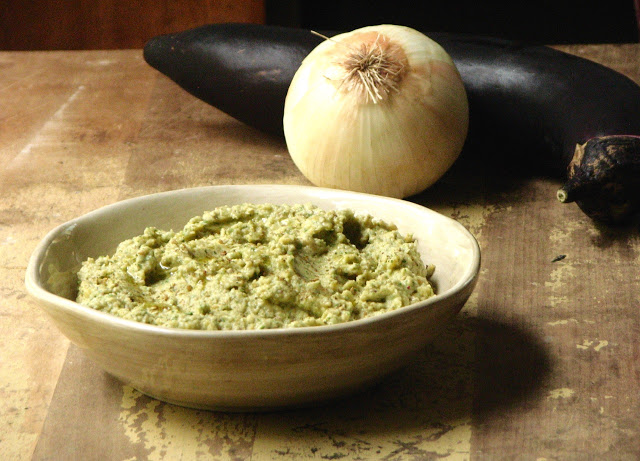
Chunky Mediterranean Eggplant Dip
Mediterranean food is probably my favorite thing to eat. It is so fresh and light and delicious. Now, I know that the word "Mediterranean" encompasses a huge diversity of food from many, many countries and regions, but I really do love it all. I have never been disappointed with something Mediterranean inspired. This dip caught my eye very quickly since it kind of combines two of my favorite things, hummus and baba ghanoush.
Chickpeas and eggplant along with lemon, some spices and fresh herbs make this wonderful dip that I can easily just eat with a spoon. With a side of pita chips, or an assortment of vegetables this dip really does become the star. Nothing bland about this combination, it's perfect for pretty much anything.
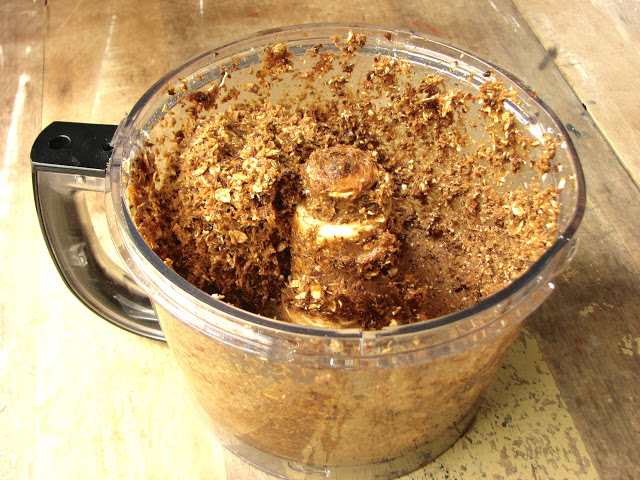
This is a pretty simple recipe, you really just throw everything in the food processor and let it do the work. The only prep work you really have to do is to broil or grill the eggplant until completely charred and black, and you can do this a day ahead if you want. I decided to cook my garlic this time, but the original recipe calls for raw garlic which is also good, so if you don't feel like getting another pan dirty you can just throw it in raw. Then just pulse away until you reach the consistency you want. It's as easy as that!
Chunky Mediterranean Eggplant Dip
Adapted from From The Land We Live On
Ingredients
- 1 large (or two small-ish) eggplants (about 1 lb)
- 1-2 cloves of garlic
- 4 tablespoons finely diced onion (or a small shallot)
- 3/4 teaspoon sea salt
- 1/8-1/4 teaspoon cayenne pepper
- 1 1/2 teaspoon. za’atar + more for garnish
- 1-2 tablespoon freshly squeeze lemon juice
- 2 tablespoons extra virgin olive oil + more for finishing
- 2 tablespoons tahini
- 1 teaspoon honey
- 2 cups (or 1 can) of cooked chickpeas
- 1/4 cup chopped flat parsley
- 1/4 cup coarsely chopped cilantro + more for garnish
- 2 tablespoons mint leaves
Directions
Turn on the broiler, poke some holes in the eggplant, and broil for about 20 – 30 minutes, rotating every 5 – 10 minutes, until the eggplant collapses and is charred on all sides. Remove, and let it cool. Once cool to touch, peel and roughly chop it.
Place oil in a small frying pan. Add the garlic and cook over medium-low heat until just starting to brown.
Combine the garlic, shallot, salt, pepper, za’atar, lemon juice, tahini, and honey in your food processor and pulse until well combined.
Add eggplant, chickpeas, and herbs to the food processor and pulse several times, until combined, yet still chunky. This dip is best with some texture, but pulse until it reaches your desired consistency.
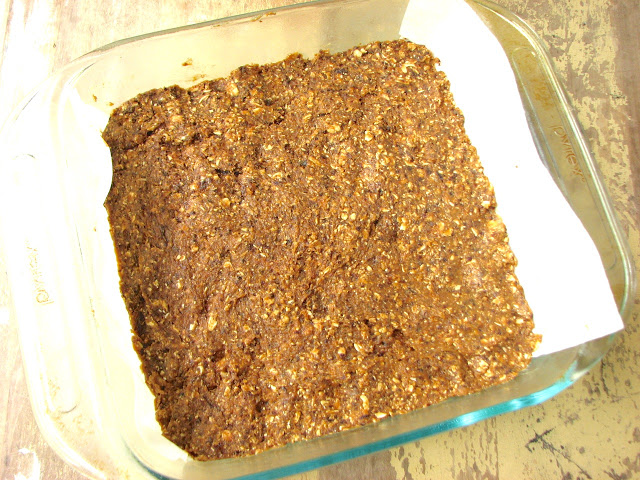
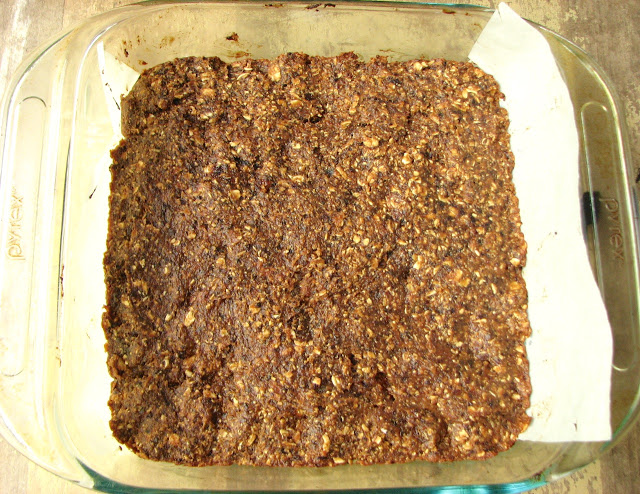
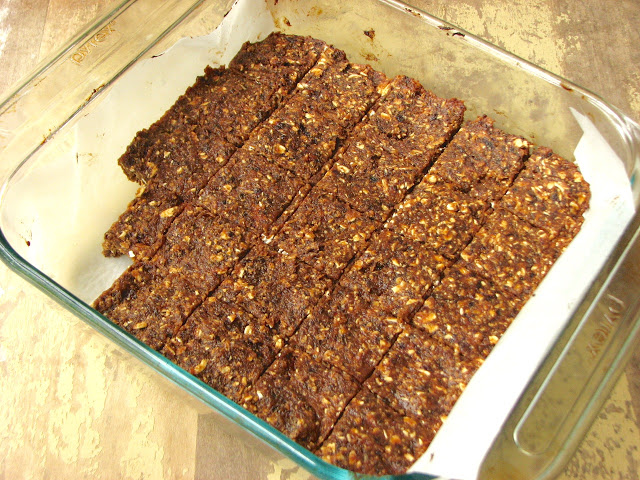
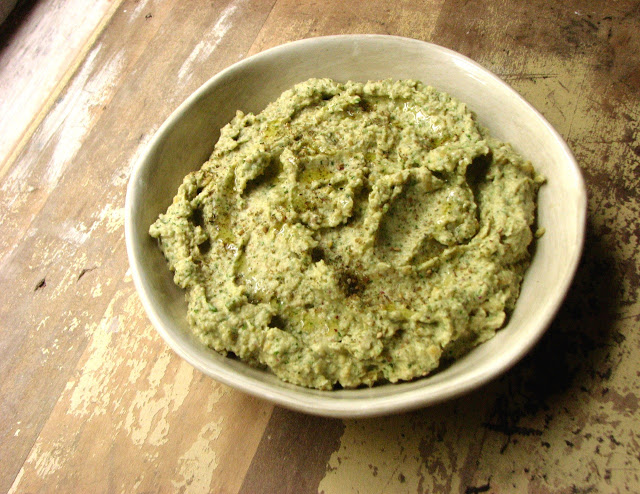
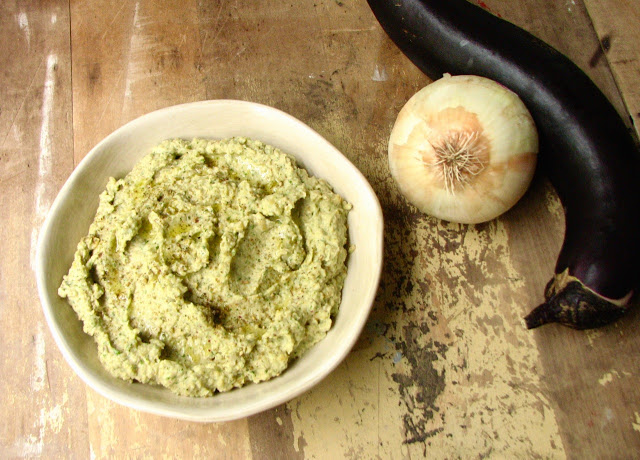
Transfer the dip to a bowl, drizzle with extra olive oil, sprinkle with za’atar (I also used a little sumac), garnish with some more herbs, and serve with veggies, crackers, or pita chips.