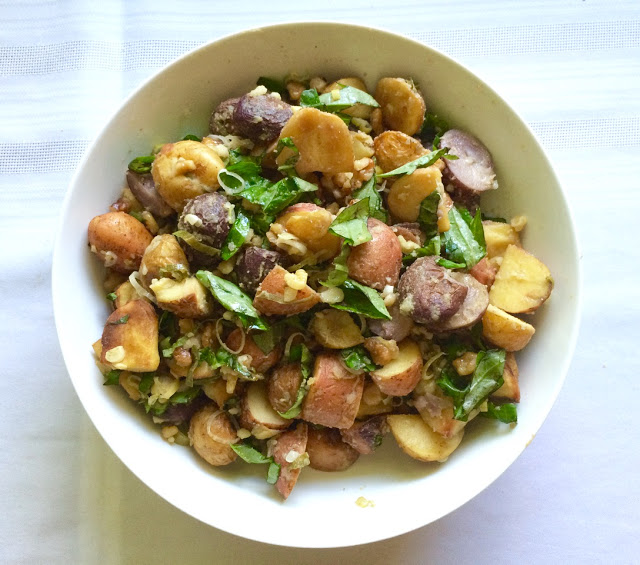
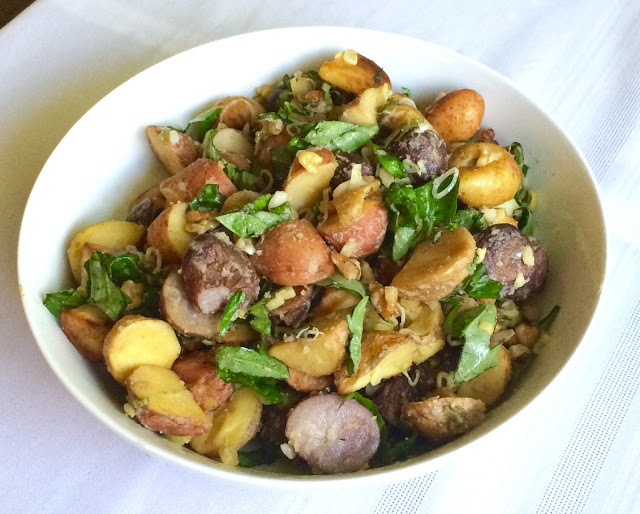
Roasted Potato Salad with Mustard Vinaigrette
As I mentioned a
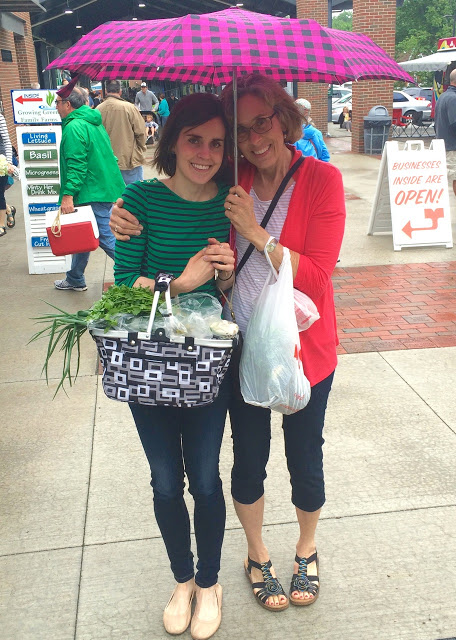
, last Sunday we had a little party for my mom's 60th birthday. Lara and I were in charge of the food, and we decided on a salad bar with all the fixings. On top of the do-it-yourself bar, we wanted a few pre-made salads as well. After scouring the internet, we finally settled on two recipes. A pasta salad as well as this roasted potato salad. I don't make potato salads often, so I was excited for the opportunity to give this recipe a try. I am a huge mustard fan, so the idea of a mustard vinaigrette on my potato salad sounded wonderful.
At the farmers market the day before the party, I found the most beautiful display of baby potatoes; yellow, red and purple. They were absolutely gorgeous, just the thing for this wonderful salad. It's a simple salad, but full of freshness from the basil and scallions, and wonderful variations in texture from the creamy potatoes to the raw walnuts. Topped with the delicious mustardy vinaigrette, this was my definition of a perfect potato salad.
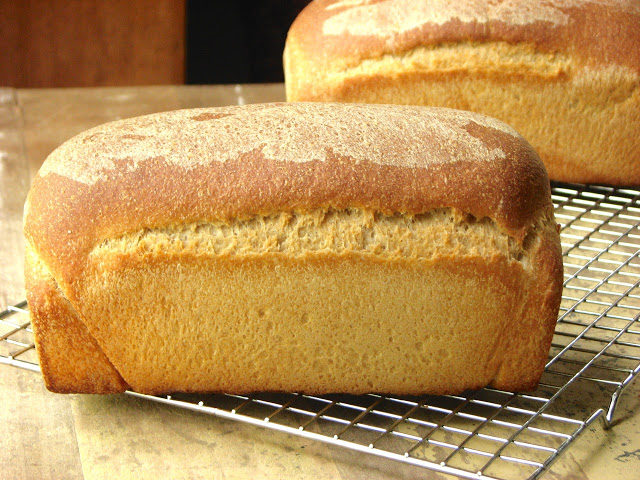
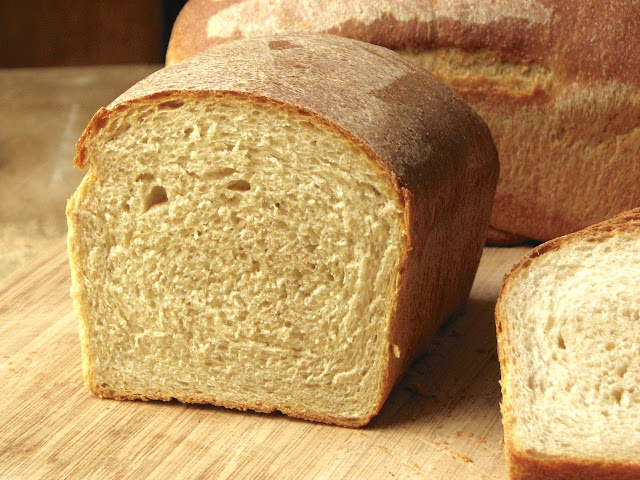
Here are a few pictures from the rest of the party. Lots of toppings options to let everyone make their own salad. We had chicken, ham, chickpeas, mushrooms and lost of different vegetables, grilled corn, cucumbers, carrots, radishes, onions, tomatoes, etc. A few cheese options and two dressings, a homemade ranch, and a lemony vinaigrette, topped it all off. There was a bread basket with whipped honey butter, a fruit salad, and of course, dessert! Check out
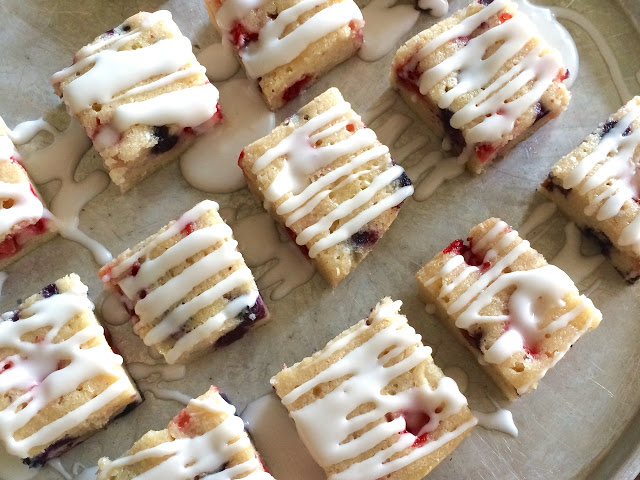
post to read about the absolutely fantastic cupcakes! All in all it was a great party, and a wonderful way to celebrate the best mom on her extra special day!

A look at the salad bar options

The Van Zee girls, all looking good!

Pasta salad, potato salad, fruit salad and the bread bowl!

Roasted Potato Salad with Mustard Vinaigrette
Adapted from
Ingredients
Salad
- 4 pounds mixed marble potatoes, or other small potatoes
- 1 cup walnuts, toasted and roughly chopped
- 1 bunch basil, leaves torn into bite-sized pieces
- 1 bunch scallions, white and green parts thinly sliced crosswise
Vinaigrette
- 2 cloves garlic, peeled
- 1 tablespoon whole-grain mustard
- 1 tablespoon Dijon mustard
- 2 tablespoons lemon juice
- 1 tablespoon red wine vinegar
- 2 tablespoons roasted walnut oil (is probably fantastic, but I didn't have any!)
- 1/4 cup extra-virgin olive oil
- Sea salt and freshly ground black pepper, to taste
Directions
Preheat oven to 425° F and line two rimmed baking sheets with parchment paper.
Wash and dry potatoes, then spread evenly between baking sheets. Drizzle with olive oil and toss to evenly coat potatoes. Sprinkle with freshly-ground black pepper and sea salt, then roast, shaking the pans occasionally, until potatoes are tender and browning (about 45 minutes, depending on the size of your potatoes).
Meanwhile, prepare vinaigrette. Place garlic cloves on a cutting board, sprinkle with a generous couple pinches of sea salt, and chop and mash with the side of your knife until the clove breaks down into a salty paste.
Add garlic paste to a small bowl along with mustards, lemon juice, and vinegar. Whisk to emulsify. Add olive and walnut oils and whisk vigorously to combine. Taste and adjust seasoning with additional sea salt and pepper.
When potatoes are done, transfer to a large bowl. Add scallions and dressing, and toss to coat. Using the back of a mixing spoon or the end of a wooden spatula, roughly smash some of the potatoes to break the skins. You’re not making mashed potatoes, but breaking the potatoes down will allow them to soak up more of the vinaigrette.
Allow dressed potatoes to sit at room temperature for about 45 minutes to one hour. Just before serving, stir in walnuts and basil.