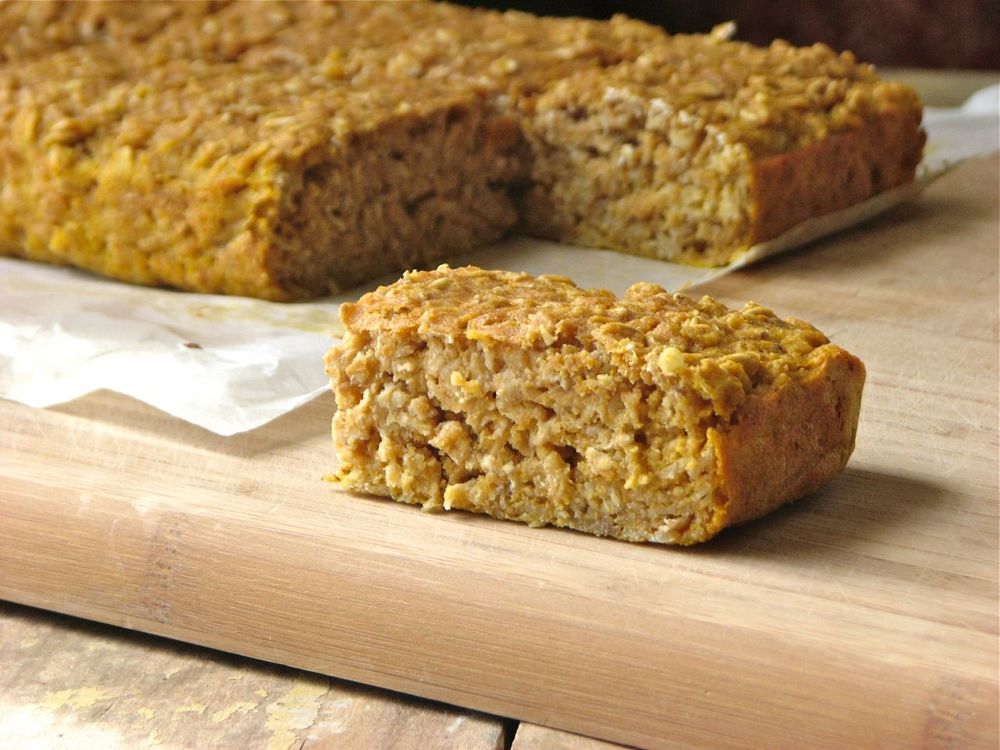
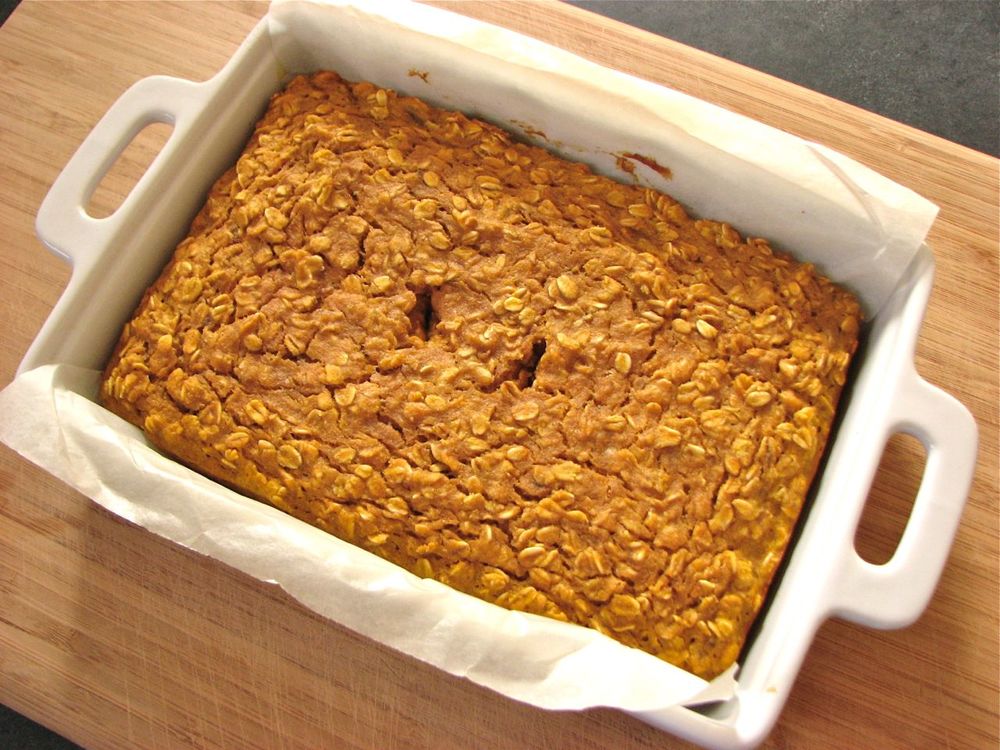
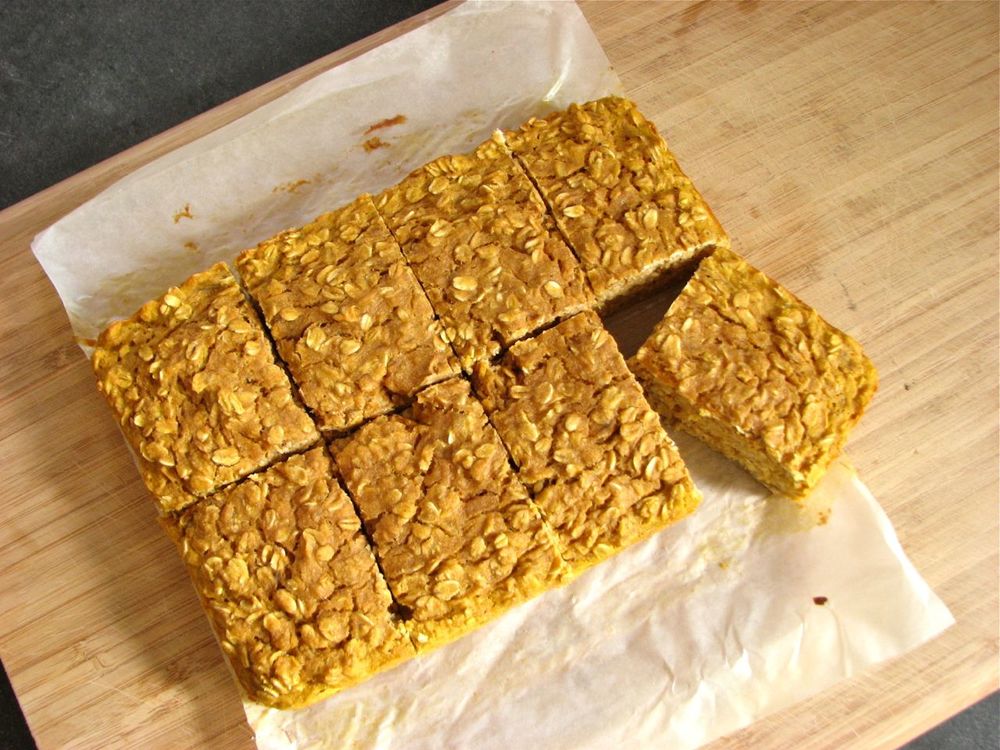
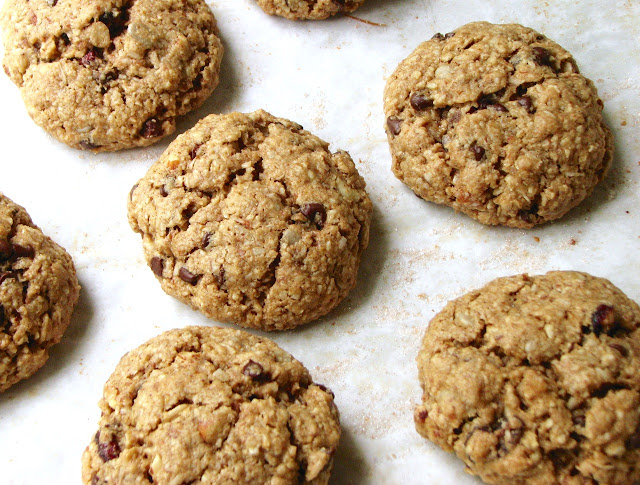
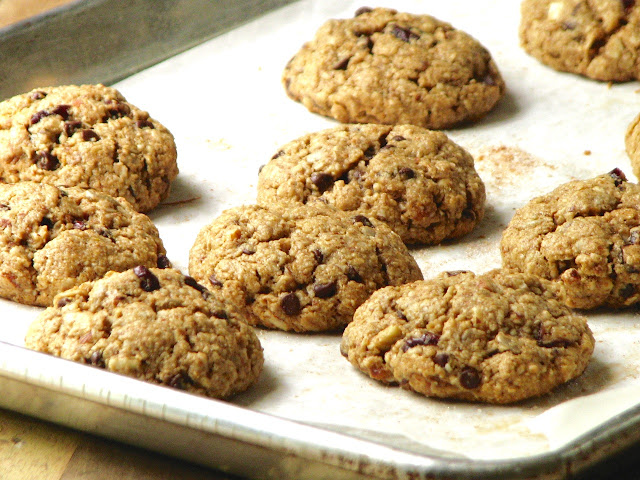
Chewy Trail Mix Cookies
Last week I was trying to decide what I should bake to have on hand for a quick grab and go breakfast. Breakfast cookies had been on my mind lately, so I decided to just go for it. I've been eyeing recipes for a while, and have a bunch of them pinned, but so far I hadn't got around to making any. There are so many different routes you can go with a breakfast cookie and I had been having difficulty deciding which recipe to use. I finally settled on these chewy trail mix cookies. They looked hearty and filling and were full of all sorts of good things like any trail mix should be.
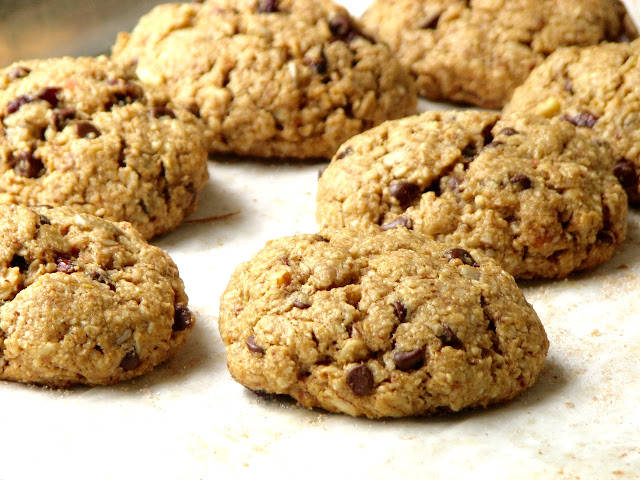
I'm glad that in the end I went with this recipe because it sure was a winner. The oats and nuts come together to form a delicious base that is filled with coconut, chocolate, seeds and dried fruit. A little brown sugar and honey for sweetness, and butter for flavor are all held together with some nut butter and an egg. They baked up thick and chewy just as I was hoping they would. An quick and easy breakfast that I can feel pretty good eating on those busy weekday mornings.
I adapted the original recipe a little to work for me and they still turned out great. The original recipe was both vegan and gluten free, my version is neither but it would easy to go back and make the appropriate adjustment if this is something you are looking for. If you use gluten free oats they still would be gluten free, and replacing the egg with a flax egg and the butter with coconut oil as in the original recipe is a easy way to get them back into vegan territory. So as you can see, the recipe is pretty forgiving and adaptable.
The add ins can also be adjusted to fit your tastes. Any type of seed, nut, chocolate, dried fruit, etc. could be used in this recipe. It really just depends on what you like and what you have in your pantry. As long as you aim to keep the volume of filling approximately the same as what is written I think they will turn out just fine. So play around with it, use what you like and make them your own!
Chewy Trail Mix Cookies
Adapted from Oh She Glows
Ingredients
Dry
- 1 cup (80 grams) old fashioned rolled oats, blended into oat flour
- 1/2 cup almond meal or almond flour (I used 2 ounces almonds ground in the food processor)
- 1/2 cup (40 grams) old fashioned rolled oats
- 1/2 cup (2 ounces) chopped or thinly sliced almonds
- 1/4 cup (50 grams) brown sugar
- 3 tablespoons (15 grams) shredded unsweetened coconut
- 3 tablespoons (30 grams) mini dark chocolate chips (or finely chopped chocolate)
- 2 tablespoons (20 grams) sunflower seeds
- 3-4 tablespoon (28 grams) dried cranberries
- 3/4 teaspoon cinnamon
- 1/2 tsp fine grain sea salt
- 1/2 tsp baking powder
- 1/2 tsp baking soda
Wet
- 1 egg, lightly beaten
- 1/4 cup (64 grams) raw almond or peanut butter
- 3 tablespoons butter, melted
- 1/4 cup (80 grams) pure maple syrup
- 1 tsp vanilla
Directions
Preheat oven to 350F and line a baking sheet with parchment paper.
In a large mixing bowl, whisk together all of the dry ingredients. In another medium sized bowl, stir together the wet ingredients until thoroughly combined. Add the wet mixture on top of the dry mixture and stir well until combined.
Form the dough into small balls, rolling them between your palms until smooth. Place on prepared cookie sheet. (I made 12 total, they were approximately 50 grams each.)
Bake cookies for 15-18 minutes until light golden brown on the bottom. Cool on the baking sheet for 5 minutes before transferring to a cooling rack until completely cool.
Calories: 231 calories each for 12 cookies