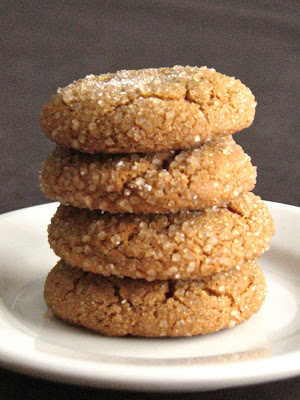
Chewy Molasses Cookies
After days of snow, freezing temperatures, and sub-zero wind chills, there is nothing better than curling up inside on the couch with a cup of coffee, a good book, and a couple of cookies. These chewy molasses cookies are buttery, filled with warm spices and coated with coarse sugar for a crunchy finish. They are the perfect accompaniment for that warm cup of coffee.
With molasses cookies it always seems like you never know exactly what you are going to get. Will they be too molasses-y? Too spicy? Too hard? Not tasty? Well, set all your fears aside with this recipe. They are the perfect mix. Buttery and sweet with the perfect amount of spice, baked until just barely cooked through leaves them perfectly chewy and soft. A delicious cookie to see you through those cold winter days.
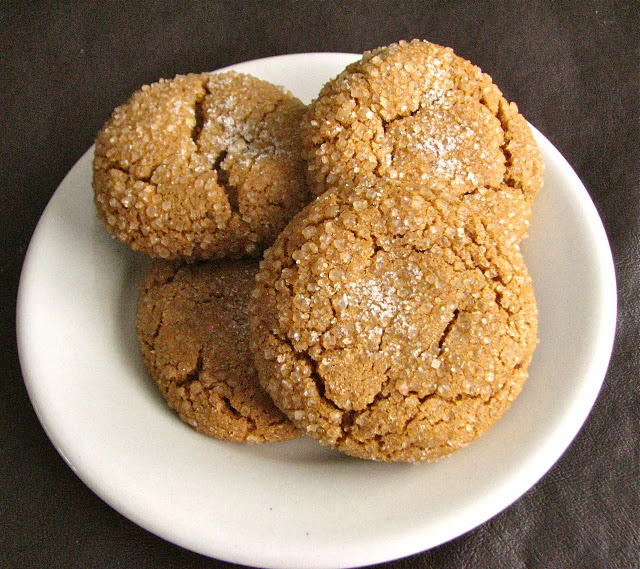
I actually made these cookies twice in about a week. They turned out absolutely delicious both times, however, while the first batch turned out a little poofy as you can see in the pictures, my second batch turned out incredibly flat, they spread out completely while baking. I don't know what the difference was, I can't think of anything I did differently between the two batches. But both batches were still wonderful though, thank goodness. So however they turn out for you, I am sure they will still be delicious.
UPDATE (12/17/14): I added an extra 1/4 cup of flour and really chilled the dough well before baking and the cookies baked up a lot more poofy!
Chewy Molasses Cookies
Adapted from Heart of Gold
Ingredients
2 cups all-purpose flour (UPDATE: add an extra 1/4 cup flour to help make the cookies nice and poofy and less likely to spread)
2 teaspoons baking soda
2 teaspoon ground cinnamon
1 teaspoon ground ginger
1⁄2 teaspoon salt
1 large egg
1⁄2 cup (1 stick) unsalted butter, melted
1⁄3 cup granulated sugar
1⁄3 cup mild-flavored (light) or robust-flavored (dark) molasses
1⁄4 cup (packed) dark brown sugar
Coarse sanding or raw sugar (for rolling)
Directions
Place racks in lower and upper thirds of oven; preheat to 375°. Whisk flour, baking soda, cinnamon, ginger, and salt in a small bowl. Combine egg and butter and beat together with a mixer for 4-5 minutes, until light and fluffy. Add granulated sugar, molasses, and brown sugar and beat for 2-3 minutes more. Mix in dry ingredients just to combine. Chill dough for 20-30 minutes, or longer, until firm enough to handle.
Place sanding sugar in a shallow bowl. Scoop out dough by the tablespoonful and roll into balls. Roll in sugar and place on 2 parchment-lined baking sheets, spacing 2” apart.
Bake cookies, rotating baking sheets halfway through, until cookies are puffed, cracked, and just set around edges (overbaked cookies won’t be chewy), 8–10 minutes. Transfer to wire racks and let cool.