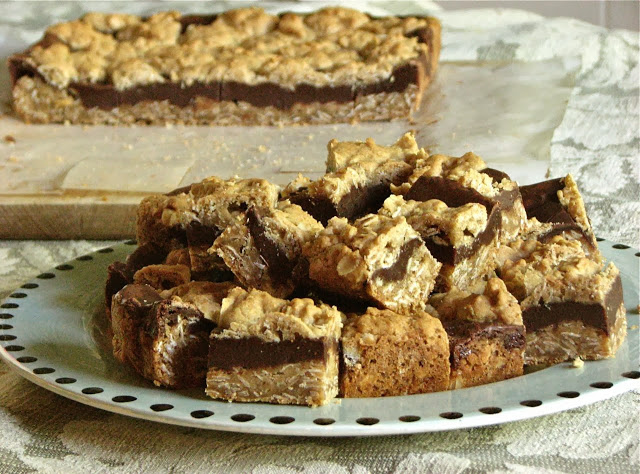
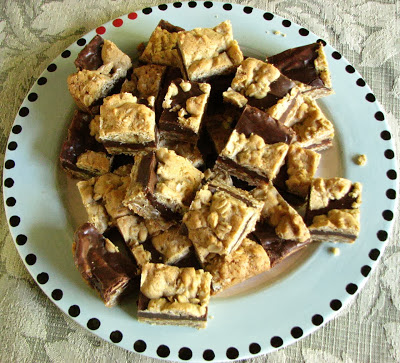
Oatmeal Chocolate Fudge Bars
Last week my dad asked me if I'd be willing to bake him something for his Bible study on Sunday night. Of course I said yes, any excuse to bake something, especially something I might not normally make for myself. I looked at some recipes I had set aside and settled on these oatmeal fudge bars. A sweet and buttery bar full of oats and covered in a layer of rich and smooth chocolate fudge. They sounded heavenly. They sounded so rich and made such a big batch that I knew this was something I wouldn't' just make for myself on a whim, so this was the perfect opportunity. I never actually asked what everyone at the Bible study thought, but I know what I thought: they are rich and delicious!
These bars were really easy to make, and use pretty basic ingredients. The only ingredient that maybe might be a little more unique is the sweetened condensed milk, but I almost always have at least one can in the pantry. Other then that, you're probably all set! Throw it together and then into the oven. These bars also freeze very well, and they actually taste really good straight from the freezer. They don't get super hard so it's easy enough to eat. But however you store them, they are pretty delicious!


Oatmeal Chocolate Fudge Bars
From:
Ingredients
- 1 Cup Salted Butter, softened
- 2 Cups Brown Sugar
- 2 Eggs
- 2 Teaspoons Vanilla Extract
- 2 and 1/2 Cups Flour
- 3 Cups Old Fashioned Rolled Oats
- 1 Teaspoon Baking Soda
- 1/2 Teaspoon Salt
- 1/2 Teaspoon Ground Cinnamon
Fudge Layer:
- 14 Ounces Canned Sweetened Condensed Milk
- 2 Cups Semi Sweet Chocolate Chips
- 2 Tablespoons Salted Butter
- 1 Teaspoon Vanilla Extract
Directions
In a small mixing bowl whisk together the flour, baking soda, salt, and cinnamon, set aside. In the bowl of your mixer beat the butter and sugar together until light and fluffy(about 2 minutes). Add the eggs one at a time beating for one minute after each egg. Beat in the vanilla. Add the dry ingredients. Mix just until combined. Stir in the oats.
Set aside 1&1/2 to 2 cups of the mixture. Spread the remaining oatmeal mixture evenly in a greased 9x13 pan. Set aside and prepare the fudge layer.
In a medium saucepan add the sweetened condensed milk, chocolate chips, and butter. Heat over low heat, stirring continually, just until the chocolate is melted and the ingredients are combined. Be sure to watch the chocolate carefully.
Pour the warm fudge mixture into the 9x13 pan over top the oatmeal layer. Drop small bits of the reserved oatmeal mixture evenly over the fudge layer. Don't try to spread it. Dropping it creates an open lacy pattern allowing the fudge to show through. Bake in a preheated 350 degree oven for 25-30 minutes or until the top is golden brown and the chocolate layer is dull and starting to come away from the sides of the pan.
Cool on the counter for 2 hours and then refrigerate for 1 more hour before cutting. Store in an airtight container.