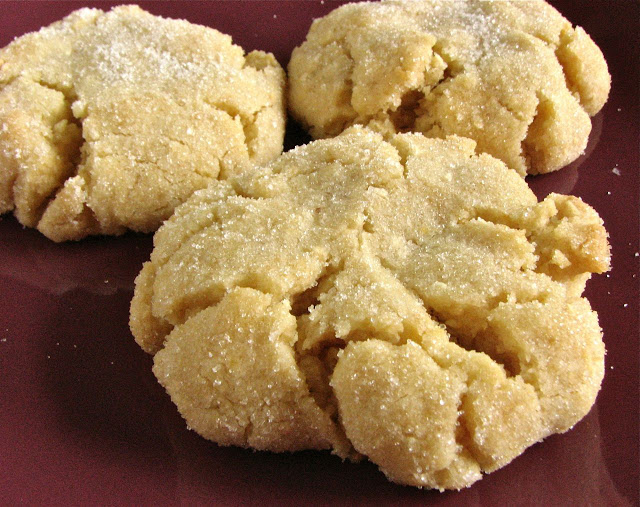
Rhubarb Almond Crumb Cake
I have a weakness for anything cake. Cake is one of my absolute favorite things. All flavors, all occasions, breakfast, lunch, or dinner. It amazes me how many people tell me they don't like cake (traditional frosted birthday/wedding cake that is.) When people tell me this, I just assume they never have had good cake. It's true, a bad cake is just bad. Unfortunately, the majority of the cake most people eat is just plain, bad cake. But moving on, I am in the other camp on cake. I love it. I am especially a sucker for a good breakfast cake. They are so simple, easy and delicious.
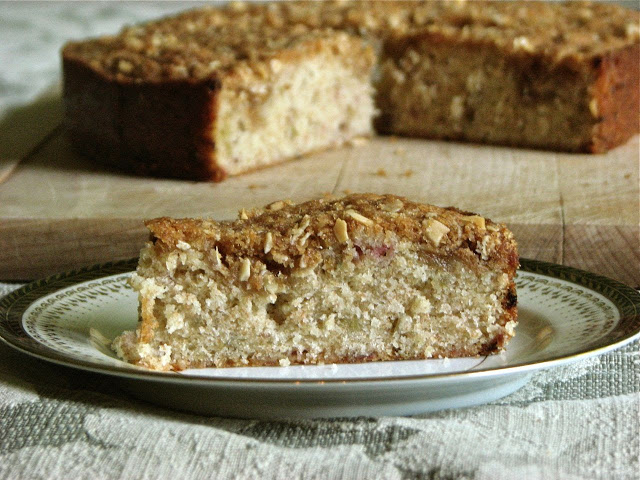
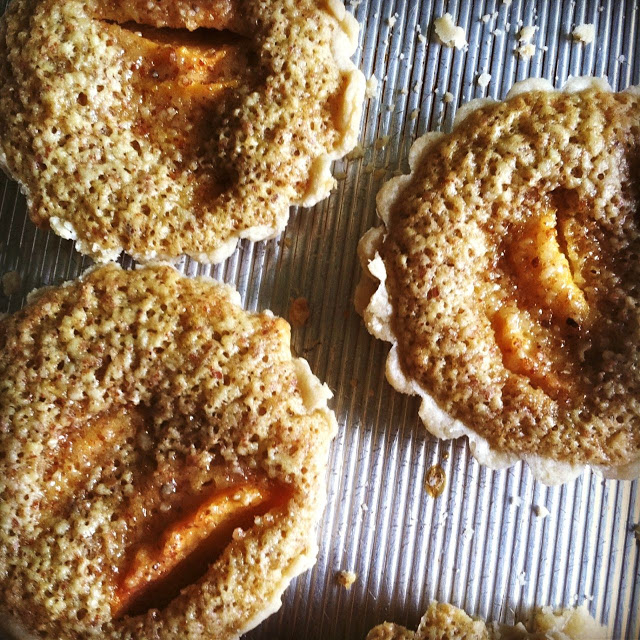
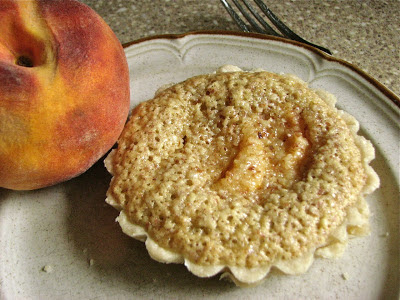
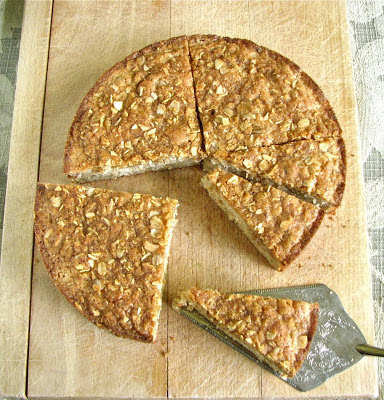
In my opinion, breakfast cake is the perfect way to start a day. I found this rhubarb almond cake online a few months ago and have been wanting to make it ever since. It was the picture that got me, a tall, golden cake with a crunchy, crumbly topping. I love anything with streusel. Sometimes it can be dangerous to fall in love with a picture of a recipe, when your doesn't quite live up to the expectations you had visually. That's what happened with this cake. It didn't come out as tall as I was hoping, and the streusel topping kind of sunk, and melted into the cake. I usually like it better when streusel is almost a separate layer, all alone of top.
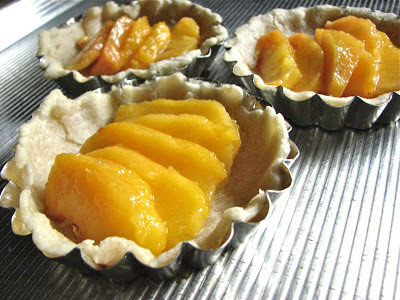
So I was unhappy with the look of this cake when I took it out of the oven. But have no fear, all of that changed when I finally dug in. This cake was light, yet substantial, with a wonderful tartness from the rhubarb. I cut up my rhubarb pretty small because I don't like chunks, and it kind of disappeared into the cake leaving behind the perfect amount of sourness to blend with the sweetness of the cake. And the disappointing streusel actually turned into a crunchy and sweet topping that was a perfect complement to the soft cake beneath it. This recipe taught me to not judge a cake by its cover. A plain looking cake can mask an absolutely delicious treat. The more I ate this cake the more I fell in love with it. Good thing there is plenty of rhubarb in the freezer...

Rhubarb Almond Crumb Cake
Slightly adapted from Food 52
Ingredients
THE CRUMB
2 tablespoons flour
2 tablespoons slivered almonds
2 tablespoons rolled oats
1/4 cup brown sugar
1/4 teaspoon salt
2 tablespoons unsalted butter
THE CAKE
Butter for greasing the pan
2 large eggs
1 1/4 cup granulated sugar
1/2 teaspoon salt
1 teaspoon almond extract
6 tablespoons unsalted butter, melted
1 1/4 cup white whole wheat flour (or all-purpose)
1 1/2 cup rhubarb, cut into 1/2-inch pieces
Directions
Heat the oven to 350°F. Butter the bottom and sides of an 8-inch, deep, fluted tart pan or an 8-inch round cake pan.
For the crumb, combine the dry ingredients in a small bowl. Using a fork or your fingers, gently work in the butter until pea-sized lumps are formed.
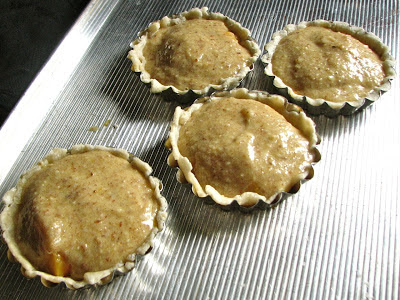
Combine the eggs, sugar, salt, and almond extract in a large bowl. Beat on high until the mixture triples in volume, about five minutes. Fold in the melted butter, flour, and rhubarb. Evenly spread the thick batter into the prepared pan. Sprinkle the crumb topping evenly over the top.
Bake for 45 to 50 minutes, until the topping is deeply golden and a toothpick inserted into the center comes out clean. Remove the cake from the pan when it’s completely cool.