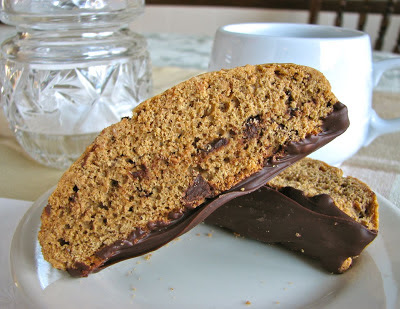
Chocolate Espresso Biscotti
Anyone that knows me well knows that I love going out for coffee. Sitting at a warm, cozy coffee shop with a comforting cup of coffee, talking with family members or friends about nothing at all is so relaxing and enjoyable. Most of the time I just stick with my mug of coffee and call it good, but I have to admit, I always want something to go with it. A muffin, a pastry, a chocolate chip cookie, anything at all really. It's so nice to have something sweet to balance out that cup of coffee. Biscotti is another great option that sometimes fits the bill perfectly. Crunchy, slightly sweet and just the right size. It's also fun to make at home, pretty easy to throw together and lasts forever in the cupboard because it is dried out to begin with. This chocolate espresso biscotti is one of my favorites, and it really is the perfect companion to your morning coffee.
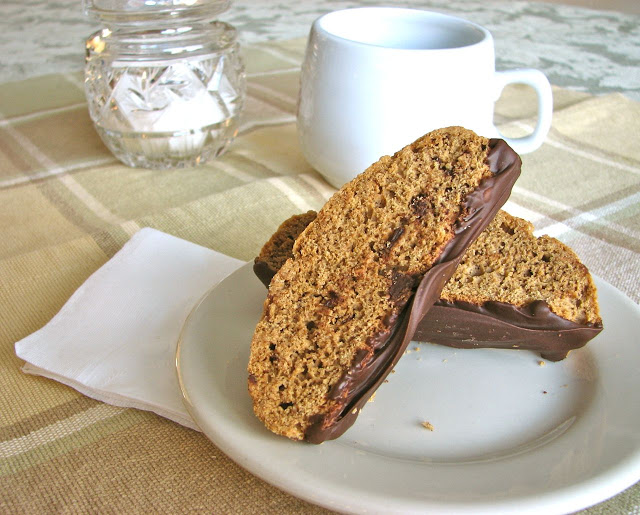
I've made a few different biscotti recipes now, and this one is pretty close to the top. The texture is perfect, it's crunchy, but not so hard that you feel like you are going to crack your teeth on it. I love the slightly bitter espresso flavor that is balanced out by the bittersweet chocolate, it's a perfect combination.

Chocolate Espresso Biscotti
Adapted from
Ingredients
- 1 tablespoon instant espresso powder
- 1 cup all-purpose flour
- 1 cup whole wheat pastry flour
- 1 1/2 teaspoons baking powder
- 1 pinch of salt
- 4 tablespoons unsalted butter, room temperature
- 1/2 cup sugar
- 2 eggs
- 1/2 teaspoon vanilla extract
- 1/4 cup mini chocolate chips (If using regular size, chop coarsely)
Directions
Preheat the oven to 325ºF and line 1 sheet pan with parchment paper.
In a small bowl, dissolve the instant espresso powder with 1 tablespoon hot water. Set aside.
In a medium bowl, sift together the flours, baking powder, and salt. Set aside.
In an electric mixer fitted with a paddle attachment, cream the butter and sugar until light and fluffy, about 4-5 minutes. Mix in the eggs, one at a time. Mix in the espresso flavoring and vanilla extract. With the mixer on low, add in the flour mixture and mix until just combined. Mix in the chocolate chips until just incorporated.
Divide the dough into 3 equal portions and form each portion into a log (~1 1/2 inches thick). Do not flatten the logs (the dough will be sticky). Place the logs onto the sheet pan, a few inches apart from each other. Bake until golden brown, about 30 minutes.
Remove from the oven and let cool slightly. Turn the oven down to 275ºF. Transfer logs to a clean cutting board. Using a serrated knife, slice the logs diagonally, 1/2 inch thick. Discard the end pieces (or munch on them like I did). Place the cookies cut side down on the sheet pan and bake for another 45 minutes, until toasted and dry.