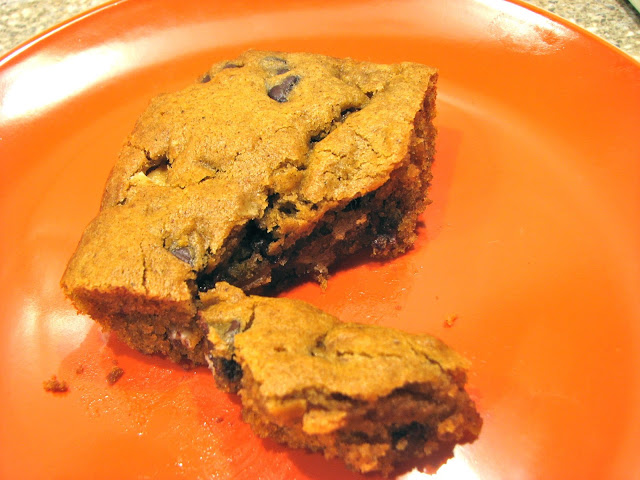
Pumpkin Streusel Muffins
I know I've posted a lot of pumpkin things lately, but this is probably my last one, so if you are sick of pumpkin just bear with me. Personally, I don't ever get sick of it. Since muffins are always at the top of my list of things to bake, pumpkin muffins were a no brainer this fall, and these muffins didn't disappoint. A nice basic pumpkin muffin, topped with a simple streusel, they are pretty and tasty. Sometimes a simple recipe is just the thing I'm looking for. If you need a easy but delicious pumpkin muffin recipe, this fits the bill.

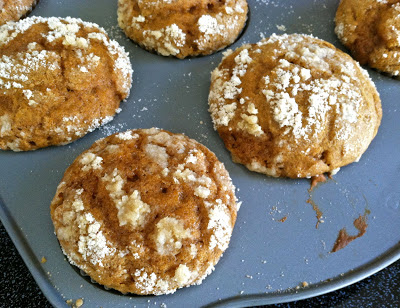
I actually made these muffins twice in the last couple of weeks, first for myself, and the second time to share with friends at school. For the first batch that I made, I used the streusel recipe that I found with the muffin recipe. This is the streusel that is shown in my pictures. I thought it was very pretty, and tasted quite nice, but just didn't quite cut it as a streusel topping for me. It was a little too floury. I prefer my streusel to be chunky and buttery, so for the second batch I used a different streusel recipe which worked out very nice. I've listed both options below; either one you choose will be very tasty, it's just a matter of opinion. What really matters is just that you make these muffins. They are the perfect breakfast treat for a chilly fall morning!

Pumpkin Streusel Muffins
Adapted from: Buns In My Oven
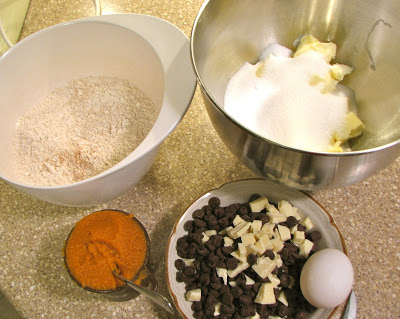
Ingredients
For the muffins:
- 1/4 cup butter, softened
- 1/2 cup sugar
- 1/4 cup packed brown sugar
- 2/3 cup canned pumpkin
- 1/2 cup buttermilk
- 2 eggs
- 2 tablespoons molasses
- 2 cups all-purpose flour
- 1 teaspoon baking soda
- 1/2 teaspoon baking powder
- 1 teaspoon cinnamon
- 1/4 teaspoon nutmeg
- 1/4 teaspoon ginger
- 1/8 teaspoon cloves
- 1/4 teaspoon salt
Streusel topping option #1:
- 1/3 cup all-purpose flour
- 3 tablespoons brown sugar
- 2 tablespoons cold butter
Streusel topping option #2
- 2 ounces (4 tablespoons) unsalted butter, melted
- 3/4 cup all-purpose flour
- 1/4 cup granulated sugar
- 1/4 cup packed light-brown sugar
- 1/4 teaspoon kosher salt
- 1/4 teaspoon ground cinnamon
Directions
For the streusel, combine the flour and brown sugar in a small bowl. Cut in butter until the mixture is crumbly. Set aside.
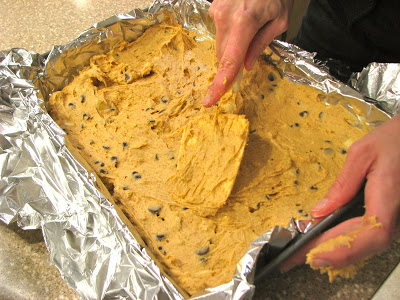
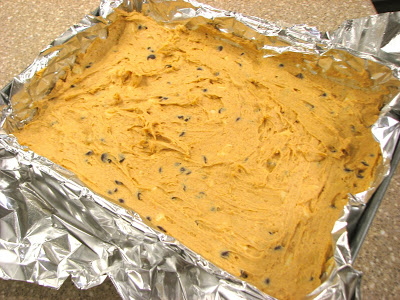
For the muffins, cream together butter and sugars until creamy. Beat in pumpkin, buttermilk, eggs and molasses.
Combine the dry ingredients in a small bowl and mix into the batter. Stir just until combined. Fill paper lined muffins cups 2/3 full with batter. Spoon streusel topping over the muffins and bake for 20 to 25 minutes at 375, or until a tester inserted in the center comes out clean. Cool in pan for 5 minutes before removing to a wire rack. Enjoy!