Peanut Butter Oatmeal Chocolate Chip Cookies with M&M's
Well, I have been gone for quite a while! It's been a very busy couple of weeks and I just couldn't get around to posting anything. First of all, I had a week of orientation to start out med school with a bang. An entire week of get to know you games, lectures, and information overload. It was crazy, but wouldn't have been so bad, except that in the middle of the week the hard drive on my computer decided to die. So I was computer-less for about a week, and didn't have any of my food photos. When I finally did get my computer back med school started. Just let me say that they don't ease you into school. It was a super busy week, but a good one. Now that I have a few minutes on Sunday morning I'm going to share a new cookie that I tried out a few weeks ago. A very delicious PB oatmeal chocolate chip cookie with my favorite addition, M&M's!
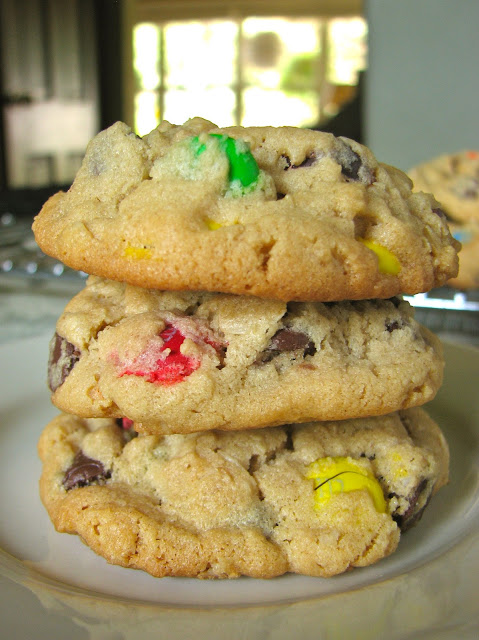
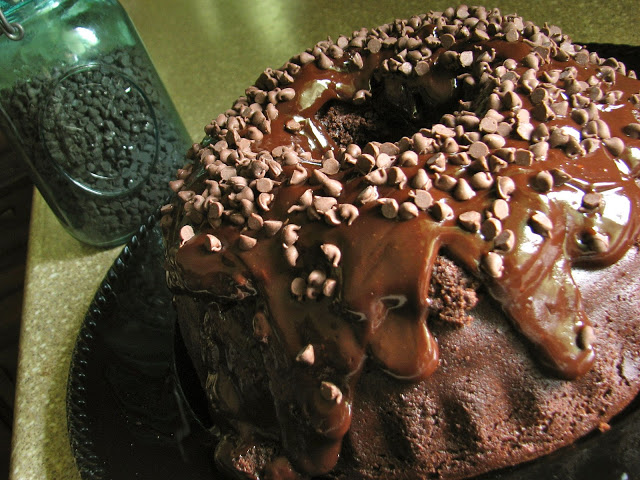
I took these cookies out to the lake one day to go boating and they were very well received. They're kind of like the cross between a monster cookie and a chocolate chip cookie. A hint of nuttiness from the PB, a bit of chew from the oats, and of course a nice, hefty dose of chocolate. You really can't go wrong with this combination. A definite keeper!
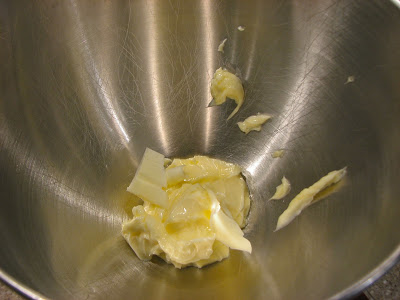
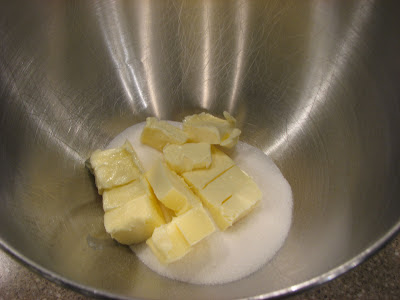
Start with butter of course!
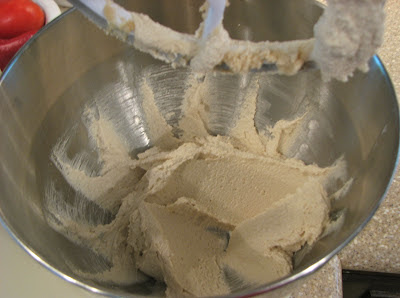
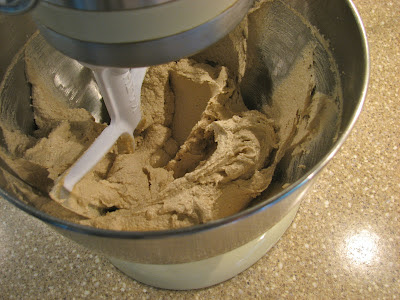
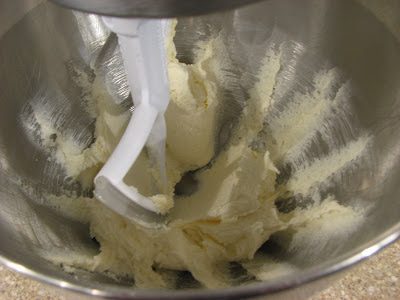
Add the sugar and cream until
nice and fluffy
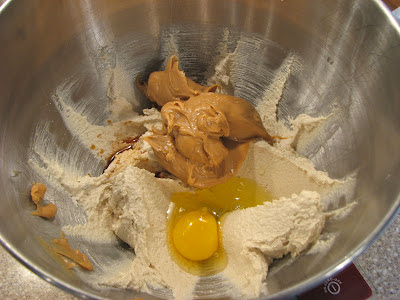
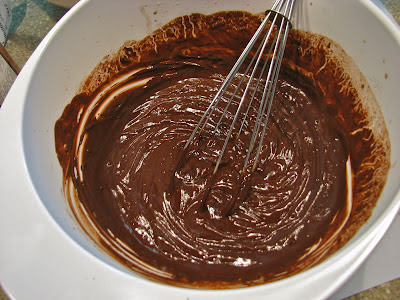
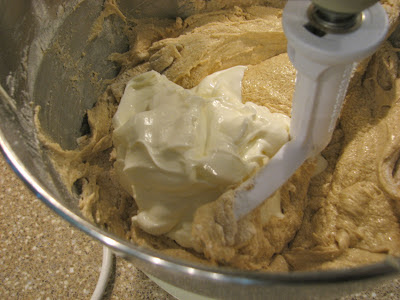
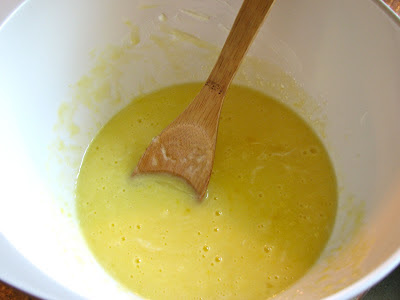
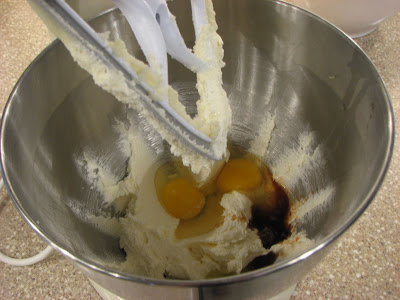
Next is the PB, egg, and vanilla
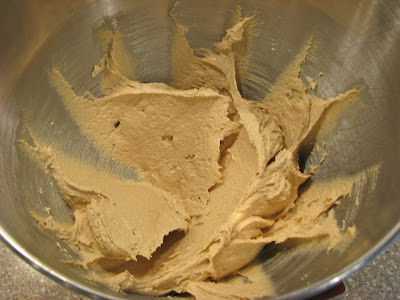
Nice and creamy
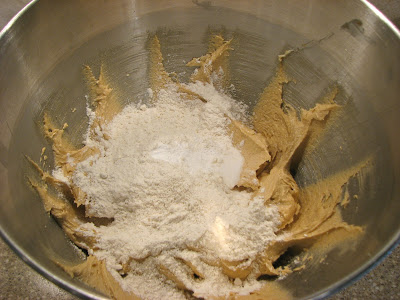
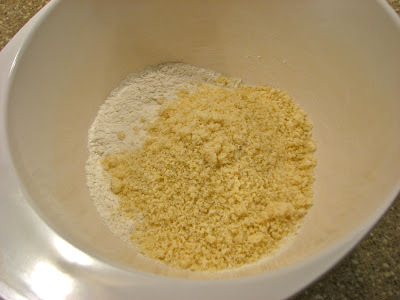
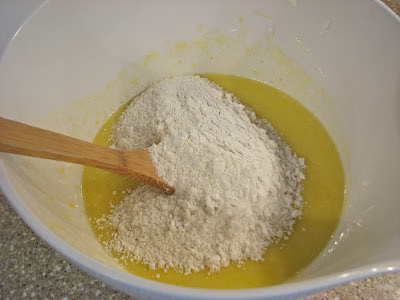
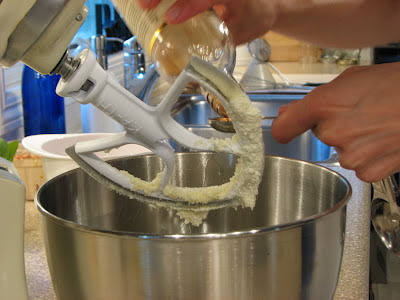
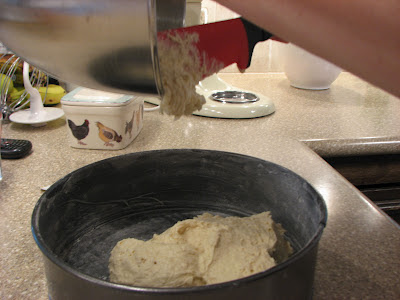
Time for the dry ingredients
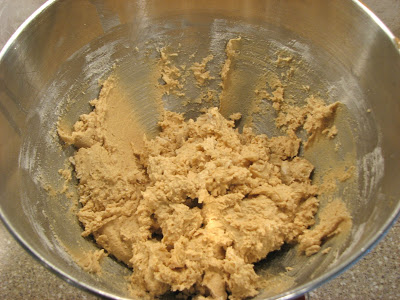
Mix until just combined
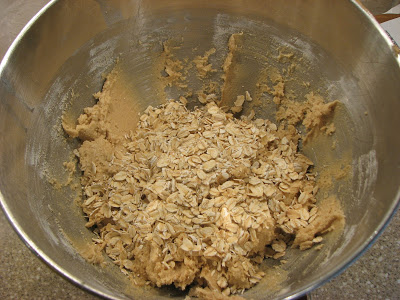
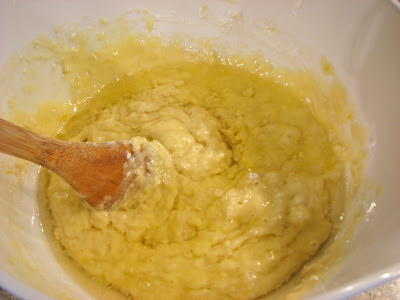
Finally, the oats!

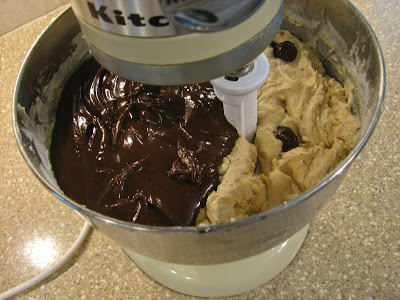
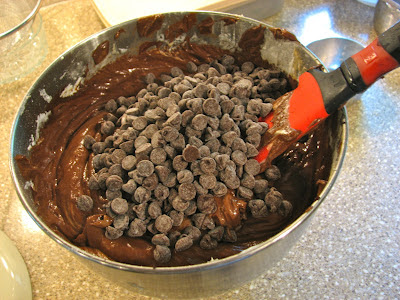
And the chocolate!
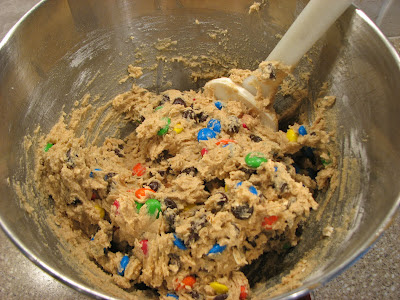
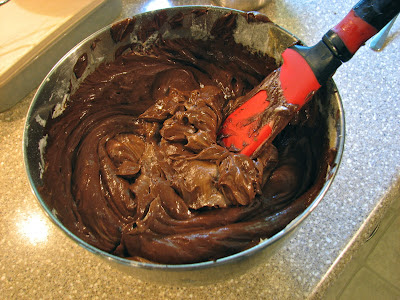
Mix it all up

Onto a cookie sheet

Ready to bake

Bake until just golden on the edges

Cool them off on a wire rack

Grab a nice big glass of milk, and enjoy!
Peanut Butter Oatmeal Chocolate Chip Cookies with M&M's
Adapted from: Pinch of Yum
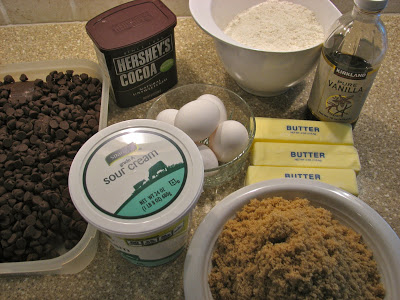
Ingredients
- 1/2 cup butter
- 1/2 cup white sugar
- 2/3 cup unpacked brown sugar
- 1/2 cup peanut butter
- 1/2 teaspoon vanilla extract
- 1 egg
- 1 cup all-purpose flour
- 1 teaspoon baking soda
- 1/4 teaspoon salt
- 1/2 cup rolled oats
- 3/4 cup chocolate chips
- 3/4 cup M&M's
Directions
Preheat oven to 350 degrees. Cream together the butter, white sugar and brown sugar until smooth. Beat in the peanut butter, vanilla and egg until well blended.
Add the flour, baking soda and salt. Stir until just moistened.
Mix in the oats, chocolate chips, and M&M's until evenly distributed.
Drop by tablespoonfuls on to lightly greased cookie sheets.
Bake for 10 to 12 minutes in the preheated oven, until the edges start to brown. Cool on cookie sheets for about 5 minutes before transferring to wire racks to cool completely.