Mocha Banana Chocolate Chip Muffins
My recipe binder is continually expanding, filling up with all the yummy new recipes I try. Every once in a while I attempt to clean it out, but I liked almost everything in it and I want to want to keep all the recipes. They all bring back memories, almost all of them good. It's rare that I make something that I don't like. These muffins have been in my recipe binder for a couple of years now. I remember the first time I made them I really liked them, but I don't remember much else. So when I finally had some ripe bananas I decided it was time to try these again, and I'm glad I did!

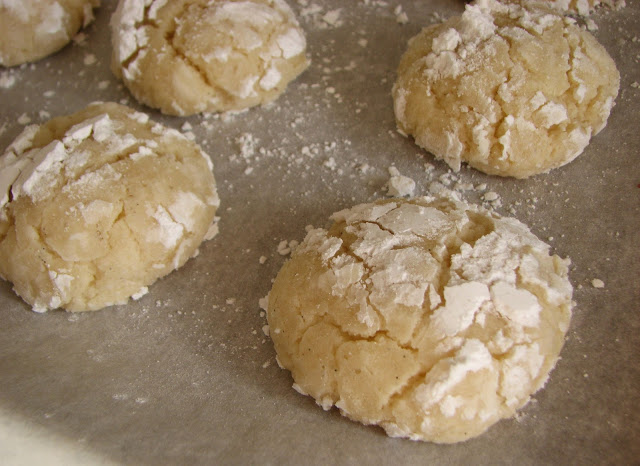
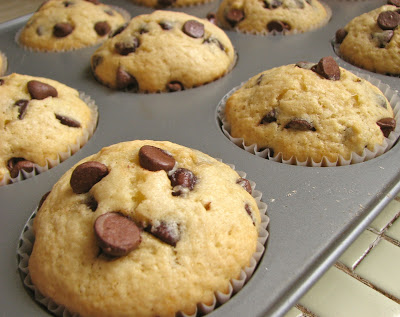
These mocha muffins are full of chocolate chips and bananas and are very tender and buttery with a nice crispy top. Both the coffee flavor and the banana flavor are nice but quite mild. I might increase the amount of espresso powder I add next time if I'm feeling like a little more mocha flavor. I love their darker, golden brown color due to the espresso powder. The moment they came out of the oven I wanted to devour them all. If you have a few extra ripe bananas lying around and want to try something new, I would definitely recommend this recipe. A wonderful muffin to accompany a morning cup of coffee.

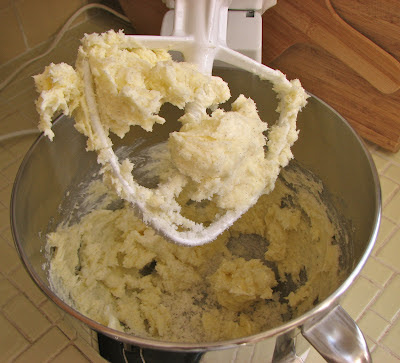
Start with the butter

Then the sugar

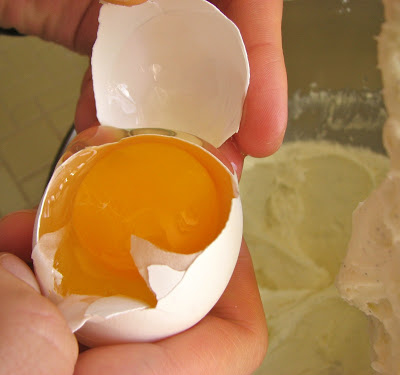
Egg next

Finally the banana and espresso powder

And don't forget the vanilla

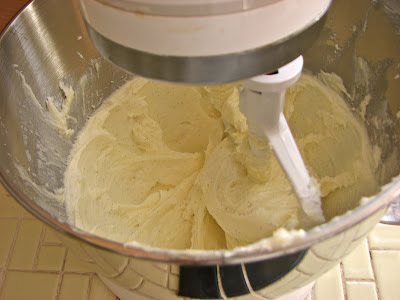
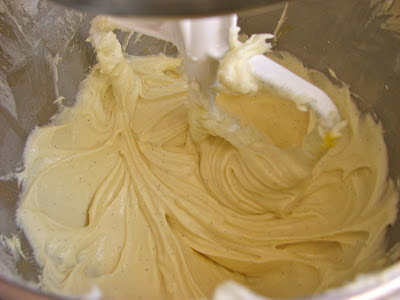
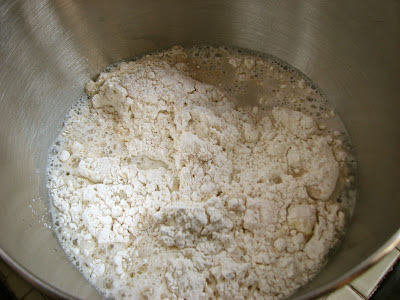
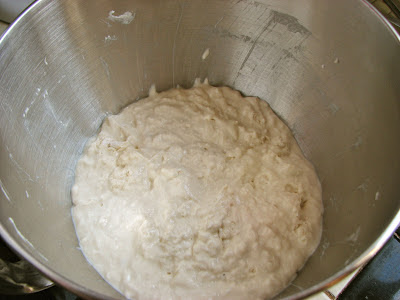
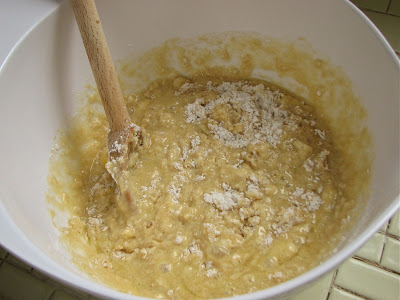
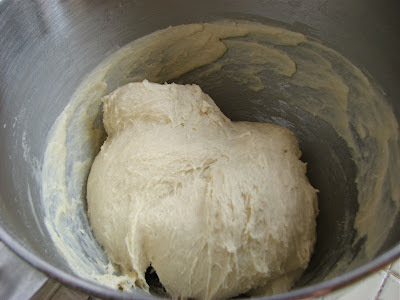
Mix it all up
(I didn't quite follow the recipe, next time I'll
remember to cream the butter and sugar first)

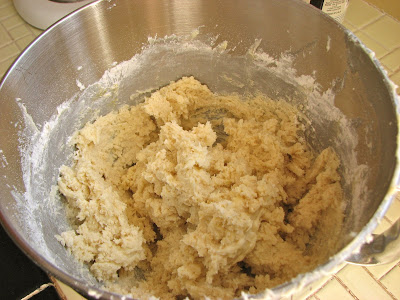
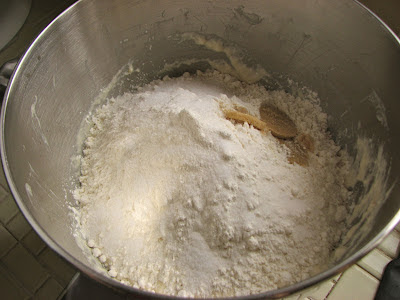
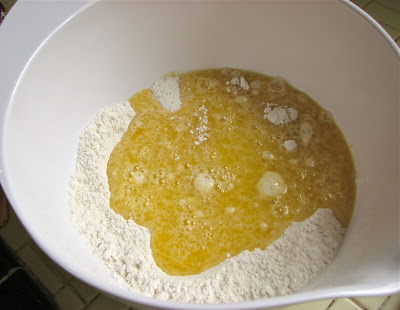
Add the flour mixture

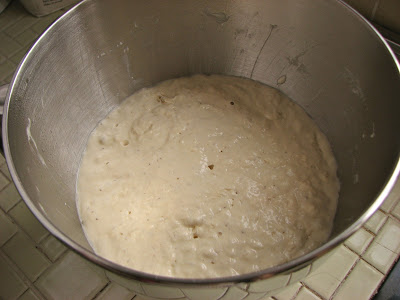
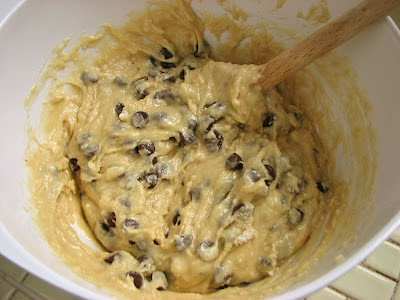
Nicely mixed together

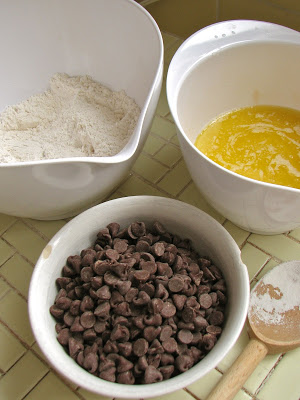
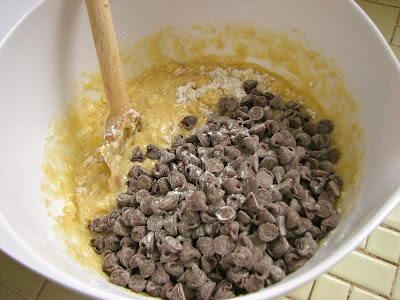
Time for the chocolate

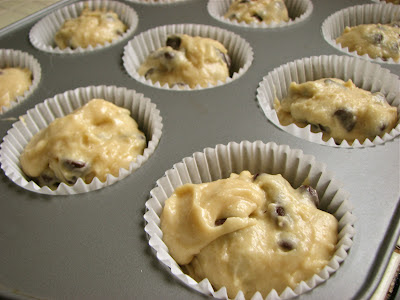
Into the muffin pans

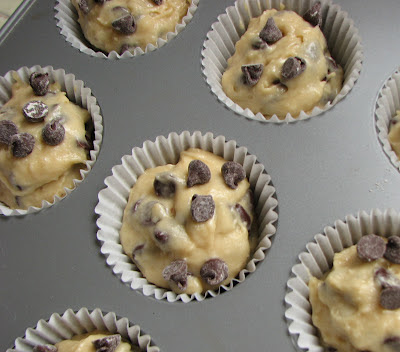
Top with a few extra chocolate chips

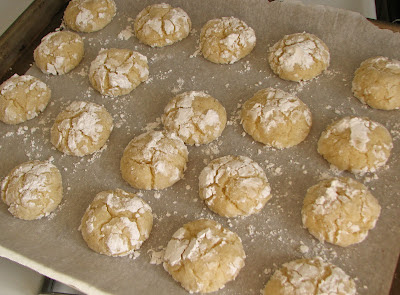
Bake them up until golden brown

Breakfast anyone?
Mocha Banana Muffins
From allrecipes.com
Ingredients
- 1 cup butter
- 1 1/4 cups sugar
- 1 egg
- 3 ripe bananas
- 1 tablespoon instant espresso (or 1 tablespoon instant coffee granules dissolved in 1 tablespoon water)
- 1 teaspoon vanilla extract
- 2 1/4 cups all-purpose flour
- 1/4 teaspoon salt
- 1 teaspoon baking powder
- 1 teaspoon baking soda
- 1 cup semisweet chocolate chips
Directions
In a medium bowl, mix together the flour, salt, baking powder and baking soda, set aside. In the bowl of a stand mixer beat together the butter and sugar together until light and fluffy, about 2 minutes. Add the egg, banana, instant espresso and vanilla and beat until combined.
Add the flour mixture, mixing until almost combined. Add the chocolate chips and mix a few times by hand, just until incorporated. Spoon the mixture into lined muffin cups. Bake for 25 minutes at 350 degrees. Cool on wire racks.