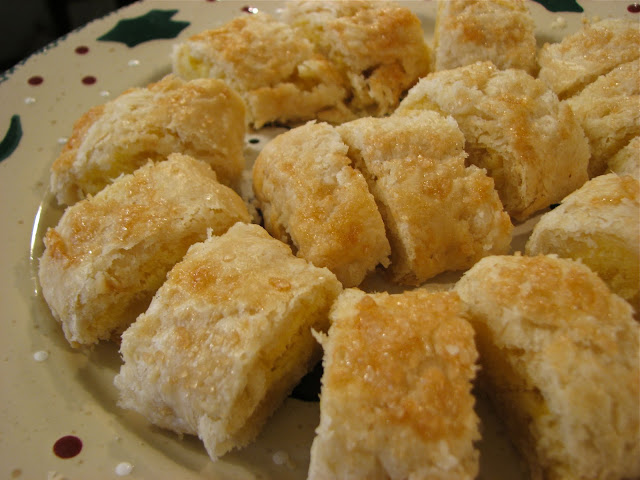
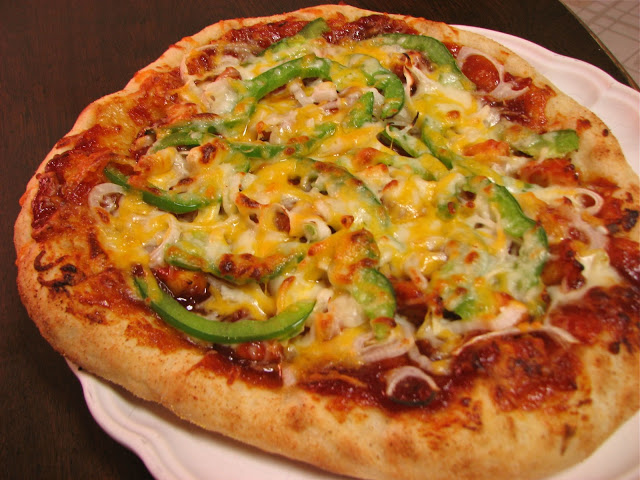
Barbecue Chicken Pizza
Homemade pizza has become one of my go-to dinners. All I have to do is whip up a quick batch of my favorite pizza dough, throw whatever I have on hand on top of one of the crusts and slide it into the oven, right onto my awesome pizza stone. I've found that this is a great way to use up leftovers. Almost anything you can think of can be turned into a pizza. I love the versatility and creativity a blank crusts offers, just let your imagination run wild.
The key to really good homemade pizza is a super hot oven and cooking surface. A baking stone is your best bet, it will produce pizza with the crispest, most professional tasting crust. If you don't have one, an upside down cookie sheet will do, but it won't get as hot as the stone will. Also, when it's time to heat up your oven, crank it up as high as it will possibly go, usually 500 or 550, and let your stone heat up for at least 30 minutes, or an hour if you have the time. The hotter the better for pizza. Trust me, this will take your pizza to a whole new level.
This week I made barbecue chicken wraps and had some leftover sauce and chicken so what was the first thing I thought of; barbecue chicken pizza of course! I used the leftover barbecue sauce for the base. I used a recipe from Tyler Florence for the sauce, I've made it several times and love how easy and delicious it turns out, thick and sweet. I just topped this canvas with the leftover chicken, onions, peppers and cheese. It couldn't get much easier, or much more delicious. Homemade pizza really is one of my all time favorite dinners, it's almost impossible to mess it up so there are no excuses not to try it for yourself.

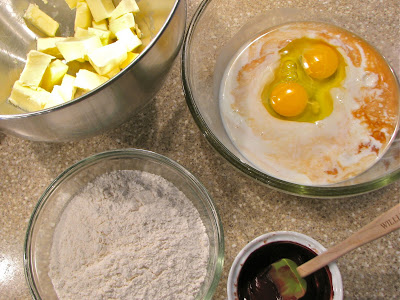
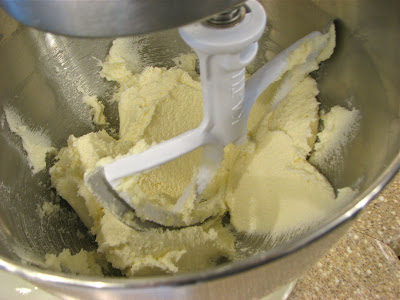
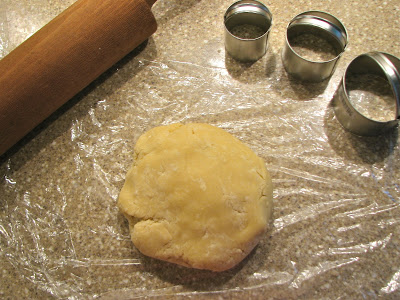
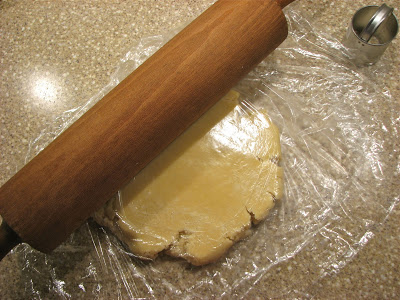
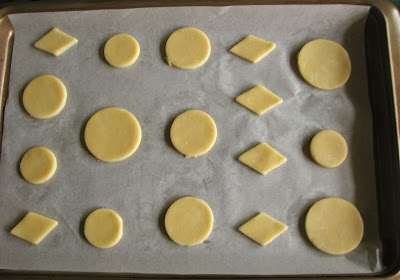
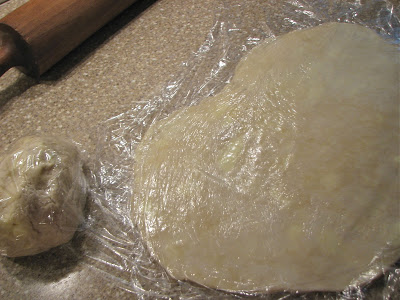
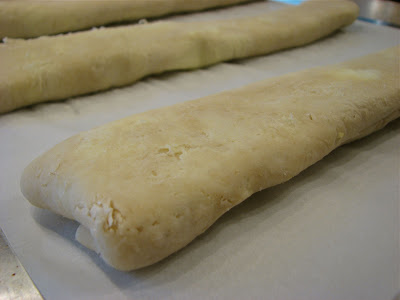
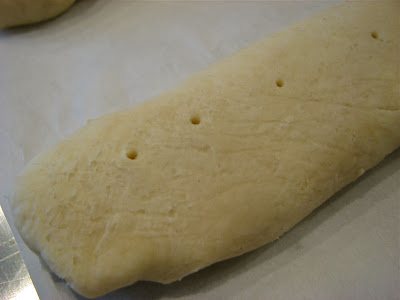
Dough, ready to go
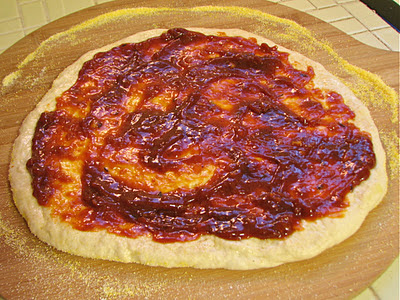
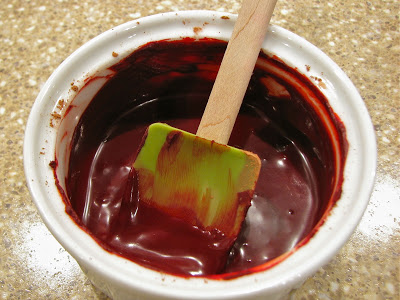
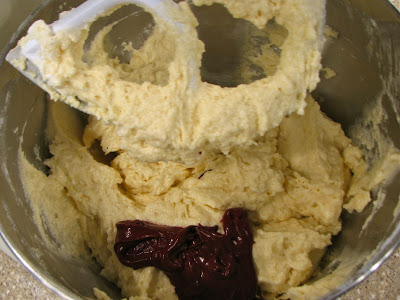
Sauce it up

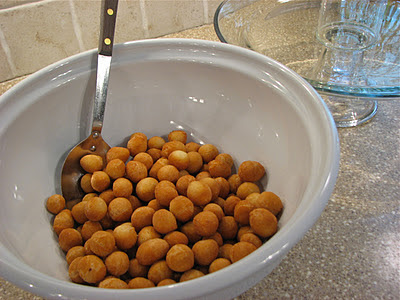
Topping time
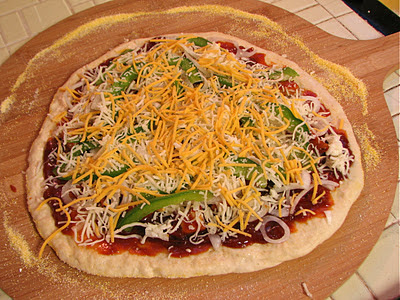
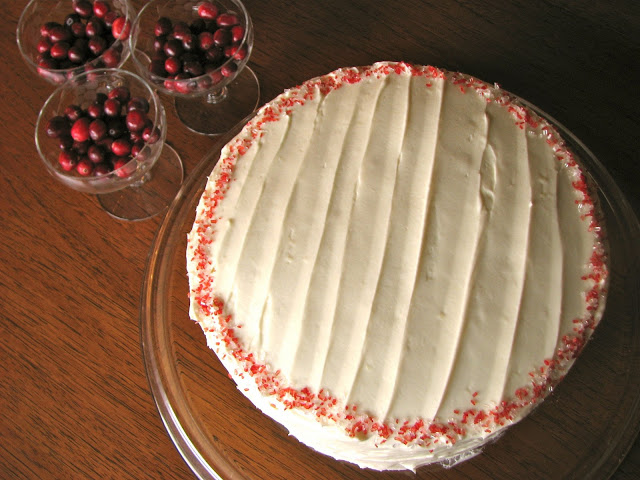
Finished with some cheese

Slide the whole thing from the
pizza peel into the oven
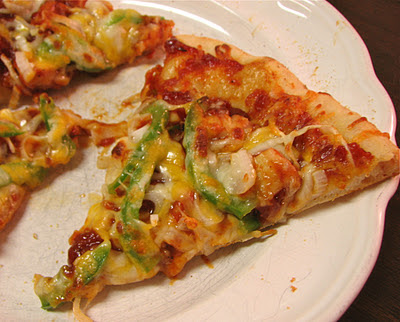
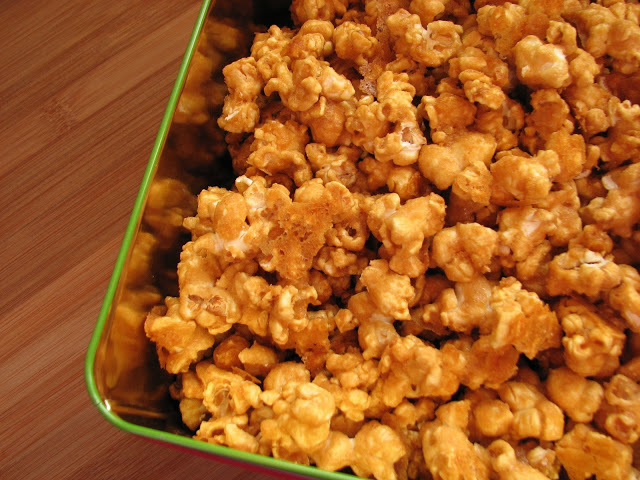
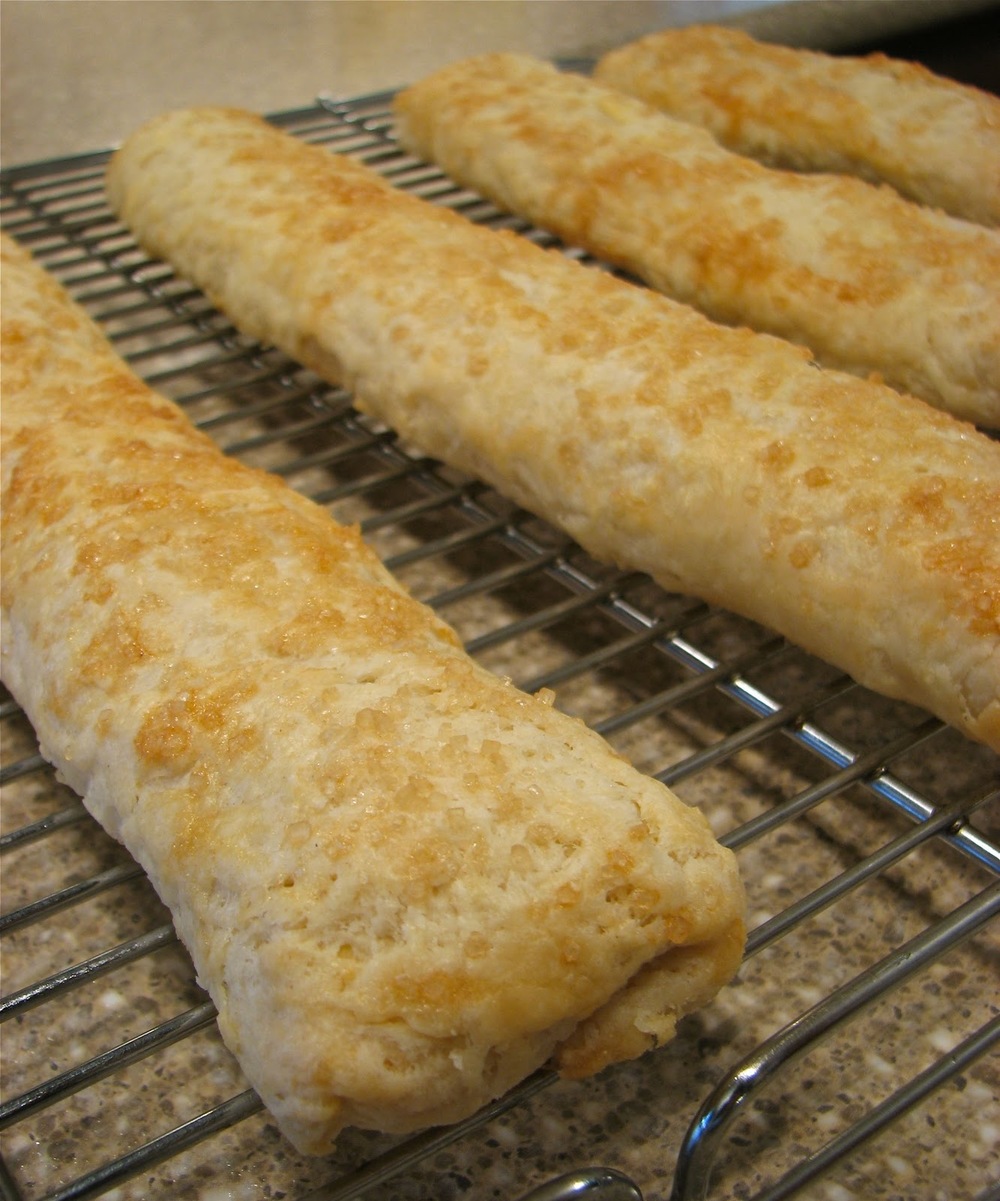
In just a few minutes, you're ready to eat!
Perfect Pizza Dough
Adapted from Annie's Eats, originally from Baking Illustrated
Ingredients
- 4 cups (22 ounces) bread flour, plus more for dusting
- 2 1/4 teaspoons instant yeast
- 1 1/2 teaspoons salt
- 1 3/4 cup water, at room temperature
- 2 tablespoons extra-virgin olive oil
Directions
In the bowl of a stand mixer fitted with the paddle attachment, combine the bread flour, yeast and salt, mixing briefly to blend. Add the water and olive oil. Mix until a cohesive dough is formed. Switch to the dough hook. Knead on low speed until smooth and elastic, about 5 minutes. Transfer to a lightly oiled bowl, turning once to coat. Cover with plastic wrap and let rise until doubled in size, 1½-2 hours.
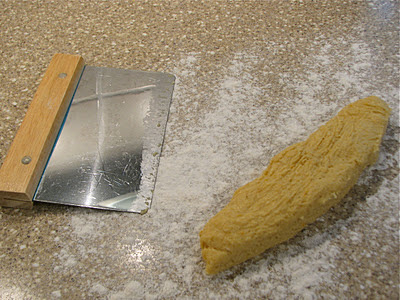
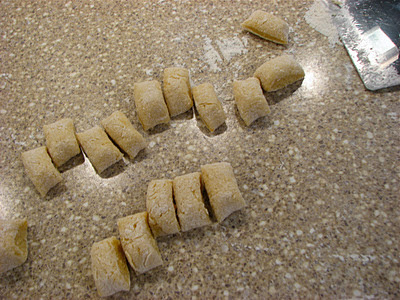
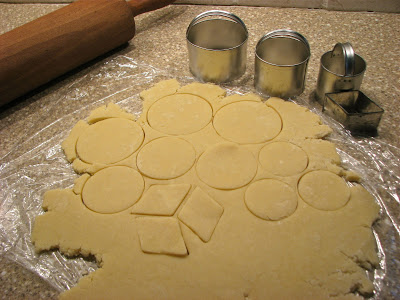
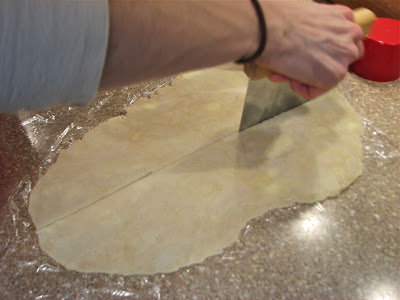
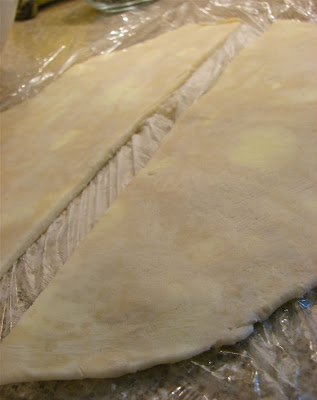
Transfer the dough to a lightly floured work surface. Divide the dough into four equal pieces. Form each piece of dough into a smooth, round ball. If using immediately, cover with a damp cloth. Let the dough relax for at least 10 minutes but no longer than 30 minutes. You can also refrigerate or freeze any dough you don't want to use. Just place each piece in a greased plastic bag and put in the fridge for a couple of days or freeze for a couple of weeks/months. When you want to make pizza, thaw overnight in the fridge (if frozen). Take the dough out of the fridge about an hour before you want to make pizza and let come to room temperature before proceeding.
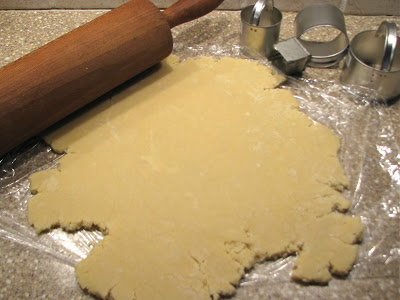
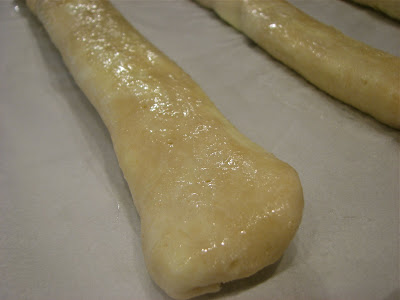
To bake, preheat the oven and pizza stone to 500˚ F for at least 30 minutes. Transfer the dough to your pizza peel or shaping surface, lightly sprinkled with cornmeal. Shape the dough with lightly floured hands. Brush the outer edge lightly with olive oil. Top as desired. Slide into the oven and bake until the crust is golden brown, and cheese is bubbling, 8-12 minutes. (If you don't have a pizza stone, use a heavy duty cookie sheet placed upside down in the oven. You can shape the pizza directly on parchment paper and slide the whole thing, parchment paper and all, into the oven on top of the upside down cookie sheet.)
Barbecue Sauce
From: Tyler Florence
Ingredients
- 1 slice bacon
- 1 bunch fresh thyme
- Extra-virgin olive oil
- 1/2 onion, chopped
- 2 garlic cloves, chopped
- 2 cups ketchup
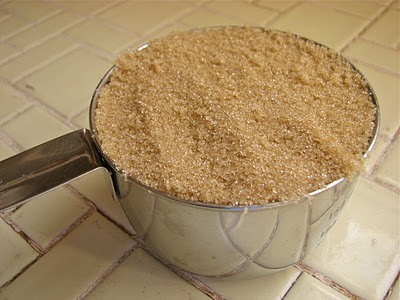
- 1/4 cup brown sugar
- 1/4 cup molasses
- 2 tablespoons red or white wine vinegar
- 1 tablespoon dry mustard
- 1 teaspoon ground cumin
- 1 teaspoon paprika or smoked paprika if available
- Freshly ground black pepper
Directions
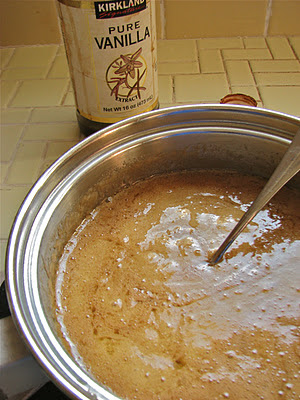
Wrap the bacon around the bunch of thyme and tie with kitchen twine so you have a nice bundle. Heat about 2 tablespoons of oil in a large saucepan over medium heat. Add the thyme and cook slowly 3 to 4 minutes to render the bacon fat and give the sauce a nice smoky taste. Add the onion and garlic and cook slowly without coloring for 5 minutes. Add the remaining ingredients, give the sauce a stir, and turn the heat down to low. Cook slowly for 20 minutes to meld the flavors.