Stewed Lentils and Tomatoes
Over the past few months I've become a big fan of lentils. Until recently I had never tried a lentil, but now I've had them in several dishes and really like them a lot. They don't have a lot of flavor, so you can add them to a lot of different things and they don't change the taste of the dish much. I first bought them because I was looking for a cheap and easy to store protein source. Lentils are a high-fiber, protein-rich legume that cook quickly without any need for presoaking or anything like that. There are a lot of different kinds of lentils, but so far I've only used green lentils, they stay firm and don't get mushy when you cook them. As I've used them they have really grown on me and now I like them a lot. If you've never tried them before, go out and pick up a bag, you really have no reason not to.
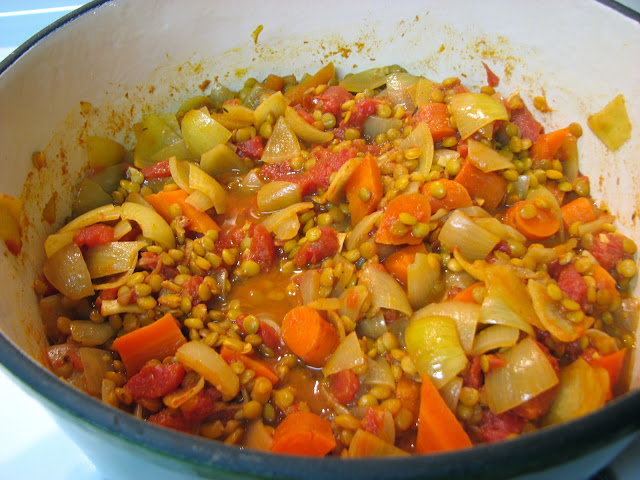
This is one of the lentil recipes I've tried recently. It was very simple, hearty and extremely healthy. Basically it is just vegetables, lentils and spices, that's it. Throw it all together in a pot and let it cook for 40 minutes, dinner is served. This recipe uses carrots, onions and tomatoes, but you could really do whatever you wanted and whatever you like best, it is really versatile. In the end it turns into a really thick stew. If you wanted you could add more liquid and make it into more of a soup, either way would work I think. Slice up some nice crusty bread for dipping and you have a delicious and healthy meal, perfect for a cold, blustery night.
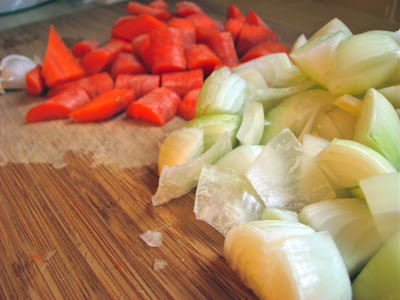
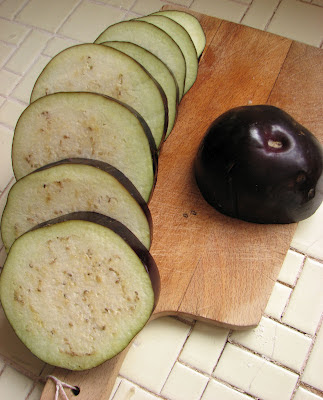
Chop just a few veggies

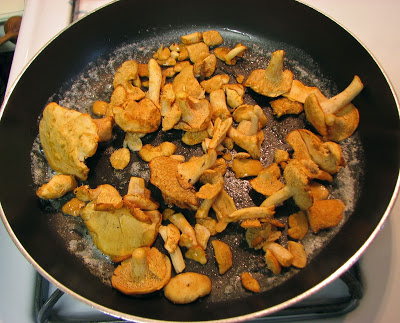
Throw them into the pot
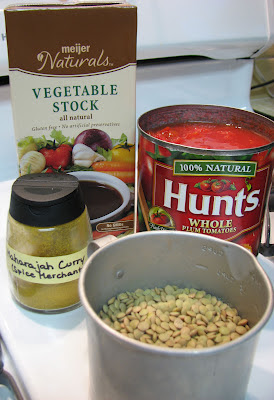
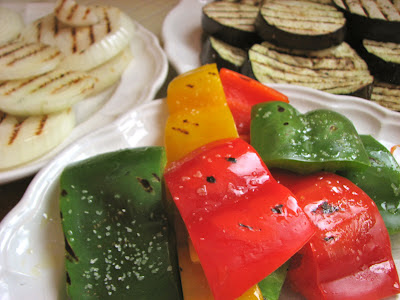
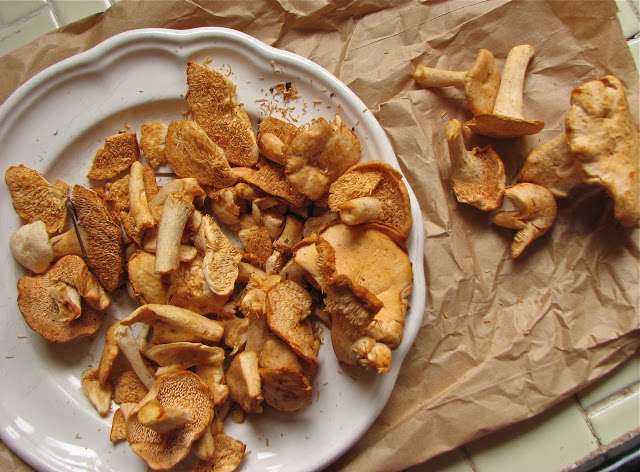
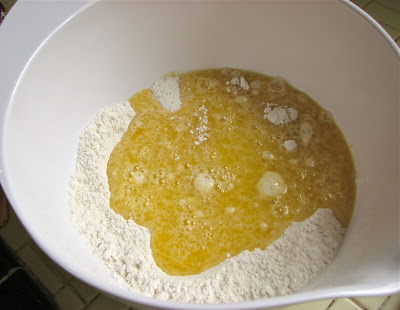
Grab the rest of the ingredients
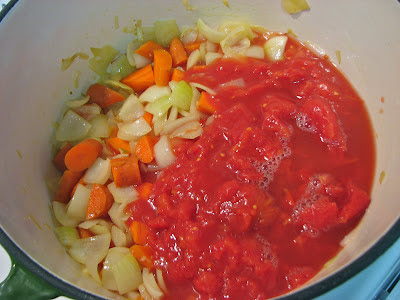
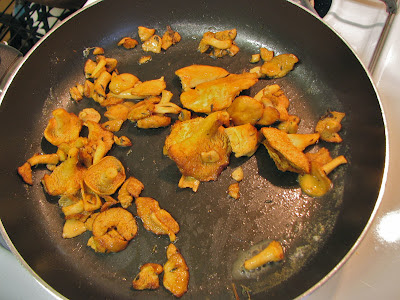
Once the veggies soften, add the tomatoes...

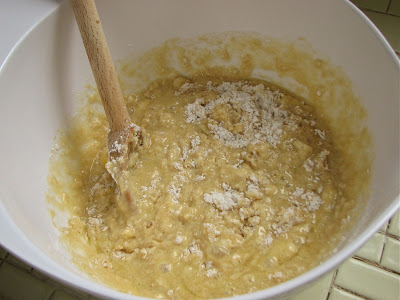
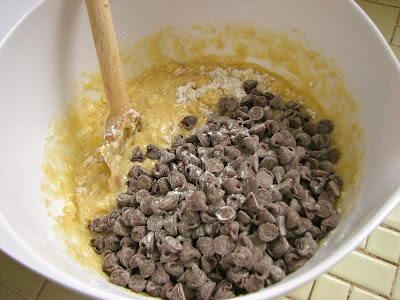
...lentils...
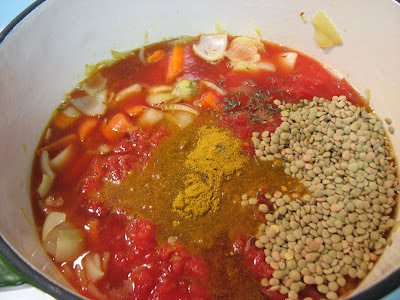
...and spices
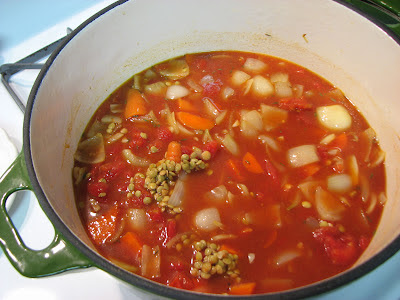
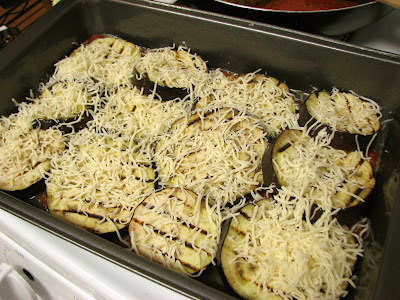
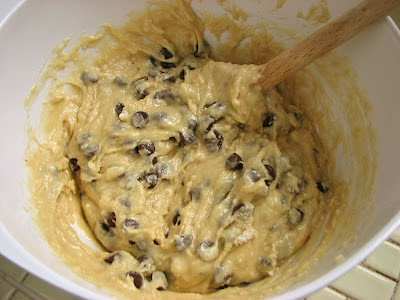
Stir it all together, cover and cook
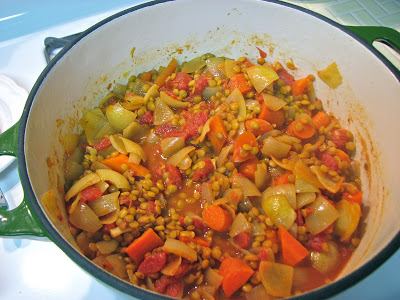
40 minutes later

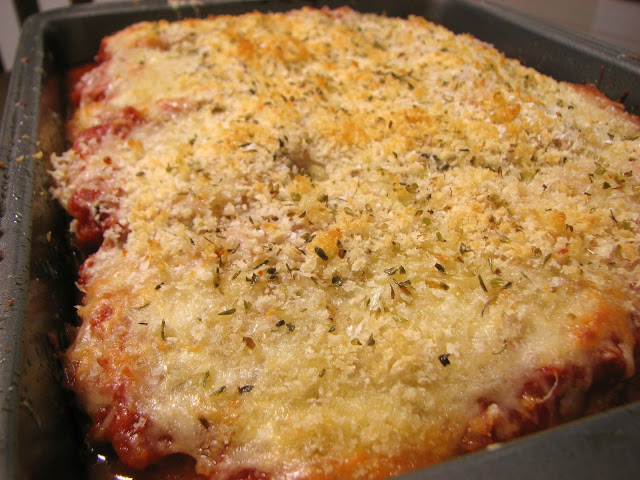
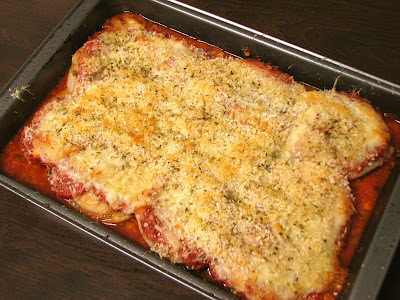
A nice, hearty bowl
Stewed Lentils and Tomatoes
From Smitten Kitchen, originally from Barefoot Contessa at Home
Ingredients
- 2 teaspoons good olive oil
- 2 cups large-diced yellow onions (2 onions)
- 2 cups large-diced carrots (3 to 4 carrots)
- 1 tablespoon minced garlic (3 cloves)
- 1 (28-ounce) can whole plum tomatoes
- 1 cup French green lentils (7 ounces)
- 2 cups vegetable or chicken broth
- 2 teaspoons mild curry powder
- 2 teaspoons chopped fresh thyme leaves
- 2 teaspoons kosher salt
- 1/4 teaspoon freshly ground black pepper
- 1 tablespoon red wine vinegar
Directions
Heat the oil in a large saucepan. Add the onions and the carrots and cook over medium-low heat for 8 to 10 minutes, until the onions start to brown. Stir occasionally with a wooden spoon. Add the garlic and cook for one minute more.
Meanwhile, coarsely chop the tomatoes, either in a food processor or use a pair of kitchen scissors to cut them into piece right in the can. Rinse and pick over the lentils to make sure there are no stones in the package.
Add the tomatoes, lentils, broth, curry powder, thyme, salt and pepper to the pan. Raise the heat to bring to a boil, then lower the heat and simmer covered for about 40 minutes, until the lentils are tender. Check occasionally to be sure the liquid is still simmering. Remove from the heat and allow the lentils to sit covered for another 10 minutes. Add the vinegar, season to taste and serve hot.