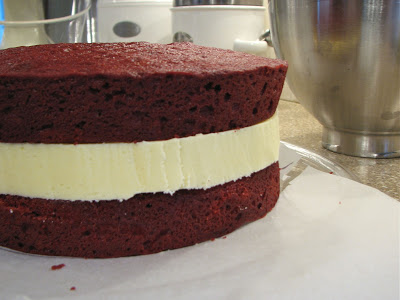
Vanilla Madeleines
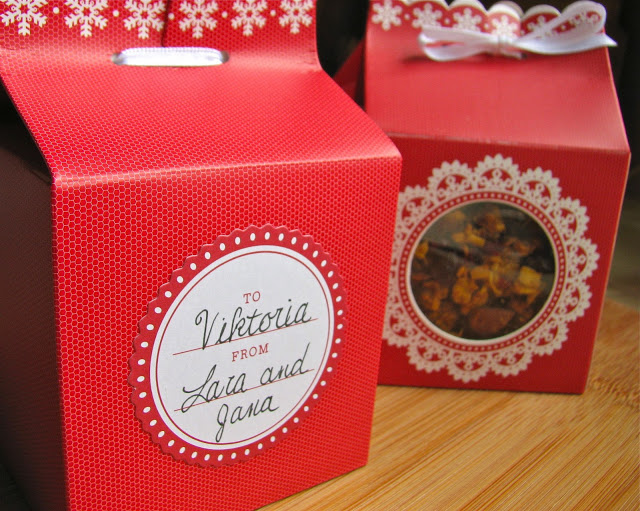
Until not that long ago, I'd never heard of a madeleine, but once I saw them and learned what they were I knew I had to try them. If you know me at all then you know that I love cake, it is probably my all time favorite dessert (although that's a very difficult thing to pick), so I knew I would love madeleines, how could I not? In case you are wondering, madeleines are little mini sponge cakes that are baked in special shell shaped molds. Because I didn't own a madeleine pan, I was never abel to give them a try, but thankfully this Christmas I received a madeleine pan from my sister-in-law (thanks Lindsey)!
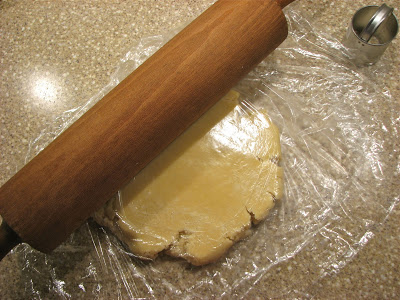
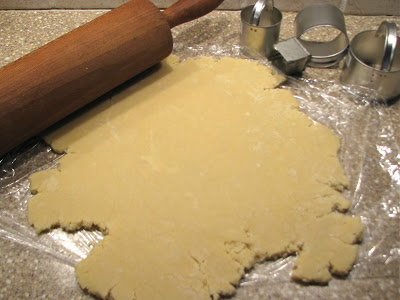
After receiving my madeleine pan, I went online and just picked a recipe. I just wanted something plain and simple for my first try. This recipe sounded promising, no special add ins or funky ingredients, so I whipped it together in just a few minutes. They really were simple to make, and were ready to eat in less than half an hour, that's a win in my book.
So the verdict? I really do love madeleines, I knew I would but now it's official! They are light and fresh, a bite size cake, the perfect way to satisfy my cake craving without the labor involved in making an entire cake. I don't know how my madeleines compare with a 'true' madeleine but I don't really care. They were delicious which is all that really matters. Now I can't wait to try lots of different variations, this is only the beginning.
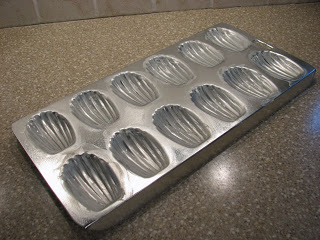
The new pan
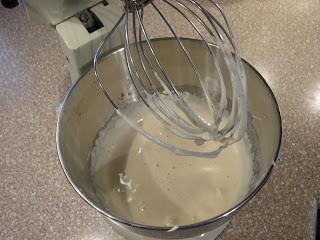
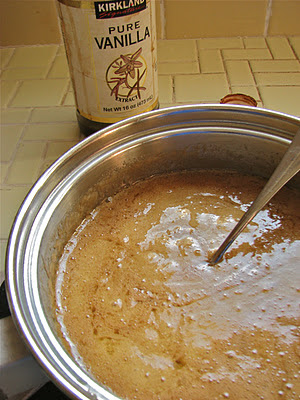
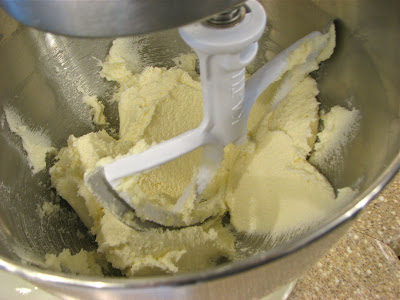
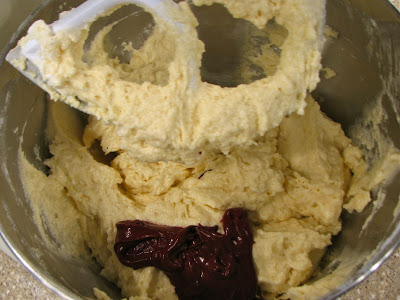
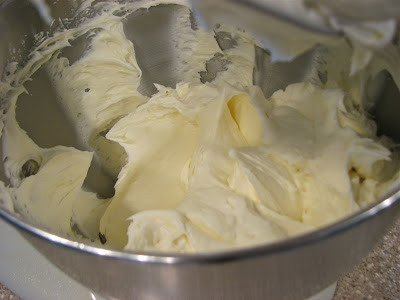
Beating together the eggs and sugar
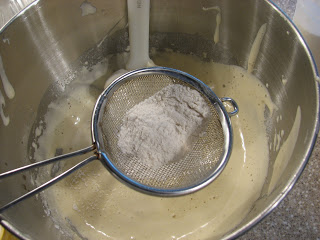
Sift in the flour
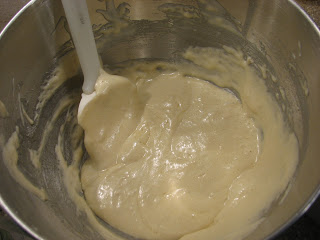
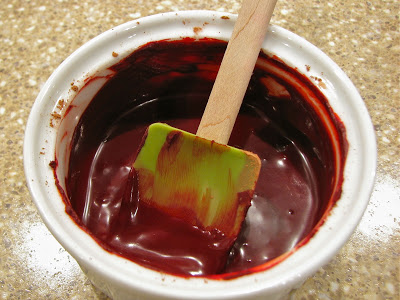
Fold in the butter and zest
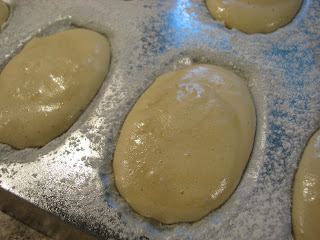
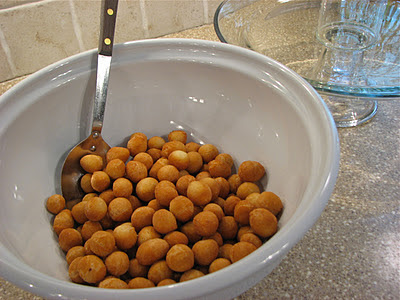
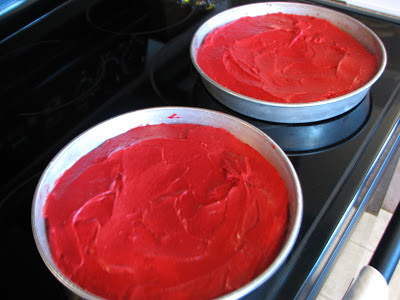
Fill the molds up
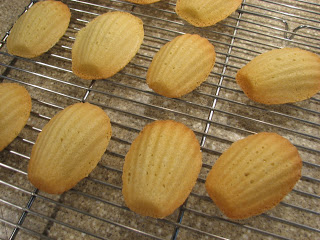
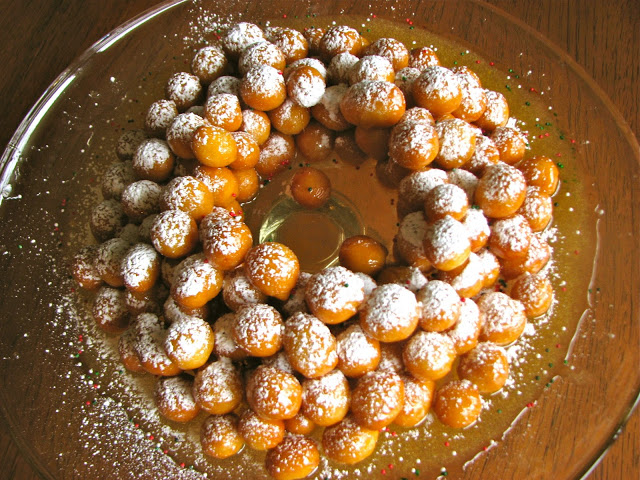
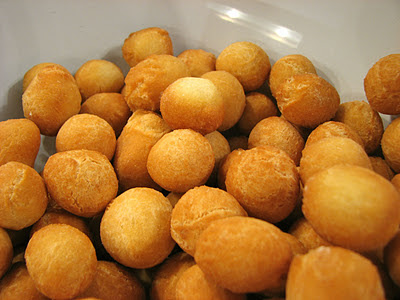
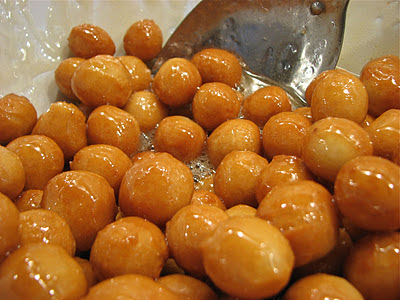
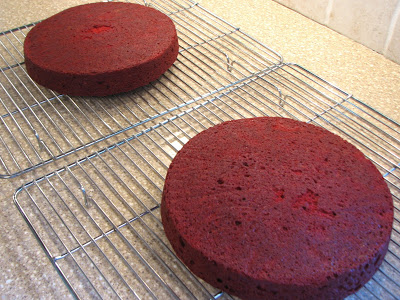
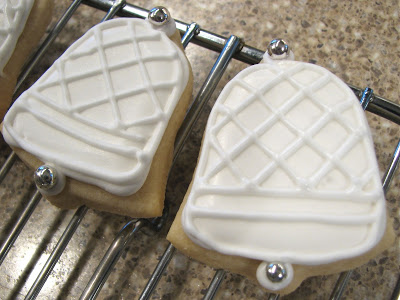
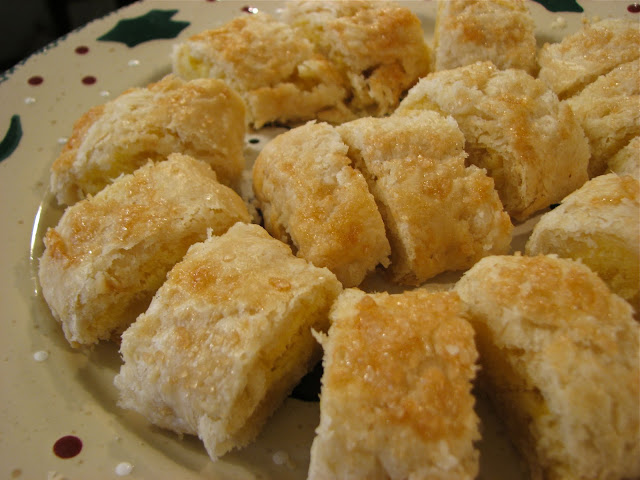
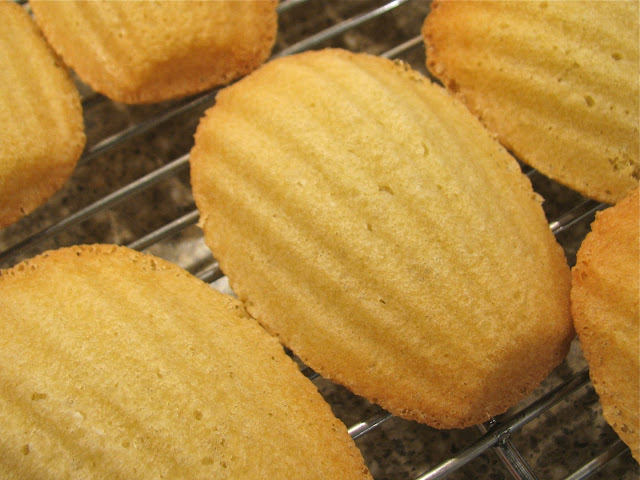
All done!

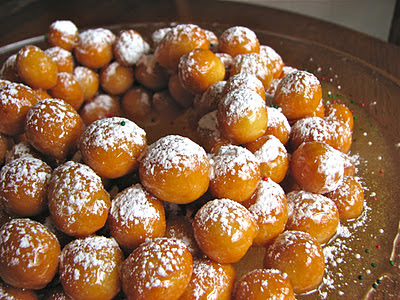
Sugared and ready to eat
Vanilla Madeleines
Adapted from All Recipes
Ingredients
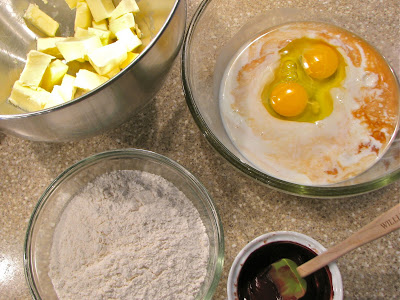
- 2 eggs
- 3/4 teaspoon vanilla extract
- 1/8 teaspoon salt
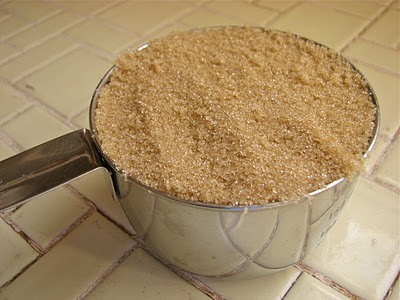
- 1/3 cup white sugar
- 1/2 cup all-purpose flour
- 1 tablespoon lemon or orange zest (optional)
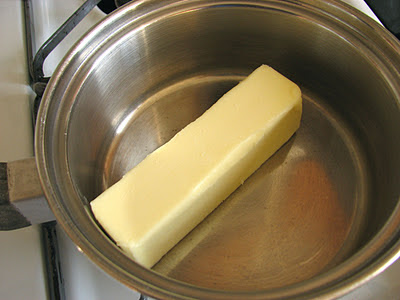
- 1/4 cup butter
- Powdered sugar for dusting
Directions
Preheat oven to 375 degrees. Butter and flour madeleine molds; set aside.
Melt butter and let cool to room temperature. In a small mixing bowl, beat eggs, vanilla and salt at high speed until light. Beating constantly, gradually add sugar; and continue beating at high speed until mixture is thick and pale and ribbons form in bowl when beaters are lifted, 5 to 10 minutes.
Sift flour into egg mixture 1/3 at a time, gently folding after each addition. Add zest and pour melted butter around edge of batter. Quickly but gently fold butter into batter. Spoon batter into molds; it will mound slightly above tops.
Bake 8-10 minutes, or until cakes are golden and the tops spring back when gently pressed with your fingertip.
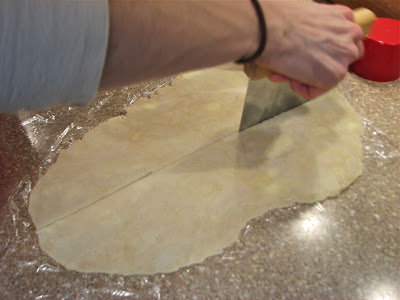
Use the tip of the knife to loosen madeleines from pan; invert onto rack. Immediately sprinkle warm cookies with powdered sugar. Madeleines are best eaten the day they're baked. Leftover madeleines are wonderful when dunked into coffee or tea.
Yields 16-18 madeleines