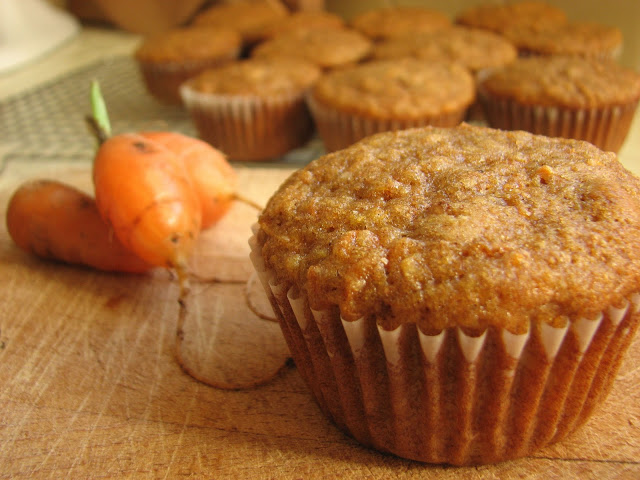
Cinnamon Carrot Muffins
I eat a lot of muffins, they are one of my favorite breakfast treats. Muffins are simple and easy to prepare, they don't take long to bake, and they are the perfect package to unwrap and enjoy at breakfast. One thing you do have to be careful about though when making muffins is realizing that some muffins are just cupcakes in disguise. They can be extremely rich and sweet, and if you put some frosting on top no one would know the difference. Personally, I don't have any problem with this and have made many cupcake-like muffins to eat for breakfast. Sometimes however (such as during the holiday season) I feel like making something a little healthier, and that's where these cinnamon carrot muffins come in.
I found this recipe while paging through a Whole Living magazine and decided that I had to try it. Nothing groundbreaking here, it just looked so tasty. I love cinnamon muffins and I also always have carrots in the fridge and knew I could throw this together very quickly . To make these I just pulled out my food processor, grated up the carrots and threw the rest of it together. Twenty minutes later I pulled a dozen golden muffins out of the oven, all the while inhaling the tantalizing aroma of cinnamon which was floating around the kitchen.
Sitting down at the table with a glass of cold milk and a freshly made muffin, my mouth was very happy. These muffins were extremely moist, the carrots definitely did their job well. I was a little worried about the carrots being kind of stringy in the muffins (I've had that with zucchini muffins in the past), so I was pleasantly surprised to discover that the carrot was not at all stingy, it just leant a nice orange color to the muffins. I was happy with these muffins, I like that they are both tasty and healthy, two great reasons to make them again.
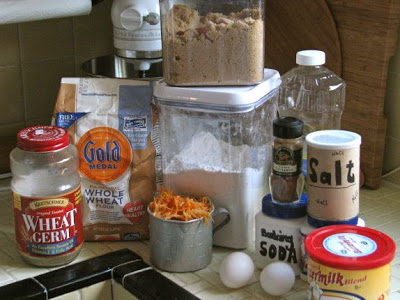
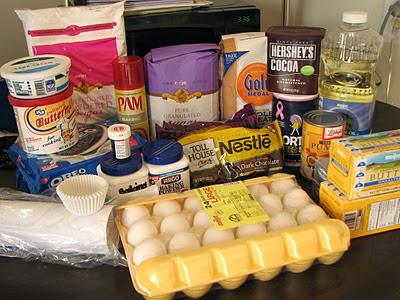
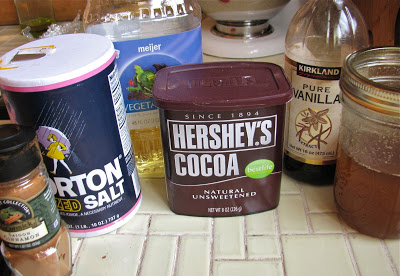
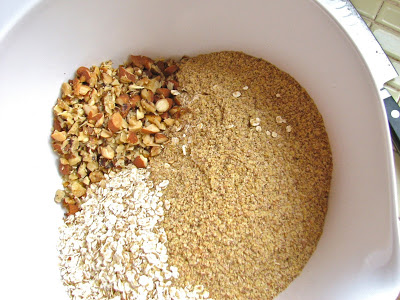
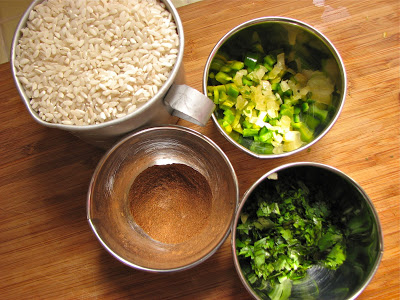
Getting everything together, ready to go

Grated carrots, easy as pie in a food processor

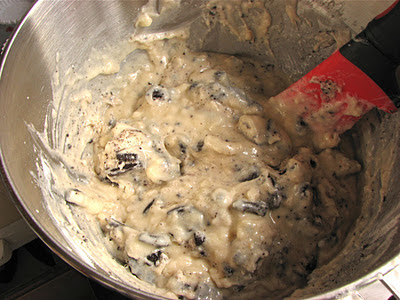
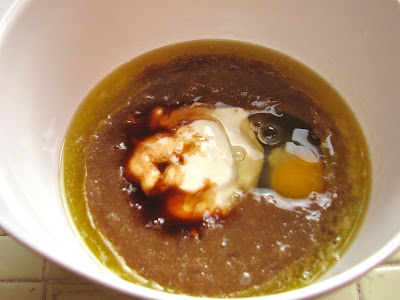
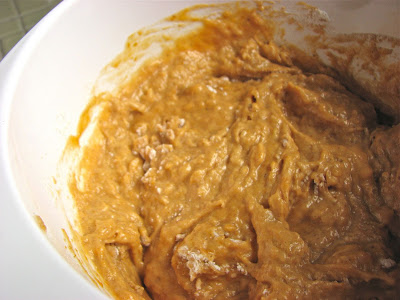
The carrots and wet ingredients,
very appetizing, I know

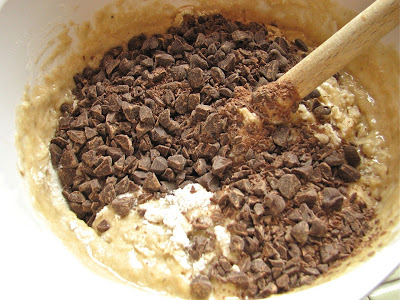
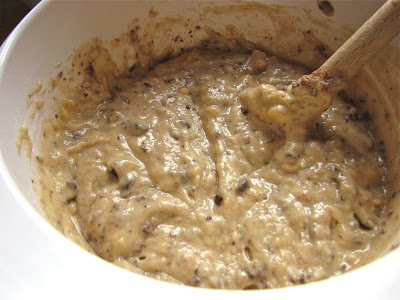
Mix in the flour mixture until just incorporated

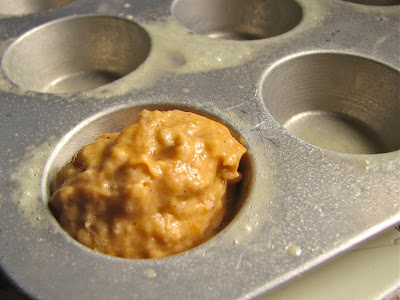
Fill your muffin cups

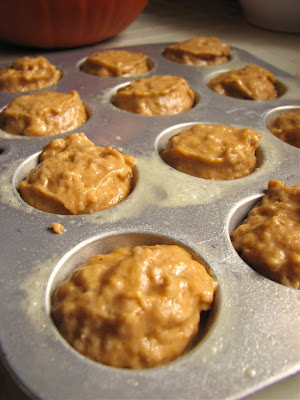
Ready for the oven
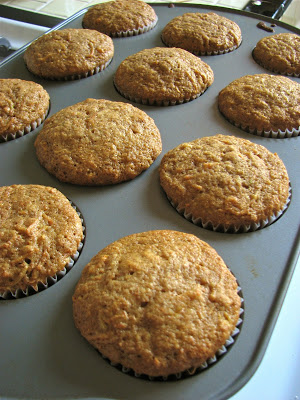
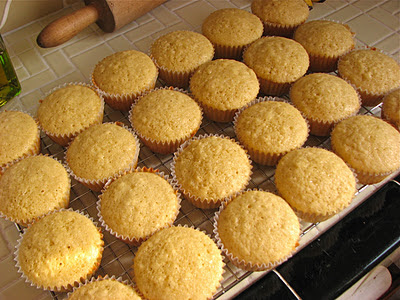
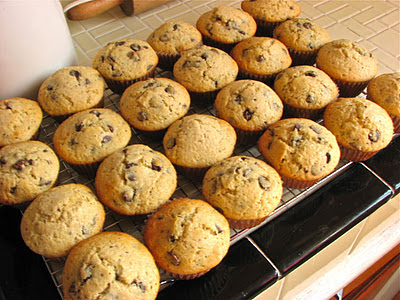
Fresh and warm
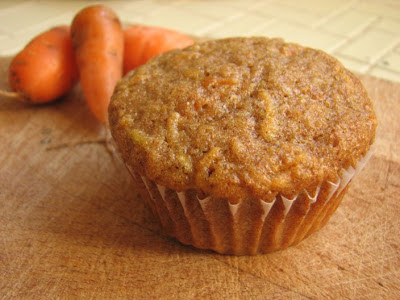
Perfect for breakfast
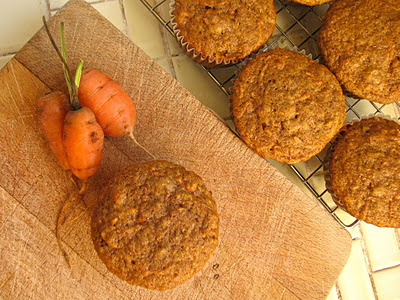
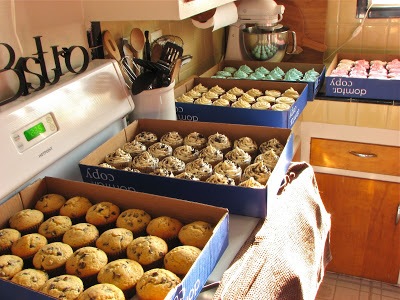
Grab and go
Cinnamon Carrot Muffins
From Whole Living
Ingredients
- 3/4 cup all-purpose flour
- 1/2 cup whole-wheat flour
- 2 tablespoons wheat germ
- 1 teaspoon ground cinnamon
- 1 teaspoon baking powder
- 1/2 teaspoon baking soda
- 1/8 teaspoon kosher salt
- 1/3 cup vegetable oil
- 1/3 cup buttermilk
- 2 large eggs
- 3/4 cup light brown sugar
- 2 cups finely grated carrots (4-5 carrots)
Directions
Whisk together flours, wheat germ, cinnamon, baking powder, baking soda, and salt in a bowl. Whisk remaining ingredients in a separate bowl. Fold dry ingredients into wet and mix until just combined.
Spoon batter into cups. Bake at 350 degrees until a toothpick inserted in the center of a muffin comes out clean, about 22 minutes. Cool in pan for 15 minutes, then transfer to a wire rack to cool slightly before serving.