Peanut Butter Sandwich Cookies
I love holidays because they give me a chance to bake something fun and new. I can make a big batch of cookies or bars or cake, whatever I am feeling like, and I don't have to worry about eating it all by myself. On the 4th my family and I went to Holland and relaxed at my aunt and uncle's condo on Lake Macatawa. The weather was perfect and the company was even better. It was the perfect opportunity to try out these peanut butter sandwich cookies.
The recipe comes from The Martha Stewart Baking Handbook that I bought myself last year and love. She has four different sandwich cookie recipes in the book, and I want to try them all. Since I absolutely love peanut butter though, this was on the top of the list. Making sandwich cookies can be time consuming because of the rolling, cutting, baking, frosting making, and assembly but they are totally worth it. These cookies turned out absolutely delicious. The cookie itself was buttery and rich with a nice peanutty flavor, not overpowering but definitely present. The filling was delicious, light and fluffy, the perfect complement to the tender cookie. These cookies would also be delicious with some type of chocolate filling (chocolate and peanut butter is my favorite combination!). If you feel like trying a fun new peanut butter cookie, give these a shot!

Can't go wrong with peanut butter

Peanut butter and sugar, getting
ready to mix

The butter was a little frozen, the easiest way to warm it
quick is cut it up and spread it out on a plate

Starting to cut

Bite size cookies

Cute

Lay them out on the cookie sheet

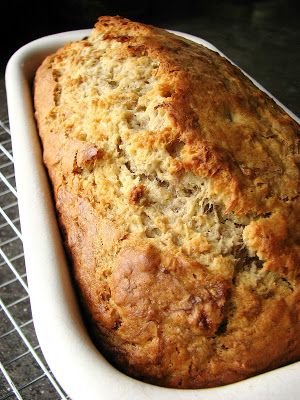
Bake up

Cool them off

Stack them up

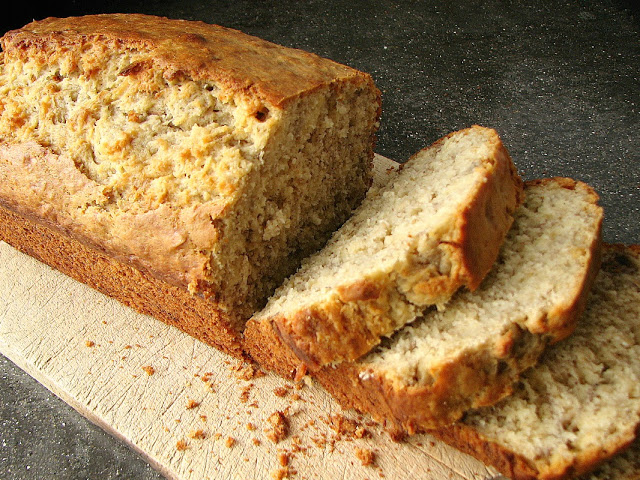
Sandwiches!
From The Martha Stewart Baking Handbook
Ingredients
Cookie
- 2 cup flour
- 1/2 teaspoon baking soda
- 1/4 teaspoon salt
- 1 1/2 sticks (3/4 cup) unsalted butter, room temperature
- 3/4 cup smooth peanut butter
- 1/2 cup granulated sugar
- 1/2 cup packed light brown sugar
- 1 large egg
- 1 teaspoon vanilla extract
- 6 tablespoon unsalted butter, room temperature
- 3/4 cup confectioners' sugar
- 3/4 cup smooth peanut butter
- 3 tablespoon heavy cream
For the cookies: in a bowl, whisk together flour, baking soda and salt and set aside. In the bowl of a stand mixer, place butter, peanut butter and both sugars and beat on medium-high speed until light and fluffy, about 2 to 3 minutes. Add the egg and vanilla and beat to combine. With mixer on low, add flour mixture and beat until incorporated, about 1 minute.
Divide the dough in half and shape both halves into flattened disks. Wrap each disk in plastic wrap and refrigerate at least 30 minutes or overnight.
When ready to bake the cookies, line two large baking sheets with parchment paper and preheat the oven to 325 degrees. On a lightly floured surface, roll out dough to a scant 1/4 inch thickness. Either cut the dough into 2 1/2 by 1 inch rectangles (how Martha Stewart did it) or use a cookie cutter to cut out rounds (how I did it). If making rectangles, use the tines of a fork to score the top of each cookie. Transfer cookies to prepared baking sheets about 1 1/2 inches apart and refrigerate until firm, about 15 minutes.
Bake, rotating sheets halfway through, until lightly golden around the edges and firm in the center, 15 to 20 minutes (I did 15 minutes). Transfer to a wire rack to cool completely.
While the cookies are cooling make the filling. In the bowl of an electric mixer fitter with the paddle attachment, combine all of the filling ingredients. Beat on medium-high speed until light and fluffy, about 5 minutes, scraping down the sides of the bowl as needed. (Use immediately or transfer to an airtight container and refrigerate up to three days. If refrigerated, let filling stand at room temperature to soften before using.)
Using a spatula, spread 1 tablespoon filling onto the flat sides of half of the cookies. Sandwich with remaining cookies, keeping the flat side down.