Open Crumb Sourdough Bread
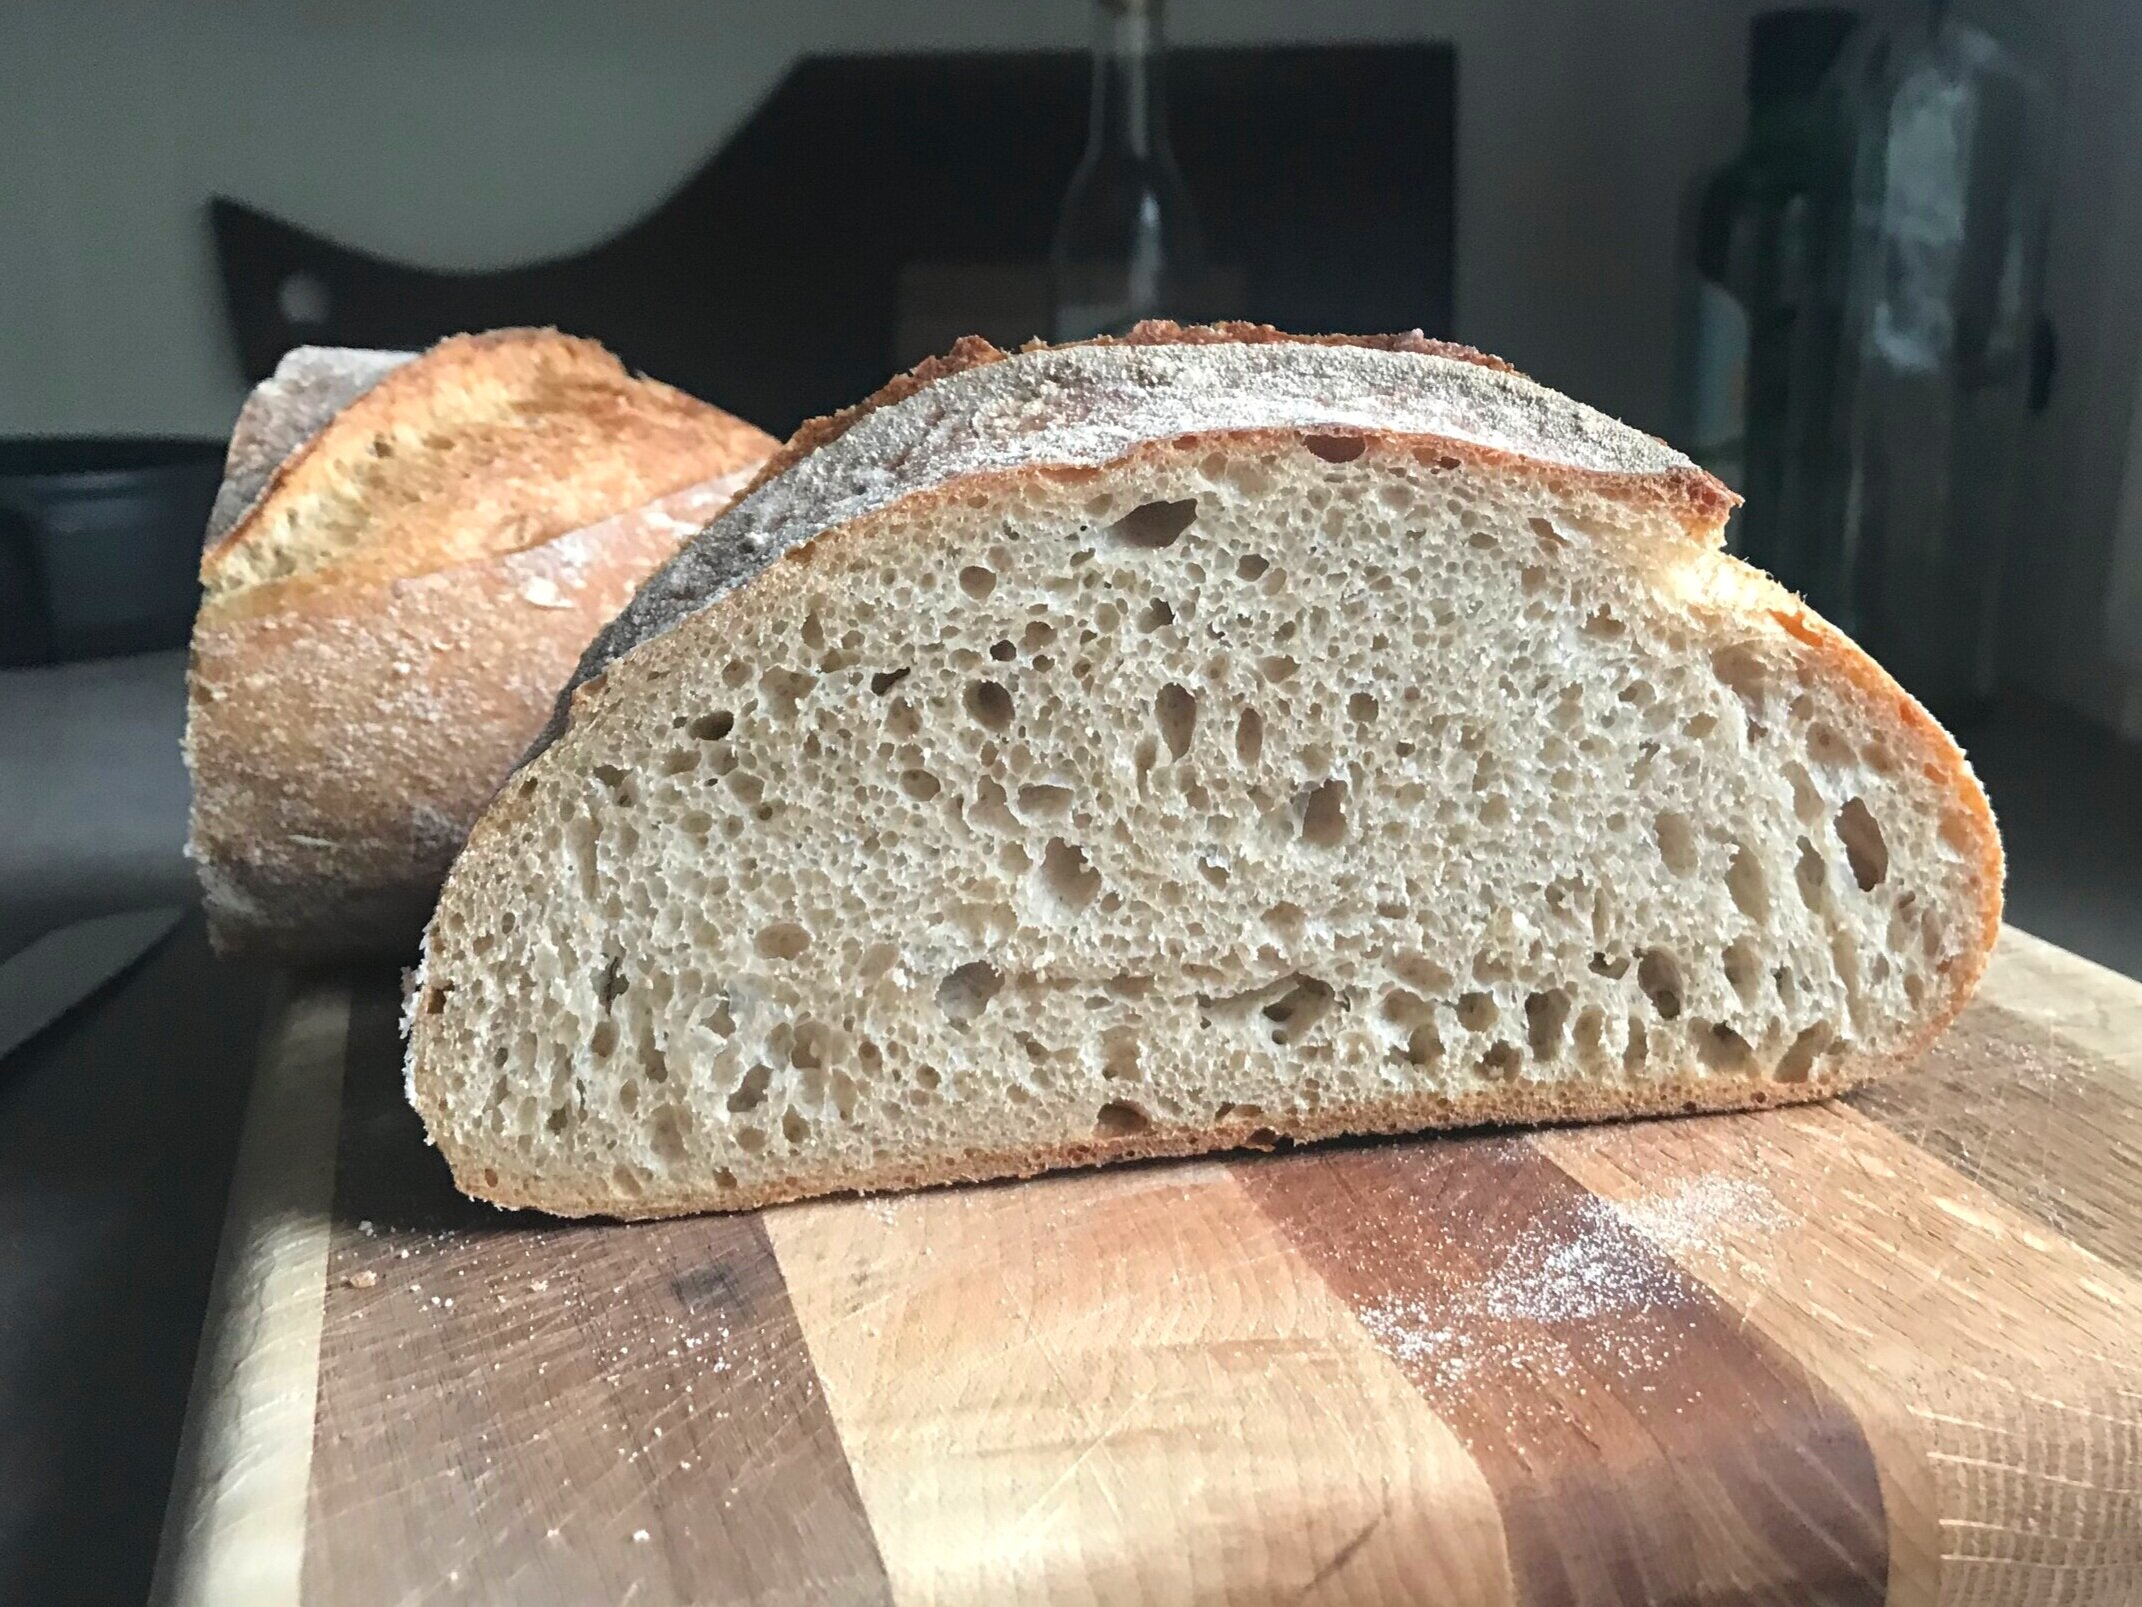
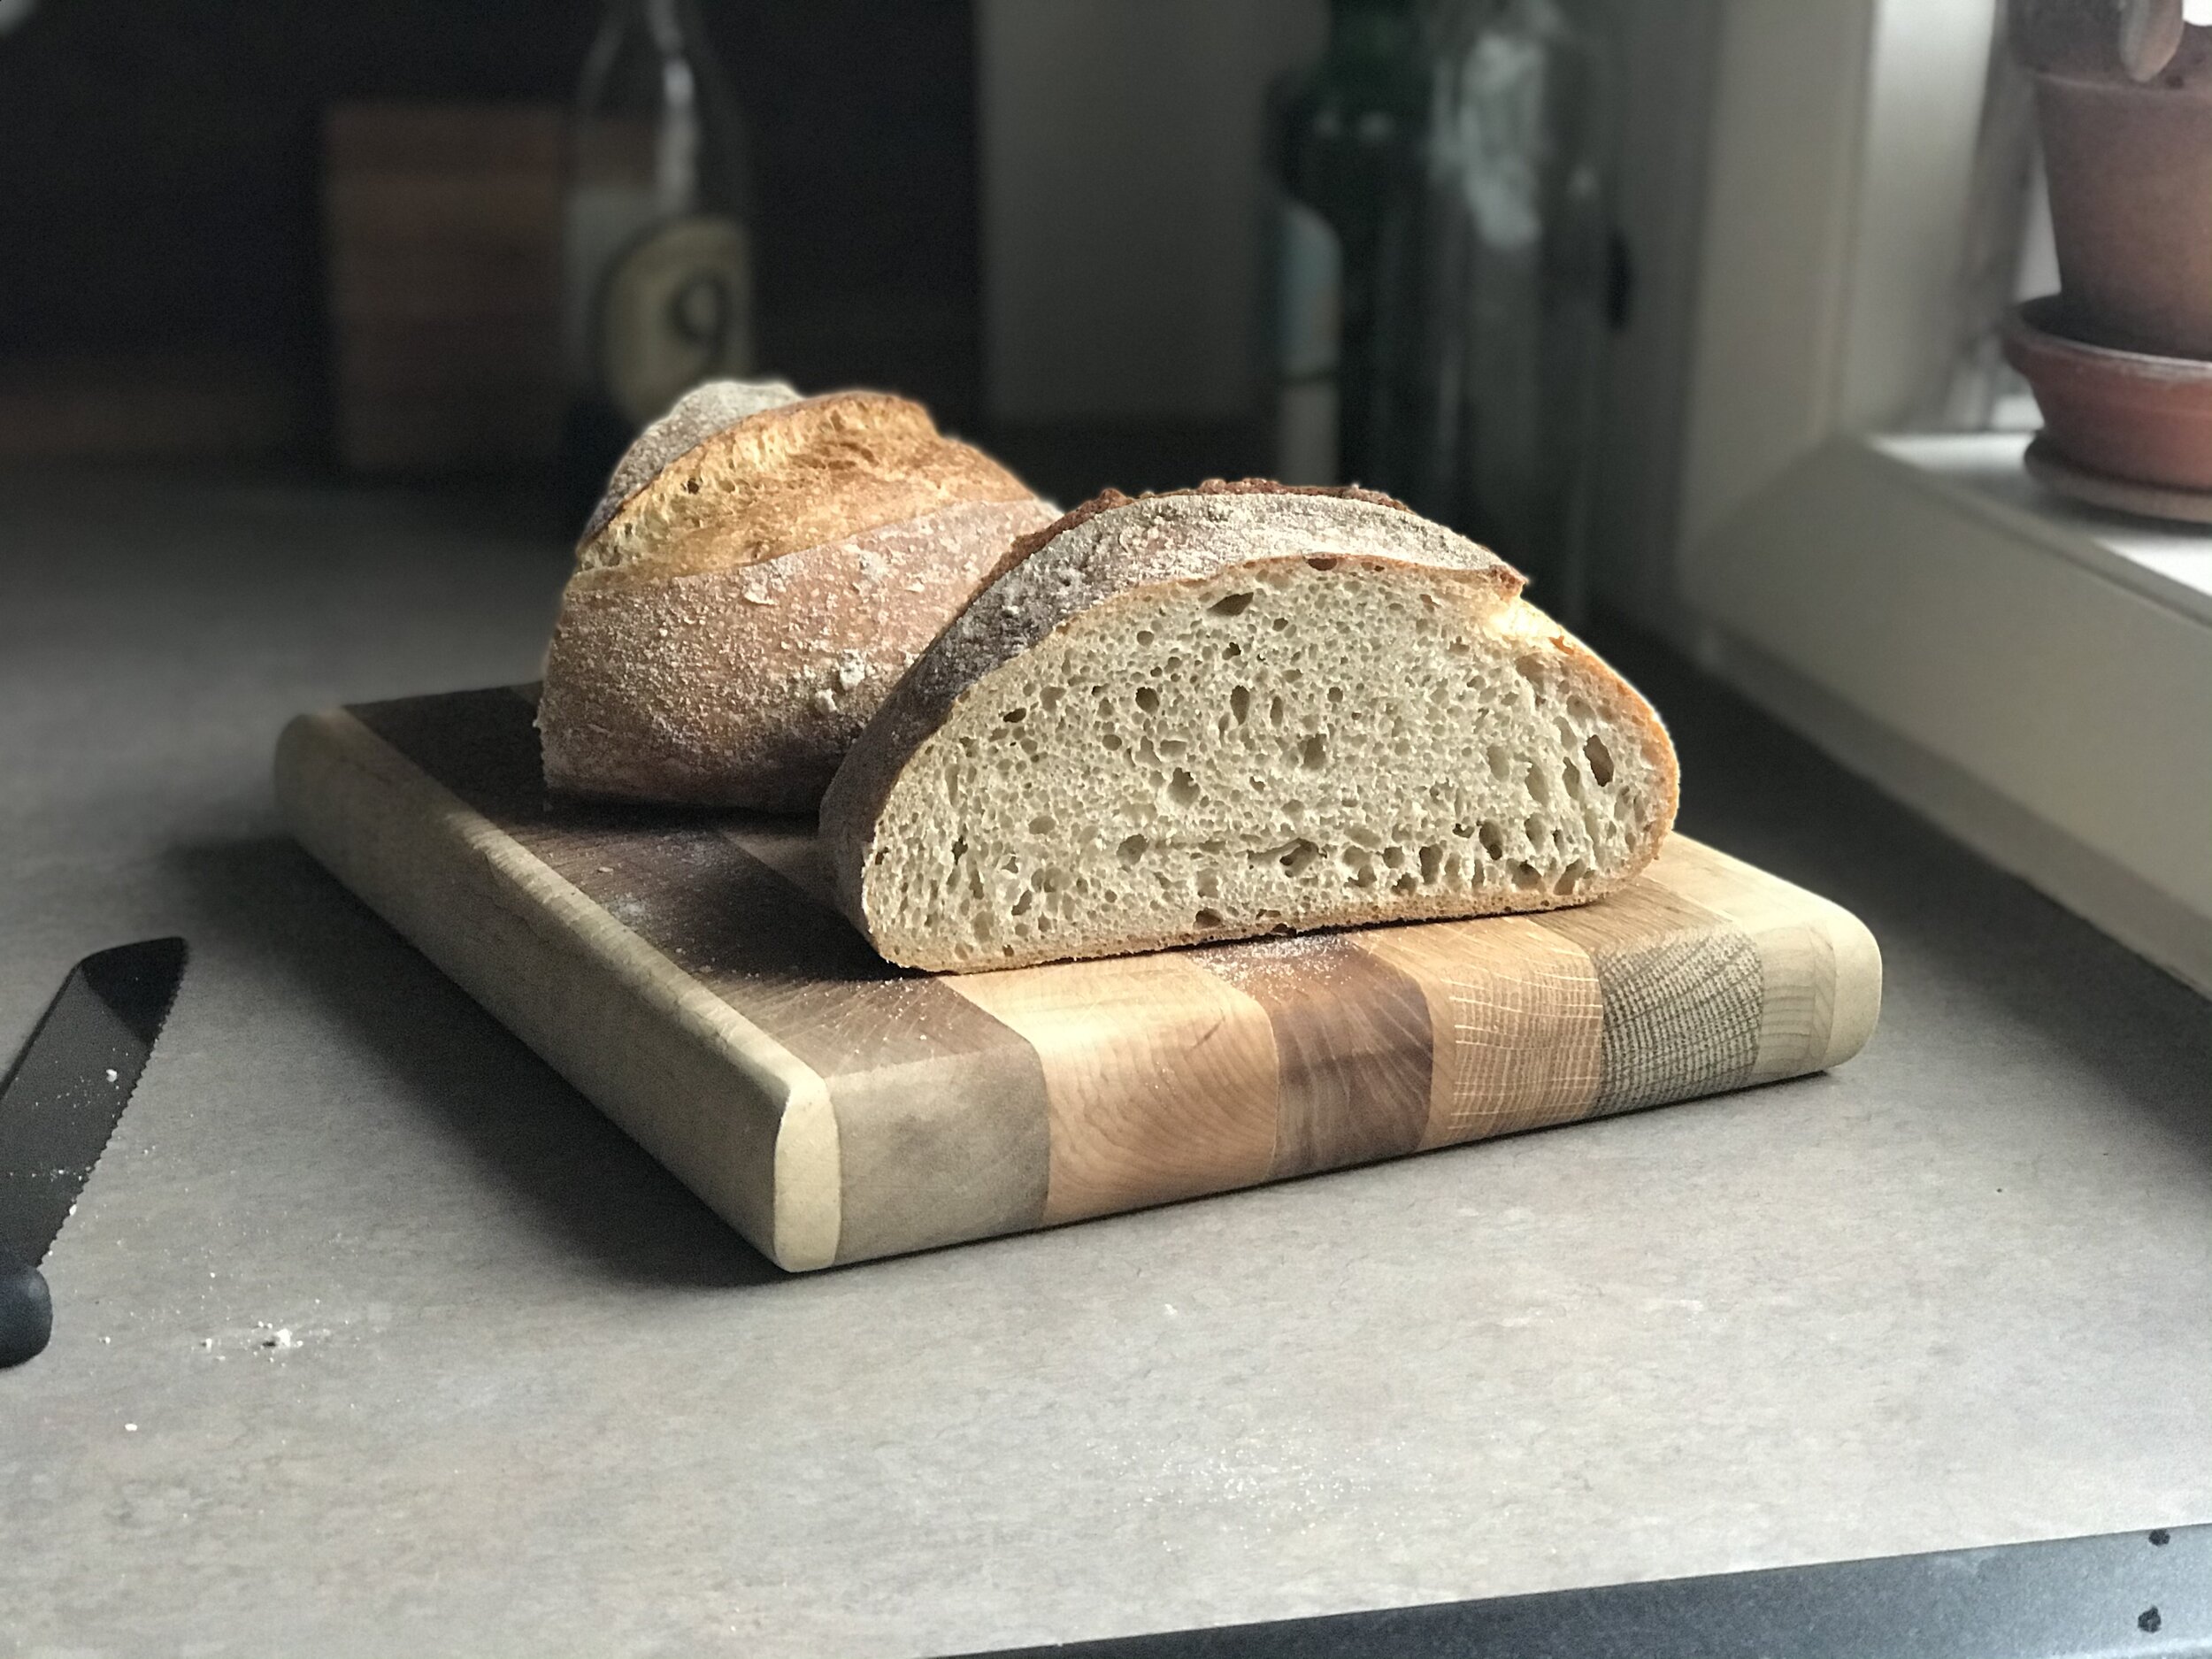
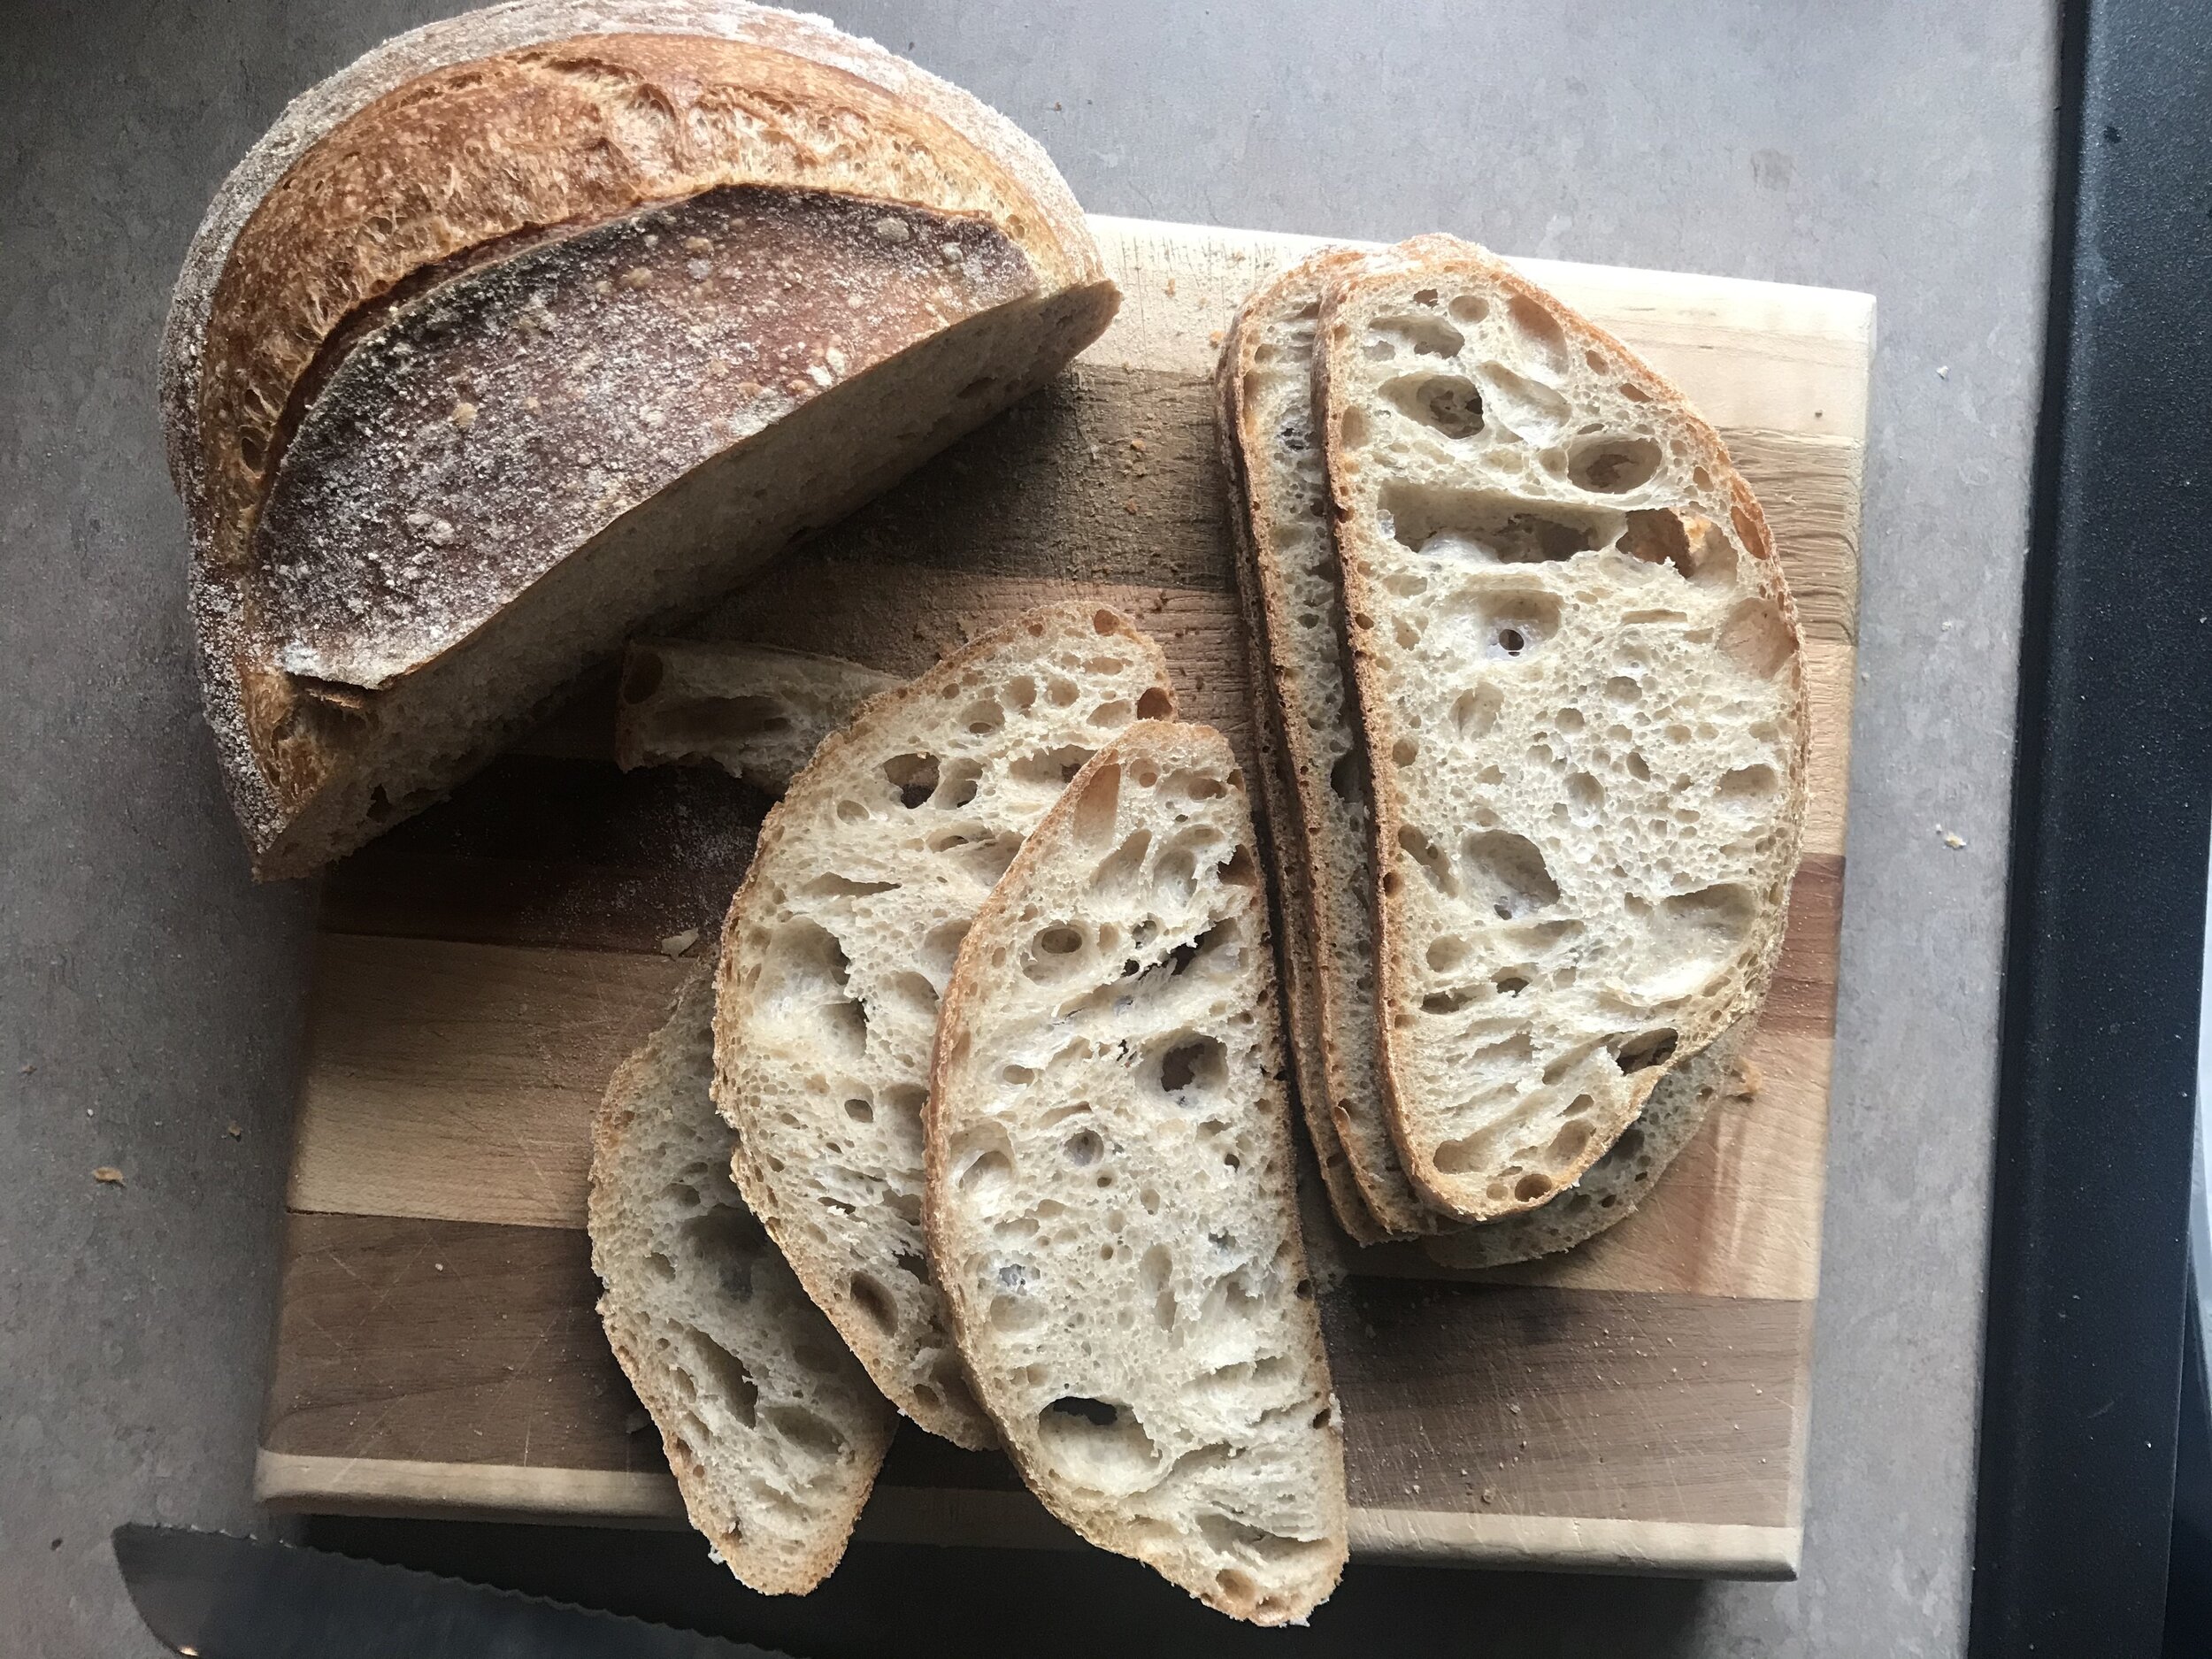
I’ve been following Full Proof Baking on Instagram for a while now and find her breads absolutely beautiful! I finally sat down and really looked at her method (video available on her YouTube page) and attempted her Basic Open Crumb Sourdough. I had tried her 50% whole wheat sourdough a few weeks back and it failed miserably for some reason even though the whole process seemed to go very well. I figured I’d step back and start at the beginning with a more basic recipe with a lower percentage of whole wheat. I’ve now made this bread twice. The first time it turned out pretty well, but the crumb was a little uneven and it didn’t look like it really rose fully, the bottom of the loaf was a little dense. Second attempt went a lot better. I didn’t really change a lot, figuring practice and repetition is really what will make a successful loaf.
One thing I did change slightly was at the end of the overnight proof. She calls for you to bake the bread straight from the fridge while it is still cold. I feel like when I do this sometimes it doesn’t work. It seemed to me that my bread needed just a little bit more rise before baking. So on the second attempt I took the bread out when I turned my oven on to preheat. So it was out for 45-60 minutes in a fairly warm room (with the oven on to 500 degrees). I feel like this gave it just a bit more lift without overproofing. There is the possibility that I am in fact overproofing and that’s why it’s not getting enough lift but I just didn’t think so.
I’m going to keep playing with the recipe, and my technique, but this second attempt was a definite success! I’m excited to keep experimenting!
——————————————————————————————
Basic Open Crumb Sourdough Bread
Recipe from: Full Proof Baking
Note: A 20% Whole grain wheat bread. The higher hydration makes the dough ingredients easier to mix by hand.
Specs:
Baker’s Percentages: 20% whole grain hard red spring wheat, 79% bread flour, 1% whole grain rye (from levain)
20% levain inoculation
2.1% sea salt
80% final hydration
Levain: (5 hours)
5 hour young levain built 1:2:2
15 g mature starter + 30 g water + 30 g bread flour
Keep at 80% F until more than tripled in volume, approximately 5 hours at around 80 degrees.
Autolyse (2-4 hours)
This is a pre-soak of flour and water to jump-start gluten development and increase dough extensibility which can be great for maximizing open crumb in the final loaf of bread.
70 grams whole wheat flour
255 grams bread flour
253 grams water
Add water to flour mix and stir until there is no more dry flour remaining. Let sit for 2-4 hours. At this point there should be much more extensibility in the dough.
Add levain to Autolyse:
Add 65 g (20%) levain (brings final hydration to 80%) to the autolyse.
Add the levain right on top of autolysed dough. Begin hand mixing to get it into the dough. Shouldn’t take long, approximately 3-4 minutes. A short mix prevents over-oxidizing of the dough. Once fully mixed, form a taught ball of dough, let rest 30 minutes before adding salt.
Add salt:
After resting for 30 minutes, add 7.5 grams fine grain sea salt (around 1 teaspoon) . Wet your hand and dimple in the sea salt. Then pinch and mix it in. The salt helps tighten the gluten structure and adds strength to the dough. It also slows fermentation. This is also the last step where you can easily easily add more water to the dough. If the dough feels a little tight you can add a small splash of water as needed. This is mainly done by feel. Takes about 5 minutes to fully incorporate the salt. Then let the dough rest for another 30 minutes.
Perform a Fold:
Next perform a fold: Lightly mist the counter with water. Wet your hands with water and flip the dough out onto the counter. Using a bench scraper, pull the dough from the top down folding the dough onto itself. Repeat this process on all four sides of the dough. Flip the dough over, round it up and return to the bowl. Cover and let rest 30 minutes.
Lamination:
Mist the counter with water again. Transfer dough to counter. Lift and gently stretch the dough out from the center with wet hands. Work delicately and slowly. Try not to pull from the edges but pull from the center out, you don’t want the dough to tear. Form a large, thin rectangle of dough. Pick up one edge of the dough and fold into the center approximately ⅓ of the way across, being sure to eliminate any large air pockets. Then fold the other side into the center over the first section. Finish by folding the top down halfway and then the bottom over the top forming a square in the end. Move your dough to a small square Pyrex-type dish. Let rest 45 minutes.
Stretch and Folds: (strengthening the dough)
The number and frequency of the folds is dependent on the length of bulk as well as your dough’s extensibility and how the dough develops over the course of the bulk. For this dough 3 sets of coil folds performed at 45 minute intervals is typically enough.
With wet hands reach under the dough and pull it up slowly and evenly, detaching the dough on the side farther away from you. The dough will naturally wrap itself under. Rotate the dish and perform the same coil fold again on the other three sides. The top part of the dough is the part detaching from the dish and coiling under. 4 total coil folds. While doing this be sure to pop and large air pockets as these are not signs of fermentation, they are pockets introduced during mixing and lamination. Cover and let rest 45 minutes. This bulk fermentation should be around 75 degrees F.
Perform the next stretch and coil folds on all 4 side of the dough. If your dough still seems a little loose you can perform another 1-2 stretch and folds during the bulk fermentation. Let rest 45 minutes.
Perform the last set of stretch and folds. Note the temperature (again, around 75 degrees is ideal). Let bulk fermentation continue for another 1.5-2 hours (this is where you can add in another series of coil folds as needed).
Shaping:
About 90 min later, about 6 hours after adding levain, the dough should be around 74-75 degrees F and is ready to shape. Dough should appear puffy and somewhat light, with some roundness at the edges. Overall it should have grown approximately 50% in volume since adding the levain.
Flour the counter top with flour. Release dough from top of dish and flip the dish over and allow it to release from the dish onto the counter. Use a bench scraper to tuck flour under the edges of the dough. Then remove the excess flour from the workspace.
Use the scraper to help pick up the side (top) flap of your dough and gently pull out just a bit before folding up on top of the center of the dough (about ⅓ of the way in, like a letter). Gently pat the dough during this stage to remove any large air bubbles to ensure a more even crumb. Repeat the fold with the other side of the dough, folding it into the center. Then lift the top of the dough and begin to roll down onto itself. Use your thumbs to gently but firmly tuck the dough in creating a more taught surface on top of the dough. Once you roll fully up and get to the seam, seal the edge using your fingers. The use your fingers to pinch the edges to seal.
Dust the top of your dough with brown rice flour (this is ideal to prevent sticking to your banneton) and keeps the dough dry and prevents the surface from getting tacky. Use your scraper to flip over the dough so the seam side is up and the top of the dough is facing down. Gently lift and transfer the dough to the banneton. Cover and move on to the proofing stage.
Proof:
Let the dough sit at room temperature for an initial short proof (15-20 mins), then move to the fridge for an overnight retard for approximately 12-16 hours at 38 degrees F. Anything less then 39-40 degrees will prevent any significant rise. Any warmer and you may over proof/over ferment.
Bake:
The next day it’s time to bake. I use the Dutch oven method currently. Preheat oven with Dutch Oven in it for 1 hour at 500 degrees. Transfer dough, cold from fridge, to piece of parchment paper. Score at 45 degree angle. Transfer to preheated Dutch oven and put the lid on. Place in oven and turn temperature down to 450 degrees. Bake, covered, for 20 minutes. Remove the lid and return the bread to the oven and continue baking another 10 minutes at 450 degrees. Decrease the temperature to 425 degrees and bake for an additional 10-15 minutes. You can remove the bread from the Dutch oven for these last 15 minutes if desired. I find it helps the crust brown up more then it does when left in the pot.
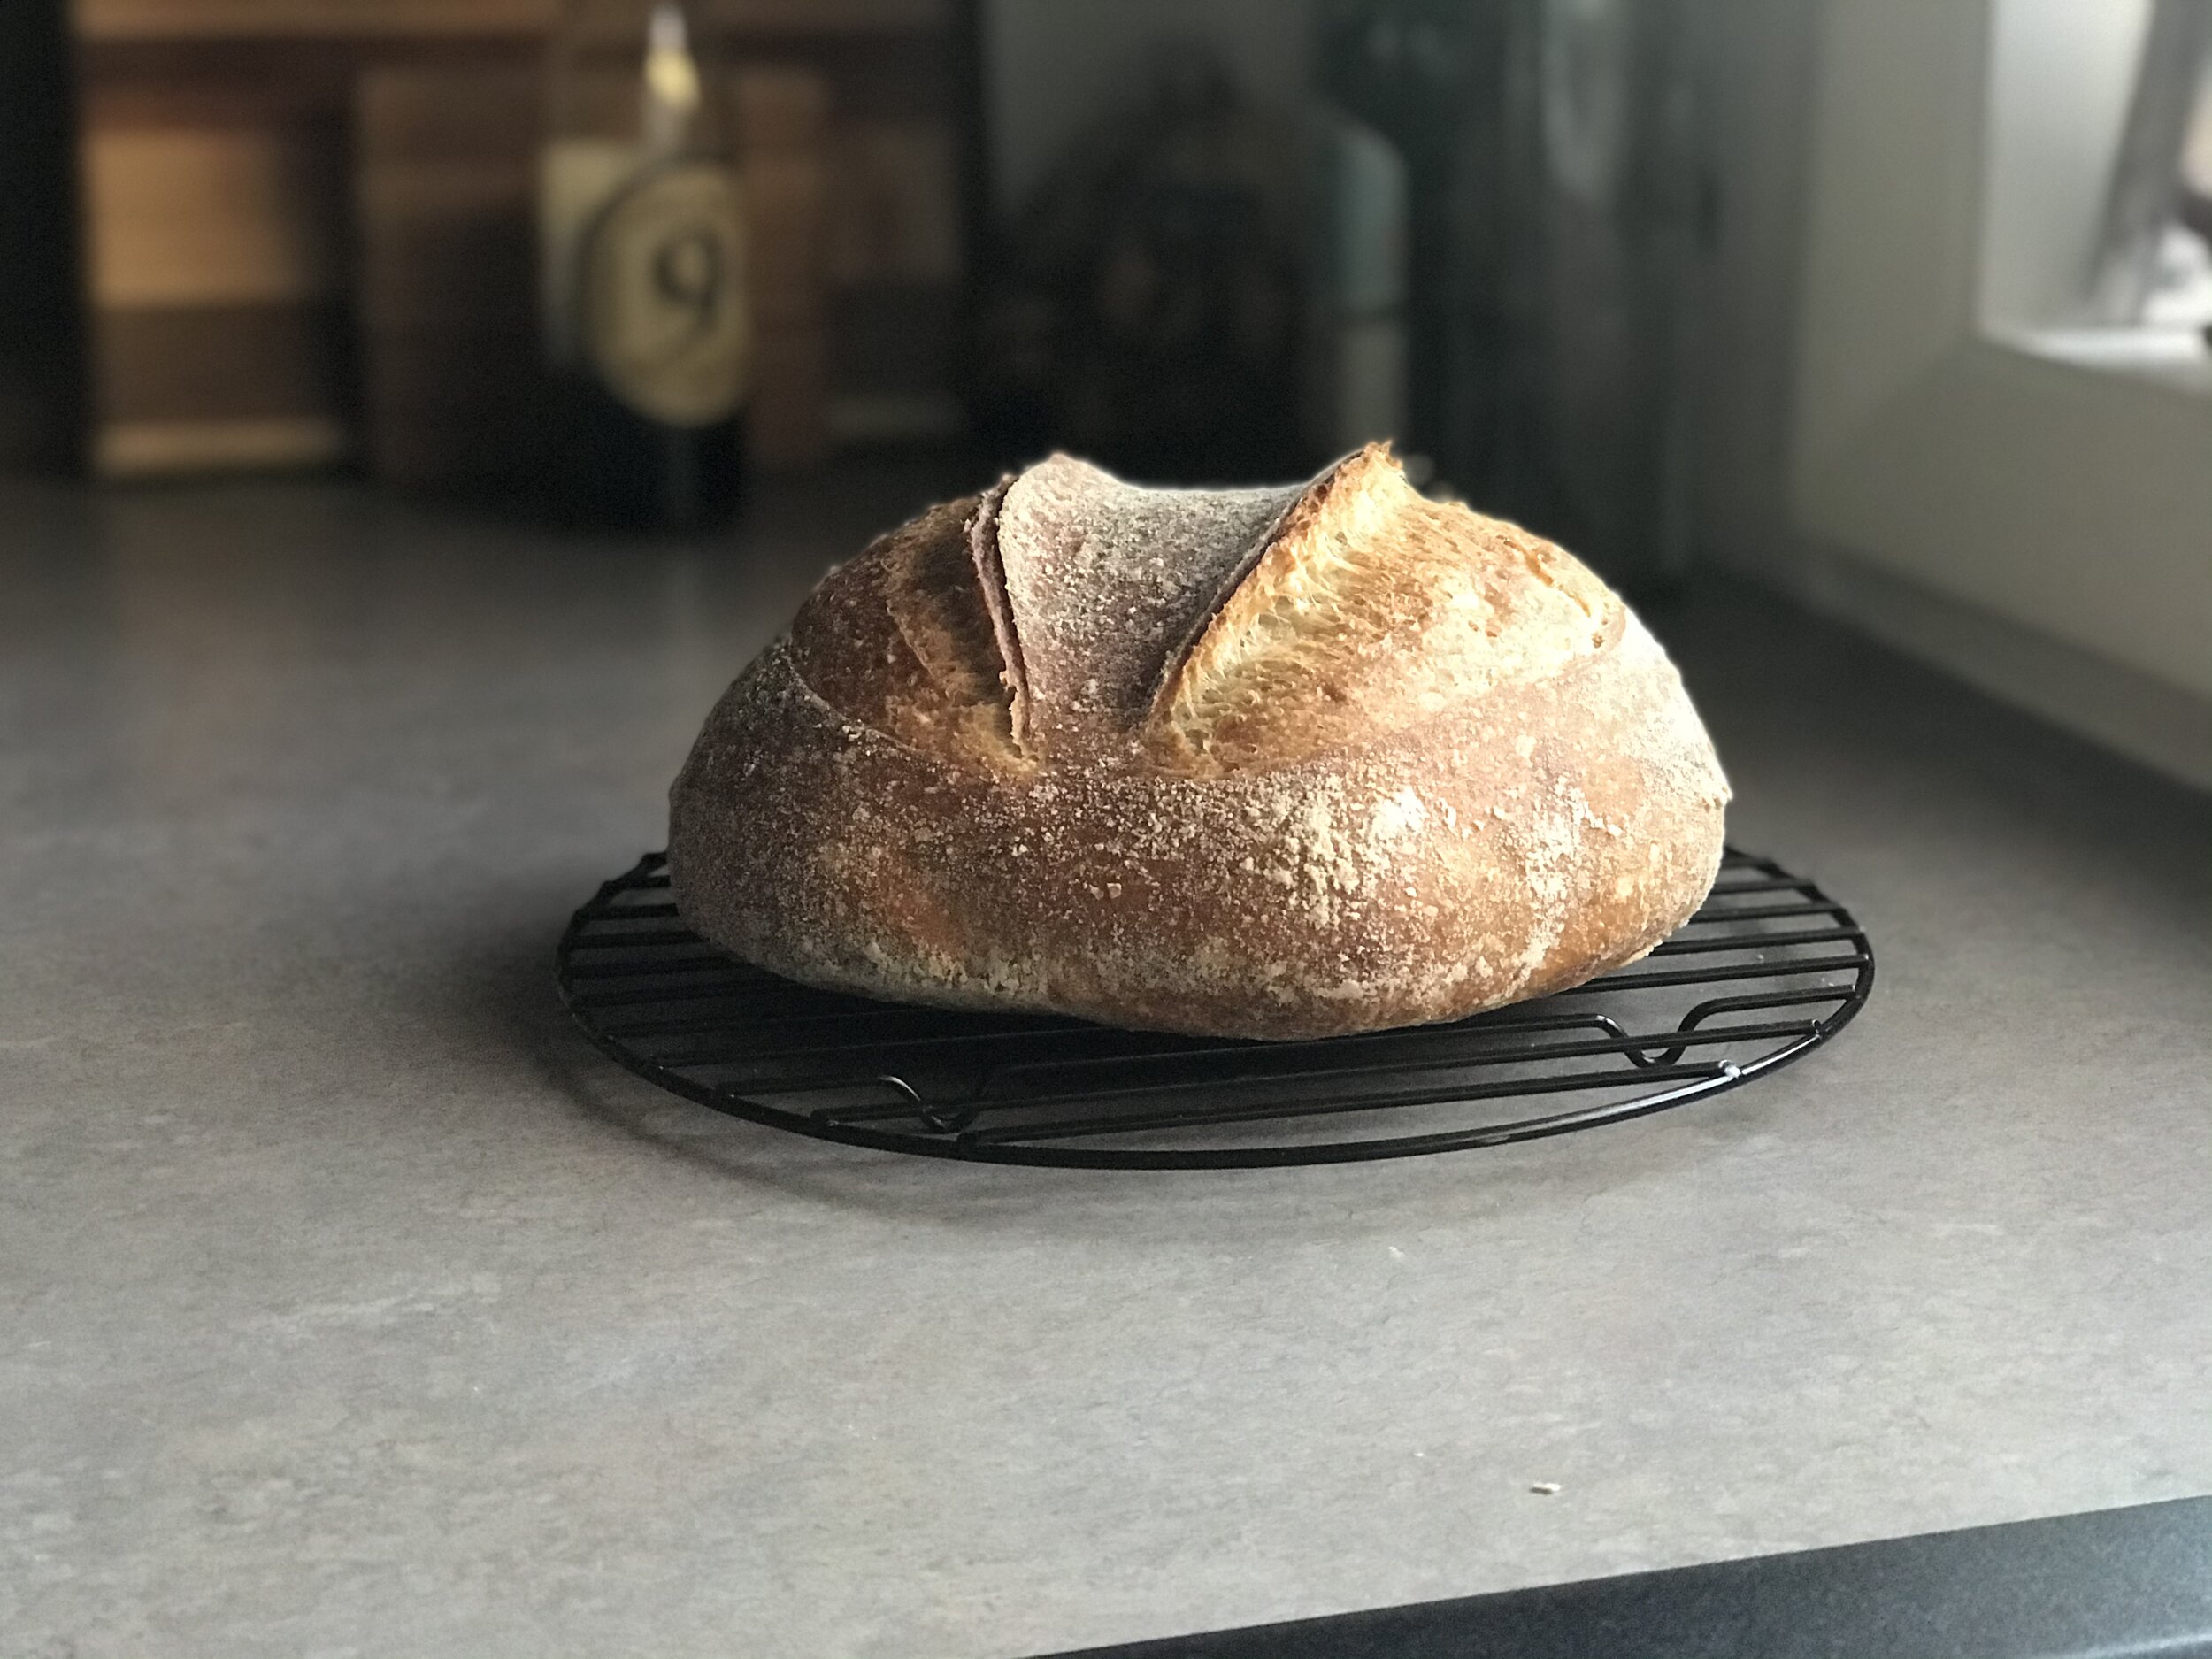
Remove bread from over and place on a wire cooling rack. Allow to cool at least 2 hours before cutting, but waiting until bread is completely cooled is ideal.