Thick Chocolate Walnut Cookies

IMG_5327.jpg
IMG_3315.jpg

Aldea coffee is one of my favorite coffee shops in the area. Their first shop is in Grand Haven and I must stop there pretty much every time I’m in the area. They recently opened a second location in Muskegon that I’ve been wanting to visit. Since Muskegon is not right down the road it wasn’t some place I thought I’d get to soon. Thankfully this weekend I decided to go hiking at Hoffmaster State Park which is only about 10 minutes from the new coffee shop so I had to stop and visit!

IMG_5299.jpg

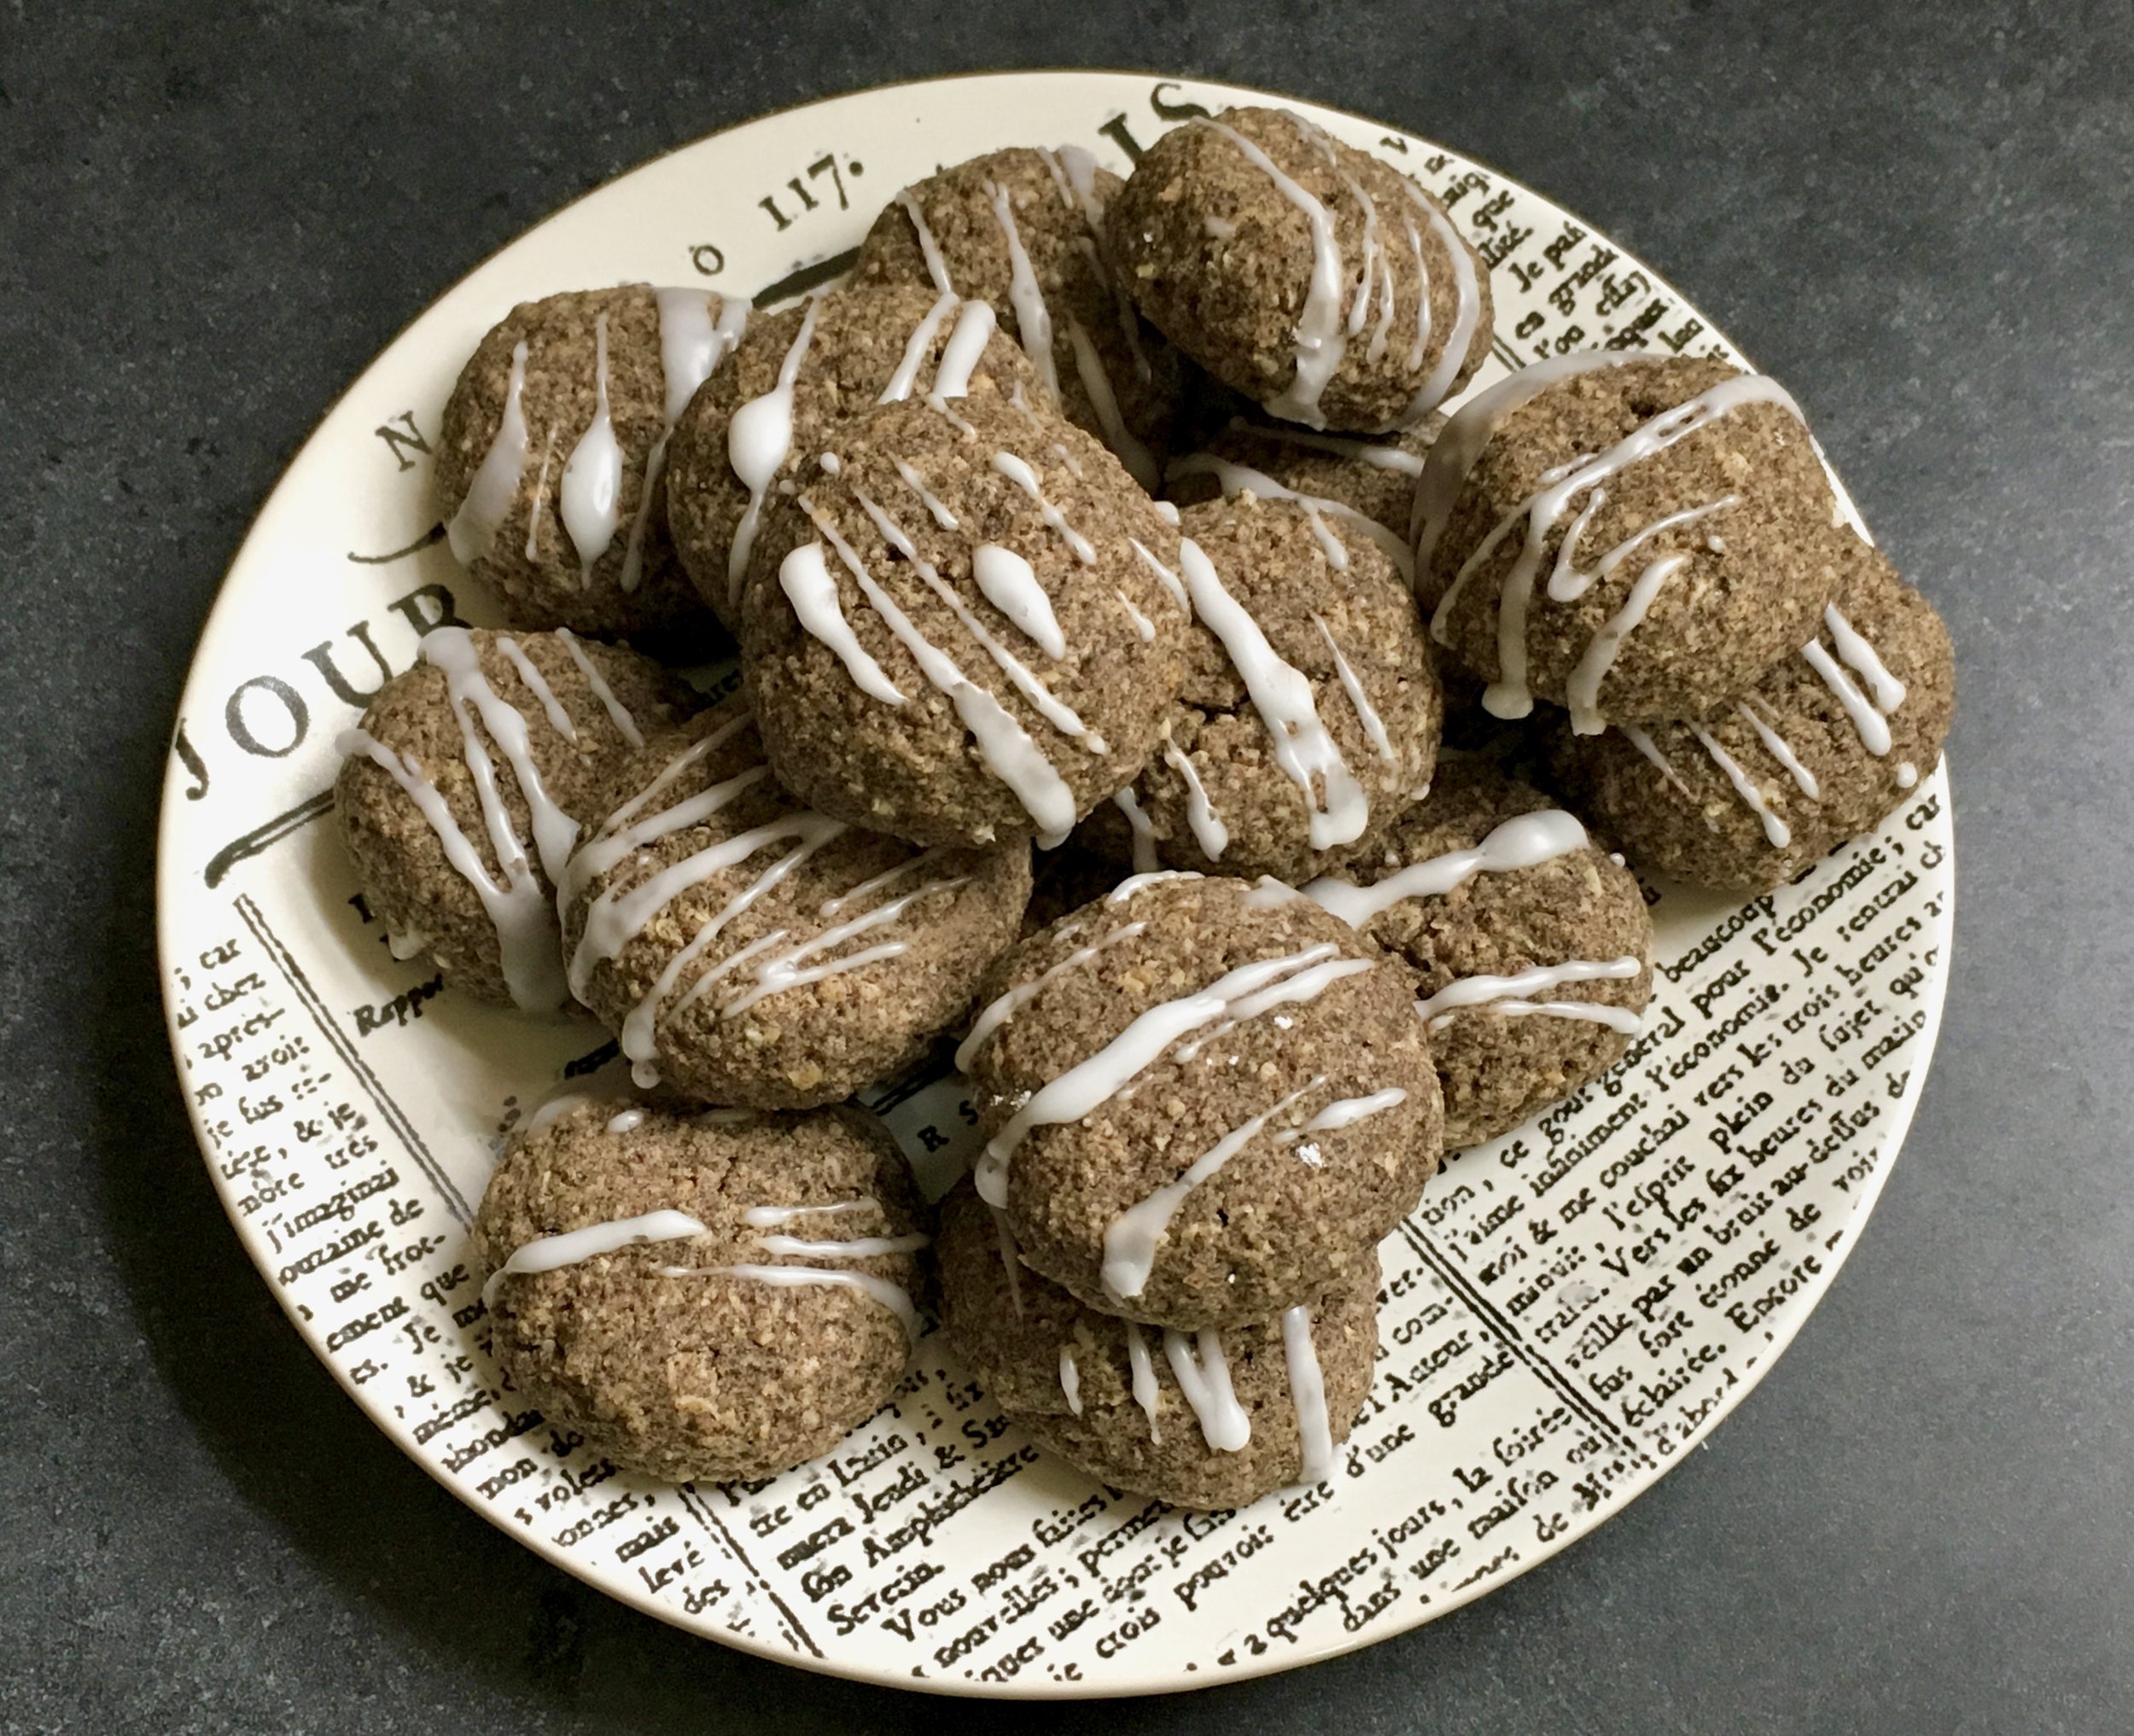
One of my favorite things about Aldea is the cookies they sell. They’re from Laughing Tree Brick Oven Bakery, and they are sooooooooooooo good. I often get their “Hippe Cookie” which is vegan I think, and full of peanut butter and chocolate. Thick and dense. I’ve tried to recreate it, even writing the bakery to see if they would share the recipe (they won’t sadly), but I have not been successful thus far. At this most recent visit to Aldea I got their walnut chocolate chunk cookie and it was also one of the best things ever. So thick and dense and chewy and hearty. When I got home I decided I wanted to make something along the same theme, it had hit the spot so well.

5895066C-DCC0-495D-BA18-7C898B6FEF6B.jpg

THE INSPIRATION

I looked at a few recipes and decided to try this one for a “Fluffy” chocolate chip cookie. It looked thick, dense and large just like I was hoping.

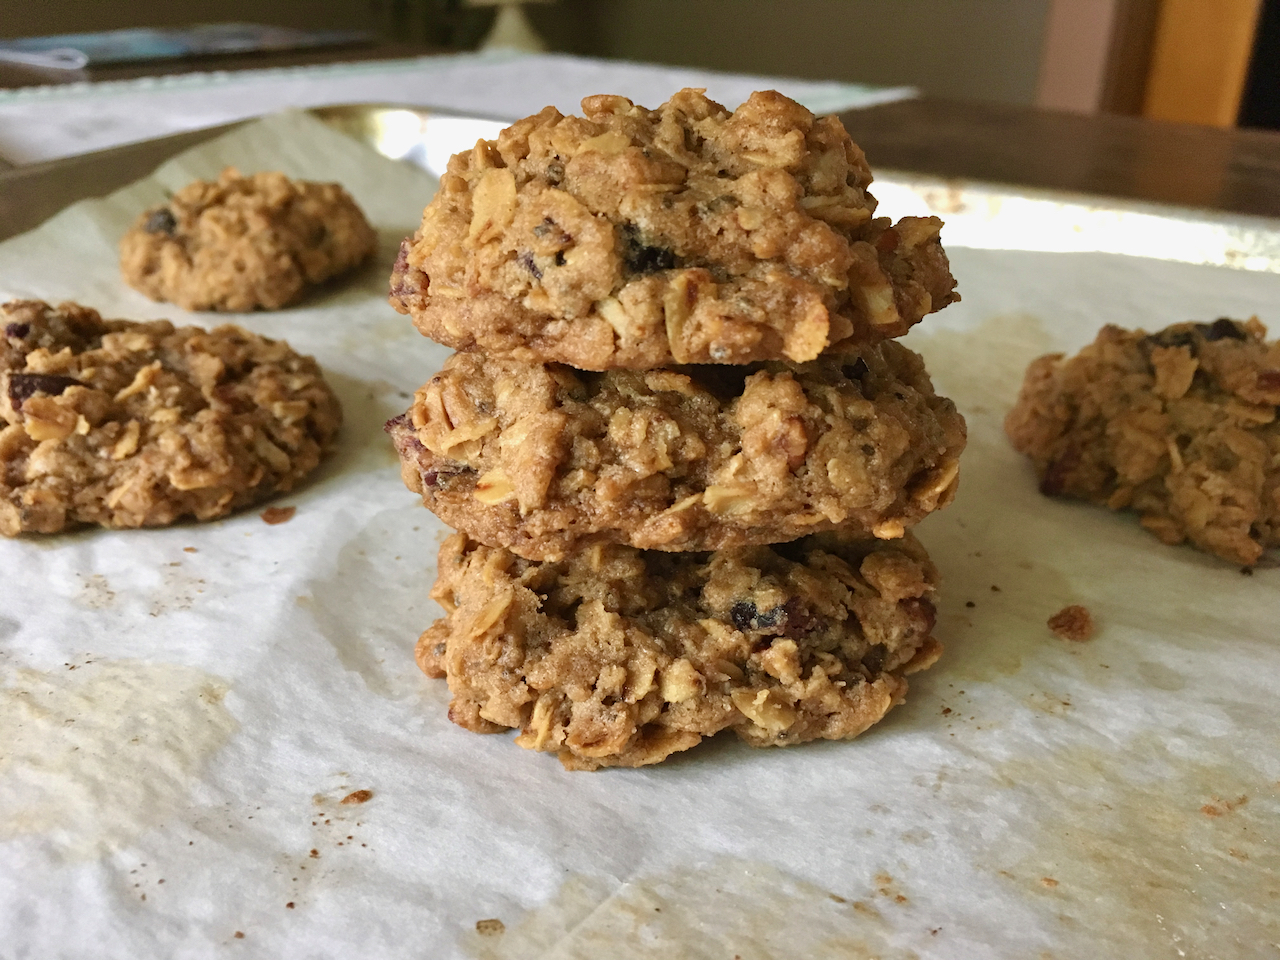
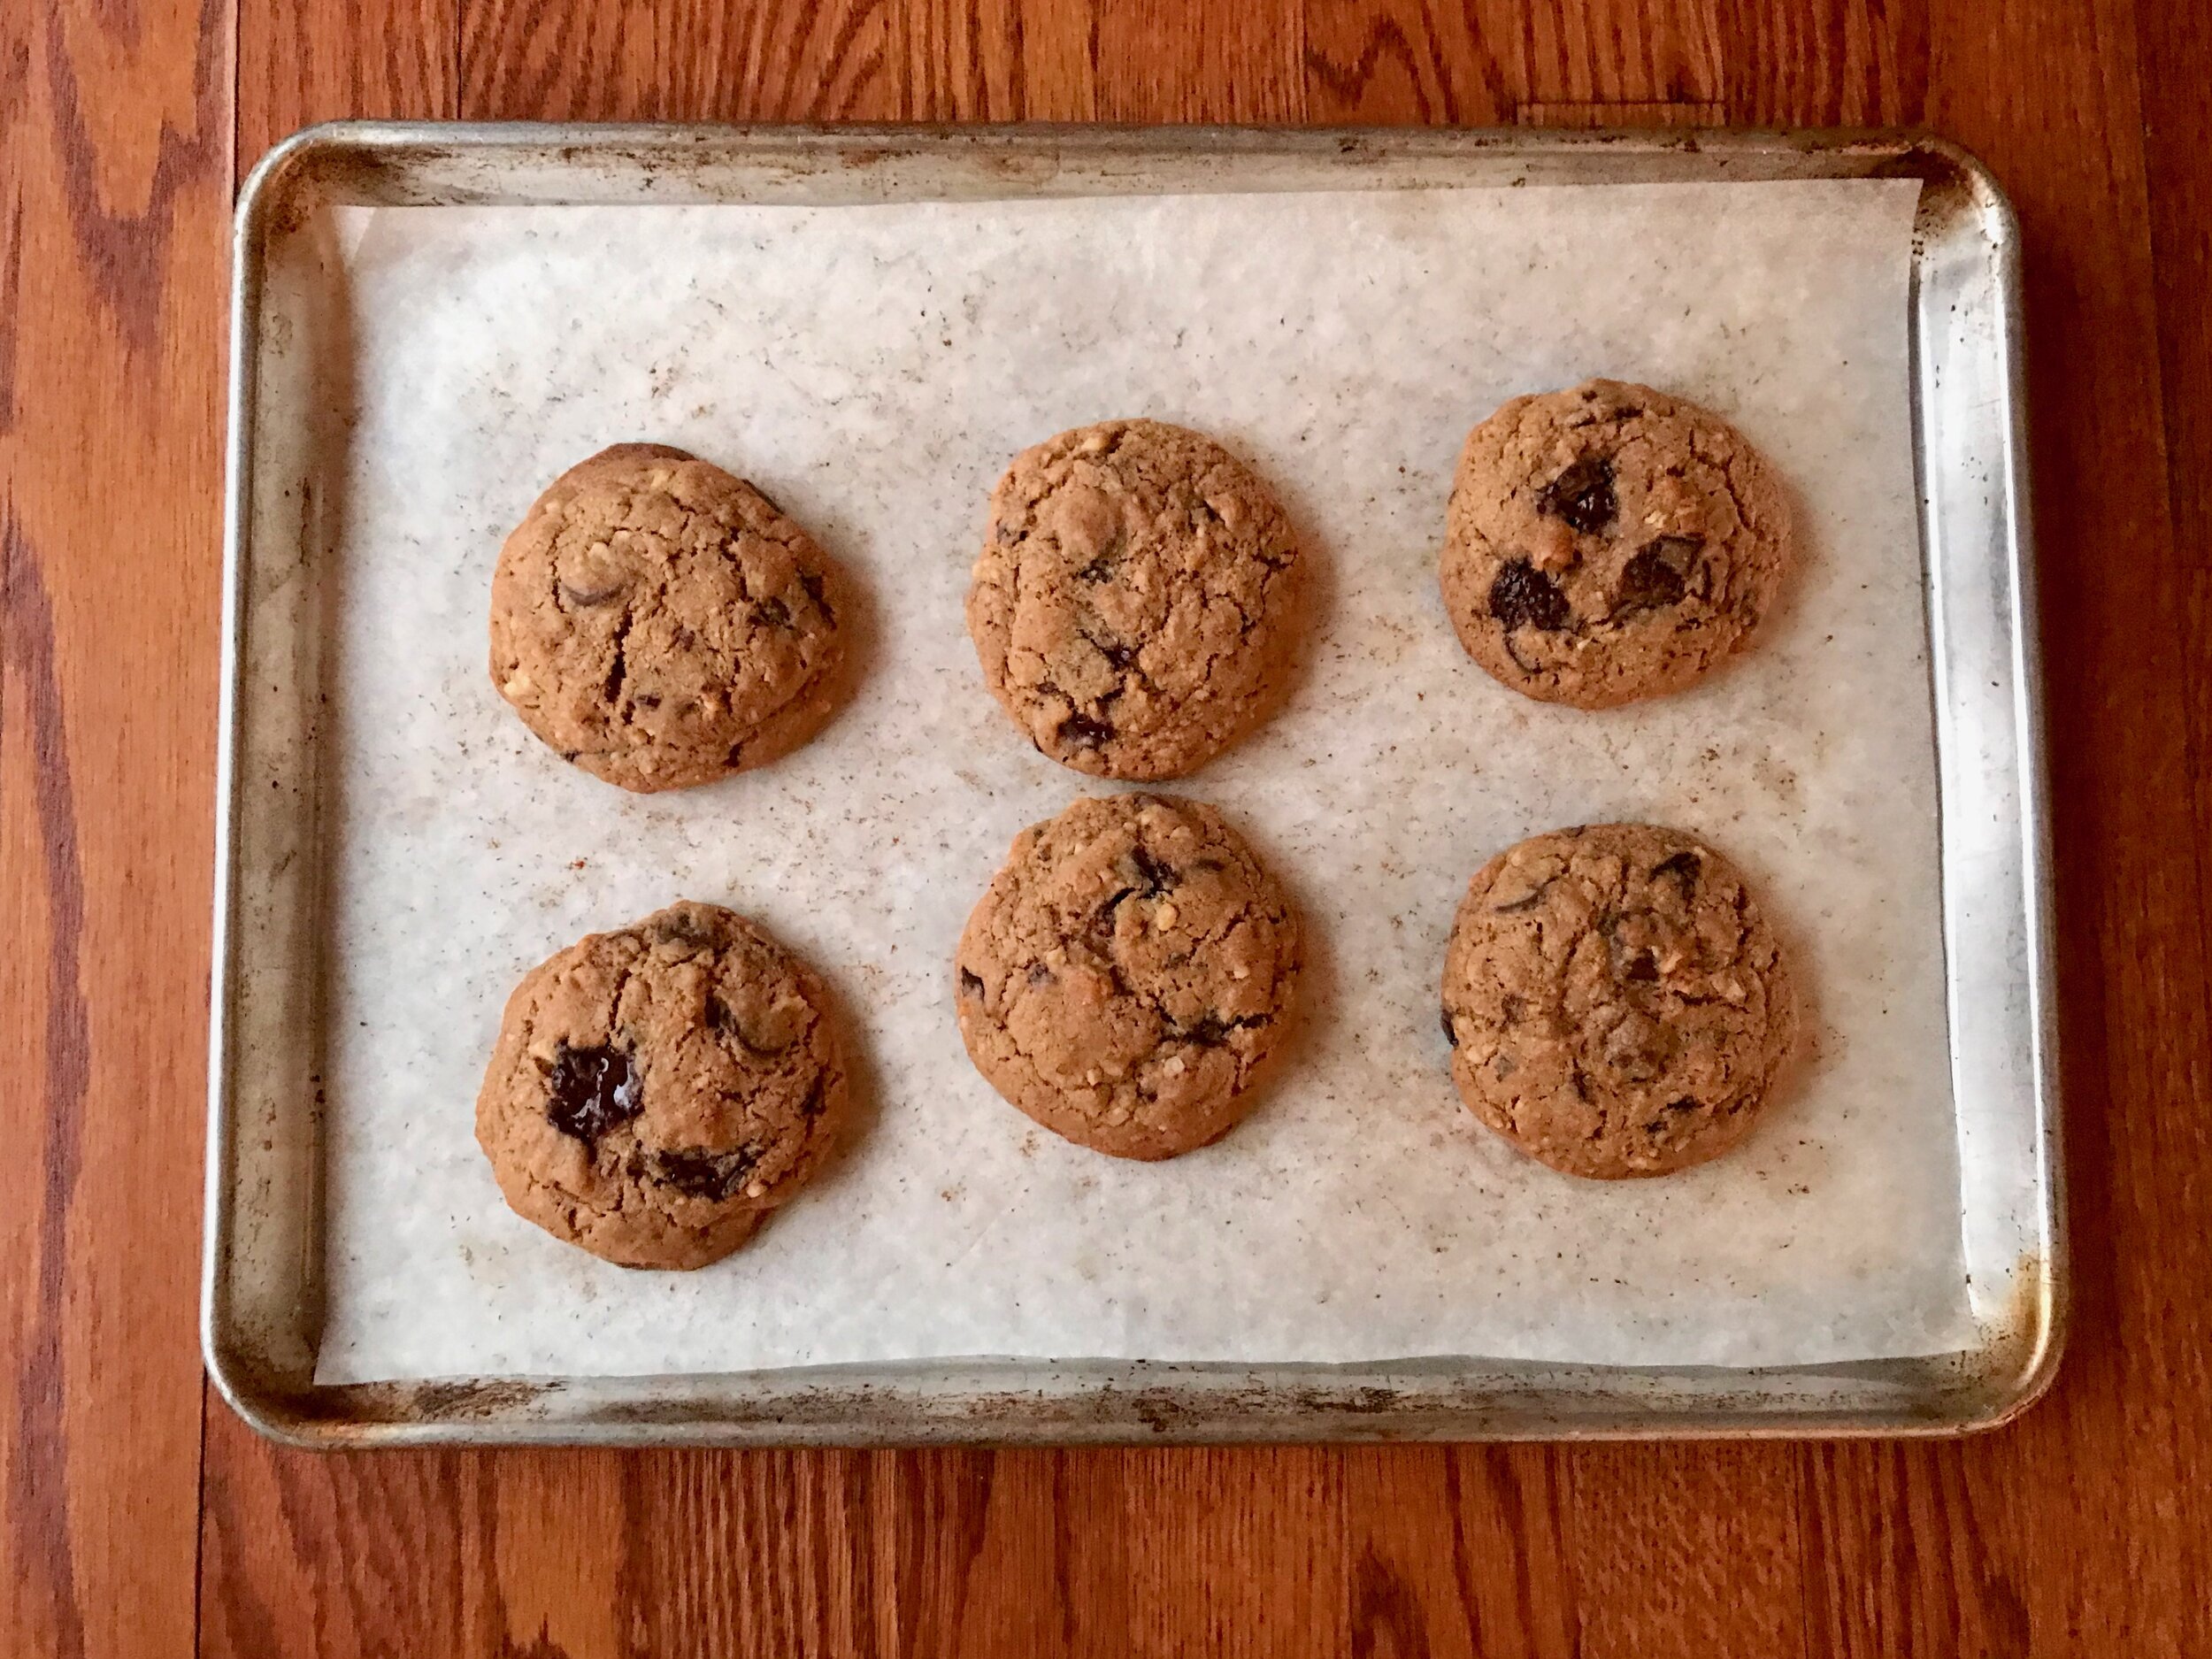
So how was it? A great cookie! I put a lot of finely chopped walnuts into the cookie to add nubbly goodness and big chunks of chocolate because that is required, and this would help recreate the Aldea cookie. I think one of the biggest keys to recreating a “bakery style” cookie is to make them big enough. Not just a little big, bu really big, bigger than you might think. This recipe makes 6 huge cookies. Each cookie was 105-110 grams of dough (almost 4 ounces!). They spread a little with baking, but still stayed nice and thick. It’s also key to not over-bake make sure the center is still nice and gooey. I ended up baking around 19-20 minutes total and think I probably should have pulled them a minute or two sooner. They were still great, but I think they could have been even a little bit better!

—————————————————————————-

Thick Chocolate Walnut Cookies
From Show Me The Yummy
Ingredients

EF9B6B6B-7F5E-42F7-9CEC-BAE593745EF3.jpg

ALDEA!


  • 1 1/2 cups (188 grams) all purpose flour I used 50 grams of whole wheat flour

  • 1 tablespoons cornstarch

  • 1/2 teaspoon baking powder

  • 1/8 teaspoon baking soda

  • 3/4 teaspoon salt

  • 1/2-1 teaspoons ground cinnamon

  • 1 large egg

  • 1/2 tablespoon vanilla extract

  • 1/2 teaspoon almond extract

  • 1/2 cup unsalted butter cold and cut into cubes, 1 stick

  • 3/8 cup (83 grams) brown sugar, packed

  • 1/4 cup (50 grams) granulated sugar

  • 1/2 cup semi-sweet chocolate chips

  • 1/2 cup dark chocolate chunks

  • 1/2 cup chopped pecans toasted* I used walnuts and chopped them very fine so there weren’t big chunks, but little nubs spread throughout the cookies

Directions
Line a rimmed baking sheet with parchment. Set aside.

Whisk together dry ingredients in a large bowl: flour, cornstarch, baking powder, baking soda, salt, and ground cinnamon. Set aside.

In a small bowl whisk together eggs, vanilla, and almond extract. Set aside.

In your stand mixer, cream cold butter until fluffy, about 1-2 minutes. Add in brown sugar and granulated sugar. Beat for an additional 2 minutes. Scrape down the sides of your bowl. Pour in egg mixture and mix until just combined. Add flour mixture 1/3 at a time until well combined, scraping down the sides as needed. Stir in both chocolate chips and pecans.

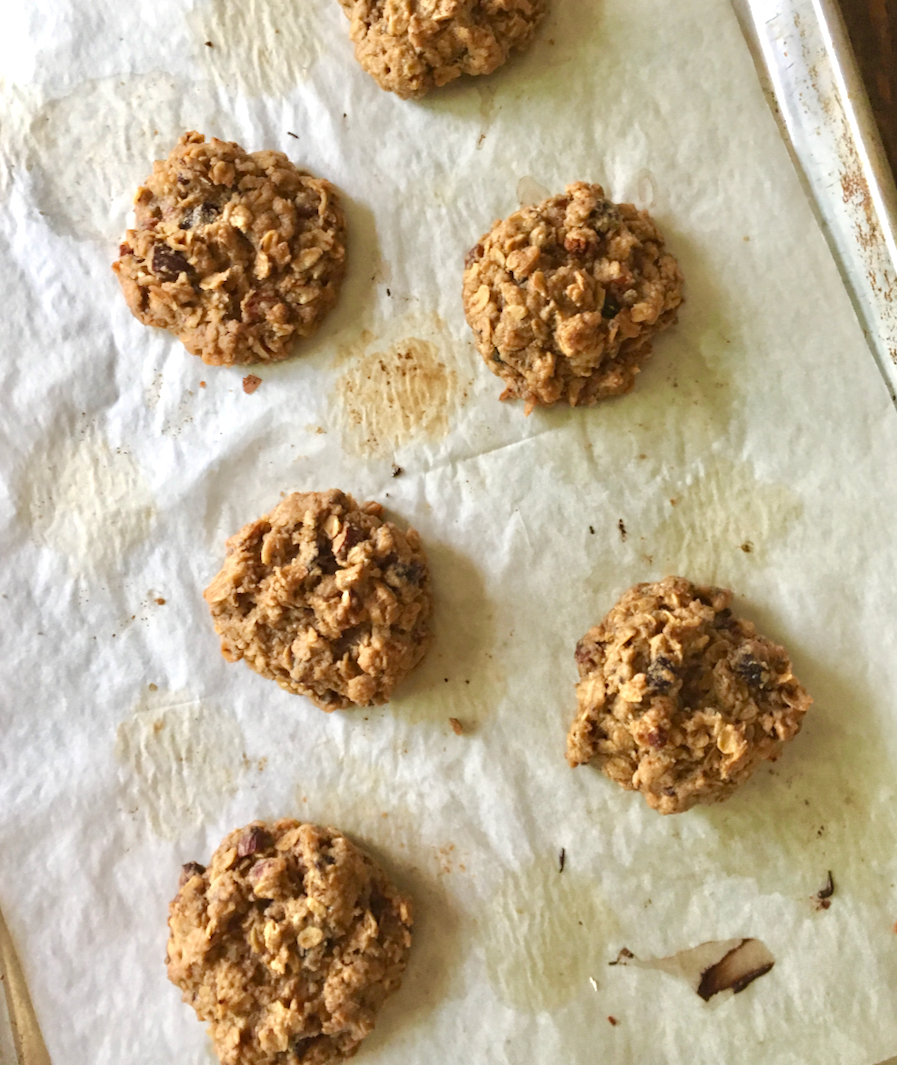
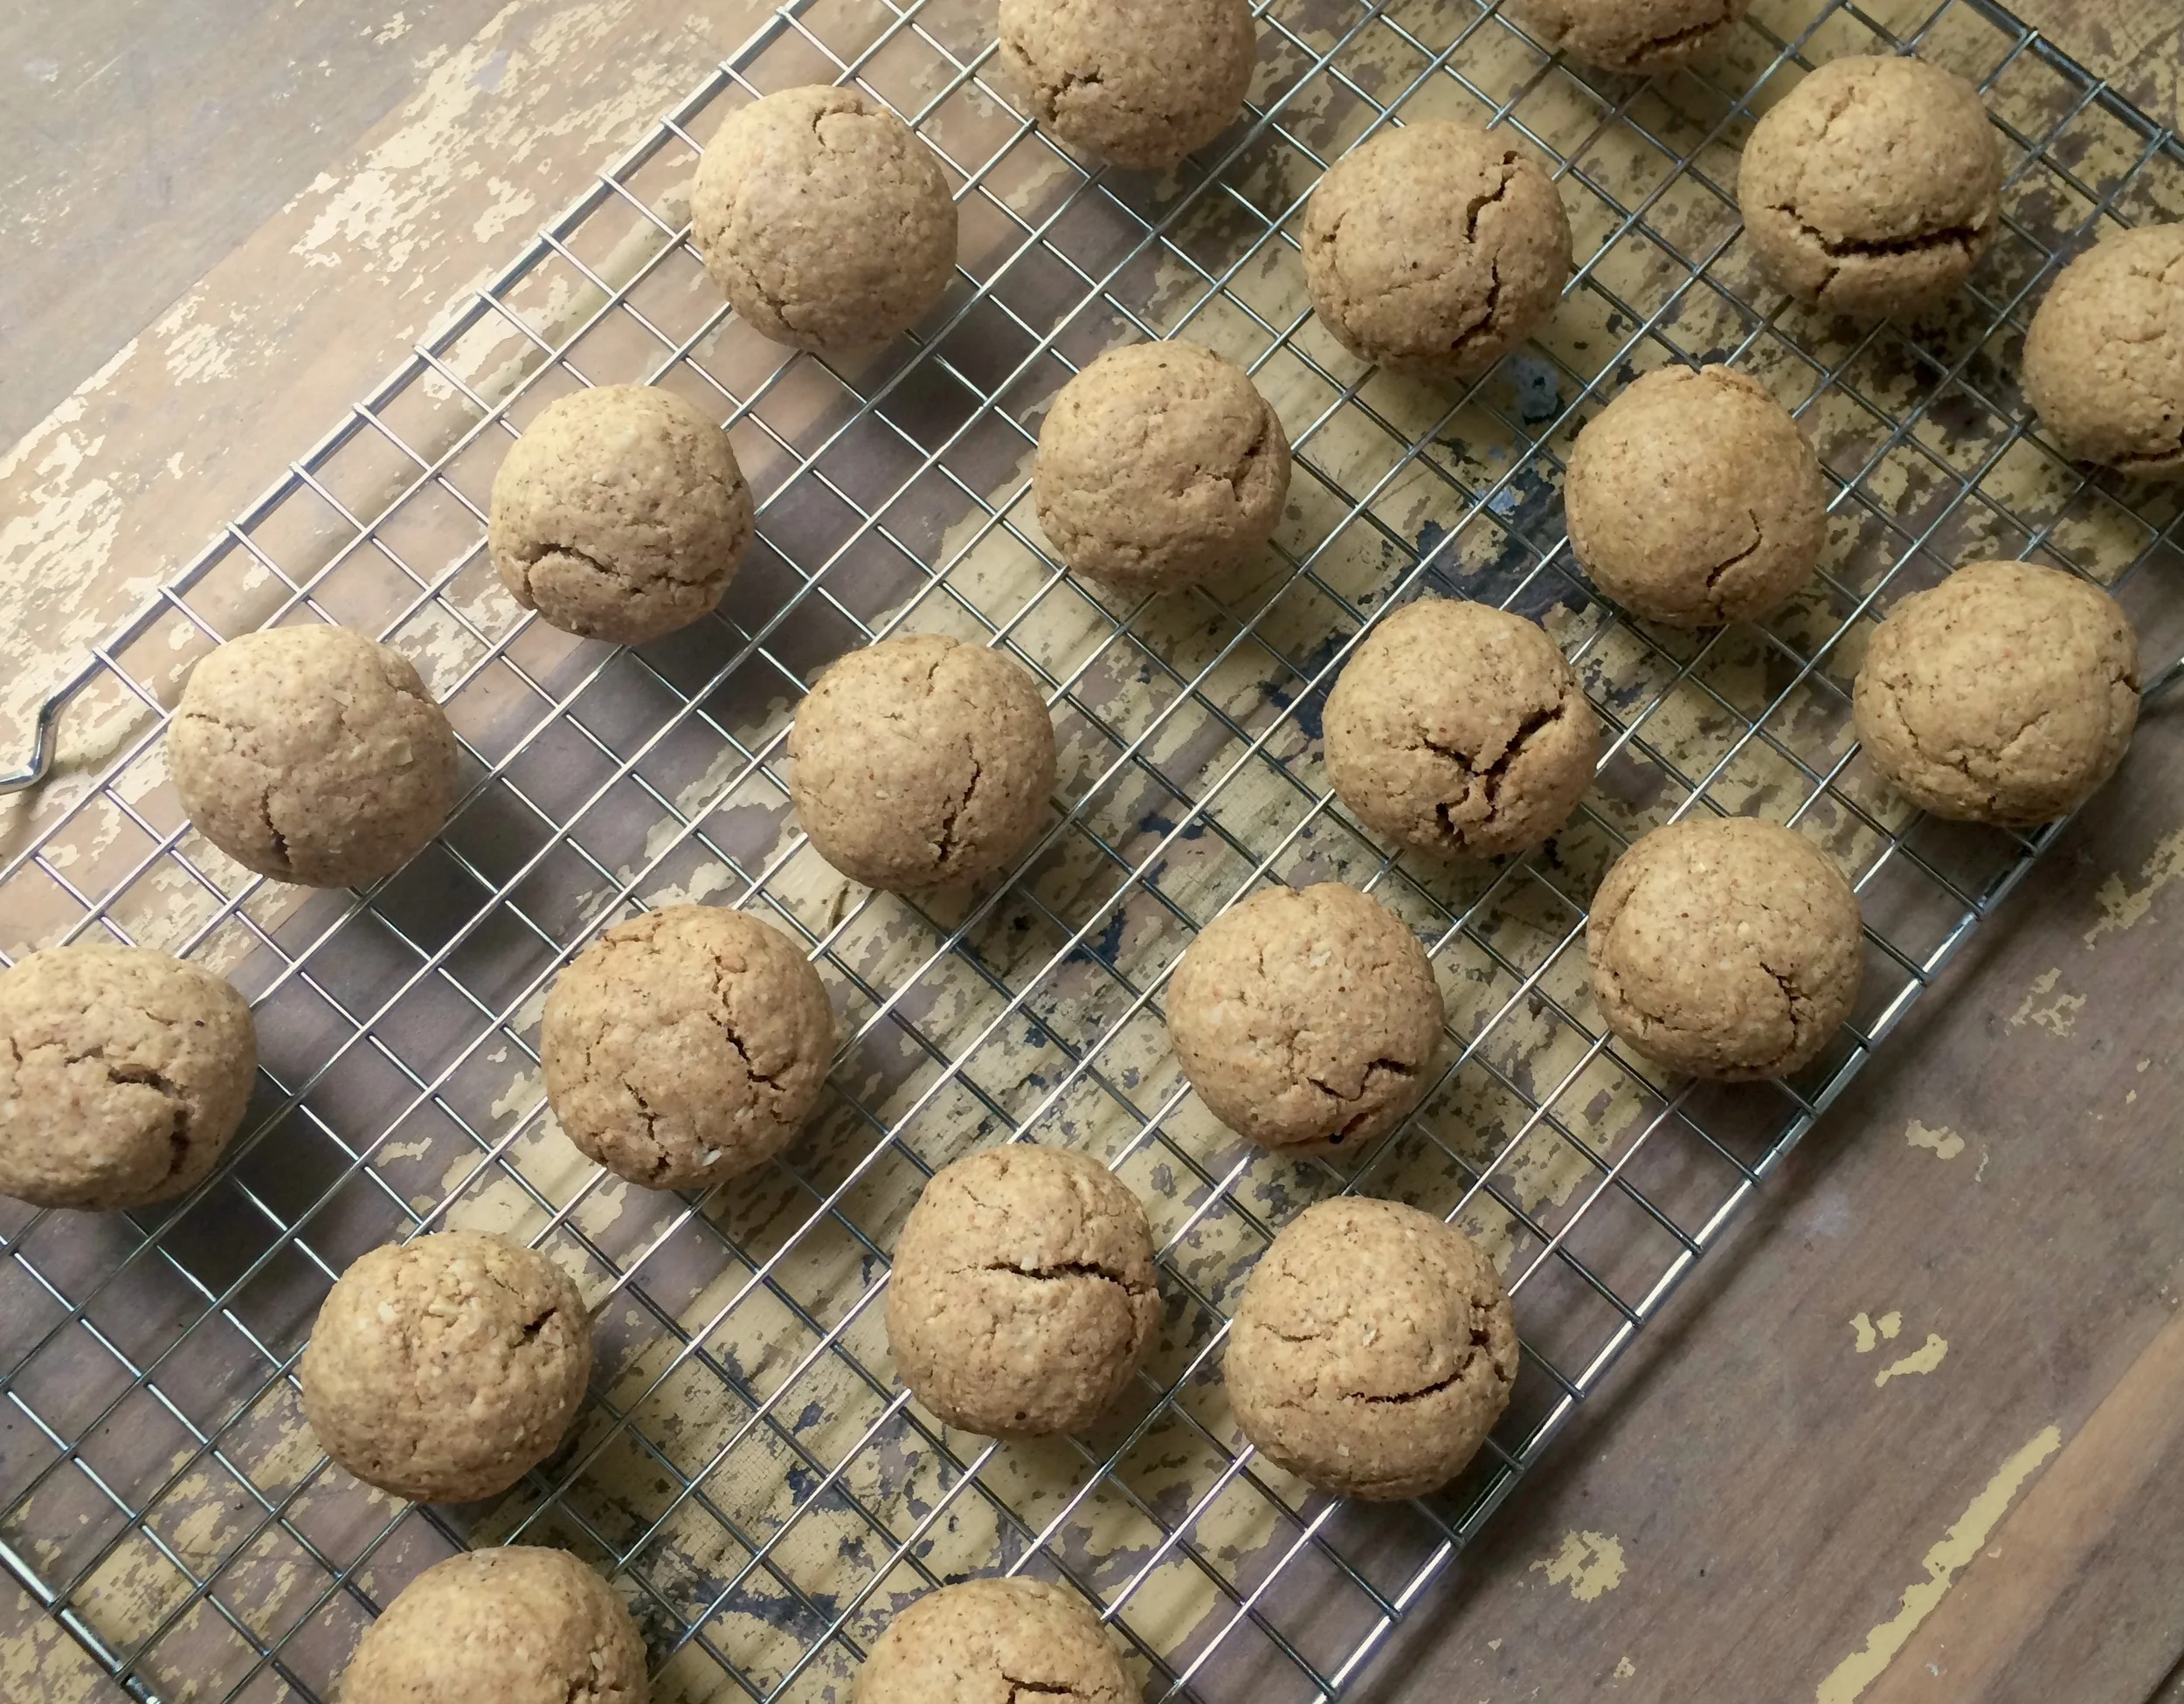
Using about 1/3 cup, scoop out dough and form 6 cookie balls. Place 6 on baking sheet Place in fridge and refrigerate for 30 minutes.

Preheat oven to 375 degrees F and bake for 17-21 minutes, or until golden brown. Remove from oven and let cool on the baking sheet for 5 minutes. Transfer to a wire cooling rack to cool completely.

Everyday Oatmeal Cookies

Looking for a classic? I’ve got the perfect thing for you. If you’re looking for a classic oatmeal cookie that is. This cookie was just what I was looking for last week. I wanted something simple, hearty, and delicious. Special enough for dessert, but also the perfect afternoon snack with a glass of milk or a cup of coffee. This cookie fit the bill perfectly. Toasted oats, butter, and cinnamon mixed with a handful of chopped nuts and dried fruit. So good. I promise, it is so good.

IMG_3130.jpg

I made a few small changes to the original recipe. I cut back just a smidge on the sugar, from 2/3 cup to 1/2 cup. I didn’t miss it at all. I also toasted the oats at 350 for about 15 minutes prior to mixing. This helped really bring out a nice toasted oat flavor, and a little extra crunch to the final cookie. You could skip this step, but I highly recommend it and it isn’t very difficult at all. You can just toast the oats up on the same cookie sheet that you plan on baking the cookies on. You don’t even have to wash another pan!

Finally, I used a mix of dried cranberries, almonds and pecans as add ins for this cookie and it was delicious. But you can use any combination of nuts, seeds, fruits and chocolate. Any of these options are sure to be good. Enjoy!

 
IMG_3119.jpg
IMG_3131.jpg
 

Everyday Oatmeal Cookies
Adapted from Joy the Baker
Ingredients

  • 1 1/2 cups (120 grams) old-fashioned rolled oats

  • 1/2 cup (1 stick) butter, softened

  • 1/2 cup (100 grams) brown sugar

  • 1 large egg

  • 1 teaspoon pure vanilla extract

  • 3/4 cup (90 grams) all-purpose flour, or a mix of half all-purpose and half whole wheat flour

  • 1/2 teaspoon baking soda

  • 3/4 teaspoon ground cinnamon

  • 1/2 teaspoon sea salt

  • 2 - 2 1/2 cups of your favorite add ins (nuts, seeds, dried fruit, chocolate, coconut, etc)

Directions
Preheat the oven to 350 degrees. Spread the oats on a baking sheet and toast for about 15 minutes, stirring every 5 minutes, until starting to turn golden brown and a nice toasty smell is coming from your oven. Watch the oats carefully to ensure they do not get too dark. Remove from the oven and let cool for a few minutes while you put the rest of the ingredients together.

In a large bowl, combine softened butter and brown sugar. Beat together using an electric hand beater until slightly more pale and fluffy. This will take about 3 to 5 minutes. Add egg and beat until thoroughly combined. Add the vanilla extract and beat until blended.

In a small bowl whisk together flour baking soda, spices, and salt. Add the flour mixture to the butter and egg mixture slowly beating on low speed until just incorporated. Stir in the oats, and whatever add-ins you’ve decided on.

Using a cookie scoop, portion out cookies on baking sheet that has been lined with parchment paper. Bake cookies for 12 to 15 minutes or until they’ve reached your desired doneness. Allow to cool on the cookie sheet for 5 minutes before transferring to a wire rack to cool completely. 

Yields: 12 cookies
Approximate nutrition: 190 calories (without add-ins)

Lemon Poppyseed Sugar Cookies

For Mother's Day a few weeks ago, I got together with my sister, and my brother and his family at my parent's house for a little after church brunch/lunch. We kept things simple, yet delicious. Lara and I provided the savory element (an asparagus ricotta stratta, so good) along with some fresh fruit, while my brother and sister-in-law brought along a sweet option and some tasty drinks. My parent's provided the space. Altogether it was delicious and low key. Really how I like it.

Now, brunch doesn't typically include dessert, at least not in my opinion, but I was itching for an excuse to do some baking so I made a batch of these lemon poppyseed cookies and brought them along anyway. I had stubbled across this recipe a few weeks back and it look so fresh and spring-y that I was dying to try it out. I'm so glad I did. It was just what I was hoping for. A thick and crackly sugar cookie with a little zing from the citrus, and crunch from the poppyseeds. Rolling each cookie in sugar before baking created a delicate crust that was perfect next to the softness of the cookie. The edges were just slightly crisp all the way around. The perfect end to our relaxing spring brunch. 

IMG_0699.jpg

I followed the recipe as written except for one small change; I increased the salt from 1/4 teaspoon to 1/2 teaspoon because I really hate when baked goods don't have enough salt and I didn't think that 1/4 teaspoon sounded like enough for this whole batch. I thought the 1/2 teaspoon was perfect. 1/4 tsp would not have been enough in my opinion. I love the combination of sweet and salty. If you're not as big of a fan of salt as I am then go ahead and use the original amount, the 1/4 teaspoon. 

IMG_0695.jpg
IMG_2313.jpg

Sweet and savory, we had it all. A little something for everyone, or a little big of everything for everyone!

IMG_2311.jpg
IMG_2308.jpg

My nephew, aka bacon boy! He was thrilled with the bacon as you can tell.  

IMG_2316.jpg

Mom had a great day spending time with the family, espeically the grandkids!! :) 

Lemon Poppyseed Sugar Cookies
Adapted from A Cozy Kitchen
Ingredients

  • 2 1/4 cups (270 grams) all-purpose flour
  • 1/4 cup (40 grams) cornmeal
  • 2 tablespoons poppy seeds
  • 1/2 teaspoon baking soda
  • 1/2 teaspoon kosher salt**
  • 1/2 cup (1 stick, 4 ounces) butter, at room temperature
  • 1 cup (200 grams) white granulated sugar, plus more for sprinkling
  • 1 1/2 teaspoons lemon zest
  • 1 1/2 teaspoons orange zest
  • 1/4 cup (50 grams) extra-virgin olive oil
  • 1 large egg
  • 2 tablespoons lemon juice
  • 1/4 cup to 1/2 cup granulated sugar, for rolling

Directions
Preheat the oven to 350 degrees F. Line a baking sheet with parchment paper and set aside.
In a medium bowl, whisk together the dry ingredients. Set aside.

In a stand-up mixer fitted with the paddle attachment, cream together the butter, sugar and zests on medium speed until well combined. Add in the oil, egg, and lemon juice. Continue mixing until pale and evenly combined, about 1 minute, scraping down the sides every so often. Add the dry ingredients to the creamed ingredients, mixing on low speed until just combined. 

Using a cookie scoop (I used a 1.5 tablespoon scoop), scoop out the dough onto the prepared baking sheet. Carefully roll or lightly sprinkle the cookies with sugar. Bake for 12 minutes, rotating the pan halfway through. Don't overbake. Let cool on the pan for a few minute before transferring to a cooling rack to cool completely. 

** I like a little extra salt in my baked goods so I increased the salt in this recipe from 1/4 teaspoon Kosher salt to 1/2 teaspoon of Kosher salt. If you are not as big of a fan of the sweet and salty combination, you may go back to the 1/4 teaspoon. Either way will be delicious. 

Yields: 26 cookies

Whole grain Peanut Butter Oat Cookies

Here's a no-brainer cookie to try out ASAP. Naturally sweetened, full of whole grains, healthy fat and protein. Need I say more? Well, one more important thing I suppose, they're delicious! The most important point in my book. While I love eating healthy and feeling good about my food choices, if they don't taste good I'm not interested. They have to be both. Have no fear, these cookies definitely are. I love me a hearty, filling cookie. I'm also addicted to peanut butter, and go through a Costco sized package of rolled oats on my own very quickly. These two ingredients are the star of this recipe. Add a little apple, a little banana, and a little honey and you're golden. Give it a shot and tell me if you agree! 

IMG_2147.jpg

These cookies don't have an egg or gluten which always makes me a little nervous when waiting to see how well they will stick together. These cookies pass the test with flying colors. They are nice and sturdy, not all crumbly and delicate. The peanut butter and the sweeteners help with this. You can go ahead and add in any number of mix-ins to suit your taste preferences. Obviously chocolate will be the best choice (😊) put choose your own adventure!

 
IMG_2149.jpg
IMG_2152.jpg
 

Whole Grain Peanut Butter Oat Cookies
From Delectably Mine
Ingredients

  • 1/2 cup (128 grams) natural peanut butter
  • 1/2 medium banana (about 55-60 grams), mashed
  • 1/4 cup (70 grams) applesauce
  • 1/4 cup (80 grams) honey
  • 2 cups (160 grams) old fashioned oats
  • 1 tablespoon chia seeds
  • 1/4 teaspoon salt
  • Optional add ins: chopped nuts, dried fruit, chocolate

Directions
Preheat oven to 350 degrees. Line a baking sheet with parchment paper and set aside.

In a medium bowl, mix together the peanut butter, mashed banana, applesauce, and honey until smooth and well combined. Add the oats, chia seeds and salt and mix. When mostly combined, add and additional add-ins that you desire and continue to mix until a uniform dough forms. It will be soft and sticky. 

Using a cookie scoop, or a pair of spoons, transfer dough to cookie sheet to form 10-12 cookies. Flatten the tops of the cookies with a few wet fingers if desired (the cookies will not really spread much with baking). 

Bake shaped cookies for 20-25 minutes, until edges are just slightly firm to the touch. Remove from oven and let cool on baking sheet for a few minutes. Then transfer to a wire rack to cool completely. 

Yields: 10 cookies


Lavender Honey Buckwheat Cookies

Once again it's one of my favorite seasons; lavender season! I love lavender so much, the sight of the elegant little purple flowers, the fragrance that heralds early summer, and of course, the delicate floral notes that add a little extra something special to baking when lavender buds are part of the mix. Of course, you don't want to go overboard and add too much lavender which can make you feel like you're eating a mouthful of potpourri, but in just the right amount in the right thing, lavender can really make your baking a little extra special; especially when using your own home-grown or home-foraged lavender. Last year I made some fantastic lavender cupcakes. This year one of my projects was these yummy little buckwheat cookies. A perfect couple of bites of sweetness balanced with the bitterness of the buckwheat and the floral lavender, a perfect combination. 

If going gluten or wheat free is something you're into, these cookies are a great option. In case you're wondering, buckwheat is actually not wheat, they're not even related. Buckwheat is the seed of a flowering plant that is related to rhubarb and sorrel. It has an unique flavor, somewhat bitter, but in a good way. I personally have no problem with wheat in any shape or form, but I still love these cookies. They use oat and buckwheat flours, softened butter, a little sugar and an egg. And of course, lavender. Because, tis the season!!


Lavender Honey Buckwheat Cookies
Adapted from Dishing Up The Dirt
Ingredients

  • 1/2 cup (60 grams) oat flour
  • 1/3 cup (2 1/2 ounces) butter, softened
  • 2 1/2 tablespoons sugar
  • 1 teaspoon dried lavender leaves
  • 2 Tablespoons (42 grams) honey
  • 1 egg
  • 3/4 cup (90 grams) buckwheat flour
  • pinch of kosher salt

Directions
Preheat the oven to 325 degrees. Line a baking sheet with parchment paper, set aside. 

Beat the butter and sugar together for a couple of minutes, until creamy and light. Add the lavender and honey and beat until well combined. Add the egg and mix well.

Add the oats, flour, and salt to the butter mixture. Mix until it forms a cohesive mixture. Divide the dough into 10-12 equal size balls. Place on baking sheet and press down gently with your fingers, or the bottom of a glass. (The cookies will not spread a lot when you bake them, so flattened them to the thickness you would like the finished product to be.)

Bake the cookies for 15-20 minutes. Rotate the pan halfway through baking. Transfer to a wire rack to cool.

Yields 12-14 small cookies, depending on how big you make them

Pistachio and Lavender Olive Oil Biscotti

Coffee time and biscotti is one of my favorite combinations. I'm a huge biscotti fan as you could maybe tell if you've looked around this blog at all. These crunchy little sweet treats are perfect for dipping into a hot cup of coffee. It had been a while since I'd made biscotti, so last week I decided it was past time. I have a favorite biscotti recipe that I've made several times in the past, but I decided to try something different. While most biscotti are made with butter, this time I wanted to experiment with an olive oil biscotti instead. I did a little Googling and found a recipe that looked promising and went for it. The verdict - delicious! This recipe delivered a tender and crisp cookie, light and airy , not hard and crunchy at all. They almost had the lightness that fried food often has, which makes sense as they are full of olive oil!

I always like to put some add-ins in my biscotti. Since I've been on a lavender kick lately I decided to throw in a little lavender, fitting for the spring season, and also some yummy pistachios. I would have like more pistachios, but had to work with what I had. It was a delicious combination and made a delicious cookie! The flavor of the olive oil definitely comes through which I really enjoyed. If you're not sure how you will like this I'd recommend starting with a lighter, fruitier olive oil.

I will definitely be making these again. I'm even interested in maybe trying this recipe out as a savory biscotti, something that might be good for a cheese board, or charcuterie board. A twist on the typical cracker/bread/crostini. Definitely a fun future project!


Pistachio and Lavender Olive Oil Biscotti
Adapted from Ciao Chow Linda
Ingredients

  • 1 1/4 cups (150 grams) all purpose flour
  • 1/2 teaspoon baking powder
  • 1/4 teaspoon salt
  • 1 egg
  • 1/2 cup (100 grams) granulated sugar
  • 1/4 cup (2 ounces) olive oil
  • 1/4 cup pistachios
  • 1/2 teaspoon dried lavender

Directions
Preheat oven to 350 degrees. In a mixing bowl, combine flour, baking power and salt. Set aside. 

In another mixing bowl, place the egg, sugar, olive oil, and lavender, and mix for one minute until well blended. Add the flour mixture and pistachios and mix until all the ingredients are well blended.

Shape the dough into a long rectangle on a parchment-lined baking sheet. The dough may be a little wet but do your best shape it into a smooth log. Place in the oven and bake for 35 minutes. Remove from oven, let cool for a few minutes, and slice into individual biscotti. Raise the oven temperature to 375 degrees and place the biscotti back on the parchment-lined baking sheet for another 15 minutes, until crisp and dry all the way through. Keep a close eye on them the last five minutes to make sure they don't burn. 
 

Maple Oat Breakfast Bites

These snack bites are tasty little guys that are great to have on hand in case your last meal wasn't quite enough to keep you full and satisfied until the next one. They're full of whole grains, healthy fats and sweetened naturally with maple syrup, all things that make me feel good about popping one (or two, or three...) into my mouth mid-afternoon. I made them tiny so depending on how hungry I am I can decide how many to eat. I didn't want to call these cookies, because I think doing so might disappoint some people. They aren't super sweet or tender, they're a little on the "dry" side in texture, and are slightly crumbly, but not fall-apart crumbly. Overall nutty and satisfying, but doesn't make you think you're eating dessert, a good compromise!

These little guys are super easy to make. Just throw everything into the food processor and let it do the work for you. If you want something a little extra special try adding some mini chocolate chips, or drizzling with melted chocolate. You can also play around with the type of nut butter you use; almond, PB, cashew, I'm sure sunflower seed butter would be good too. Overall, yum!


Maple Oat Breakfast Bites
Adapted from The Clever Carrot

  • 2 cups (160 grams) old fashioned oats 
  • 1 cup (120 grams) spelt or whole wheat flour
  • ½ tsp. baking soda
  • 1/4 teaspoon salt
  • 1 egg
  • 1/4 cup (55 grams) coconut oil, melted
  • 1/4 cup (64 grams) almond butter
  • 1/4 cup (75 grams) pure maple syrup
  • 1 teaspoon vanilla extract

Directions
Preheat your oven to 375 F. Line a baking sheet with parchment paper.

Add the oats, whole wheat flour, and baking soda to a food processor. Run the machine until the oats look like 'flour.' It's okay to have a few big pieces in the mix.

Add the egg, coconut oil, almond butter, maple syrup, and vanilla extract. Pulse until the mixture looks like cookie dough. If the dough is too wet or runny, just add a sprinkle of flour and pulse gently until it comes together, if it is too dry add a little extra coconut oil or maple syrup.

Shape the cookies into balls and place on lined baking sheets.

Bake for about 12-14 minutes or until light golden brown. Cool on the tray for 5 minutes. Transfer to a wire rack to finish cooling.

Yield: 24 cookies

Fudgy Chocolate Chunk Protein Bars

I'm not a big fan of trying to rebrand food as something it's not. I understand the reasoning, but I still don't like it. Vegan cheese is not cheese, almond milk is not milk, and a turkey bacon is not bacon. It's not that I have anything against these foods and don't necessarily have a problem eating most of them, I just don't like how they're named something they actually aren't. Instead of always trying to replace a food product with something else, why not instead try to come up with something different, and better!

Black bean brownies are another thing that I just can't get into saying. I just don't think a baked good full of black beans is a brownie. To me a brownie is chocolate, butter, eggs and sugar with just a little flour. It's a magical combination, and no recipe with beans is going to be comparable, unless of course the ratio is so out of wack that there are hardly any black beans in it anyway and then what's the point? But this does not mean I'm against what most people try to brand as "black bean brownies". I'm intrigued by anything that claims to be nutritious AND delicious. I'd just like to propose that instead of calling these concoctions "brownies", that we step back and just call them "bars" instead. A bar can be made out of anything, including beans!

I searched the internet high and low and came back with dozens of black bean brownie recipes. There were several that I was considering trying when I just decided to make up my own! That way I had complete control over what went in it, and I could make it to my taste. I wanted to make something less dessert-y and more of a snack I could feel pretty good eating in the afternoon when I suddenly realize that I didn't eat enough for lunch and dinner is still hours away! These bars were the result. I would especially not call these a brownie because they are not sweet enough. I didn't want them to be super sweet, just enough sugar to make them taste nice, but not like a rich dessert. So be warned if you want to try them that they will not be sweet. 

In the end I was very pleased with how they turned out. They are dense and fudge, yet a little dry in texture. They hold together very well and are a great on-the-go snack. They are chocolate-y enough to feel like a treat without being so rich as to seem like dessert. And as for any bean flavor, nope! You really can't tastes beans at all. I cooked my beans from dry, so I can't say how canned black beans would taste in this recipe, but I imagine they would be just fine. Overall, a good snack, satisfying and nutritious. 


Chocolate Chunk Protein Bars
Created by Delectably Mine
Ingredients

  • 1 1/2 cups (12 ounces) pureed black beans
  • 1/4 cup (64 grams) almond butter
  • 2 eggs
  • 1/2 cup (40 grams) cocoa powder
  • 6 medjool dates (110 grams)
  • 1/4 teaspoon vanilla
  • 2 tablespoons (42 grams) honey
  • 1/4 teaspoon kosher salt
  • A couple dashes of cinnamon and/or cardamom
  • 1/4 cup (30 grams) chocolate chunks

Directions
Preheat the oven to 350 degrees. In the bowl of a food processor place the beans and almond butter. Process until smooth. Add the eggs and process until well combined. Add the remainder of the ingredients (except the chocolate chunks), and process until smooth and uniform. Remove the blade and stir in the chocolate chunks by hand.

Transfer the batter (it will be very thick) to a greased and lined 9x9 inch pan. Smooth the batter into an even layer. Place in preheated oven and baked for 35-40 minutes. Let cool completely in the pan until cutting into bars.