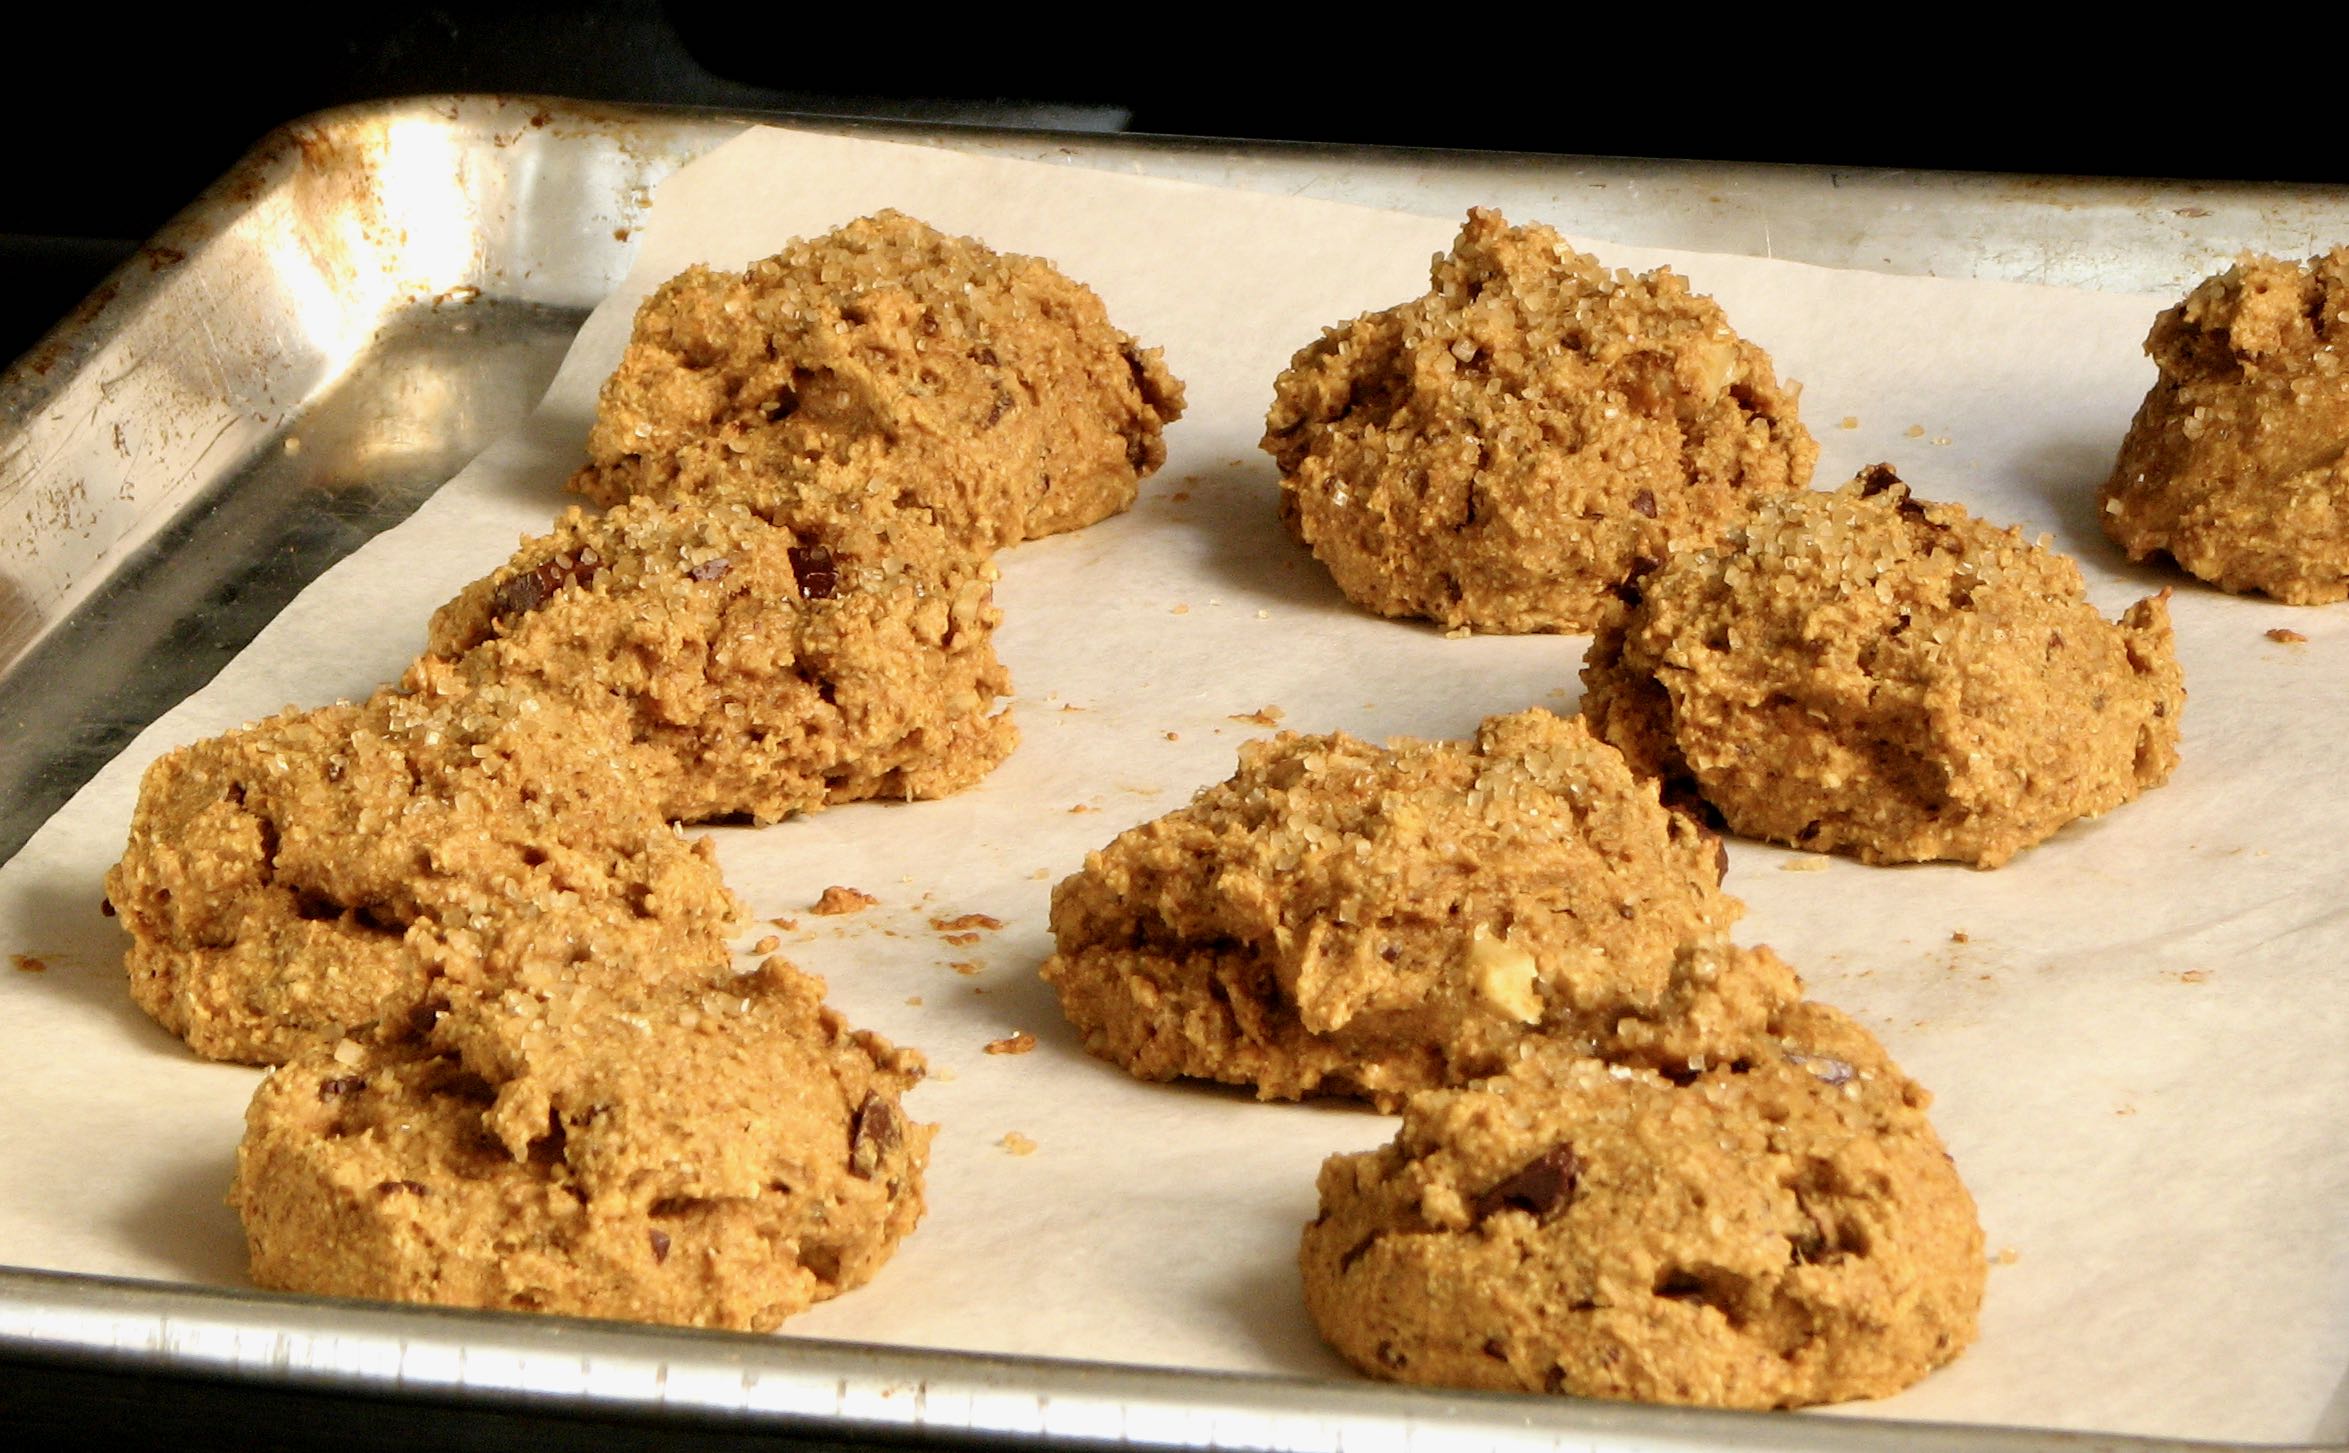
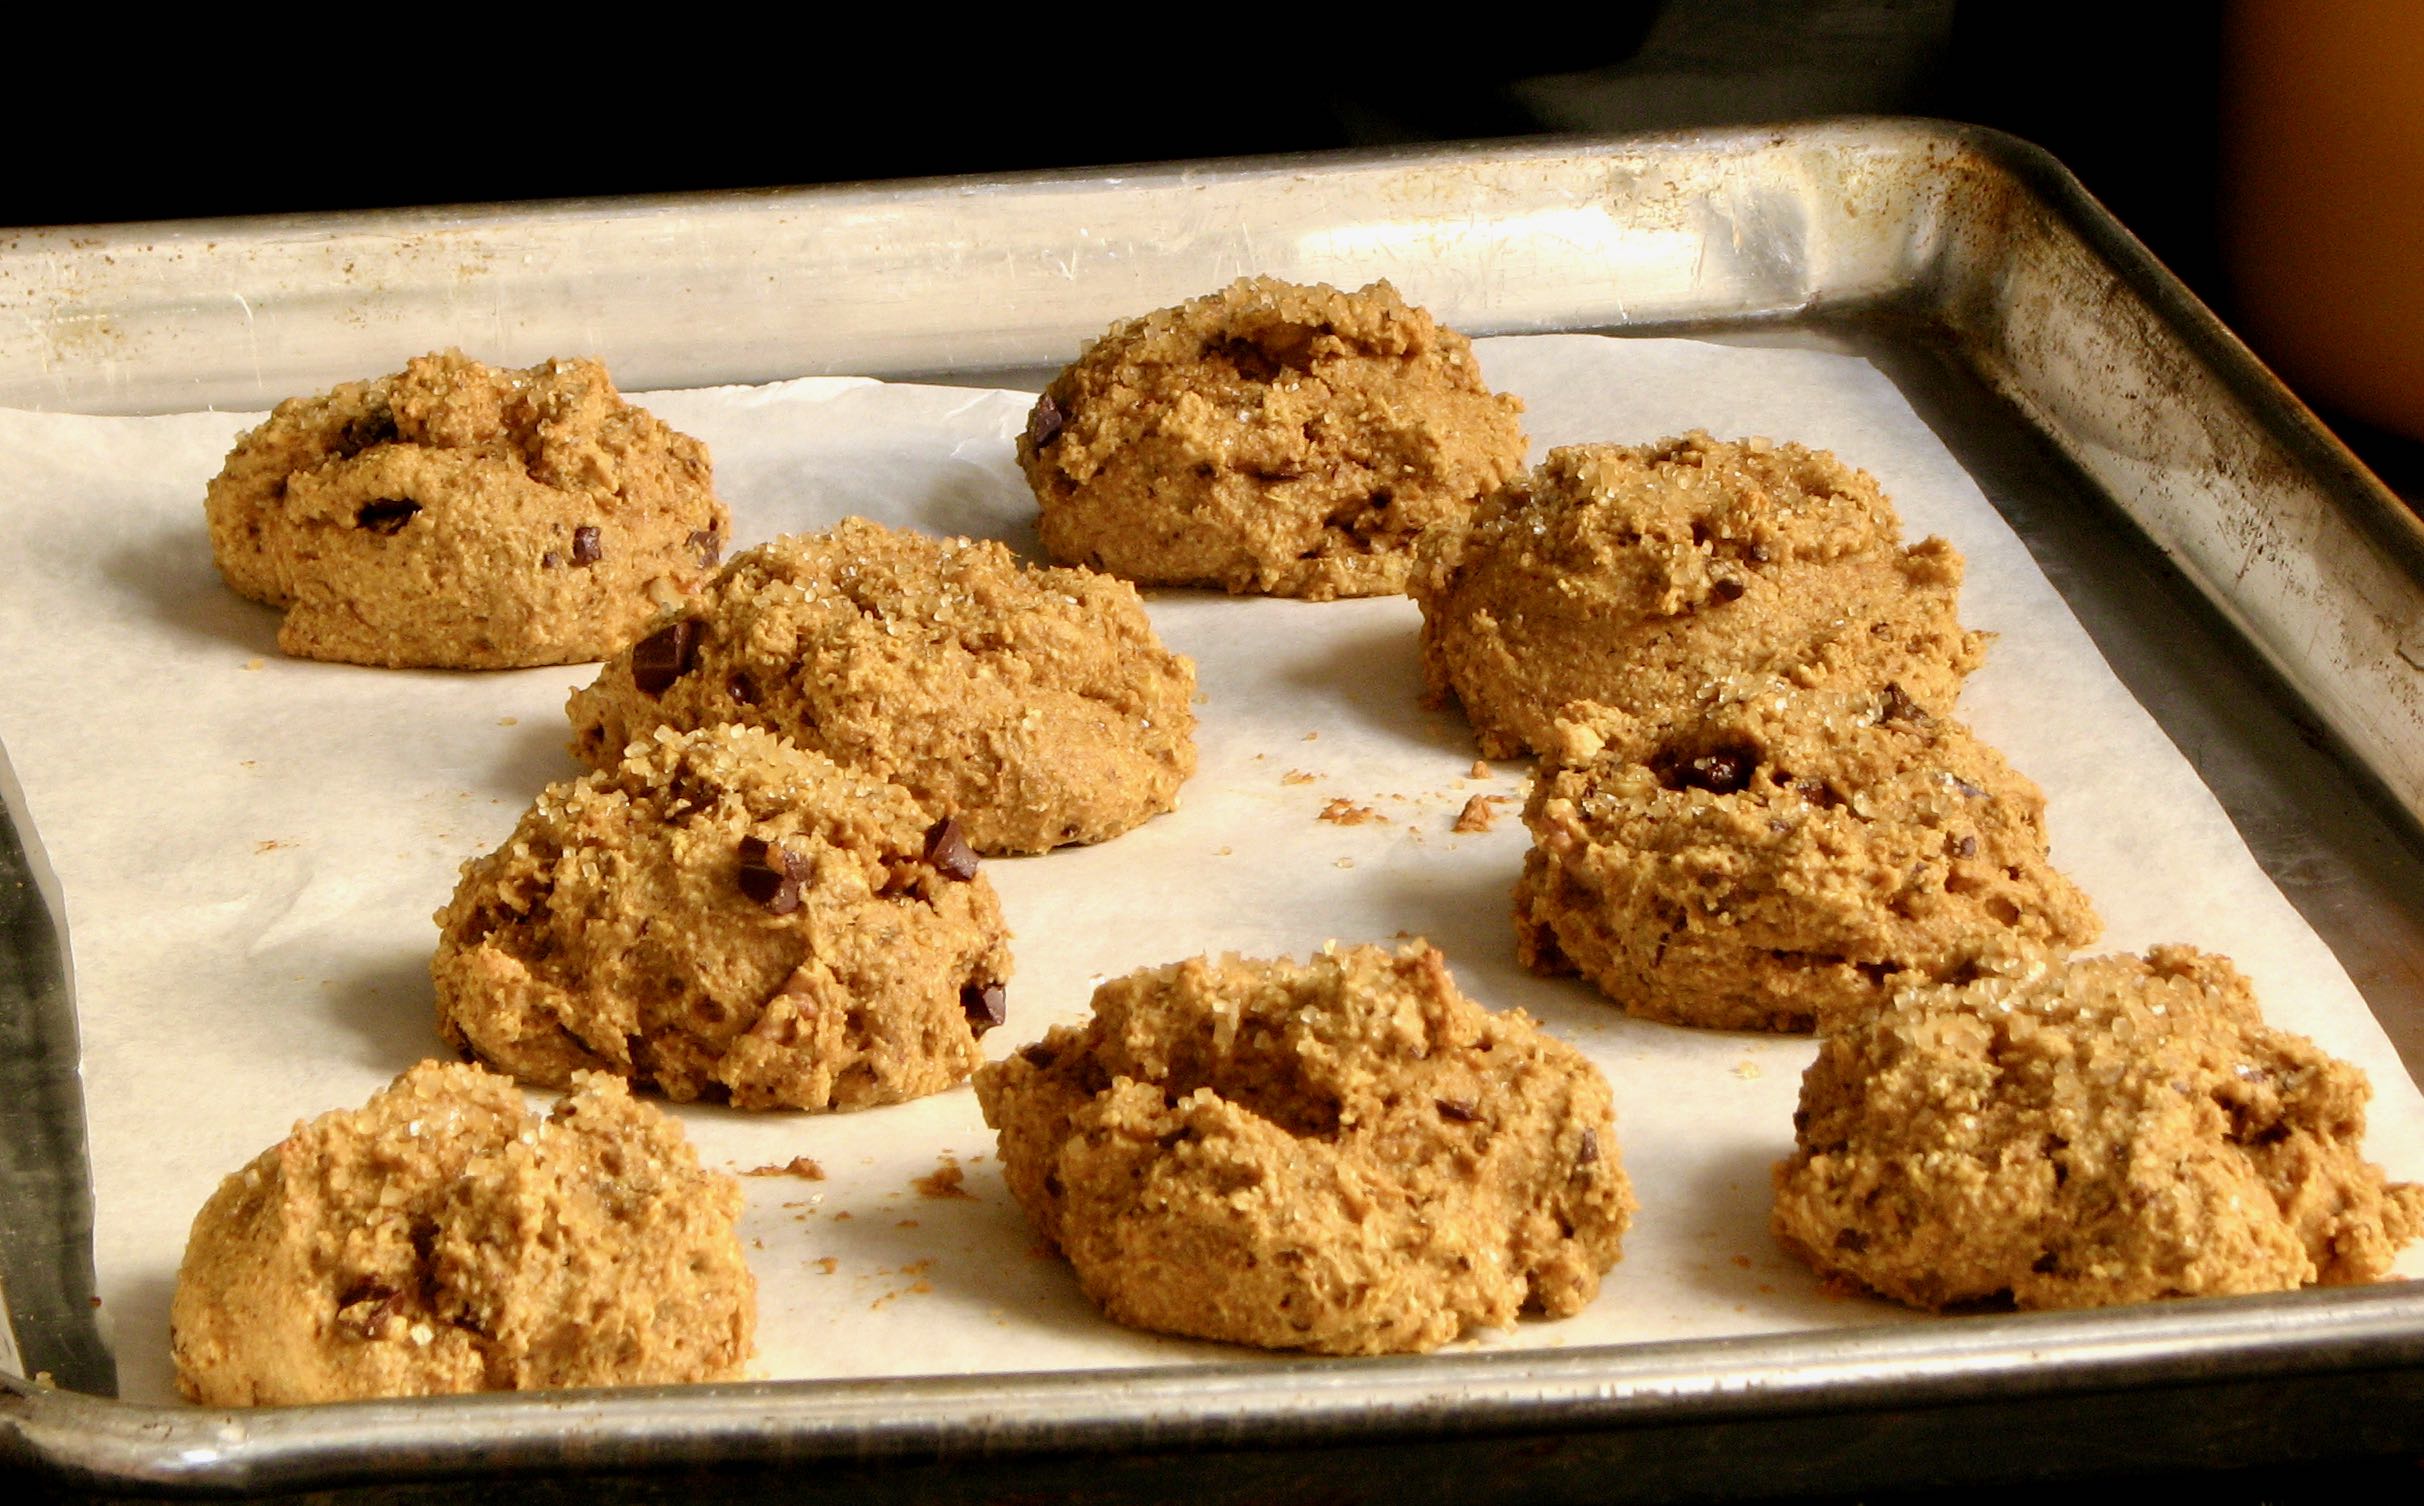
Oat Flour Pumpkin Scones
It may not be autumn any longer (the 4 inches of snow we got last night made this very clear), but that does not mean that baking with pumpkin is over. I am a fan of baking with pumpkin all year long. It's such a good way to add healthy moisture to baked goods. These healthy pumpkin scones are not a traditional scone, but that was the best way I could think of to describe them. Definitely not a "true scone", but close, and a lot healthier then a real scone - I really liked them a lot! There are made with a majority of oat flour, and a little olive oil for fat and moisture. The rest of the moisture comes from the pumpkin. Sweetened with a mix of brown sugar, maple syrup, and molasses, and flavored with cinnamon and vanilla, yum.
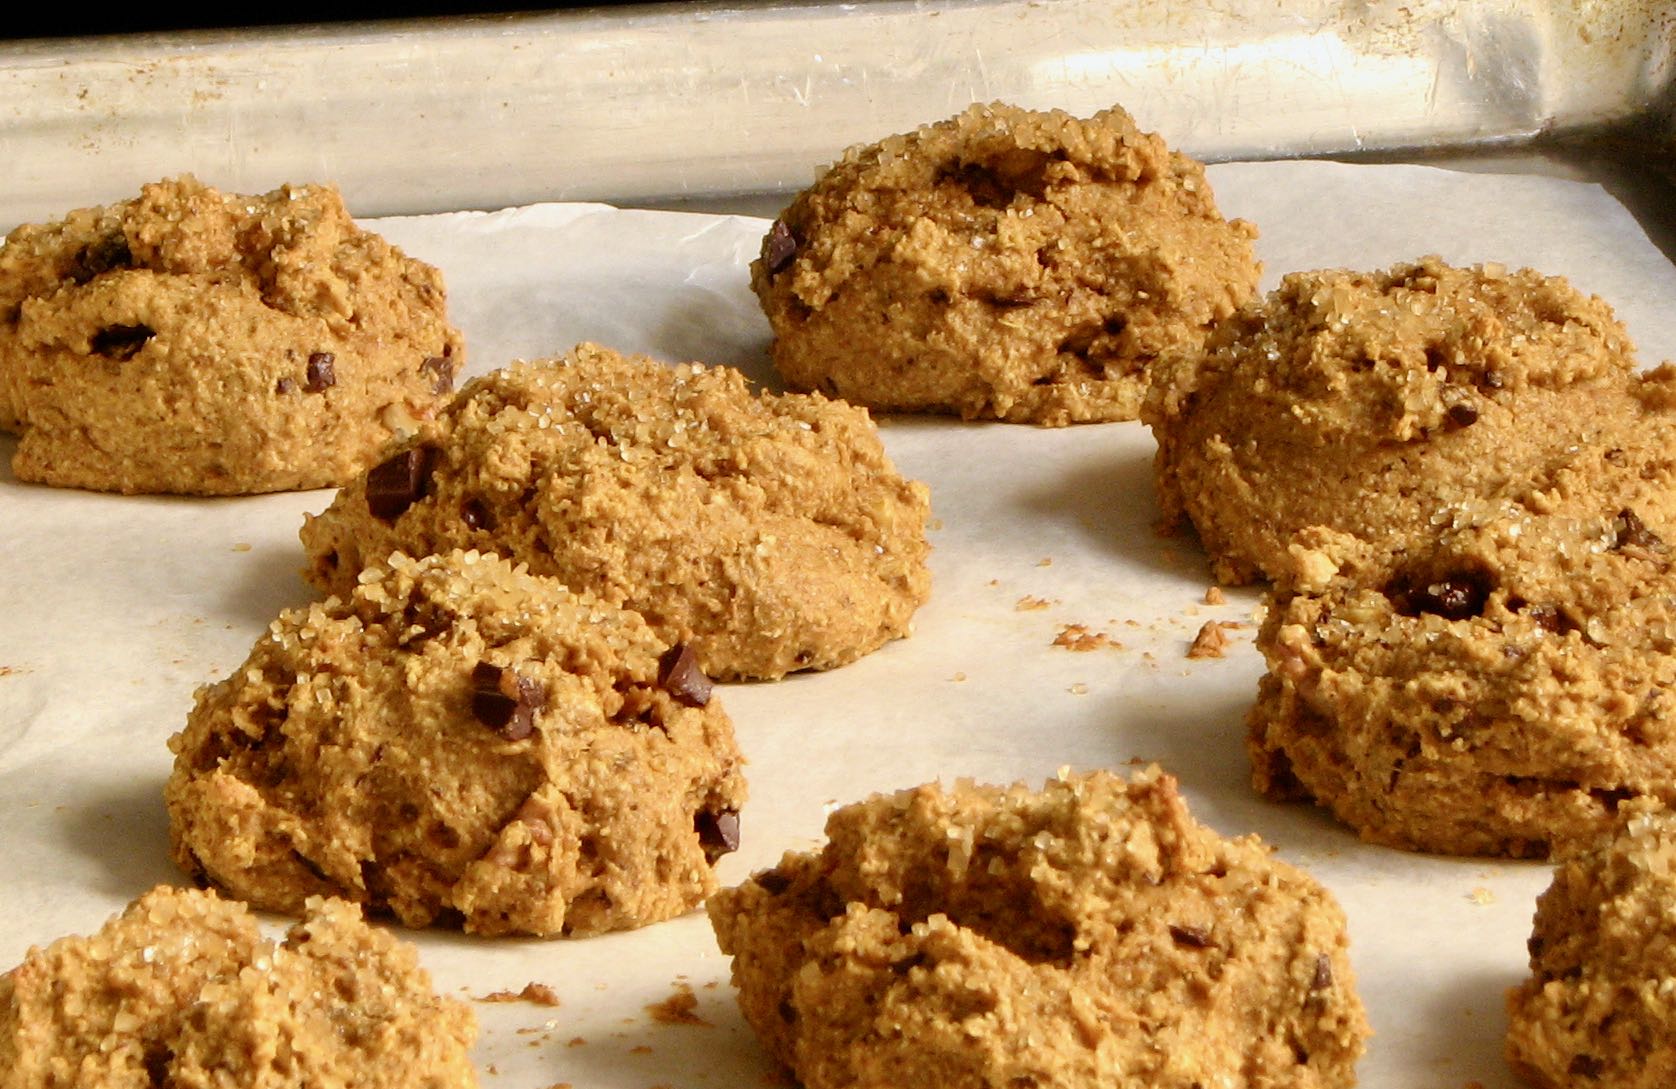
These scones are very tender due to the oat flour, a little on the delicate side, but that is not a problem. They still help together just fine. All you have to do once the batter is whipped up is drop them by the spoonful onto your baking sheet and pop them into the oven. A nice little drop scone. If you don't have a can of pumpkin in your pantry, I recommend you pick some up soon...
Oat Flour Pumpkin Scones
Adapted from Pinch of Yum
Ingredients
- 1 1/2 cups (120 grams) oats, ground into oat flour
- 3/4 cup (90 grams) spelt flour
- 1/4 cup (50 grams) brown sugar
- 1 teaspoon baking powder
- 1/2 teaspoon salt
- 1/2 teaspoon cinnamon
- 1 teaspoon vanilla
- 1/4 cup (60 grams) pumpkin
- 1 egg
- 1/4 cup (75 grams) maple syrup
- 2 tablespoons molasses
- 3 tablespoons (1.5 ounces) olive oil
- 1/4-1/2 cup total of chocolate chunks and chopped walnuts
Directions
Preheat the oven to 375 degrees. In a large bowl, combine the oat flour, all purpose flour, sugar, baking powder, salt, and cinnamon. In a smaller bowl, whisk the vanilla, pumpkin, egg, maple syrup, molasses and olive oil. Add the wet ingredients to the larger bowl with the dry ingredients - stir until just combined. Add the chocolate and walnuts and stir just a few times to distribute them throughout the batter.
Drop the batter onto a baking sheet lined with parchment paper using a round cookie scoop. Sprinkle the tops with a little turbinado sugar and bake for 12-15 minutes until baked through. Cool slightly before eating, or let cool to room temperature.