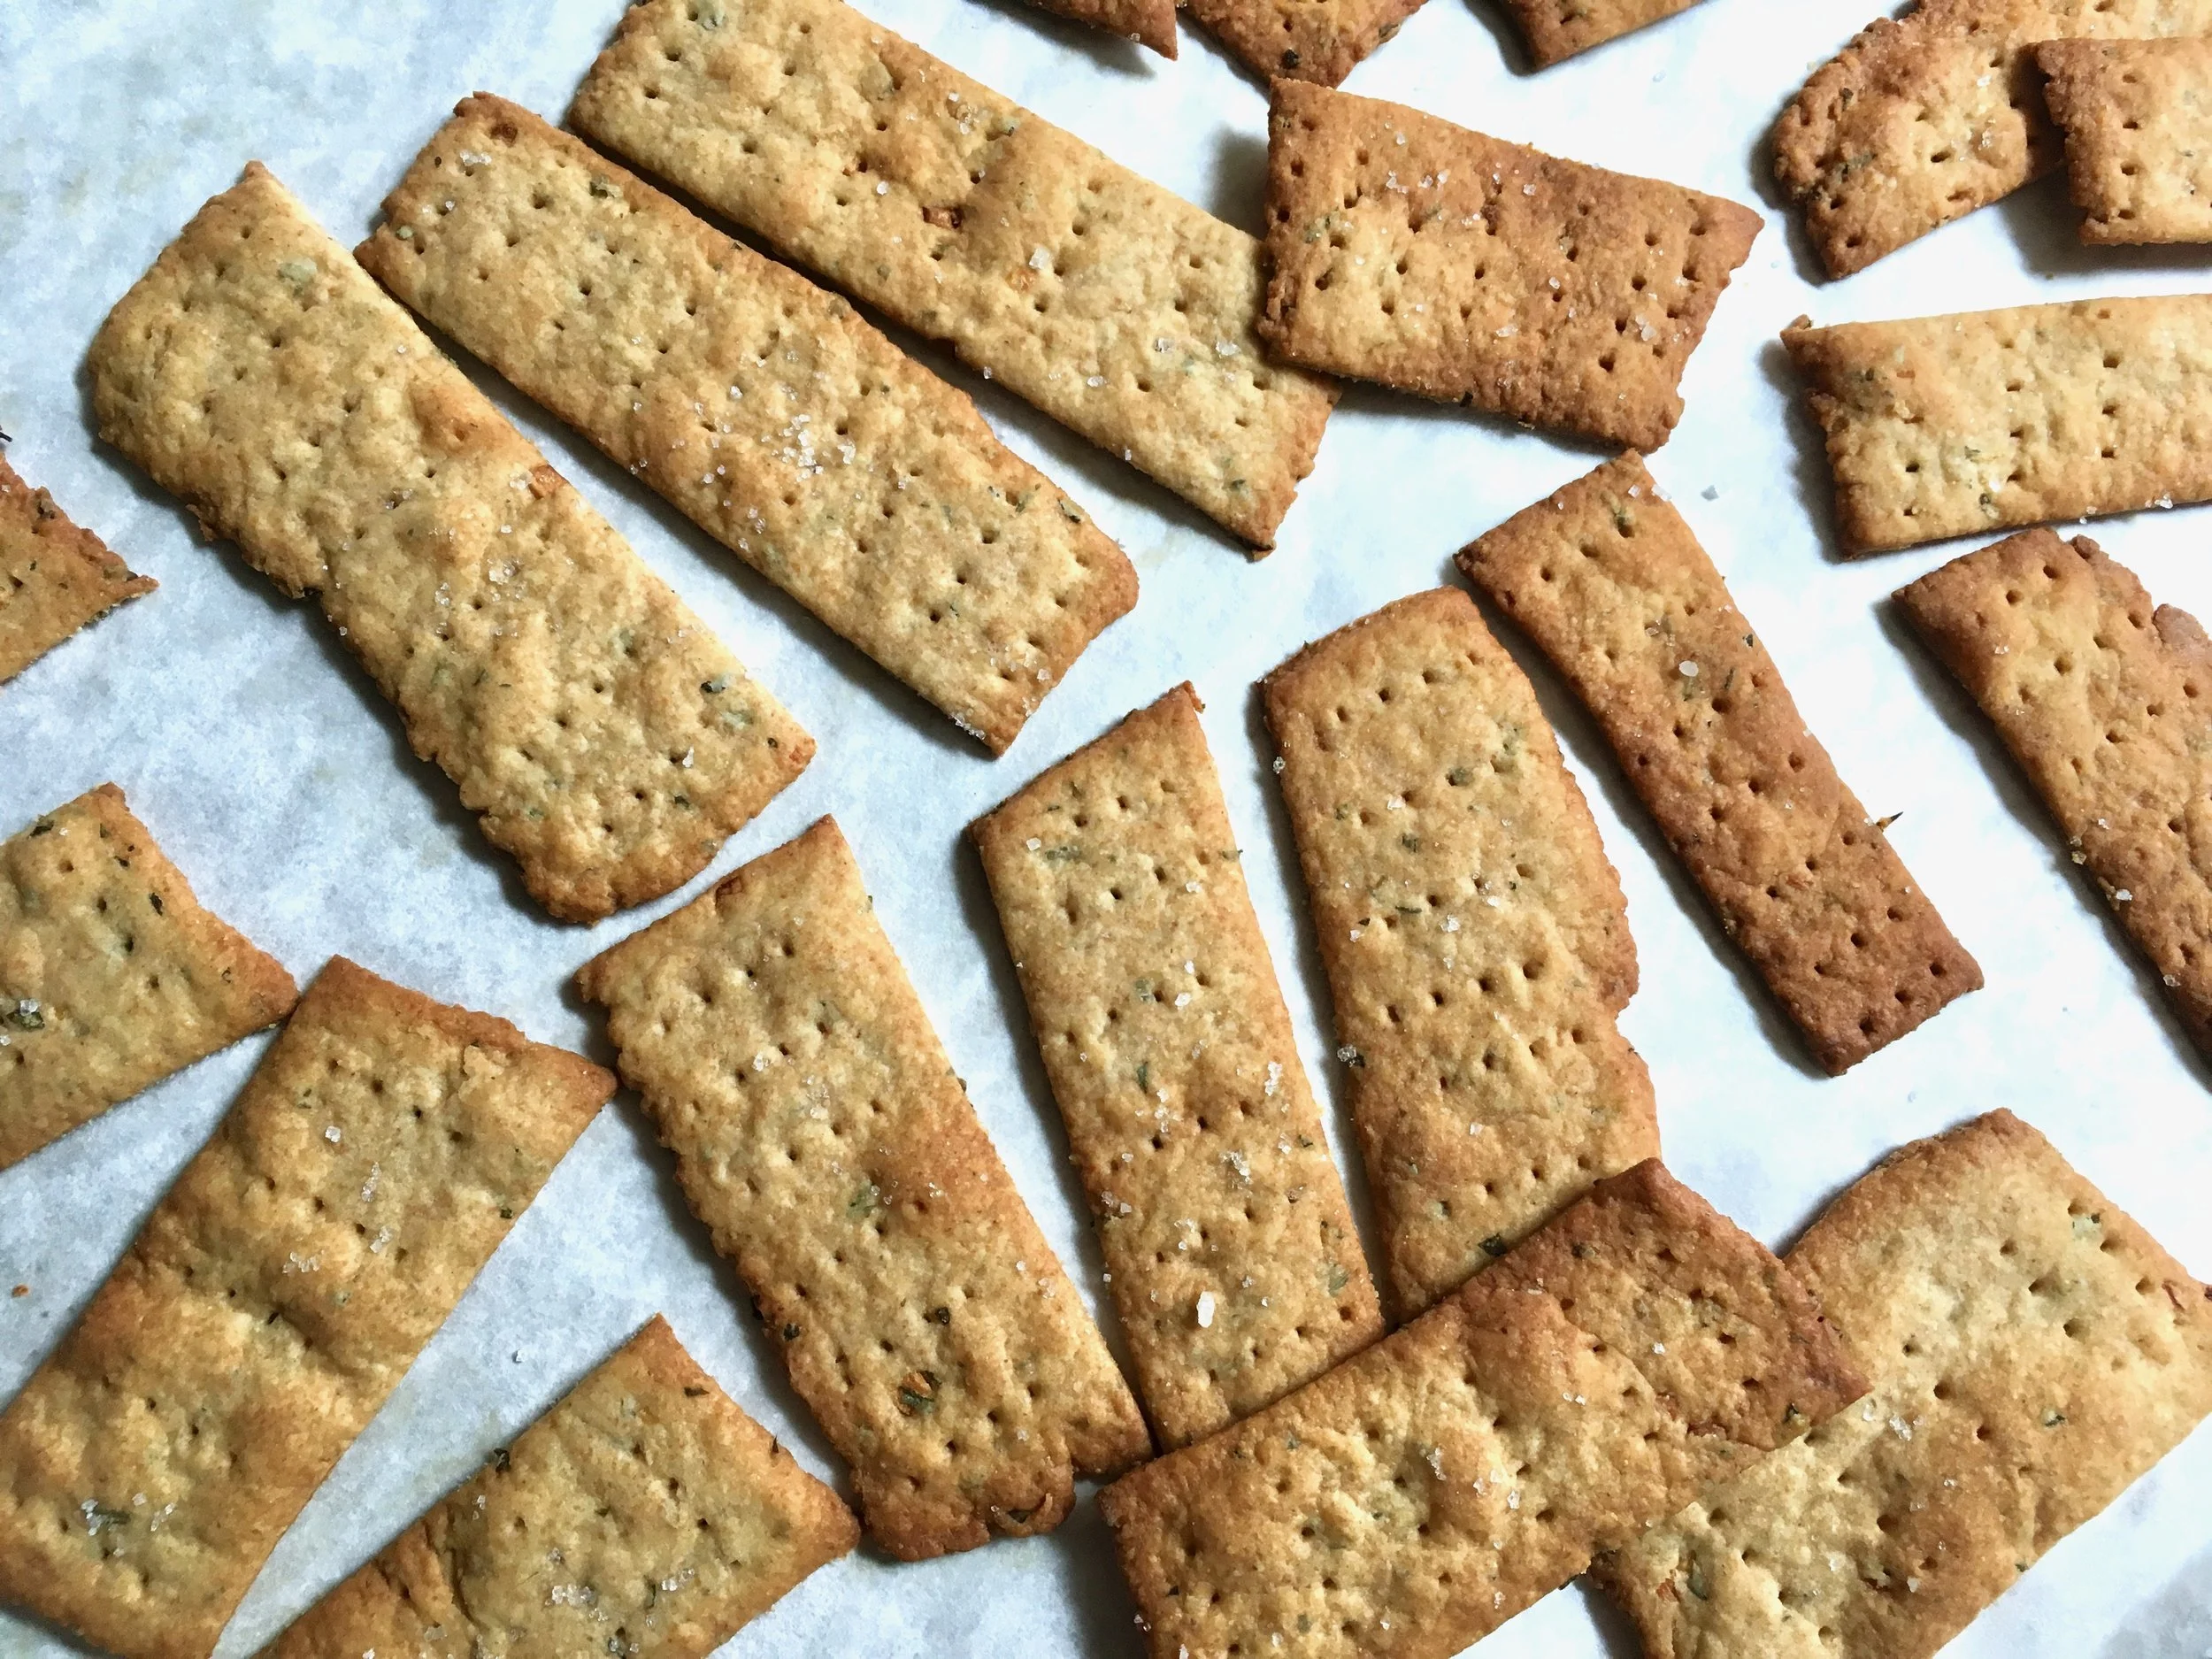
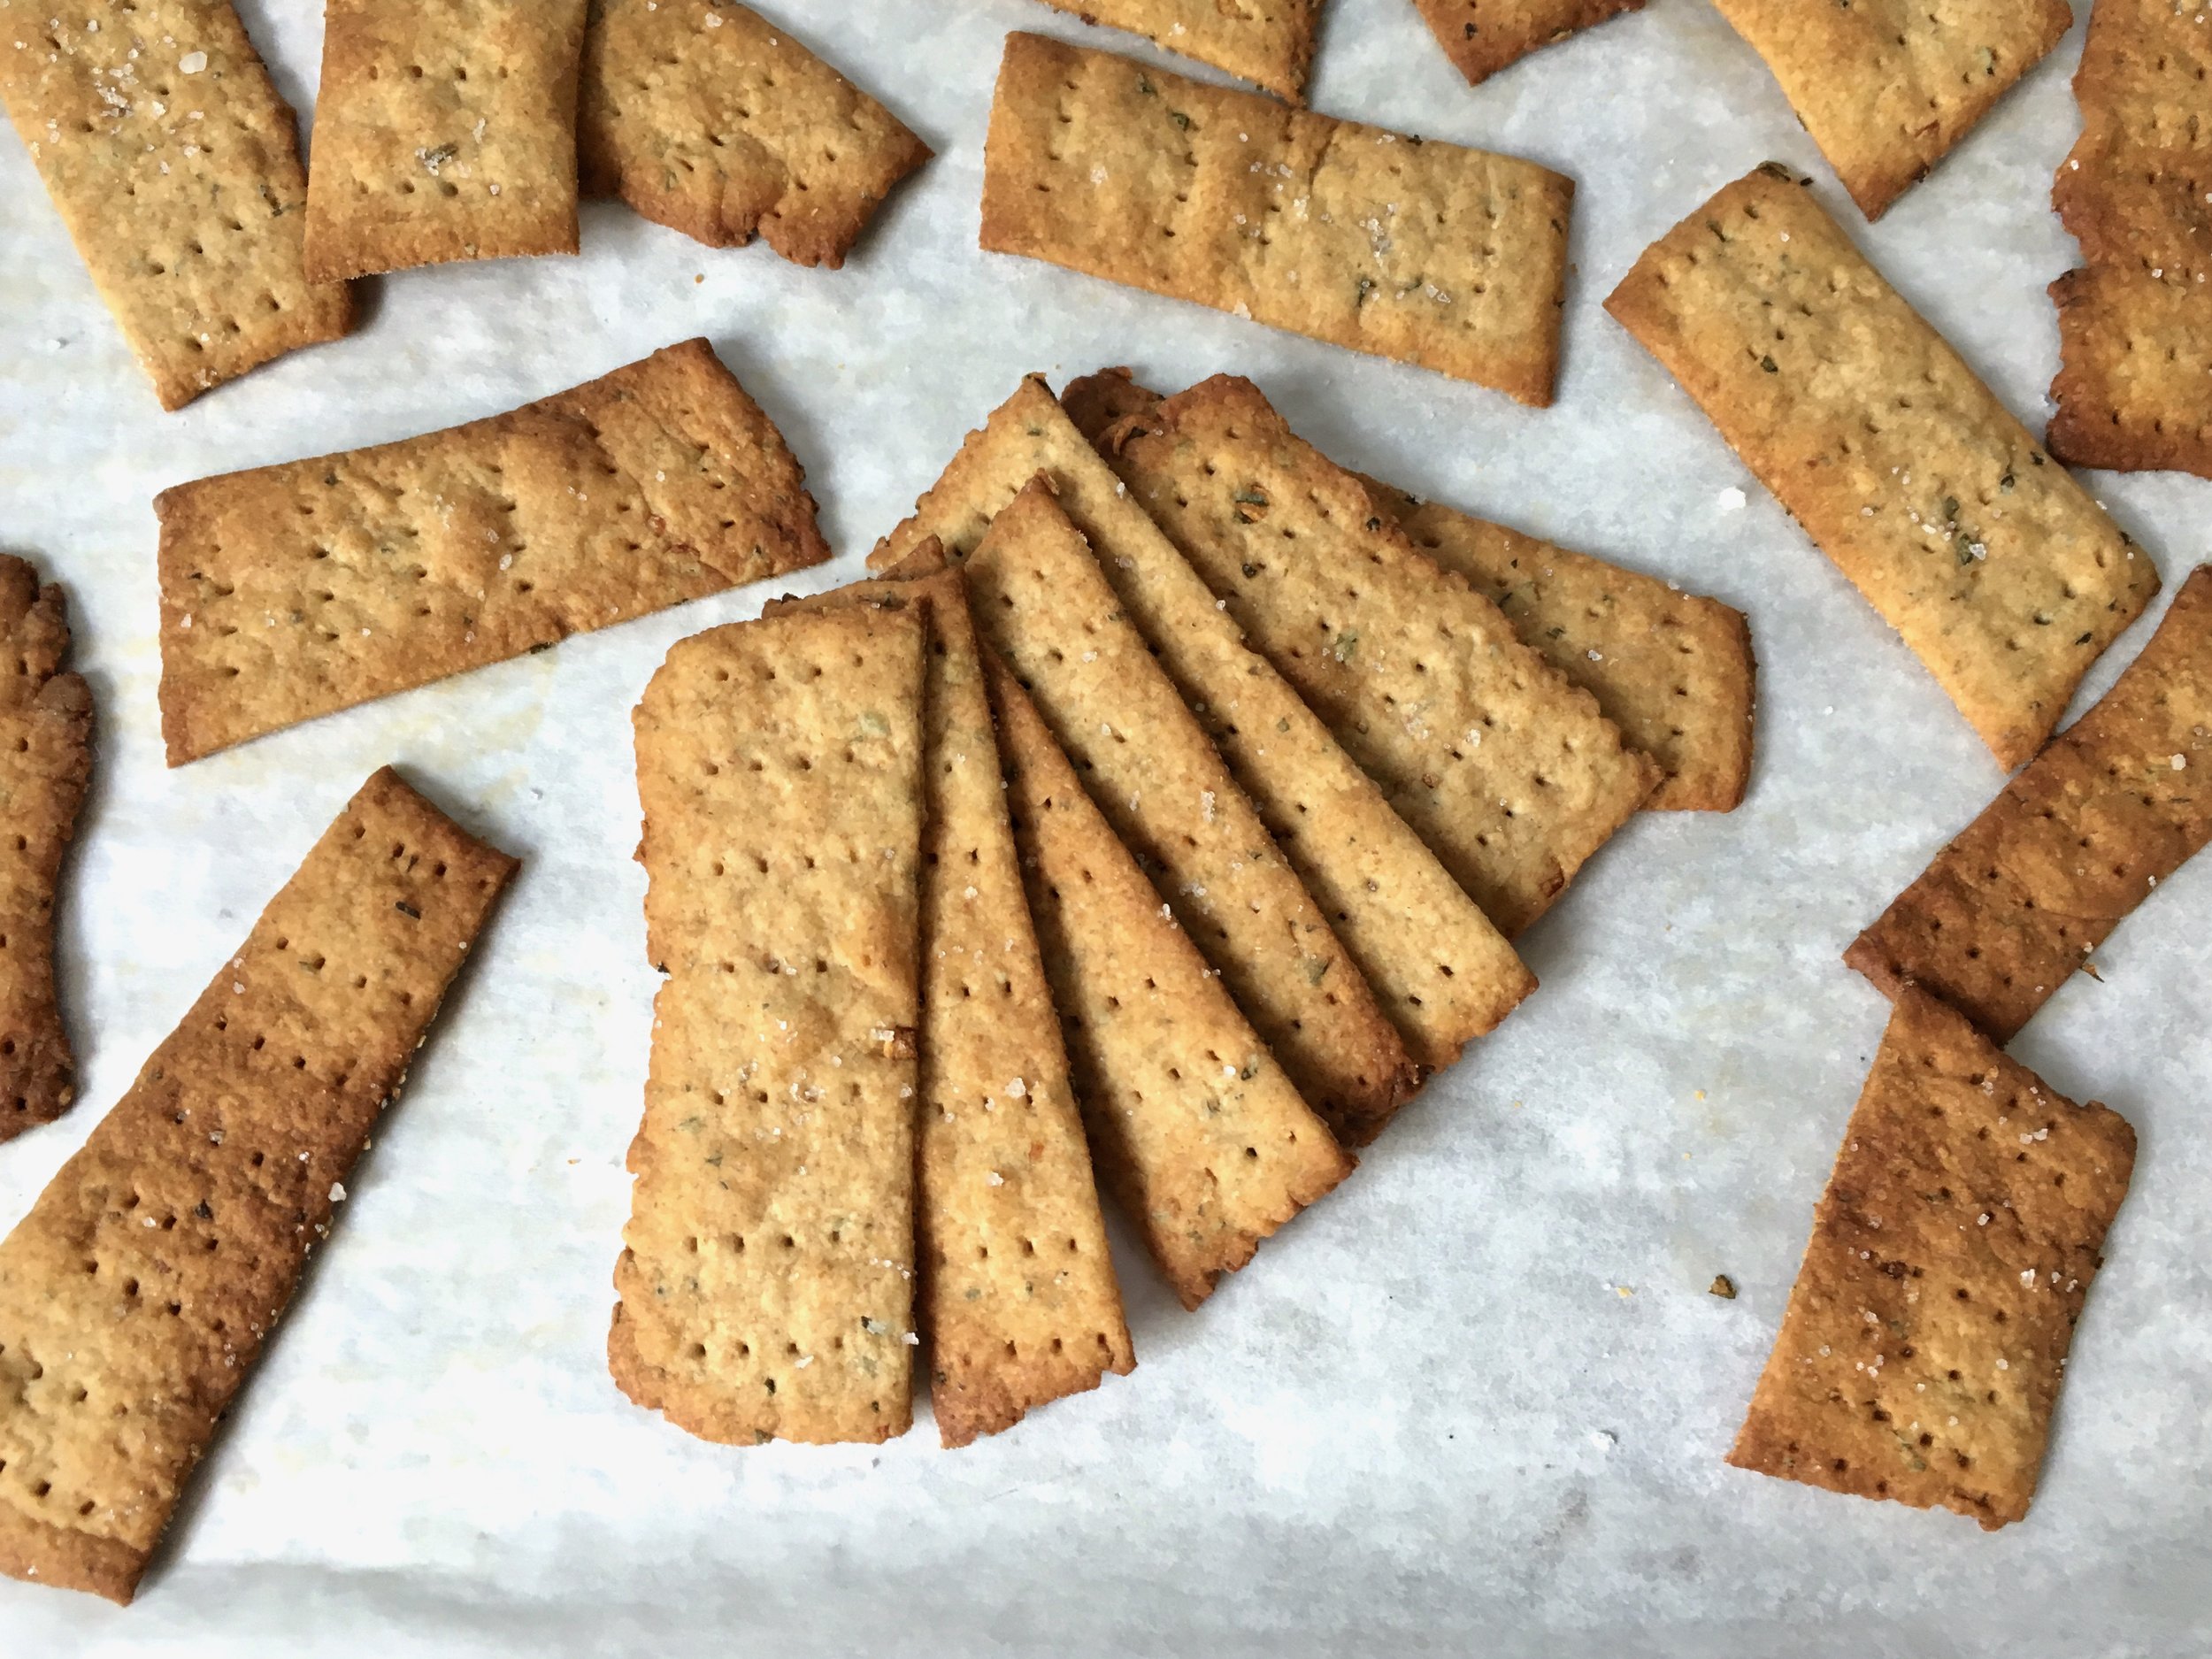
Rosemary Olive Oil Crackers
I really needed to use some sourdough this weekend, but I've been enjoying some absolutely delicious naturally fermented local bread (Field and Fire Bakery anyone? If you're in GR you must check it out) and didn't have any need to make bread. Crackers it was! I have a beautiful rosemary bush outside that is doing great and decided a little rosemary, a little garlic, and a little olive oil baked into a simple cracker was a quick, easy and delicious was to use up a little starter to get me through until I'm ready to bake bread again.

I halved the recipe for these crackers and it was perfect. Just the right amount of dough for one baking sheet. I actually used my pasta roller to roll out the dough to an even thickness. I went to setting 3 on my Atlas pasta roller and thought it was the perfect thickness. But a rolling pin and a little arm strength work just as well. Just keep an eye on the crackers while they are baking to ensure you don't burn some of the thinner crackers.

Rosemary Olive Oil Crackers
Adapted from King Arthur Flour
Ingredients
- 1/2 cup (60 grams) whole wheat flour
- 1/4-1/2 teaspoon salt
- 1/2 cup (125 grams) unfed sourdough starter
- 2 tablespoons (25 grams) olive oil
- 1 tablespoons fresh rosemary, chopped finely
- 1/2-1 whole garlic clove, finely minced
- oil for brushing
- coarse salt for sprinkling on top
Directions
Mix together the flour, salt, sourdough starter, olive oil rosemary and garlic to make a smooth(not sticky), cohesive dough. If dough is too wet add a few extra tablespoons of flour. Divide the dough in half, and shape each half into a small rectangular slab. Cover with plastic wrap, and refrigerate for 30 minutes, or up to a couple of hours, until the dough is firm.
Preheat the oven to 400°F. Very lightly flour a piece of parchment, your rolling pin, and the top of the dough. Working with one piece at a time, roll the dough to about 1/16" thick.
Transfer the dough and parchment together onto a baking sheet. Lightly brush with oil and then sprinkle the salt over the top of the crackers.
Cut the dough into 1 1/4" squares; a rolling pizza wheel works well here. Prick each square with the tines of a fork. Bake the crackers for about 20 minutes, until the squares are starting to brown around the edges. When fully browned, remove the crackers from the oven, and transfer them to a cooling rack. Store airtight at room temperature for up to a week; freeze for longer storage.