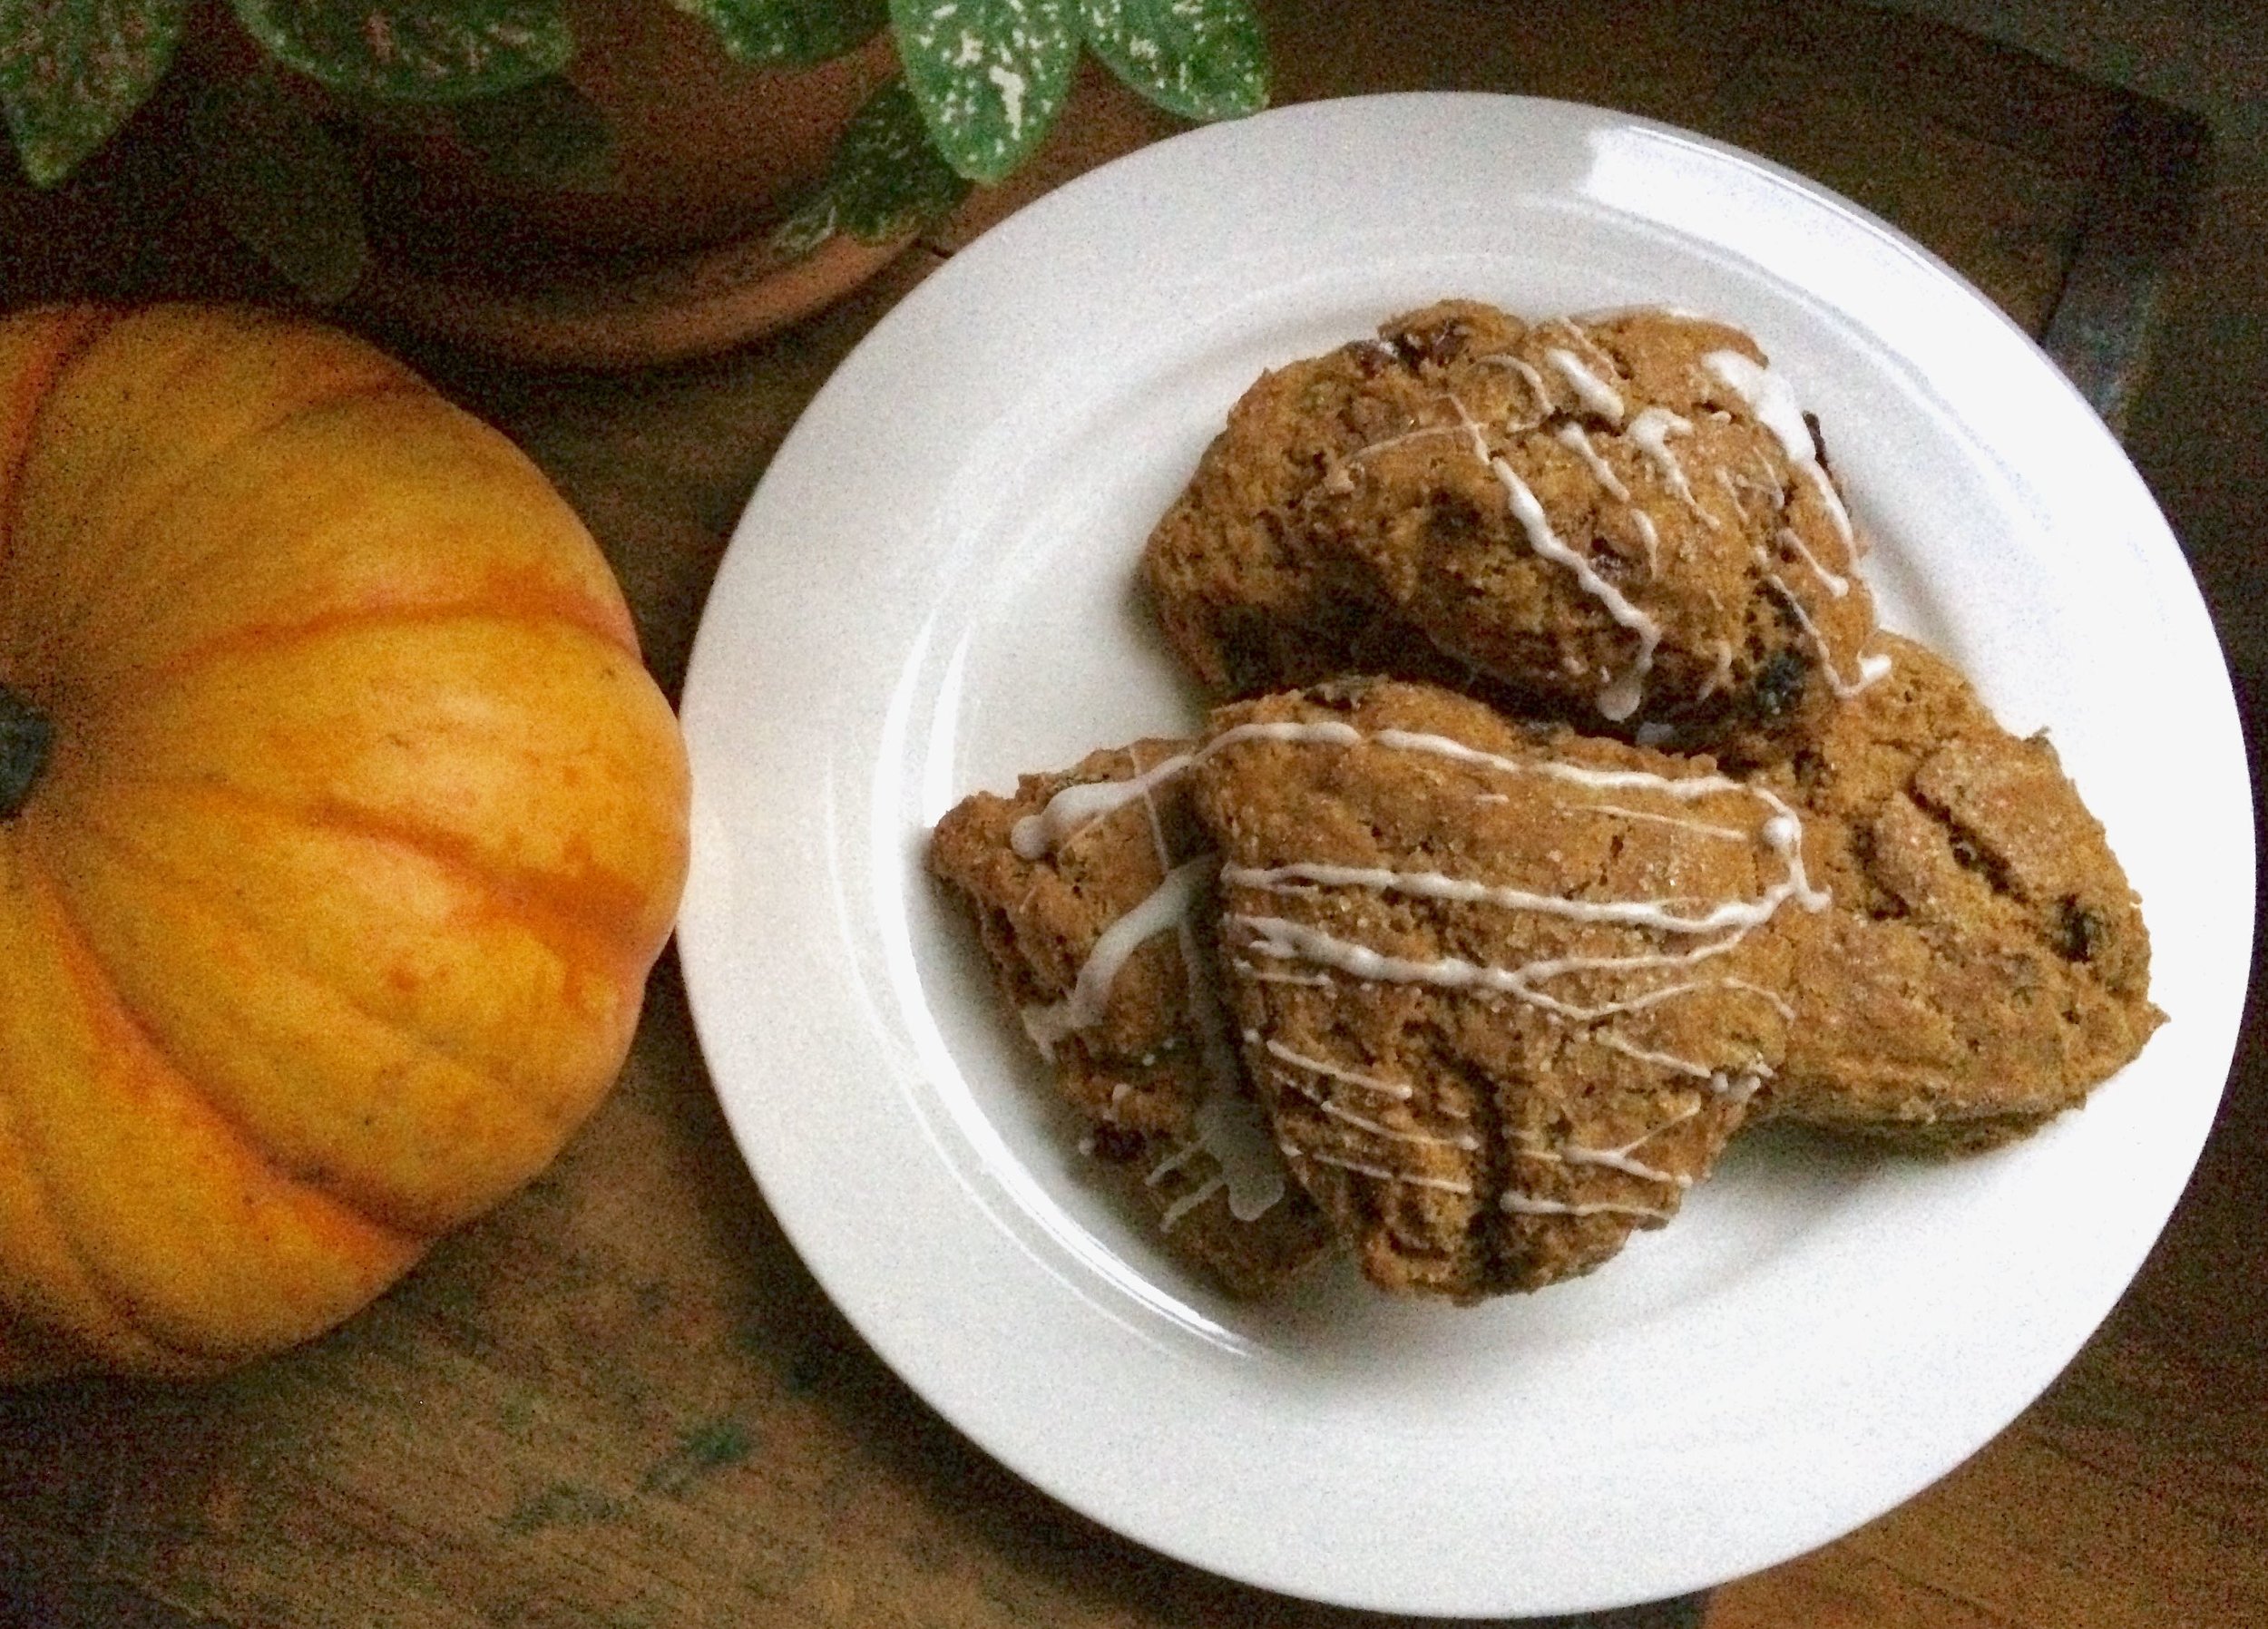
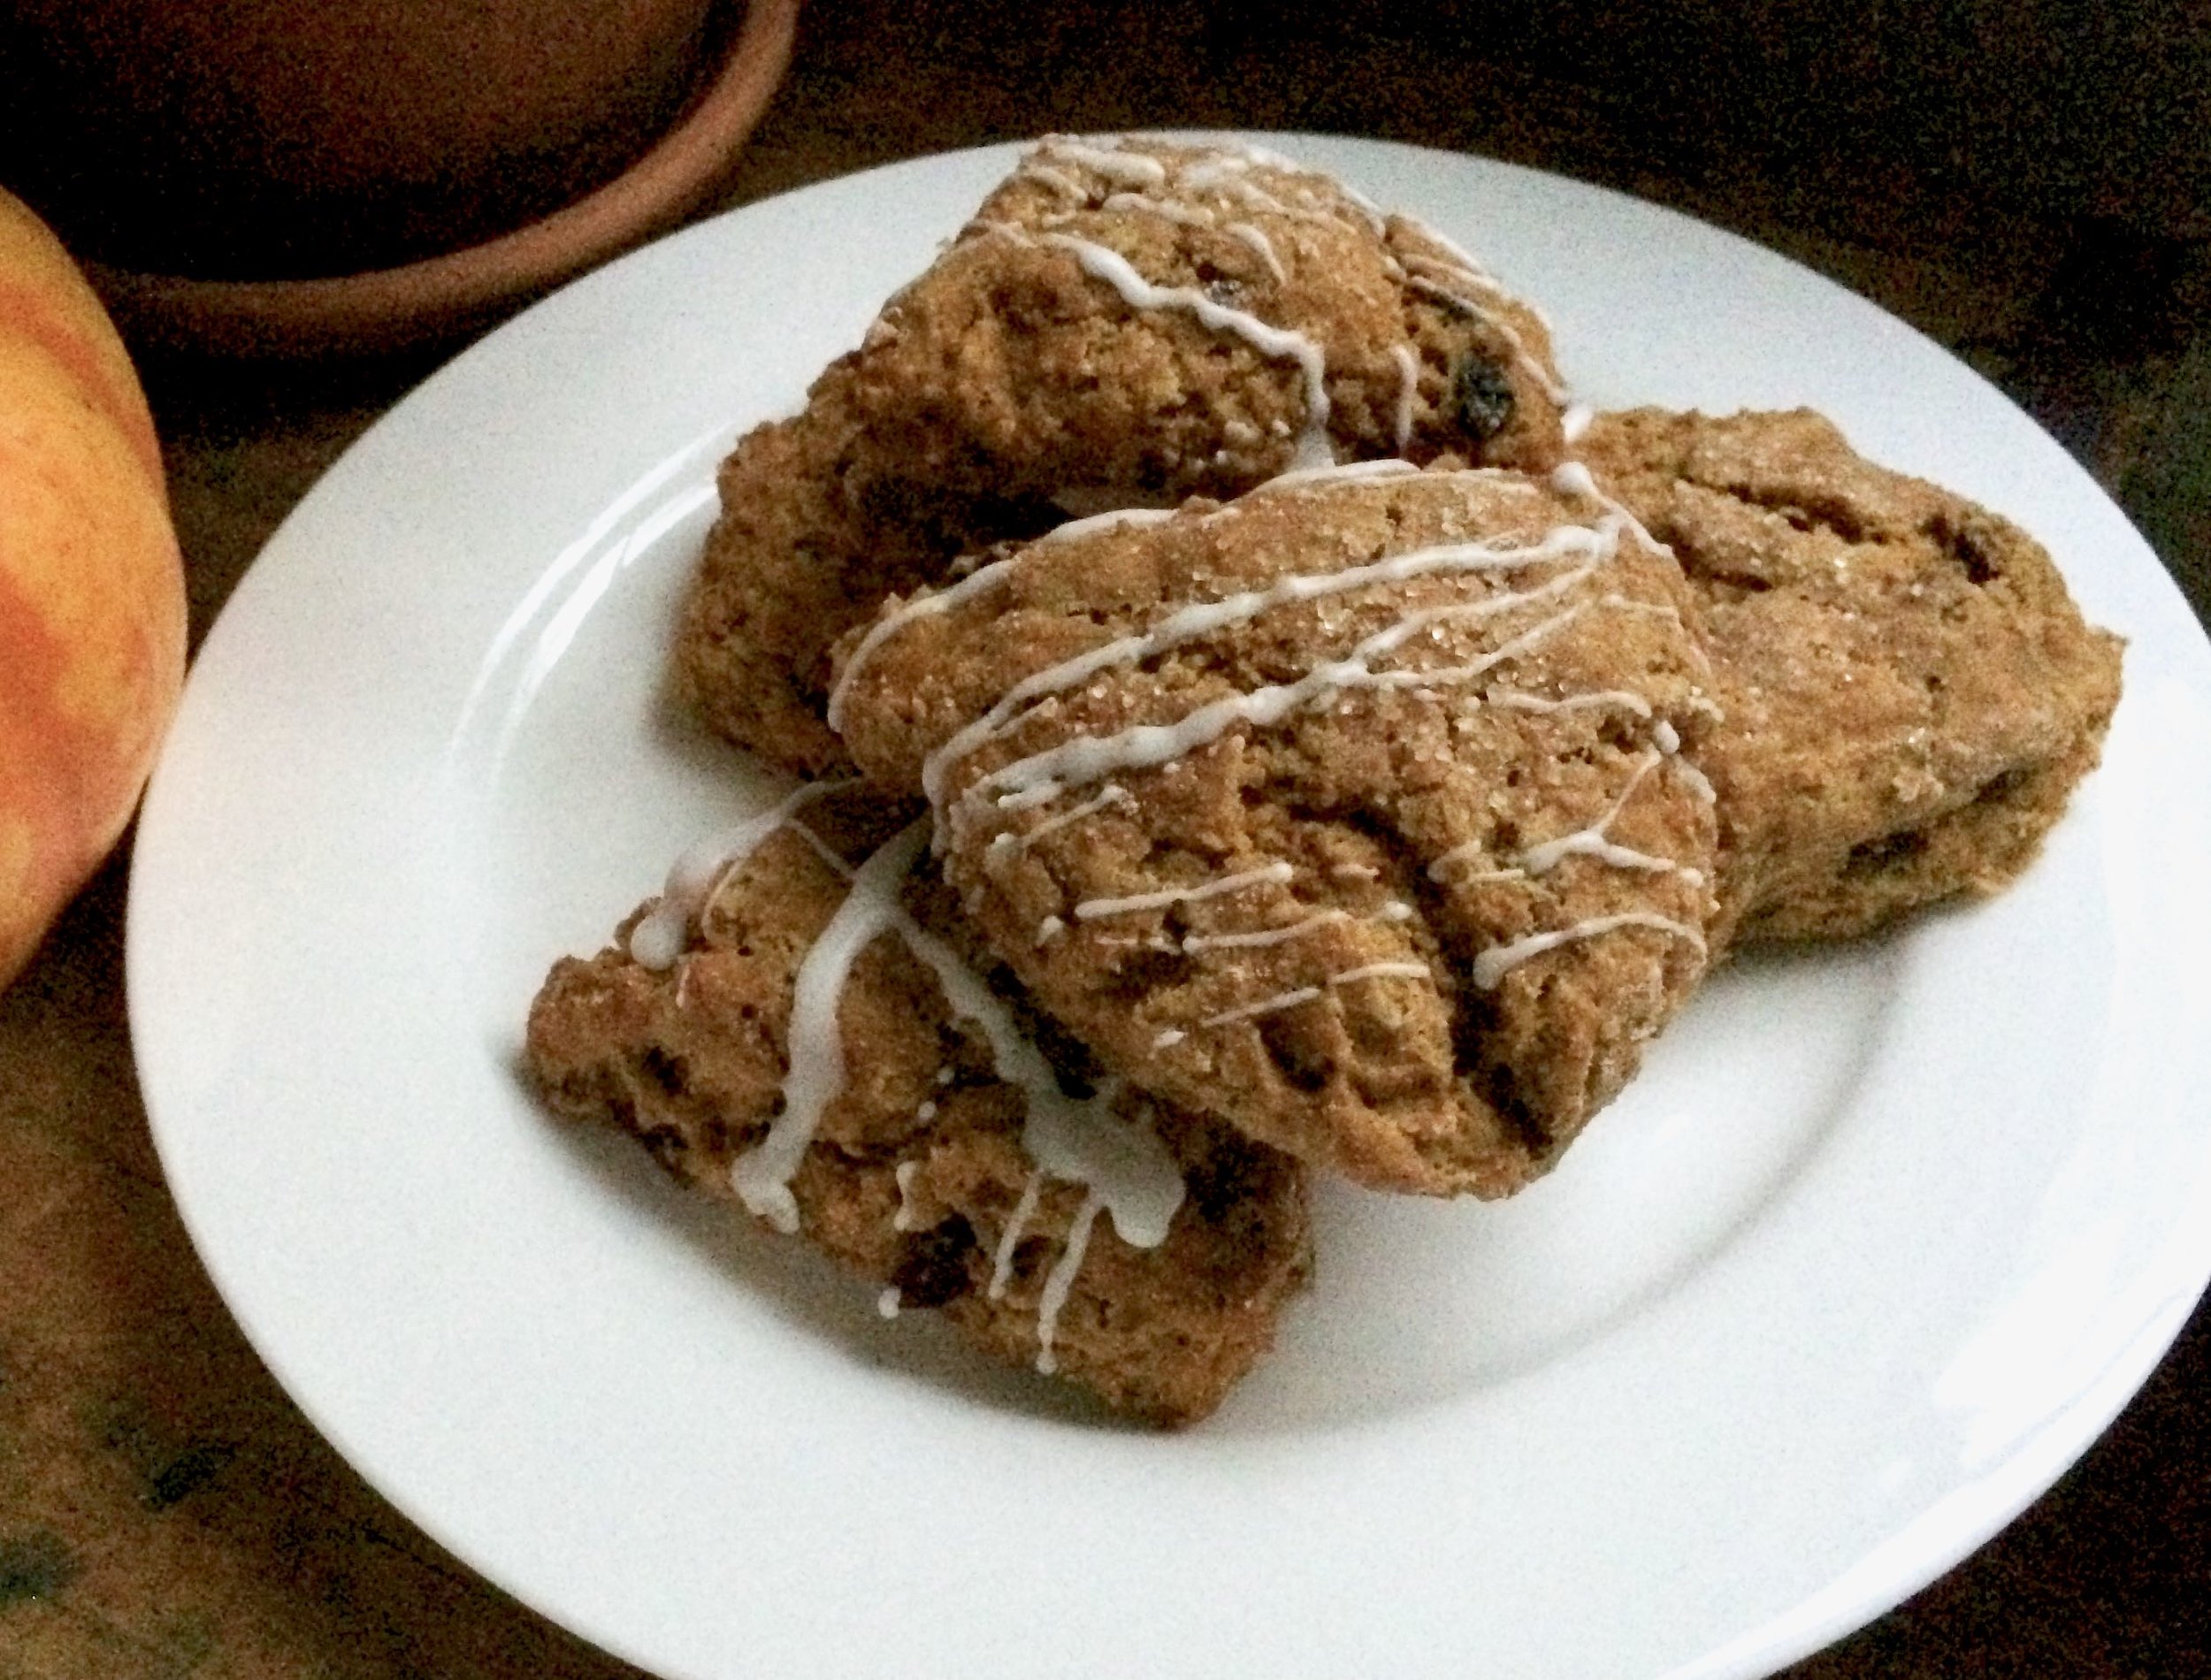
Cherry Walnut Pumpkin Scones
This past week I took my first vacation days of residency. It has been absolutely wonderful. 5 days off (plus both weekends - bonus!) to do absolutely nothing. I really had nothing planned (other than a dentist appointment, woohoo) which is really how I like my days off to be, relaxing and uneventful. It's been kind of a gloomy week. Rainy and cold for several days, not a lot of sun. Early in the week I decided that I needed to had something fun to enjoy for breakfast while on vacation. Since it's October I really didn't have any other choice than to make something pumpkin-y! Something seasonal to leisurely enjoy with my morning cup of coffee. After much deliberation I settle on scones.
Scones are one of my favorites! I made some delicious pumpkin scone with cranberries and pecans last year, but I had a couple other recipes pinned so I figured I'd try a new one! This recipe is from Joy the Baker, one of my favorite bloggers, and probably the blog I've been following the longest of any food blog. I trust her recipes so I knew this would be a winning recipe. They were the perfect treat for my chilly fall morning breakfasts!

Scones are not difficult. These are pretty basic as scones go, similar to the ones I made last year. These did spread a little while baking, but not too much. They are moist and hearty. Pumpkin scones never have that crispy airiness that traditional scones have, but that's to be expected due to the moist and dense pumpkin. Add a little drizzle of glaze for looks and extra sweetness and then dig in. Don't forget the coffee!
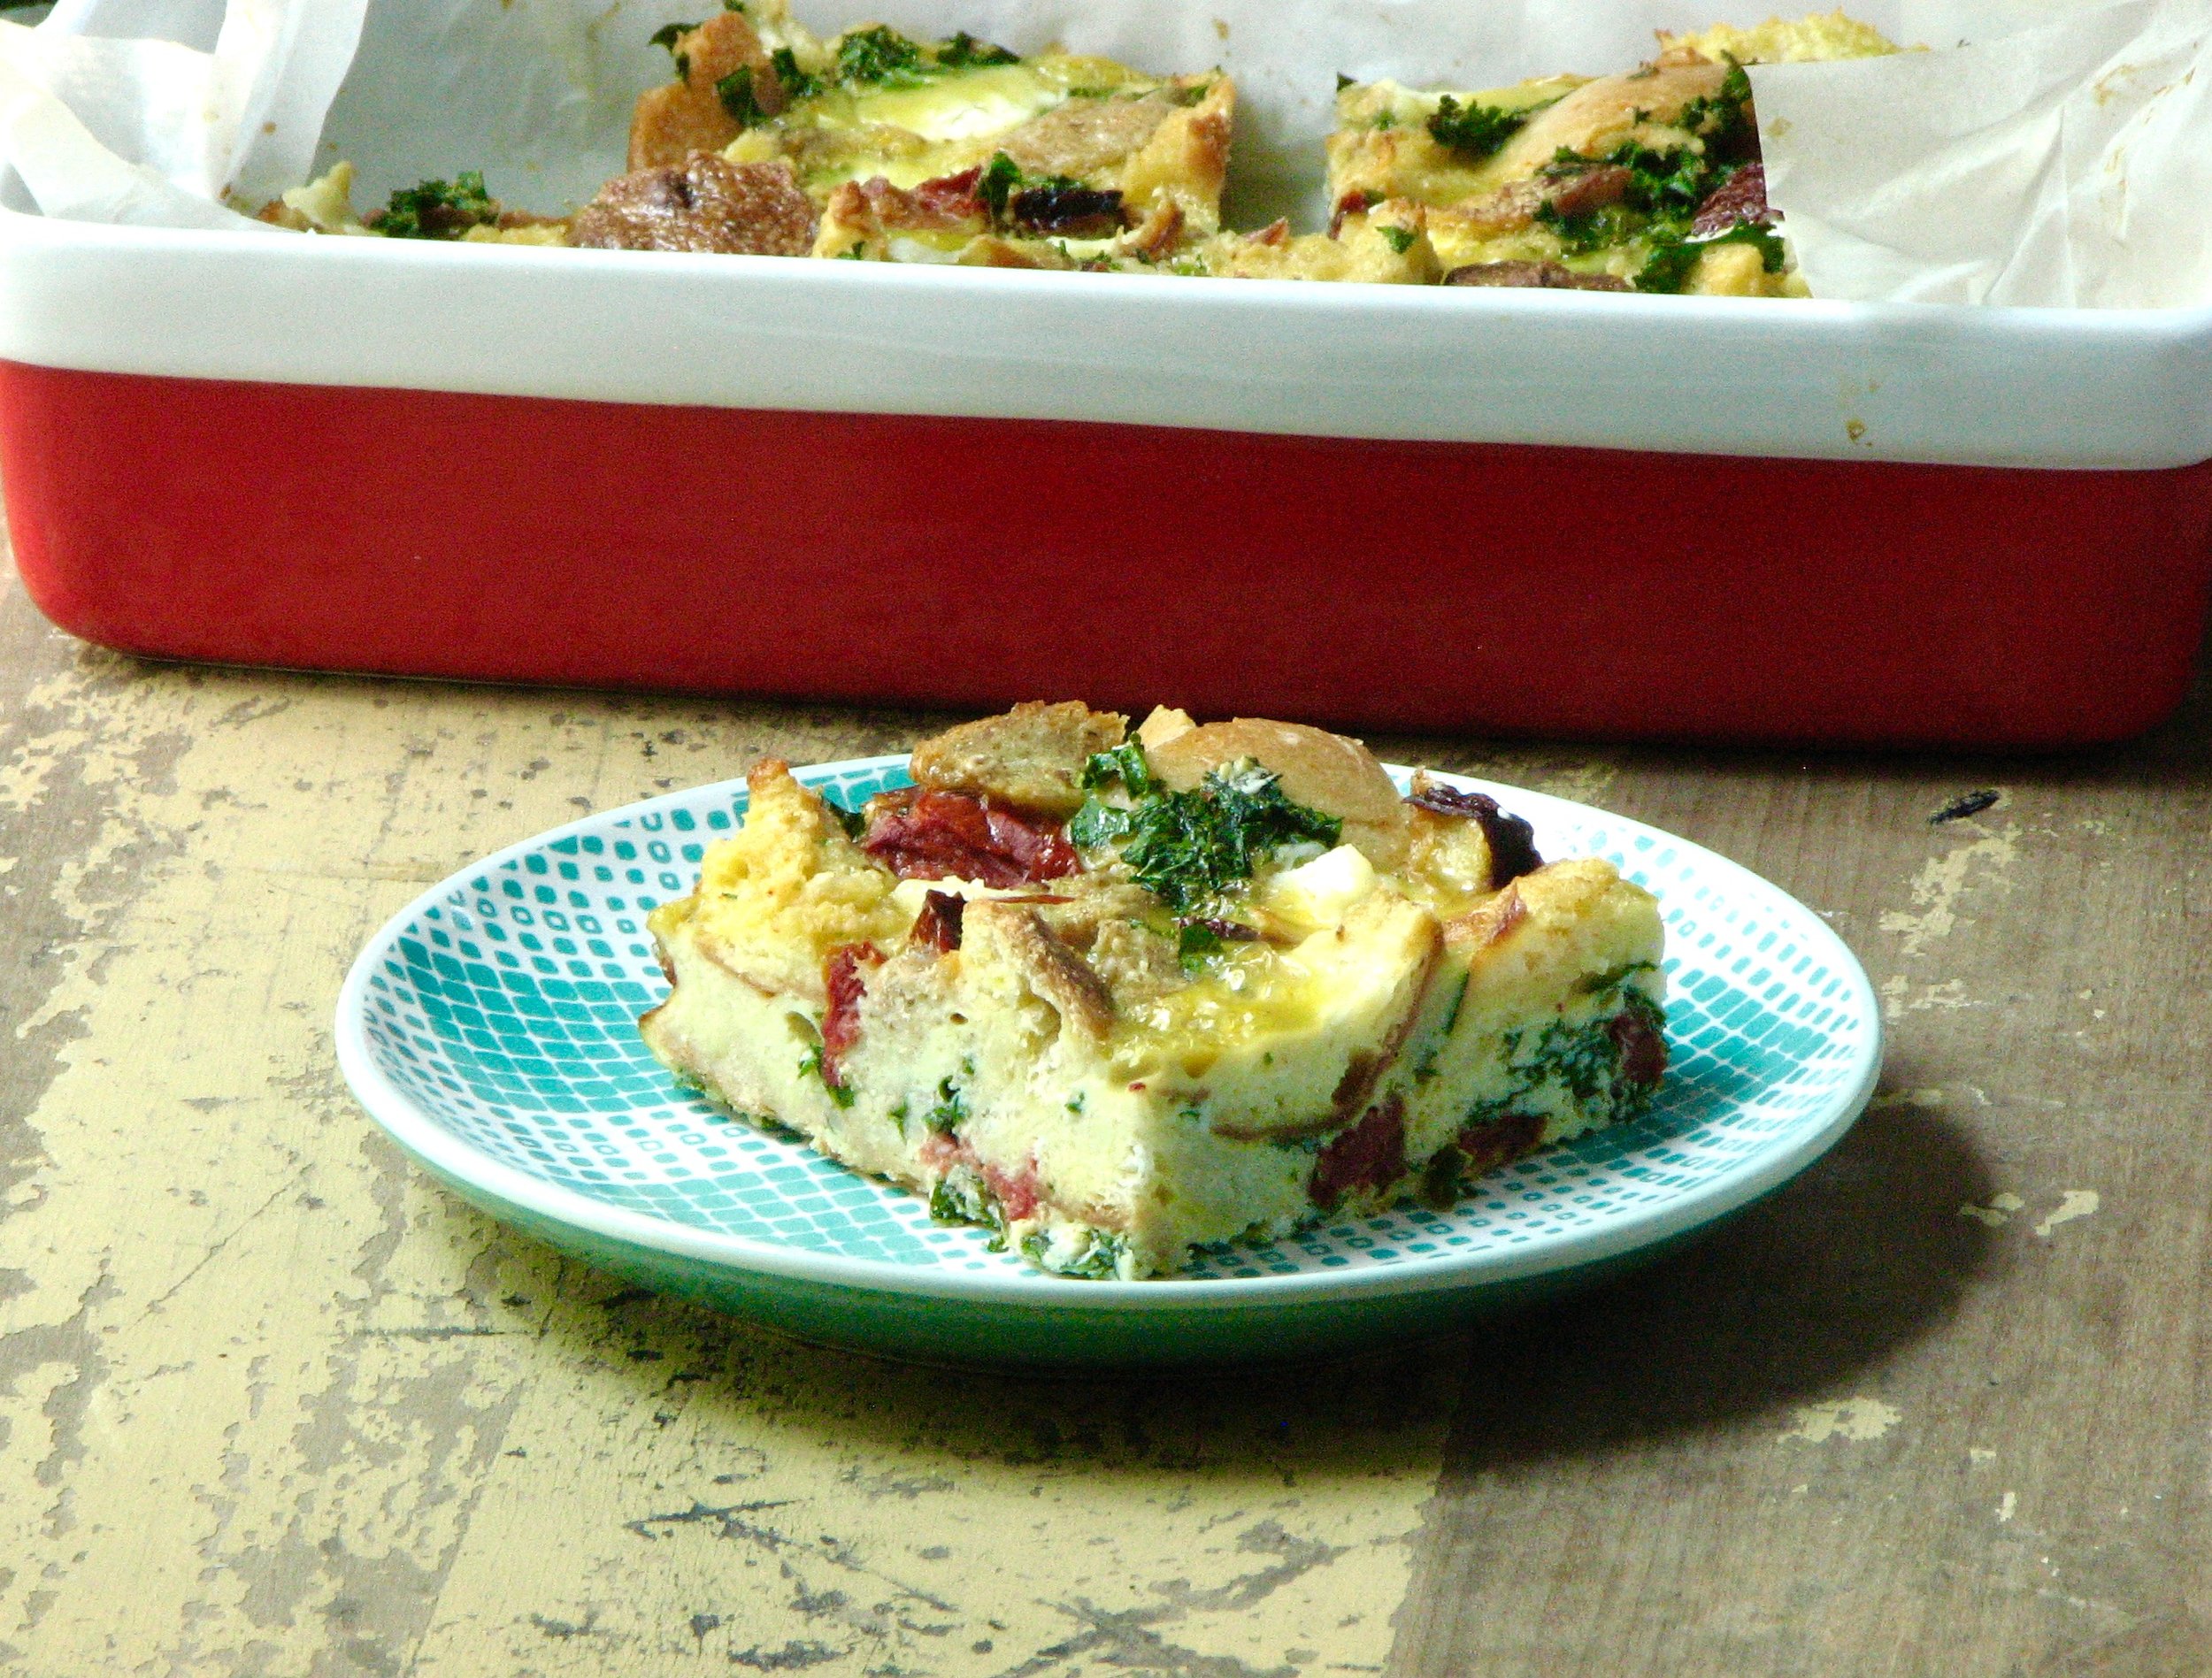
(Sorry about the dark, not so wonderful pictures of these scones. The batteries in my camera died and I haven't been able to go buy some new batteries yet!)
Cherry Walnut Pumpkin Scones
Adapted from Joy the Baker
Ingredients
- 1 1/2 cups (180 grams) all-purpose flour
- 1/4 cup (50 grams) brown sugar
- 1 1/4 teaspoons baking powder
- 1/4 teaspoon baking soda
- 1/4 teaspoon salt
- 1/2 teaspoon ground cinnamon
- 1/4 teaspoon fresh grated nutmeg
- 1/4 teaspoon ground ginger
- 1/8 teaspoon ground allspice
- 3/4 stick (6 tablespoons, 3 ounces) unsalted butter, cold and cut into small cubes
- 1/2 cup (110 grams) buttermilk, cold
- 1/2 cup (120 grams) pumpkin puree
- 1 1/2 teaspoons pure vanilla extract
- 1/4 cup a mix of coarsely chopped walnuts and dried cherries
Directions
Place rack in the upper third of the oven and preheat oven to 400 degrees F. Line a baking sheet with parchment paper and set aside.
In a medium bowl, whisk together flour, brown sugar, baking powder, baking soda, salt, and all of the spices. Add the cold butter to the dry ingredients and toss to coat. Using your fingers or a pastry cutter, break the butter down into the dry ingredients. Work quickly so that the butter remains cold. Some of the butter will be the size of oat flakes, others will be the size of small peas.
In a small bowl, whisk together buttermilk, pumpkin puree, and vanilla extract.
Add the wet ingredients, all at once to the dry ingredients. Stir together until almost thoroughly combined. Add walnuts and cherries and stir until no dry flour bits remain. Turn the dough out onto a lightly floured counter. Shape into a small circle, approximately 1 1/2 inches tall. Use a bench scraper or a sharp knife to cut the circle into 6 or 8 wedges. Transfer scones to prepared baking sheet. Leave about 2-inches of space between each scone.
Bake for 18 to 22 minutes or until browned slightly with dry tops. You can insert a toothpick into the center of a scone to test for doneness.