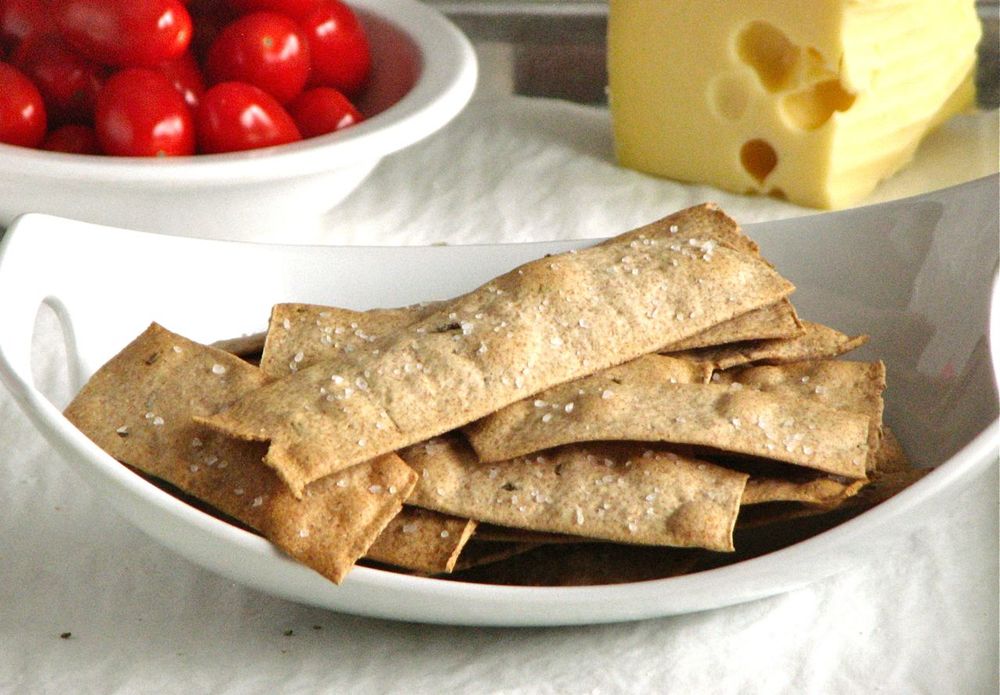
Simple Butter Crackers
Have you ever tried to make homemade crackers? If you haven't I encourage you to give them a shot! I have tried many different recipes for homemade crackers over the past couple of years, some are good and some are not so good. As I've experimented the results have gotten better and better. These simple butter crackers are one of my recent successes. You only need a few ingredients to quickly whip together a batch of dough that you can use right away, or put in the fridge to roll out a little later. While it does take a little time to roll out the dough and cut into shapes, I don't mind taking a little extra time in the kitchen once in a while, especially when it results in something as satisfying as these buttery and delicious homemade crackers, something you can really be proud of!
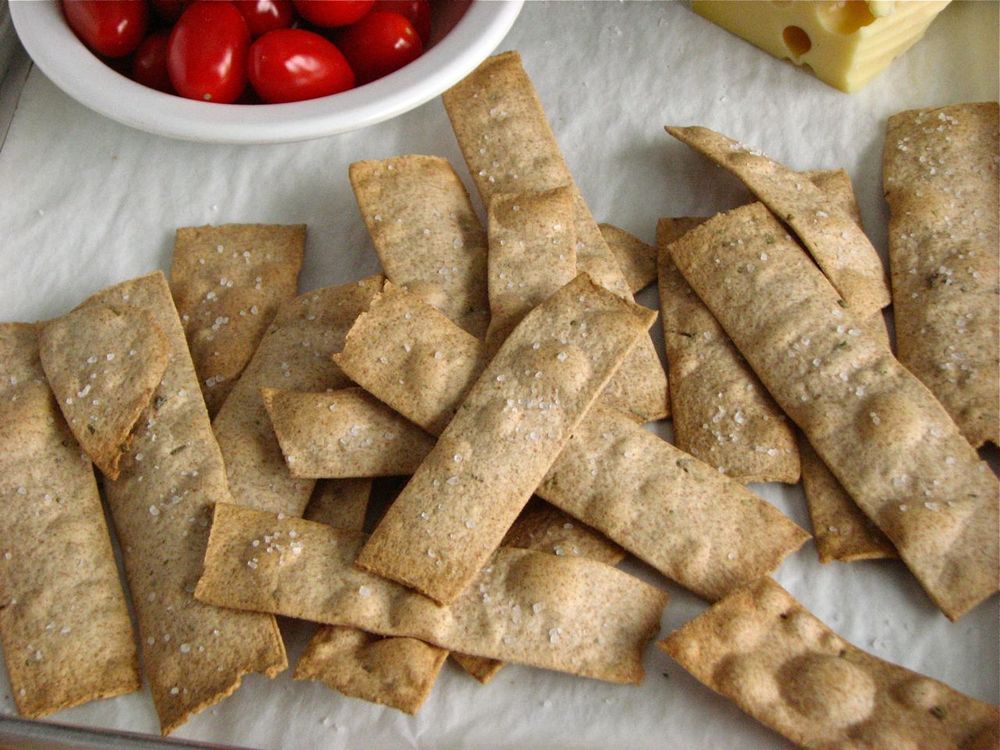
Some of the problems I've had with various cracker recipes is that they can be bland, and also they can be really difficult to roll out because they are so sticky. This recipe had neither of these problems. I've found, not surprisingly, that in order to get a cracker that is not bland I need a recipe that includes at least some fat, it's essential to the flavor of crackers since there isn't much flavor coming from anywhere else. This recipe includes a little butter, my personal favorite way to add flavor.
Also, these crackers were a breeze to roll out. I used my pasta machine to roll them out to an even thickness (I rolled them to setting 6 on my Atlas pasta roller), but I have no doubt they would be easy enough to roll out with a rolling pin and some arm muscle if you don't have a pasta maker on hand.
If you've been wanting to try your hand at some homemade crackers, I highly recommend giving this recipe a try, the results are well worth the investment!


Simple Butter Crackers
Adapted from The Washington Post
Ingredients
- 1 cups flour, plus more if needed
- 1/2 teaspoon sugar
- Heaping 1/4 teaspoon salt
- 1/4 teaspoon baking powder
- 2 tablespoons butter, cold from the fridge
- 1/4 cup hot tap water, or as needed
Directions
Preheat the oven to 400 degrees.
Combine the flour, sugar, salt and baking powder in a small bowl. Add the butter and use a pastry blender (or your fingers) to cut the butter into the flour mixture until crumbly and well distributed throughout. Add the hot water and mix to form a smooth, soft ball, stopping to check the texture before you add all of the water; you might not need all of it.
Turn the dough out onto the work surface and knead it quickly and lightly. Return to bowl, cover with plastic wrap and let the dough rest at room temperature for about 10 minutes.
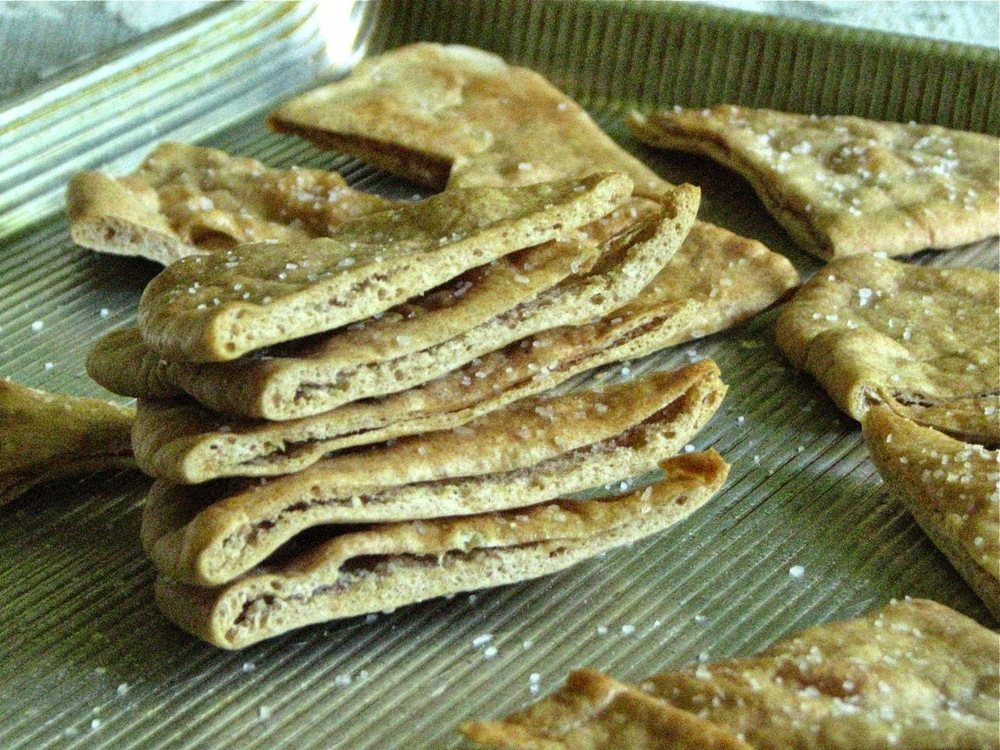
Working with one portion at a time, use a pasta maker to roll the dough out very thin, ideally, the dough should be translucent enough so that you can see the work surface underneath it. I rolled my dough out to setting 6 on my Atlas pasta maker and thought it was the perfect thickness (alternatively, use a lightly floured rolling pin to roll out the dough on a lightly flour work surface).
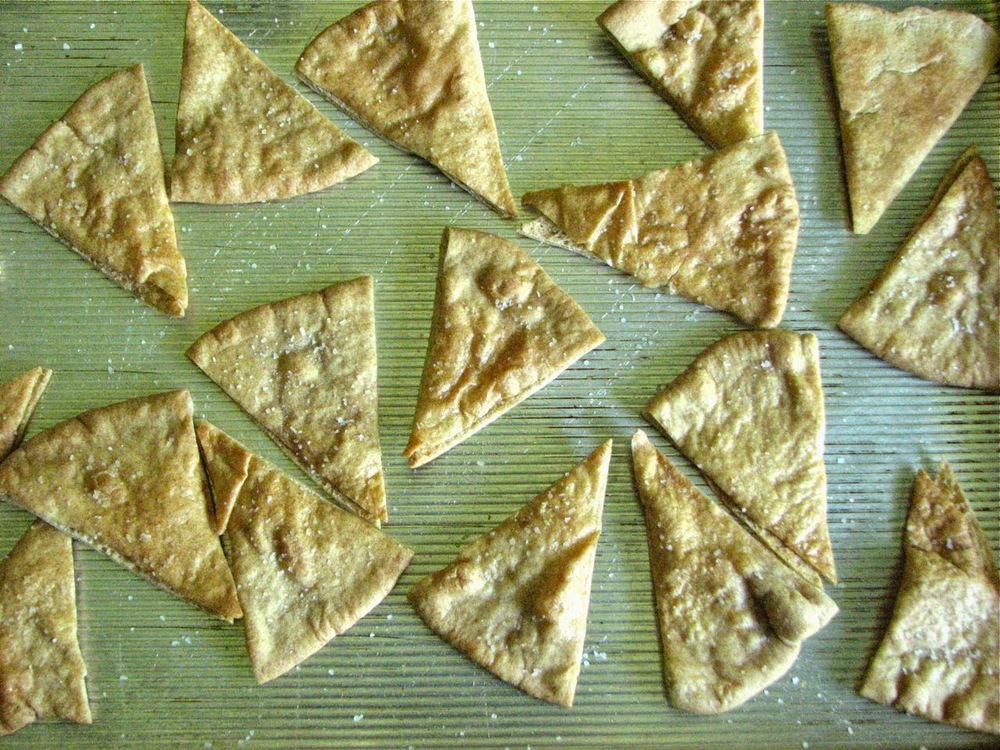
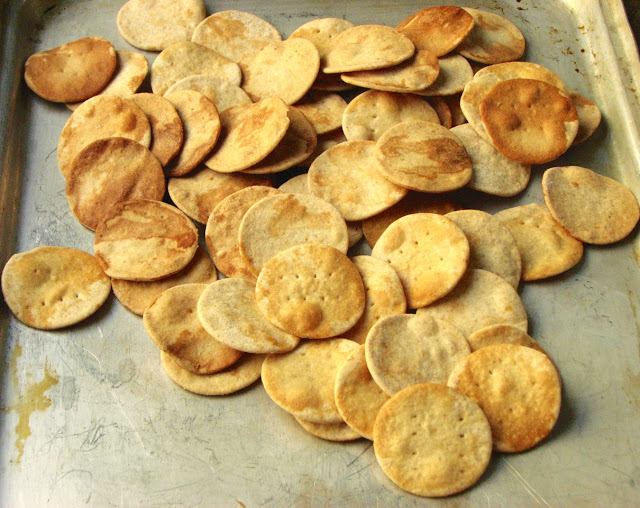
At this point you can either transfer sheet of dough to a baking sheet and use a pastry cutting wheel or sharp knife to quickly slice the dough into approximately 1 1/2-inch squares, cutting the whole sheet in one direction first, then the other, or you can use a round cookie cutter to cut the dough into rounds and transfer the rounds individually to a cookie sheet. Use the tines of a fork to prick each cracker several times.
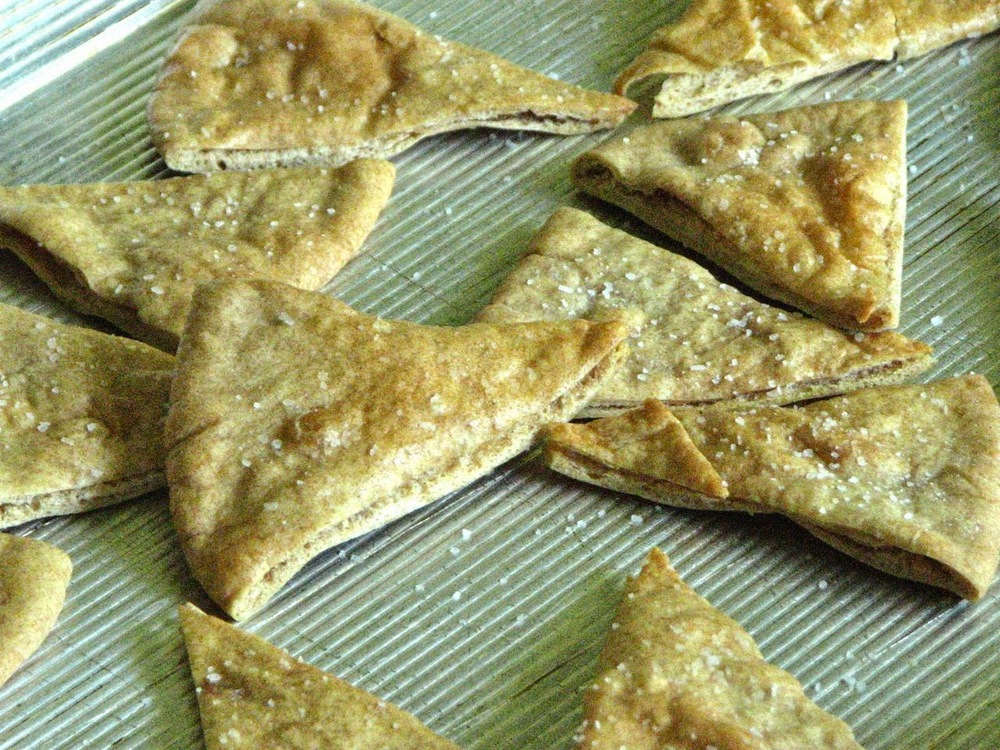
Bake for 10 to 15 minutes or until the crackers turn golden and are light brown around the edges. (You might need to bake the crackers on the inside of the sheet a little longer, because they will not brown as readily.) Keep on eye on the crackers towards the end of baking as they cab brown very fast. Transfer to a wire rack to cool.
Cool completely before serving or storing.