Thanksgiving 2014

I truly do love all holidays, but there is something special about Thanksgiving. Everyone gets together on the same day every year and stuffs themselves with turkey and all the trimmings. The camaraderie makes me smile, and the fact that the main focus of a lot of people (myself included) is the food makes me love the day even more. For one day I am not the only one doing all of the food talk. 

My sister Lara and I made the Thanksgiving meal for our family again this year. We have such a fun time doing it and have been thinking about it and preparing for weeks. Instead of going full out and roasting an entire turkey we decided to do something a little different this year. One of my biggest pet peeves about Thanksgiving is that the turkey hogs the oven for the entire morning and I can't use it for anything else. (I am jealous of everyone who has more than one oven in their house.) We decided to utilize the grill instead. And for a different spin on the traditional we skipped the whole turkey and decided to grill up a whole bunch of turkey kabobs. 

It turned out great! I loved not cooking an entire turkey, and it was fun to use the grill while standing in a bit of snow. An experience for sure. We tried to keep the sides simple and light as well because that's how we like to eat. Everything went off without a hitch, we were so happy with how it all turned out. I would definitely do it again next year!

As for the rest of the meal, it started off with some butternut squash soup with leeks and carrots, finished with a little yogurt for creaminess. Next, the salad was a spin on the Fuji apple chicken salad from Panera; we sliced up a few apples and dried them out for apple chips, toasted some pecans with a hint of cinnamon sugar, thinly sliced red onion, dried cranberries and some feta cheese rounded out the toppings. The mixed greens were dressed with a simple white balsamic, apple cider vinaigrette with honey and dijon. It was a fantastic salad, Panera sure knew what they were doing when they created it!

We also served some homemade bread and my favorite Clementine Brown Rice Salad. A few extras finished the meal off, a simple cranberry sauce as well as a yummy lemony sage yogurt sauce, both for dipping the turkey into if desired (which I did!). 

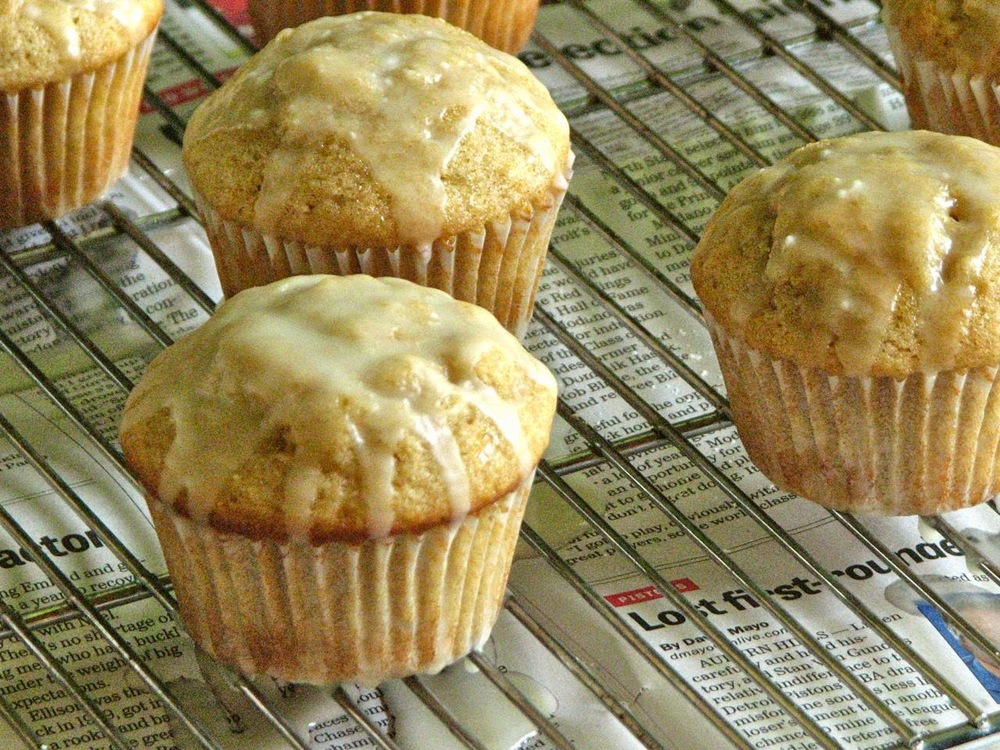
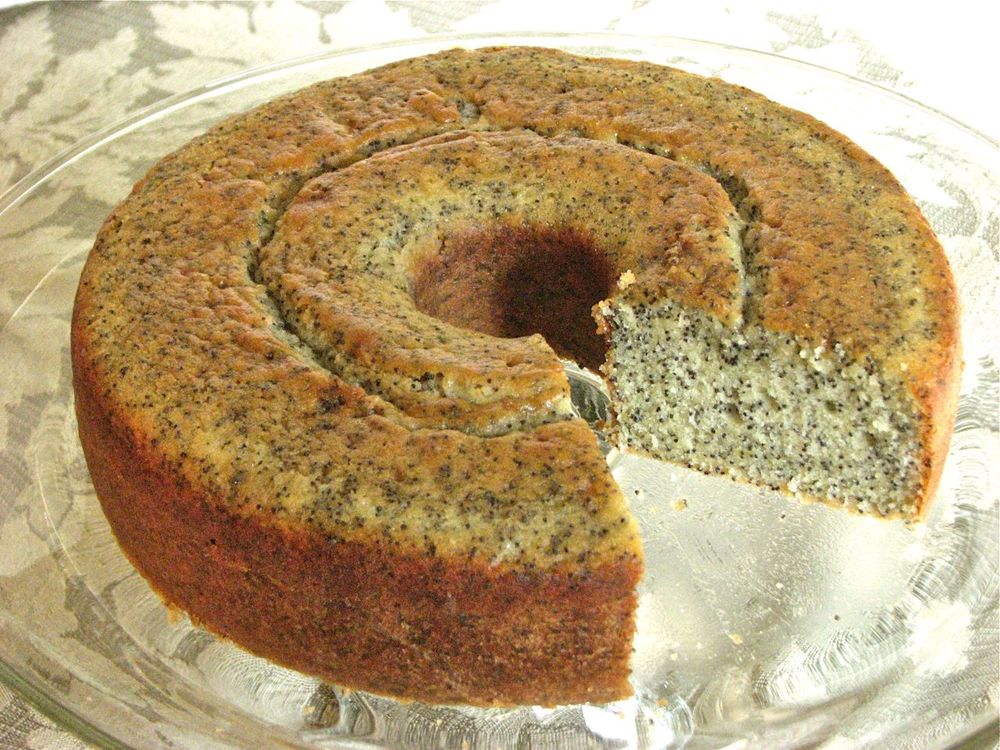
While we were finishing up the cooking we served our guests a simple platter of cheese and crackers with some grapes and carrots. Just a little something to whet the appetite. I made a simple sangria and had some apple cider for some festive drinks to go along with the meal. And finally, a pumpkin bundt cake added the finishing touch to a fantastic Thanksgiving. I was so glad to be able to share my love of cooking with my family on this festive day. I am so thankful for all my family members who were able to come and celebrate the holiday together, as well as for all the delicious food we were so privileged to eat. I am so blessed, and for that I am extremely grateful, all year long! God is good is an understatement.

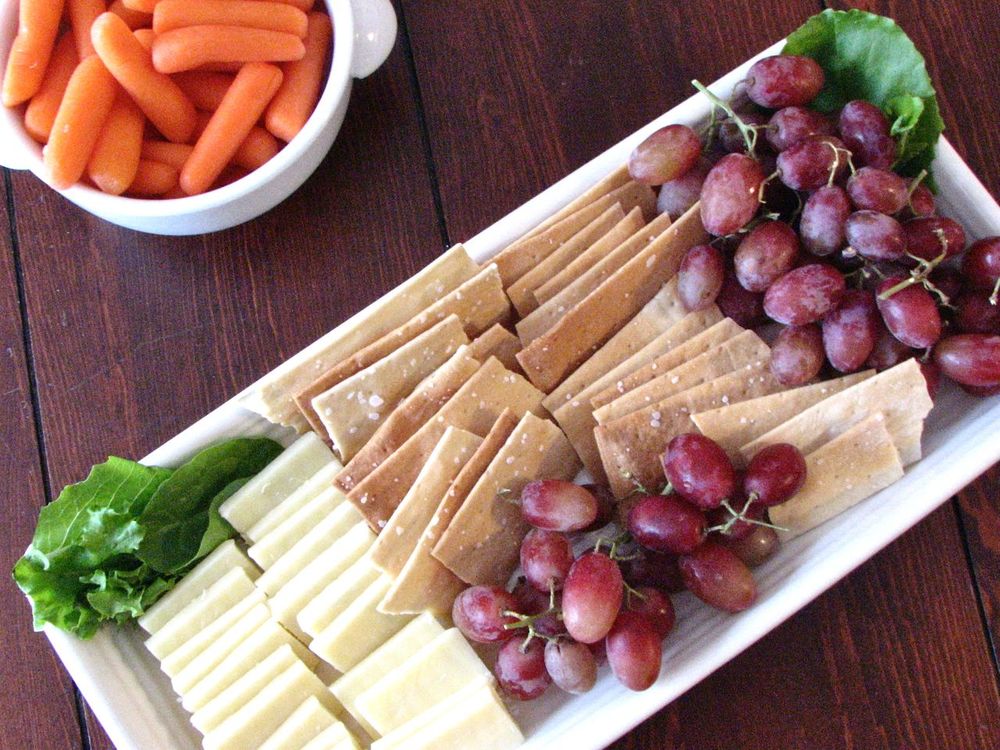
 Simple, yet scrumptious appetizer

 A little cold weather grilling never hurt anyone

 Plenty of drink options

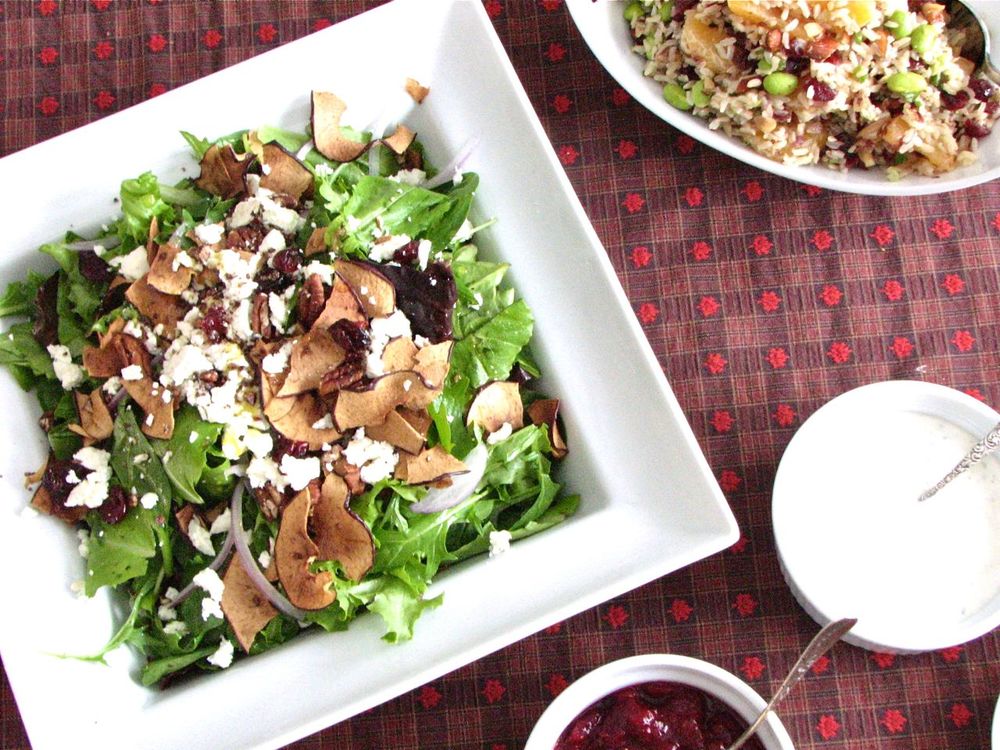
 Dried fruit, pecan and feta salad
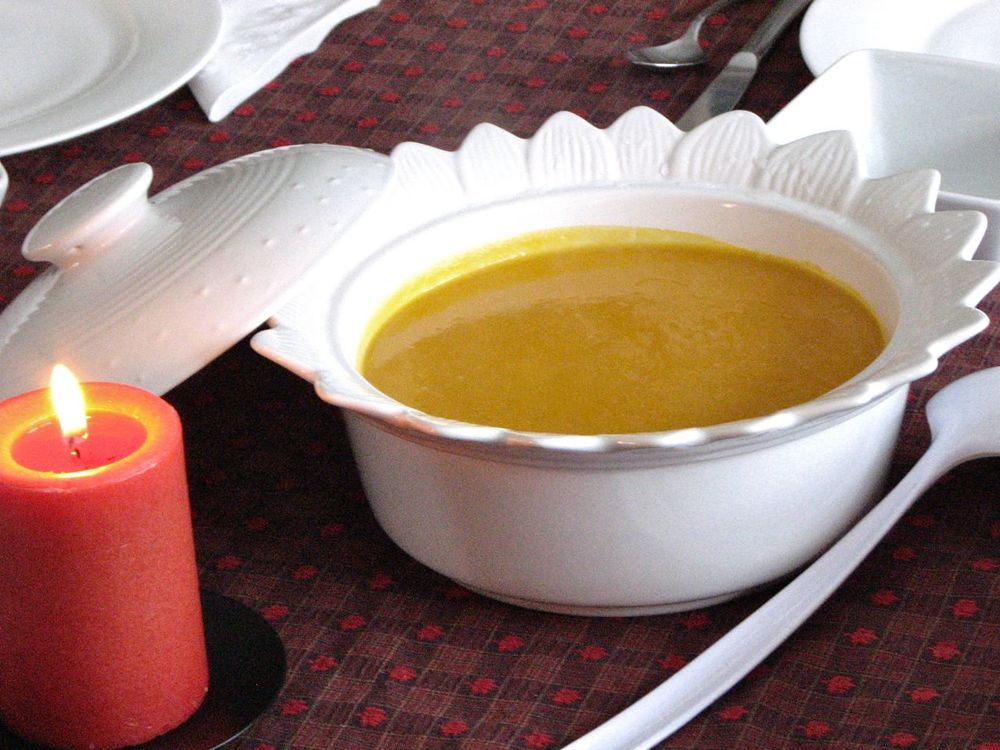
 Squash soup

And don't forget the turkey!

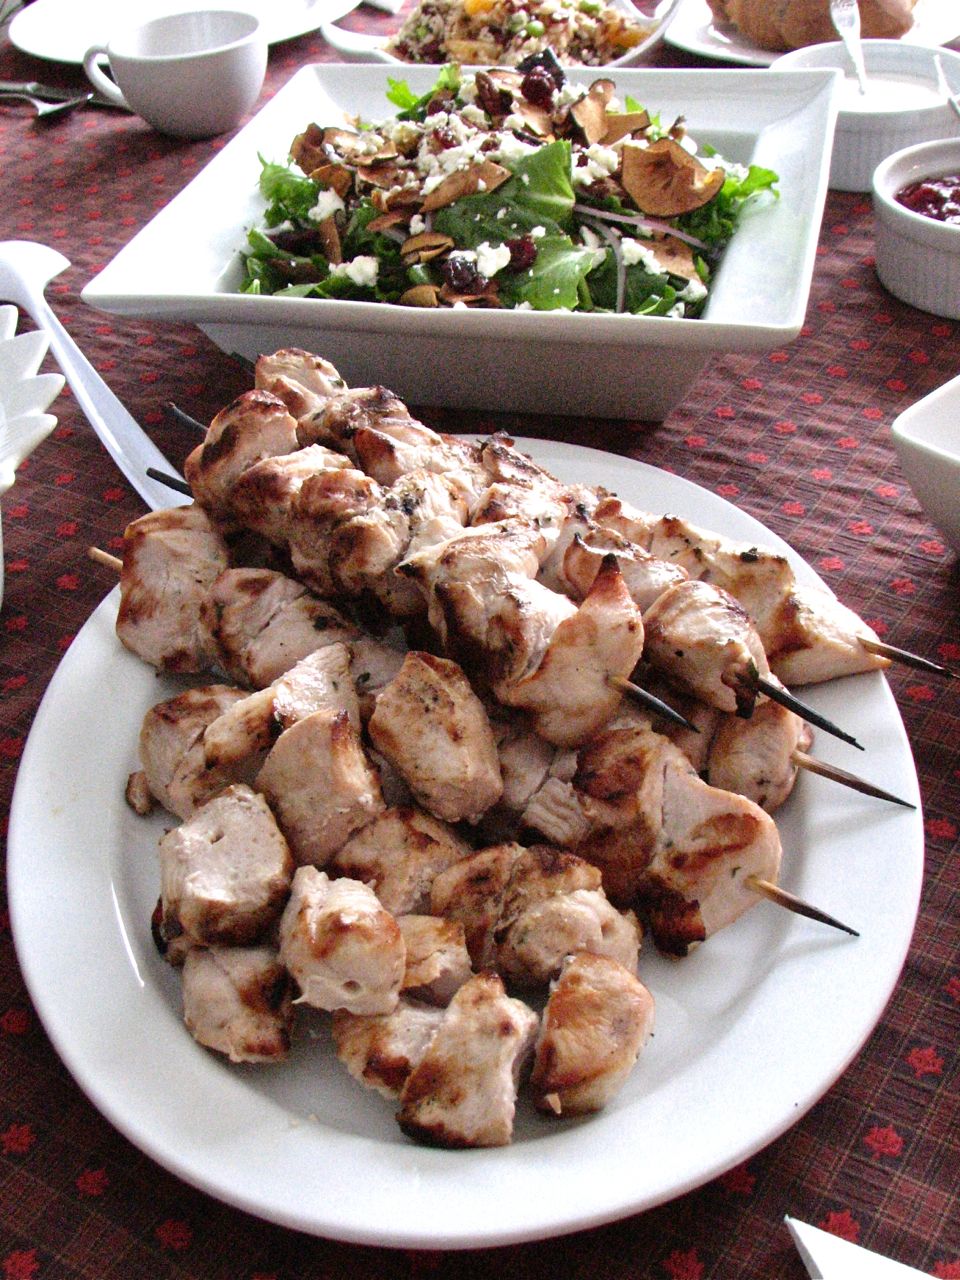
Turkey kabobs, my take on the traditional 

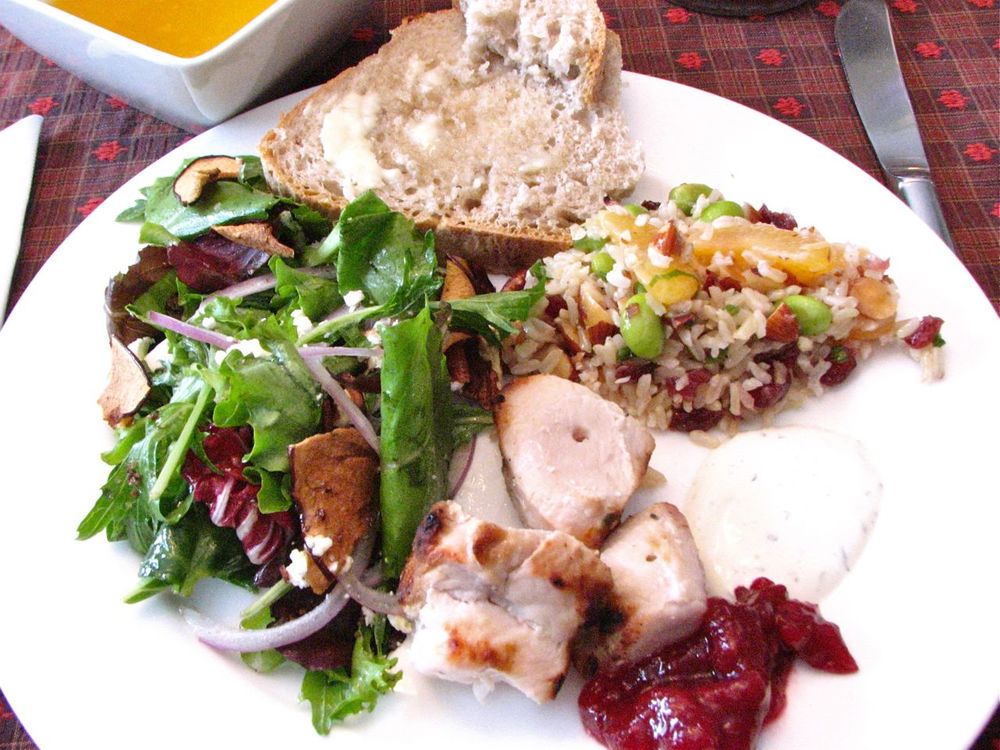
 This is what I like to see on Thanksgiving

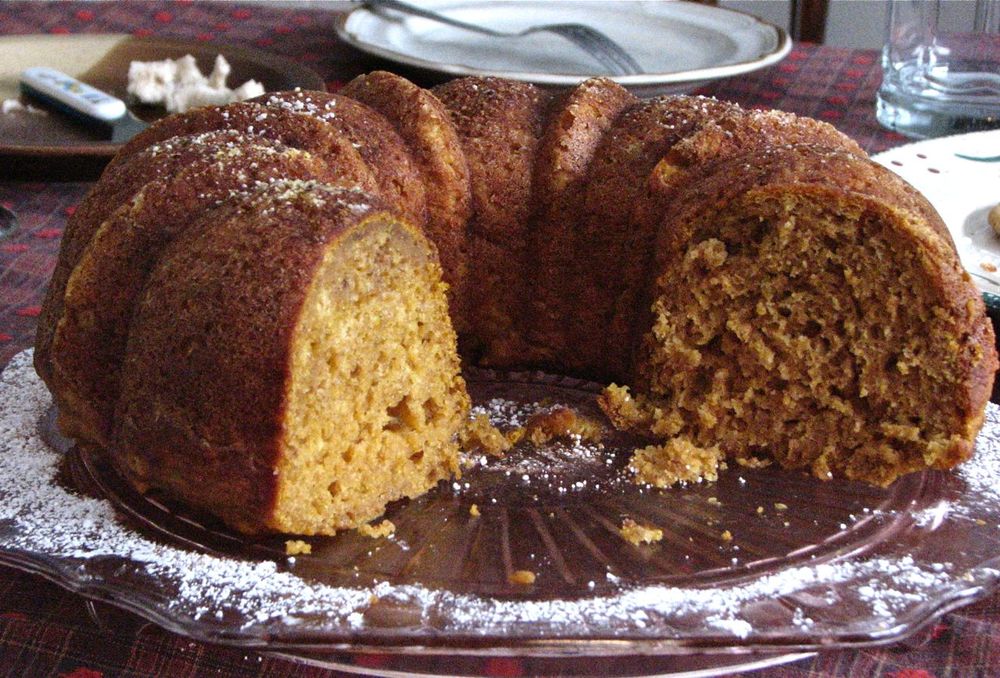
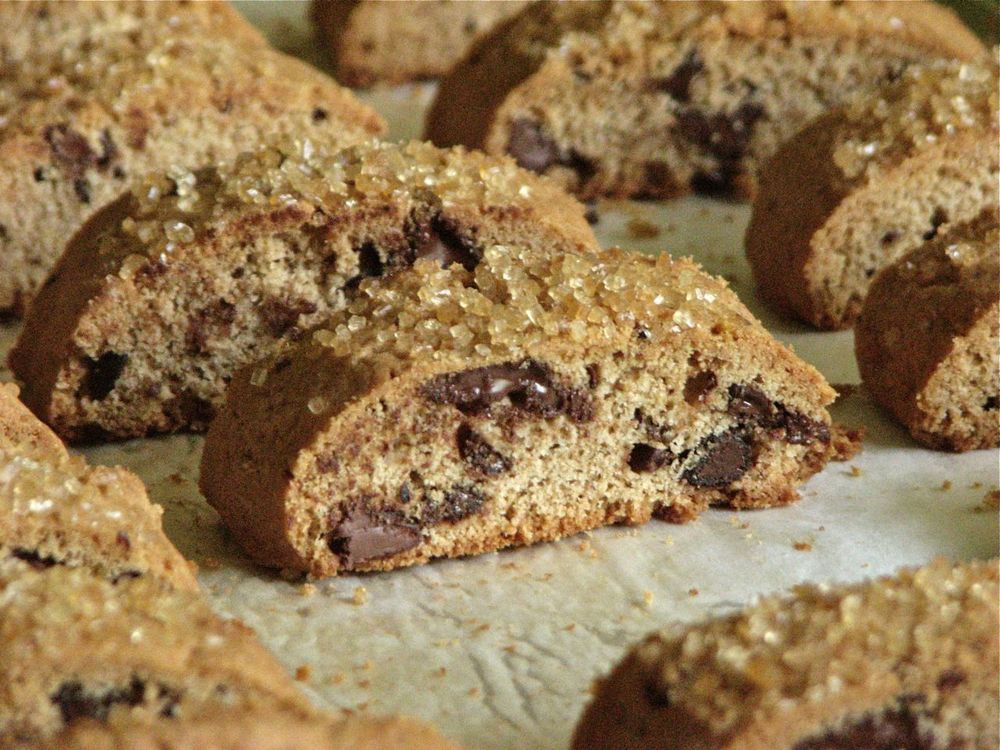
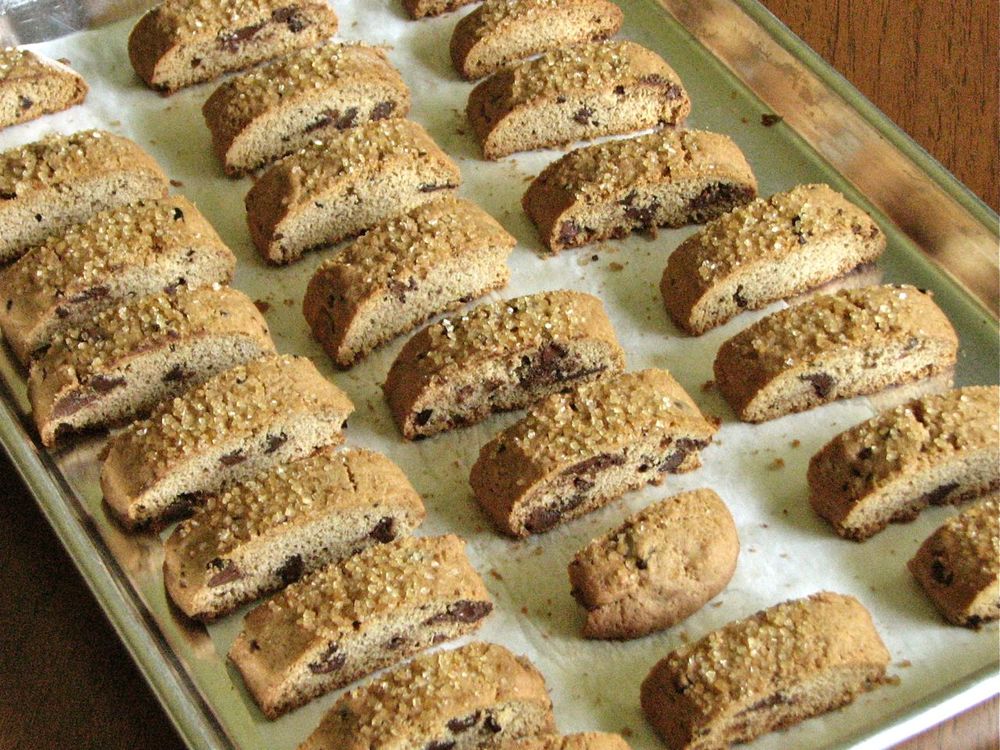
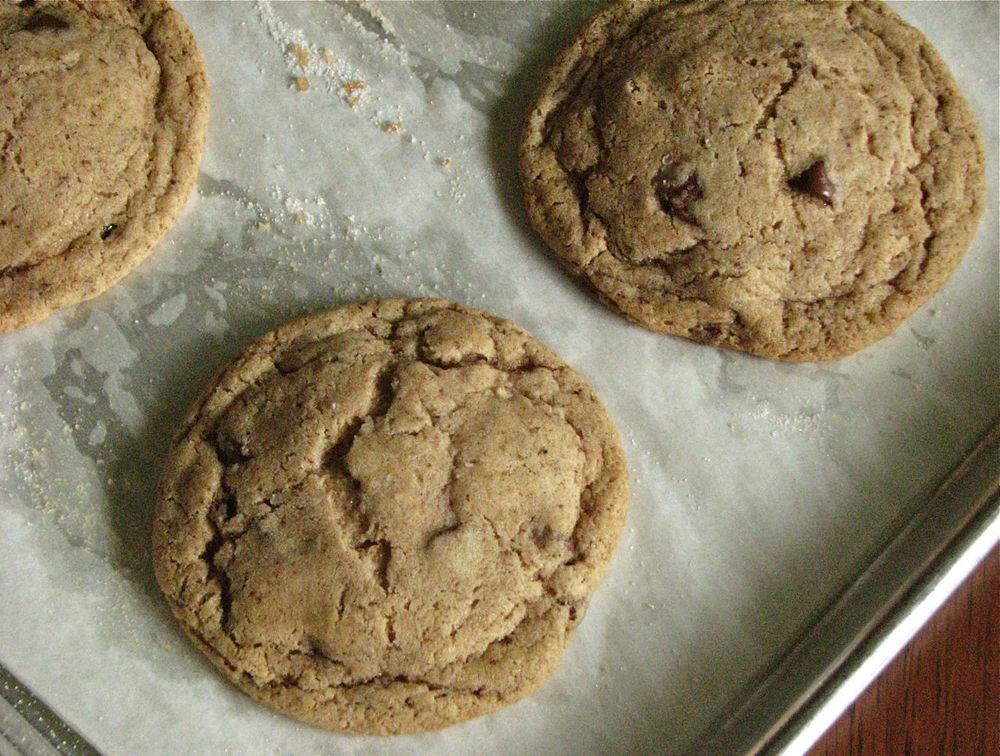
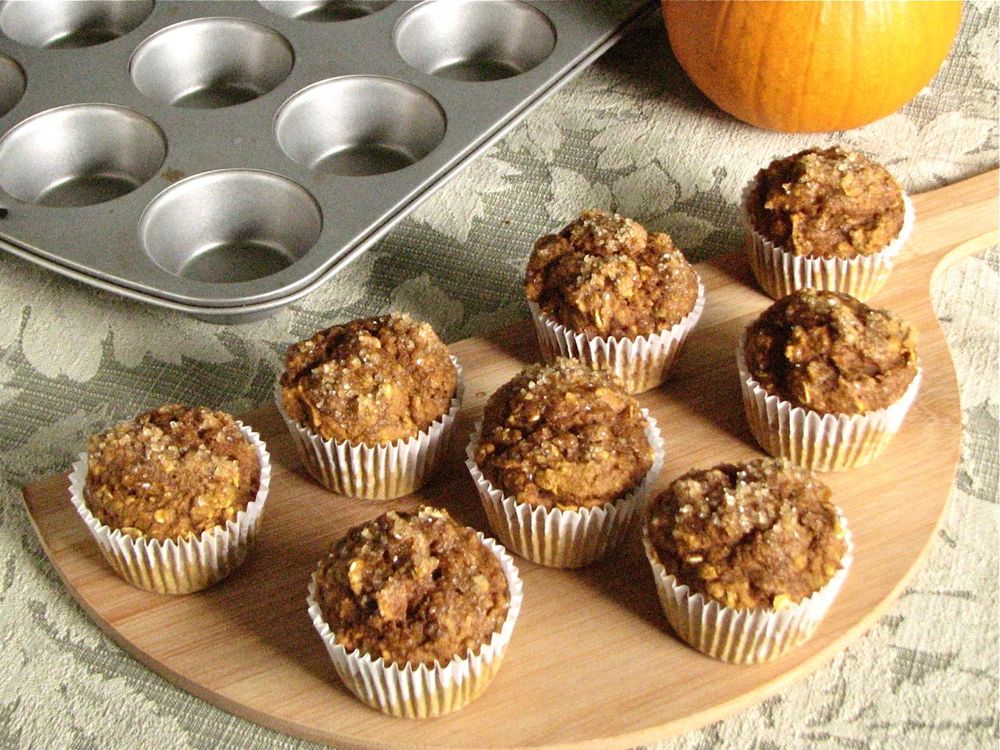
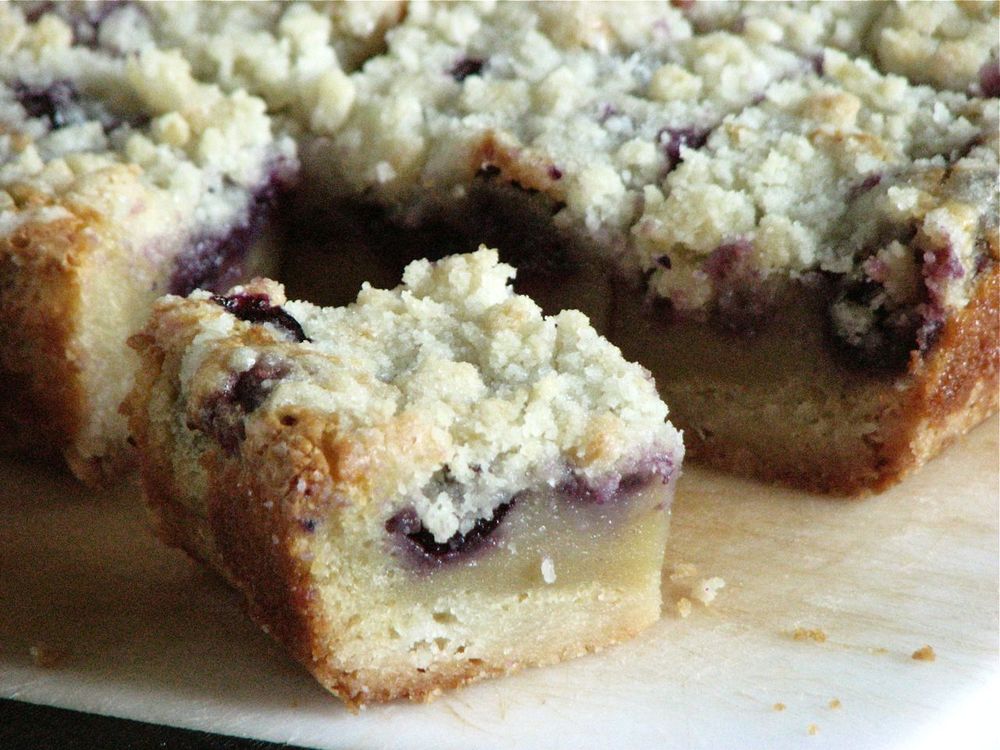
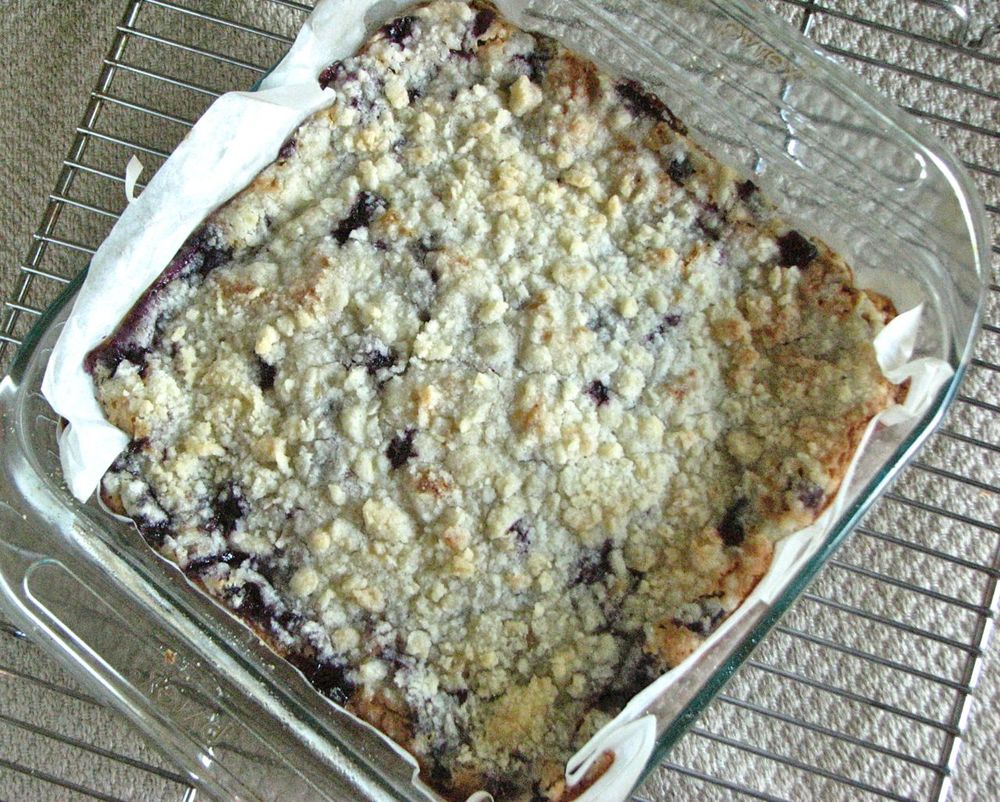
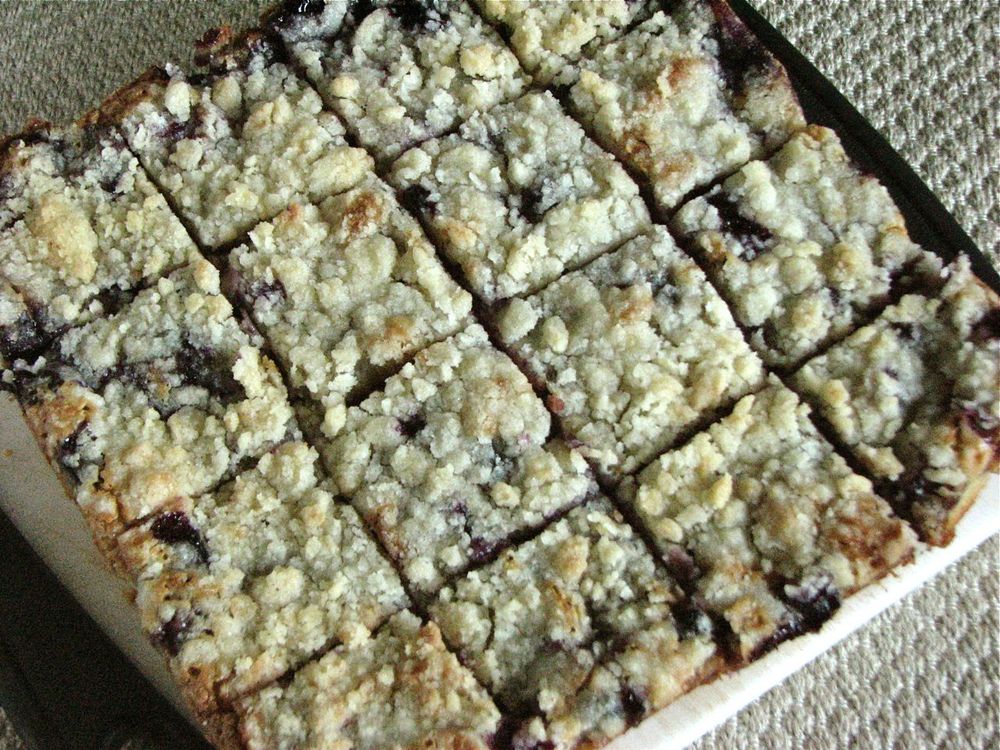
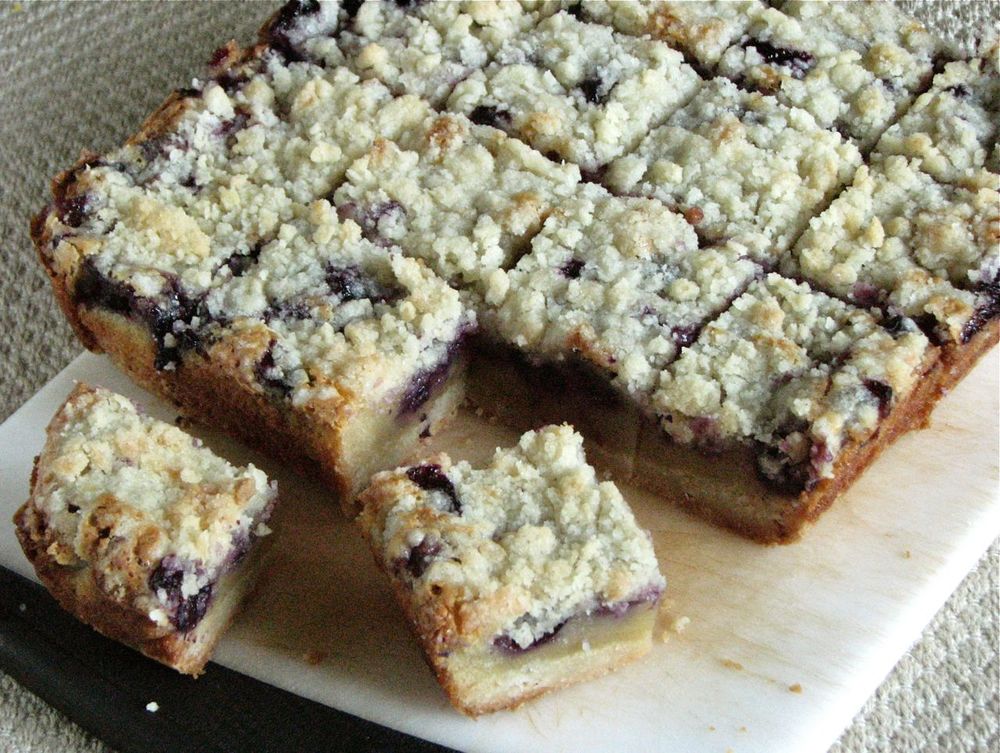
And never, ever forget about dessert

Chocolate Cocoa Nib Biscotti

It's time for another biscotti recipe. One of my favorite baked goods to make. I love the transformation from long, flat log of dough, into cute, crunchy little cookies. It amazes me every time. I also love how long they last in an airtight container in my cupboard. This is one of the few baked goods I make that I don't freeze right away. Because they are completely dried out they don't really go stale or lose their texture, at least not very fast anyway. 

This chocolate cocoa nib biscotti turned out perfectly. I decided to add a few cocoa nibs to the dough and I loved the combination with the chocolate chips. The cocoa nibs add a different flavor and texture to the cookie that really help them stand out. A hint of espresso powder in the dough complements the chocolate and brings all the flavors together into a perfectly balanced treat.

Don't worry if you don't have any cocoa nibs, the biscotti will still be wonderful without them, but if you happen to have some on hand I highly suggest the addition. The same with the espresso powder. You can really add whatever flavors you have on hand. Be creative and do what you like. Don't have espresso powder, how about some cinnamon instead, for that chocolate-spice mix? Have an orange lying in your fridge? Zest it up and throw it in for a wonderful chocolate orange combo. How about swapping out some or all of the chocolate for some dried fruit, or some chopped nuts, or both! Let your imagination go wild!

Chocolate Cocoa Nib Biscotti

Adapted from 

Deliciously Declassified

Ingredients

  • 1/2 cup (1 stick) butter, room temperature
  • 2/3 cup (4 1/2 ounces) brown sugar
  • 2 large eggs
  • 1 tsp vanilla extract
  • 1 cup all purpose flour 
  • 1 cup whole wheat flour
  • 1 1/2 tsp baking powder
  • 1/4 tsp salt
  • 1/2 teaspoon instant espresso 
  • 1/2-3/4 cup semisweet chocolate chips
  • 1-2 tablespoons cocoa nibs 
  • Turbinado sugar, for sprinkling on top

Directions

In a small bowl, whisk together the flours, baking powder, salt and espresso, set aside. 

In the bowl of a stand mixer fitted with the paddle attachment beat together the butter and sugar until light and fluffy. Add in the eggs, one at a time followed by the vanilla, mixing well after each addition.

Add the dry ingredients to the butter mixer in two parts, mixing until just combined after each addition. 

Mix in the the chocolate chips and cocoa nibs, if using. 

Split the dough in half, and shape each half into a long log, about 1 1/2 inches wide on a parchment paper lined baking sheet, leaving a little room between each log. Sprinkle the top of each log with turbinado sugar. 

Bake the cookies at 350°F for 25 minutes, until a light golden color. Remove from the oven and allow to cool for 30 minutes. Meanwhile, reduce the oven temp t o 300°F

After the 30 minutes, slice the biscotti to your desired thickness (I got about 25 cookies) and arrange the slices on the parchment lined baking sheet.

Bake for an additional 35-45 minutes, until biscotti are completely dried through. Cool on a wire rack and then store in an airtight container. 

Salted Chocolate Espresso Cookies

Chocolate chip cookies, always a winner and my go-to dessert when I'm stuck in a rut and can't decide what to make. Even though I think I have dozens of chocolate chip cookie recipes, and I think they are all delicious, it's always fun to try something new. When I saw these cookies they just called to me. The addition of a hint of espresso as well as some whole wheat flour sounded like the perfect combination of bitterness and nuttiness to help these cookies stand out. And I was right, another winner for my chocolate chip cookie collection. They turned out slightly soft and gooey in the center with a touch of crunch around the edge. I love the combination of espresso and chocolate that brings a bit of sophistication and complexity to a simple cookie. 

I didn't have a chance to chill the dough for these cookies before I baked them because I needed them quickly. Otherwise I always chill the dough which I think helps bring the flavor together and helps them bake up just a little bit nicer. No big deal if you don't have the time, but always a nice touch. It would probably make them bake up a bit puffier, not spread quite as much. But either way, they will be delicious!

Salted Chocolate Chunk Cookies
From Pastry Affair
Ingredients

  • 1/2 cup (113 grams, 1 stick) butter, room temperature

  • 2/3 cup (150 grams) brown sugar, packed

  • 1/3 cup (75 grams) granulated sugar

  • 1 large egg

  • 1 tablespoon vanilla extract

  • 1 1/2 teaspoons espresso powder

  • 1 teaspoon baking soda

  • 1/4 teaspoon salt

  • 1 cup (125 grams) all-purpose flour

  • 2/3 cup (88 grams) whole wheat flour

  • 4 ounces (113 grams) bittersweet chocolate, coarsely chopped

  • Fleur de sel or flaked sea salt, for sprinkling (not table salt)

Directions
Preheat oven to 350 degrees F (180 degrees C).

In a large mixing bowl, beat together the butter and sugars until light and fluffy. Add the egg and vanilla extract and continue beating until smooth. Gradually add the espresso powder, baking soda, salt, and flours, mixing until uniform. Stir in the chopped chocolate chunks.

Form cookies using 2 tablespoons of cookie dough (or 1 tablespoon for standard sized cookies). Drop onto a cookie sheet and sprinkle lightly with fleur de sel. Bake for 10-12 minutes, or until lightly browned. Allow the cookies to rest on the cookie sheet for a few minutes before transferring to a cooling rack to cool completely.

Yields: 9 large (75 gram) cookies

Chai-Spiced Pumpkin Oatmeal Muffins

I am a complete morning person. I love waking up early and getting my workout out of the way first thing in the morning. Then it's time for breakfast, one of my favorite parts of the day. Relaxing over a mug of coffee and some sort of baked good along with some fruit or a fruit smoothy. It doesn't get much better than that. I hate having to rush around in the morning shoving some breakfast down as I walk out the door, it just doesn't cut it for me. This means I always have something in my freezer, most often muffins or slices of a quickbread, ready and waiting for me. All I have to do is pull one out the night before and I'm done, ready for the next day. 

Last week the freezer was running a little low on baked goods so I decided it was time for some pumpkin muffins. Sometimes I go all out and bake something rich and decadent, but this time I decided to go with something on the healthier side and I baked up these spiced pumpkin muffins with oats. I really liked how they turned out, moist and full of spicy fall flavors. They are hearty and dense, most definitely not decadent, but a wonderful way to start a cold fall morning off right. 

These muffins are definitely not sweet, but they are incredibly moist and flavorful. If you're looking for something a little sweeter, I would advise adding some chopped chocolate or some dried fruit (cranberries or raisins, etc.), or even increasing the sugar a bit, there isn't much in them as written. I don't mind this at all, but others might need a bit more sweetness to really be happy. But give them a try and see what you think. Play around with the recipe and make it your own. I do that all the time, and it makes baking even more fun!

Chai-Spiced Pumpkin Oatmeal Muffins

Adapted from 

Ambitious Kitchen

Ingredients

  • 1 1/2 cups whole wheat pastry flour
  • 1 cup old fashioned oats
  • 1 1/4 teaspoons baking powder
  • 3/4 teaspoon baking soda
  • 1/4 teaspoon salt
  • 3/4 teaspoon cinnamon
  • 1/2 teaspoon cardamom
  • 1/2 teaspoon ginger
  • 1/2 teaspoon cloves
  • pinch of nutmeg
  • 1 cup (8 oz) canned pumpkin 
  • 1/4 cup dark brown sugar
  • 1 large egg
  • 1/3 cup unsweetened applesauce
  • 1 tablespoons olive oil 
  • 2 teaspoons vanilla extract
  • 1 cup milk

Directions

Preheat oven to 375 degrees F. Line 12 muffin tin with paper cups or spray with nonstick spray. If you use muffin cups, make sure to spray the inside of the cups.

In a large bowl whisk together flour, oats, baking powder, baking soda, and salt. Add in ginger, cinnamon, cardamom, cloves, and a pinch of nutmeg; whisk again.

In a separate large bowl combine pumpkin, brown sugar, egg whites, applesauce, oil, and vanilla; mixing until smooth. Slowly whisk in milk.

Add wet ingredients to dry ingredients and mix until just combined. Do not over mix! Bake for 16-18 minutes or until toothpick inserted into center of muffins comes out clean. Cool for approximately 10 minutes before transferring to wire racks to finish cooling.

Yields: 12 muffins

Maple Muffins

Growing up in my house, pancakes and waffles were served with a side of Mrs. Butterworth's syrup, and I loved the stuff. Super thick and ubberly sweet, I loved dousing my fluffy stack of pancakes with this delicious liquid sugar. In later years my mom started making her own syrup with a bunch of corn syrup, plenty of butter, and some maple flavoring and I liked this concoction even better; thick, sweet and buttery. However, as time went on, my palate improved and my love of real foods and simple ingredients became a passion, and I knew it was time for a change. 

Then, a few years ago I went to a sugar bush in the early spring and saw the whole process of maple syrup processing, from tapping the trees to getting the sap to the sugar house to boiling the sap down into syrup, I was in love. I found the whole process completely fascinating. It is amazing how a benign looking watery liquid that drips out of a tree can be transformed into liquid sugar with some time and some heat. From that day forward, I decided to only use real maple syrup, I'm never going back. 

Real maple syrup is expensive, I know that, and because of that I try to be sparing, and use it wisely. This recipe is a bit of a splurge, using 1 1/2 cups of real maple syrup, but it is completely worth it for an occasional and very special treat. 

I found that calling these "muffins" may be a bit of a misnomer. After eating through the entire batch I came to the conclusion that they are really more like cake, but lets not worry about symantics. What matters is that they are incredibly tender and full of flavor. The maple flavor is surprisingly subtle considering how much maple syrup is in them, but it is perfect, not overwhelming and perfectly balanced. When I made these, I didn't have any walnuts but they would be a fantastic addition and would really round out the flavor and texture of these muffins perfectly, I'm sure of it. 

So if you're looking for an extra special morning treat I highly recommend this recipe. They would also be wonderful as cupcakes, topped with a little maple cream cheese or buttercream frosting. Versatile, delicious and unique, you really must give these a try.

Maple Muffins

Adapted From

Sarabeth's Bakery: From My Home to Yours

Ingredients

  • Softened unsalted butter, for the pan
  • 2¼ cups unbleached all-purpose flour
  • ¾ cup whole wheat flour
  • 1 tbs baking powder
  • ½ tsp fine sea salt
  • 1½ cups pure maple syrup, preferably Grade B
  • 12 tbs (1½ sticks) unsalted butter, melted
  • ½ cup whole milk
  • 1 large egg plus 1 large egg yolk, at room temperature
  • 1 cup coarsely chopped walnuts, toasted

Directions

Position a rack in the center of the oven and preheat to 400°. Line muffin pan with muffin liners or alternatively, brush the insides of 12 muffin cups with softened butter, then brush the top of the pan to ensure that the muffins don't stick to the top when they rise.

Whisk the unbleached flour, whole wheat flour, baking powder, and salt together in a medium bowl. Whisk the maple syrup, melted butter, and milk together in another bowl, then whisk in the egg and yolk. Add the dry ingredients to the wet ingredients and stir just until smooth. Stir in the walnuts. Let the batter stand so the dry ingredients can absorb the liquids, about 5 minutes.

Using a 2½-inch-diameter ice cream scoop, portion the batter, rounded side up, into the prepared muffin cups. Bake for 10 minutes. Reduce the oven temperature to 375° and bake until the tops of the muffins are golden brown and a wire cake tester inserted into the center of a muffin comes out clean, about 15 minutes more.

Cool in the pan for 10 minutes. Remove the muffins from the pan and cool completely.

Half a recipe makes 8 or 9 muffins

Blueberry Cobbler Bars

October is here, fall has officially begun, the weather is getting colder by the day, the trees are finally changing color, and I even pulled out my winter jacket to go to the farmers market yesterday morning! Fall recipes are everywhere, and pumpkin is the main topic on seemingly every food blog. Before I jump on the band wagon with some more fall-ish recipes, I have one more more summery bar that I just had to share. I saw these blueberry cobbler bars a few months ago, and knew I had to get them made while blueberries were still around. A sweet, buttery crust covered in a sour cream custard and tons of fresh blueberries, finished off with more buttery crumbles. It's a quick and easy recipe, full of freshness and reminiscent of summer. If you have any summer blueberries floating around your freezer that just want to be used, this is the perfect opportunity. 

With the butter crust and topping, and sour cream in the custard filling, these bars are quite rich so you don't need to cut them very big at all. But cut into cute little bite size squares these bars are a fun and delicious snack to bring you back to those mid July days full of fresh berries and fresh flavors. 

Blueberry Cobbler Bars

From 

Tidy Mom

Ingredients

Crust & Topping

  • 1 1/2 cups all-purpose flour
  • 3/4 cup sugar
  • 1/8 tsp salt
  • 3/4 cup (1 1/2 sticks) butter, chilled

Filling

  • 2 eggs
  • 1/2 cup brown sugar
  • 1/2 cup granulated sugar
  • 1/2 cup sour cream
  • 6 tbsp all-purpose flour
  • pinch of salt
  • 1/2 tsp vanilla extract
  • 8-oz fresh blueberries, rinsed and drained

Directions

For crust/topping:

Preheat the oven to 350 degrees. Line a 9×9 or 8x8 inch baking pan with parchment & give a light spritz with cooking spray. Set aside. 

Combine the flour, sugar, and salt in a medium bowl. Cut the butter into 1/2-inch cubes, and add to the flour mixture. Using a fork for pastry cutter, cut the butter in until mixture resembles coarse crumbs.

Remove 3/4 cup of the mixture to use as the topping & set aside. Press the remaining mixture into the bottom of prepared pan, and bake for 10-12 minutes. Cool for 10-15 minutes.

For filling:

Whisk the eggs in another medium bowl. Add the granulated and brown sugar, sour cream, flour, salt, and vanilla extracts. Whisk well. Gently fold in the berries and pour the mixture over the crust. Sprinkle the remaining flour mixture evenly over the filling. Bake 45-55 minutes. Cool for at least 1 hour before cutting & serving

Simple Maple Granola

I've been making my own homemade granola for years now and I absolutely love it. I see absolutely no reason to buy a bag of granola at the store. First of all it's expensive, way more expensive than oats and sugar need to be. Second, it's never anywhere near as good as what I can make at home, customizing to my own individual preferences. My Homemade Granola Bars are still at the top of my list of favorite recipes, and they are the most popular post on this blog by far. If you've ever wanted to try making your own crunchy granola bars I highly recommend you give this recipe a try! 

I've also done Chocolate Granola, and Spiced Pumpkin Granola, both fun, a little different, and delicious. The pumpkin granola would be perfect to make right now, just as pumpkin baking season is taking off!

Recently though, I was looking for something simple, an easy recipe that I could whipped together quickly, and that was a little on the healthier side so I could eat it as a snack without feeling too guilty. A lot of granola recipes delicious, but they have tons of sugar and fat in them. I wanted something a little lighter. I decided to try out The Smitten Kitchen Cookbook's Big Cluster Maple Granola with a few adjustments to fit my needs. It's a winner folks! Just what I was looking for. Light and simple and perfect for snacking!

This recipe is actually similar to my Maple Almond Granola, also a great recipe, but was just a little closer to what I wanted this time. Like I said, I made a few changes to the recipe so it was a little more my style. I cut out the coconut and replaced it with extra oats because I don't usually have coconut on hand and I'm not a big fan of it in my granola anyway. I also cut back slightly on the sugar because I was looking for something that wasn't too sweet and I added an extra egg white because it seemed like the oats needed a little more moisture to hold them together.

So when all was said and done I've got new favorite snack. Lightly sweetened, crunchy and toasty granola to sprinkle on my yogurt, eat as cereal with some milk, or snack with out of hand when my mouth is craving something sweet. I've made this recipe several times now and it's still making me happy every time.

Lightly Sweetened Maple Granola

Adapted From

The Smitten Kitchen Cookbook

via 

Serious Eats

Ingredients

  • 8 cups (640 grams) old-fashioned rolled oats
  • 1 cup (~100 grams) walnuts, almonds or pecans, coarsely chopped
  • 1/2 cup (50 grams) wheat germ (toasted if you'd like)
  • 4 tablespoons olive oil
  • 1 teaspoon coarse salt
  • 2/3 cup maple syrup
  • 1/2 teaspoon ground cinnamon
  • 3 large egg whites
  • 3 cups (430 grams) dried cherries or another dried fruit (optional)

Directions

Preheat your oven to 300 degrees. Combine all ingredients but the egg whites and dried fruit (if using) in a large bowl, tossing to coat evenly. Whisk the egg whites in a small bowl until frothy. Stir into the granola mixture, distributing it throughout. Spread it in a single layer on one or two baking sheets.

Bake for 55 to 60 minutes. About halfway through the baking time, use a large spatula to turn over sections of the granola carefully, breaking them up as little as possible. Rotate the pan if granola is baking unevenly. When it is evenly browned and feels dry to the touch, transfer the pan from the oven to the cooling rack (make sure it's completely dry before you take it out, you don't want soft granola, you can add more time if you need too). Cool completely. Sprinkle in dried fruit if using.

Store granola at room temperature in an airtight container. It lasts for several weeks. 

Lemon Poppy Seed Cake

I baked this lemon poppyseed cake on a whim one afternoon a few weeks ago, I knew it would be good, but I didn't know just how good. It turned into one of the best things that I have baked this year without a doubt. I'd had the recipe pinned for quite a while now, but it was one of those things that I never did anything about, just looked at the pretty picture and thought, "that looks good." Then, a few weeks ago there was a ton of yogurt in my fridge for whatever reason, and I knew I wouldn't be able to eat it all before it started to go bad. That's when I started brainstorming ideas for using it up, ideas that consisted of mostly baked goods to be honest! This cake originally called for sour cream, not yogurt, but I decided to give it a try anyway. Besides, cutting a few calories sounded like a good idea.

Believe me, I didn't even notice the missing fat. There's plenty of butter in this cake to begin with, so no worries there! Anyway, this cake baked up beautifully and was absolutely delicious, light and moist, packed with poppy seeds and a hint of lemon. The perfect everyday cake to keep on your counter for snacking all week long. It took Lara and I a week to finish it off, and even on the 7th day it was still tasting pretty darn good, definitely not too difficult to force down. I'm still thinking of this cake weeks later, and waiting, not too patiently, for the next time I can find an excuse to make it. Maybe I need to head back to the store and "accidentally" buy a little too much yogurt....

Lemon Poppyseed Cake
Adapted from Gourmeted
Ingredients
For the Cake:

  • 2 large eggs, at room temperature
  • 1 large egg yolk, at room temperature
  • 3/4 cups and 1 tablespoon Greek yogurt (or sour cream)
  • 1 ¾ teaspoons vanilla extract
  • 2 ½ cups (250 grams) cake flour (or all purpose flour)
  • 1 ¼ cups sugar
  • 1 ½ teaspoons baking powder
  • ½ teaspoon baking soda
  • ½ teaspoon salt
  • 2-3 teaspoons loosely packed lemon zest, finely grated (you can use up to 5 teaspoons if you want a stronger lemon flavor)
  • 1/3 cup poppy seeds
  • 1 ¾ sticks (14 tablespoons or 200 grams) unsalted butter at room temperature

For the Syrup:

  • ¼ cup sugar
  • 3 tablespoons water
  • 1/8 teaspoon almond extract

Directions
Butter and flour a metal fluted tube pan and preheat the oven to 350°F 

Whisk together whole eggs, yolk, ¼ cup sour cream, and vanilla in a medium bowl until just combined.

Mix the flour, sugar, baking powder, baking soda, salt, lemon zest and poppy seeds in the bowl of a stand mixer fitted with a flat beater, on low speed for 30 seconds. Add butter and remaining sour cream and continue to mix on low speed until just blended. Increase to medium speed and beat for another 1 ½ minutes. The batter will be light in color.

Scrape down the sides of the bowl and re-start the mixer on low speed. Add half of the egg mixture and beat on medium speed for 30 seconds, do the same for the remainder of the mixture. Transfer the batter into the prepared tube pan and level the surface with a small spatula.

Bake for 45 to 55 minutes, or until a cake tester inserted into the lowest of the tube comes out clean and the cake springs back when pressed lightly.

To make the syrup: While the cake is baking, combine sugar and water in a small microwavable bowl. Heat in the microwave for about 30 seconds and stir until the sugar is dissolved. Add in the almond extract and set aside. 

Once the cake is done, place the pan on a wire rack. Poke the cake all over using a thin skewer and brush it with a third of the syrup. Let the cake cool for 10 minutes before inverting onto a serving plate. Brush the entire surface of the cake with the remaining syrup.