Christmas Cookies, 2013 Edition
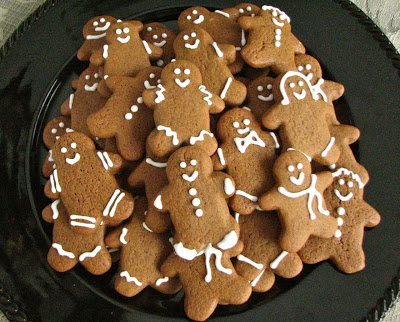
Merry Christmas everyone! I had to put up a quick Christmas post today to share the annual Delectably Mine Christmas cookies. Once again my sister gets almost all the credit. She was the baker and artist in charge of all the sugar cookies, baking and decorating. I was in charge of baking the gingerbread men, but I asked Lara to do a little quick decorating for me once they were done baking since she's had a lot more practice than me and could whip them out quickly. All in all I think they once again turned out great. I hope you all have a wonderful day!

When Lara showed me the idea for reindeer Christmas cookies we both decided that they were happening this year. They were just too cute to pass up. In case you didn't notice, I certainly didn't, you don't need a special cookie cutter for the reindeer, all you need is a gingerbread man cutter that you flip upside down. Once it's decorated you can't tell the difference! You can find a great tutorial for these cookies at Sweet Sugar Belle. She has such amazing ideas, this was definitely another winner!


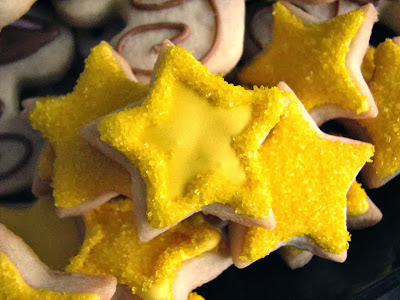
Vanilla Almond Sugar Cookies and
Royal Icing
Recipes can be found here
————————————————
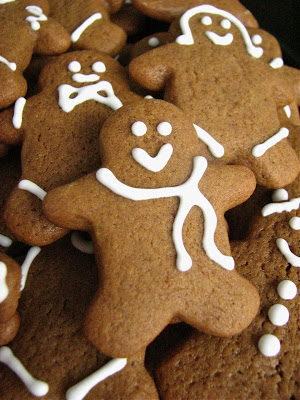
Gingerbread Cookies
From King Arthur Flour
Ingredients
3/4 cup unsalted butter
3/4 cup brown sugar, packed
3/4 cup molasses
1 teaspoon salt
2 teaspoons cinnamon
2 teaspoons ground ginger
1/4 teaspoon allspice or cloves
1 large egg
1 teaspoon baking powder
1/2 teaspoon baking soda
3 1/2 cups flour
Directions
In a saucepan set over low heat, or in the microwave, melt butter, then stir in the brown sugar, molasses, salt, and spices. Transfer the mixture to a medium-sized mixing bowl, let it cool to lukewarm, and beat in the egg. Whisk the baking powder and soda into the flour, and then stir these dry ingredients into the molasses mixture. Divide the dough in half, and wrap well. Refrigerate for 1 hour or longer.
Preheat your oven to 350°F. Get out several baking sheets and line with parchment. Once the dough has chilled, take one piece of dough out of the refrigerator, and flour a clean work surface, and the dough. Roll it out as thin or thick as you like; for slightly less crisp cookies, roll it out more thickly. I like mine gingerbread nice and soft, so I rolled them quite thick.
Cut out shapes with a cookie cutter. Transfer the cookies to cookie sheets. Bake the cookies just until they're slightly brown around the edges 8 to 12 minutes, or until they feel firm. Let the cookies cool on the baking sheets for several minutes, or until they're set. Transfer them to a rack to cool completely. Repeat with the remaining dough.
Once cool, decorate the cookies with Royal Icing or whatever frosting you prefer.