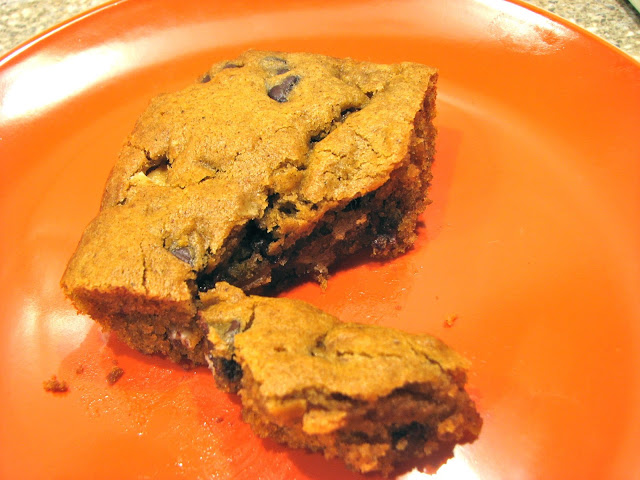
Pumpkin Chocolate Chip Squares
Time for round two of the pumpkin recipes. It's the fall so I think two pumpkin recipes in a row is perfectly acceptable. Since I had some leftover pumpkin puree from the pumpkin bundt cake cake I just made I decided that I was obligated to make something else. When I saw the recipe for these bars they just sounded good. Chocolate and pumpkin is one of my favorite combinations so I was sure this recipe would be a winner. I was definitely right. I know it may not look or sound all that exciting, it's just a bar, but don't be fooled by it's humble appearance. This bars turned out even better than I had hoped. The pumpkin leant it's characteristic mild flavor and moistness to each bite, the two kinds of chocolate were bursts of delicious sweetness, and the fall spices warmed the whole thing up. A perfect combination.
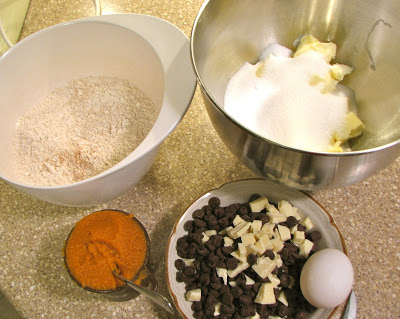
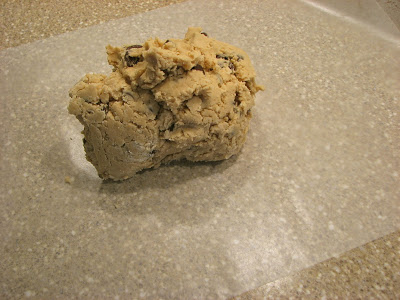
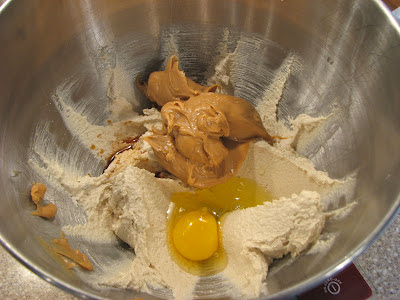
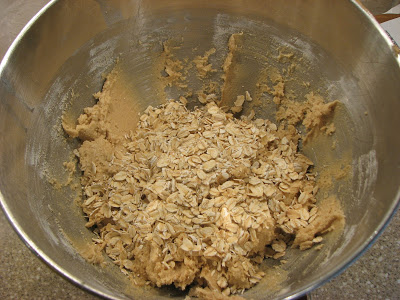
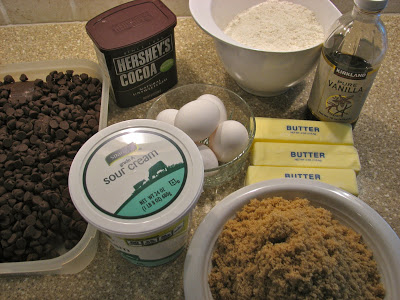
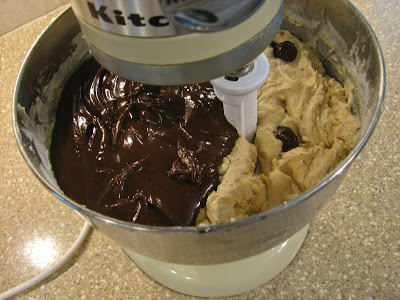
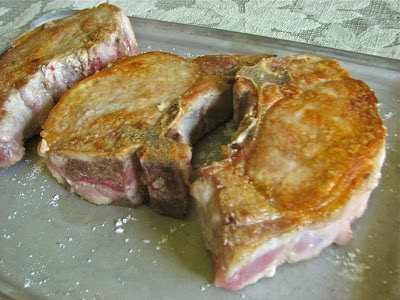
The ingredients, ready to go
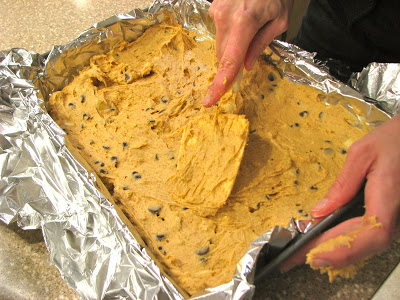
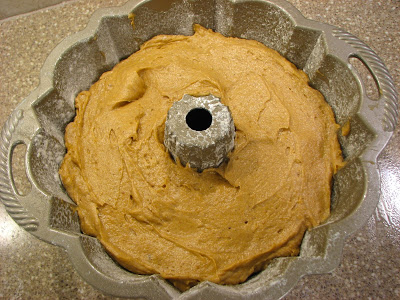
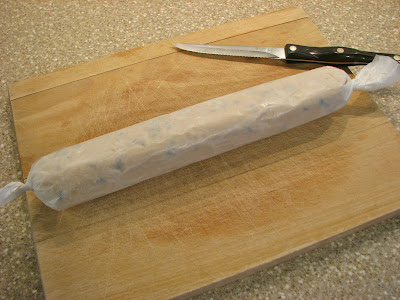
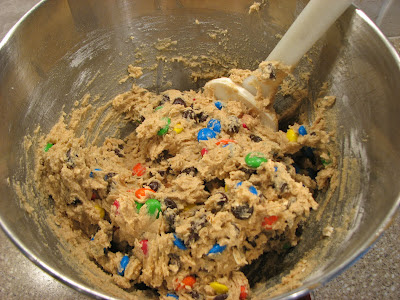
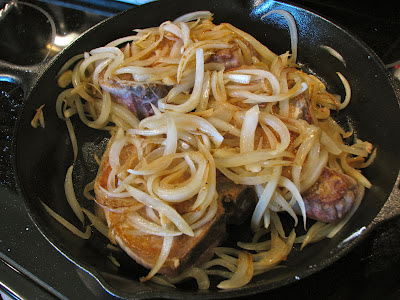
Spread the batter in the pan
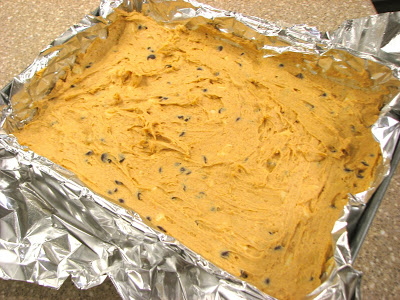
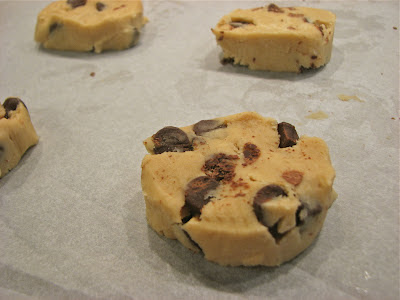
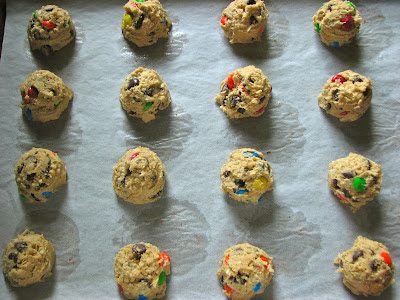
Ready for the oven
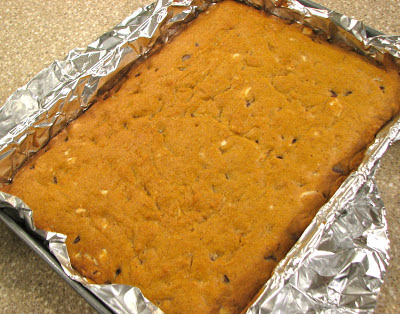
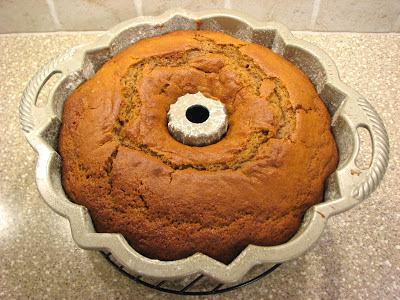
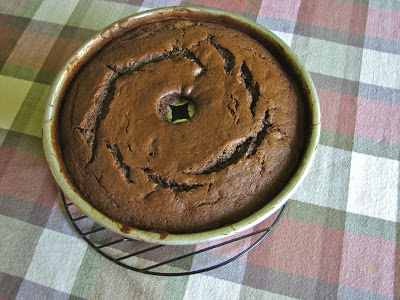
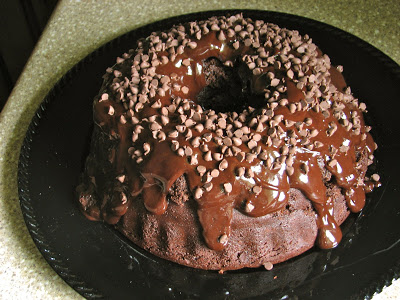
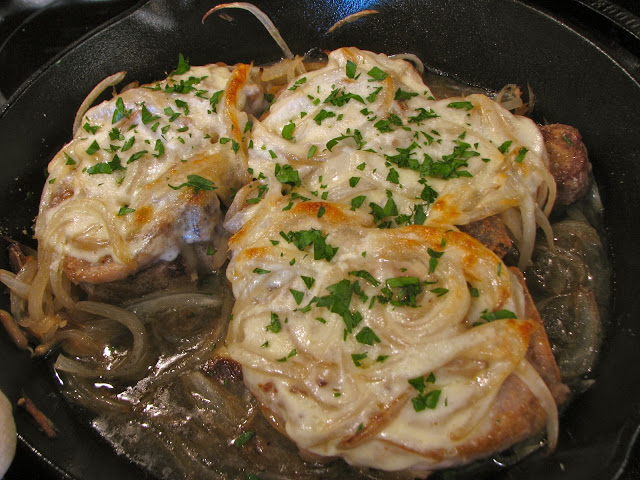
Baked!
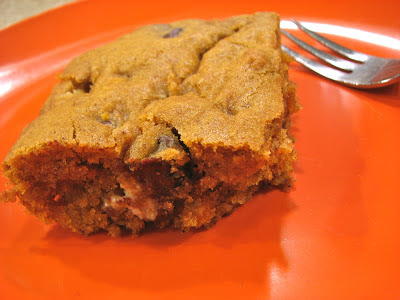
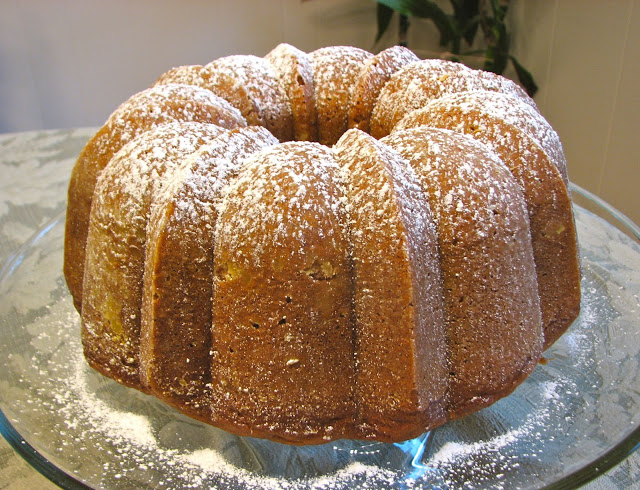
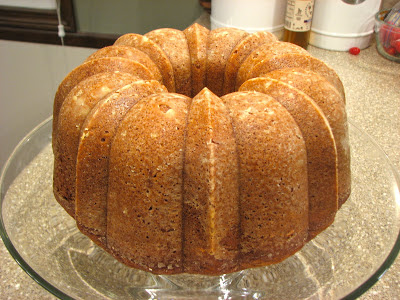
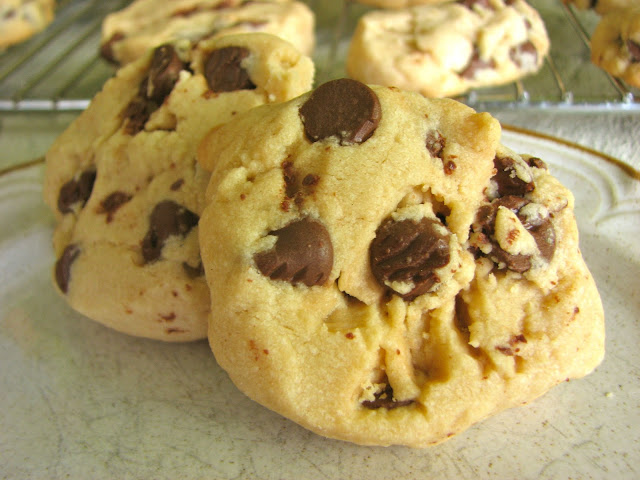
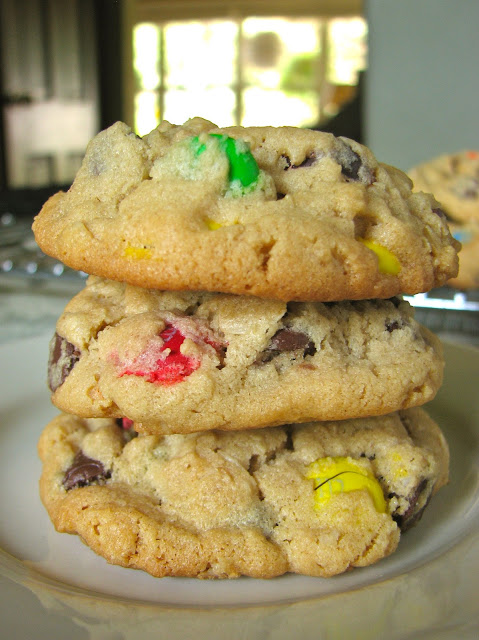
Ready to dig in
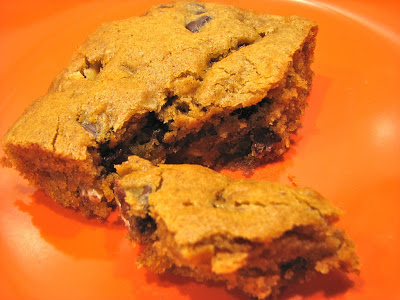
Enjoy!
Pumpkin Chocolate Chip Squares
Adapted from Martha Stewart
Ingredients
- 2 cups all-purpose flour
- 1 1/2 tablespoon cinnamon
- 1/2 teaspoon ginger
- 1/4 teaspoon nutmeg
- 1/4 teaspoon allspice
- 1/4 teaspoon cloves
- 1 teaspoon baking soda
- 3/4 teaspoon salt
- 1 cup (2 sticks) unsalted butter, room temperature
- 1 1/4 cups sugar
- 1 large egg
- 2 teaspoons vanilla extract
- 1 cup pumpkin puree
- 4 ounces white chocolate, cut into chunks
- 8 ounces semi sweet chocolate chips
Directions
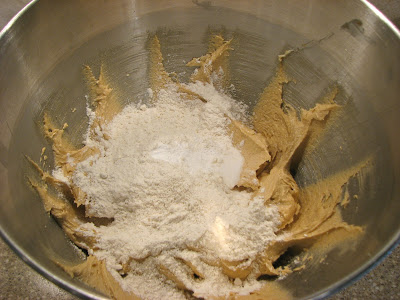
Preheat oven to 350 degrees. Grease a 9 x 13 inch pan and set aside. In a medium bowl, whisk together flour, spices, baking soda, and salt; set aside.
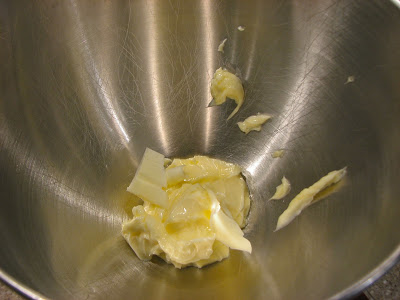
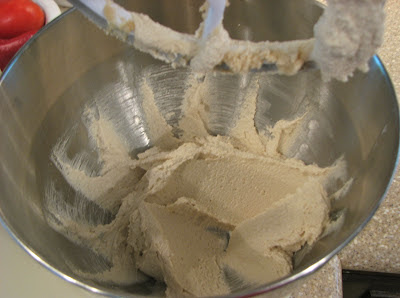
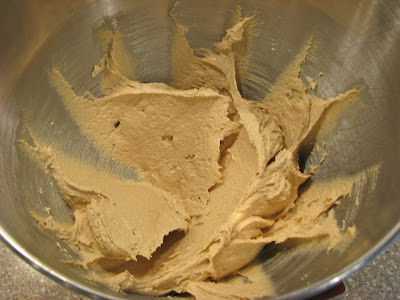
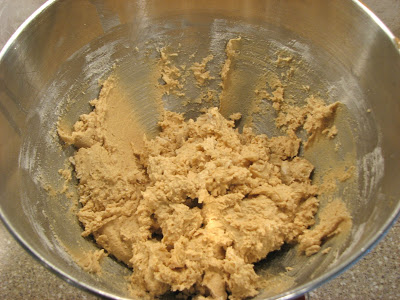
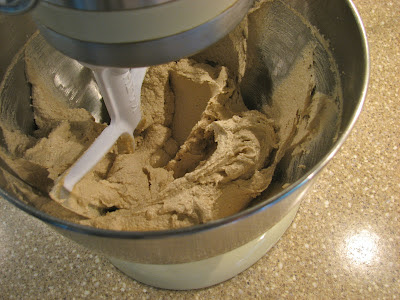
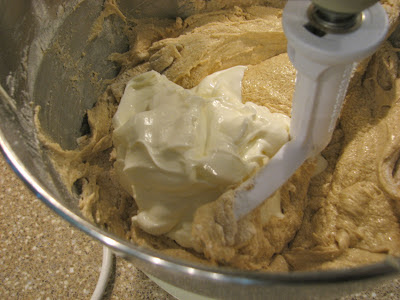
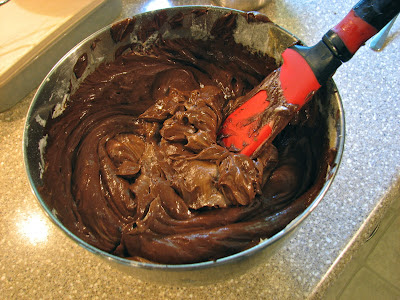
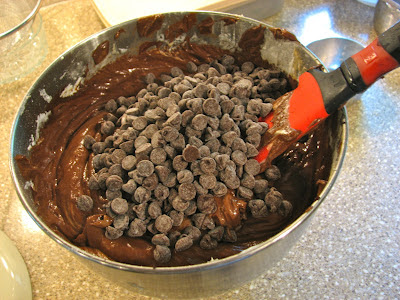
With an electric mixer, cream butter and sugar on medium-high speed until smooth; beat in egg and vanilla until combined. Beat in pumpkin puree (mixture may appear curdled). Reduce speed to low, and mix in dry ingredients until just combined. Fold in chocolate.
Spread batter evenly in prepared pan. Bake until edges begin to pull away from sides of pan and a toothpick inserted in center comes out with just a few moist crumbs attached, 35 to 38 minutes. Cool completely in pan.
Cut into squares and enjoy!