Olive Oil Tart Crust
I eat a lot of eggs. Not only are they cheap, but they are delicious and healthy, a great triad! I eat a lot of scrambled eggs and egg sandwiches, both of which I love, however, sometimes I just want to try something new. The last time I was home from school I decided to "borrow" my mom's tart pan. Since she bought it last summer at my urging, and has never used it herself, I didn't feel too bad about it. I've been wanting to make quiche, and now I finally have the pan to do it with.
Now, I love a good buttery tart crust, flaky and delicious, but sometimes I just don't want to deal with the hassle of making one, so when I saw this recipe on Chocolate and Zucchini it sounded perfect for a quick quiche dinner. This dough came together in just minutes, and because it doesn't used chilled butter there was no need to ensure that it stayed cold. I just had to roll it out, put in in the pan, chill it for 30 minutes or so, and then pop it in the oven.
After the crust was baked, I just threw a bunch of stuff on top of it, it doesn't really matter what, I just used what I had in the fridge (sausage, spinach, cheese, onion etc). You can use whatever filling you want, that's what I love about eggs, they are so versatile. Finally I covered it all with a mixture of eggs and milk. Just pop it in the oven for about 25 minutes and you have yourself a delicious dinner. Give it a try!


Recipe
From Chocolate and Zucchini
Ingredients
Makes enough to line a 28- to 30-cm (11- to 12-inch) tart pan.
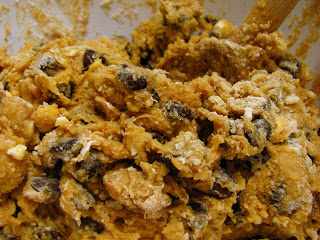
Combine the flour, salt, and herbs (if using) in a medium mixing bowl. Add the oil and mix it in with a fork. Add the water, mix with the fork until it is absorbed, then knead lightly until the dough comes together into a ball.
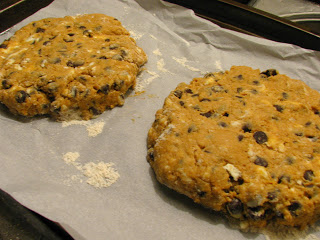
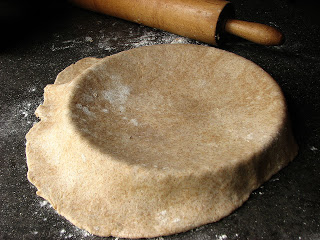
Turn the dough out on a lightly floured work surface. Sprinkle a little flour on the ball of dough and on the rolling pin, and roll the dough out into a circle large enough to fit your tart pan. The trick is to do this in quick, assertive gestures to avoid overworking the dough.
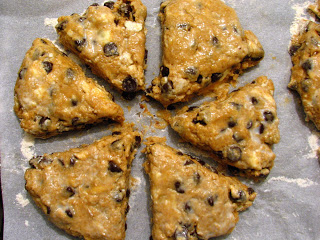
Transfer the dough carefully into a lightly greased tart pan and line it neatly. Trim the excess dough, and place the pan in the fridge for 30 minutes to rest.
Blind bake the crust for 15 minutes at 400 degrees.
Quiche Filling
Place choice of filling in pie crust. Whisk together milk, eggs, salt and pepper. Pour mixture into crust, over filling. Bake for 25 minutes at 400 degrees. Eat warm or at room temperature.
Now, I love a good buttery tart crust, flaky and delicious, but sometimes I just don't want to deal with the hassle of making one, so when I saw this recipe on Chocolate and Zucchini it sounded perfect for a quick quiche dinner. This dough came together in just minutes, and because it doesn't used chilled butter there was no need to ensure that it stayed cold. I just had to roll it out, put in in the pan, chill it for 30 minutes or so, and then pop it in the oven.
After the crust was baked, I just threw a bunch of stuff on top of it, it doesn't really matter what, I just used what I had in the fridge (sausage, spinach, cheese, onion etc). You can use whatever filling you want, that's what I love about eggs, they are so versatile. Finally I covered it all with a mixture of eggs and milk. Just pop it in the oven for about 25 minutes and you have yourself a delicious dinner. Give it a try!
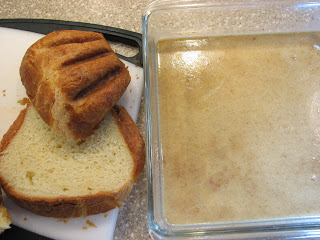
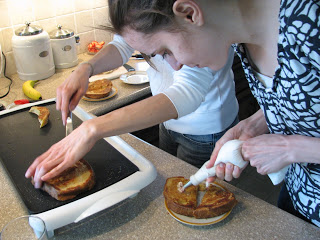
One picture prior, just after rolling it out
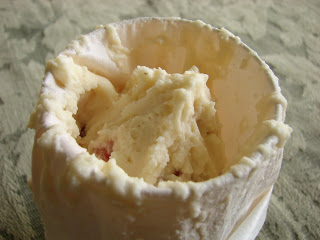
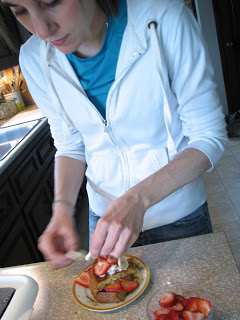
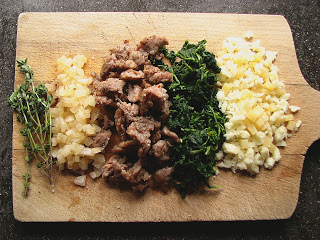
Yummy fillings: thyme, onions, sausage, spinach, cheese (Parmesan and Pecorino)
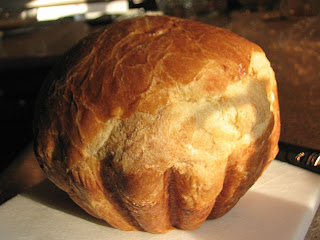
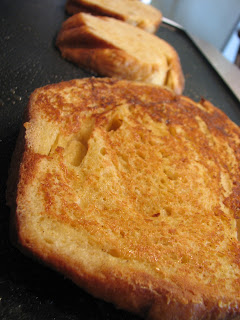
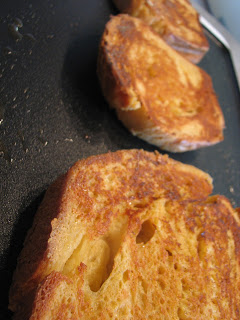
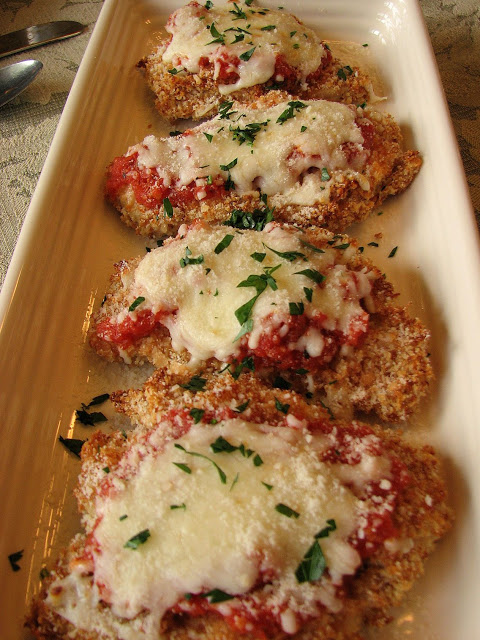
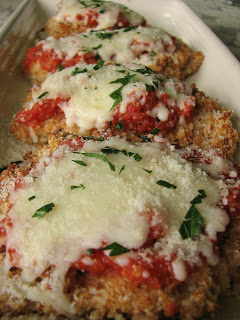
Baked to perfection
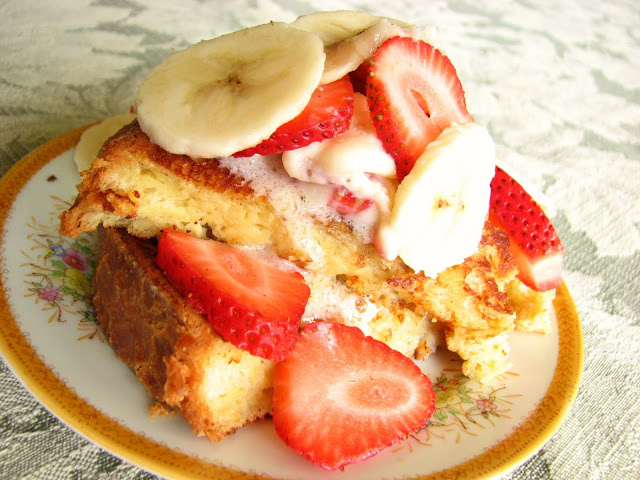
Slice and eat
Recipe
From Chocolate and Zucchini
Ingredients
- 250 grams (8.8 ounces) light whole wheat flour, or a 50/50 mix of all-purpose and whole wheat flour
- 1 teaspoon fine sea salt
- 60 ml (1/4 cup) olive oil (or oil of your choice)
- 120 ml (1/2 cup) cold water
- 1 teaspoon dried herbs (optional)
Makes enough to line a 28- to 30-cm (11- to 12-inch) tart pan.
Combine the flour, salt, and herbs (if using) in a medium mixing bowl. Add the oil and mix it in with a fork. Add the water, mix with the fork until it is absorbed, then knead lightly until the dough comes together into a ball.
Turn the dough out on a lightly floured work surface. Sprinkle a little flour on the ball of dough and on the rolling pin, and roll the dough out into a circle large enough to fit your tart pan. The trick is to do this in quick, assertive gestures to avoid overworking the dough.
Transfer the dough carefully into a lightly greased tart pan and line it neatly. Trim the excess dough, and place the pan in the fridge for 30 minutes to rest.
Blind bake the crust for 15 minutes at 400 degrees.
Quiche Filling
- 1 c milk
- 3 eggs
- Salt
- Pepper
- Choice of fillings
Place choice of filling in pie crust. Whisk together milk, eggs, salt and pepper. Pour mixture into crust, over filling. Bake for 25 minutes at 400 degrees. Eat warm or at room temperature.