Caldo Verde (Portuguese Soup with Cauliflower)

IMG_9751.jpeg

I came home from the farmer’s market last Saturday with a beautiful head of cauliflower. I then stumbled over this soup recipe the next day and knew it was meant to be! It’s a beautifully creamy soup, that doesn’t have any cream in it, but uses pureed cauliflower to add body and creaminess. It uses some of my favorite flavors (cumin, smoked paprika) and finishes with sausage and greens. What’s not to like?

IMG_9735.jpeg

It is a very simple recipe, and really didn’t take that much time to put together. I was able to roast the cauliflower ahead of time, and had the onions and garlic cut up and ready to go. Putting it together after that was very quick. Once the cauliflower, onions and garlic are nice and soft and hot, and the flavors have all melded together, you just need to puree it. Finally, finish it all off with the fresh component; spicy greens, herbs, and lemon juice.

The soup could easily be made ahead up to the point of pureeing it. When ready to finish, just reheat and add the fresh ingredients!

IMG_9740.jpeg

I adapted the following recipe just a bit. I made a smaller batch (only about 1 lb cauliflower, and less stock) and didn’t measure anything, just eyeballed it. I also skipped the smoked turkey Kielbasa and used smoked Spanish chorizo instead which I think was a wonderful substitution. The spicy red pepper sausage worked great with the seasonings on the cauliflower.

——————————————————————————————

IMG_9742.jpeg

Caldo Verde (Portuguese Soup with Cauliflower)
From Food52
Ingredients

  • 2 pounds cauliflower florets

  • 1 teaspoon ground cumin, or to taste

  • 1/2 tablespoon smoked paprika

  • 2 pinches salt and pepper, plus more to taste

  • 2 tablespoons olive oil, plus extra for roasting

  • 1 Spanish onion, chopped

  • 4 large garlic cloves, minced

  • 1/2 teaspoon red pepper flakes

  • 8 cups chicken stock

  • 1/2 pound smoked turkey kielbasa, sliced

  • 1 bunch mustard greens, shredded

  • 1/4 cup parsley, finely chopped

  • 1/4 cup cilantro, finely chopped

  • 1/2 lemon, juiced

Directions
Preheat oven to 450 F. Toss cauliflower florets with cumin, smoked paprika, and liberal amounts of salt, pepper, and olive oil. Spread in a single layer in a roasting pan or baking dish and roast in the oven for 30 minutes.

Remove florets and set aside. Deglaze the roasting pan with 1 cup of the chicken stock, stirring to scrape up browned bits. Mix in with the remaining stock.

Sauté the onion in 2 tablespoons of olive oil over medium-medium high heat until tender and translucent and beginning to brown. Add garlic and pepper flakes and sauté until fragrant, about 30 seconds. Add cauliflower and stock and bring to a boil, then reduce heat and simmer about an hour. Remove from heat and purée.

Return the puréed soup to low heat. Add sausage and cook about 10 minutes. (You can brown the sausage beforehand if you like.) Add the mustard greens and parsley and simmer another 5 to 10 minutes until the greens soften a bit. Remove from heat. Stir in the cilantro and the lemon juice and season to taste with salt and pepper. Serve with a sprinkle of smoked paprika and a drizzle of olive oil.

Spiced Applesauce Cake

IMG_9598.jpeg

I made a delicious batch of applesauce last year. Unfortunately, I don’t eat applesauce all that much, so I put it in the freezer and just haven’t taken it out! Last week, Lara decided to use some of it to make this applesauce cake from Smitten Kitchen that she has been eyeing for quite some time. Even though she didn’t make the frosting to go with it (which would be amazing, cream cheese frosting is always amazing!) the cake was so delicious that I wanted to make it again right away.

IMG_9581.jpeg

Then, a few days later, I realized that I had some yogurt in the fridge that really needed to be used. I’ve been getting raw goat’s milk from a co-worker and making it into goat’s yogurt (which is so good!). But I had a container that was getting older than I liked so I was trying to find a way to use it up…

IMG_9588.jpeg

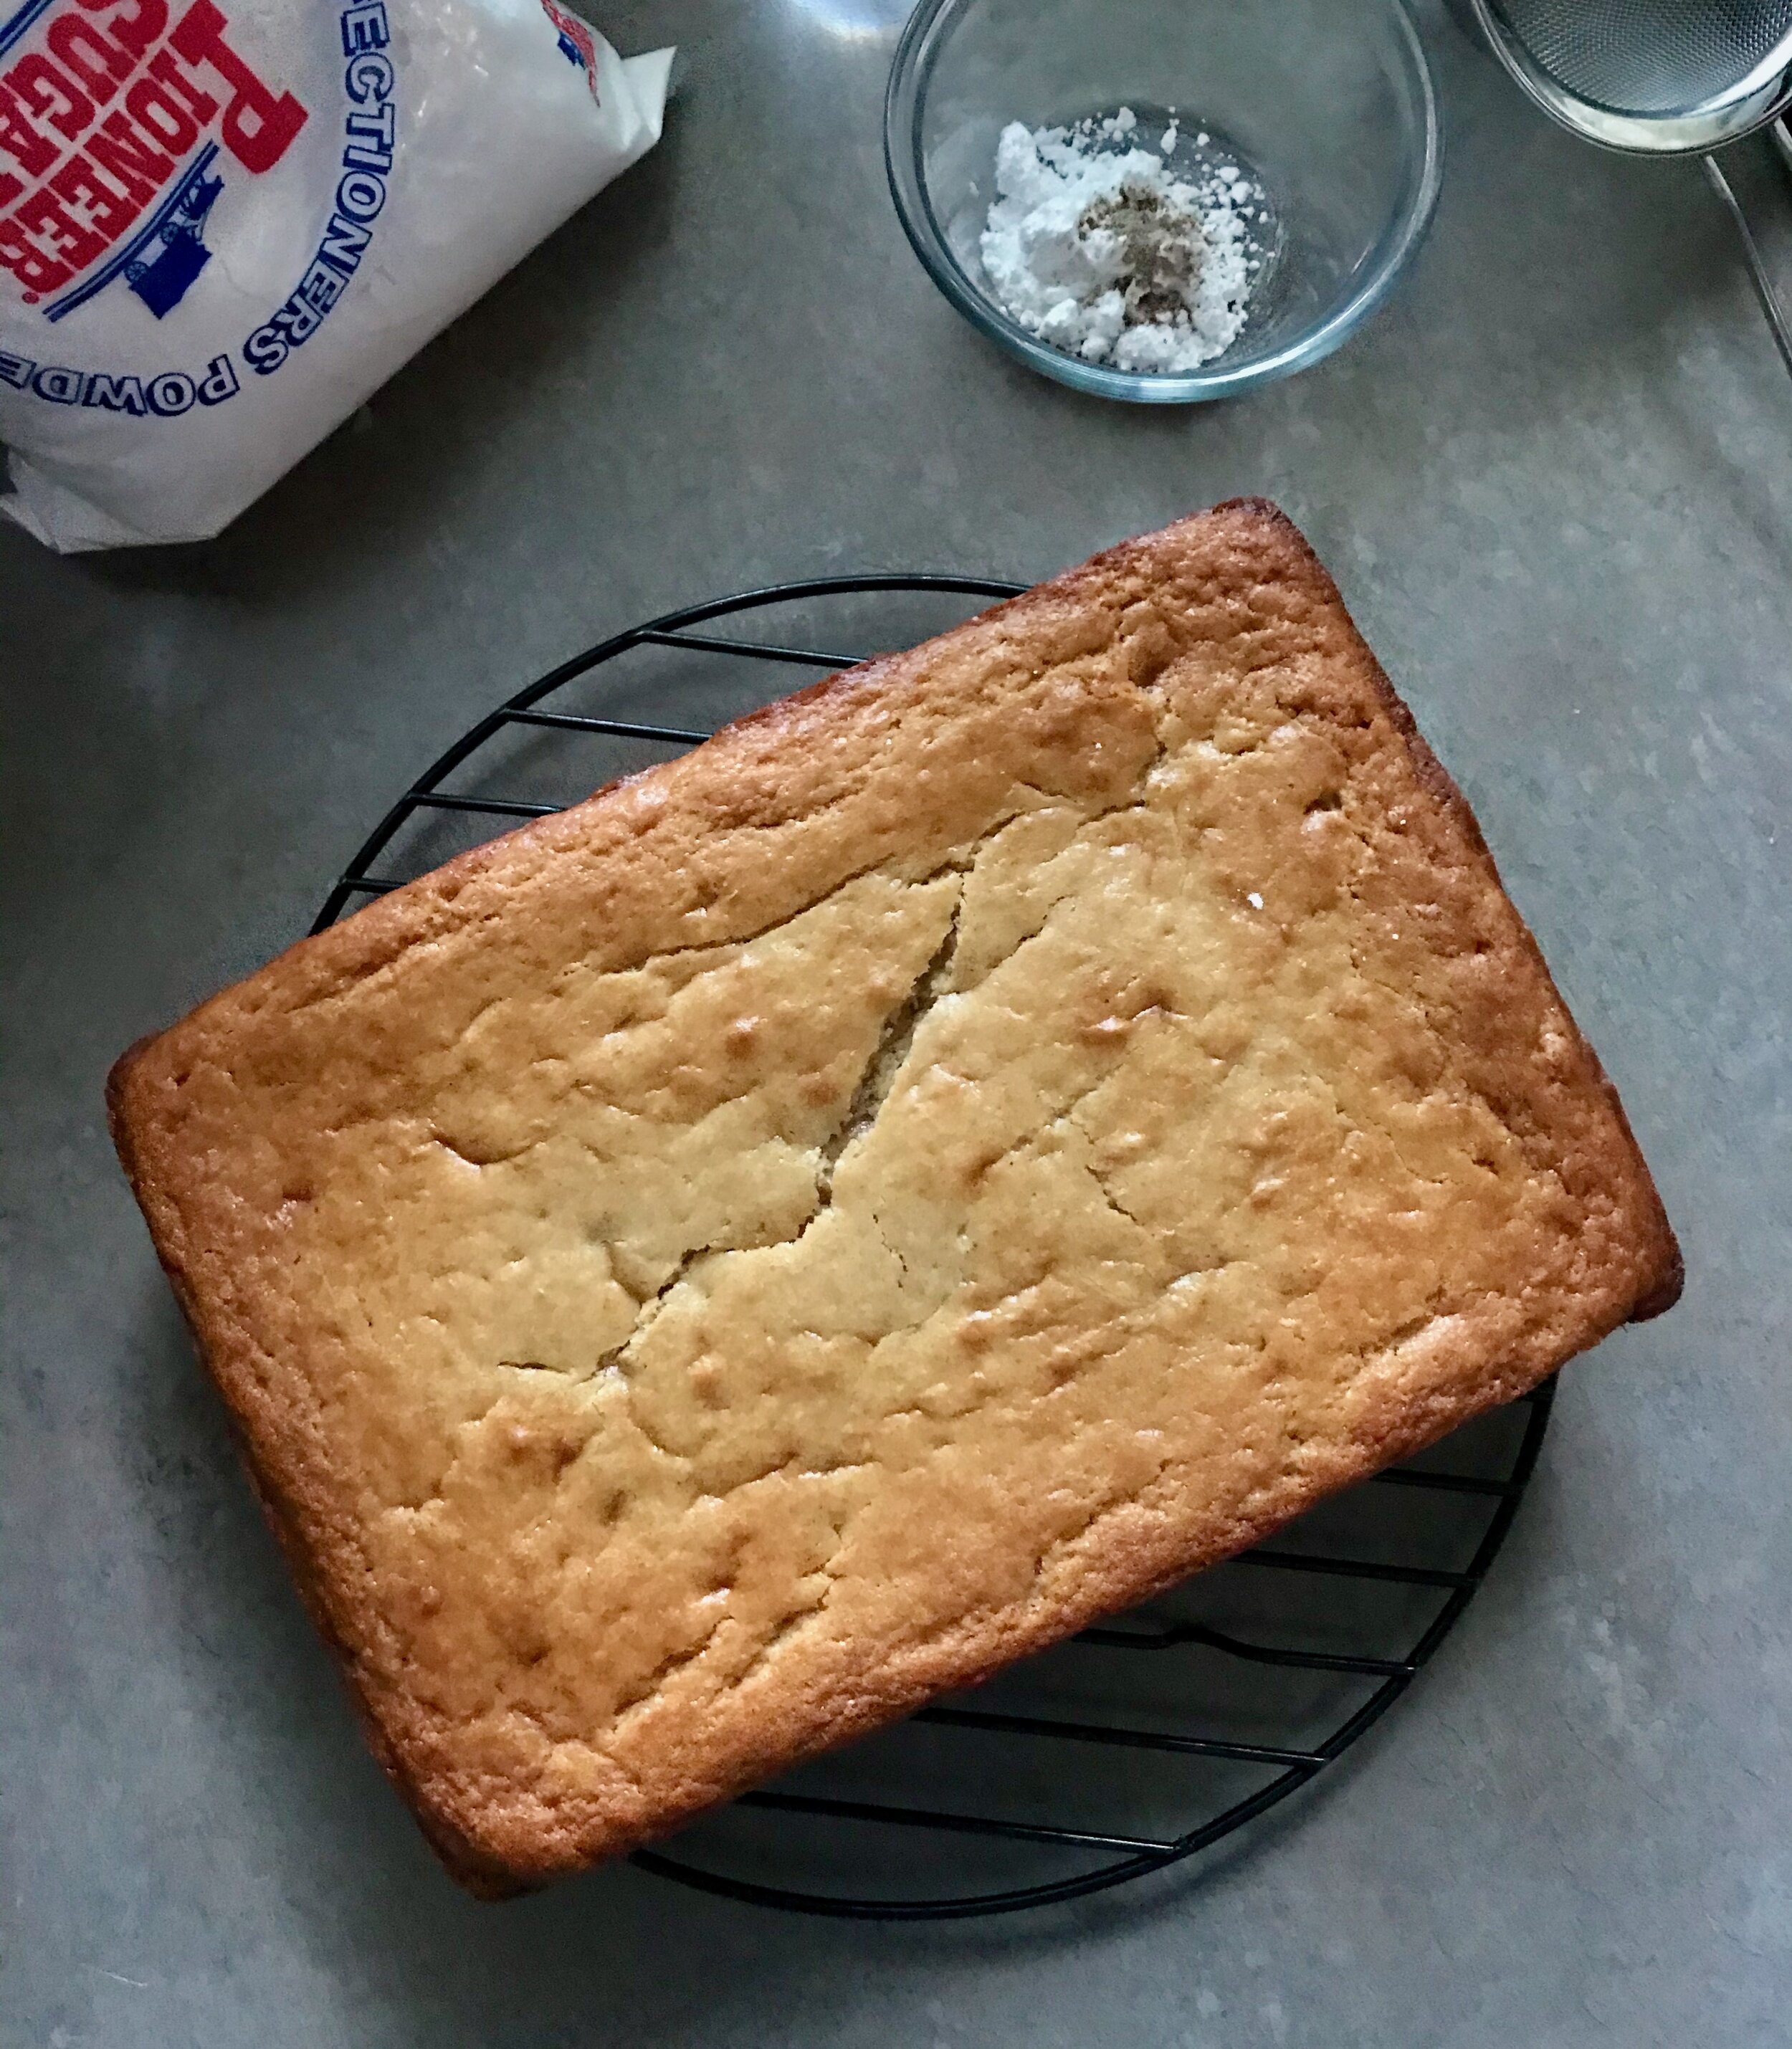
I decided to try a different take on the applesauce cake, and turn it into a yogurt cake instead! Would this work? Probably? It never hurts to try, so try I did! I kept everything the same (other than a few different spices, just for fun) other than replacing the applesauce with yogurt. The verdict? Turned out great! Yes, there is a little tang from the yogurt, but that’s not a bad thing. I do think the yogurt cake was a little more dense than the applesauce cake, but they both baked up very nicely! I would not hesitate to make either of these recipes again!

When Lara made the applesauce version she only used 3/4 cup sugar, instead of the 1 cup of sugar called for. This was perfectly fine, and I would probably do this again if using the applesauce. When I made the yogurt version I used the full cup of sugar since I was taking out all of the sugar naturally found in the applesauce.

[All the photos are of the yogurt version, I didn’t get any pics of the applesauce cake]

——————————————————————————————

IMG_9602.jpeg

Spiced Applesauce Cake
From Smitten Kitchen
Ingredients
For the cake

  • 2 cups (8 3/4 ounces or 250 grams) all-purpose flour

  • 2 teaspoons baking powder

  • 1/2 teaspoon baking soda

  • 1/2 teaspoon salt

  • 3/4 teaspoon cinnamon

  • 1/2 teaspoon ground ginger

  • 1/8 teaspoon ground cloves

  • 1 stick (4 ounces or 113 grams) unsalted butter, softened

  • 1 cup (6 7/8 ounces or 195 grams) packed light brown sugar (updated weight)

  • 1 teaspoon pure vanilla extract

  • 2 large eggs

  • 1 1/2 cups (about 13 ounces or 365 grams) unsweetened applesauce

  • 1/2 cup (about 1 3/4 ounces or 50 grams) walnuts (optional), toasted, cooled, and chopped

For the frosting

  • 5 ounces (142 grams) cream cheese, softened

  • 3 tablespoons (1 1/2 ounces or 42 grams) unsalted butter, softened

  • 1/4 teaspoon pure vanilla extract

  • 1 cup (4 ounces or 120 grams) confectioners sugar

  • 1/2 (1 teaspoon) teaspoon cinnamon

Directions
Preheat oven to 350°F with rack in middle. Butter an 8- or 9-inch square cake pan that has been lined with parchment paper.

Whisk together flour, baking powder, baking soda, salt, and spices. Beat butter, brown sugar, and vanilla with an electric mixer at high speed until pale and fluffy, 2 to 3 minutes. Add eggs one at a time, beating well after each addition, then beat in applesauce. At low speed, mix in flour mixture until just combined, then stir in walnuts (if using). The batter may look a little curdly and uneven, this is okay.

Spread batter evenly in pan and bake until golden-brown and a wooden pick inserted into center comes out clean, about 35 to 40 minutes.

Cool in pan 15 minutes. Then run a knife around edge of cake to loosen, then invert onto a plate. Reinvert cake onto a rack to cool completely.

Make frosting: Beat cream cheese, butter, and vanilla with an electric mixer at high speed until fluffy. Sift confectioners sugar and cinnamon over cream cheese mixture, then beat at medium speed until incorporated. Spread frosting over top of cooled cake.


For the Yogurt Version:
Replace all of the applesauce with 1 12/ cups (350 g) plain, whole milk or 2% yogurt (goat’s milk if you have it!). I also adjusted the spices and used 1 teaspoon cinnamon, 1/4 teaspoon cardamom, 1/8 teaspoon allspice.

Marinated Beets with Pistachios and Tarragon

IMG_9017.jpeg

This recipe for marinated beets was in the weekly email from my CSA a week or two back. I really do like beets, and am always looking for new ideas. I had both thyme and tarragon growing in the garden so this looked perfect! I didn’t have pistachios, but did have hazelnuts so used that instead.

IMG_9015.jpeg

This is a nice make-ahead dish. It gets better the longer it sits. It is quite vinegar heavy, but I think that makes it interesting. I’d like to try it with golden beets too, I typically like golden beets better than red, but I had red this week so that’s what we did!

Marinated Beets with Pistachios and Tarragon
From Bon Appetit
Ingredients

  • 1 pound baby yellow or red beets, trimmed, scrubbed

  • ½ cup Sherry or red wine vinegar, divided

  • 2 tablespoons plus ¼ cup olive oil

  • Kosher salt

  • 1 medium shallot, finely chopped

  • 1 teaspoon chopped fresh thyme

  • ¼ cup raw pistachios, chopped

  • 2 tablespoons coarsely chopped fresh tarragon

Directions
Preheat oven to 425°. Combine beets, ¼ cup vinegar, 2 Tbsp. oil, and ¼ cup water in a baking dish; season with salt. Cover with foil and steam until beets are tender, 40–50 minutes. Let cool slightly. Rub off skins with paper towels; cut beets into quarters (or ½” wedges if larger).

Toss beets with shallot, thyme, remaining ¼ cup vinegar, and remaining ¼ cup oil in a large bowl; season with salt. Let sit at least 2 hours. Toss with pistachios and tarragon just before serving.

DO AHEAD: Beets can be marinated 2 days ahead. Cover and chill.

Chocolate Stout Cake, and a Birthday!

Last week Lara and I celebrated our 33rd birthday! We took a few days off of work and had an extra long weekend! It was full of relaxation, good food, good company and our course, CAKE!!!

Lara and I couldn’t decide on a birthday cake flavor. We thought about it on and off for weeks, truly, weeks. There are so many good options that it’s hard to decide! The weekend before our birthday we went to Grand Haven for a nice walk, and to have a beer at Oddside Ales. We had been wanting to go there to get a beer and truffle fries and this weekend was the perfect time. At Oddside we tried a stout called Haze'l’s Nuts Stout. This is a BBA imperial stout with coffee and hazelnut. It was delicious and I immediately thought it would make a super fun cake.

Lara had made a chocolate stout cake back in June. Just because! Well, really to kind of celebrate the “end” of COVID. We both finally got back to work and things started to settle down a little so we celebrated with cake! It was the best chocolate cake we had made, so we had both been looking for a reason to make it again. A birthday seemed like the perfect reason!

So combining the hazelnut stout, and this amazing chocolate stout cake was a no brainer! We decided to make the cake with the hazelnut stout, and then frost the cake with an Italian buttercream flavored with reduced hazelnut stout (the original cake recipe called for a ganache frosting which we did the first time and was amazing). To finish, we covered the side in crushed hazelnuts.

It was amazing. Again. This cake is the best chocolate cake. I will make it again and again. I would love to try it with coffee in place of the stout for another fun twist. The original cake calls for you to make a 3 layer cake. Both times we made it we cut the recipe down to 2/3 the original side and made a double layer 8-inch cake. This time around the center of the cake layers sunk a little. Not sure what happened, but it didn’t affect the final outcome in any way.

I loved both the Italian meringue, and the ganache frosting (which we did the first time as I stated above). You can’t go wrong with either!

IMG_9438.jpeg
IMG_9426.jpeg
IMG_8877.jpeg
 

I got a beautiful blanket from Lara for a present! She thought it was time for an upgrade from the sweatshirt Calvin College blanket I’ve had since the end of high school! I can’t imagine why! ;)

THE INSPIRATION!

IMG_9430.jpeg

When your cake layers sink a little, that just means you get more frosting in between layers! :)

IMG_9448.jpeg

Fun birthday dinner at Donkey Taqueria. It was great! Tacos for Lara, mom and I. An amazing Torta for dad. It had smoked ham, pork carnitas, queso chihuahua, refried pinto beans, and guac. I’d never tried the torta before and thankfully my dad let me have a bite. It was amazing. And huge! The tacos were great too, as always. I also got a Mezcal Margarita with a spicy chile salt rim. So good! Chips and salsa, and house pickled vegetable were the apps of choice.

IMG_9460.jpeg

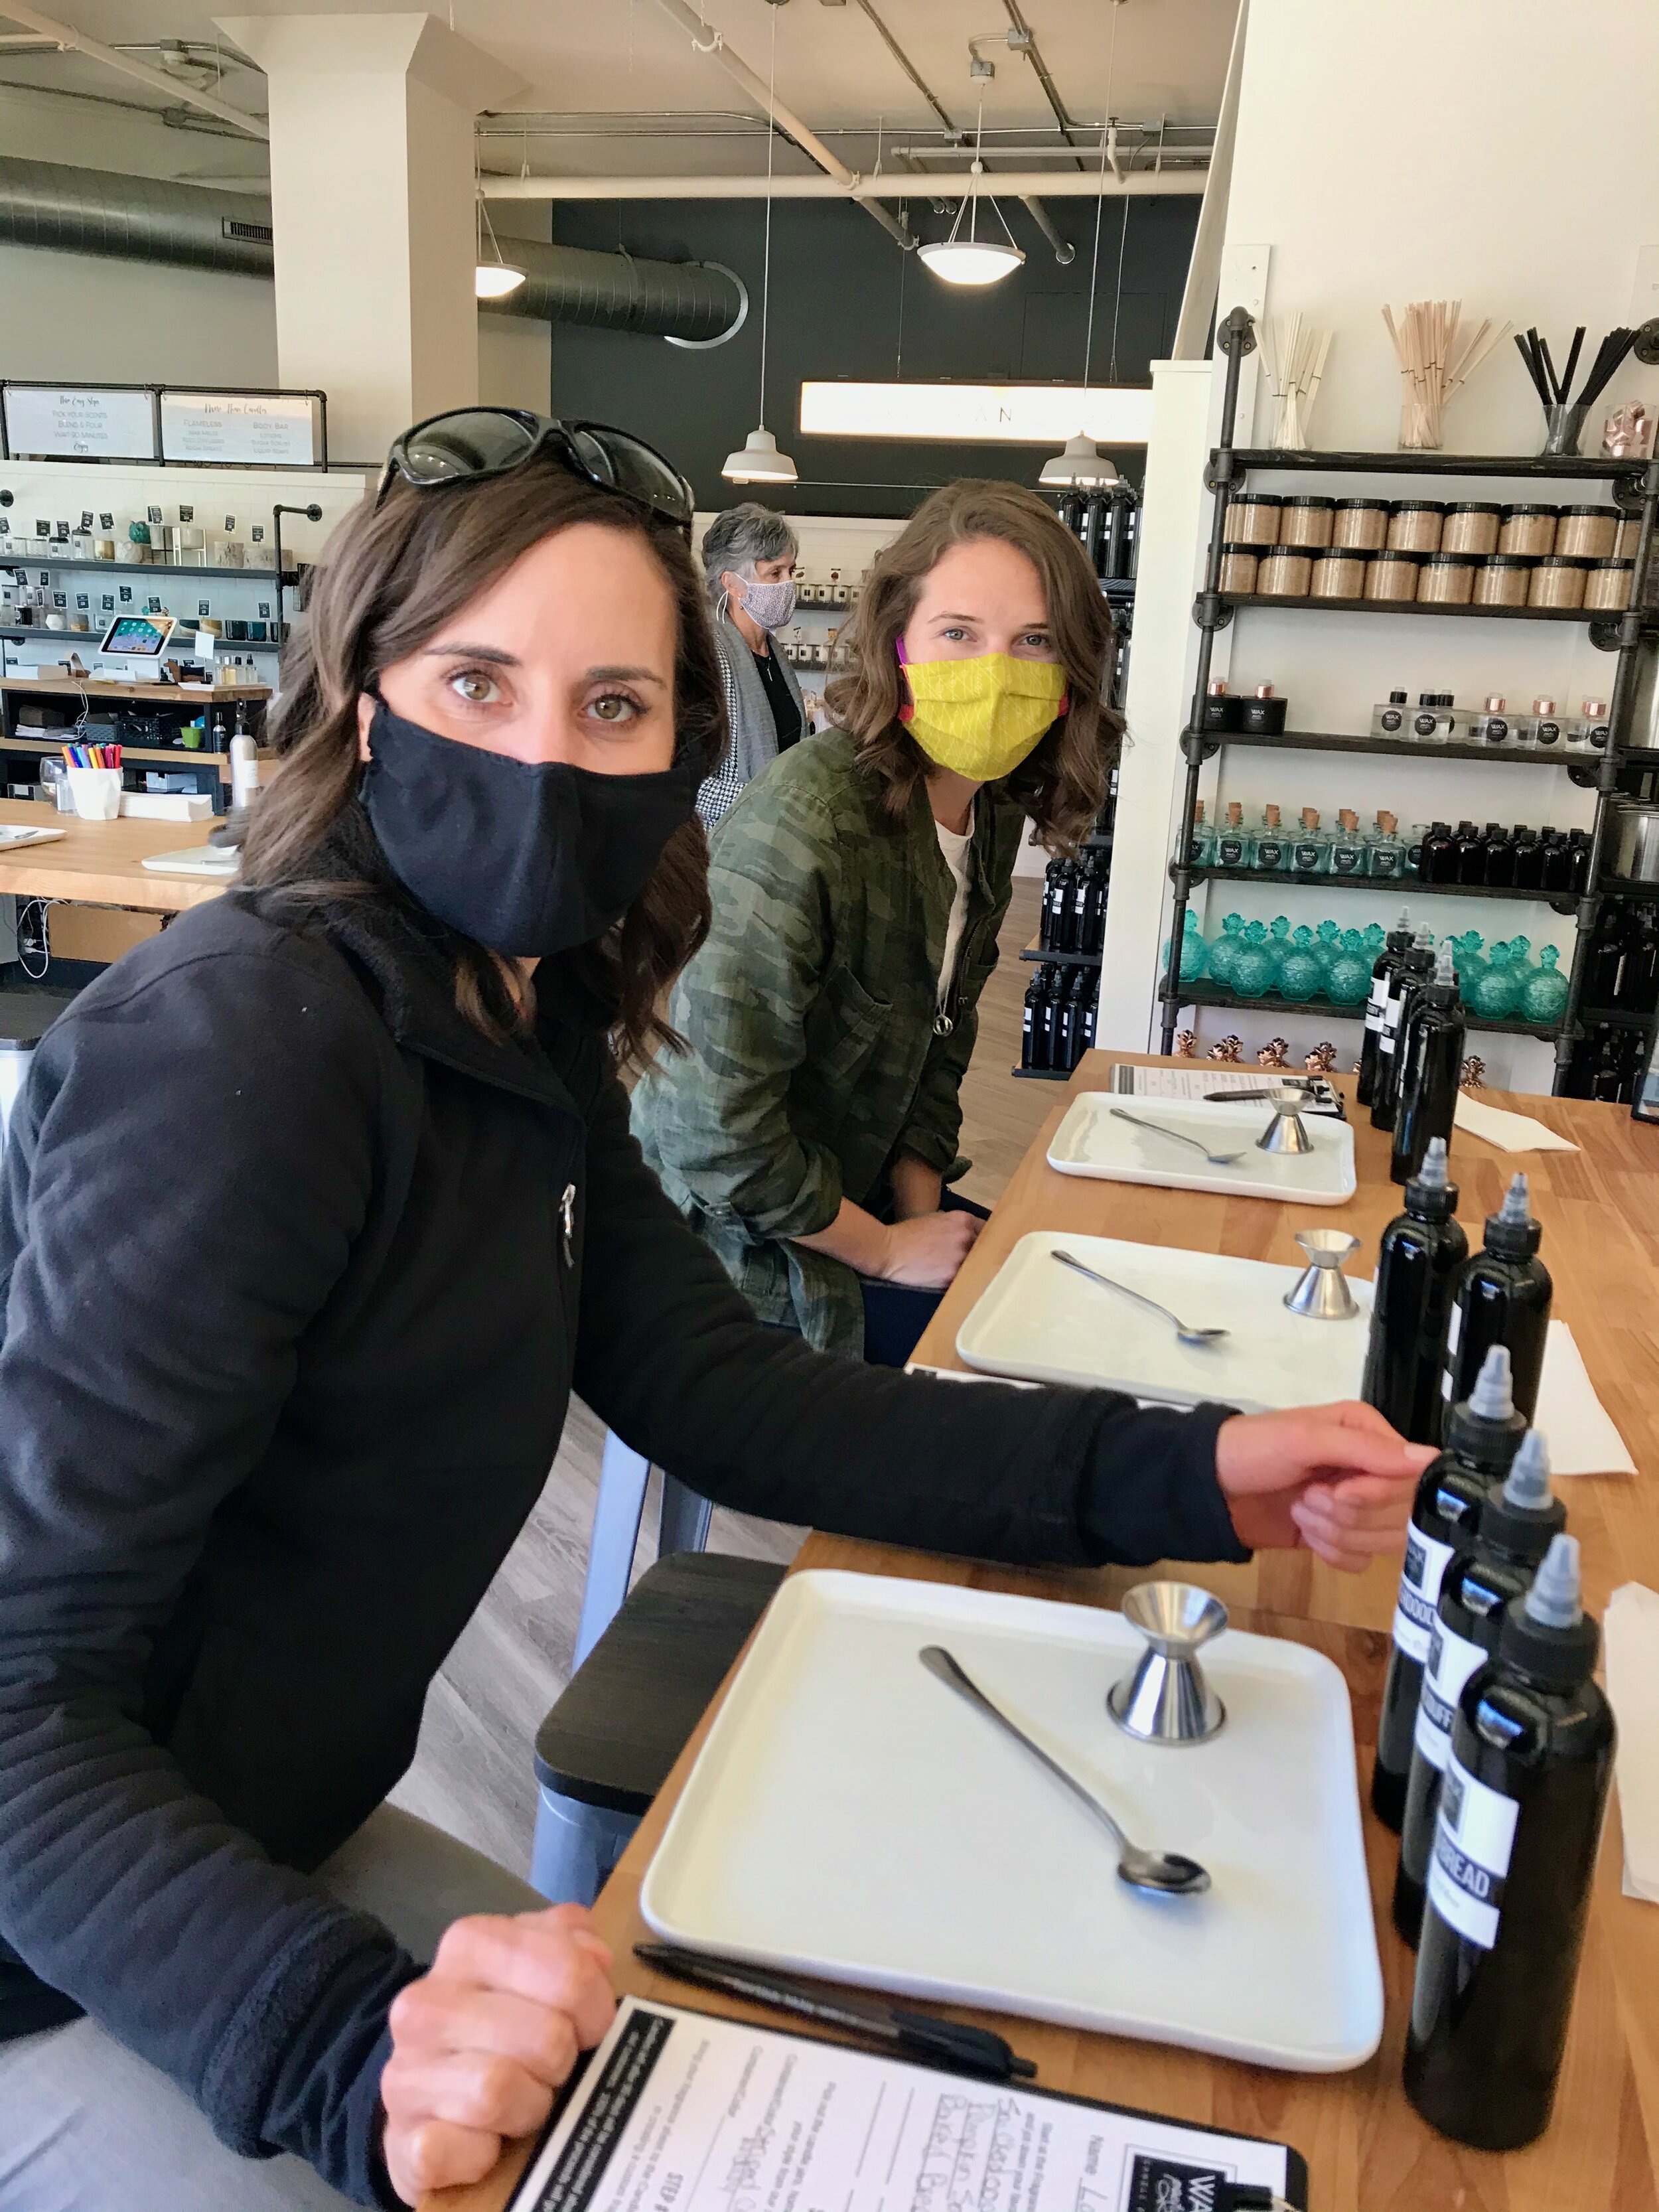
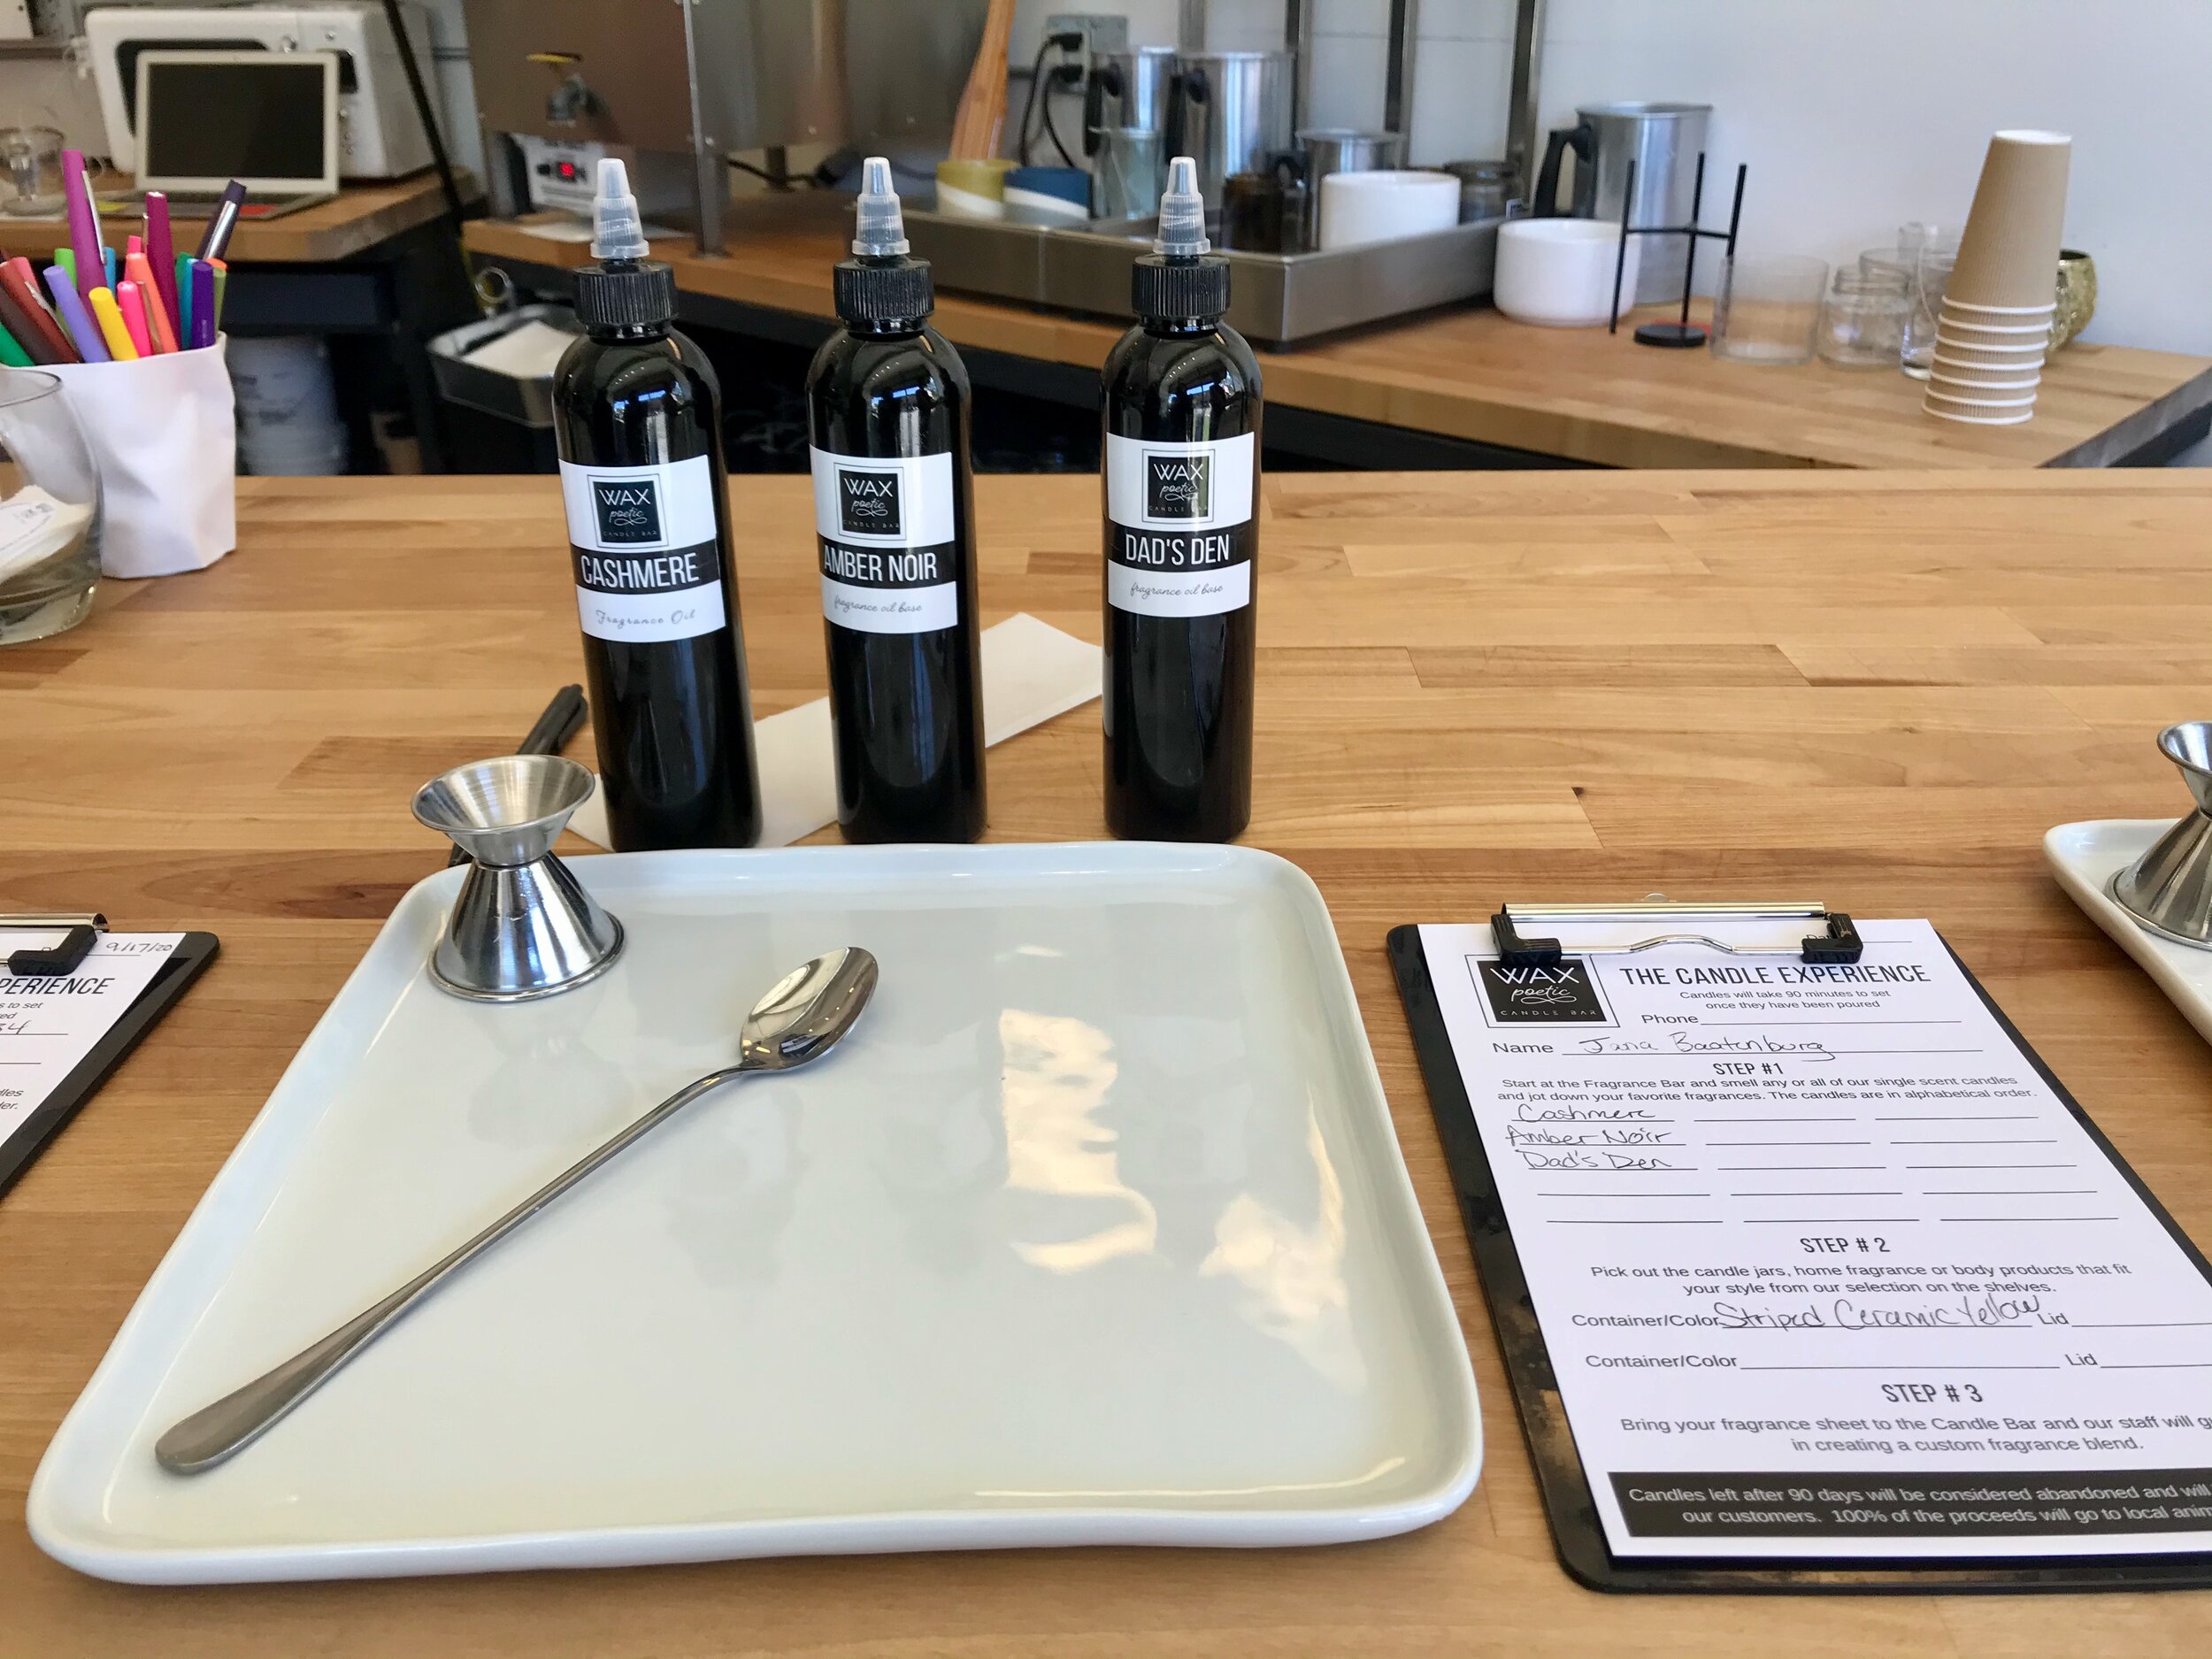
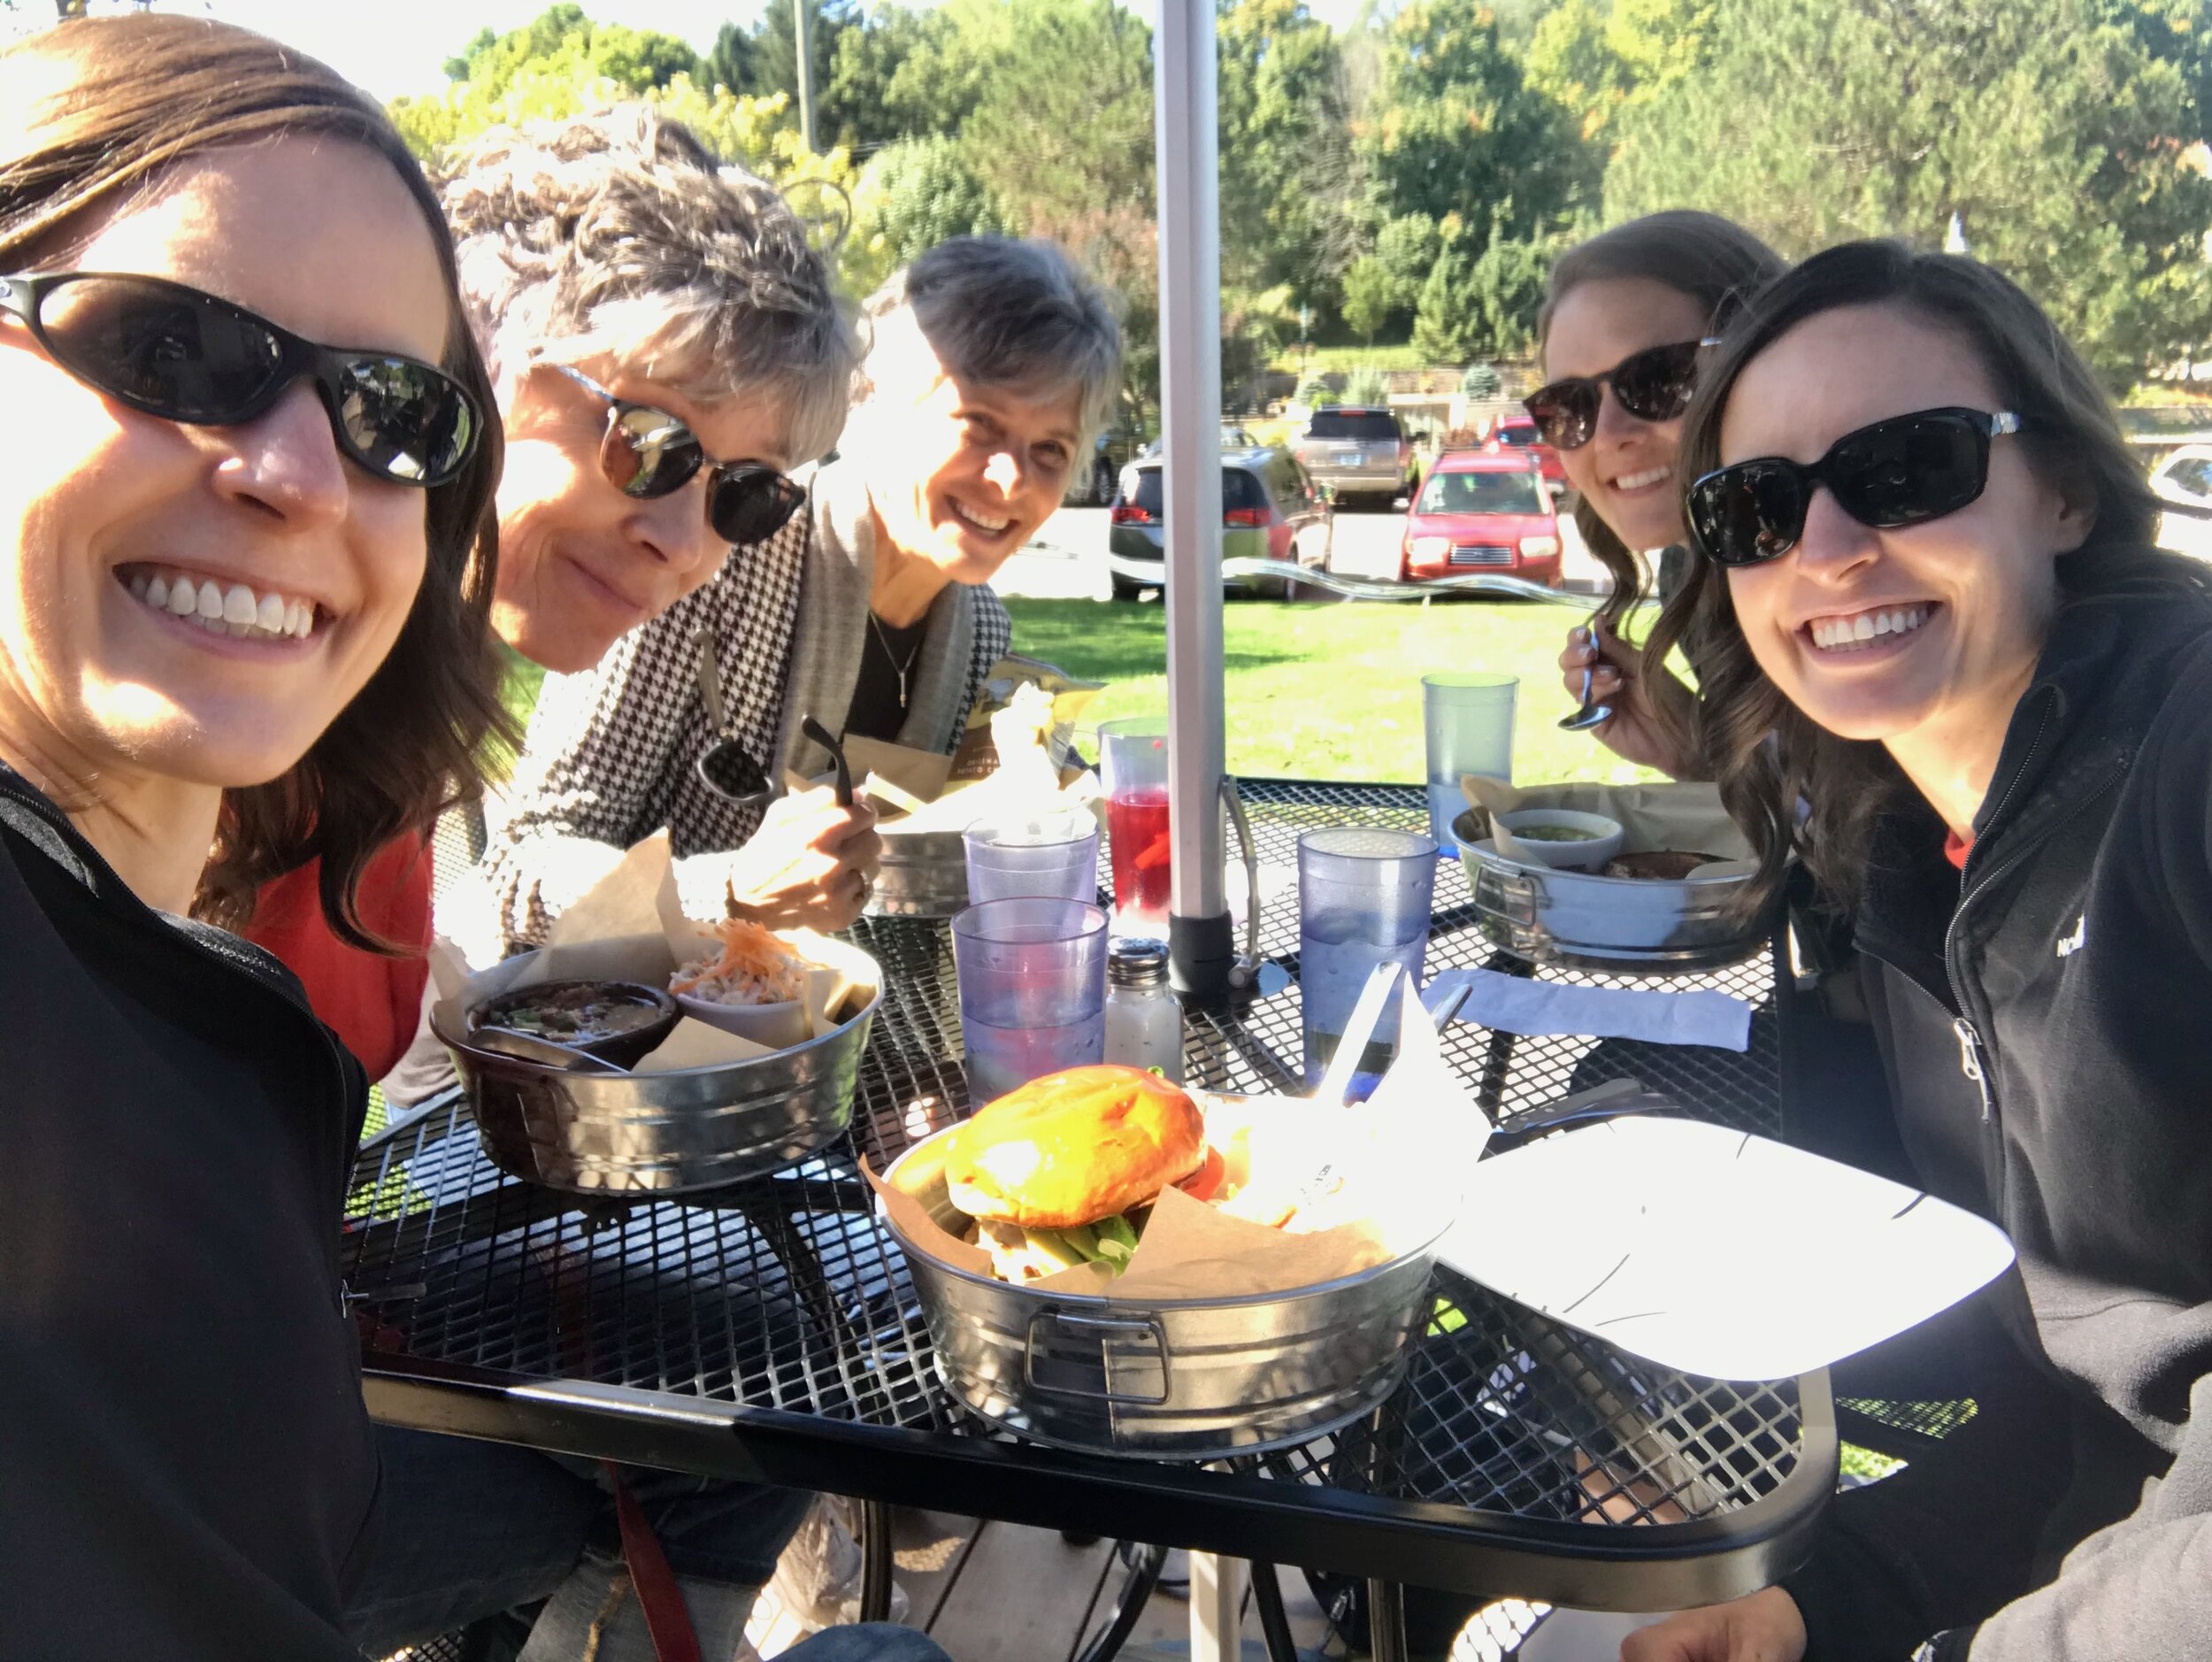
Our Aunt and Cousin wanted to celebrate our birthday too! They took us out to Wax Poetic Candle Bar where we made our own candles. It was a lot of fun! After candle making we ate a lovely lunch on the river at Ramona’s Table in Rockford. A little window shopping afterwards was the perfect way to celebrate!

IMG_8909.jpeg

More birthday weekend. A walk around Reed’s Lake, followed by a picnic in the park.

Another fun celebration with our great friend Lindsay at our favorite wine bar. Aperitivo.

IMG_9463.jpeg

Another walk/hike at Seidman park.

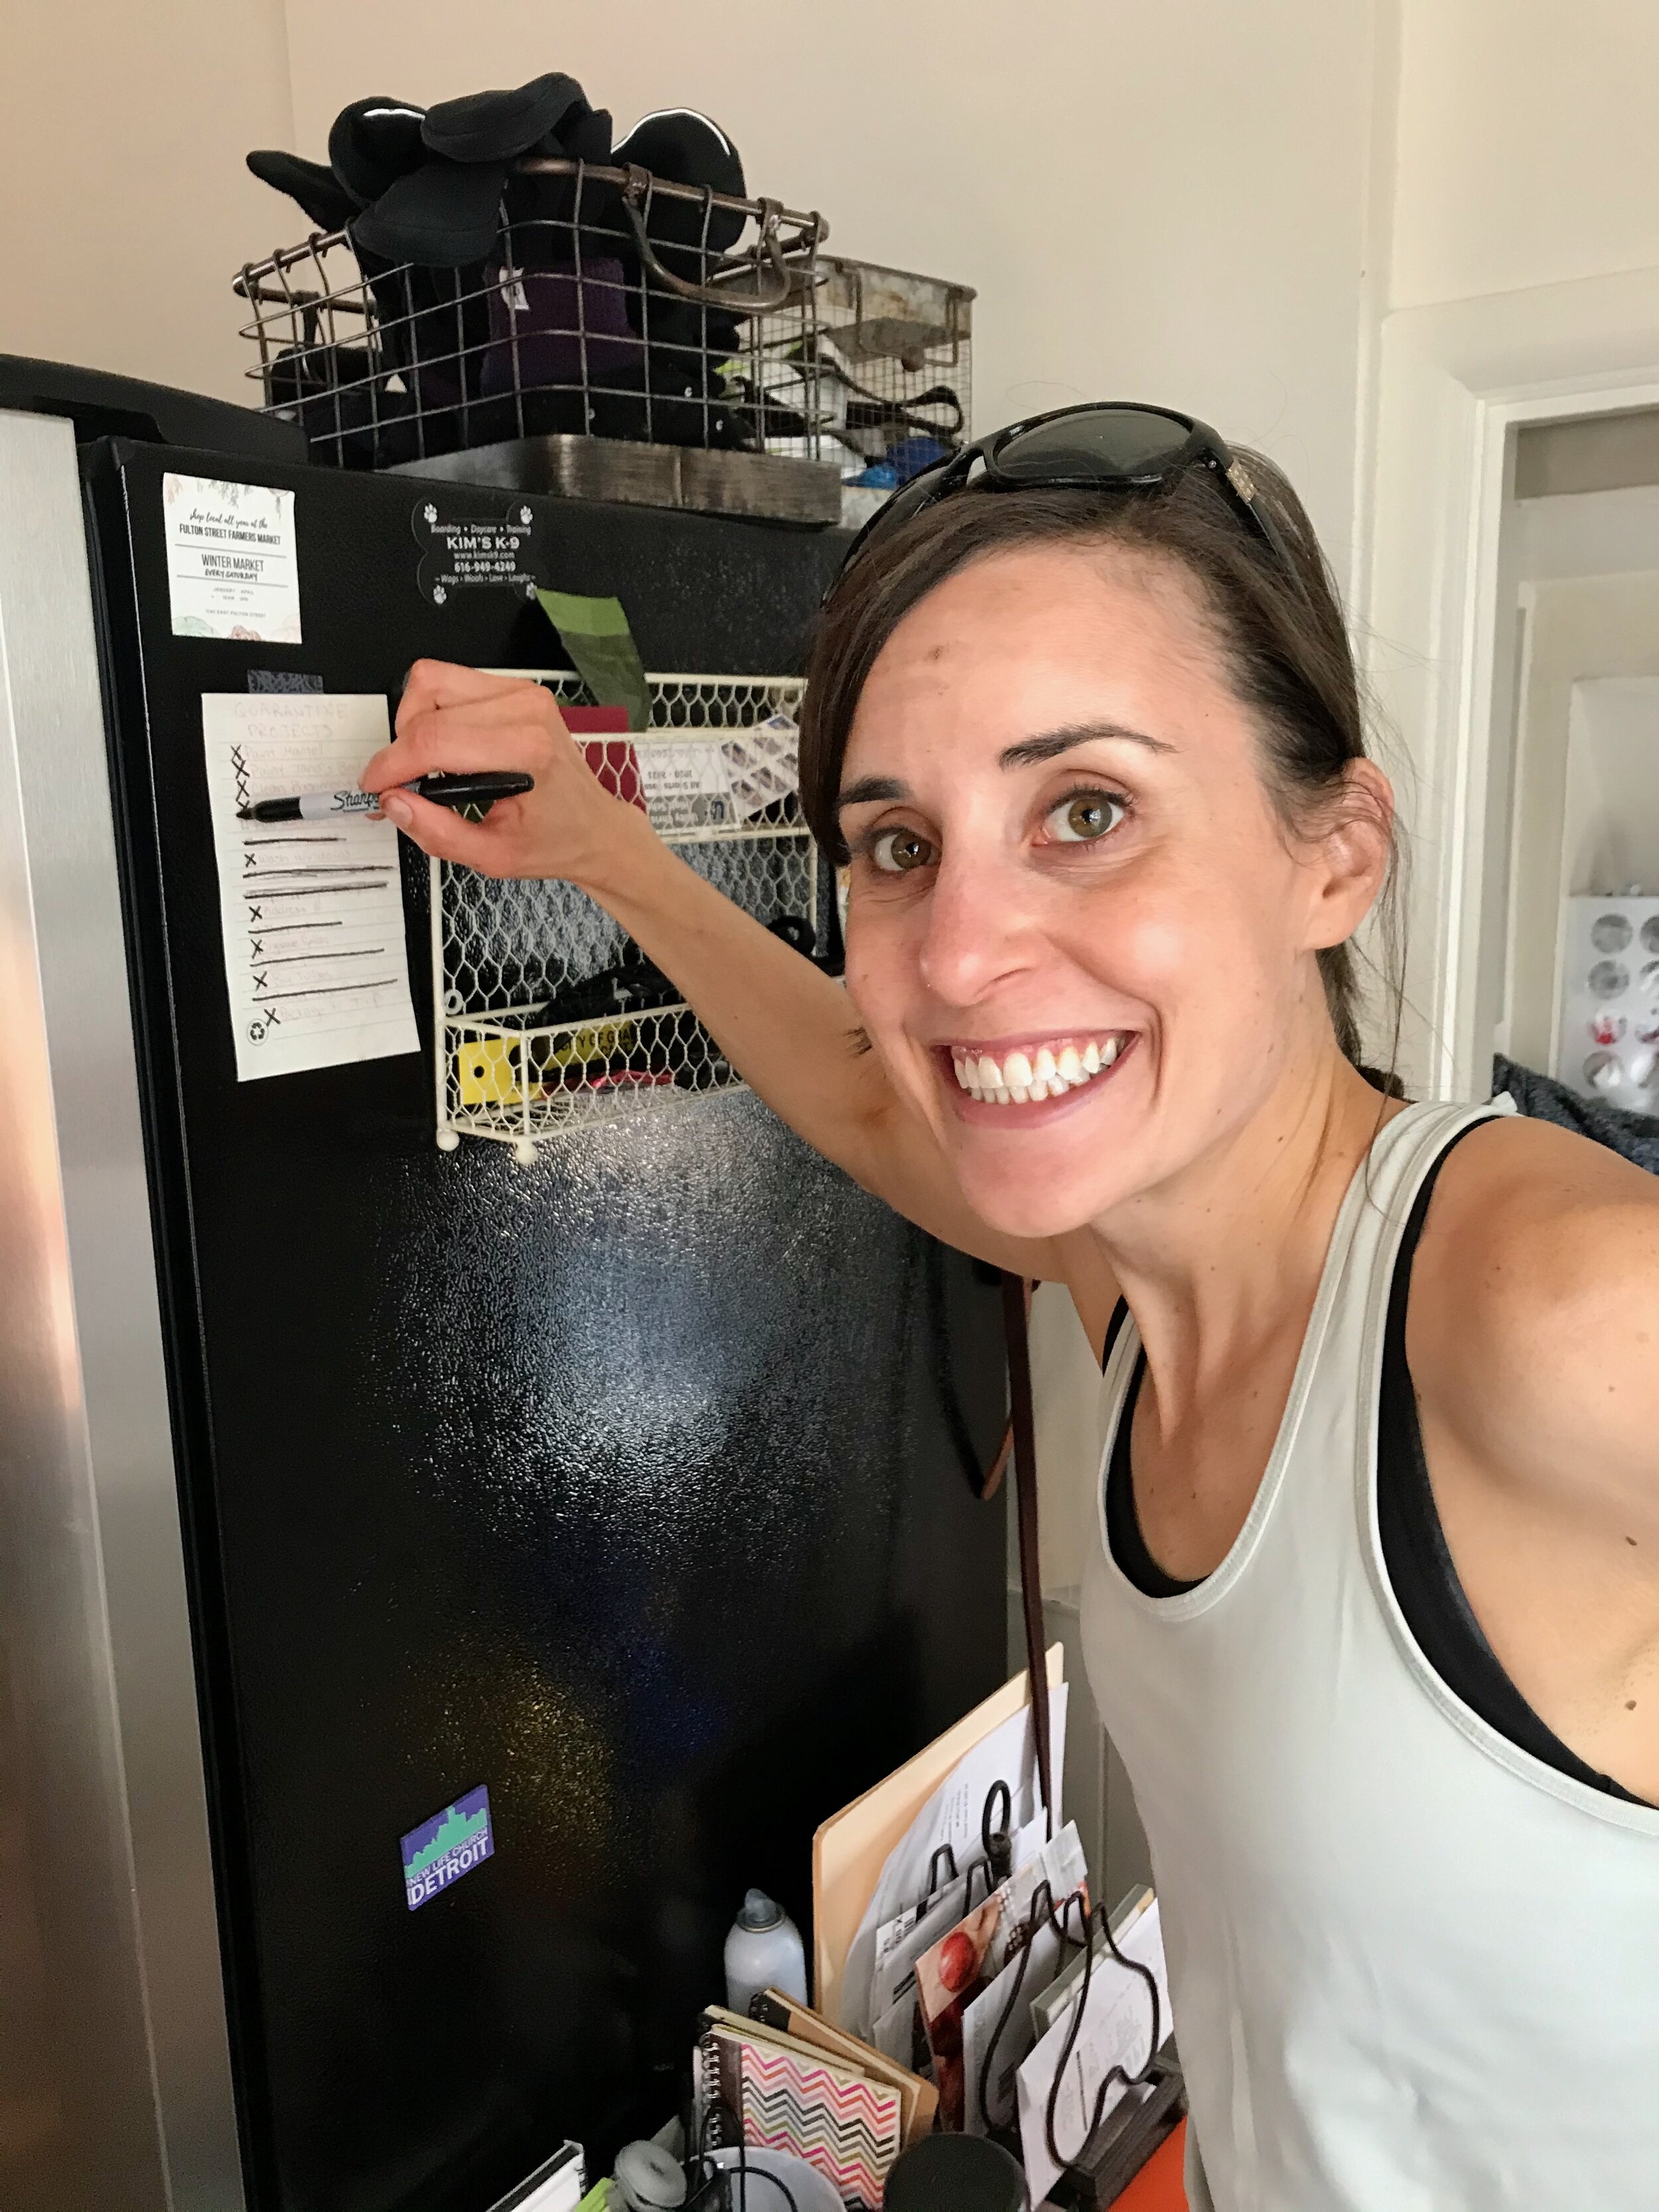
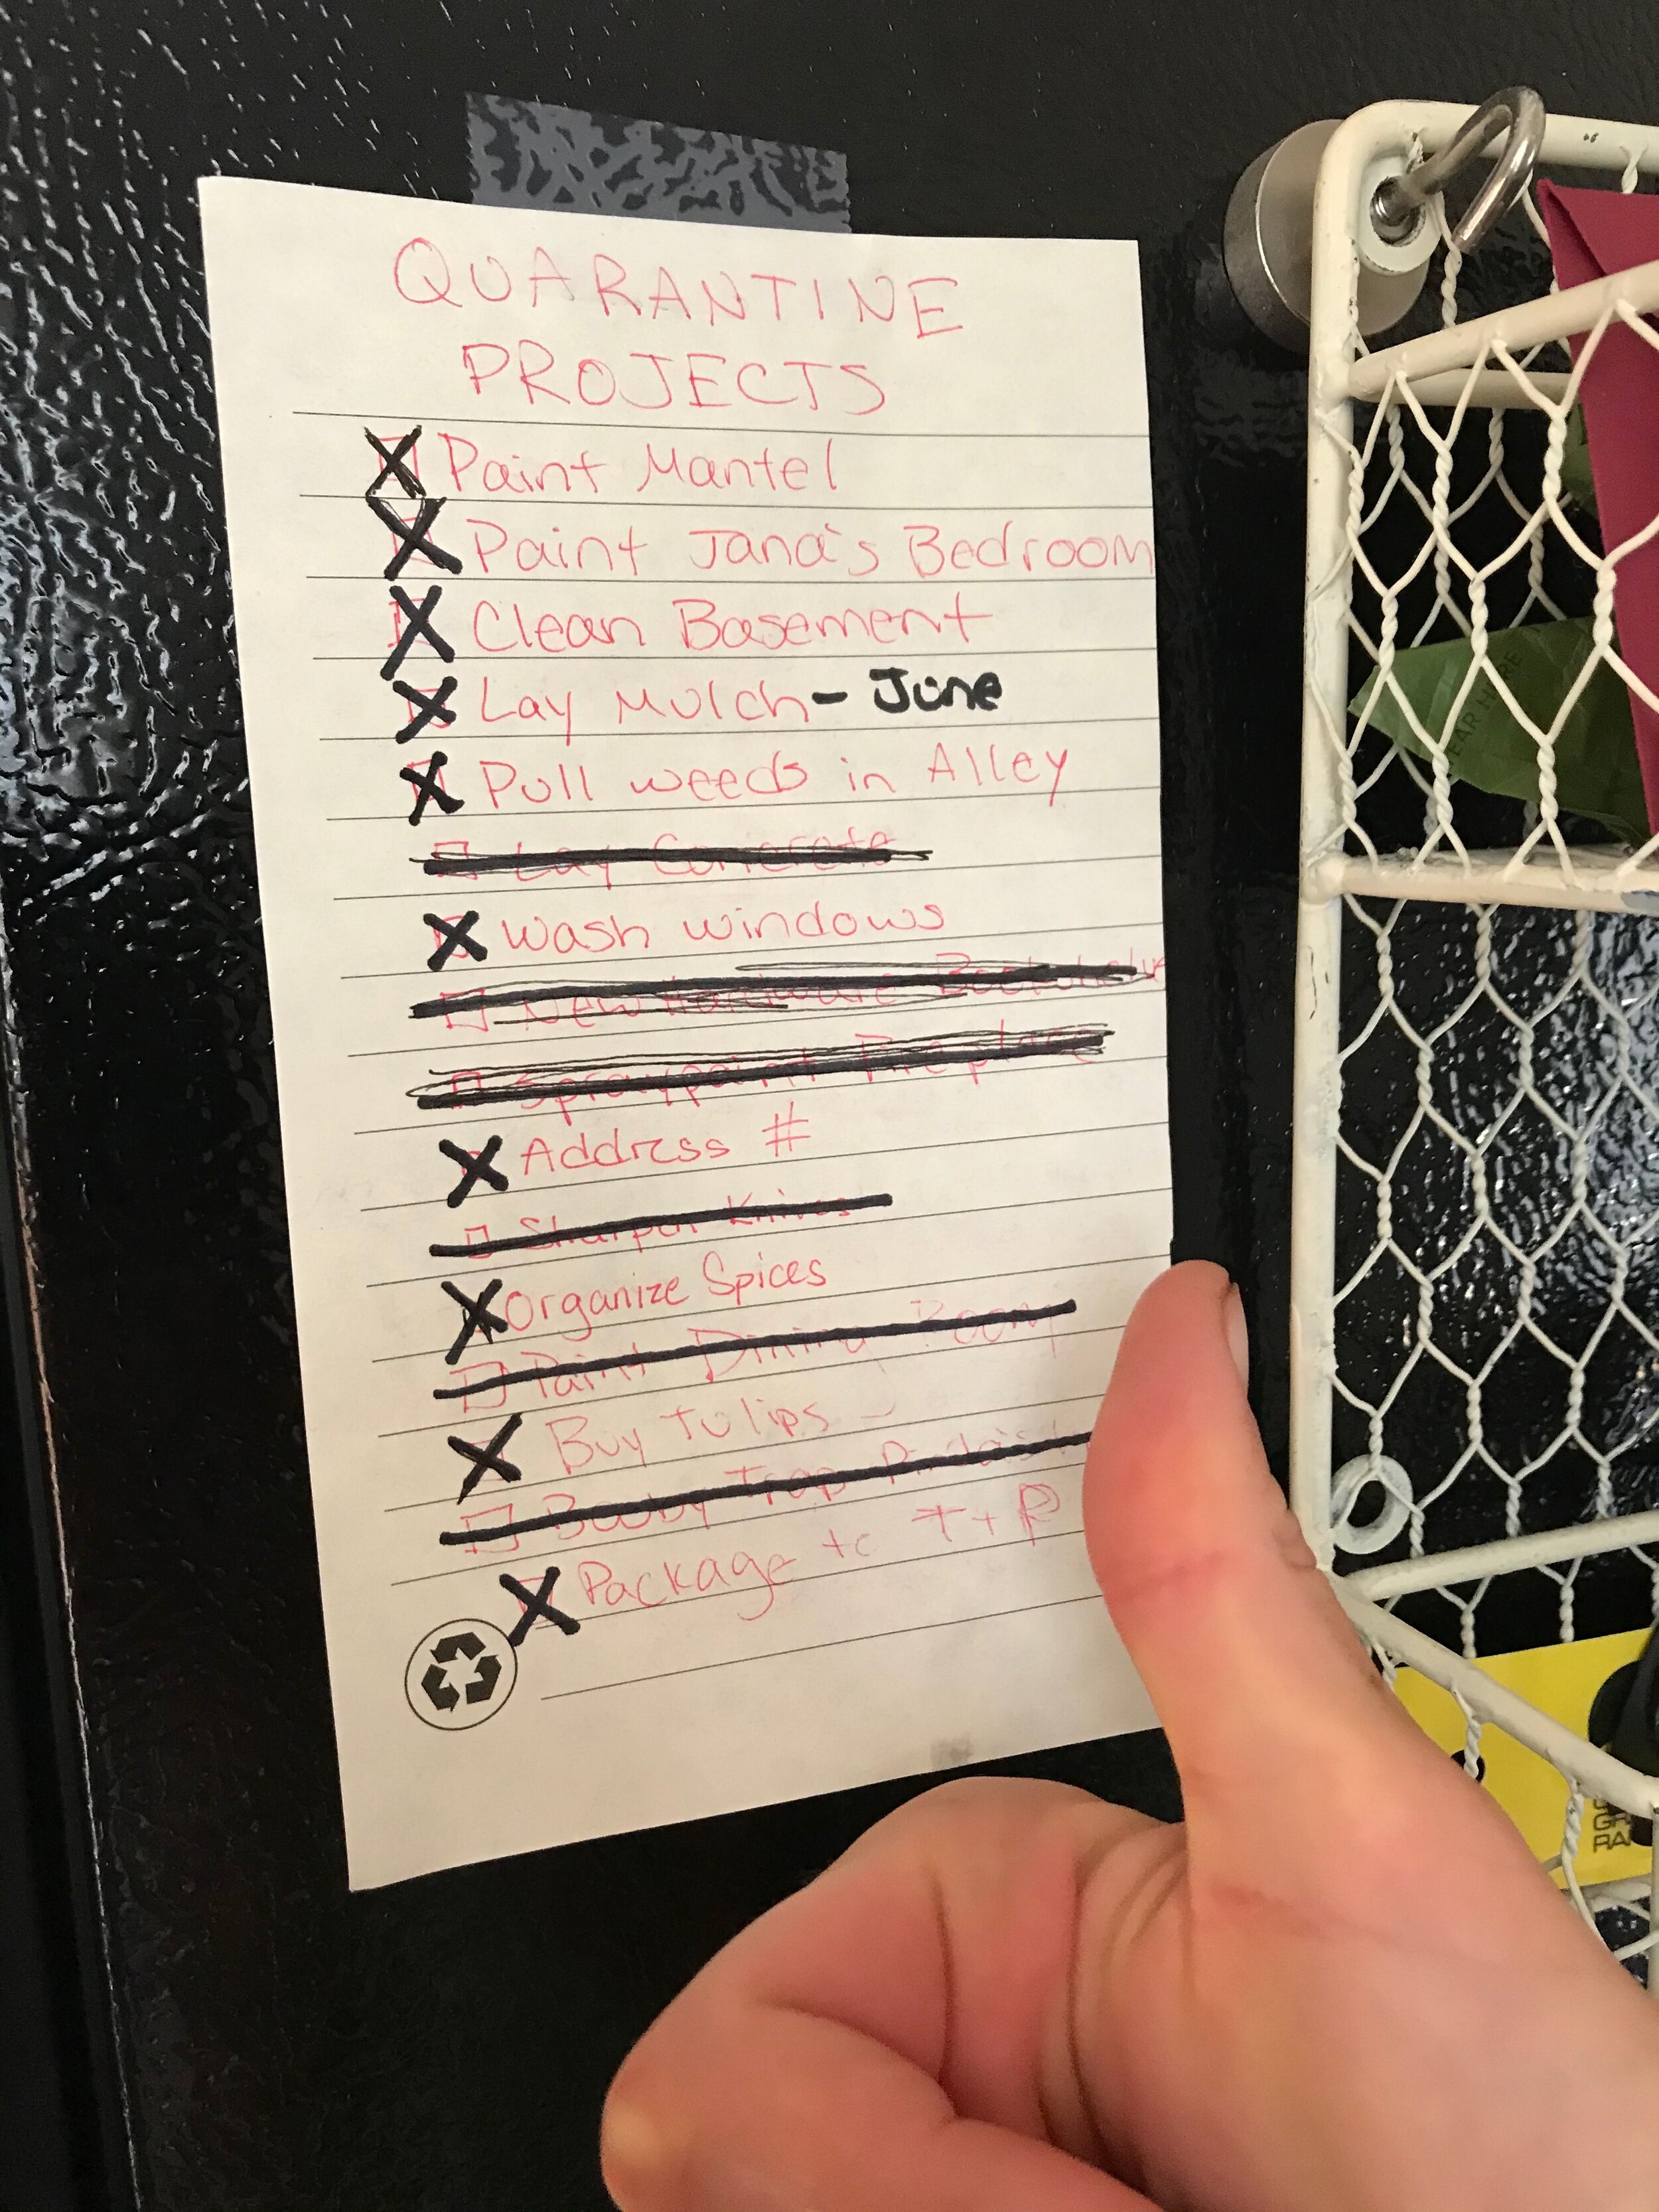
We finished up the weekend with chores! I may be weird, but it was GREAT! We had a whole list of projects for our COVID quarantine, and we finished the last one off! Cleaned up all the weeds growing in the alley around the garage. It feels so good to have that cleaned up!

Chocolate Stout Cake
From King Arthur Baking Company
Cake

  • 2 cups (454g) stout or dark beer, such as Guinness

  • 32 tablespoons (454g) unsalted butter, cold

  • 1 1/2 cups (128g) Dutch-process cocoa

  • 4 cups (482g) King Arthur Unbleached All-Purpose Flour

  • 4 cups (794 g) sugar

  • 1 tablespoon baking powder

  • 1 1/2 teaspoons salt*

  • 4 large eggs, at room temperature

  • 3/4 cup (170g) sour cream, at room temperature

    *If you use salted butter, reduce the salt to 1 teaspoon. Frosting 1 pound bittersweet or semisweet chocolate, chopped 2 cups (454g) heavy cream 1 teaspoon vanilla extract

Frosting

  • 1 pound bittersweet or semisweet chocolate, chopped

  • 2 cups (454g) heavy cream

  • 1 teaspoon vanilla extract

Directions:
Preheat the oven to 350°F. Grease and flour three 8" or two 9" cake pans, and line them with parchment paper circles. Be sure your 9" pans are at least 2" deep.

For the cake: Place the stout and butter in a large, heavy saucepan, and heat until the butter melts. Remove the pan from the heat, and add the cocoa powder. Whisk until the mixture is smooth. Set aside to cool to room temperature.

Whisk together the flour, sugar, baking powder, and salt in a large bowl; set aside.

In a large mixing bowl, beat together the eggs and sour cream. Add the stout-cocoa mixture, mixing to combine. Add the flour mixture and mix together at slow speed. Scrape the sides and bottom of the bowl, and mix again for 1 minute.

Divide the batter equally among the prepared pans. Bake the layers for 35 minutes for 8" pans, or 45 to 50 minutes for 9" pans, until a cake tester inserted into the center comes out clean. Remove the cakes from the oven and cool on a rack for 10 minutes before turning the cakes out of their pans and returning to the rack to finish cooling completely before frosting.

For the frosting: Place the chopped chocolate in a large heatproof bowl. Bring the cream to a simmer in a heavy, medium-sized saucepan. Pour the hot cream over the chocolate and stir until the mixture is completely smooth. Stir in the vanilla. Refrigerate until the icing is spreadable, stirring occasionally, about 2 hours.

To assemble: Trim the top of the cake layers to be level, if necessary (otherwise the layers will crack when they are stacked). Line the edges of a serving plate with parchment or waxed paper to keep it clean, and then place the layer upside down on top. Spread 2/3 cup of the icing over just the top of the layer. Top with another cake layer, top side down, and repeat the process. If you baked three layers, add that one also. Use the remaining frosting to cover the top and sides of the cake. Remove the parchment or waxed paper. Sprinkle with shamrock sugar decorations, if you have them.

Dip Duo: Za'atar-Spiced Beet Dip with Cheve, and Burnt Eggplant Dip with Tahini

IMG_8973.jpeg

A few weeks back I got a bunch of beets, and an eggplant from my CSA. I already had a lot of other veggies I was planning to grill up for the week and didn’t feel like I needed two more to add to the mix. So instead of just grilling them with olive oil for salads, I decided to make a few dips. Something different, and something I could use up differently. I found two dips from Yotam Ottolenghi that sounded perfect. One was from his cookbook, Plenty, which I own, while the other recipe just popped up on a quick google search.

IMG_8977.jpeg

Beets: the beet dip was perfect because it used za-atar, which I have a huge bag of in the pantry, as well as a full cup of plain yogurt which I basically live on. A hot pepper for spice, and a little oil and maple syrup rounded out the flavors. He recommended topping the dip with fresh goat cheese, toasted hazelnuts and thinly sliced green onions. I didn’t have hazelnuts, so I used toasted pumpkin and sunflower seeds instead which was very nice.

I loved this dip. It definitely tastes like beets (which is a good thing in my book), but not overwhelmingly so thanks to the yogurt, oil and maple syrup. The beets and maple syrup made it quite sweet, yet it also had a pleasant spiciness thanks to the hot pepper (I had to. use a green jalapeno because it was all I could find). I thought it was perfectly balanced and delicious. While I served this with the recommended toppings several times which was great, I also served it spread on a plate of more plain yogurt as a double layer dip and thought this was also amazing. So plenty of options!

Eggplant: this burnt eggplant dip was basically baba ganoush in my opinion which I didn’t really realize until it was made. I of course had to then look up the definition of baba ganoush and found that there is a big “controversy” about the ingredients that are found in a traditional baba ganoush. I’m not going to get into it, I’m definitely not an expert, and it’s not my battle to fight. All I know is that I loved it! I have tried to make baba ganoush in the past and never had great success. I have always found it to be watery and thin, both in texture and flavor. Thankfully this dip was neither! I will definitely make this again and again!


Za'atar-Spiced Beet Dip with Cheve
From Food and Wine, by Yotam Ottolenghi
Ingredients

  • 6 medium beets (1 1/2 pounds), trimmed

  • 2 small garlic cloves, minced

  • 1 small red chile, seeded and minced

  • 1 cup plain Greek yogurt

  • 3 tablespoons extra-virgin olive oil

  • 1 1/2 tablespoons pure maple syrup

  • 1 tablespoon za’atar

  • Salt

  • 1/4 cup roasted skinned hazelnuts, chopped

  • 2 tablespoons goat cheese, crumbled

  • 2 scallions, thinly sliced

  • Warm bread, for serving

Directions
Preheat the oven to 350°. Put the beets in a small roasting pan and add 1/4 cup of water. Cover with foil and bake for about 1 hour, until tender. Let cool slightly.

Peel the beets, cut into wedges and transfer to a food processor. Add the garlic, chile and yogurt and pulse until blended. Add the olive oil, maple syrup and za’atar and puree. Season with salt. Scrape into a wide, shallow bowl. Scatter the hazelnuts, goat cheese and scallions on top and serve with bread.


Burnt Eggplant Dip with Tahini
From Plenty by Yotam Ottolenghi
Ingredients

  • 1 large eggplant

  • 1/3 cup tahini paste

  • 1 tablespoon fresh lemon juice, plus more

  • 1 large clove garlic, grated

  • 3 tablespoons fresh parsley, chopped

  • 1/2 piece pomegranate seeds

  • 1 tablespoon olive oil, plus more

  • sea salt black pepper

Directions
First, burn the eggplant: Turn on a gas stove to a medium-low flame. Place the eggplant directly on the flame, and roast for about 12-15 minutes. Be sure to turn the eggplant frequently with tongs, and be sure it doesn't catch fire. By the end, the skin should be completely burnt, and the eggplant should be soft and "deflated." Allow to cool for a few minutes, and peel the skin off and discard. Place the eggplant in a colander to drain for 30 minutes, or wrap in foil for overnight, refrigerate, and come back to the project the next day. The eggplant will naturally drain by then.

To make the dip, simply mix all of the ingredients (except half of the pomegranate seeds) together in a bowl. Adjust the seasonings to taste. You want a smoky, fresh, well-balanced flavor. To serve, garnish with the other half of the pomegranate seeds and a drizzle of olive oil and crack of fresh pepper. Serve at room temperature! Serve with pita, or vegetables.

Almond Raspberry Wedding Cake with Swiss Meringue Buttercream

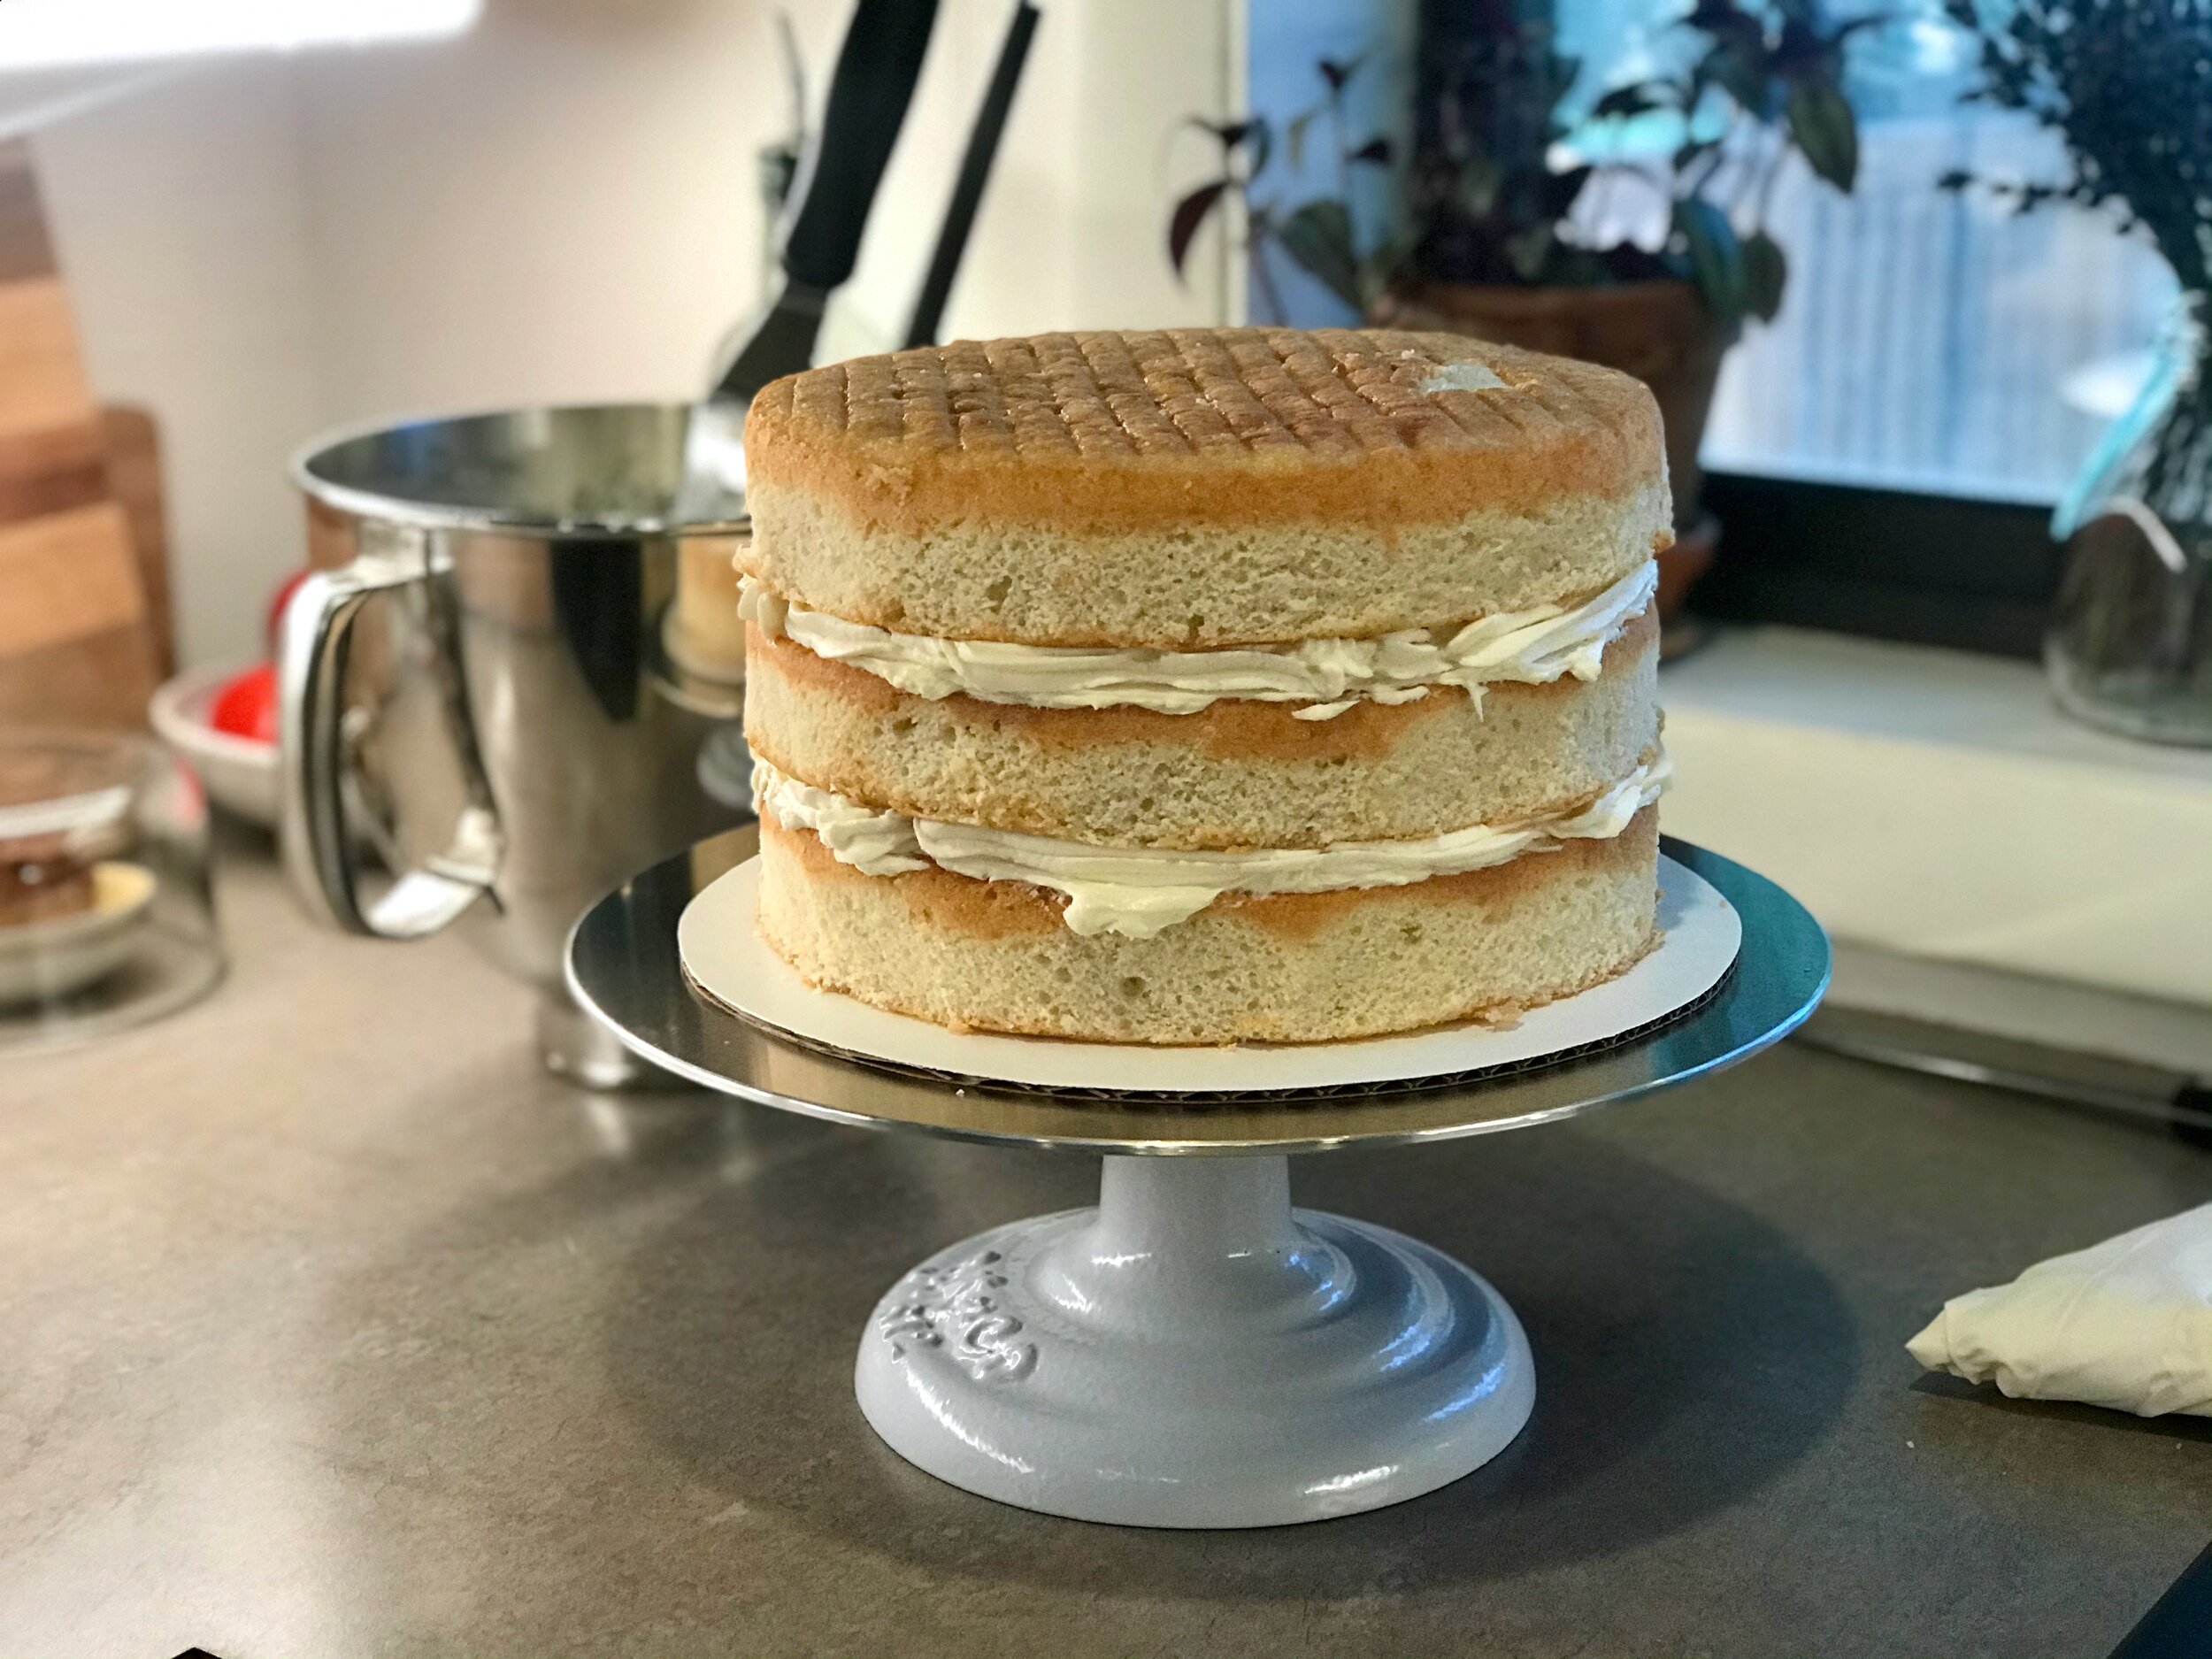
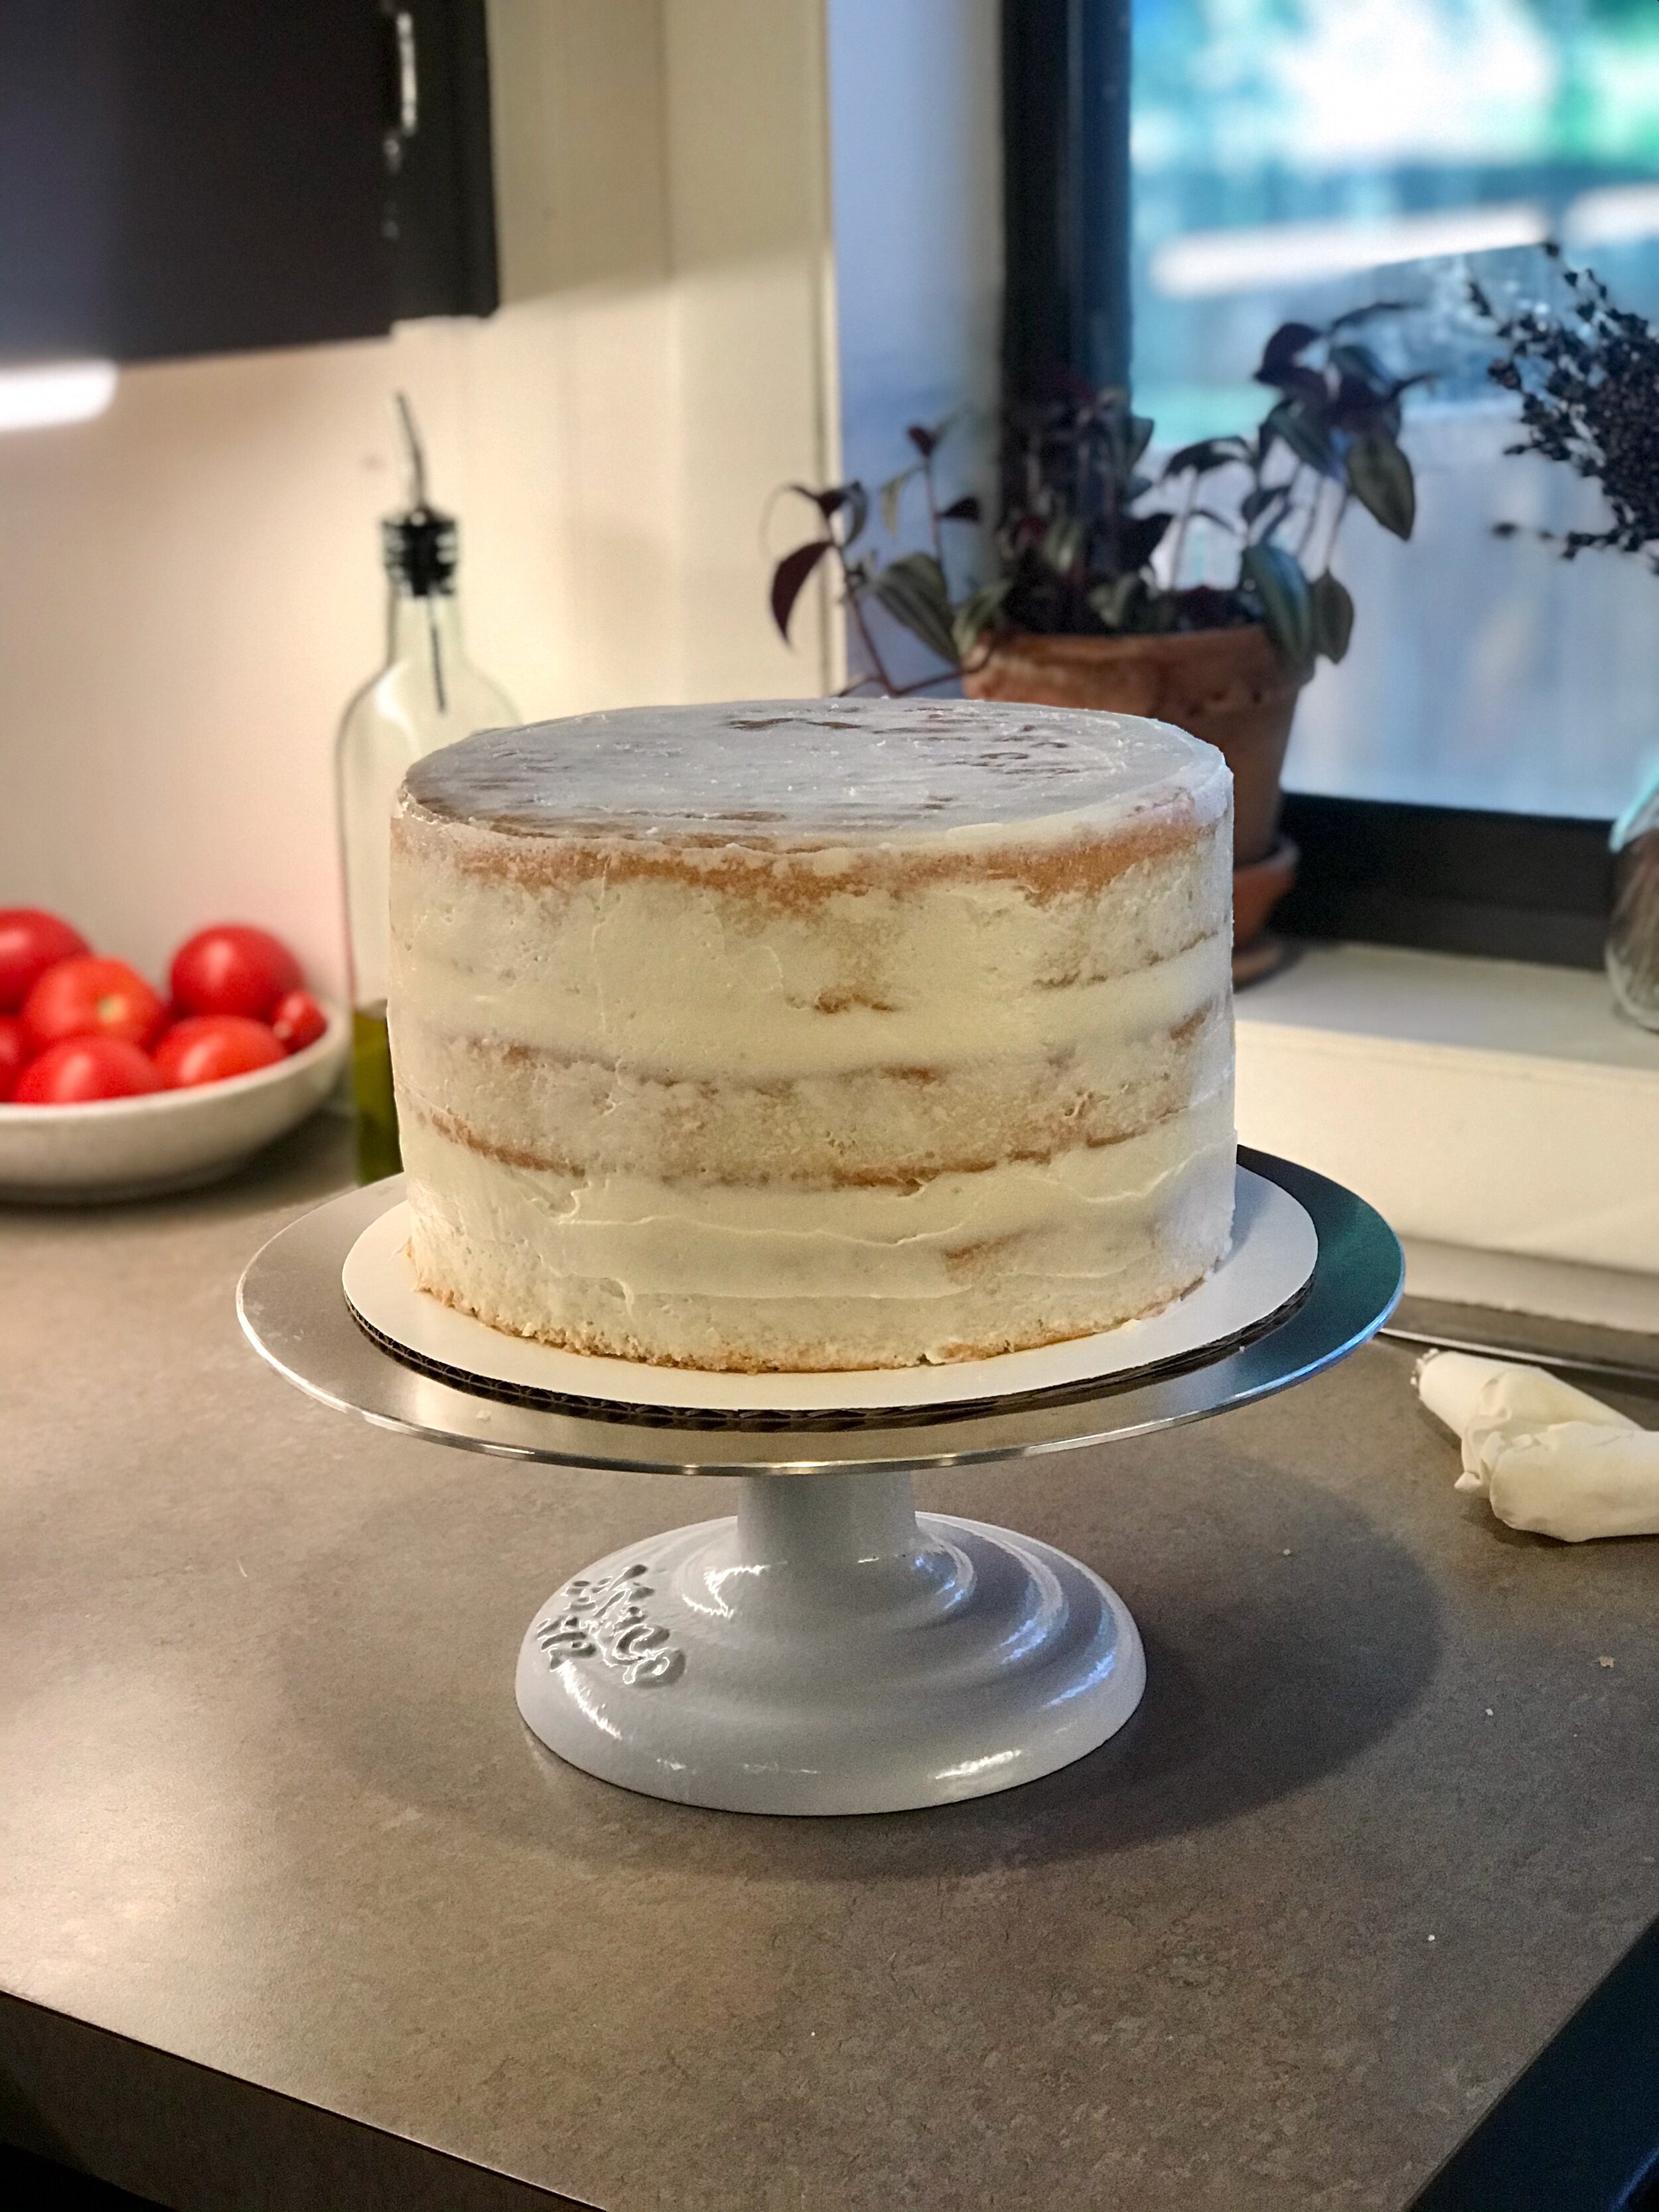
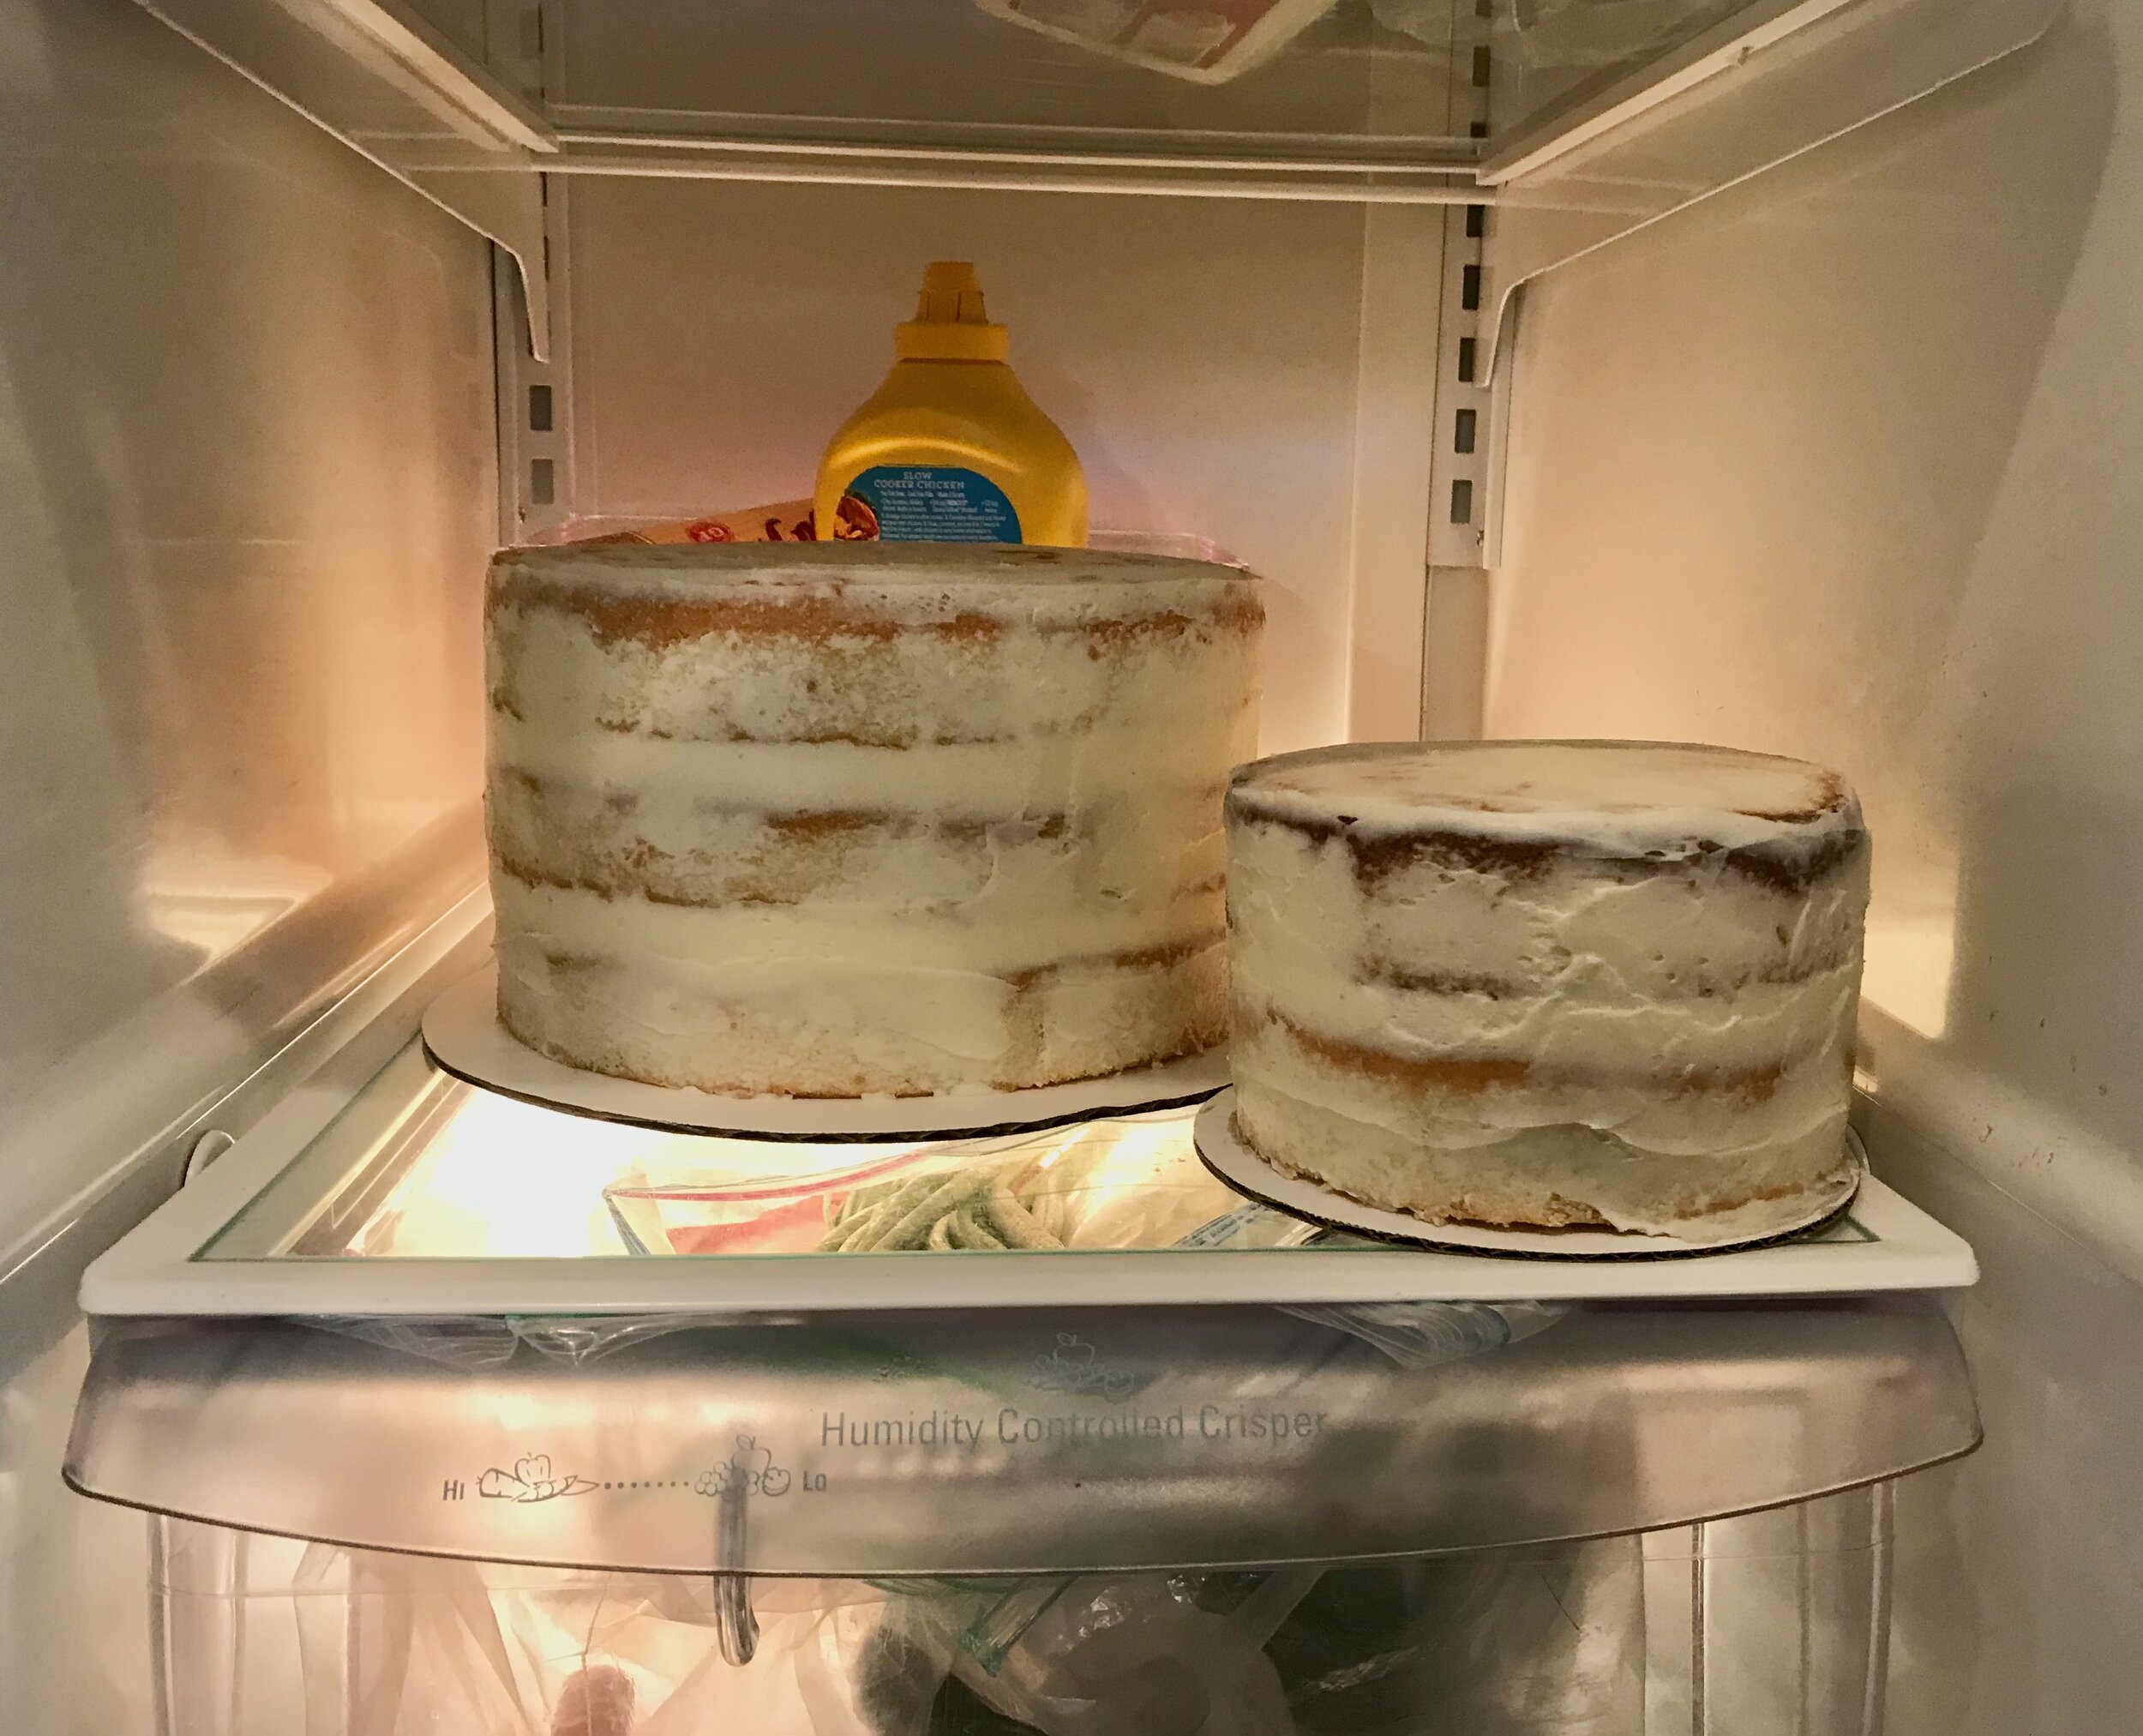
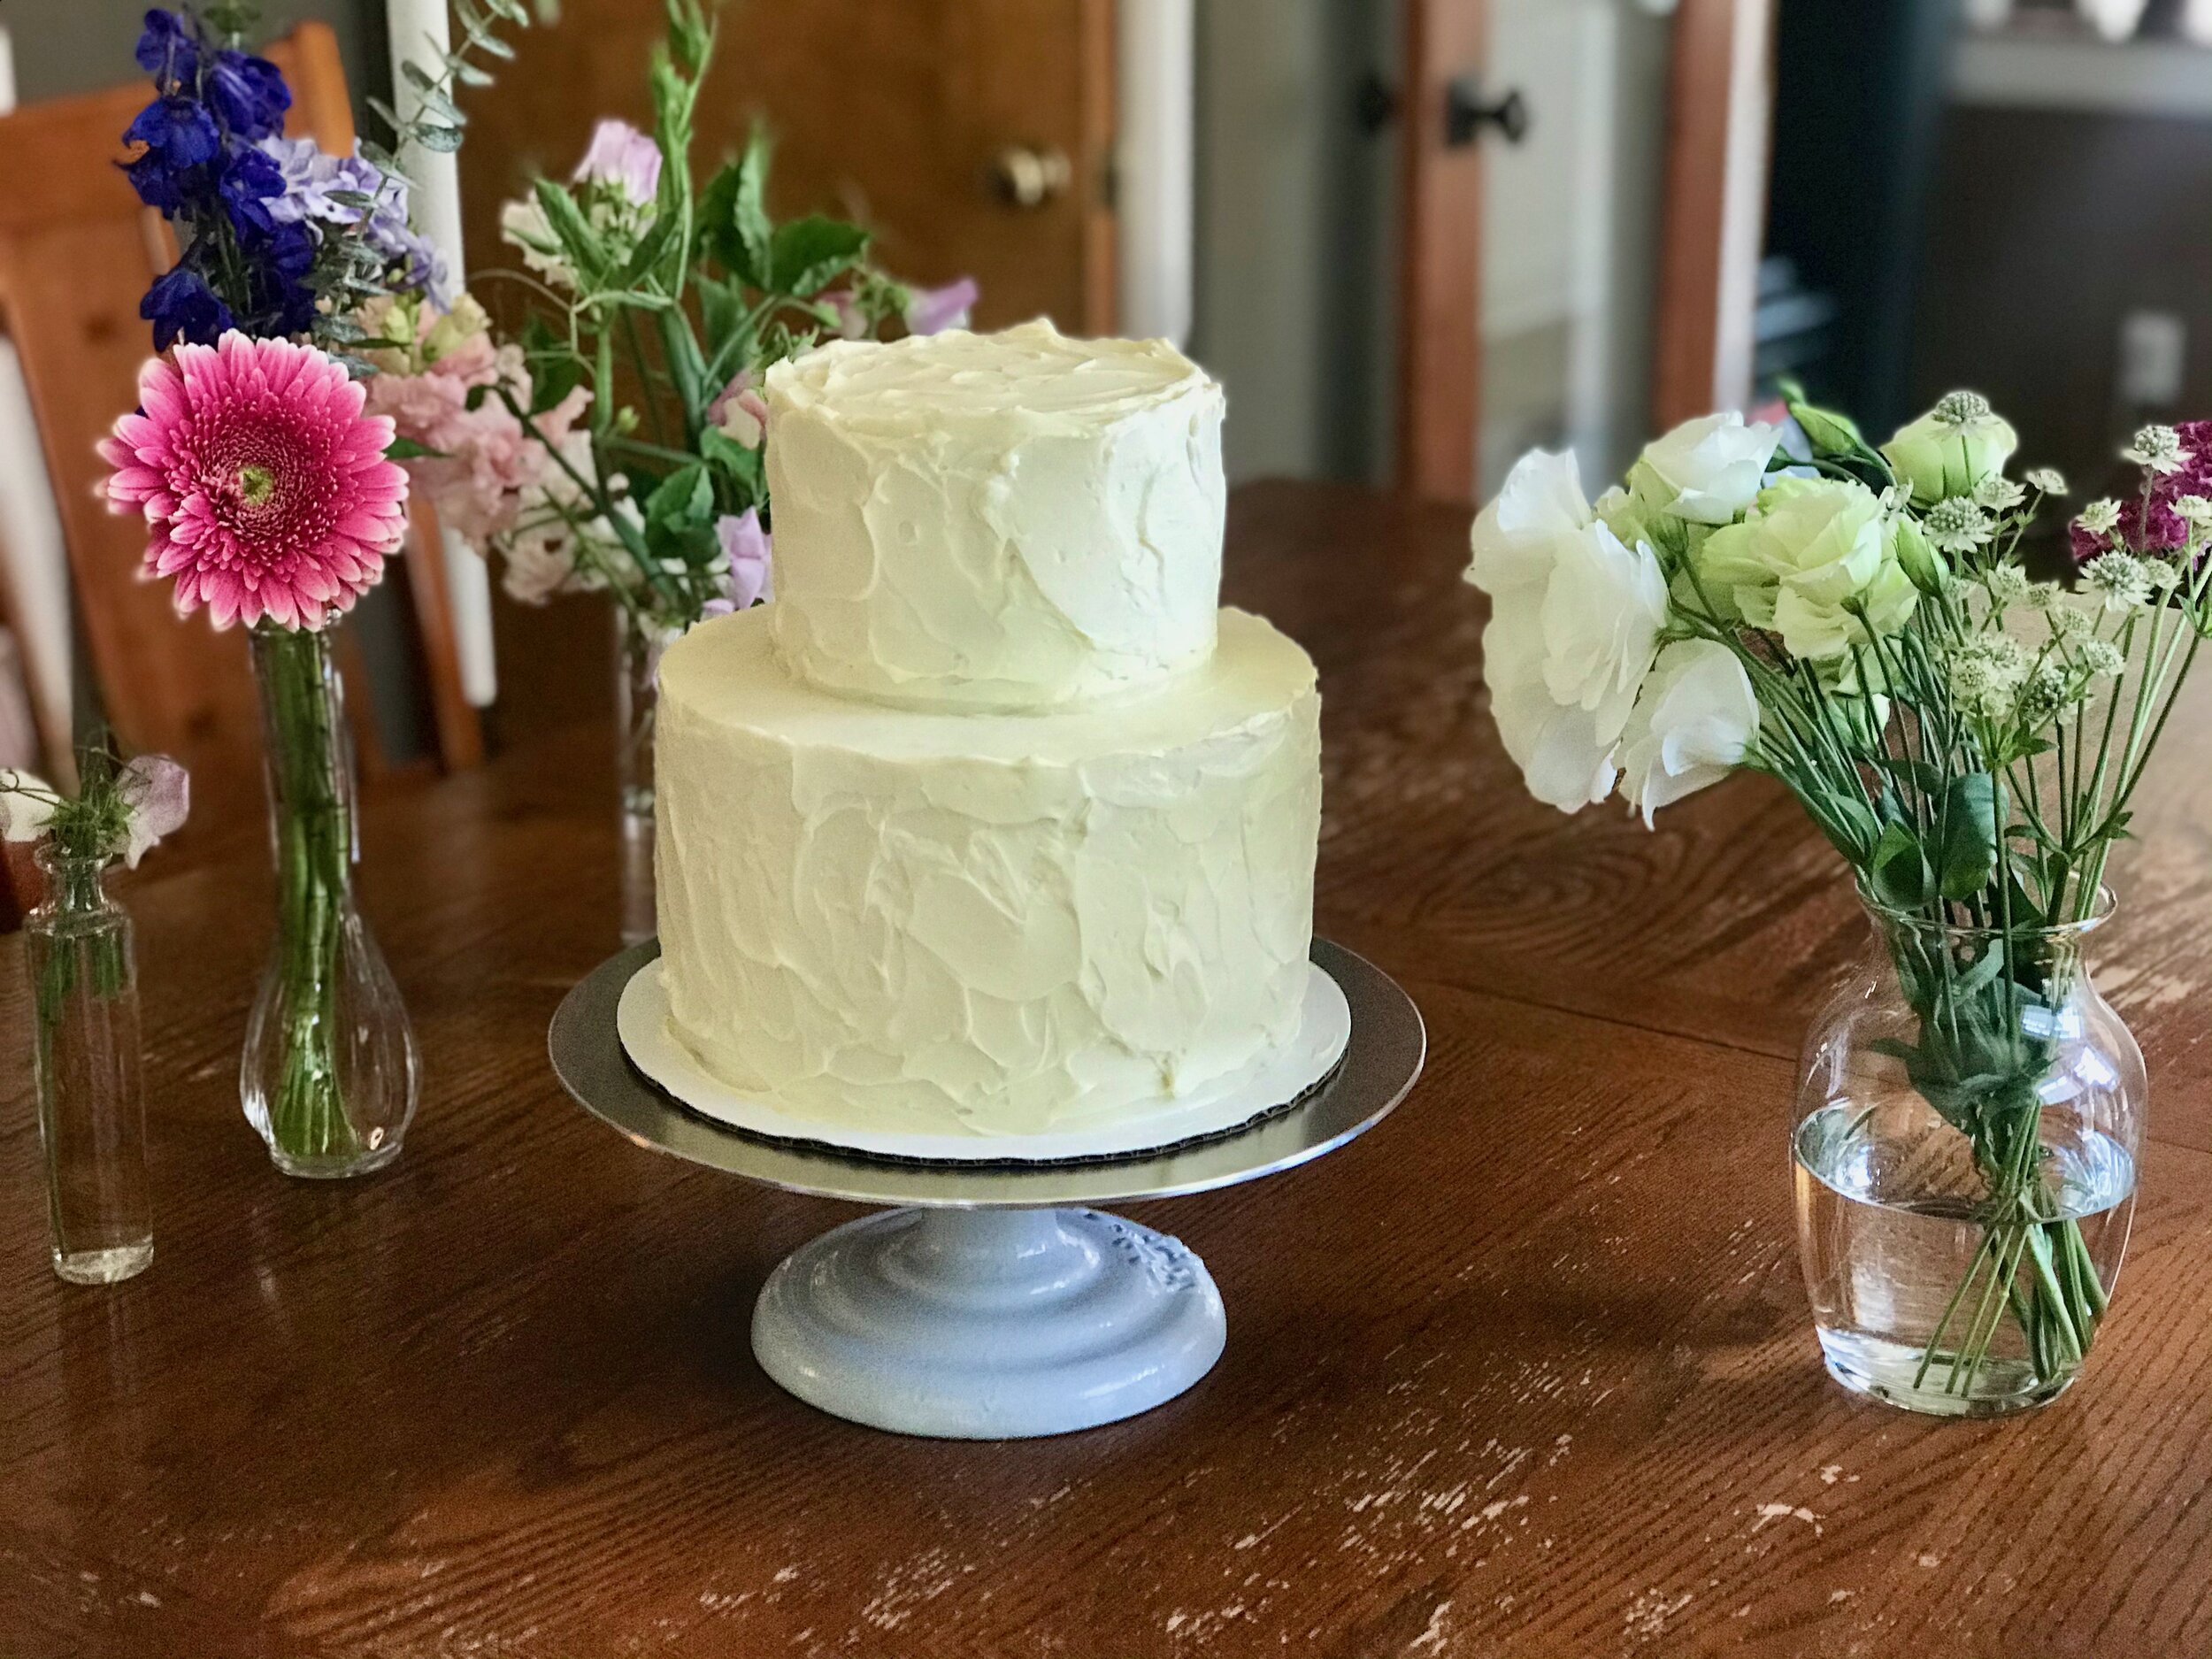
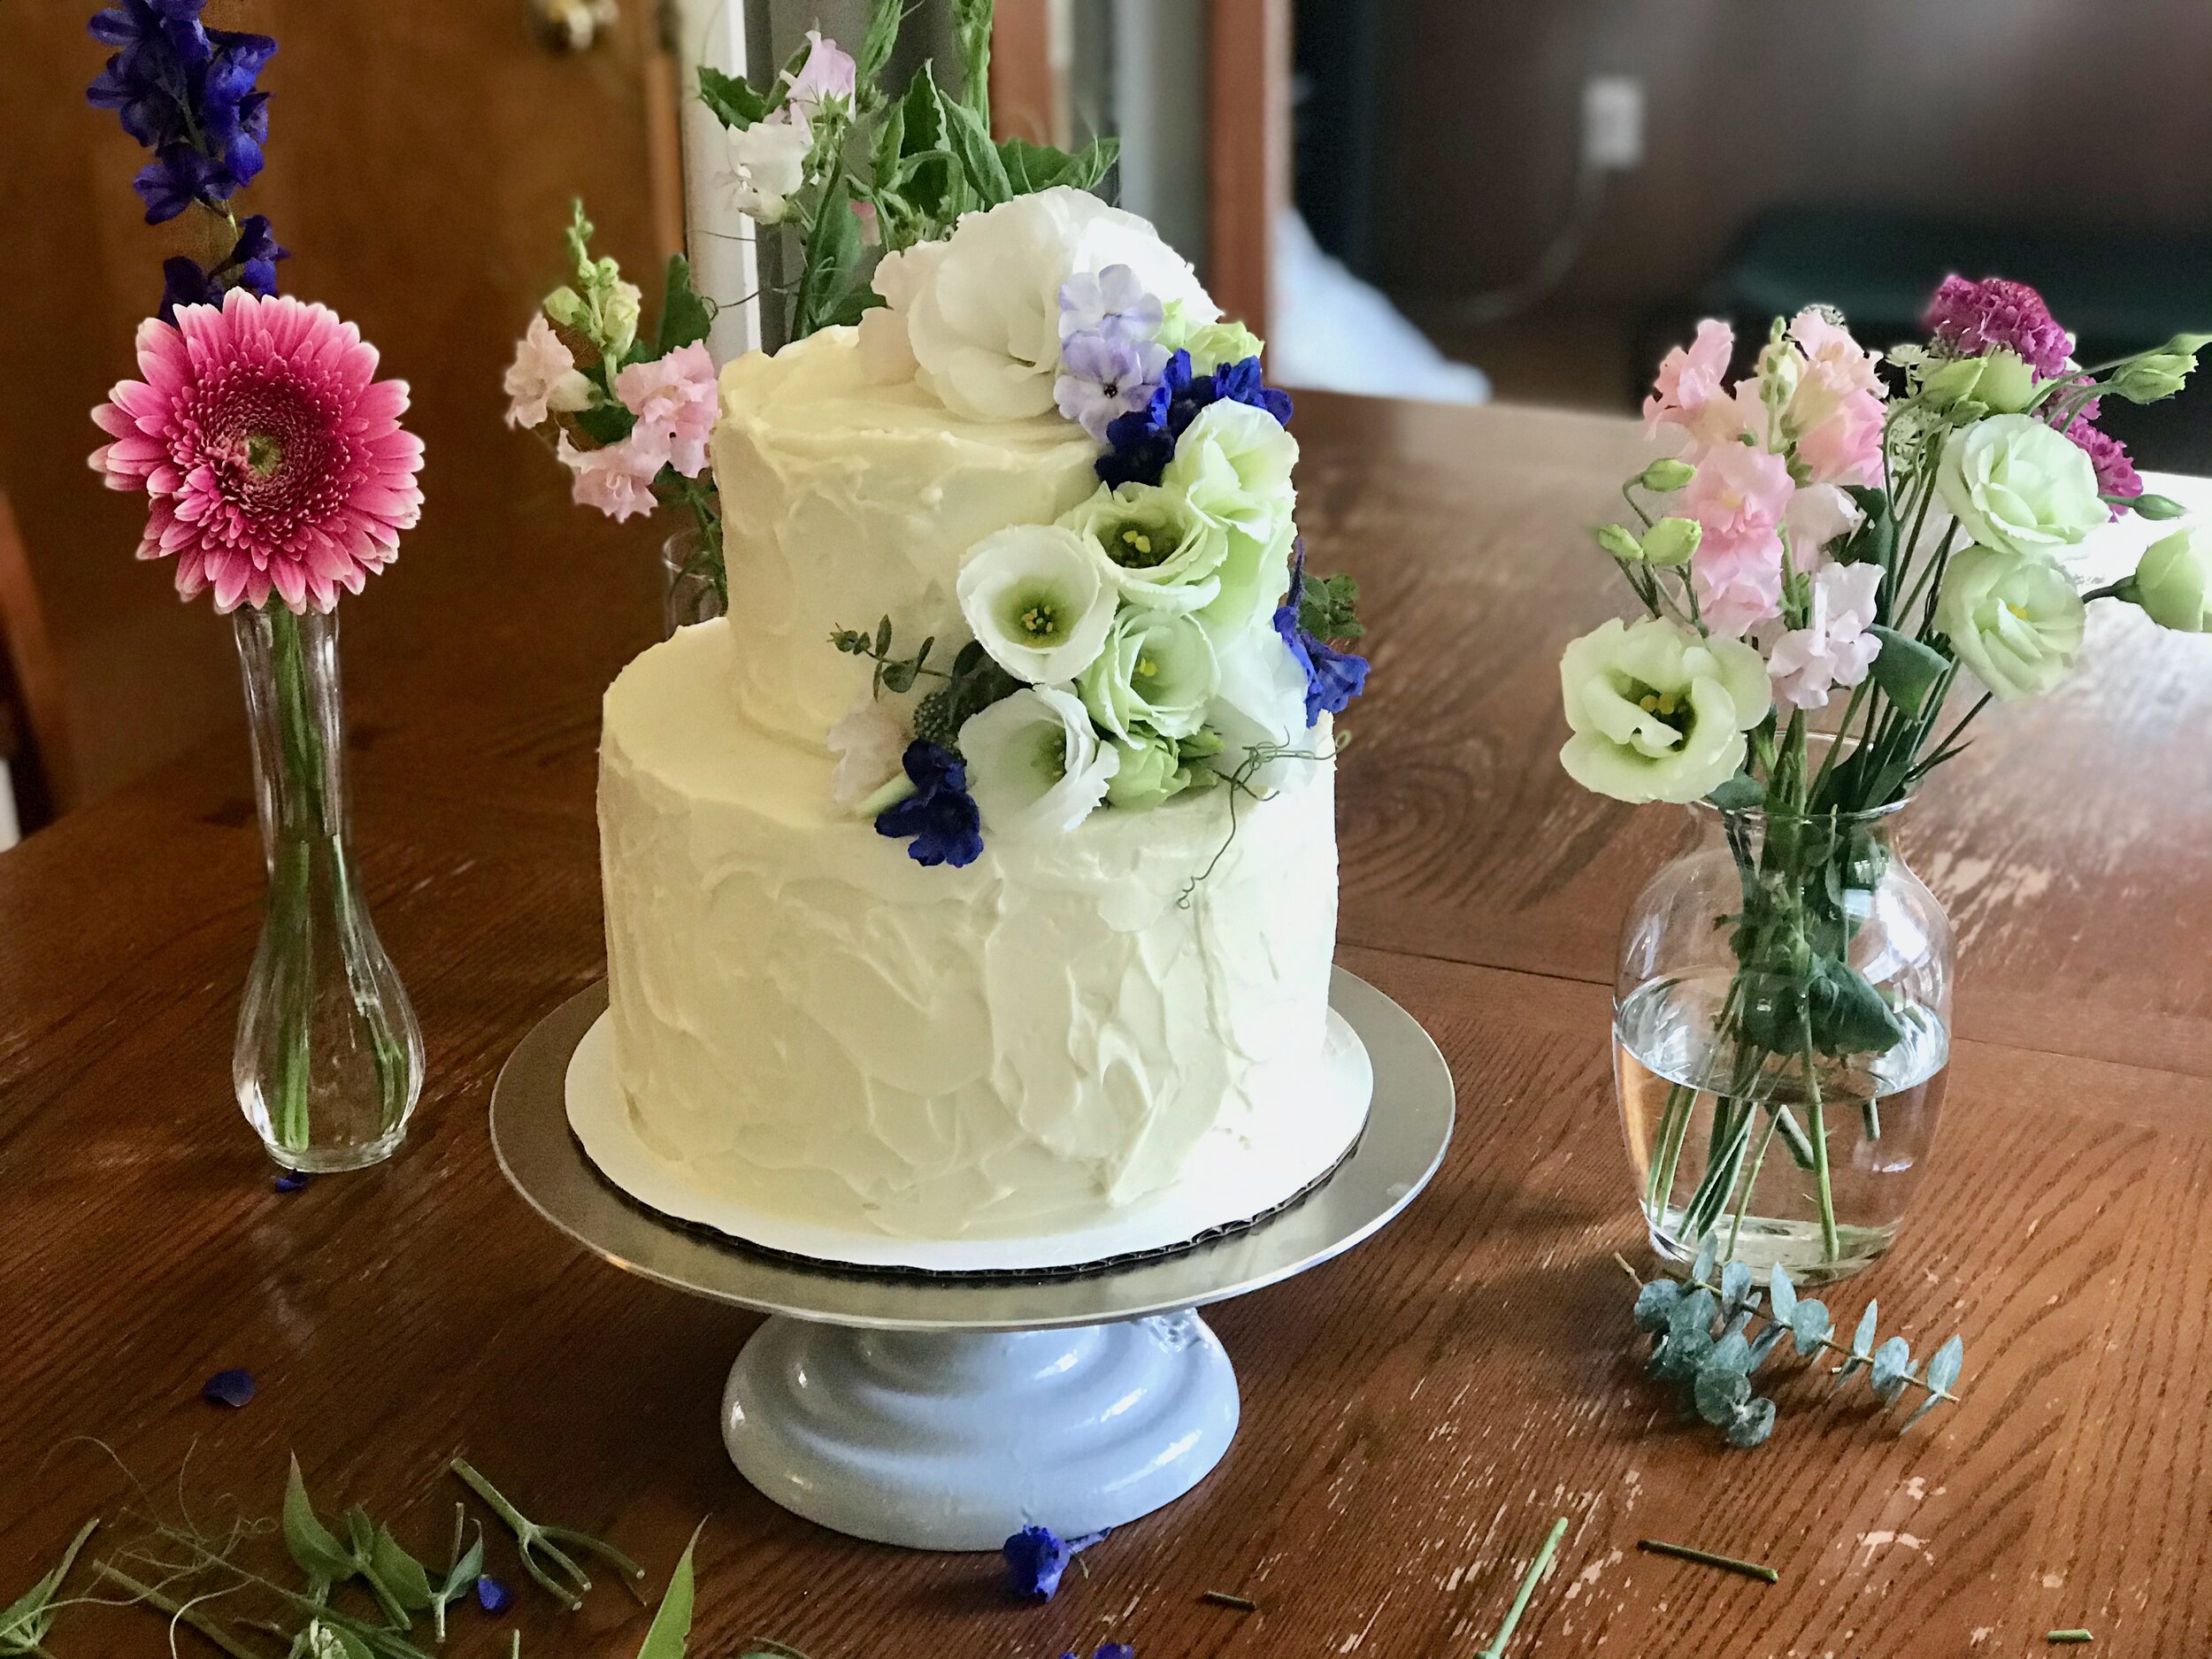
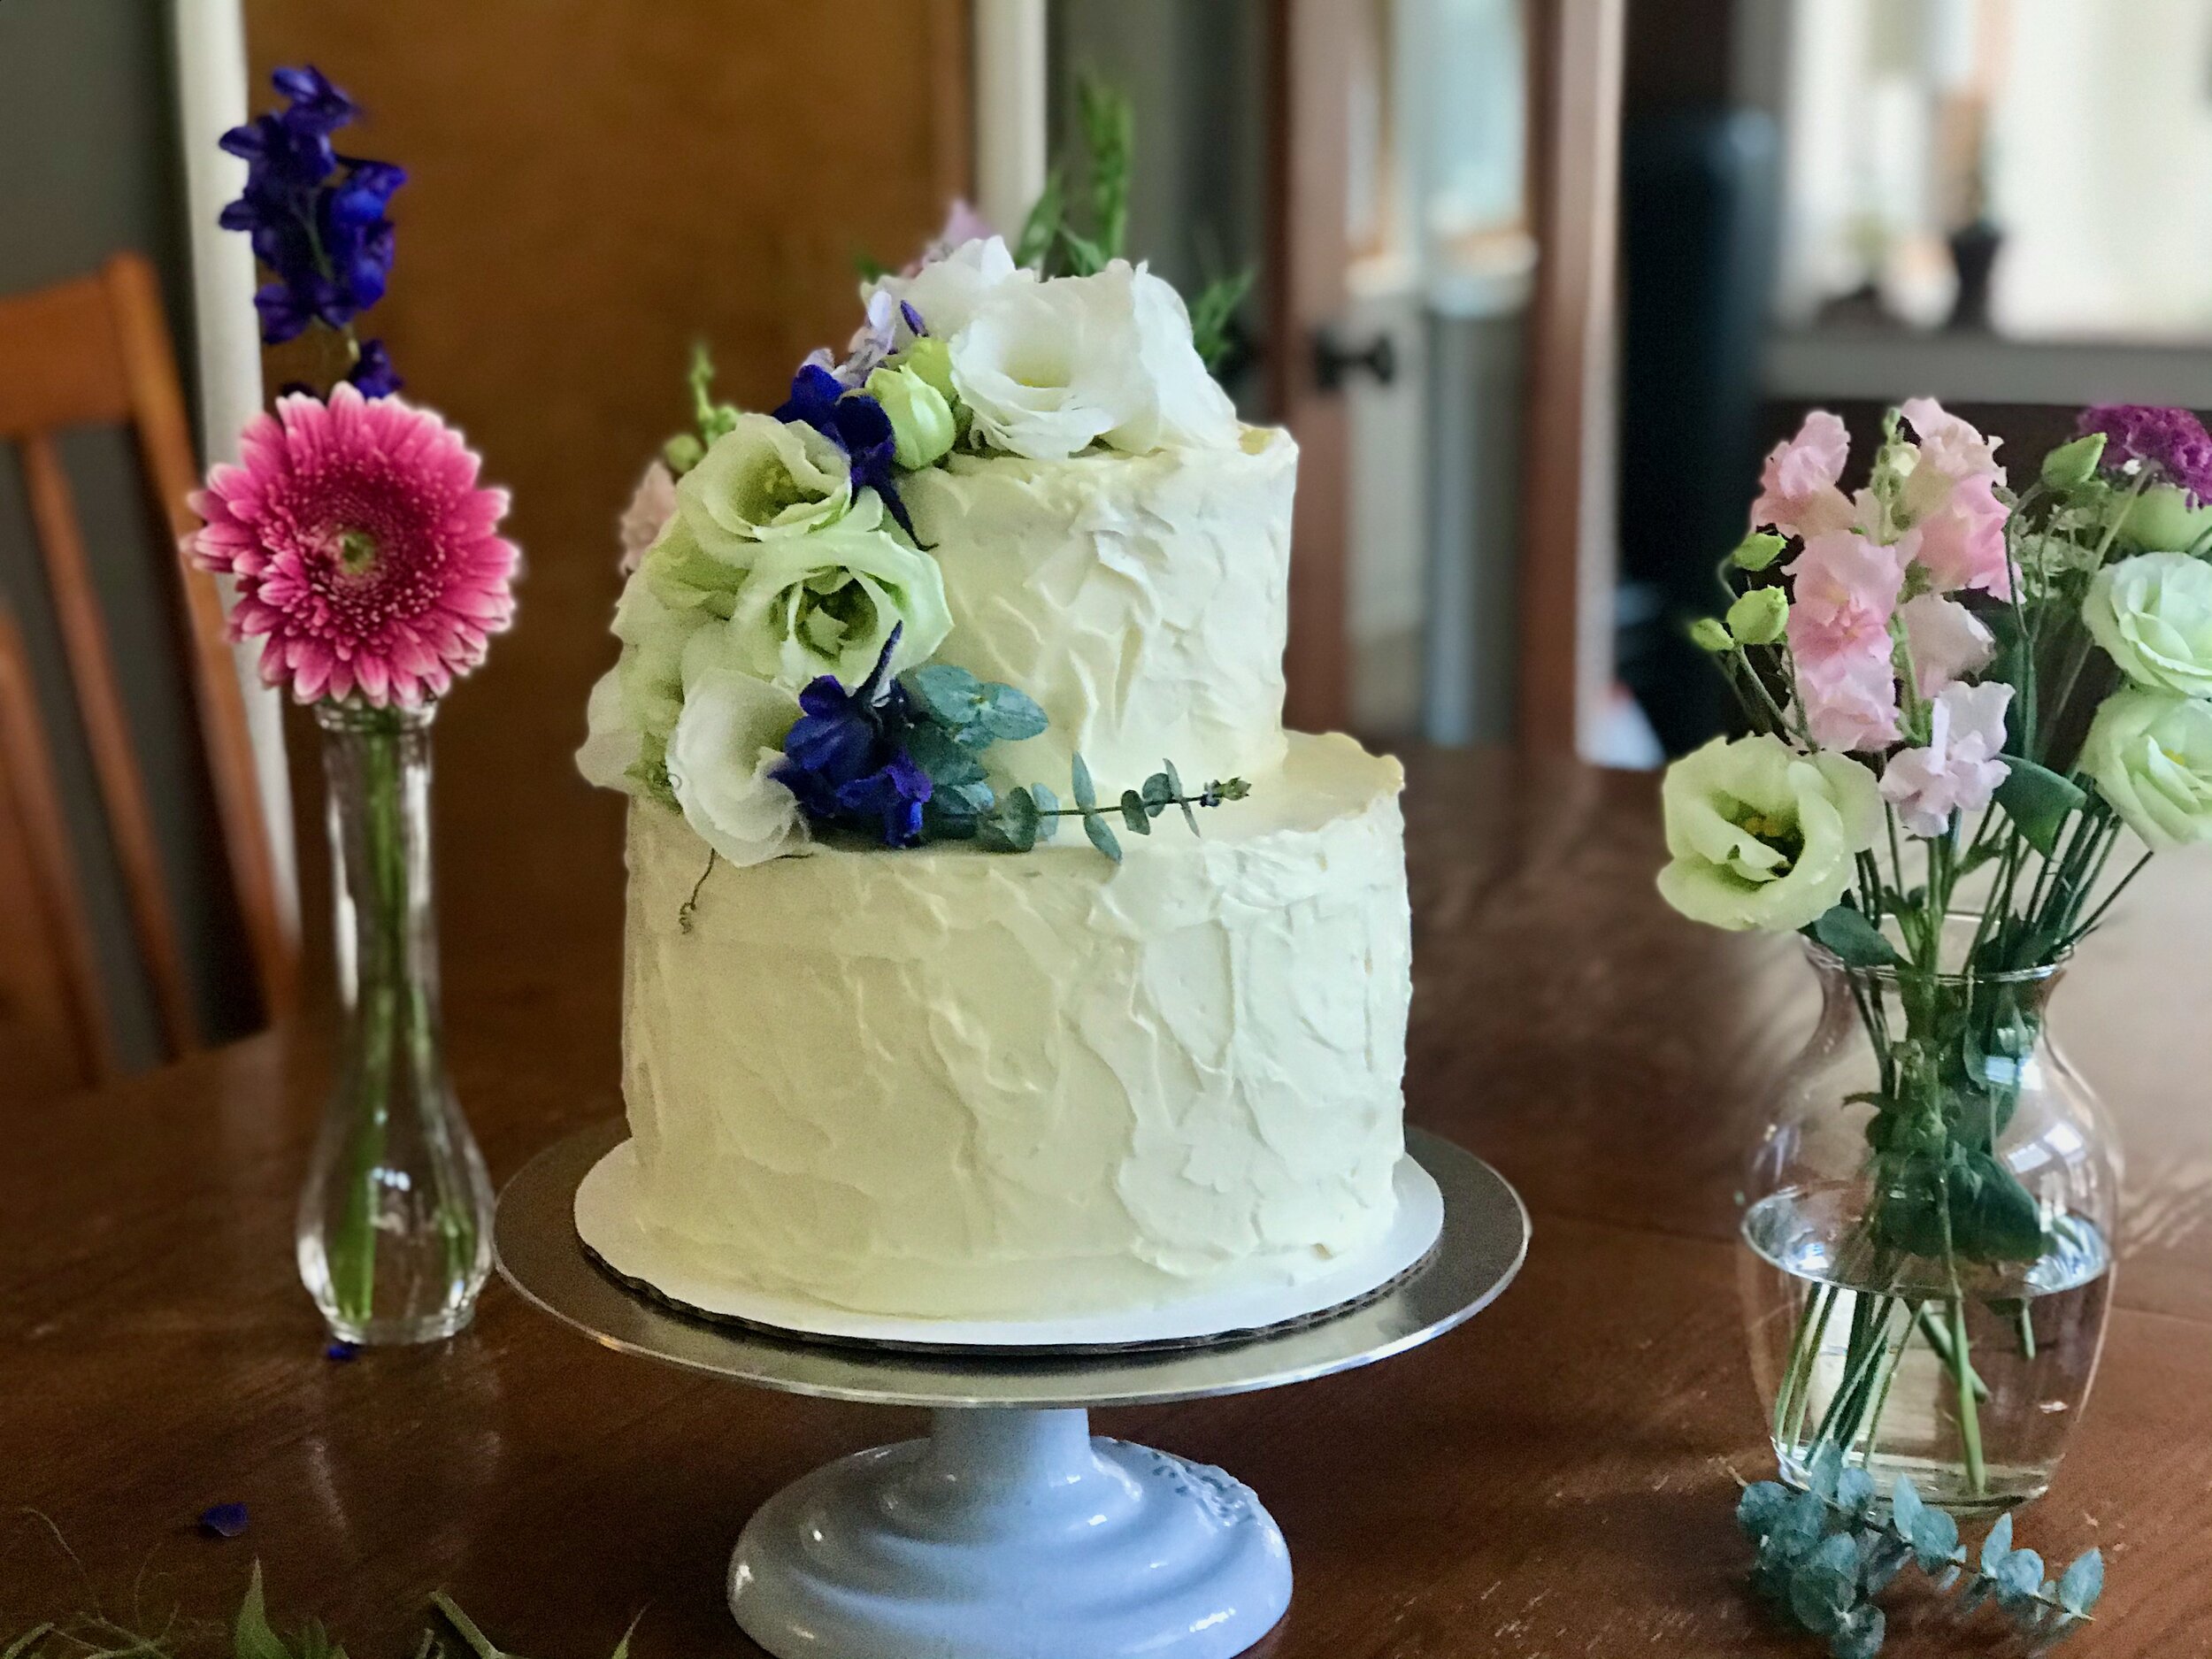
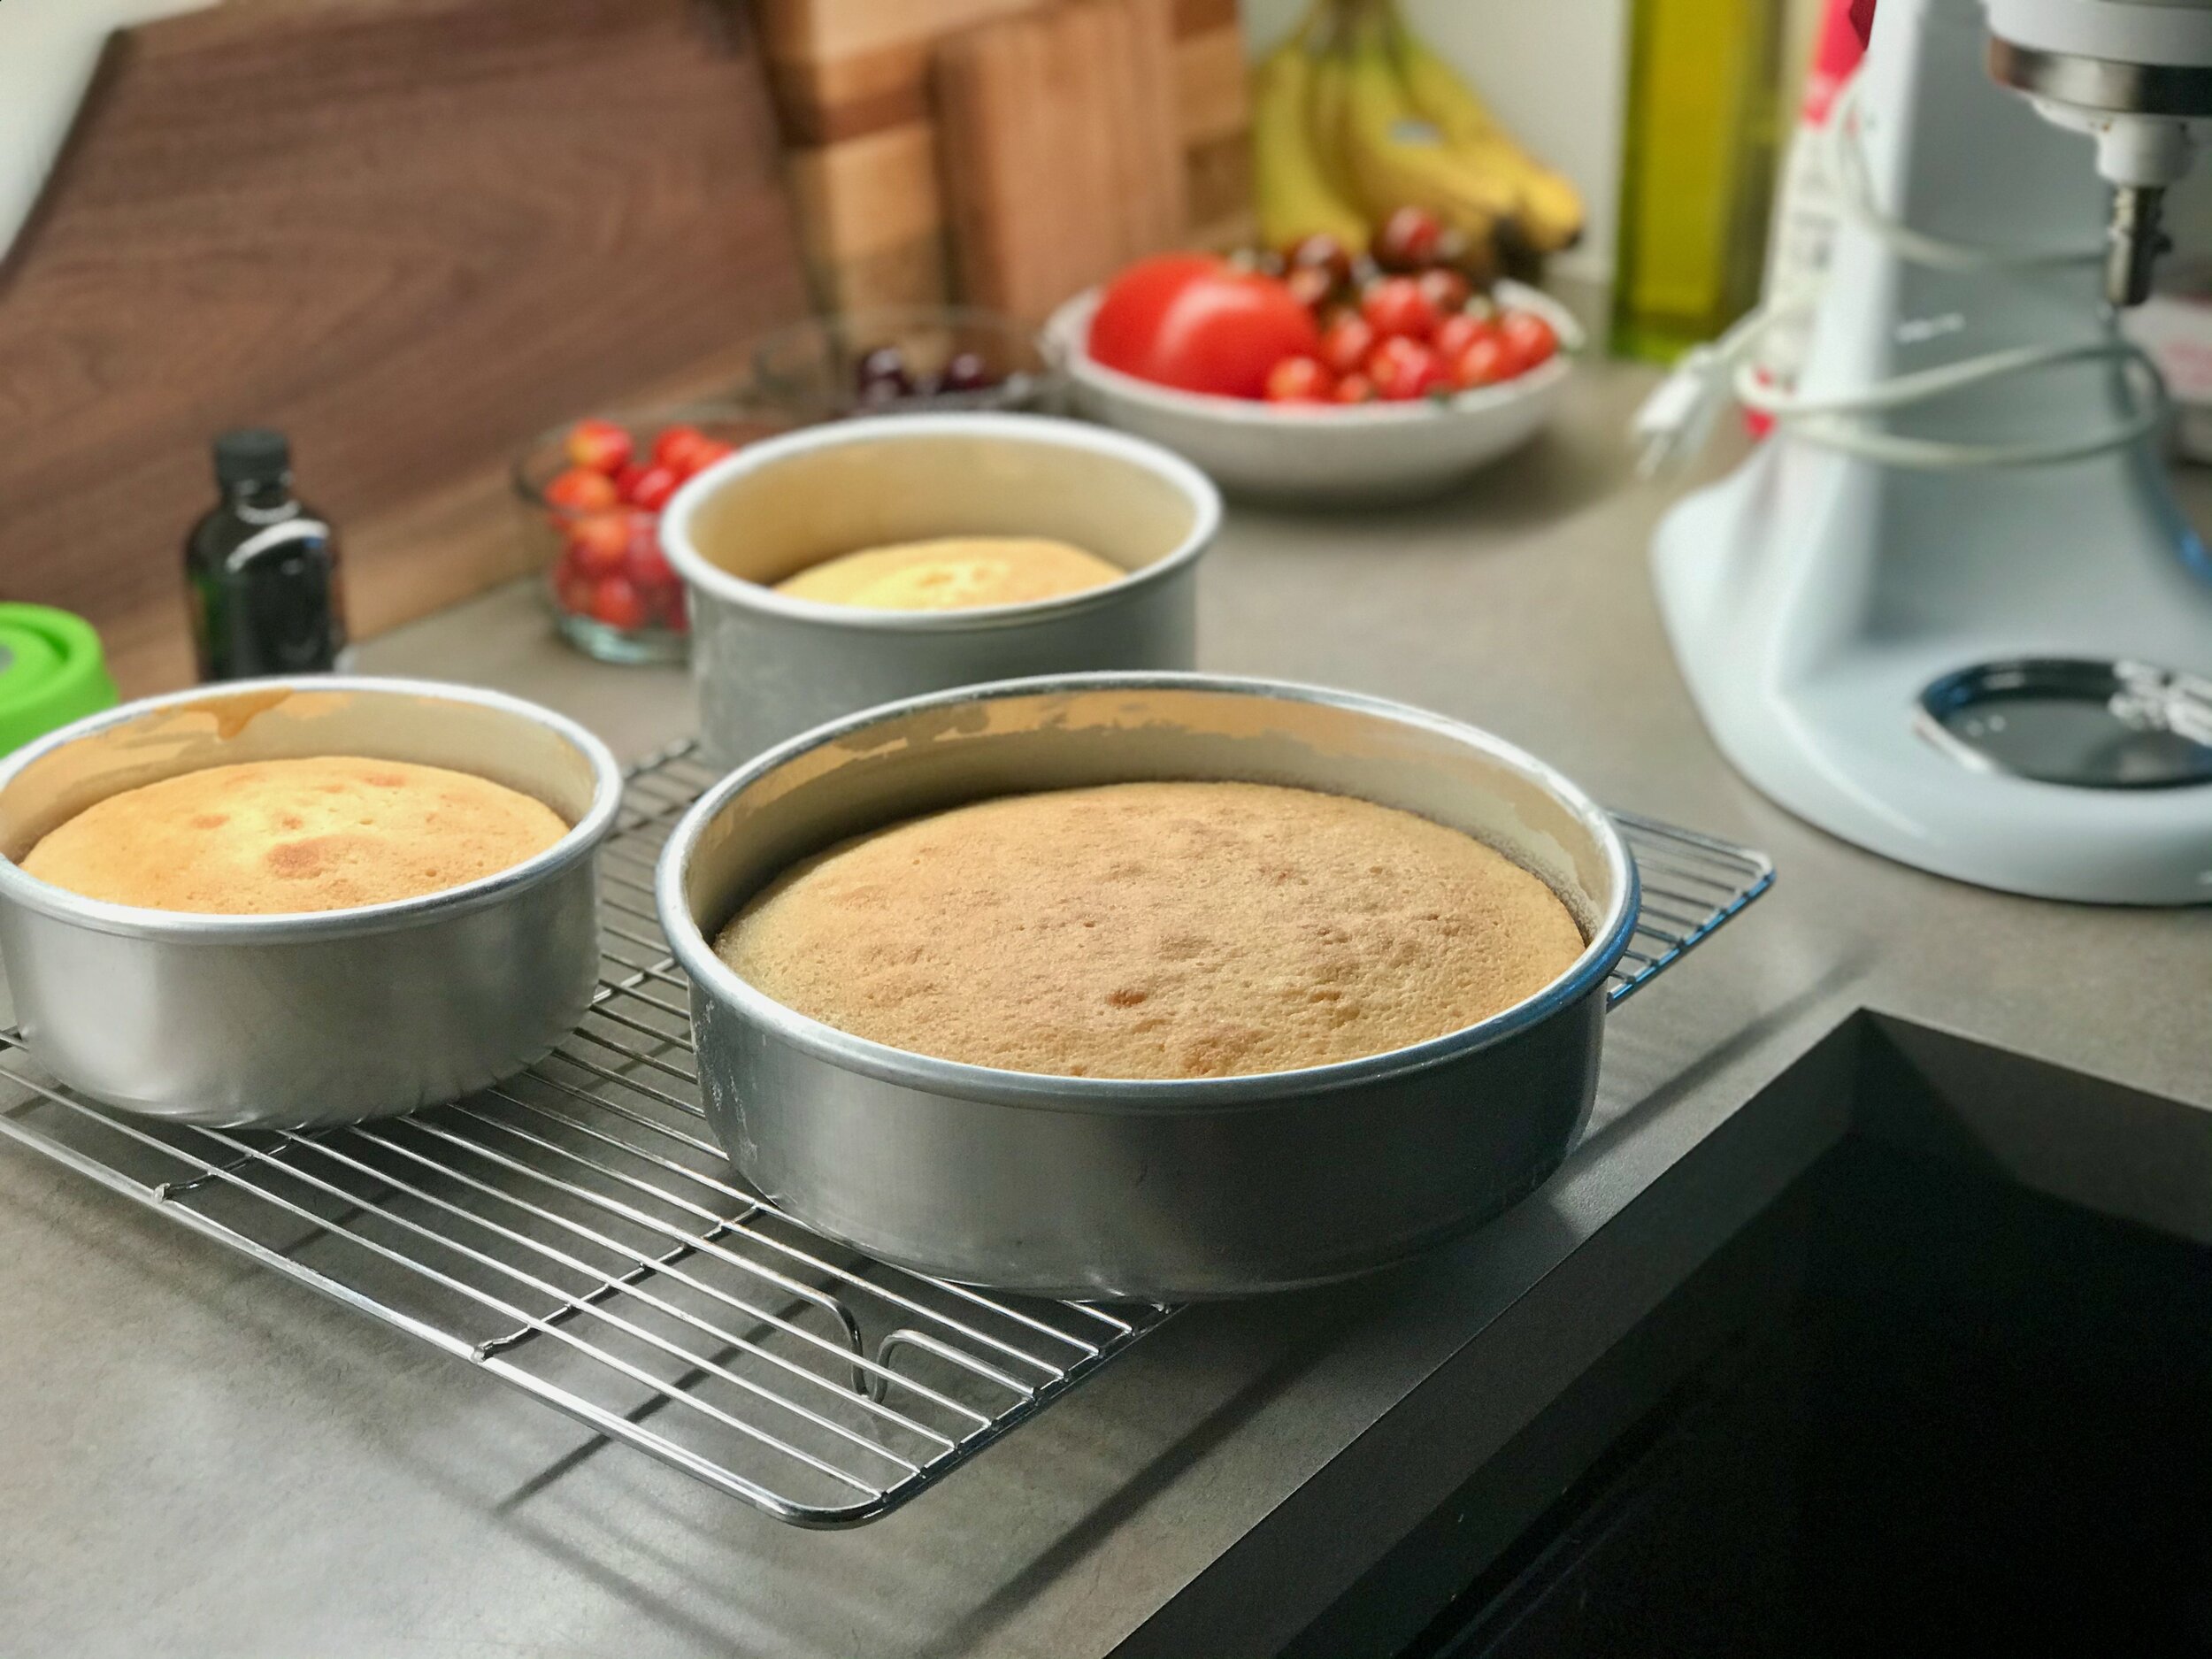
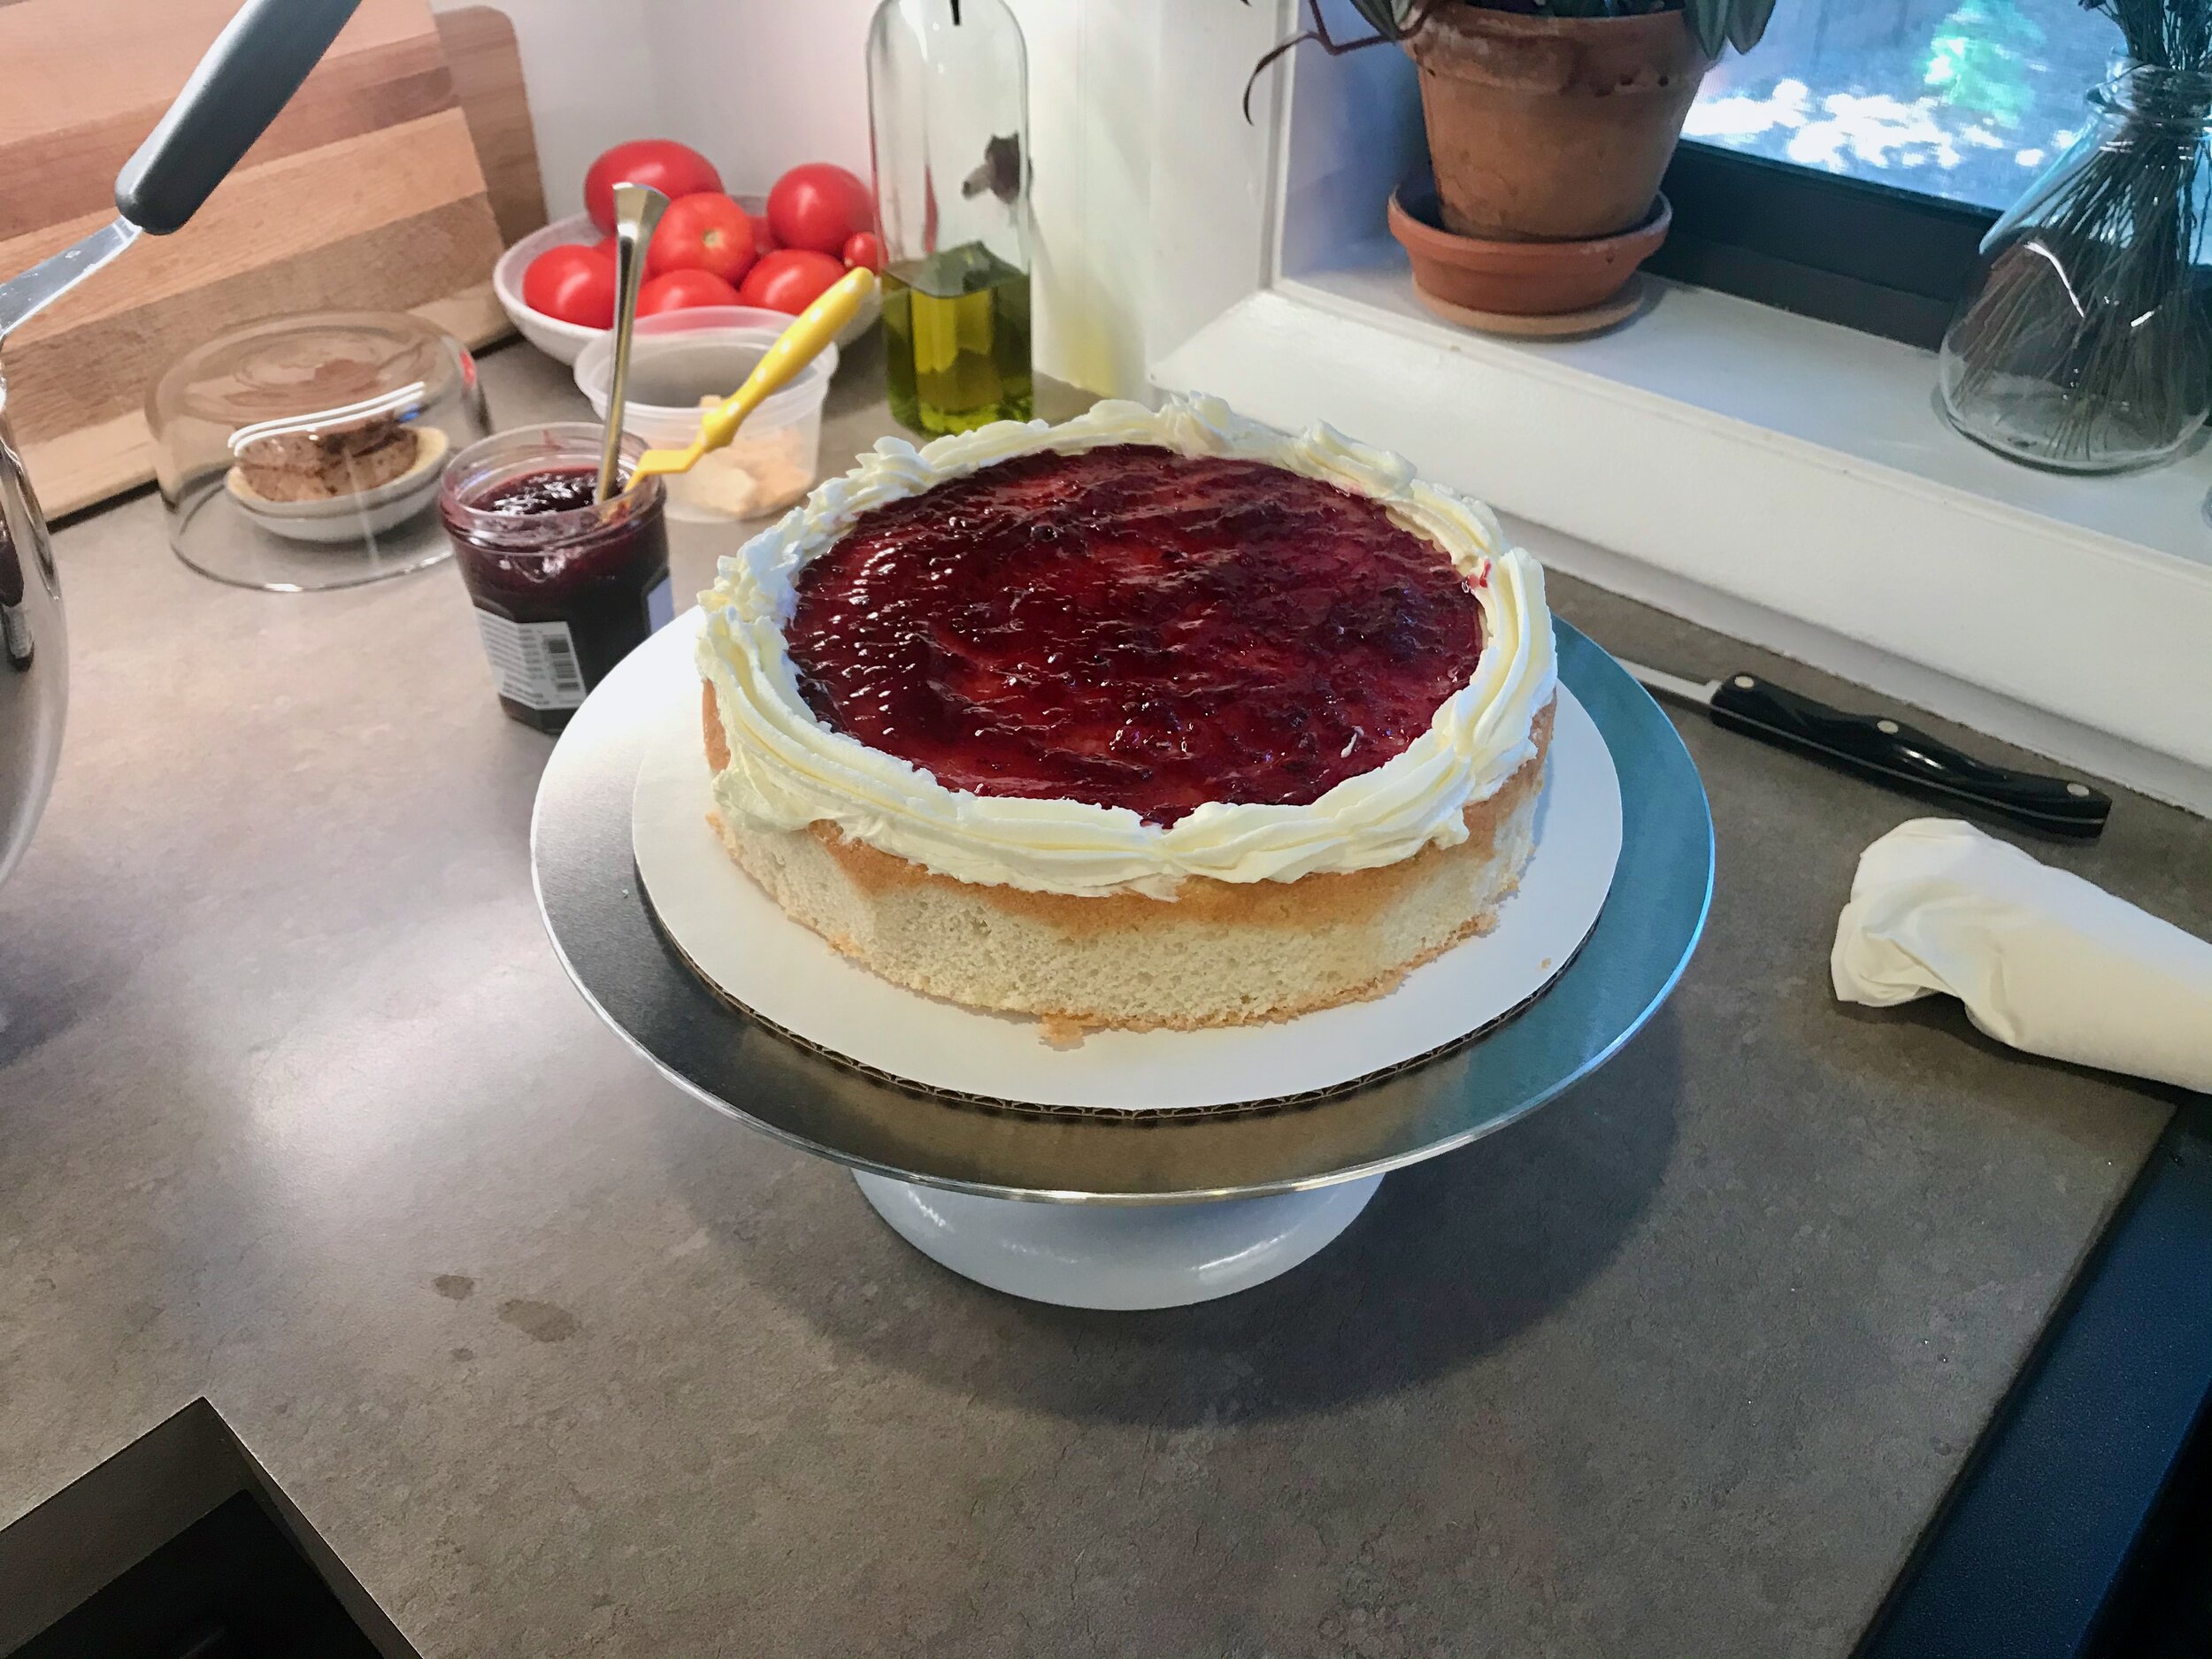
One of my best friends, Lindsay, got married last weekend. Thankfully, despite everything going on with COVID, she managed to plan a beautiful wedding. Lara and I were honored to be able to make her a wedding cake. It was my first tiered cake which was so much fun to plan and execute. Thankfully, we had a couple of days off prior to the wedding to make the cake. This made the whole process stress-free and run smoothly.

We also made about 5 dozen cupcakes to supplement the cake. We used the same cake recipe for both the wedding cake and the cupcakes. The same recipe I made for my cousin’s wedding about 10 years ago. It’s still the best for a wedding cake, whatever form that might take (layered cake, sheet cake, cupcake)!

I would estimate that everything, cake and cupcakes, took about 2 full days to make and put together. This is with two of us working together on it. We had a lot of fun planning everything out, prepping, baking, and decorating. It was definitely something I would do again if asked!

IMG_8824.jpeg
IMG_8740.jpeg
IMG_8809.jpeg
IMG_8751.jpeg
IMG_8832.jpeg
IMG_8836.jpeg
IMG_8810.jpeg

Martha Stewart’s Wedding Cake
Slightly adapted from Martha Stewart’s Baking Handbook
Ingredients

  • 3 cups cake flour (I did 360 grams, then took out 3 tablespoons and replaced with 3 tablespoons of corn starch)

  • 2 teaspoons baking powder

  • 1 teaspoon salt

  • 3 sticks butter, at room temperature

  • 2 cups (400 grams) sugar, plus another 1/4 cup sugar (50 grams)

  • 1/2 teaspoon vanilla extract (I used 1 teaspoon vanilla and 1 teaspoon almond extract, optional)

  • 1 cup (226 grams) 2% or whole milk

  • 8 large egg whites

Directions
Preheat the oven to 350 degrees. Butter two 9-by-2 inch round cake pans and line the bottoms with parchment paper. Dust with flour, tapping out the excess. Set aside.

In the bowl of an electric mixer fitted with the paddle attachment, beat the butter and 2 cups (400 grams) of sugar until light and fluffy, 3 to 4 minutes, scraping down the sides of the bowl as needed. Beat in the vanilla extract (and almond extract, if using). With mixer on low speed, add flour mixture in three parts, alternating with the milk and beginning and ending with the flour; beat until just combined. Transfer mixture to a large bowl; set aside.

In the clean bowl of an electric mixer fitted with the whisk attachment, beat egg whites on low speed until foamy. With mixer running, gradually add remaining 1/4 cup (50 grams) sugar; beat on high until stiff, flossy peaks form, about 4 minutes. Do not overbeat. Gently fold a third of the egg-white mixture into the butter-flour mixture until combined. Gently fold in the remaining whites.

Divide batter evenly between prepared pans and smooth with an offset spatula. Bake, rotating pans halfway through, until cakes are golden brown and a cake tester inserted in the centers comes out with just a few moist crumbs. 30 to 35 minutes. Transfer pans to a wire rack to cool 20 minutes. Invert cakes onto rack; peel off parchment. Reinvert cakes and let them cool completely, top sides up.

Notes:

  • I made 2 full recipes of the cake for the tiered cake. Three 9-inch layers, and two 6-inch layers.

  • I made 2 full recipes of the Swiss meringue buttercream which was the perfect amount for this cake. However, I ended up using very little between the layers of cake. Just a very thin layer of the buttercream underneath the raspberry preserves to make sure the jam didn’t soak into the cake and make it soggy. Then I ended up using some leftover American buttercream as the frosting “dam”. If I had had to use some of the Swiss meringue as the dam instead there still probably would have been enough to frost the whole tiered cake, but it would have been tight. So if I were to do this again and needed to use the Swiss meringue in between the layers I would probably up the frosting recipe just a tad - add in 1-2 more egg whites and the corresponding amounts of sugar and butter.

  • If I had wanted to do any decorating with frosting then I definitely would have needed to make more.

  • I added 1 teaspoon of almond extract to each batch of cake and it was definitely noticeable. I really loved it, but if you want a more subtle flavor then I would only use 1/2 teaspoon.

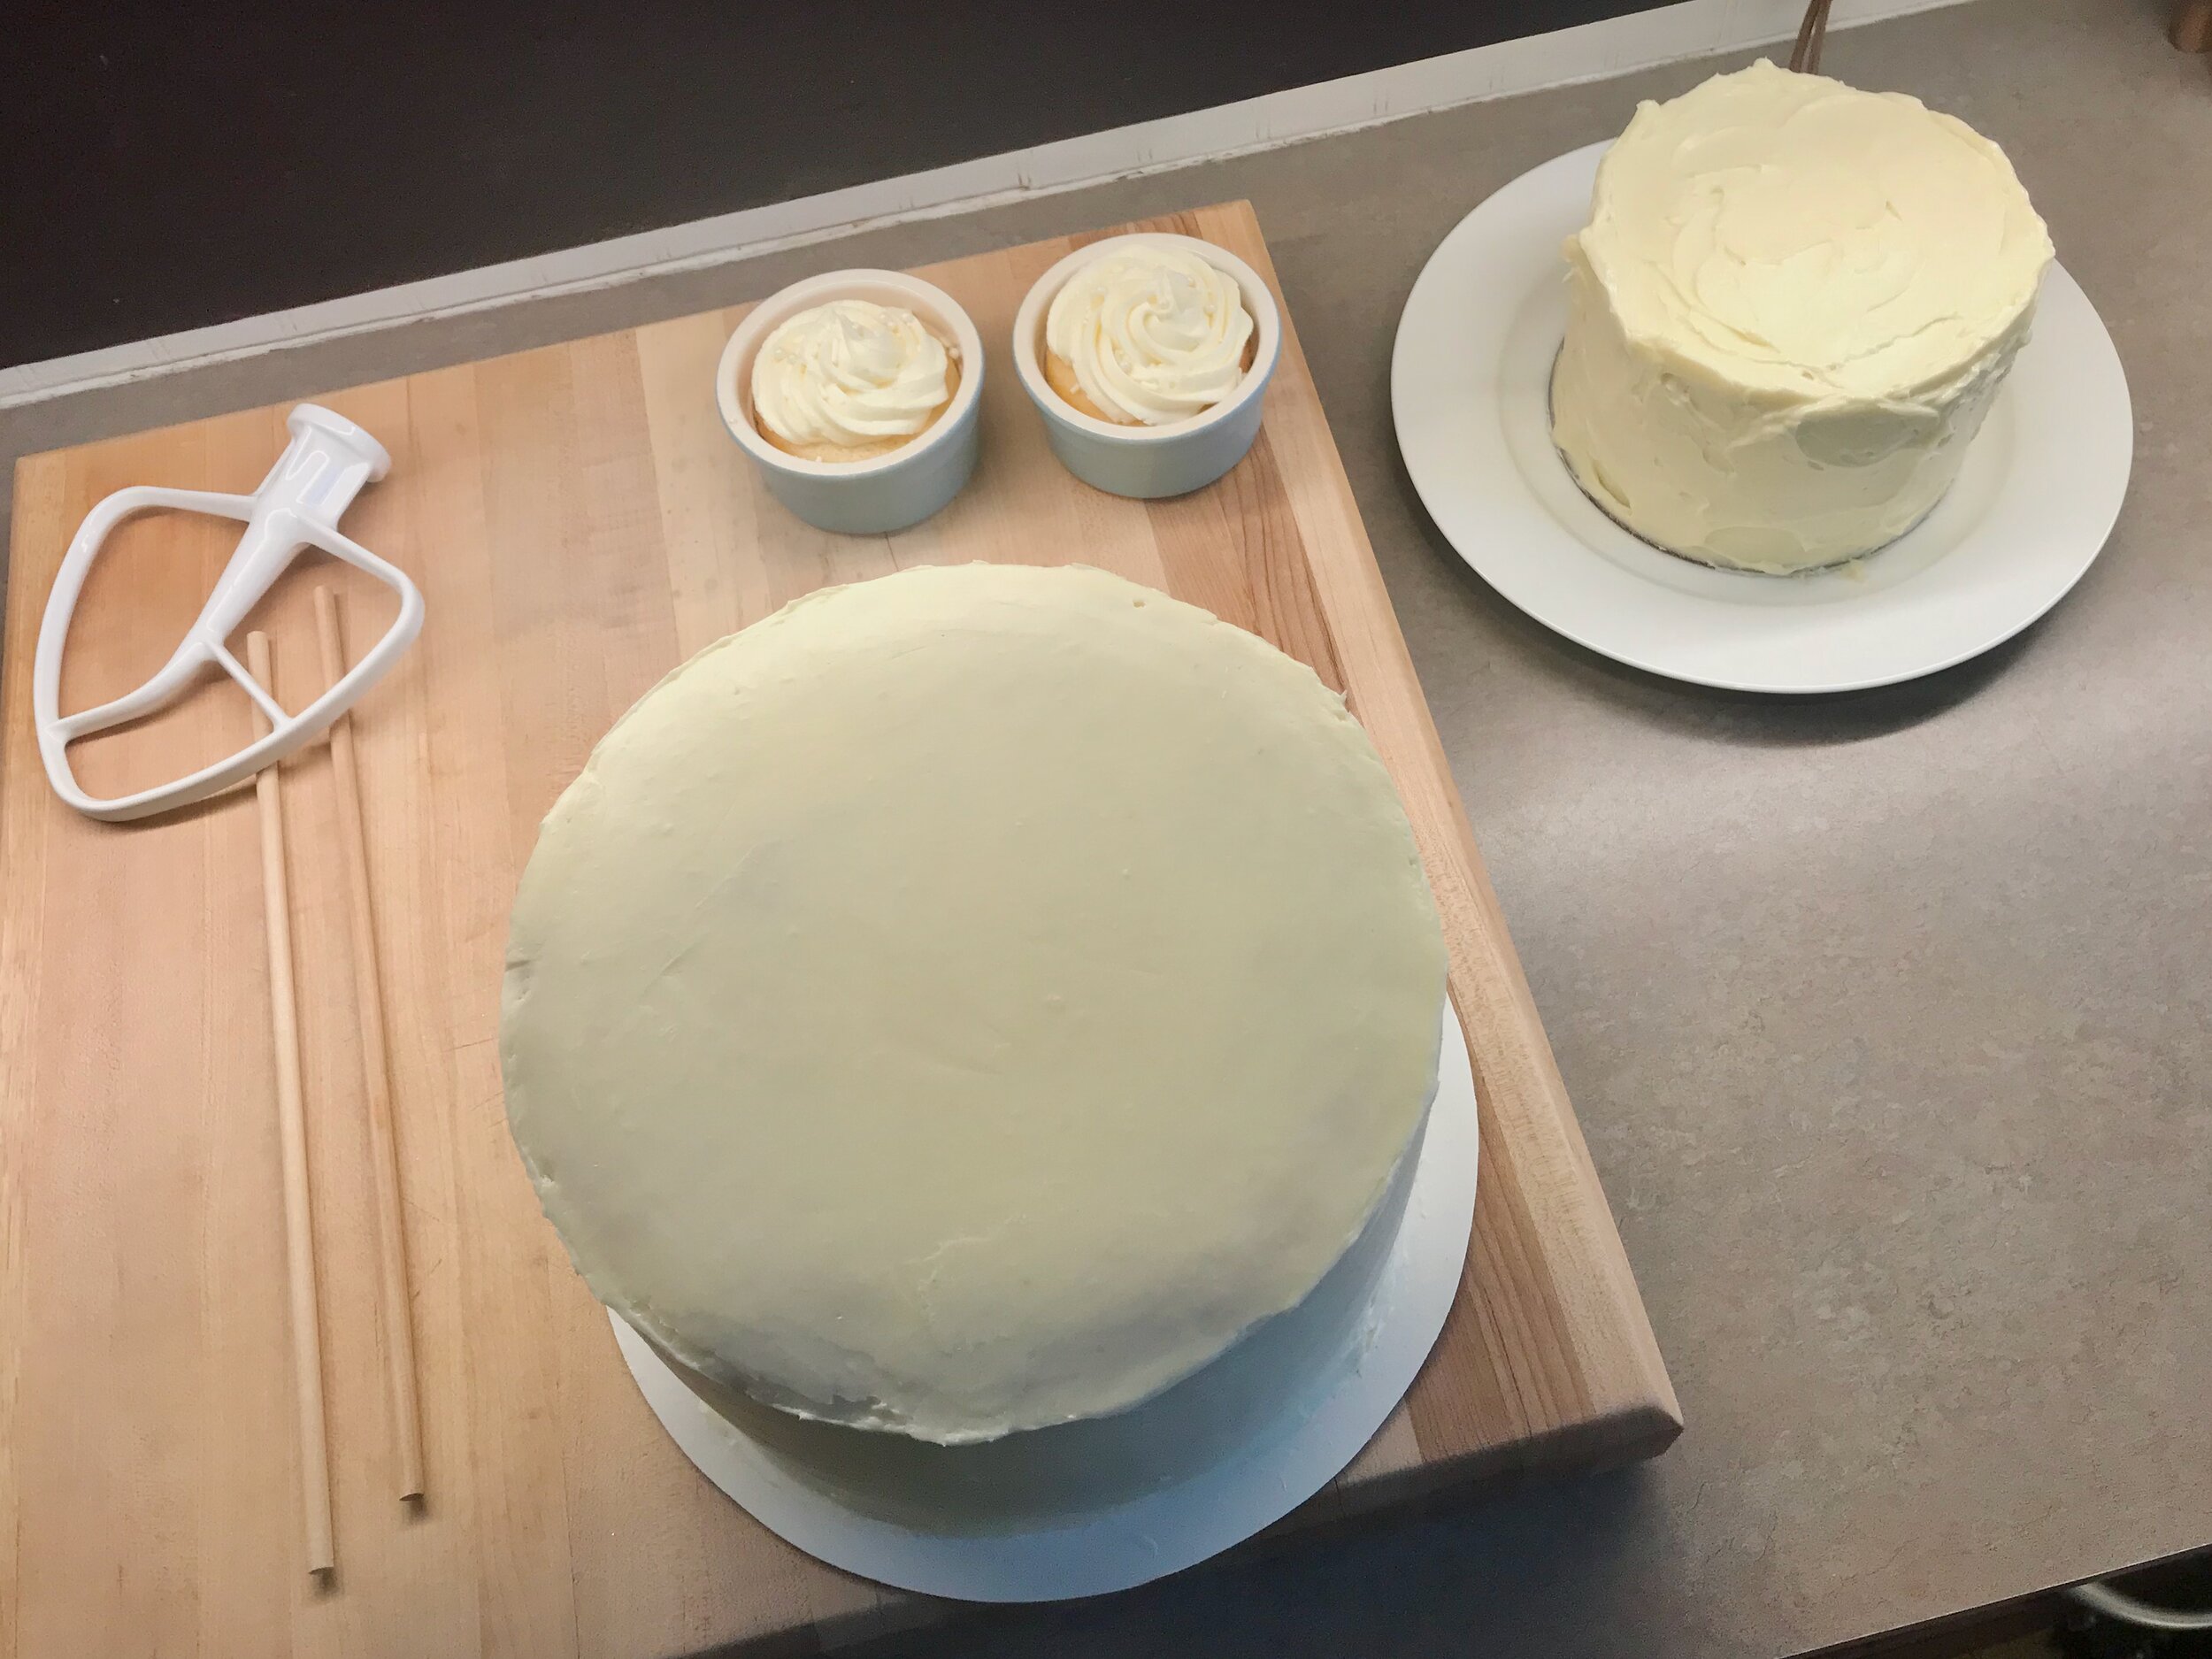
  • I used a 6 inch cake round lightly pressed into the top of the frosted 9-inch cake to mark out where the second tier would go. I then inserted four cake dowels (cut to the height of the 9-inch cake) about an inch and a half in from the edge of the marked edge. Finally, I used a skewer the was 1-2 inches taller than the 9-inch cake as the center support to hold both tiers together. Note to self, put a hole in the center of the 6 inch cake round before frosting the top tier. I forgot to do this and had to use a new cake round, transferring the frosted tier to the new round before placing on the bottom tier.

  • Cut the 6-inch cake round slightly smaller so that it doesn’t stick out from under the later. After placing this tier onto the bottom tier, use a piping bag with pain circle tip to fill in a small line of icing between the two layers.

Sourdough Focaccia (Fourth of July, 2020)

IMG_5960.jpeg

Happy Fourth of July Weekend! It’s a HOT one here in West Michigan. This combo of events definitely = Beach! I went twice this weekend! First on Friday, the third, Lara and I went to Grand Haven city beach early when dogs are allowed (before 11), so we could walk the beach with Pinda and try to get him used to the water. We also wanted to avoid all the holiday weekend beach crowd. It was a glorious day. The lake was calm, the water was warm, and the sun was shining. Pinda is still not very sure about the water. He’ll allow us to drag him in, but then he turns right around and swims as fast as he can back to shore! It’s cute, but we want him to want to go in the water. Baby steps I guess!

IMG_2044.jpeg

Before doing anything else, we ate a chocolate muffin and drank coffee in the sand. Breakfast of champions! Then we headed down the beach for a walk and swim. Then we sat in our beach chairs and just watched the water and all the people for a bit. Relaxing and enjoyable! When we had to get the dog off the beach we headed into town to get some iced lattes at Aldea. Perfect! It was a hot walk along the boardwalk, but such a beautiful day. Mid-80s and sunny. Perfect holiday weekend!

Then, on the evening of the Fourth, my Aunt and Uncle invited me and my family out to their house on Lake Macatawa for some food and a boat ride on their new boat. She asked if we would bring some kind of appetizer. For the last few weeks/months I’ve really been liking the pizza dough I’ve been making and I’d been wanting to try making it into focaccia. I adapted a basic pizza dough recipe in order to use up my leftover sourdough starter from bread baking and it seemed like it could make a good focaccia as well. I decided this was the time and place to try it out.

IMG_2114.jpeg

I replaced some of the water and flour in the recipe with my discarded starter (I used 150 grams this time, in the past when I’ve made this as pizza dough I’ve done 120 grams and both seemed to work just fine in their respective settings so the recipe is pretty forgiving). I also increased the salt slightly from the original, I thought it needed a little more. I really like the addition of a small amount of oil and sugar to this dough. I think it adds the perfect balance of sweetness to the dough, as well as tenderizing it.

I let the dough rise for an hour before popping it in the fridge overnight. It ended up exploding out of the bowl I was using which is always kind of crazy! The next day I took it out and added in my mix-ins. I did cubes of sharp Irish Cheddar, some raw garlic, and a bunch of chopped fresh herbs (parsley, chives, thyme, and basil). I dumped all this into a parchment lined 9x13 inch glass pan in which I drizzled a nice amount of olive oil first (I have tried and tried to make focaccia without parchment and I have never succeeded. It ALWAYS sticks to the pan no matter what I do or how much oil I put in it. So I’ve just given in and now use parchment. It works great!). I let it rise for another 50-60 minutes until super puffy before baking. I looked at a few recipes and it seemed like most did 425, although I did see 450. I baked it for 30 minutes at 425. I would have liked it a little more brown on both the top and bottom, but the interior was soft and well baked so I wasn’t too upset about the browning.

IMG_9395.jpeg

Right before putting in the oven, I drizzled with a little more olive oil. Then, while the bread was baking I made a little garlic and herb infused oil that I brushed on top as soon as it came out of the oven. I heated olive oil, butter, and slivered garlic in a cold pan until it was just started to bubble but the garlic hadn’t browned yet. I took off heat and added herbs (thyme, basil and chopped parsley). Once the oil was brushed on I grated a some Piave Vecchio cheese over the hot bread and oil. So good!

IMG_1526.jpeg
IMG_3322.jpeg
IMG_2415.jpeg

I thought it turned out great! I think this is the best focaccia I’ve made yet. It was tall which I always want my focaccia to be. It seems like so many recipes make a thin focaccia, but I want my thick, thick, thick! The interior was super soft and delicious! I love adding garlic oil/butter to the top as soon as it’s out of the oven. It adds such great fresh flavor that you don’t get if you only add oil before baking.

Some things I’d like to try - while the interior was fantastic, I would like it a little more open crumb, hole-ier if you will. I would like to try adding more water to the dough at the start, making a more pourable dough. I could also try replacing some/all of the flour with bread flour to help with structure and chew. But if I never end up changing anything I would be very happy eating this focaccia from here on out!


Sourdough Focaccia
Adapted from Sally’s Baking Addiction
Ingredients

  • 150 grams leftover/discarded sourdough starter

  • 365 grams all purpose flour

  • 2 teaspoons instant yeast

  • 1 tablespoon sugar

  • 1 teaspoon salt

  • 2 tablespoons (25 grams) olive oil

  • 302 grams water

Directions
Add all of the ingredients to the bowl of a stand mixer with the dough hook and knead for 5-6 minutes, until nice and soft and smooth. Transfer to a oiled bowl and cover for an hour. Then place in the fridge until ready to use.

Once ready to bake, line a 9x13 inch pan with parchment paper and generously drizzle olive oil onto the parchment and spread all around the bottom of the pan. Transfer the dough to the prepared pan and use your fingers to spread it out until it evenly lays in the pan, touching all corners and sides as best you can. (If you want to add anything to the dough, add it before you transfer to the pan. Alternatively you can add these ingredients to the dough right away when it is first made, before the initial rise). You may need to let it rest for 5-10 minutes a couple of times to help the dough relax and be easier to spread. Once it is spread out, cover with plastic and let rise another 45-60 minutes until super poofy and tall.

Once ready to bake, drizzle with more olive oil and sprinkle with plenty of flaky salt. The more the better in my opinion… Bake in a 425 degree preheated oven for 30 minutes. If desired, poke some holes in the bread as soon as it comes out of the oven, brush the hot bread with a mixture of melted butter and olive oil (and garlic if you’d like, I do) and sprinkle with more flaky salt if desired (I do). Let cool completely before cutting.

You can cut into thin strips as I did this time, or you can cut into squares. I know this would make some delicious focaccia sandwiches!

IMG_4405.jpeg

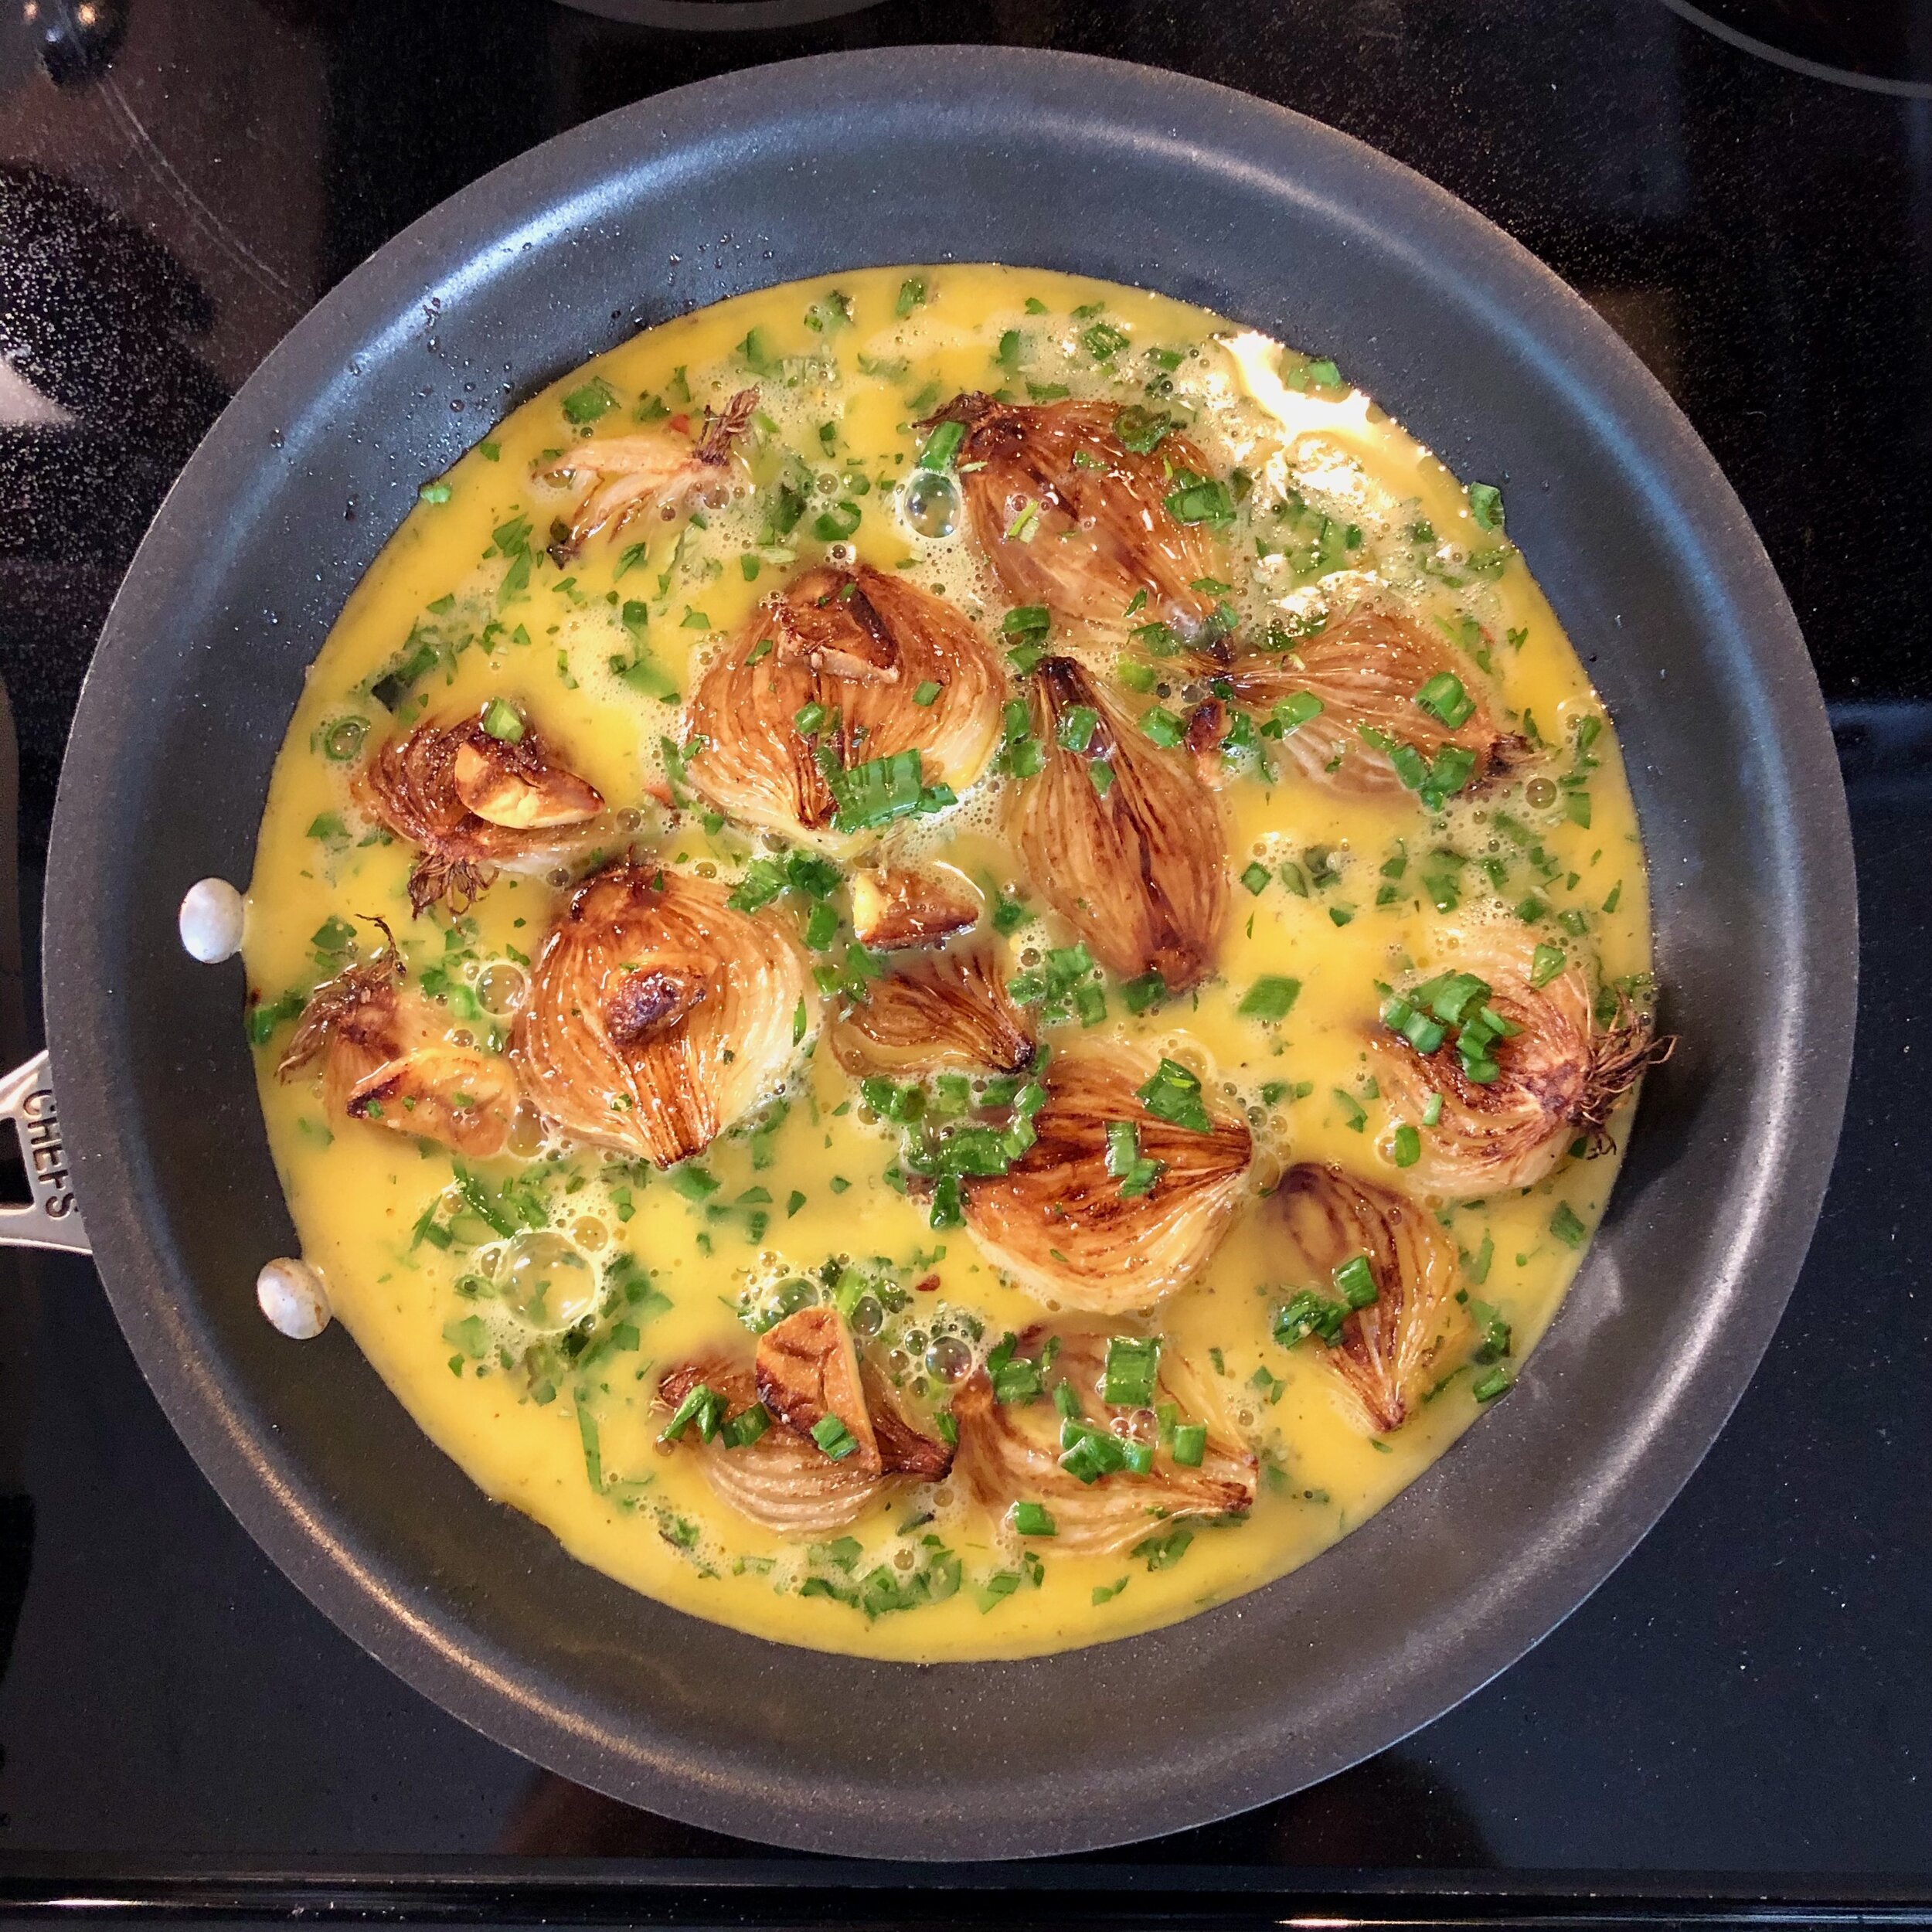
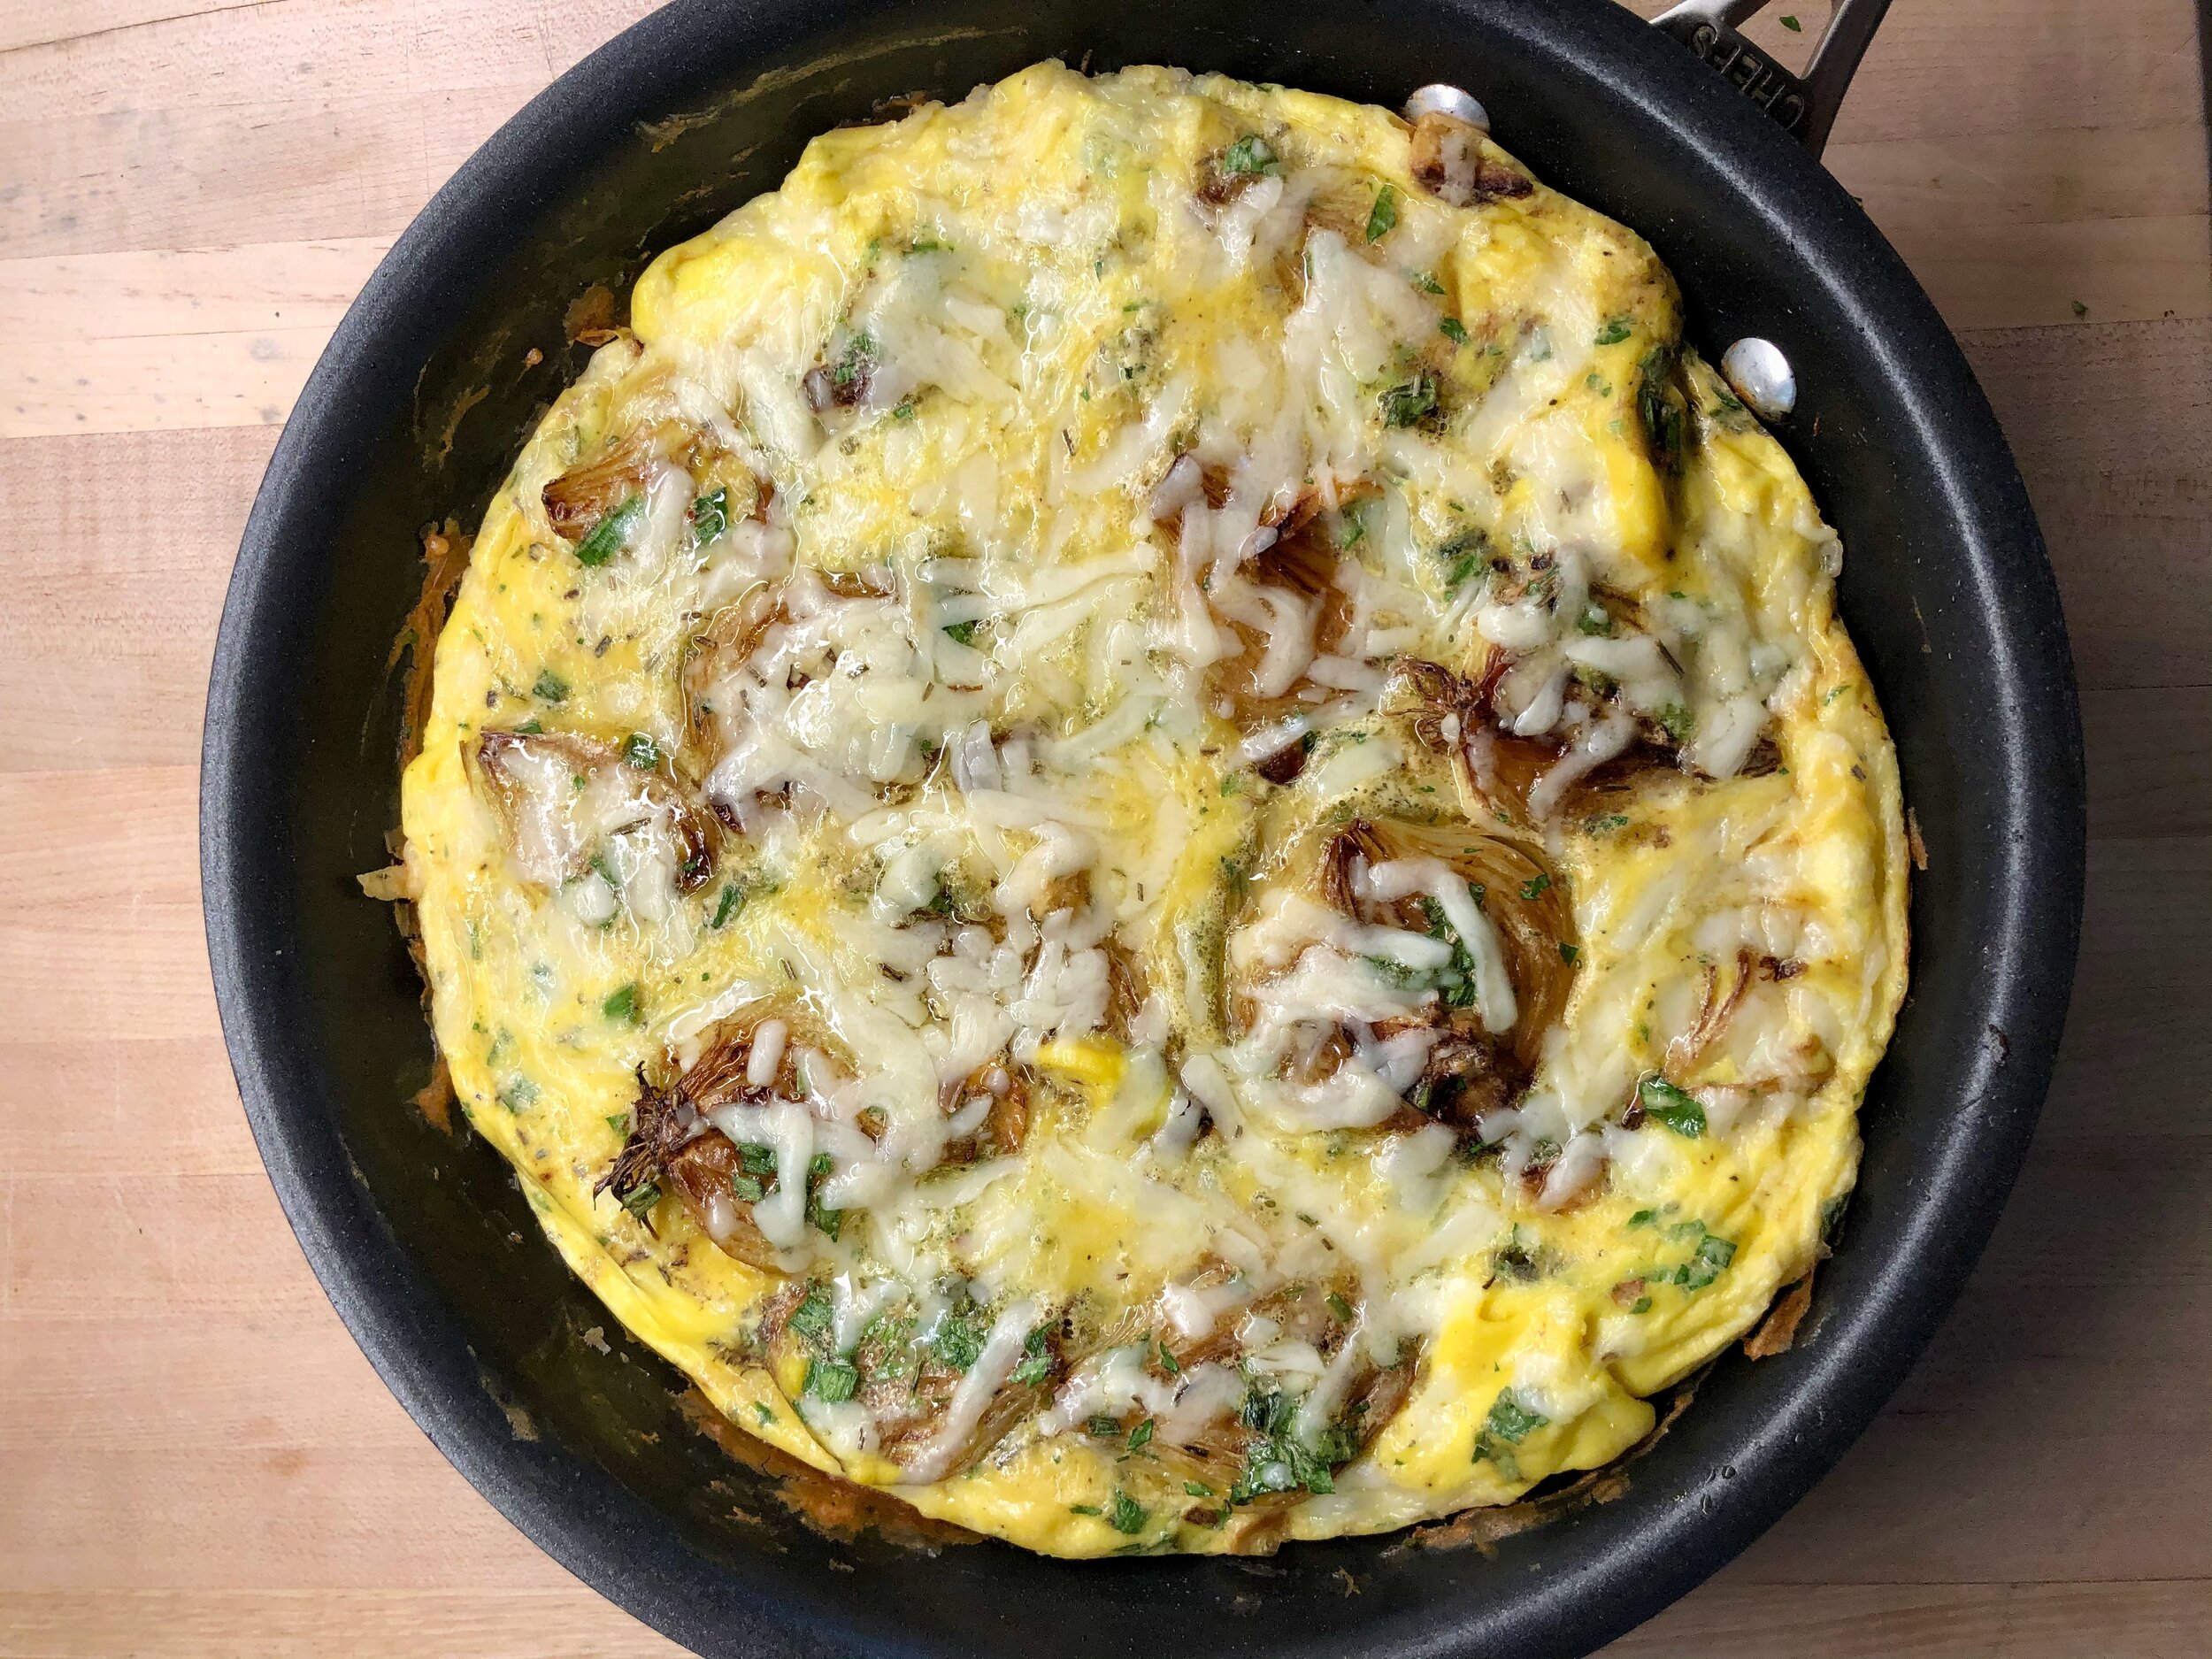
Charred Onion Fritatta

IMG_5421.jpeg

Lara created this lovely fritatta a few weeks back to highlight some beautiful onions we got in our CSA. We had requested salad turnips but the farm had some bug issues and had to replace the turnips with sweet onions. I love onions so this wasn’t a big deal other than the fact that we still had a LOT of alliums in the fridge from the past couple of weeks. We were working through them but these onions added just that many more so we had to find something to do with them!

This recipe was all Lara, and she did a great job! The onions were the star, and it made some delicious lunches throughout the week!

IMG_5527.jpeg
IMG_1413.jpeg

Charred Onion Fritatta

Put about 1/2 TBS butter and 1 tsp of Olive Oil in a 10 in nonstick skillet at medium heat. Once butter if frothing, add 5-6 small onions, halved lengthwise, cut side down in butter. Let cook for 8-10 min until nice and brown, flip for another 2-3 min. Drizzle with about 1 tsp good balsamic vinegar. Put in a 400 degree oven for about 10 minutes. Top with chopped chives or the green ends of the onions if you have them. Lower over temp to 350 degrees. Let cool a few min. Then place back over med low heat. Whisk together 6 eggs and a splash of milk. Add a 1/2 tsp or so of red pepper flakes. Add 1 tsp of chopped rosemary and 1 tsp chopped parsley. Grate about 1/2 cup rosemary asiago cheese. Pour egg mixture over onions and let cook, scrapping the sides every min or so and tilting the pan to allow uncooked eggs to run under cooked eggs. Make sure to not disrupt the onions. Once the eggs mixture is starting to set around the sides, sprinkle cheese over top and place in the 350 degree over for about 8 min or until middle has just set. Will puff around the edges. Let cool a few min in pan, slip out the whole frittata onto a cutting board and slice into desired pieces.