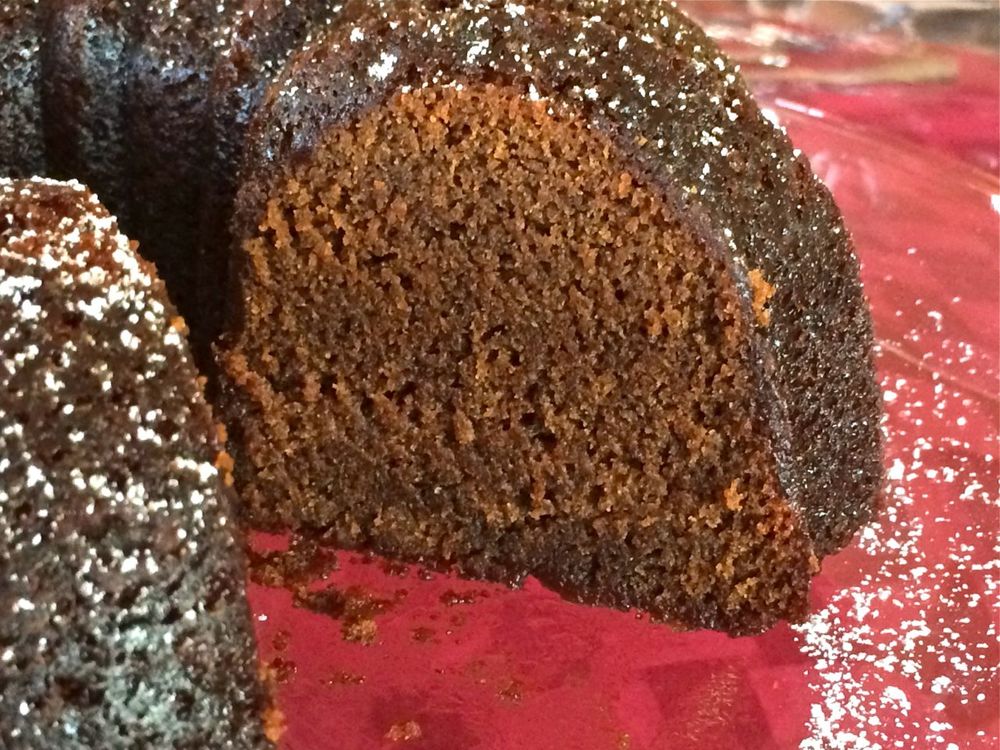
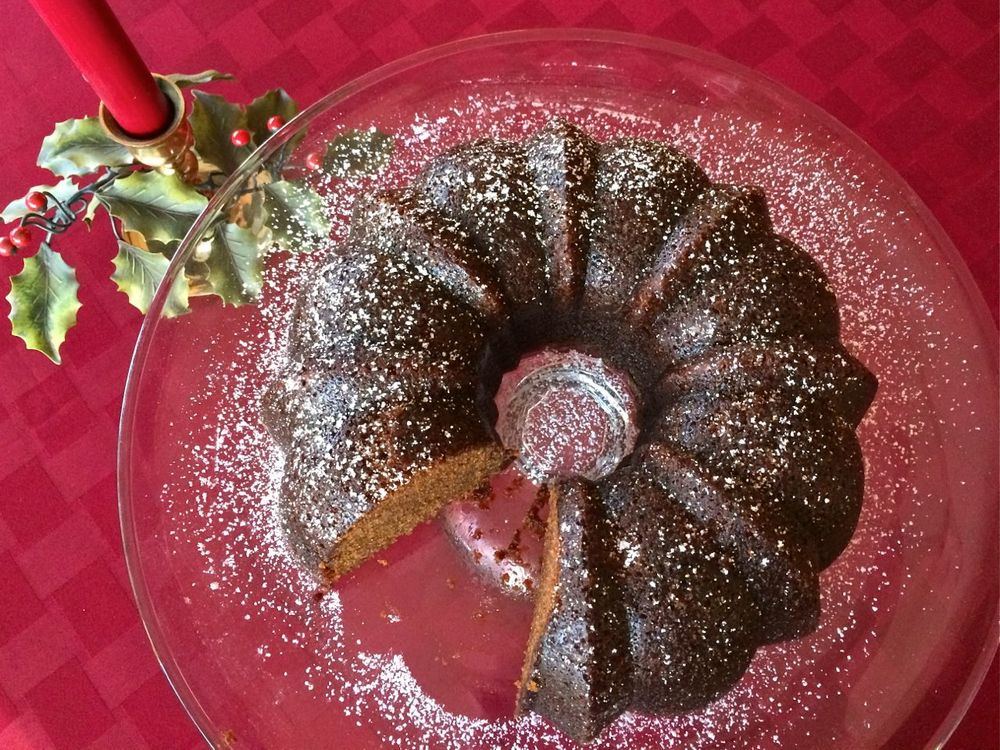
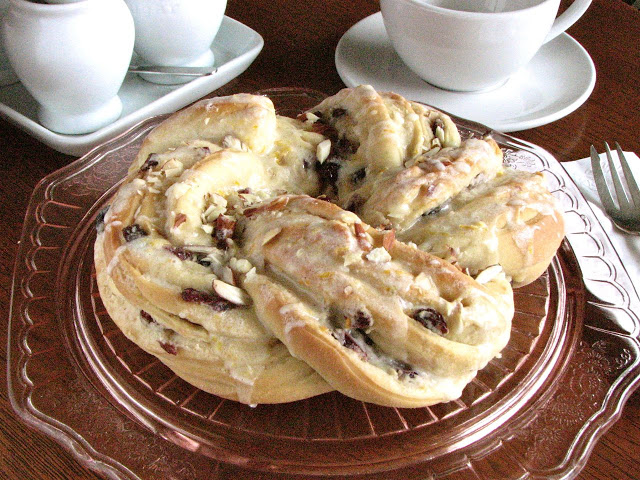
Christmas Morning Breakfast Wreath
Today I'm excited to share one of the most beautiful and delicious recipes I've ever made. Last week I went to one of my favorite bakeries because I had to get a loaf of their stollen before Christmas was over. I'd never actually tried stollen, but I knew I would love this dense, heavy fruitcake filled with boozy dried fruit and almond paste, covered in butter and sugar. I was right, it is one of the most delicious breads I have ever eaten. Inspired by this bread, I decided to make something along the same lines for my Christmas morning breakfast. This recipe that I found from The Kitchn was the reminiscent of a traditional stollen, but with a twist, perfect for a festive breakfast to celebrate Christmas morning.

The ingredient list may look long for this recipe, but it really isn't any more difficult than most yeasted breads. The whole concept is similar to making cinnamon rolls, but with a filling of dried fruit and almonds instead of cinnamon sugar.
I actually halved the original recipe since there was only two of us to eat this cake and we certainly didn't need the whole recipe. There were no problems halving the recipe, the only thing that changed was that the wreath wasn't as big as the original, there wasn't much of a hole in the middle, but this this didn't affect the finished product in any way other than looks.
The recipe called for the wreath to be baked for 25 minutes, but when I checked mine at this point it wasn't anywhere near being done. I ended up baking it for about 50 minutes total. I don't know where this discrepancy came from, but I thought my wreath was baked perfectly at 50 minutes, I don't know why it took double the time called for in the original recipe. The only thing I can think of is that since I halved the recipe and my wreath was much more compact, it took longer for it to cook through, but who knows. Regardless, this recipe turned out so absolutely delicious, the perfect way to start off my Christmas morning!

Christmas Morning Breakfast Wreath
Adapted from The Kitchn
Ingredients
For the bread:
- 1 1/2-1 3/4 cups unbleached all-purpose flour
- 1 1/2 tablespoons sugar
- 3/4 teaspoons salt
- 1/2 teaspoon cardamom powder
- 1 teaspoon instant yeast
- 1/2 teaspoons grated lemon peel
- 1/2 teaspoon grated orange peel
- 2 tablespoons butter, softened to room temperature
- 2 tablespoons warm water
- 1/4 cup warm milk
- 1 large egg, lightly beaten
For the fruit-almond filling:
- 1/3 cup dried cranberries, cherries, and/or raisins soaked in 1/2 cup brandy or other liqueur
- 2-3 tablespoons butter, softened to room temperature
- 2 1/2 tablespoons unbleached all-purpose flour
- 1/3 cup finely chopped almonds
- 1 1/2 tablespoons sugar
- 4 oz almond paste, crumbled
- 1/2 teaspoon freshly grated lemon peel
- 1/2 teaspoon freshly grated orange peel
- 1/2 teaspoon almond extract
For the sugar glaze:
- 1/2 cup powdered sugar
- 1 tablespoons water
- 1 teaspoon lemon juice
- 1 teaspoon orange juice
- 1/8 teaspoon cardamom powder
Directions
Prepare the dough: In the bowl of a stand mixer fitted with the dough hook, mix together the flour, sugar, salt, cardamom powder, yeast, lemon and orange peel. Add the butter, water, milk and egg and mix until starting to form a shaggy mass. Then turn on the mixer and knead until it forms a smooth and supple dough (add more water if it is too dry and more flour if it is too wet as needed).
Place dough in a lightly oiled mixing bowl large enough to accommodate dough when doubled in size. Cover with plastic wrap and let it rise in a warm place until doubled in bulk, about 1 1/2 hours.
Prepare the cranberry-almond filling: Drain the dried fruit from the liqueur and reserve the liqueur for another use. In a small bowl, combine the drained fruit with remaining filling ingredients. Cover and refrigerate.
Shape the dough: When dough has doubled in size, punch it down and turn it out onto a lightly floured board, kneading just enough to release any air bubbles. Roll the dough into a long rectangle. Crumble the filling over the dough to within 1 inch of the edges. Starting along a long side, tightly roll up the dough, pinching edge against loaf to seal. With a sharp knife, cut roll in half lengthwise. Carefully turn the halves so the cut sides are facing up, and then loosely twist the halves around each other, keeping cut sides up. (Check out the photos from The Kitchn if you're having a difficult time visualizing this.)
Line a baking sheet with parchment or non-stick baking mat. Carefully transfer the rope to the baking sheet and shape into a wreath, pinching the ends together to seal. Let it rise, uncovered, in a warm place until puffy, about 45 minutes. (Alternatively, place wreath immediately into the fridge and let it rise overnight. In the morning, remove from fridge and allow to come to room temperature, 1/2-1 hour before proceeding with baking.)
Preheat the oven to 350°F. Bake the wreath until lightly browned, 45-50 minutes. While the wreath is baking, stir together the ingredients for the glaze and set aside.
When wreath is done, transfer to a cooling rack by picking up the sides of the parchment and then sliding the parchment out from underneath. Cool for a few minutes then drizzle the glaze over the warm wreath. Serve with extra butter if you're feeling decadent.