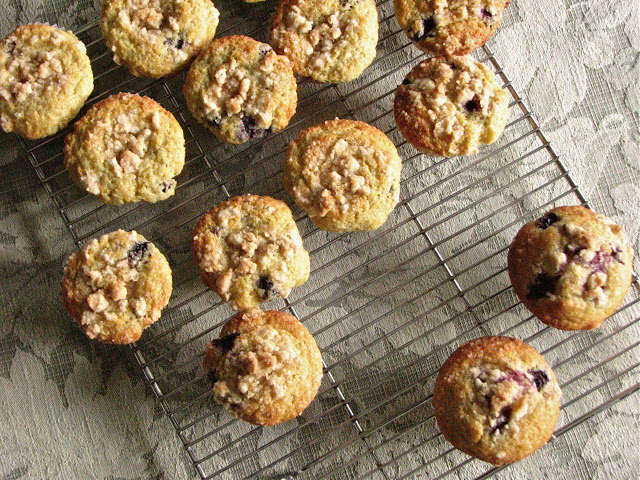
Blueberry Orange Muffins
Blueberry season is still going strong around here, and I am so happy that I have finally jumped on the blueberry bandwagon, they are just so good. It wasn't really until last summer that I truly began to love blueberries, but now there is no doubt that they are one of my favorite fruit. They are so sweet, and juicy, and so much fun to bake with. There is so much you can do with a blueberry.
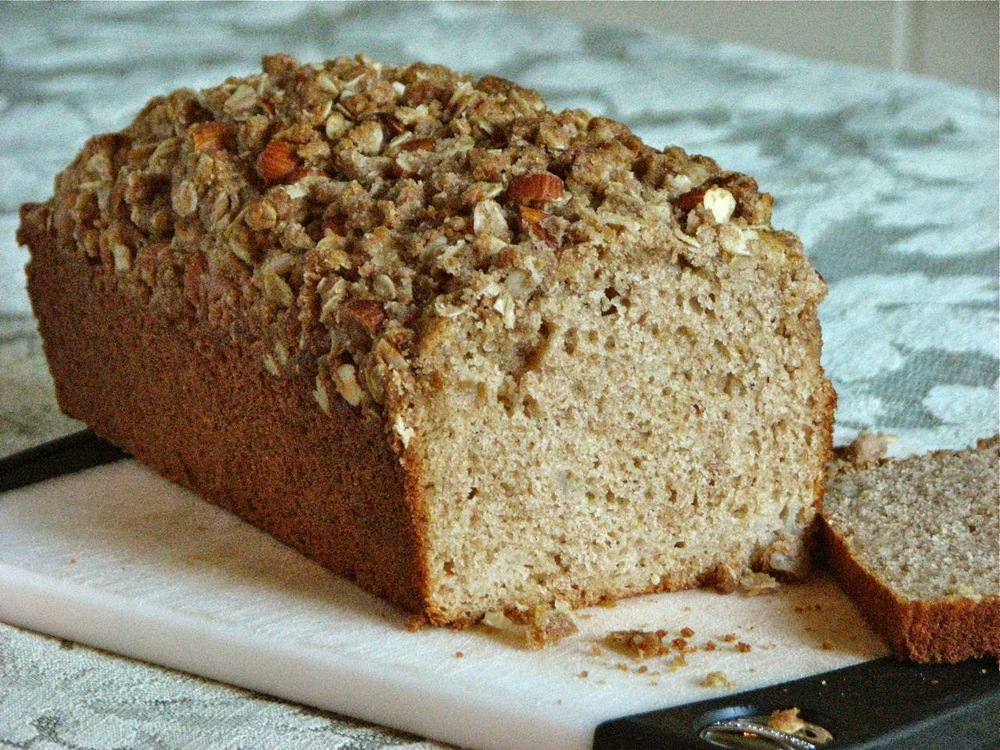
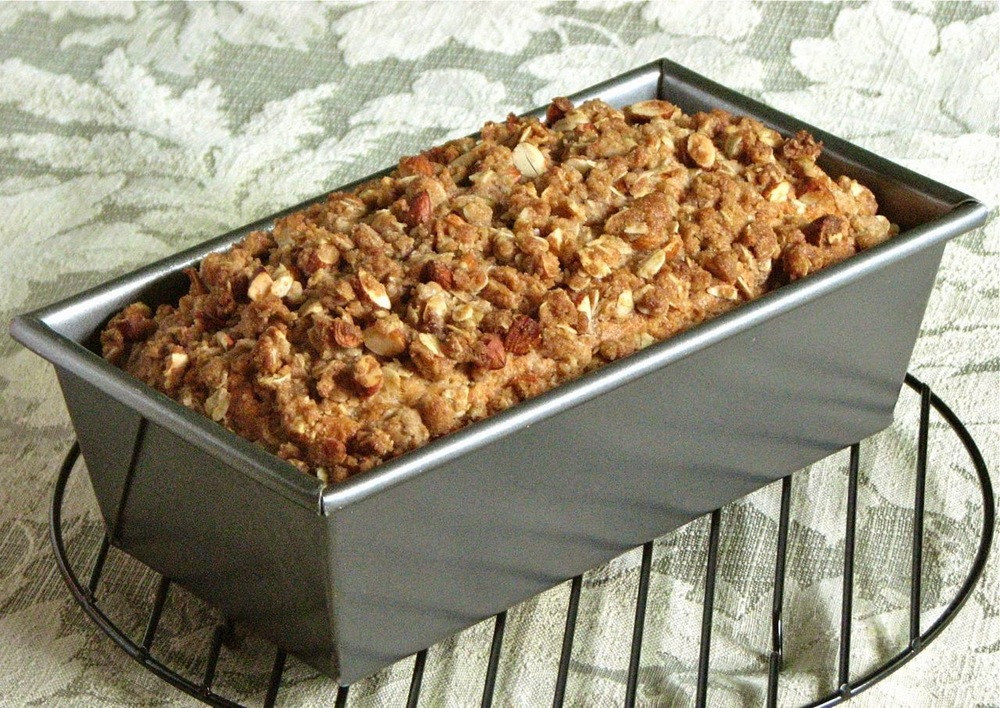
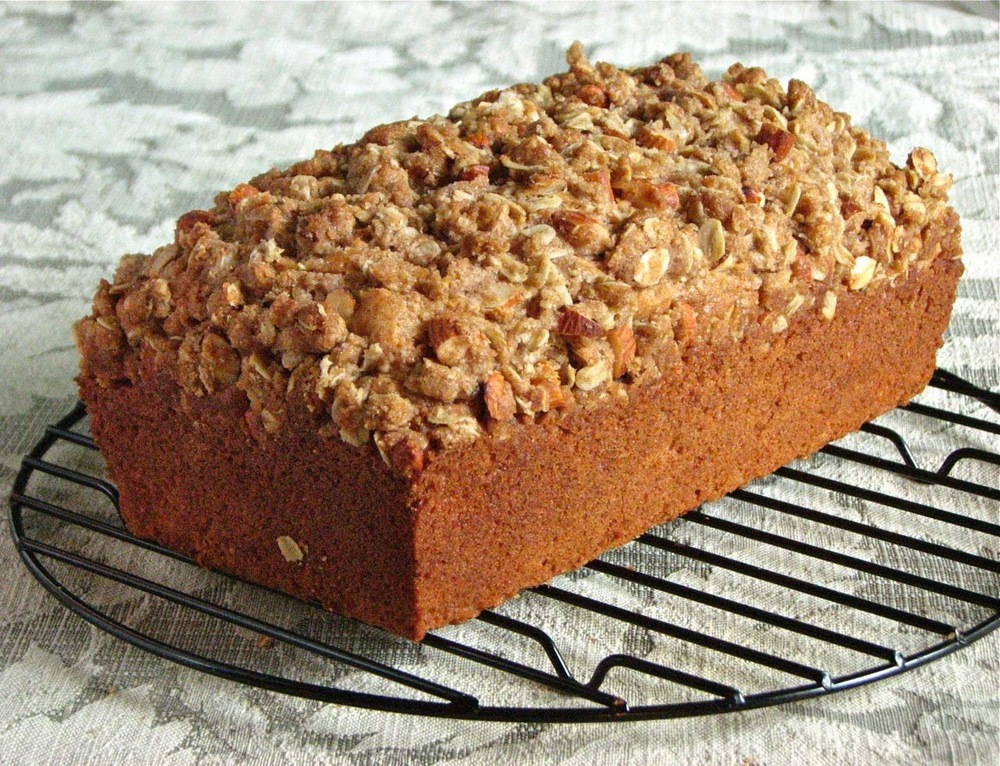
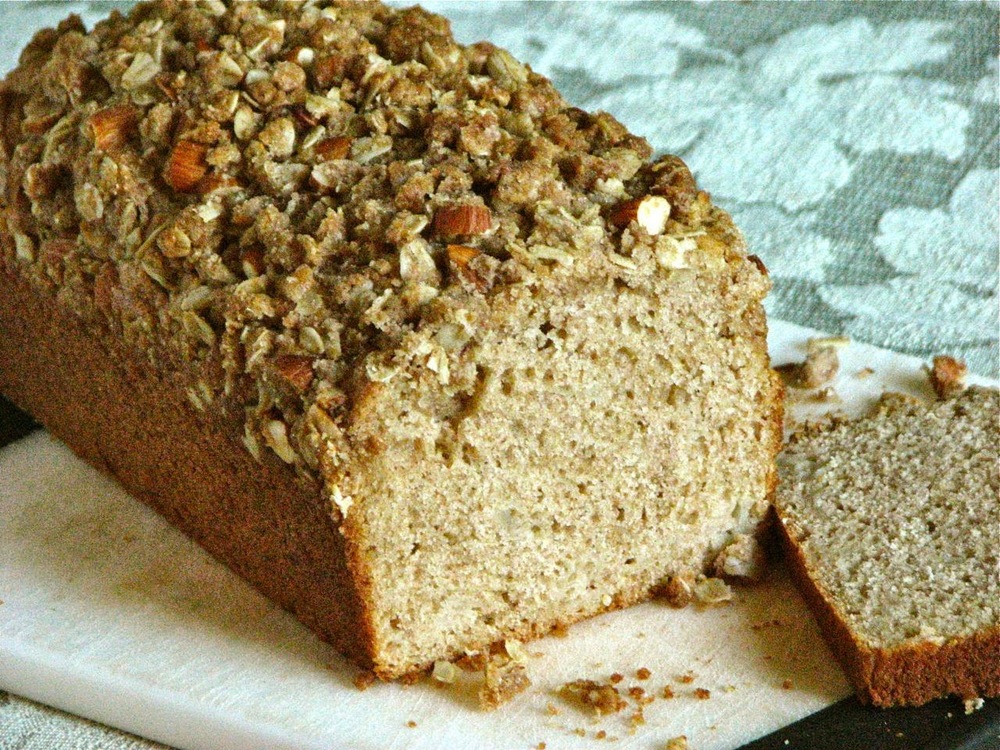
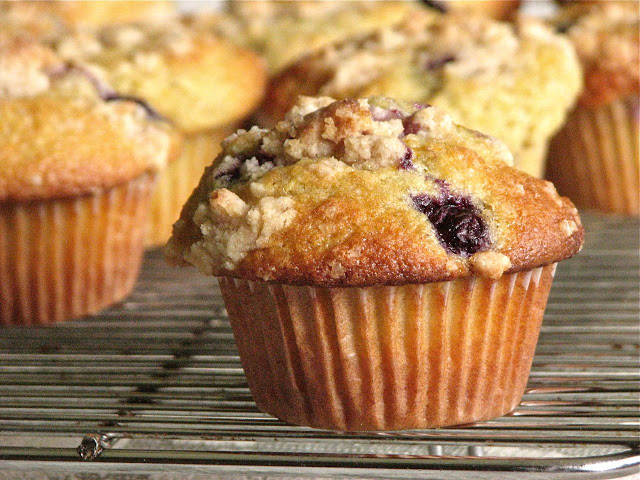
Today I'm sharing a classic, the blueberry muffin, but it's a blueberry muffin with a twist. To add some pizzaz and an extra punch of flavor to these muffins, grab an orange and add the zest and juice straight to the batter. Then whip up a nice chunky streusel and sprinkle on top. The sweet citrus notes from the orange and the buttery goodness of the streusel compliment the juicy blueberries and tender muffin. It's the perfect match, and one of the best blueberry muffins I've ever had.

This is a quick and easy recipe. Combine wet ingredients and dry ingredients and then just mix them together and fold in the blueberries. A quick streusel for the top and you're done. I have made this recipe a couple times now, and it's always good. However, one time I decided to try and cut back a little on the oil, make it a little healthier if I could, so I replaced half of the oil with yogurt. They turned out pretty well, baked up just fine, the texture was pretty normal, but I have to admit, the flavor just wasn't there. Still a nice muffin, but without that wow factor. Fat just tastes good! So if you want to cut back a bit on the oil, go right ahead, but be warned, they won't be quite as good. But still worth making for sure.

Blueberry Orange Muffins
From
Sarabeth's Bakery: From My Hands to Yours
by Sarabeth Levine
Ingredients
For the muffins:
- 1 large seedless orange
- ⅔ cup canola oil
- ½ cup plus 1 tbsp whole milk
- 2 eggs, at room temperature
- 2¼ cups bread flour
- 1 cup packed brown sugar
- 1 tbsp baking powder
- ¼ tsp salt
- 1 cup fresh or frozen blueberries
For the streusel topping:
- 6 tbsp unbleached white flour
- 1 tbsp cane sugar
- 1 tbsp brown sugar
- ⅛ tsp ground cinnamon
- 2½ tbsp butter, melted
Directions
Position the rack in the center of the oven and preheat the oven to 400 degrees. Line muffin tin with muffin liners or brush the insides of the cups with butter.
Grate the zest of the orange and set it aside. Slice the orange in half and juice both sides. You should have about ⅓ cup of juice.
Whisk the oil, milk, orange juice, orange zest, and eggs together in a medium-sized bowl. Whisk the flour, brown sugar, baking powder, and salt together in another bowl. Add the dry ingredients to the liquids and stir with a spoon, just until combined. Carefully fold in the blueberries.
Portion the batter out into the muffin cups, filling almost to the top.
To make the streusel topping, mix the flour, sugar, brown sugar, cinnamon, butter, and vanilla in a small bowl, using your fingers, until well combined and crumbly.
Sprinkle the muffin tops with the streusel.
Bake for 10 minutes. Reduce the oven to 375F degrees and continue to bake until the tops of the muffins are golden brown and a cake tester inserted into the middle comes out clean, about 10-15 minutes more. (If you are using frozen berries, allow for a few extra minutes.)
Cool the muffins in the pan for 10 minutes. Remove the muffins to a baking rack and cool completely.