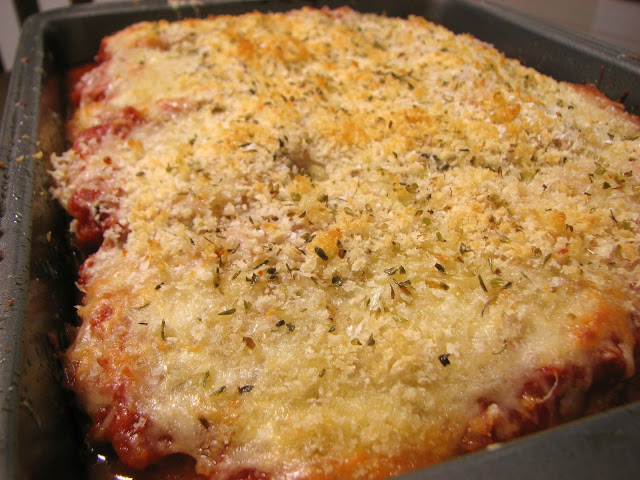
Cream Cheese Macaroni and Cheese
Cheese is one of my favorite things, any kind, it doesn't matter. Macaroni and cheese is therefore a no brainer for me. Pasta and cheese has got to be one of the best combinations ever. I've been wanting to make homemade macaroni and cheese for some time now, but I would just never get around to it. Either I didn't have the cheese, or the right noodles, or I wanted to eat something lighter for dinner, etc., I always seemed to have an excuse. A few weeks ago though I put my foot down and told myself I was just going to do it. I think the hardest part is picking a recipe. There are a million out there to choose from and they all sound delicious, how is one to choose? In the end I picked this recipe because I happened to have a block of cream cheese in the back of my fridge that I didn't know what to do with, and since I think cream cheese makes just about everything better I knew this had to be good. I was beyond right.
This mac and cheese turned out super cheesy and gooey and absolutely delicious. I chose three cheeses at random to go with the cream cheese and I think I picked the winning combination, it was so delicious. First I went with cheddar because I always have it in the fridge, and it just seems like the right thing to put in mac and cheese. Next I went with fontina because I love it, it is so creamy and flavorful, and it melts wonderfully. Finally I wanted something with a more unique flavor so I decided that something smoked sounded good. I ended up buying smoked mozzarella which I think was perfect. It added a hint of smokiness to the final dish without overpowering it. The smoky undertones from the mozzarella, the sharp bite of the cheddar and the creamy finish of the fontina made this a meal to remember for a long time.
The original recipe did not have a crunchy topping with it, but I love crunchy, cheesy breadcrumbs on top of my baked mac and cheese so I threw together my own version of a breadcrumb topping. It turned out quite delicious if I do say so myself. The butter, cheesy breadcrumbs are the perfect balance to the rich creamy pasta, don't skip it. Trust me, you won't be disappointed.
I actually halved the recipe as written and made it in a 9-inch square pan, but it would be just as easy to make the full batch and throw it into a 9x13. Even though I only made half I did have enough cheese for a second go at this dish. I just stuck it in the freezer, waiting for the perfect time to try again. Guess what I'm having for dinner this weekend?!
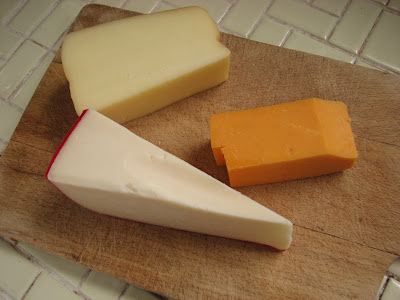
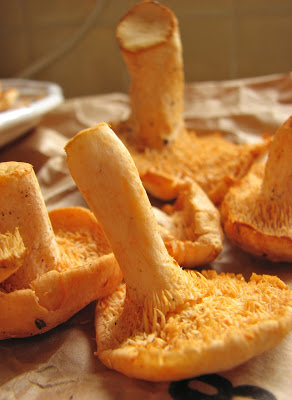
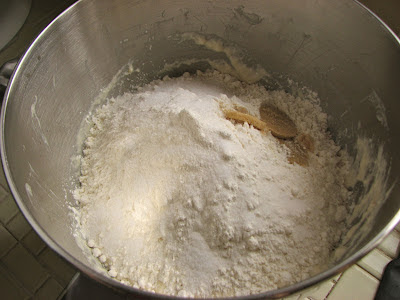
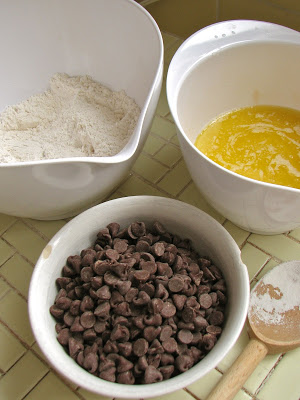
The star of the recipe, the cheese
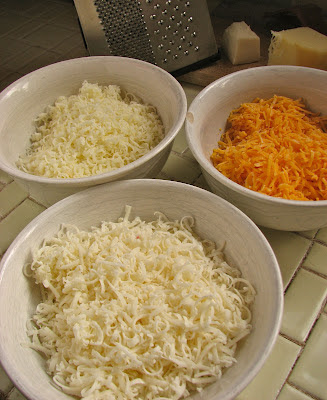
Grate it up
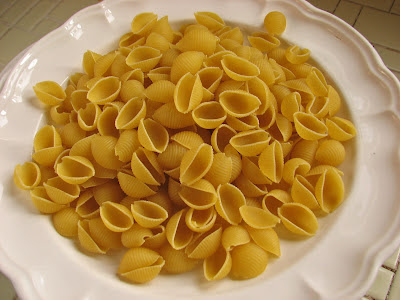
Make sure you have some noodles, I like shells

Toast up your breadcrumbs
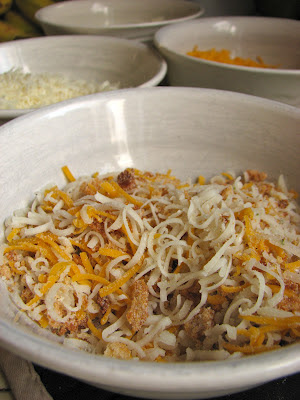
Add cheese and spices to make
a the delicious topping
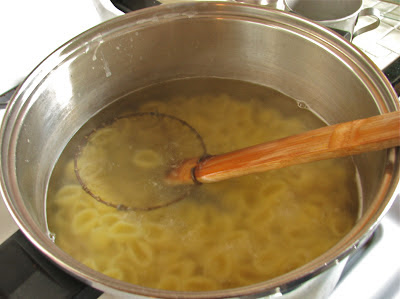
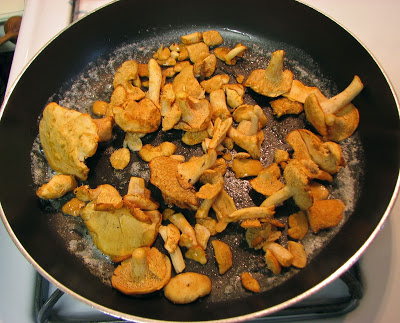
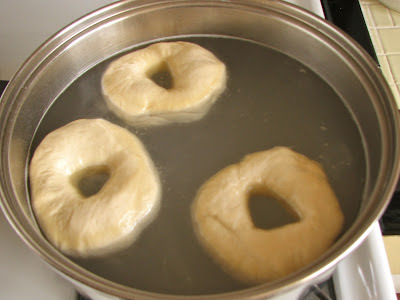
Boil up the noodles, but don't cook them all the way
through, they'll finished cooking in the oven
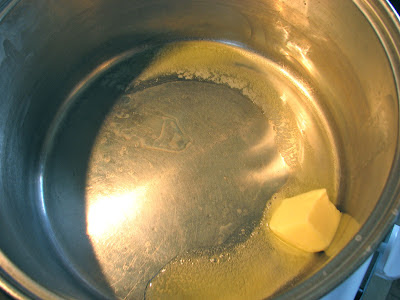
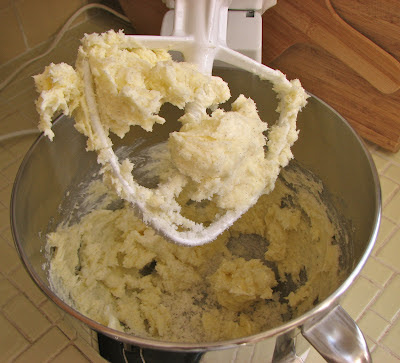
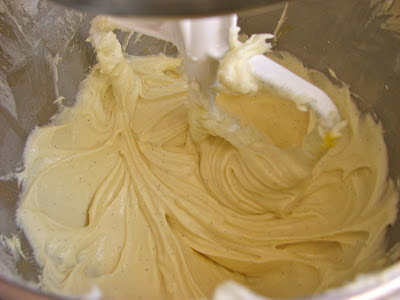
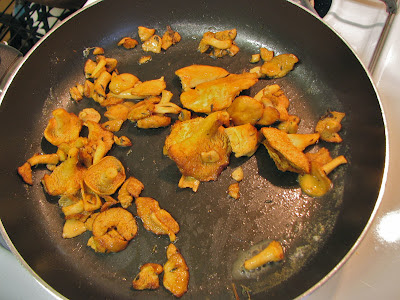
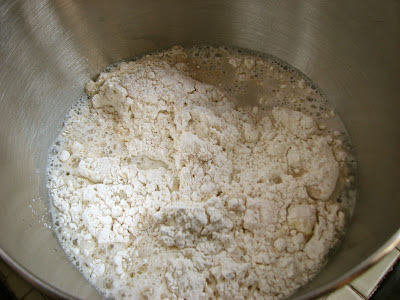
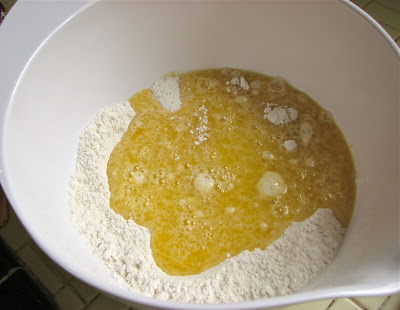
Then you can start making the sauce,
start by melting the butter
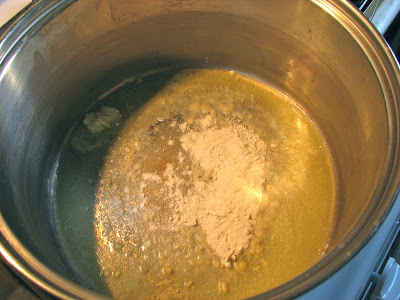
Add in the flour
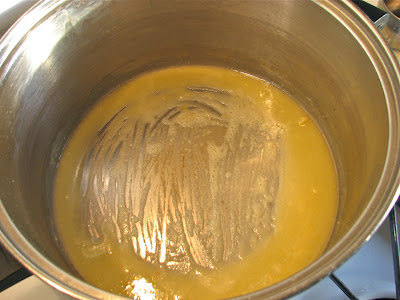
Stir it around and let it cook for a few minutes to
cook away the raw flour taste
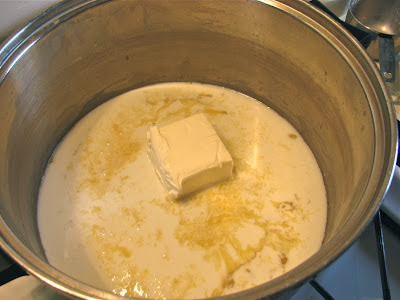
Then add in the milk and cream cheese, dijon, salt and pepper
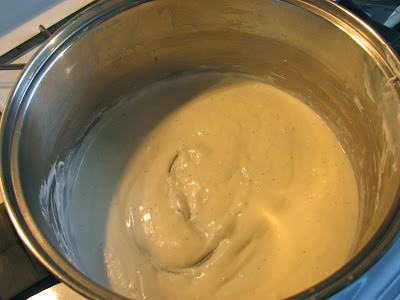
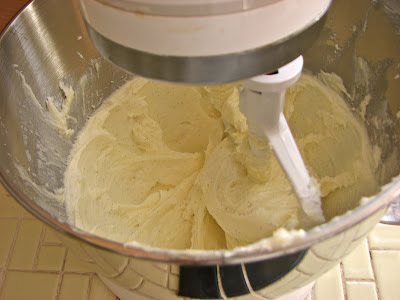
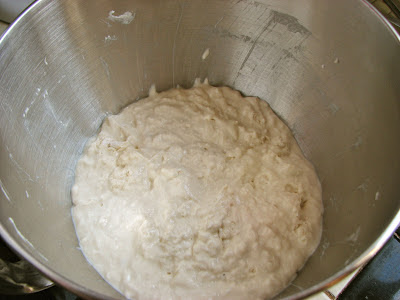
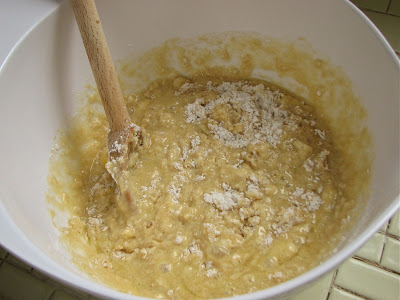
Stir it all around until the cream cheese melts and the
sauce gets nice and thick and creamy, yum!
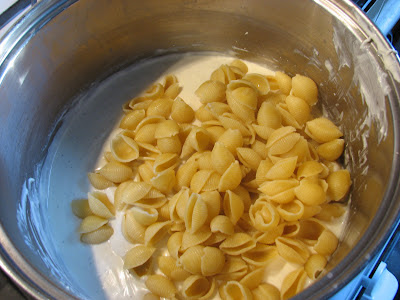
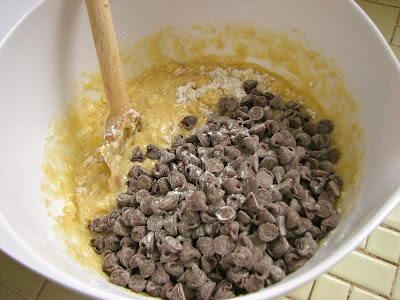
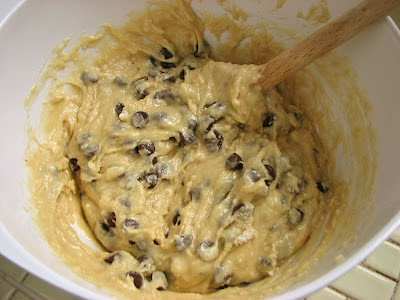
Throw in the partially cooked noodles
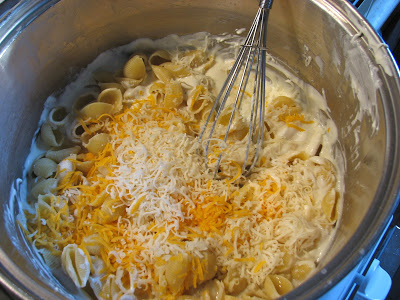
And the cheese of course!
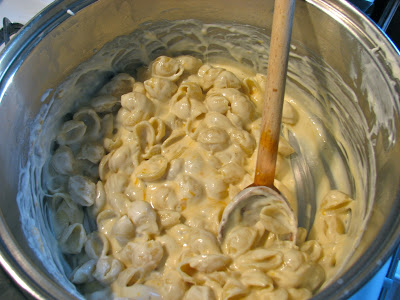
Mix it all up until everything is covered in
the gooey cheese sauce
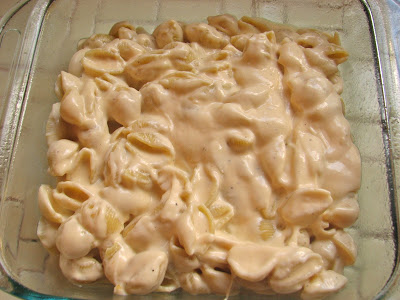
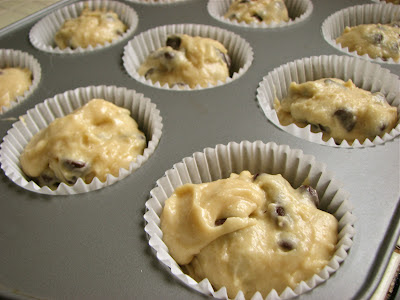
Pour it into a greased pan

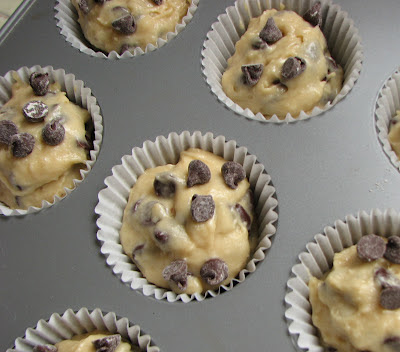
Admire all the cheesy goodness
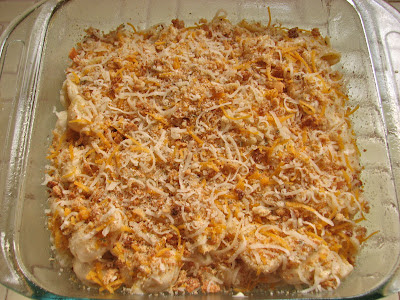
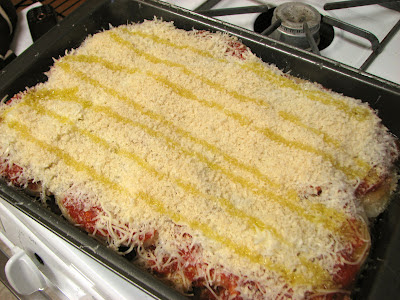
Then cover with crunchy topping

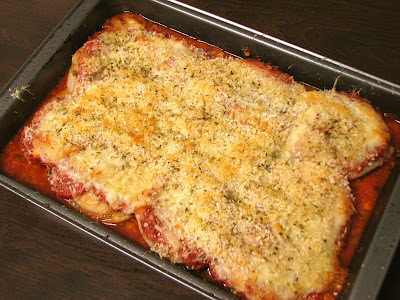
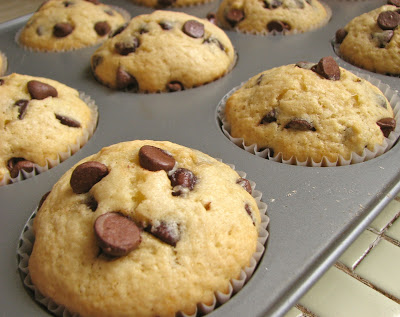
And bake!
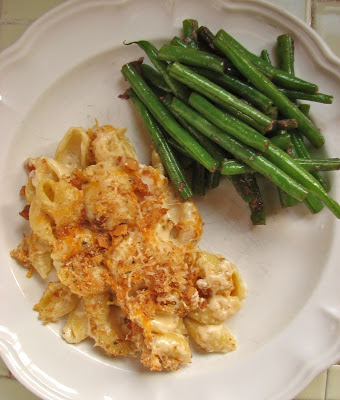
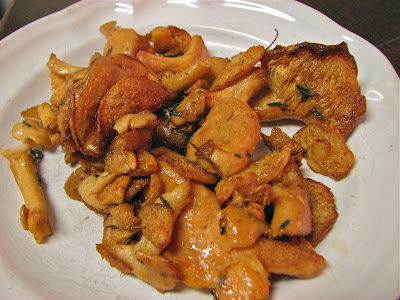
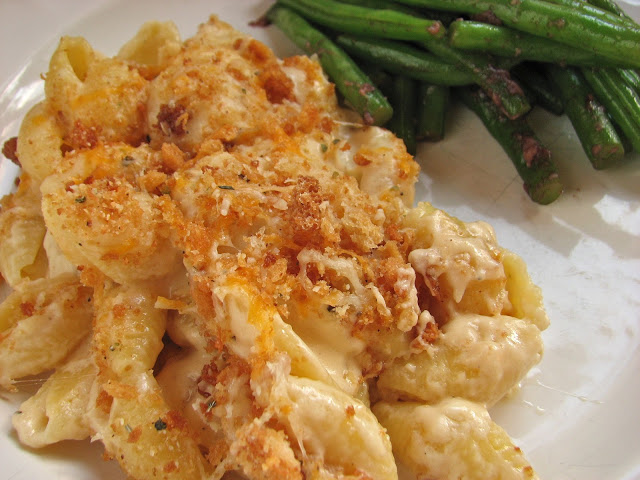
Dish it up next to something healthy,
to make yourself feel better :)
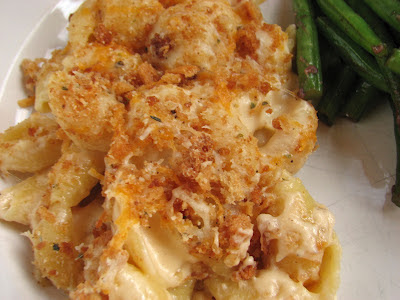
Dig in!
Cream Cheese Macaroni and Cheese
Adapted from Tasty Kitchen
Ingredients
- 1 pound Macaroni Noodles
- 6 tablespoons butter
- 3 tablespoons flour
- 2 cups milk
- 8 ounces cream cheese
- ½ teaspoons Salt
- ½ teaspoons Black Pepper
- 2 teaspoons Dijon Mustard (heaping)
- 3/4 cup Sharp Cheddar Cheese
- 3/4 cup Fontina
- 3/4 cup Smoked Mozzarella
Topping
- 1/2 cup breadcrumbs
- 4 tablespoons parmesan cheese
- 1/2 teaspoon Italian seasoning
- 1/2 teaspoon salt
- 1/4 teaspoon pepper
- 2 tablespoons each of the three cheeses used in the mac and cheese
Directions
Preheat oven to 400 degrees. Start by making the topping. Place the breadcrumbs in an even layer on a baking sheet and toast for about 5 minutes or until golden brown. Remove from oven and let cool a few minutes. When cool, add the remaining ingredients and set aside.
Bring a large pot of salted water to a boil. Add noodles and cook until al dente; drain.
In a saucepan melt butter and stir in flour. Cook for about 1 minute, until smooth and bubbly; stirring occasionally. Mix in milk, cream cheese, salt, pepper, and Dijon mustard. Continue cooking until sauce is thickened. Add cooked macaroni and the 3/4 cups of each cheese.
Pour into a 2-quart casserole dish and sprinkle the topping mixture on top. Bake for 15 to 20 minutes until heated through and topping is brown and crunchy. Remove from oven and let cool a few minutes before digging in.