Pepperoni Pan Pizza
Growing up, pizza was a weekly staple, so if I don't have pizza at least a couple of times a month I go into pizza withdrawals. Until recently, pizza night always involved take out pizza. However, in the last year or so I've been making my own pizzas from time to time. I try not to compare homemade pizza to takeout pizza because to me the two are completely different and so serve a completely different purpose.
When making pizza at home I usually make a thin crust and bake it on my beloved pizza stone with the oven cranked up as high as it will go. This almost always involves the smoke detector going off, but that's okay. These pizzas are delicious and one of my favorite dinners. However, I recently came across a recipe for a pan pizza. When I get takeout I almost always get pan pizza and I didn't think it was possible to mimic this type of crust at home, so when I saw the recipe I knew I had to give it a shot. Not only was it an extremely easy recipe, but it came together quite fast for homemade pizza.
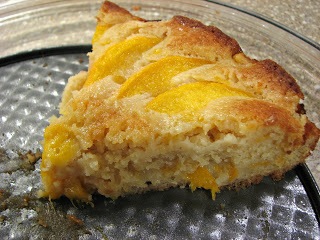
What you do is fill a cake pan with an outrageous amount of oil and then place the dough right on top of it. As the pizza cooks, the oil causes the crust to get brown and deliciously crispy. The dough is extremely light and soft, it rises quite a bit during cooking, leaving you with a thick, pillowy soft layer of crust surrounded by the crisp outer layer. The combination is fabulous, and it's beautiful to look at too, but you won't be able to enjoy that for long, trust me, you'll scarf it down in seconds; enjoy!
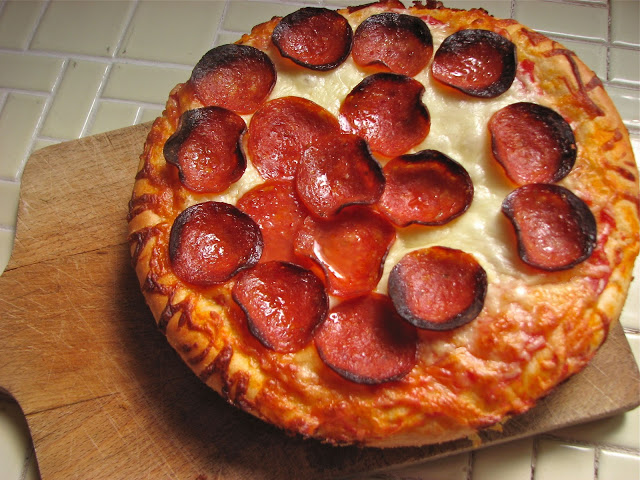
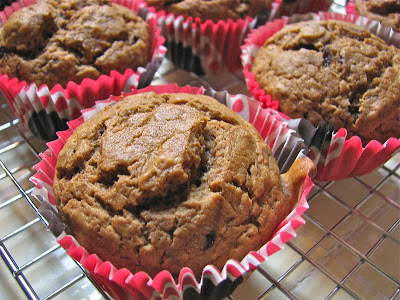
It doesn't get much better than this!

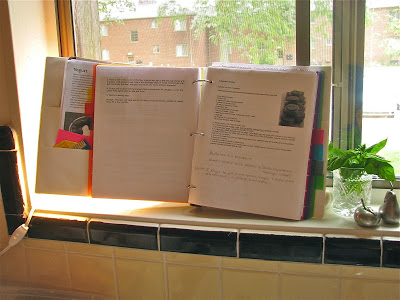
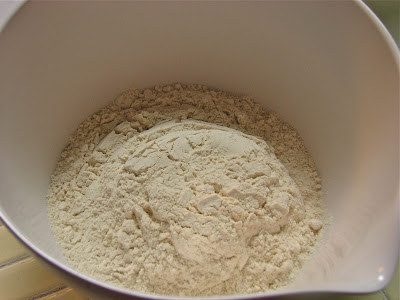
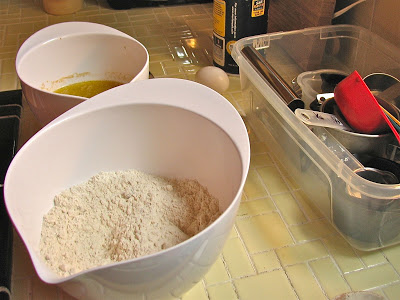
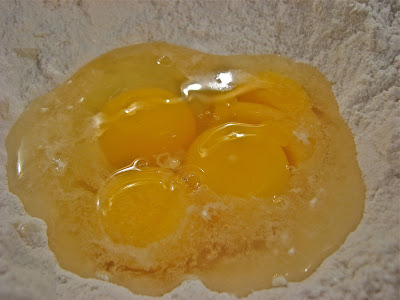
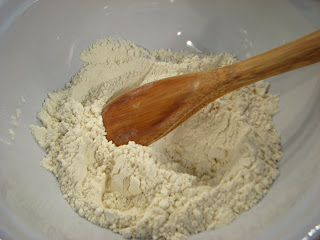
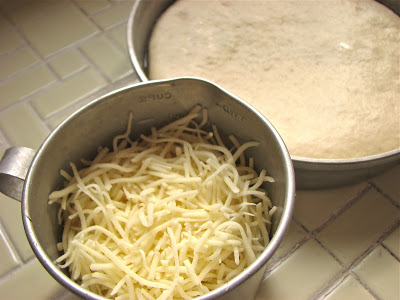
Ready to make the dough
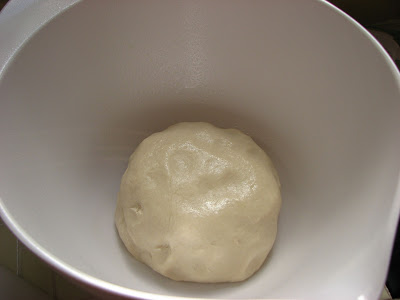
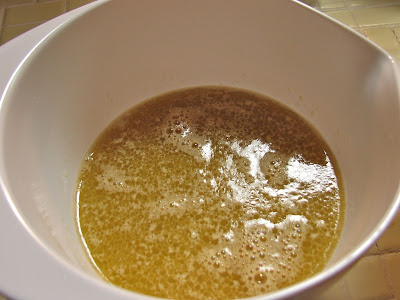
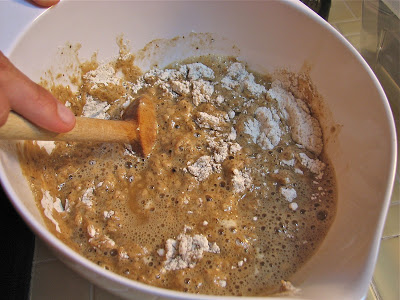
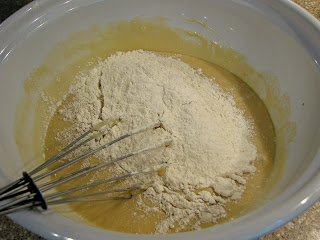
Dough made, ready to rise
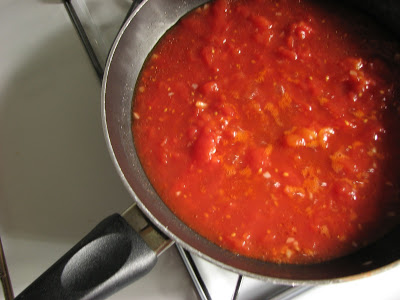
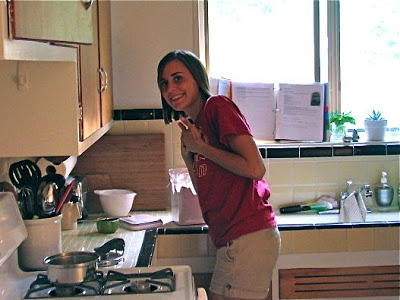
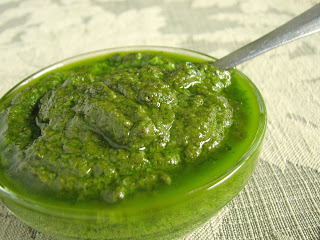
Get the sauce going
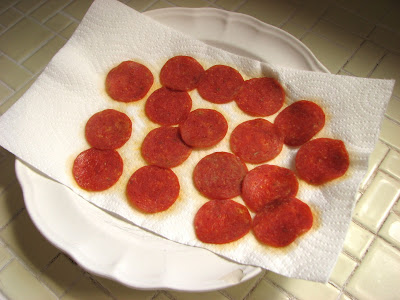
I'm not scared of grease, but I tried this method
to get rid of some of it;
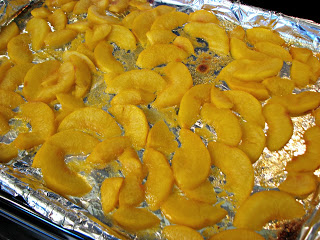
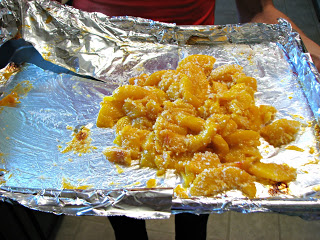
microwave your pepperoni for a minute or so
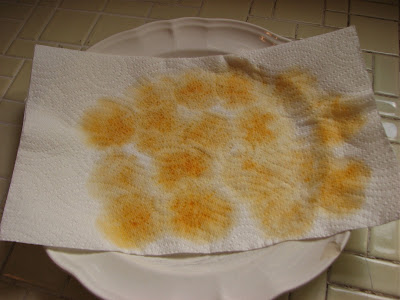
It let's off quite a bit!

Fill those pans with a healthy dose of
some good olive oil
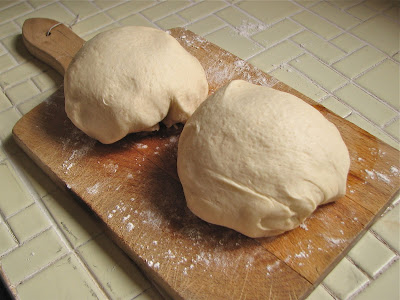
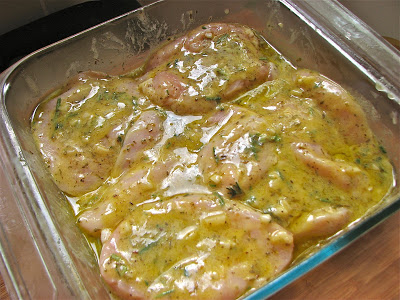
Divide the risen dough in half
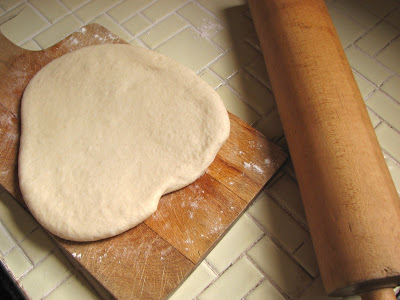
Roll each half out

Shape it into a nice circle
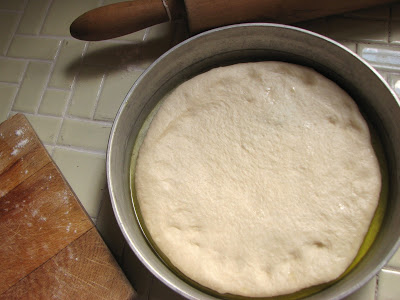
And lay it on top of the oil
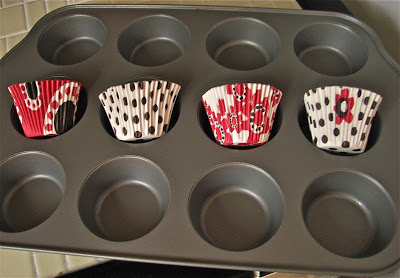
Ready for topping
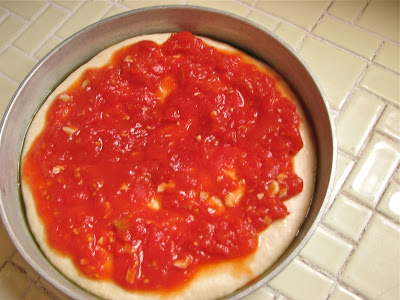
Start with the sauce
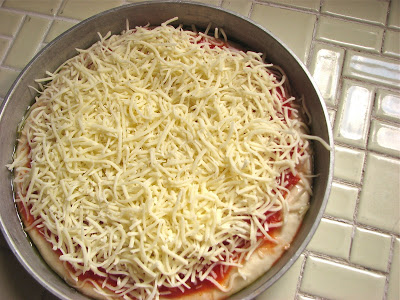
Then a good dose of cheese

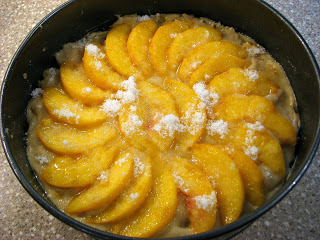
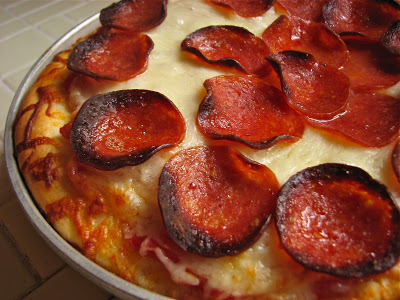
Finish it off with the pepperoni

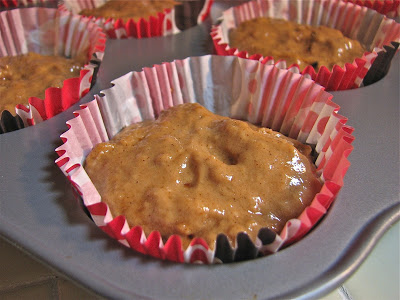
20 minutes later,
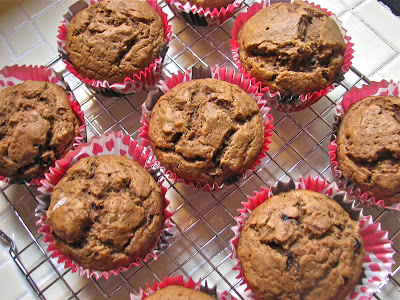
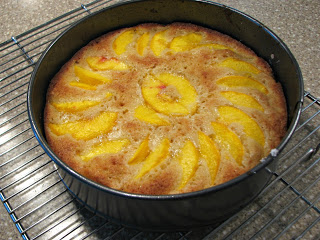
Baked!
Yum!
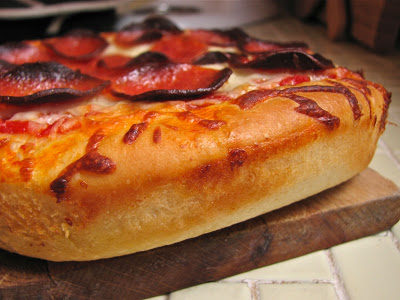
Look at that thick, crispy, golden brown crust

Let it cool for a minute, then dig in
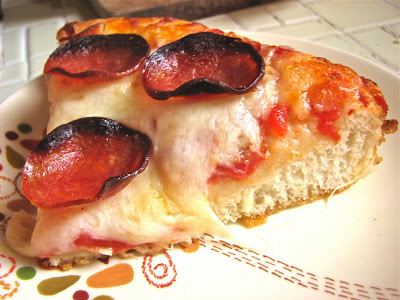
Enjoy!
Pepperoni Pan Pizza
From America's Test Kitchen
Ingredients
Dough
- ½ cup olive oil
- ¾ cup skim milk plus 2 additional tablespoons, warmed to 110 degrees
- 2 tsp sugar
- 2 ⅓ cups all-purpose flour, plus extra for counter
- 1 package instant yeast
- ½ tsp table salt
Topping
- 1 (3.5-ounce) package sliced pepperoni
- 1 ⅓ cups tomato sauce
- 3 cups shredded part-skim mozzarella cheese
Directions
To make the dough: Adjust oven rack to lowest position and heat oven to 200 degrees. When oven reaches 200 degrees, turn it off. Lightly grease large bowl with cooking spray. Coat each of two 9-inch cake pans with 3 TB of oil.
Mix milk, sugar and remaining 2 TB pf oil in measuring cup. Mix flour, yeast, and salt in standing mixer fitted with dough hook. Turn machine to low and slowly add milk mixture. After dough comes together*, increase speed to medium-low and mix until dough is shiny and smooth, about 5 minutes. Turn dough onto lightly floured counter, gently shape into ball, and place in greased bowl. Cover with plastic wrap and place in warm oven until doubled in size, about 30 minutes.
To shape and top the dough: Transfer dough to lightly floured counter, divide in half, and lightly roll each half into ball. Working with 1 dough ball at a time, roll and shape dough into 9 ½ inch round and press into oiled pan. Cover with plastic wrap and set in warm spot (not in oven) until puffy and slightly risen, about 20 minutes. Meanwhile, heat oven to 400 degrees.
While dough rises, put half of pepperoni in single layer on microwave-safe plate lined with 2 paper towels. Cover with 2 more paper towels and microwave on high for 30 seconds. Discard towels and set pepperoni aside; repeat with new paper towels and remaining pepperoni.
Remove plastic wrap from dough. Ladle ⅔ cup sauce on each round, leaving ½ inch border around edges. Sprinkle each with 1 ½ cups cheese and top with pepperoni. Bake until cheese is melted and pepperoni is browning around edges, about 20 minutes. Remove from oven; let pizzas rest in pans for 1 minute. Using
spatula, transfer pizzas to cutting board and cut each into 8 wedges. Serve.
Basic Pizza Sauce
From: America's Test Kitchen
Ingredients
- 1 Tablespoon olive oil
- 2 cloves garlic, minced
- 1 28-ounce can crushed tomatoes
Directions
Cook oil and garlic in medium sauce pan over low heat until fragrant, about 2 minutes. Add tomatoes, increase heat to medium, and cook until slightly thickened, about 10 to 15 minutes. Season with salt and pepper.
(This isn't an amazing sauce, but it's good, easy and does the trick. You could try to doctor it up a little with additional spices/herbs, or just use your favorite pizza sauce.)